Articles
How To Make Driveway Gates
Modified: August 22, 2024
Learn how to make driveway gates with step-by-step articles. Enhance your home's security with DIY driveway gate installation and design tips.
(Many of the links in this article redirect to a specific reviewed product. Your purchase of these products through affiliate links helps to generate commission for Storables.com, at no extra cost. Learn more)
Introduction
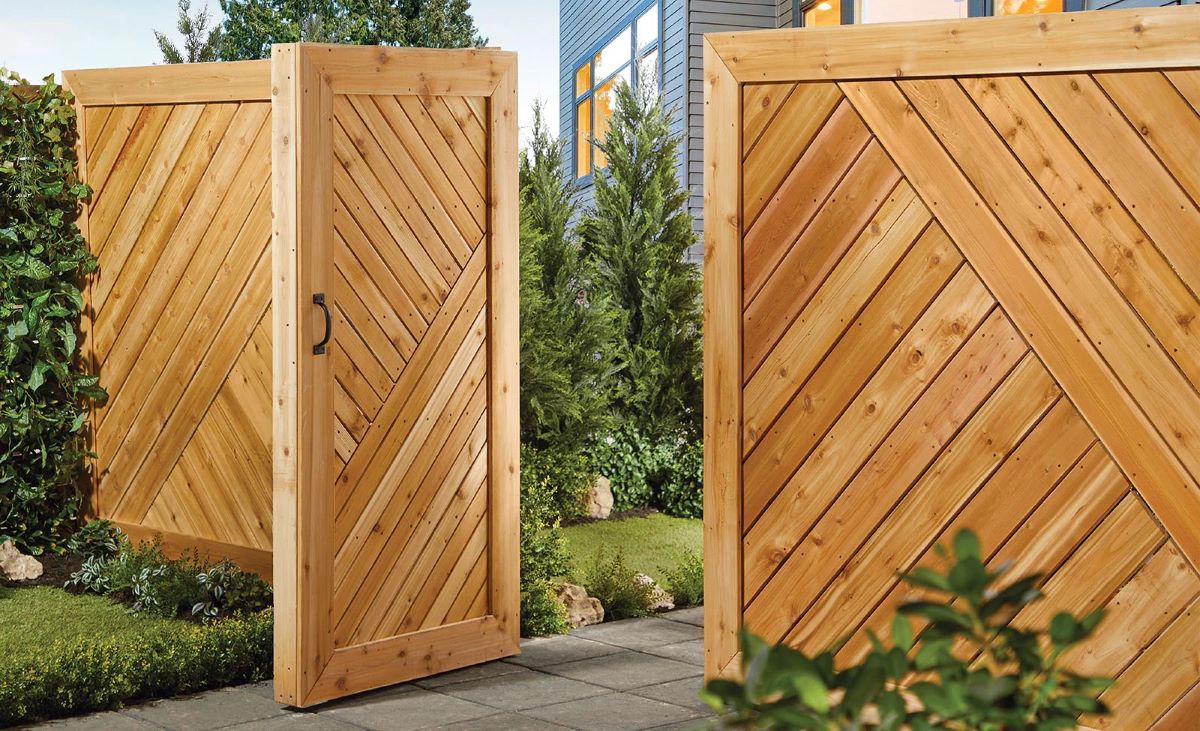
Driveway gates not only provide security and privacy but also add a touch of elegance to your property. Whether you have a residential or commercial property, installing a driveway gate can enhance the overall aesthetic appeal and increase the value of your space. However, purchasing a pre-made gate may not always meet your specific needs or match the architectural style of your property.
In this article, we will guide you through the process of making your own driveway gate. We will cover everything from determining the type of gate to measuring the driveway space, gathering the necessary tools and materials, preparing the gate frame, attaching the gate boards or panels, installing hinges and hardware, securing the gate to the driveway, adding a locking mechanism, and finishing touches and maintenance.
Embarking on a DIY driveway gate project may seem daunting at first, but with the right guidance and a bit of patience, you can create a custom gate that perfectly suits your style and requirements. So, let’s get started!
Key Takeaways:
- Building your own driveway gate allows for customization, security, and aesthetic enhancement. Balancing functionality, style, and maintenance is key to a successful DIY project.
- Determining the type of gate, accurate measurements, and proper installation of hinges and locks are crucial for a durable and visually appealing driveway gate.
Read more: How To Install A Driveway Gate
Step 1: Determine the Type of Driveway Gate
The first step in building your own driveway gate is to determine the type of gate that will best suit your needs and complement the style of your property. There are several types of driveway gates to choose from, including:
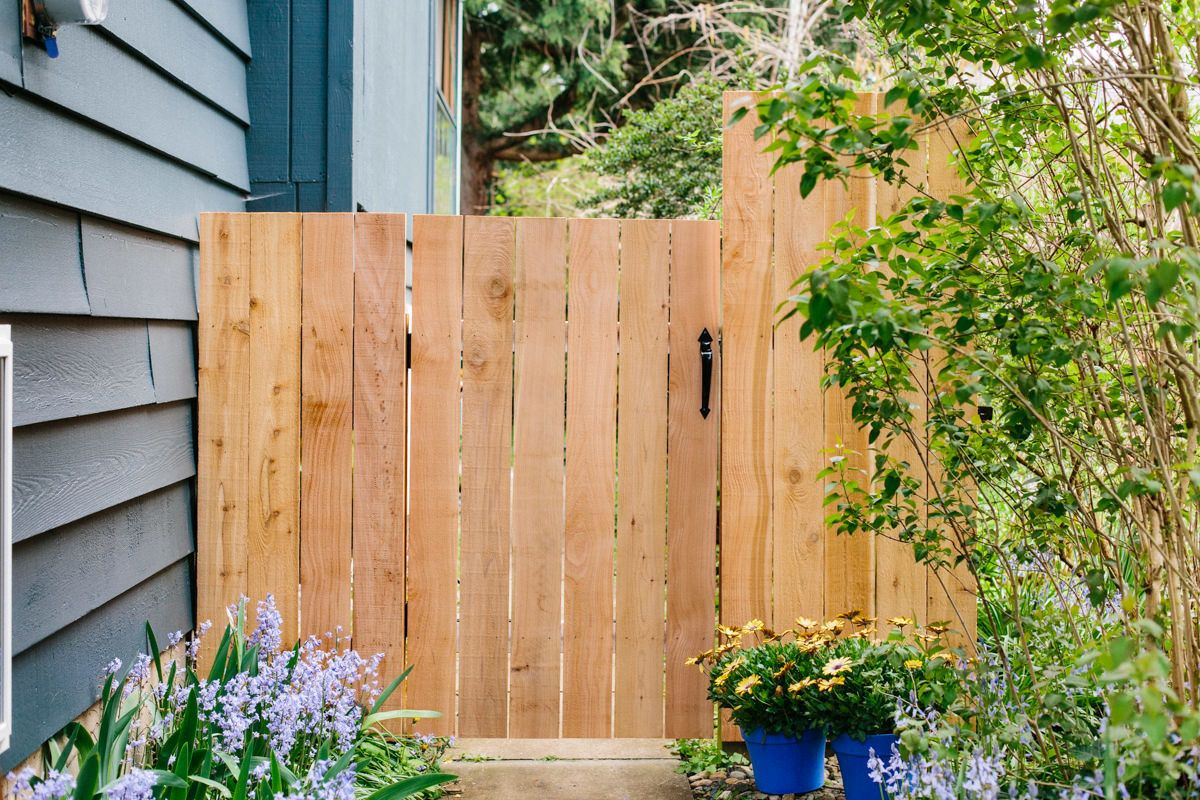
- Swing Gate: A swing gate is the most common type of driveway gate and operates by swinging open or closed on hinges. It can swing inward or outward, depending on your preference and space limitations. Swing gates are suitable for both residential and commercial properties.
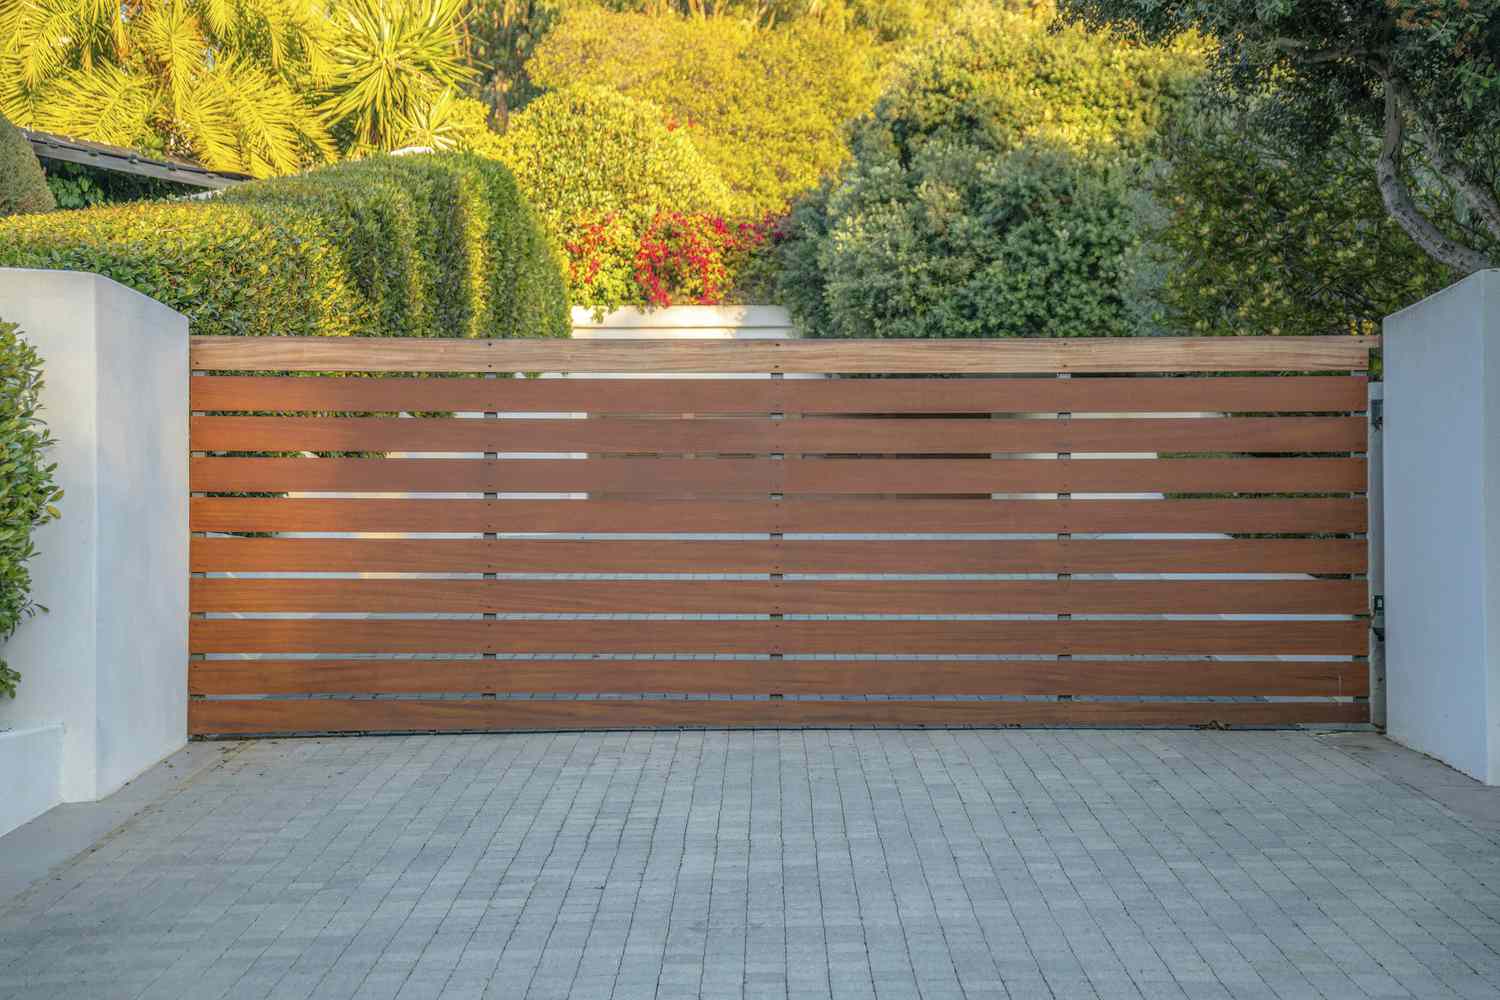
- Sliding Gate: Sliding gates are another popular option, especially if you have limited space or a sloping driveway. These gates slide horizontally along a track, allowing for easy operation and minimal space requirements.
- Bi-Fold Gate: Bi-fold gates consist of two gate panels that fold in the middle when opening or closing. They are ideal for properties with limited space and can provide a sleek and modern look.
- Driveway Barrier Gate: If your main goal is security and access control, a driveway barrier gate may be the best choice. These gates are typically heavy-duty and can be automated for convenience.
Your decision should be based on various factors, such as your budget, space availability, security requirements, and personal preference. Consider the overall design of your property and choose a gate style that complements its architectural elements. It’s also important to check with local regulations or homeowners’ associations for any restrictions or guidelines related to driveway gates.
Once you have determined the type of driveway gate you want to build, you can move on to the next step of the process: measuring the driveway space.
Step 2: Measure the Driveway Space
Before proceeding with the construction of your driveway gate, accurate measurements of the driveway space are crucial. This step will help determine the size of the gate and ensure a proper fit.
Here’s how you can measure the driveway space:
- Start by measuring the width of the driveway at its widest point. This will give you an idea of the maximum width your gate can be.
- Next, measure the height from the ground to the desired height of your gate. It’s important to consider any obstructions, such as slope or uneven ground, that may affect the gate’s height.
- Take note of any unique features or obstacles that could impact the gate’s installation. These could include trees, posts, or electrical wires.
- Consider the swing radius or sliding path of the gate. Ensure that there is enough space for the gate to fully open without obstructing any neighboring structures or vehicles.
Once you have the measurements, it’s advisable to add a few inches of clearance to accommodate for any adjustments or potential changes during the construction process.
Remember, precise measurements are key to a successful driveway gate installation. If you’re unsure or need assistance, it’s always a good idea to consult with a professional or seek guidance from an experienced individual.
With the measurements in hand, you can now move on to the next step: gathering the necessary tools and materials for your DIY driveway gate project.
Step 3: Gather the Necessary Tools and Materials
Before diving into the construction of your driveway gate, it’s essential to have all the necessary tools and materials on hand. This step will ensure a smooth and efficient building process.
Here is a list of common tools and materials you may need for your DIY driveway gate project:
Tools:
- Tape measure
- Level
- Hammer
- Drill
- Screwdriver (manual or power)
- Saw (such as a circular saw or miter saw)
- Wrench
- Chisel
- Paintbrushes or spray painter
- Safety equipment (gloves, safety glasses, ear protection)
Read more: How To Build A Metal Gate For Driveway
Materials:
- Gate frame (metal or wood)
- Gate boards or panels
- Hinges
- Gate latch or lock
- Hardware (screws, nails, bolts, etc.)
- Paint or stain
- Sealer or protective coating
The specific tools and materials you’ll need may vary depending on the type of driveway gate you choose to build and your personal preferences. It’s always a good idea to check any specific instructions or recommendations provided by the manufacturer of the gate frame or any other components you may be using.
Make sure you have all the necessary tools in good working condition and obtain high-quality materials for a durable and long-lasting driveway gate. It’s also worth considering safety equipment to protect yourself during the construction process.
With your tools and materials ready, you can now proceed to the next step: preparing the gate frame.
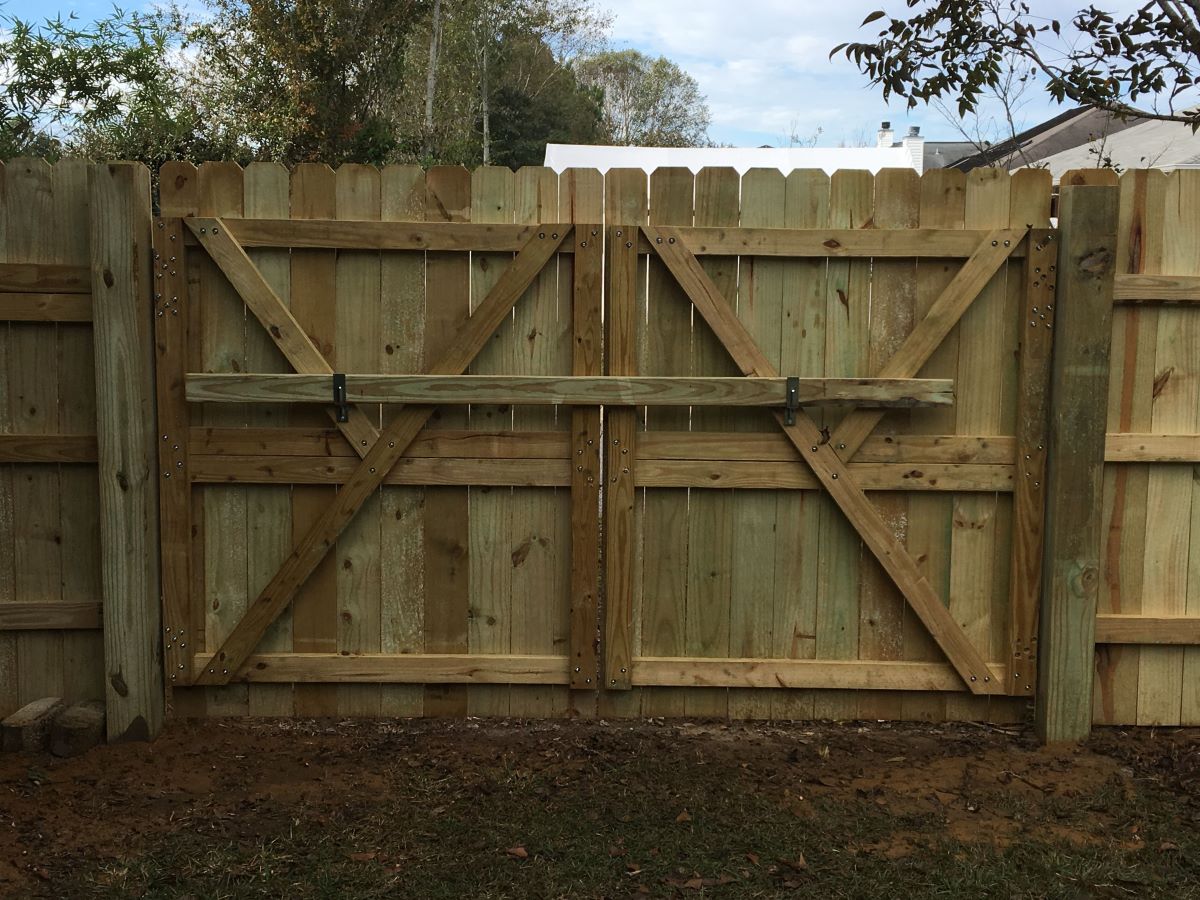
Step 4: Prepare the Gate Frame
In this step, we will focus on preparing the gate frame, which forms the structural foundation of your driveway gate. The preparation process will depend on the material you have chosen for your gate frame, whether it’s metal or wood.
If you’re using a metal gate frame:
- Start by measuring and marking the desired width and height of your gate on the metal frame. Use a tape measure and a marker or chalk for accurate marking.
- Using a saw or grinder, carefully cut the metal frame according to the measurements. Make sure to follow proper safety precautions and wear protective equipment.
- Smooth any rough edges or sharp corners on the metal frame using a file or sandpaper. This step will ensure a clean and safe gate.
- If needed, you can also paint or coat the metal frame with a rust-resistant paint or primer for added protection and aesthetics. Allow sufficient drying time before proceeding to the next steps.
If you’re using a wood gate frame:
- Begin by measuring and marking the desired width and height of your gate on the wood boards. Use a tape measure and a pencil or marker for accurate marking.
- Using a saw, cut the wood boards according to the measurements. Make sure to cut them at a 90-degree angle for proper alignment.
- If you want to add decorative elements or designs on your gate frame, you can use a chisel or router to create the desired patterns. This step is optional but can enhance the aesthetic appeal of your gate.
- Next, sand the wood boards to ensure a smooth and splinter-free surface. Pay extra attention to corners and edges.
- If desired, you can apply a coat of paint, stain, or sealant to protect the wood from weather elements and enhance its appearance. Allow sufficient drying time before proceeding to the next steps.
Once you have prepared the gate frame, you’re ready to move on to the next step: attaching the gate boards or panels.
Read more: How Much Do Driveway Gates Cost
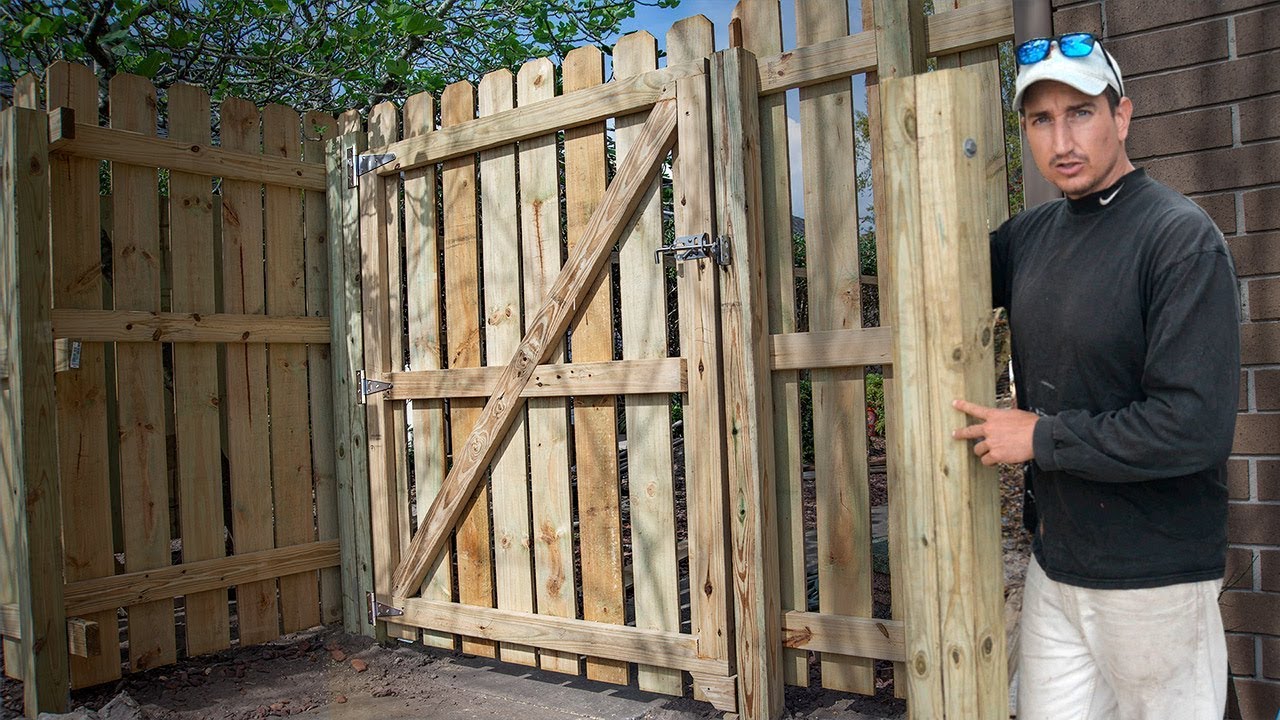
Step 5: Attach the Gate Boards or Panels
In this step, we will focus on attaching the gate boards or panels to the prepared gate frame. The boards or panels will not only enhance the aesthetics of your driveway gate but also provide privacy and security.
Here’s how you can attach the gate boards or panels:
- Start by positioning the gate frame in a stable and secure manner. This will allow you to work more efficiently and accurately.
- If you’re using wooden boards or panels, measure and mark their placement on the gate frame. Ensure that the spacing between the boards is consistent and visually appealing.
- Using screws or nails, carefully attach the boards or panels to the gate frame. Make sure they are aligned properly and securely fastened.
- If you prefer a more elaborate design or pattern, you can experiment with different board arrangements or add additional decorative elements.
- For metal gates, you may need to weld or use specialized fixtures to attach the panels securely. Consult with a professional or refer to specific instructions provided by the manufacturer of the gate frame.
During this step, precision and attention to detail are important to ensure a solid and aesthetically pleasing gate. Take the time to double-check the alignment and spacing of the gate boards or panels before proceeding.
Once you have attached the gate boards or panels, you can move on to the next step: installing the hinges and hardware.
Step 6: Install the Hinges and Hardware
Installing the hinges and hardware is a critical step in the construction of your driveway gate. The hinges will allow your gate to open and close smoothly, while the hardware will provide additional support and functionality.
Follow these steps to install the hinges and hardware:
- Start by determining the placement of the hinges on the gate frame. Typically, two or three hinges are used, depending on the size and weight of the gate. Ensure that the hinges are evenly spaced and aligned.
- Using a drill or screwdriver, attach the hinges to the gate frame using the provided screws. Make sure the hinges are securely fastened to prevent any sagging or misalignment.
- Measure and mark the corresponding placement of the hinges on the gate post or pillar. Ensure that the gate is level and aligned before marking the holes.
- Using a drill, create pilot holes for the hinge screws on the gate post. This will prevent splitting or damaging the wood during the installation process.
- Align the gate with the gate post, positioning the hinges into the pilot holes. Insert the screws and tighten them securely. Double-check the alignment and movement of the gate to ensure smooth operation.
- Next, install the gate latch or lock. Choose a latch or lock that suits your security needs and complements the overall design of the gate. Refer to the manufacturer’s instructions for proper installation.
- Install any additional hardware, such as handles or decorative elements, as desired.
Ensure that all the hinges and hardware are installed securely to support the weight of the gate and provide smooth functionality. Take your time to align and adjust the gate as needed to ensure proper opening and closing.
With the hinges and hardware in place, you’re one step closer to completing your driveway gate project. The next step involves securing the gate to the driveway.
Step 7: Secure the Gate to the Driveway
Securing the gate to the driveway is an important step to ensure stability and prevent unauthorized access. Proper installation will provide a strong and reliable connection between the gate and the driveway.
Here’s how you can secure the gate to the driveway:
- Start by determining the location of the gate post or pillar on the driveway. Mark the desired position, ensuring it aligns with the gate’s closed position.
- Using a post hole digger or an auger, dig a hole at each marked location. The depth of the hole will depend on the size and weight of the gate, as well as the soil conditions. It’s recommended to dig a hole deep enough to accommodate approximately one-third of the gate post length.
- Insert the gate post into the hole and check for proper alignment and levelness. Use a level to ensure the post is plumb in both vertical and horizontal directions.
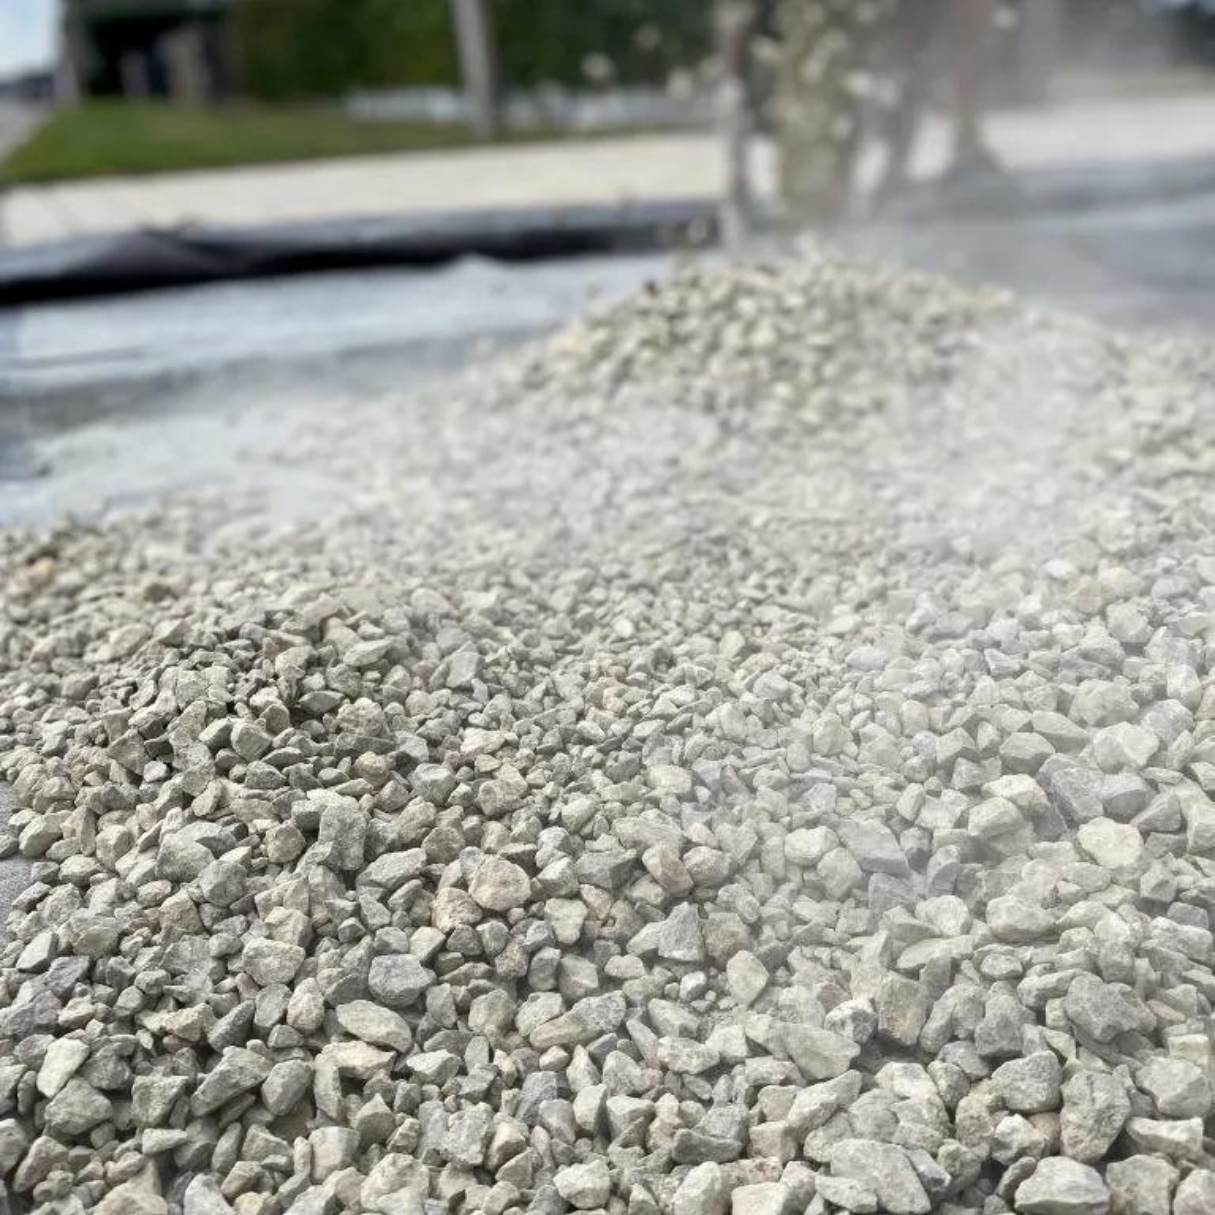
- Backfill the hole with concrete or a suitable stabilizing agent. Ensure that the post is securely held in place and allow sufficient time for the concrete to cure and harden.
- Repeat the process for any additional gate posts or pillars, if applicable.
- Once the gate posts are securely in place, attach the gate to the gate posts using the hinges. Make sure the gate is properly aligned and level.
- Test the gate’s movement and make any necessary adjustments to ensure smooth opening and closing.
By securing the gate to the driveway, you ensure stability and prevent unwanted movement. This step is crucial for the overall functionality and longevity of your driveway gate.
With the gate securely installed, you can proceed to the next step: adding a locking mechanism.
When making driveway gates, ensure that the materials used are durable and weather-resistant to withstand outdoor conditions and provide long-lasting functionality.
Step 8: Add Locking Mechanism
Adding a locking mechanism to your driveway gate is essential for enhanced security and control over access to your property. This step will allow you to secure the gate when it is closed and provide peace of mind.
Follow these steps to add a locking mechanism to your driveway gate:
- Assess your security needs and consider the level of access control required for your property. This will help you determine the type of locking mechanism that best suits your needs.
- Choose a suitable lock or latch for your gate. Options include padlocks, deadbolt locks, combination locks, or magnetic locks. Consider the durability, security features, and compatibility with your gate design and materials when making your selection.
- Position the locking mechanism on the gate in a convenient and secure location. It should be easily accessible but out of reach from the outside when the gate is closed.
- Mark the placement of the lock or latch and use a tape measure and level to ensure accurate positioning.
- Drill pilot holes for the lock or latch, following the manufacturer’s instructions. Ensure that the holes are the correct size and depth for the hardware being installed.
- Attach the lock or latch to the gate using the provided screws or bolts. Make sure they are tightened securely.
- Test the lock or latch to ensure it operates smoothly and securely. Make any necessary adjustments to ensure proper functionality.
- If you want to add an additional layer of security, consider installing a keypad entry system, intercom, or even an automated gate opener. These options provide convenience and controlled access for authorized individuals.
By adding a locking mechanism, you enhance the security of your driveway gate, ensuring that only authorized individuals can gain access. Choose a lock or latch that offers both convenience and effective protection.
With the locking mechanism in place, you’re almost done with your driveway gate project. The final step involves adding the finishing touches and considering long-term maintenance.
Read more: How To Make Garden Gate
Step 9: Finishing Touches and Maintenance
The final step in building your driveway gate is to add the finishing touches and establish a maintenance routine. These steps will ensure that your gate remains in optimal condition and continues to enhance your property for years to come.
Here’s what you should do for the finishing touches and maintenance:
- If you have chosen a wooden gate, consider applying a protective coating such as a sealant or paint to protect it from weather elements. This will help prevent rotting, warping, and fading.
- For metal gates, periodically inspect the surface for signs of rust or corrosion. If necessary, sand and repaint the affected areas to maintain its appearance and structural integrity.
- Regularly clean the gate to remove dirt, debris, and any buildup that may accumulate over time. Use mild soap and water or a gentle cleaning solution. Avoid using harsh chemicals or abrasive tools as they can damage the gate’s finish.
- Inspect the hinges, locks, and other hardware regularly for proper functioning. Tighten any loose screws or bolts and lubricate moving parts if needed.
- Trim any nearby vegetation that may obstruct the gate’s movement or cause damage.
- Consider installing a gate closer mechanism if you want the gate to automatically close after being opened.
- Keep an eye on the gate’s alignment and make any necessary adjustments if it starts to sag or become misaligned over time.
- Lastly, establish a maintenance schedule to regularly inspect and maintain your driveway gate. This will help identify and address any issues early on, prolonging the lifespan of your gate.
By paying attention to maintenance and adding the finishing touches, your driveway gate will not only look visually appealing but also function effectively and provide the desired level of security.
Congratulations! You have successfully completed the entire process of building your own driveway gate. Enjoy the privacy, security, and aesthetic enhancement it brings to your property.
As a final tip, always refer to specific instructions provided by manufacturers or consult with professionals whenever necessary to ensure safe and accurate installation.
Thank you for following this comprehensive guide, and we hope your DIY driveway gate project is a success!
Conclusion
Building your own driveway gate is a rewarding and fulfilling project that allows you to customize the entrance to your property while enhancing its security and aesthetics. By following the step-by-step guide provided in this article, you have learned how to determine the type of gate that suits your needs, measure the driveway space accurately, gather the necessary tools and materials, prepare the gate frame, attach the gate boards or panels, install the hinges and hardware, secure the gate to the driveway, add a locking mechanism, and apply finishing touches and establish a maintenance routine.
Throughout the process, it is important to balance functionality, security, and style. Consider the architectural elements of your property and choose a gate design that complements the overall aesthetic. Pay attention to details such as proper measurements, precise installation of hinges and locks, and regular maintenance to ensure the longevity and smooth operation of your driveway gate.
Remember, building a driveway gate requires patience, careful planning, and attention to detail. If you feel uncertain or lack the necessary skills, it is always wise to consult with professionals who can guide you through the process or handle the installation for you.
By taking the time to construct your own driveway gate, not only will you enhance the value and appeal of your property, but you’ll also have the satisfaction of knowing that you’ve created a unique and customized entrance that perfectly suits your needs.
So, roll up your sleeves, gather your tools, and start building your dream driveway gate. Enjoy the beauty, security, and privacy it adds to your property for years to come!
Frequently Asked Questions about How To Make Driveway Gates
Was this page helpful?
At Storables.com, we guarantee accurate and reliable information. Our content, validated by Expert Board Contributors, is crafted following stringent Editorial Policies. We're committed to providing you with well-researched, expert-backed insights for all your informational needs.


0 thoughts on “How To Make Driveway Gates”