Articles
How To Make Prairie Curtains
Modified: October 20, 2024
Learn how to create beautiful prairie curtains with our step-by-step articles. Enhance your home decor with these charming window treatments.
(Many of the links in this article redirect to a specific reviewed product. Your purchase of these products through affiliate links helps to generate commission for Storables.com, at no extra cost. Learn more)
Introduction
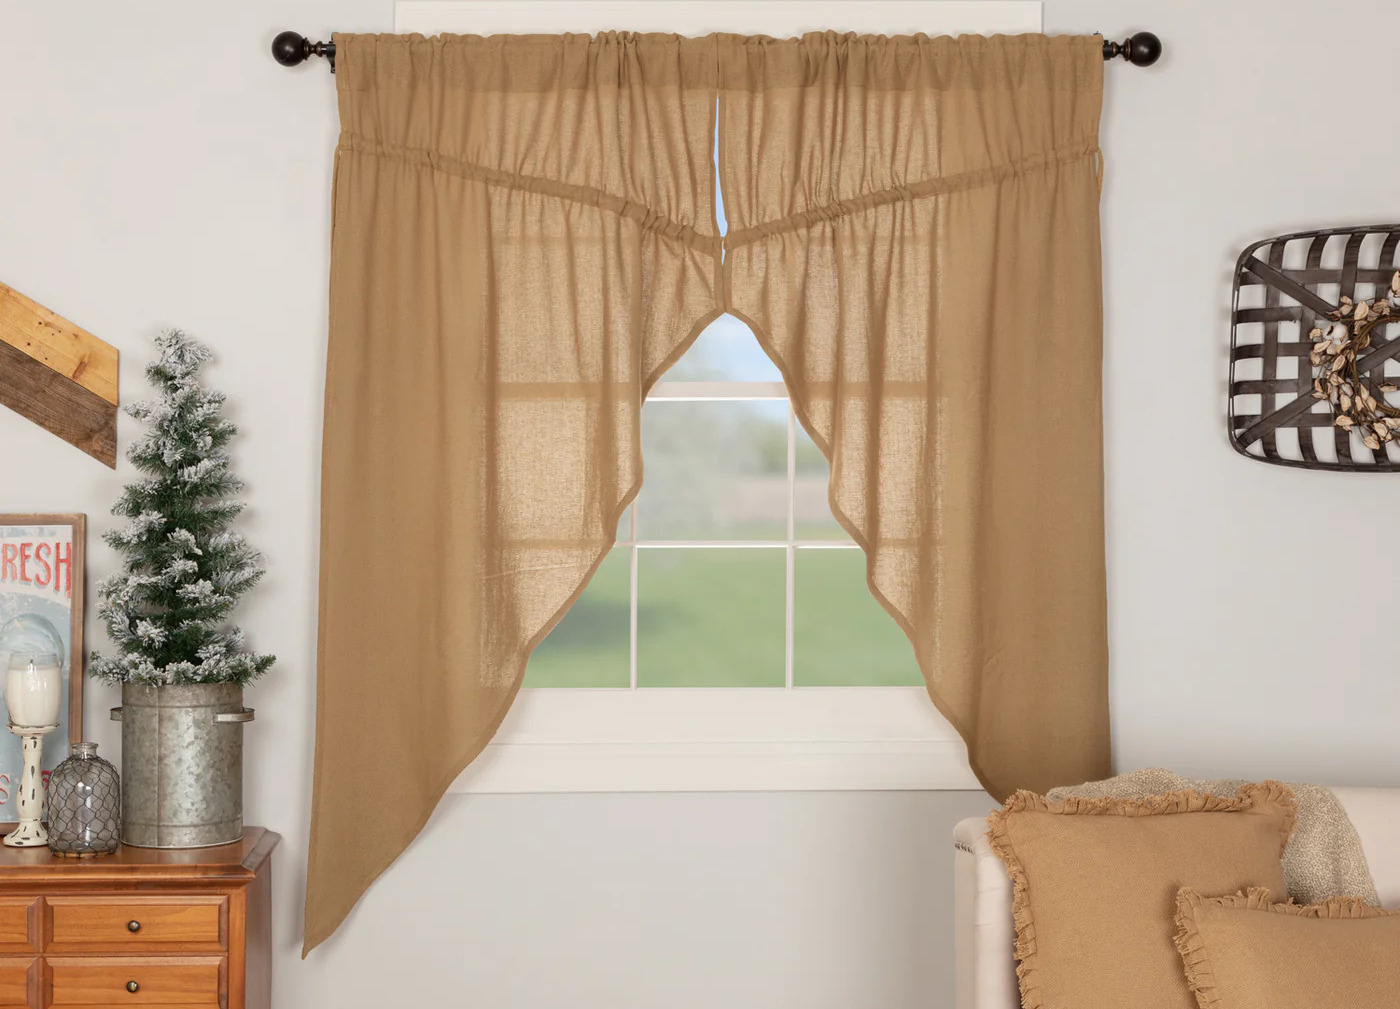
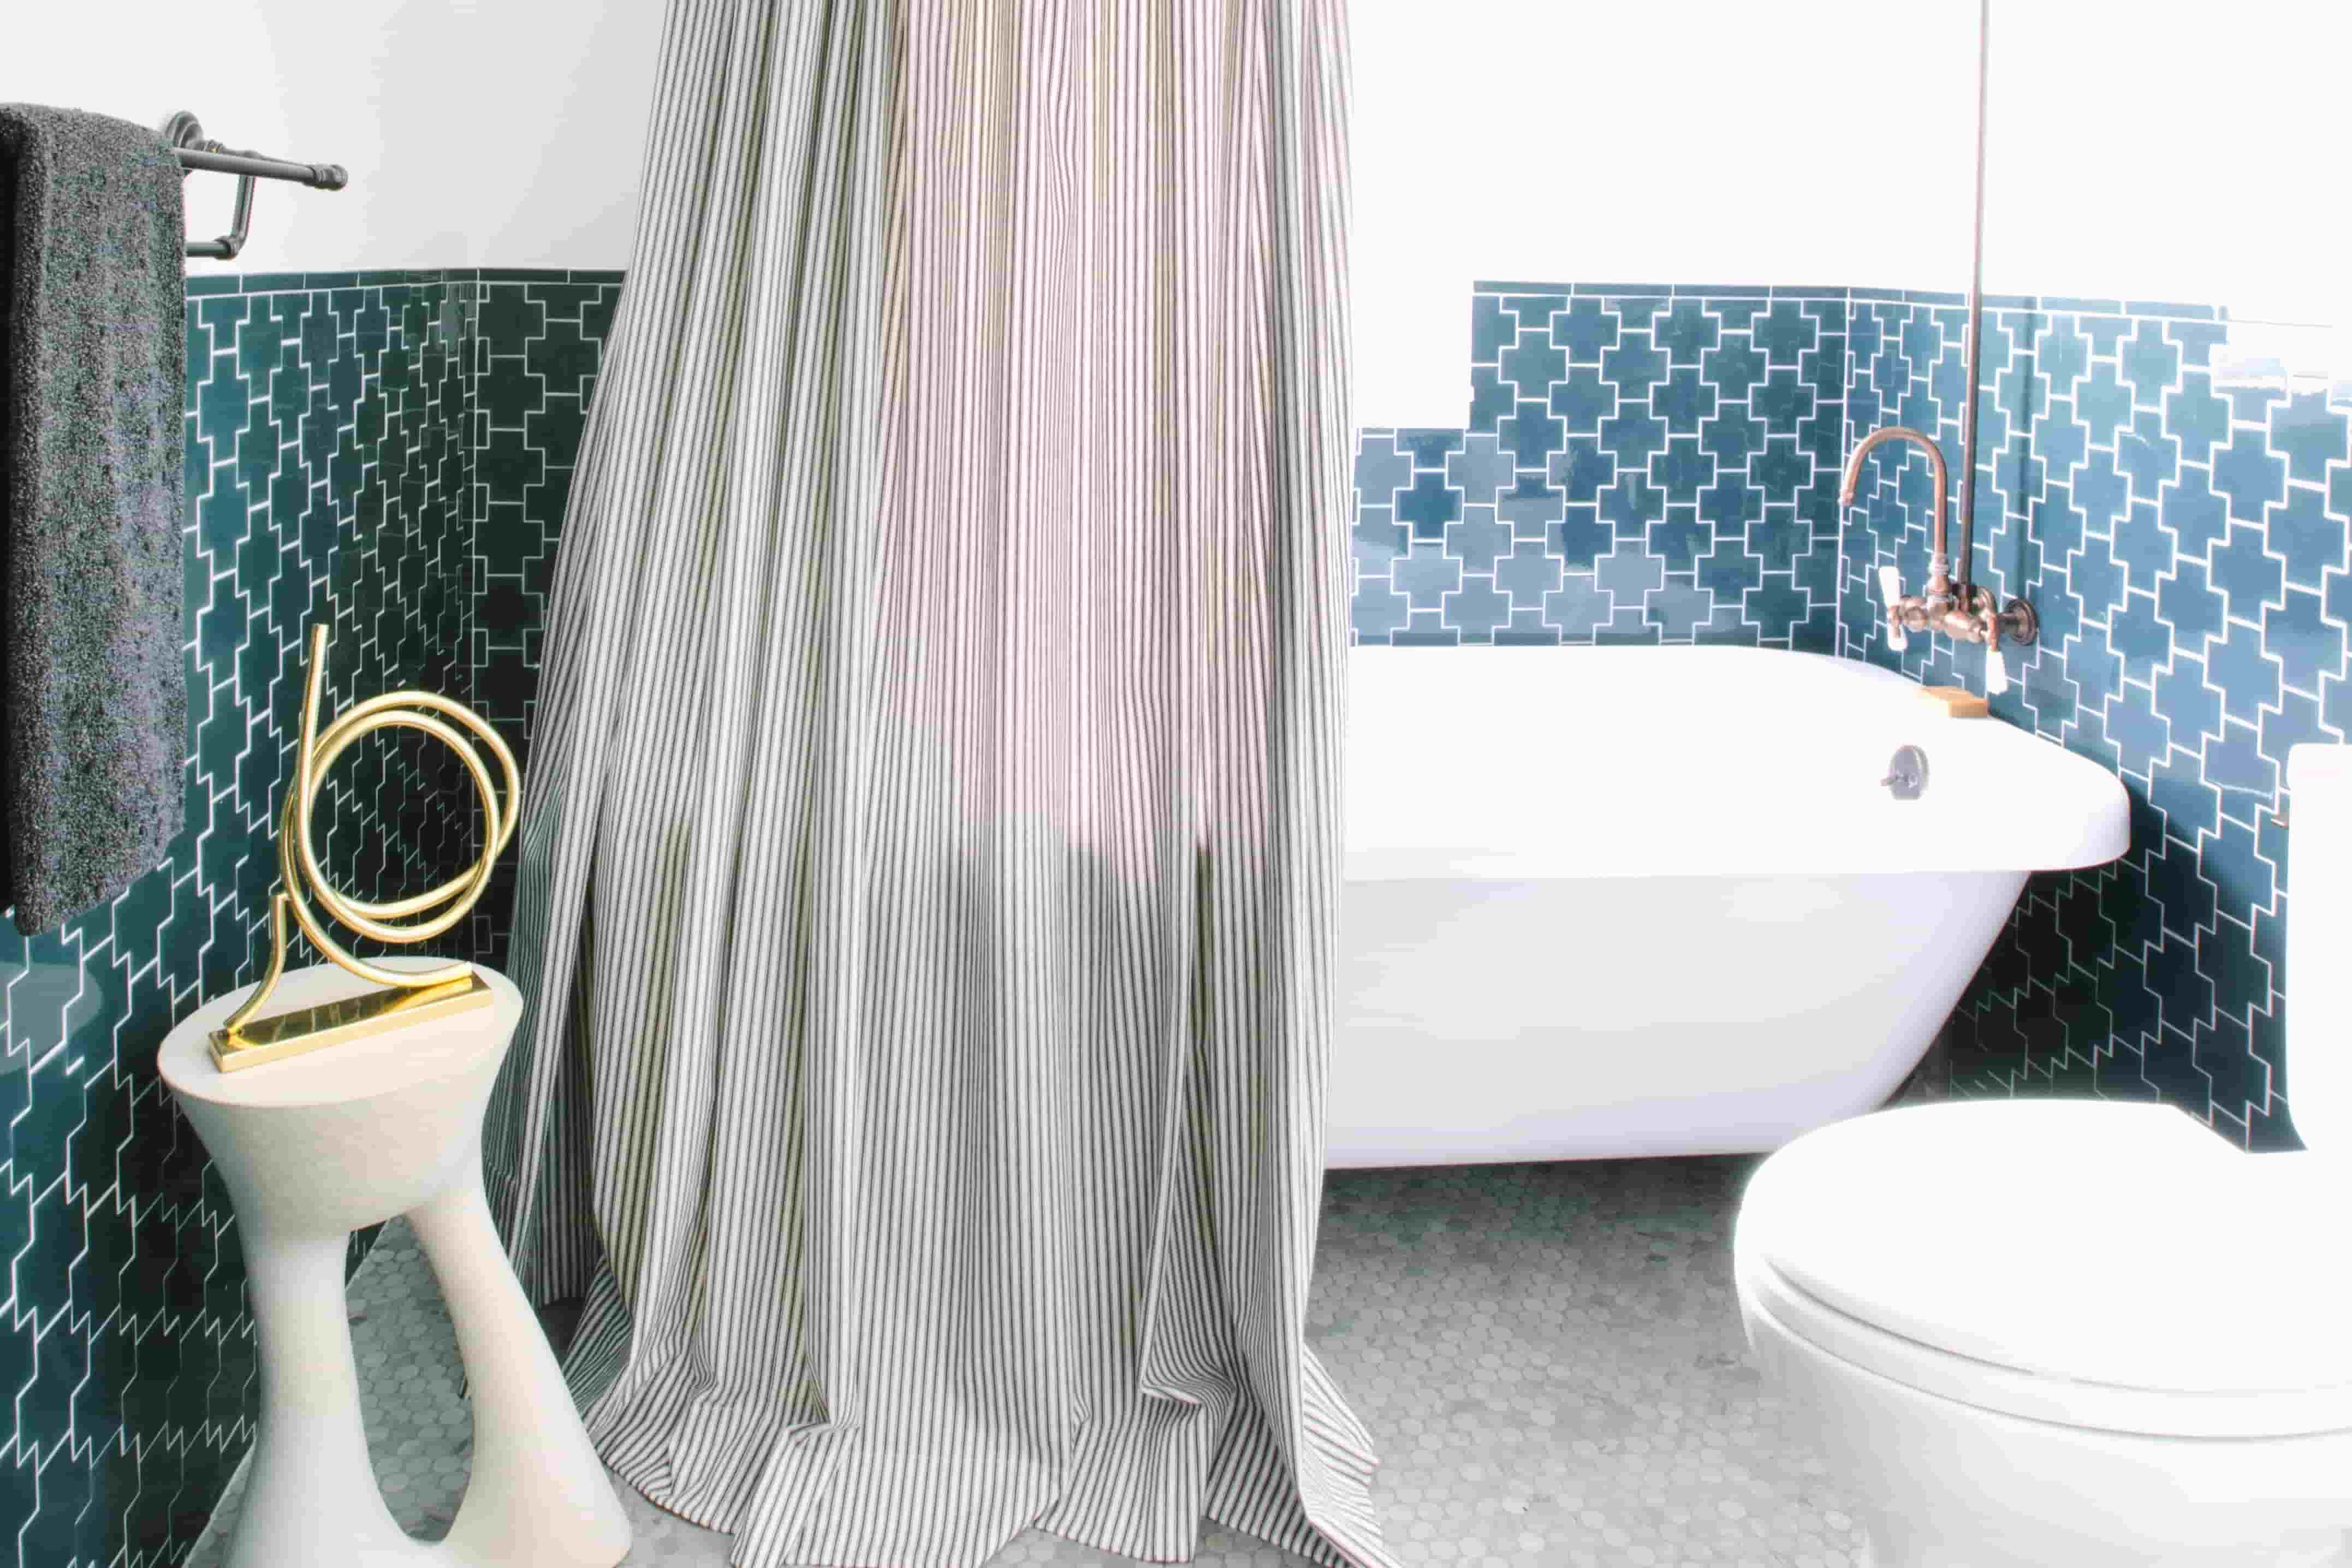
When it comes to window treatments, prairie curtains offer a charming and rustic touch to any space. Originating from the prairies of America, these simple yet elegant curtains resemble the homespun beauty of the countryside. With their unique style and easy installation, prairie curtains have become a popular choice for both traditional and contemporary interiors.
In this article, we will guide you through the process of making your very own prairie curtains. Whether you are a skilled DIY enthusiast or a beginner, this step-by-step tutorial will help you create curtain panels that perfectly fit your windows and reflect your personal style.
Before we begin, let’s gather all the materials you will need for this project:
- Fabric of your choice
- Measuring tape
- Scissors
- Sewing machine or needle and thread
- Curtain clips or rings
- Iron
- Ironing board
Now that you have everything ready, let’s move on to the first step: measuring the window.
Key Takeaways:
- Create charming prairie curtains with rustic elegance using lightweight fabrics like cotton or linen. Follow step-by-step instructions to measure, cut, hem, gather, and install your custom curtains for a cozy, inviting atmosphere.
- Personalize your space with DIY prairie curtains that reflect your style. Choose the perfect fabric, master precise measurements, and add elegant gathers for a timeless, rustic touch to your windows.
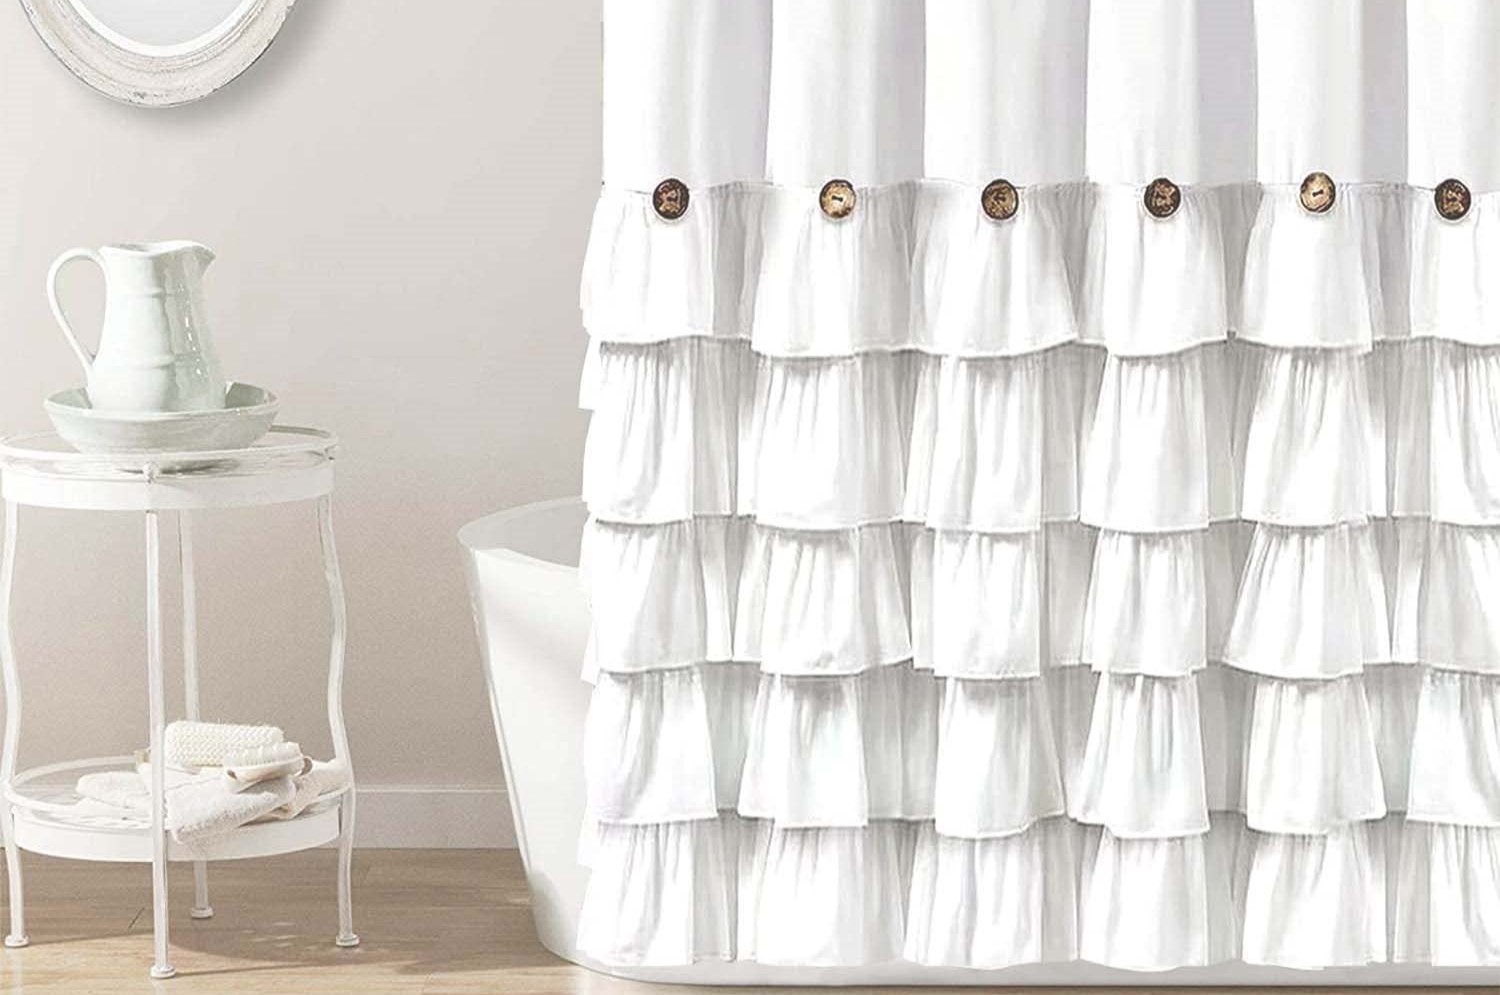
Read more: How To Make A Shower Curtain
Materials Needed
Before you start making your prairie curtains, it’s important to gather all the necessary materials. Here’s what you’ll need:
- Fabric of your choice: Select a fabric that suits your style and complements your room’s decor. Light and airy fabrics like cotton or linen work well for prairie curtains. Make sure to choose enough fabric to cover the width and length of your window.
- Measuring tape: An essential tool for accurately measuring the dimensions of your window. A retractable tape measure with both inches and centimeters is recommended.
- Scissors: Sharp fabric scissors will help you cut the fabric with precision. Make sure they are suitable for cutting through your chosen fabric.
- Sewing machine or needle and thread: Depending on your sewing skills and preferences, you can use a sewing machine or hand-stitch the curtains. If using a sewing machine, ensure you have the appropriate thread for your fabric.
- Curtain clips or rings: These are used to attach the prairie curtains to a curtain rod. Choose clips or rings that match the style of your curtains and the desired look of your window treatment.
- Iron: An iron is essential for pressing and straightening the fabric. Make sure it is in good working condition.
- Ironing board: A sturdy ironing board will provide a flat surface for ironing the fabric.
Once you have gathered all the necessary materials, you’re ready to move on to the next step: measuring the window.
Step 1: Measuring the Window
Before you can start cutting and sewing your prairie curtains, you need to accurately measure the dimensions of your window. Follow these steps to ensure the curtains will fit perfectly:
- Start by measuring the width of the window. Use a measuring tape and record the measurement from one end of the window frame to the other. Add a few inches for fullness and overlap, depending on your desired curtain style. This will ensure that the curtains cover the window adequately.
- Next, measure the length of the window. Start from the top of the window frame and measure down to your desired length. Consider whether you want the curtains to hang just below the window sill or all the way to the floor. Remember to add extra inches for hemming and folding.
- If you are making multiple curtain panels, repeat the measurements on each window to ensure consistency.
Once you have recorded the accurate measurements, you are ready to move on to the next step: selecting the fabric.
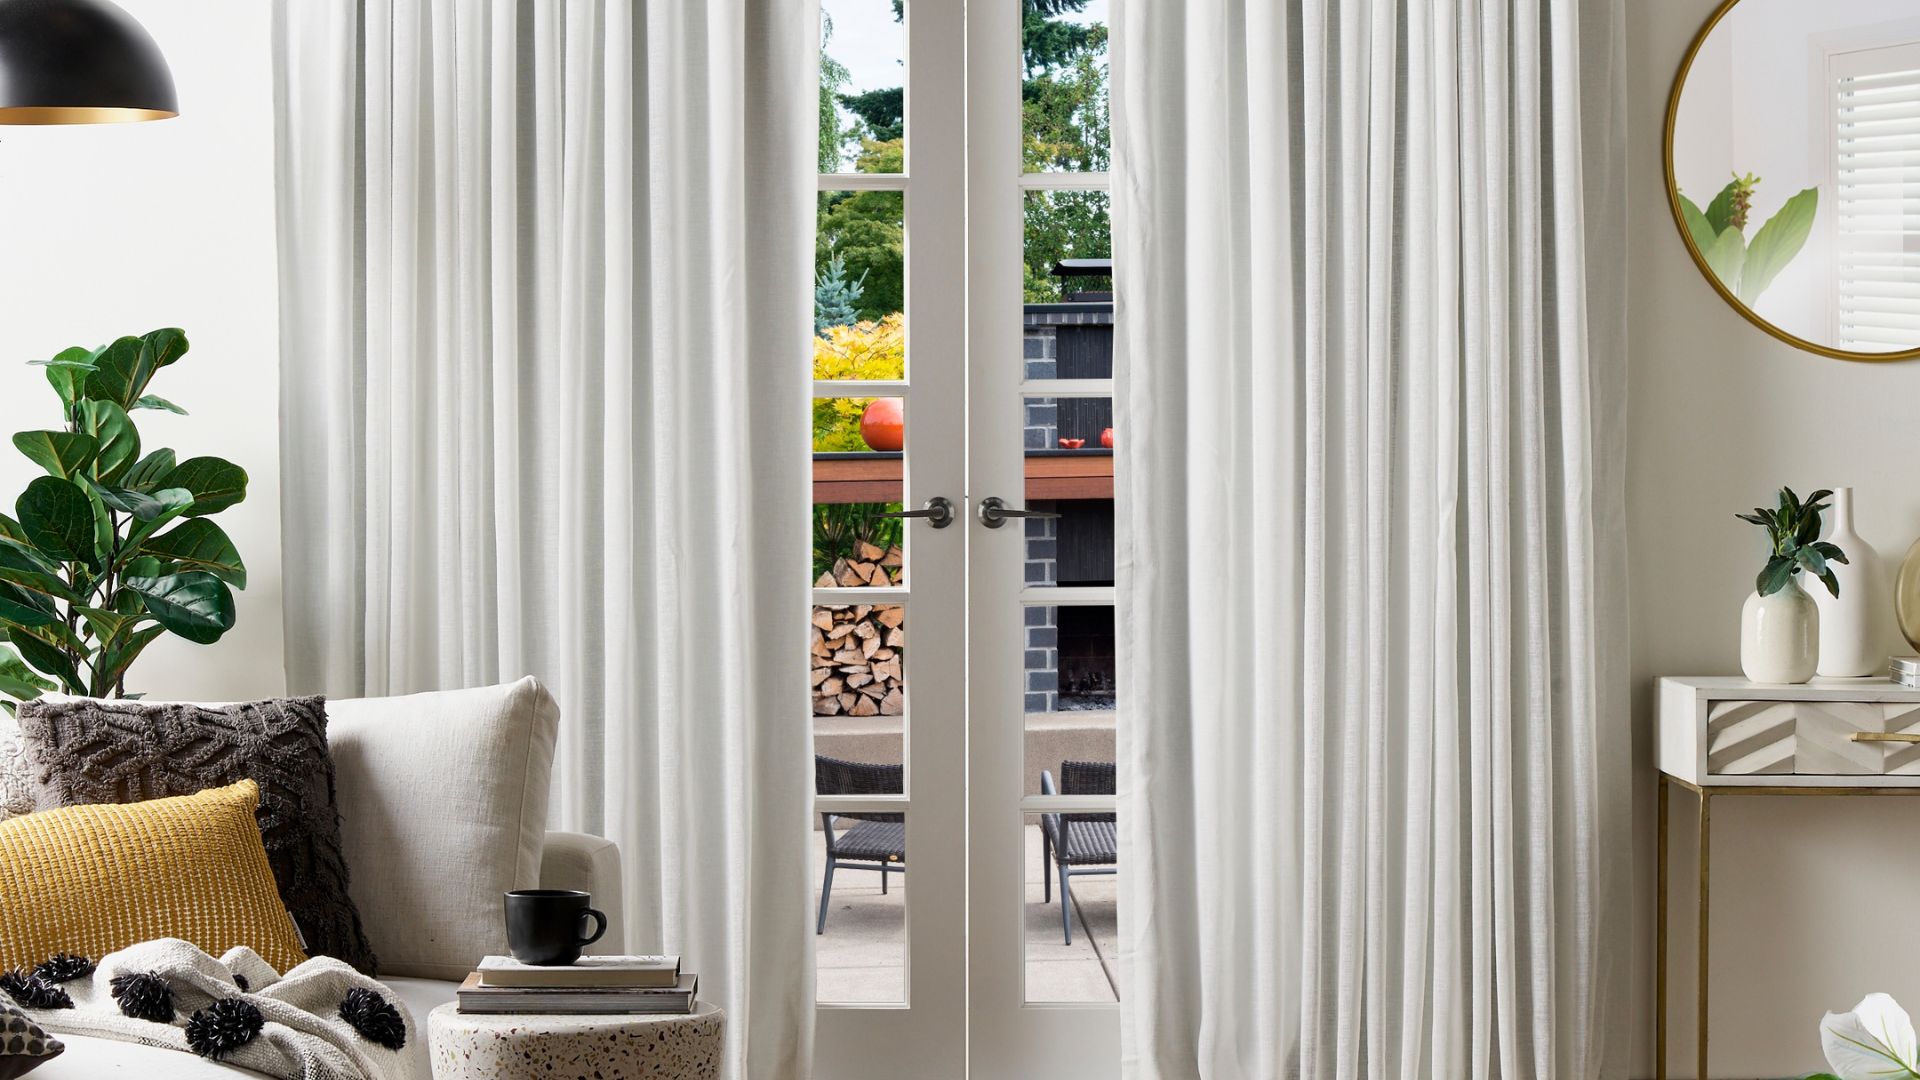
Step 2: Selecting the Fabric
Choosing the right fabric for your prairie curtains is essential to create the desired look and feel for your windows. Consider the following factors when selecting the fabric:
- Style: Decide on the style you want to achieve. Prairie curtains are typically made from lightweight and flowy fabrics such as cotton or linen. These fabrics provide a soft and airy look, perfect for creating a rustic and charming atmosphere.
- Color and Pattern: Take into account the color scheme and pattern of your room. Choose a fabric that complements the existing decor. Opt for neutral colors for a timeless and versatile look, or go for bold patterns to add a pop of personality to your space.
- Light Control: Consider the amount of light you want to filter through the curtains. Sheer fabrics allow natural light to pass through, creating a warm and inviting ambiance. If you desire more privacy or light blocking, consider using a slightly thicker fabric or adding a lining to your curtains.
- Durability: Ensure that the fabric you choose is of good quality and can withstand regular use. Check the fabric’s thread count and feel the texture to assess its durability.
Once you have chosen the perfect fabric for your prairie curtains, you are ready to move on to the next step: cutting the fabric.
Step 3: Cutting the Fabric
Now that you have selected the fabric for your prairie curtains, it’s time to start cutting the fabric to the proper size. Follow these steps to ensure accurate and clean cuts:
- Prepare your work area by clearing a flat surface that is large enough to lay out the fabric.
- Take your fabric and fold it in half lengthwise. This will create the double-layered panel for your curtain.
- Using your measuring tape, refer to the measurements you took earlier to determine the width and length of your curtain panel.
- Mark the measurements directly onto the fabric using a fabric pen or tailor’s chalk. Take extra care to ensure the markings are straight and even.
- Using sharp fabric scissors, carefully cut along the marked lines to create the curtain panel. Make sure to cut through both layers of fabric if you folded it in half.
- Once you have finished cutting, unfold the fabric to reveal the curtain panel. You should now have a single panel that is the correct size for your window.
It’s important to note that if you are making multiple curtain panels, repeat these cutting steps for each panel. This will ensure consistency and uniformity in your prairie curtains.
Now that you have successfully cut the fabric, you are ready to move on to the next step: hemming the edges.
When making prairie curtains, be sure to measure your window carefully to determine the length of fabric needed. It’s important to have the right amount of fabric to achieve the desired gathered look.
Read more: How To Make Car Curtains
Step 4: Hemming the Edges
After cutting the fabric for your prairie curtains, it’s time to hem the edges to create a clean and finished look. Hemming also helps to prevent the fabric from fraying over time. Follow these steps to hem the edges of your curtain panel:
- Start by ironing the fabric to remove any wrinkles or creases. Set your iron to the appropriate heat setting based on the fabric you are using.
- On each side of the curtain panel, fold the raw edge of the fabric about 1/4 inch to the wrong side. Use pins or fabric clips to hold the fold in place.
- Once the 1/4 inch fold is secure, fold the edge over again by 1/4 inch to hide the raw edge completely. Pin or clip the fold in place.
- Repeat this process for all sides of the curtain panel.
- Take your sewing machine or needle and thread and stitch a straight line along the folded edge of each hem. Use a matching thread color for a seamless finish.
- Remove the pins or clips as you sew, ensuring you maintain a straight and even stitch.
- Continue stitching along all sides until all edges of the curtain panel are hemmed.
Once you have finished sewing the hems, give the curtain panel a final press with the iron to create crisp and defined edges. Now your prairie curtain is starting to take shape!
With the edges hemmed neatly, you are ready to move on to the next step: gathering the top of the curtain panel.
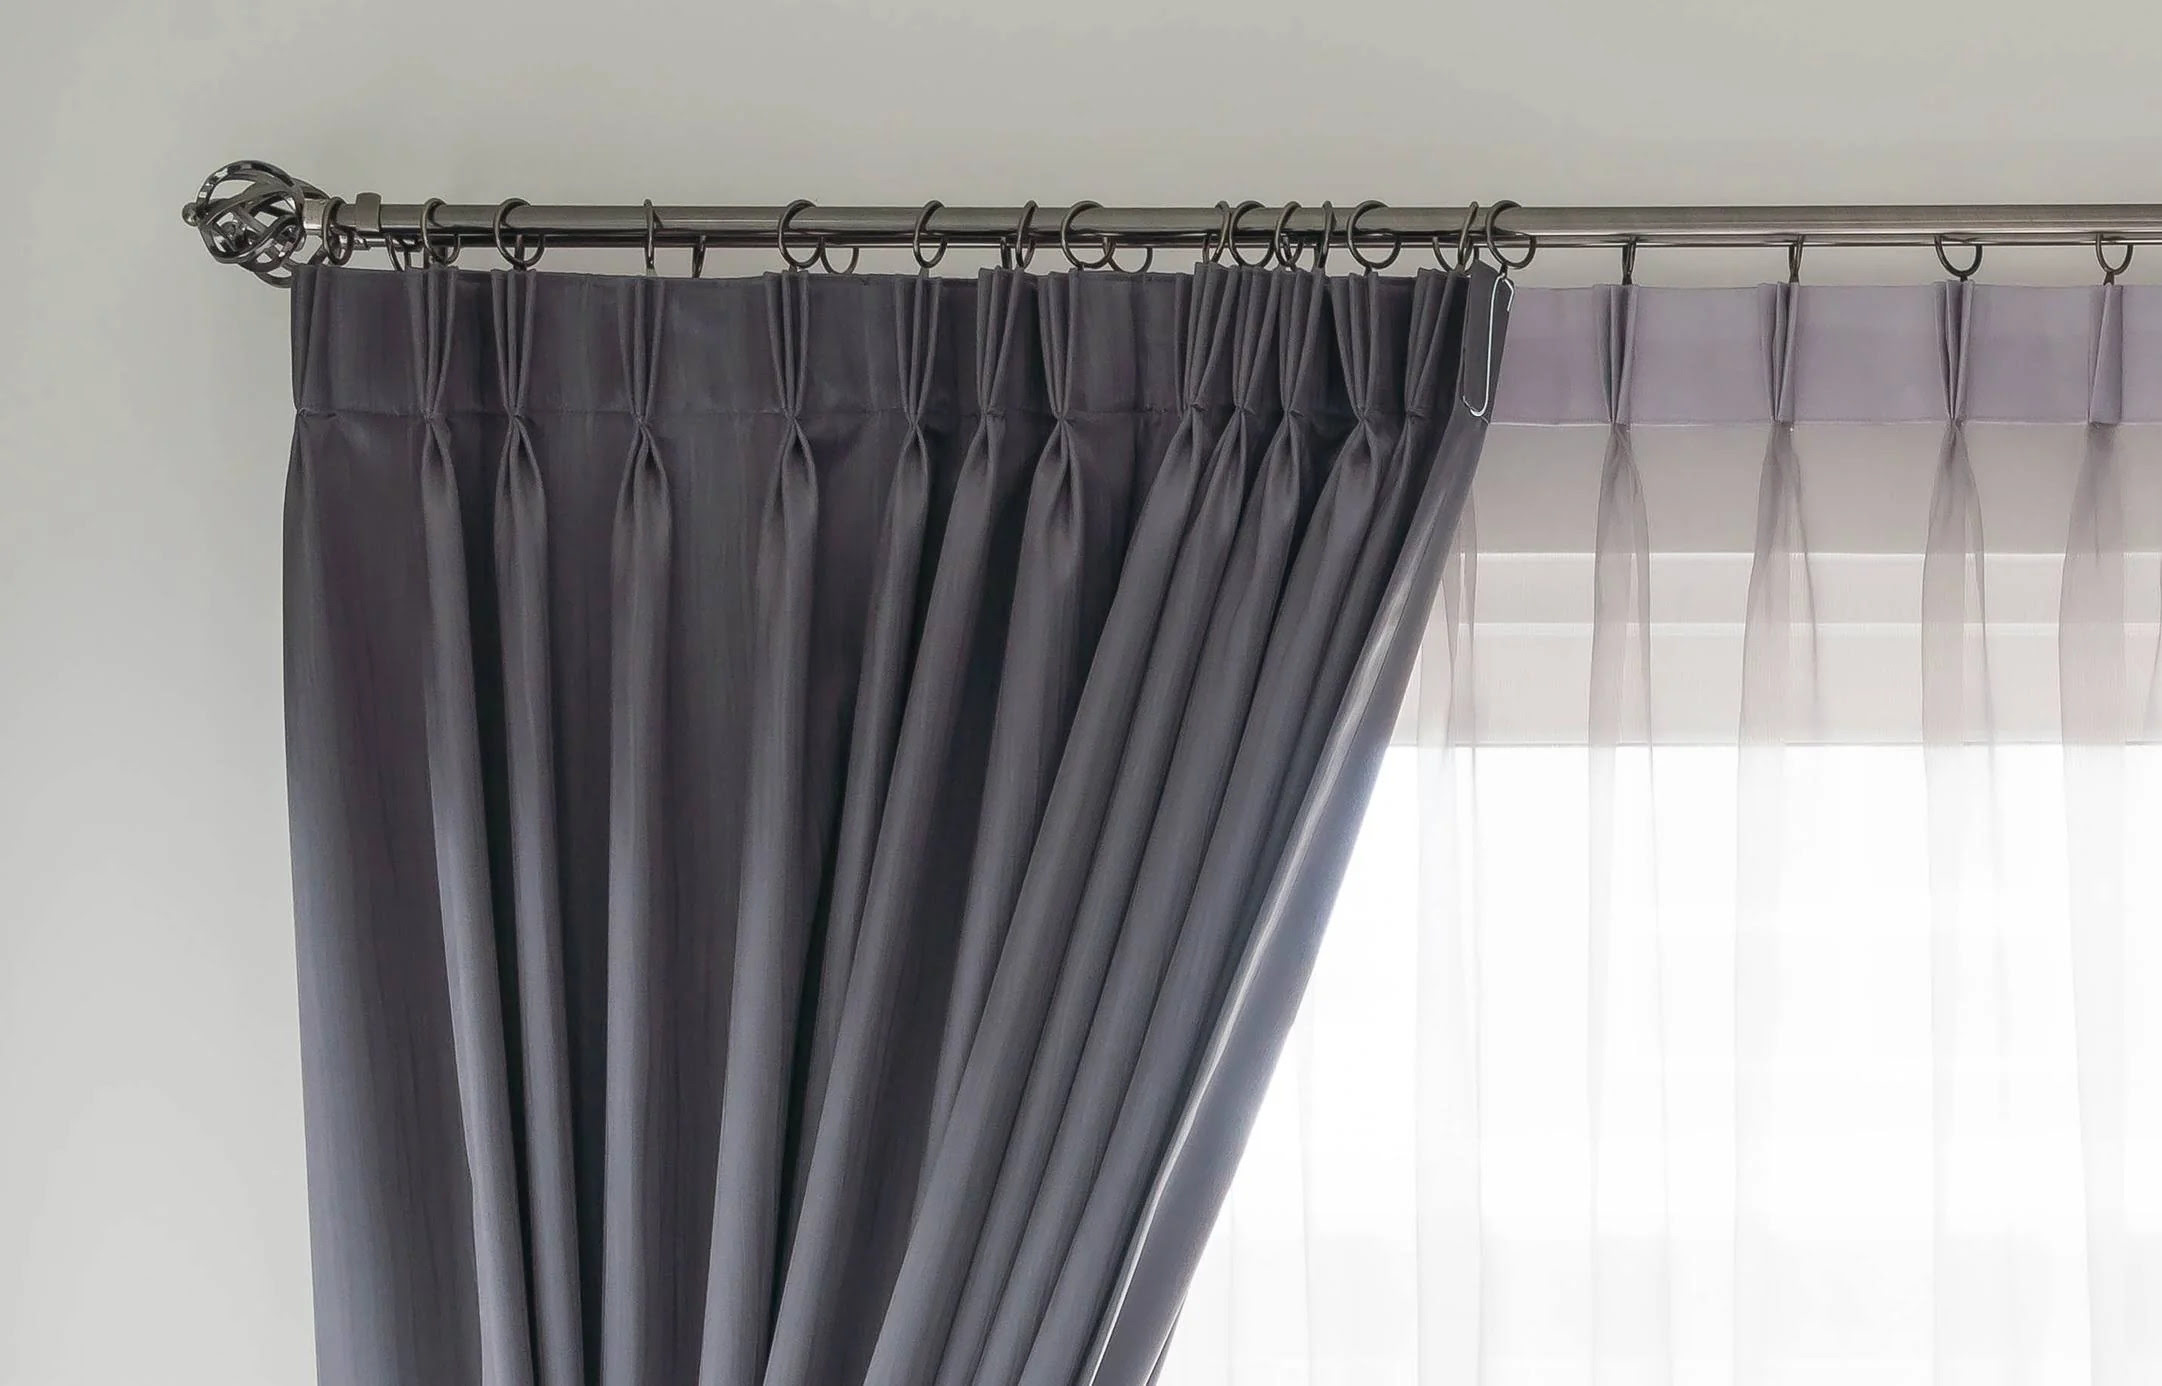
Step 5: Gathering the Top
To achieve the classic prairie curtain look, it’s important to gather the top of the curtain panel. This creates soft, elegant pleats and adds dimension to the curtains. Follow these steps to gather the top of your prairie curtain:
- Measure and mark the desired length of your curtain rod or track on the top edge of the curtain panel. This will determine the amount of fabric you need to gather.
- Using a long piece of thread, start sewing a basting stitch along the top edge of the curtain panel. Make sure to leave long thread tails at both ends.
- Begin sewing the basting stitch about 1/2 inch from the edge of the fabric. Sew all the way across the top, parallel to the edge, until you reach the other side.
- Be sure to stitch slowly and keep the stitches evenly spaced, about 1/4 inch apart.
- Once you have completed the basting stitch, gently pull on the thread tails at each end and slide the fabric along the thread. This will create even gathers on the top of the curtain panel.
- Continue gathering the fabric until the width matches the length of your curtain rod or track.
- Once you have achieved the desired gather, carefully tie off the thread at each end to secure the gathers in place.
Once you have gathered the top of the curtain panel, you are ready to move on to the next step: attaching curtain clips or rings.
Tip: If you prefer a more structured look, you can also use curtain tape or pleater tape to create evenly spaced pleats instead of gathering the fabric.
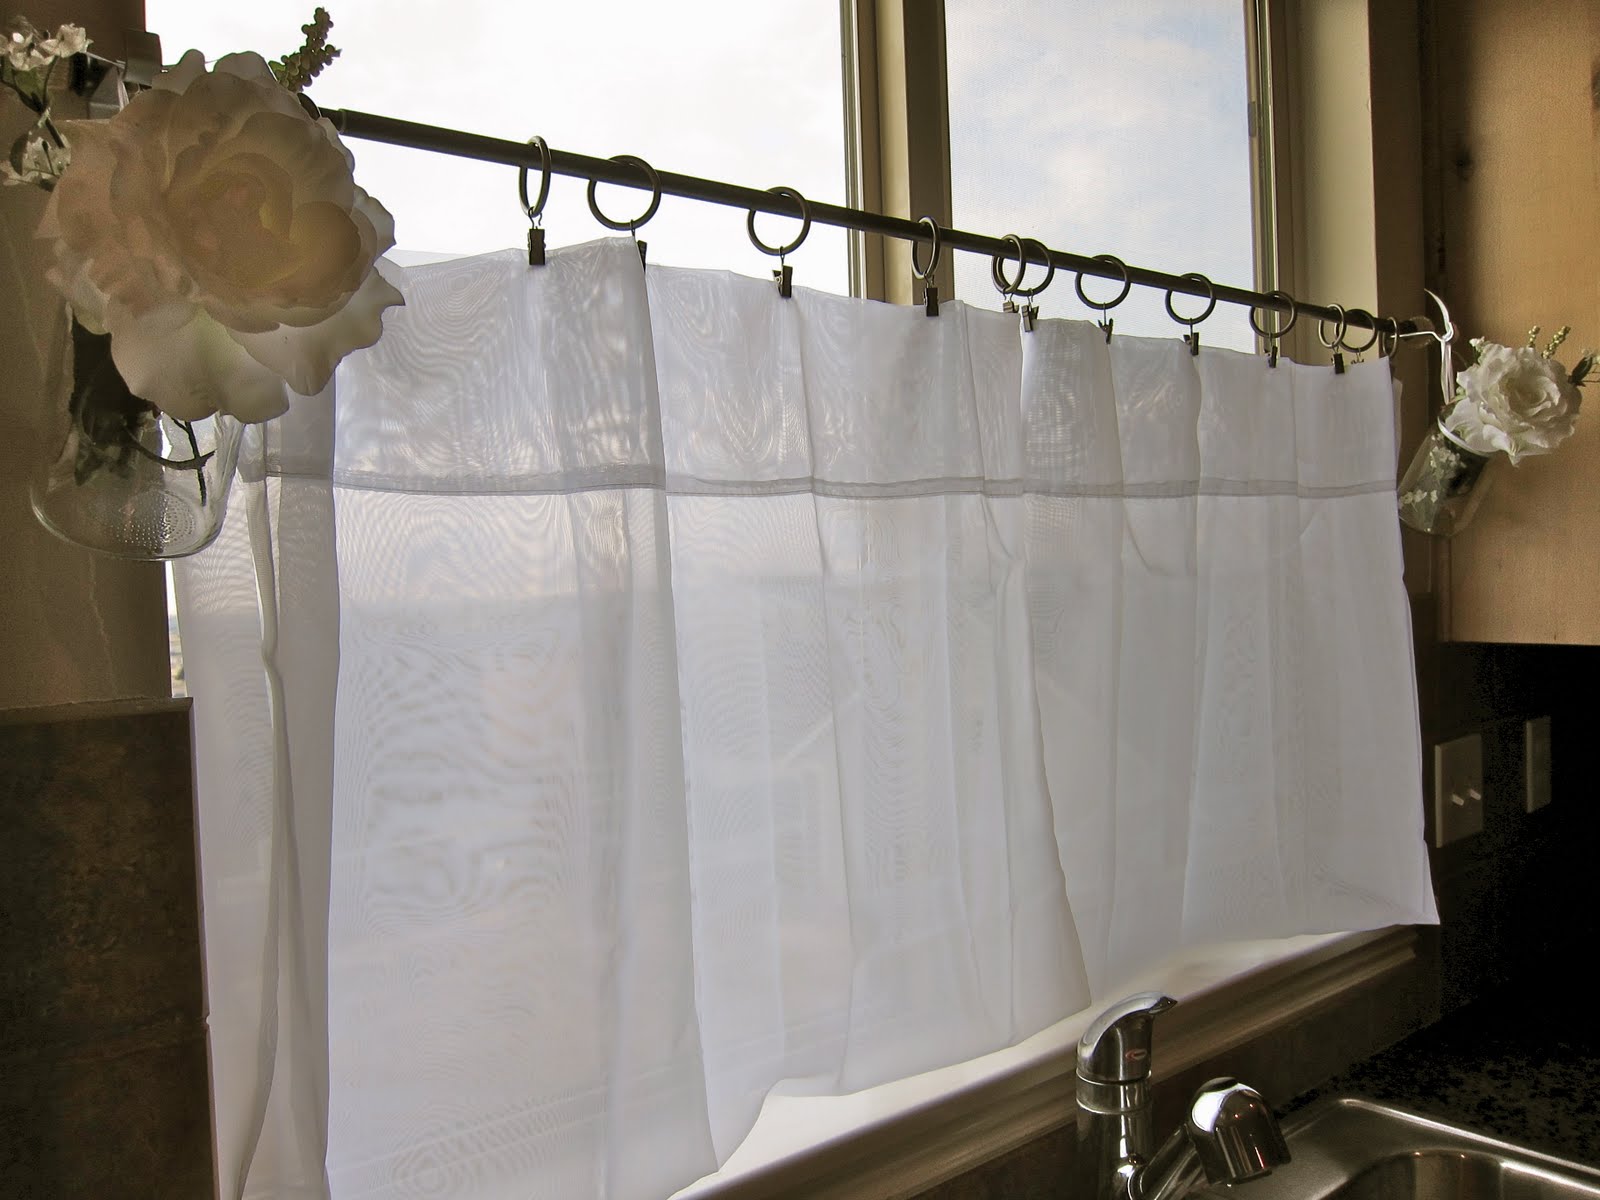
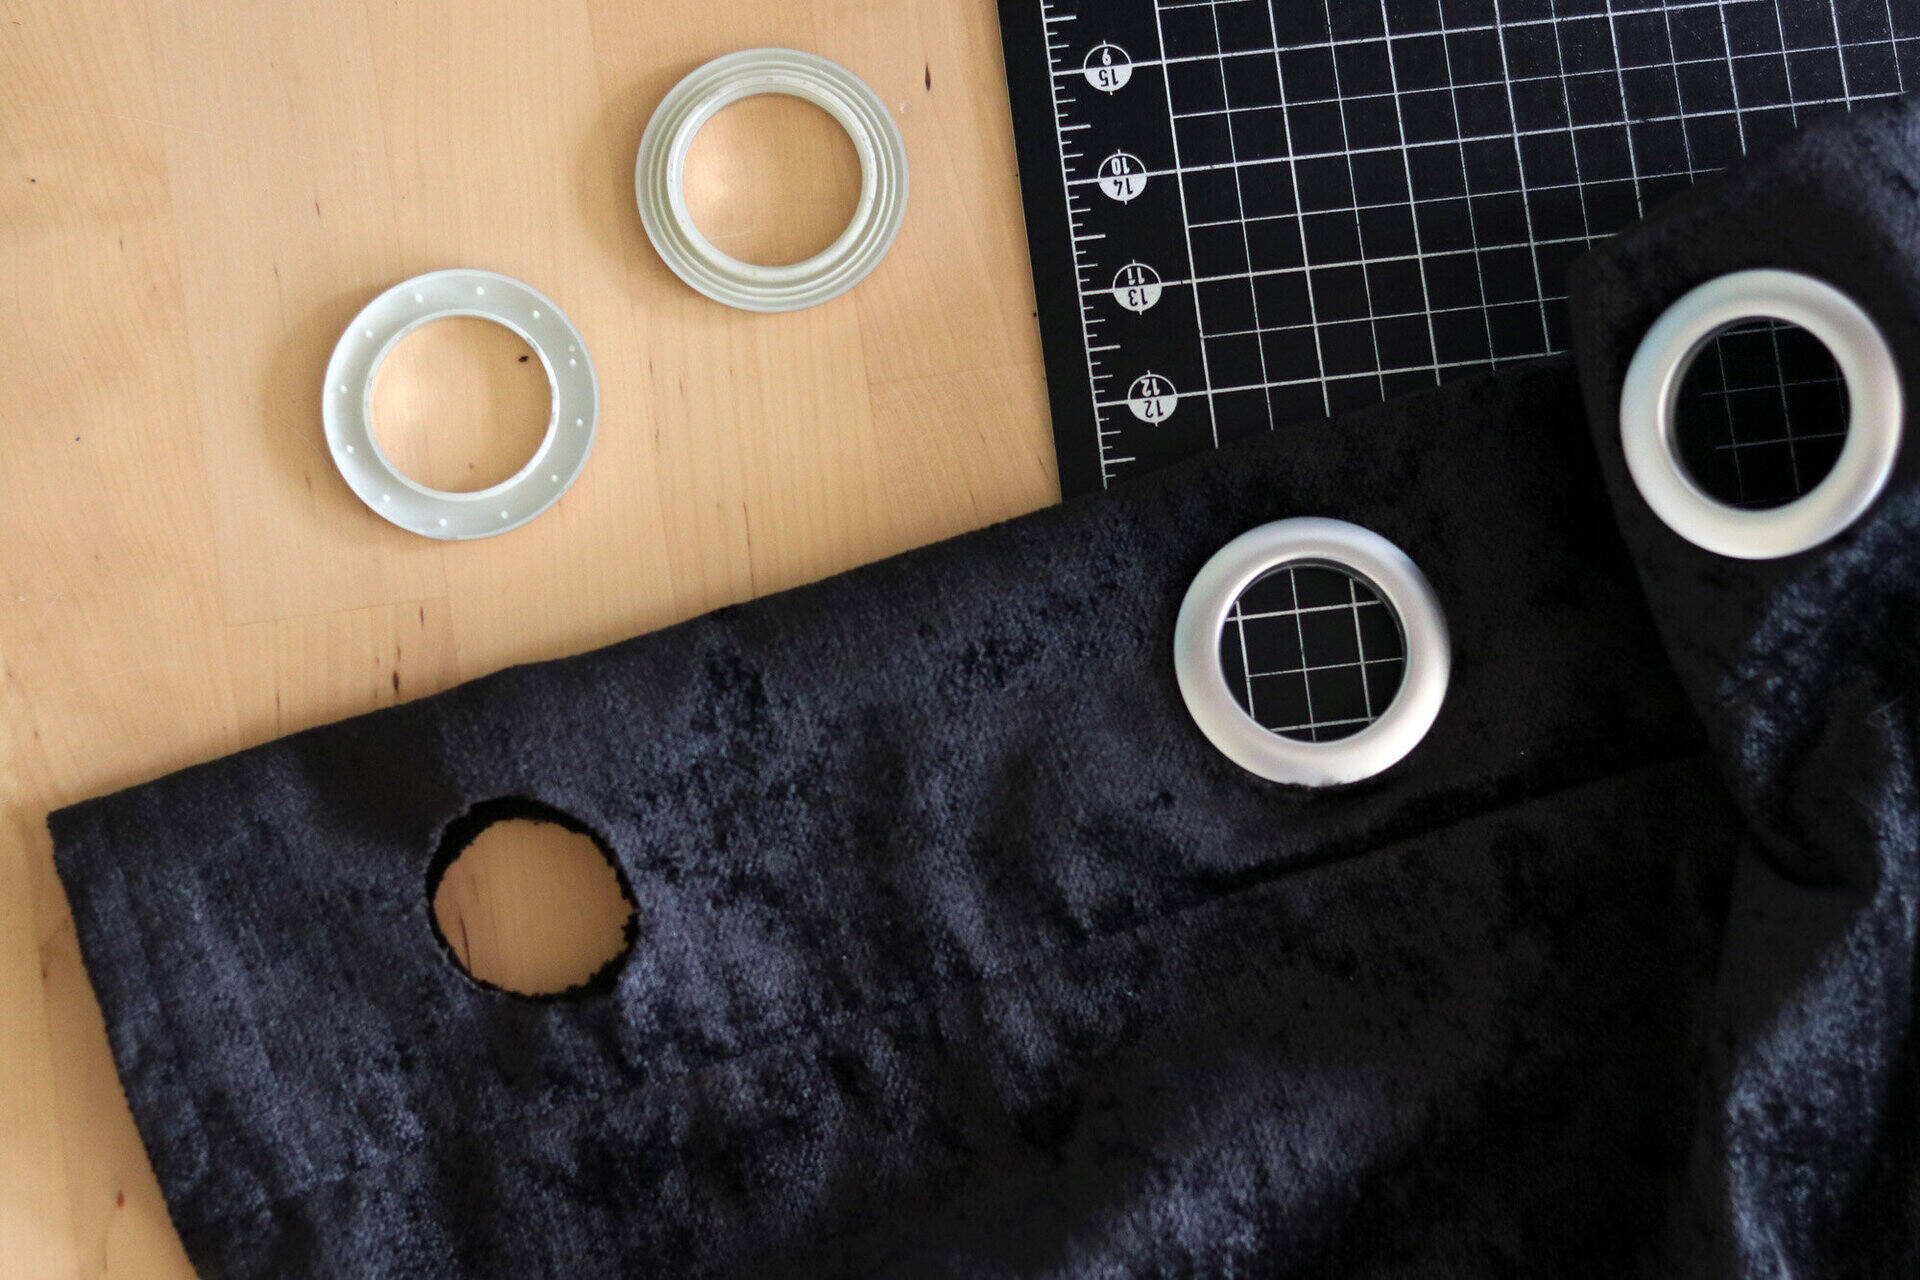
Step 6: Attaching Curtain Clips or Rings
Now that you have gathered the top of your prairie curtain panel, it’s time to attach curtain clips or rings. These will allow you to easily hang your curtains on a curtain rod or track. Follow these steps to attach the clips or rings:
- Start by determining the spacing for the clips or rings along the gathered top of the curtain panel. This will depend on the width of your curtain rod or track. Ideally, place one clip or ring every 4 to 6 inches for even distribution.
- If using curtain clips, open each clip and slide it onto the fabric at the desired location. Make sure the fabric is securely held in place within the clip.
- If using curtain rings with clips, simply attach the clip onto the fabric at the designated spots.
- Continue attaching the clips or rings along the entire gathered top of the curtain panel.
- Once all the clips or rings are in place, double-check that they are evenly spaced and securely clipped onto the fabric.
Attaching curtain clips or rings will not only provide a practical way to hang your prairie curtains, but it will also add a decorative touch to the overall look of the window treatment. Ensure that the clips or rings are securely attached before proceeding to the next step: installing the prairie curtains.
Note: The type of curtain rod or track you have will determine whether you should use curtain clips or rings. Make sure to choose the appropriate attachment method for your specific curtain hardware.
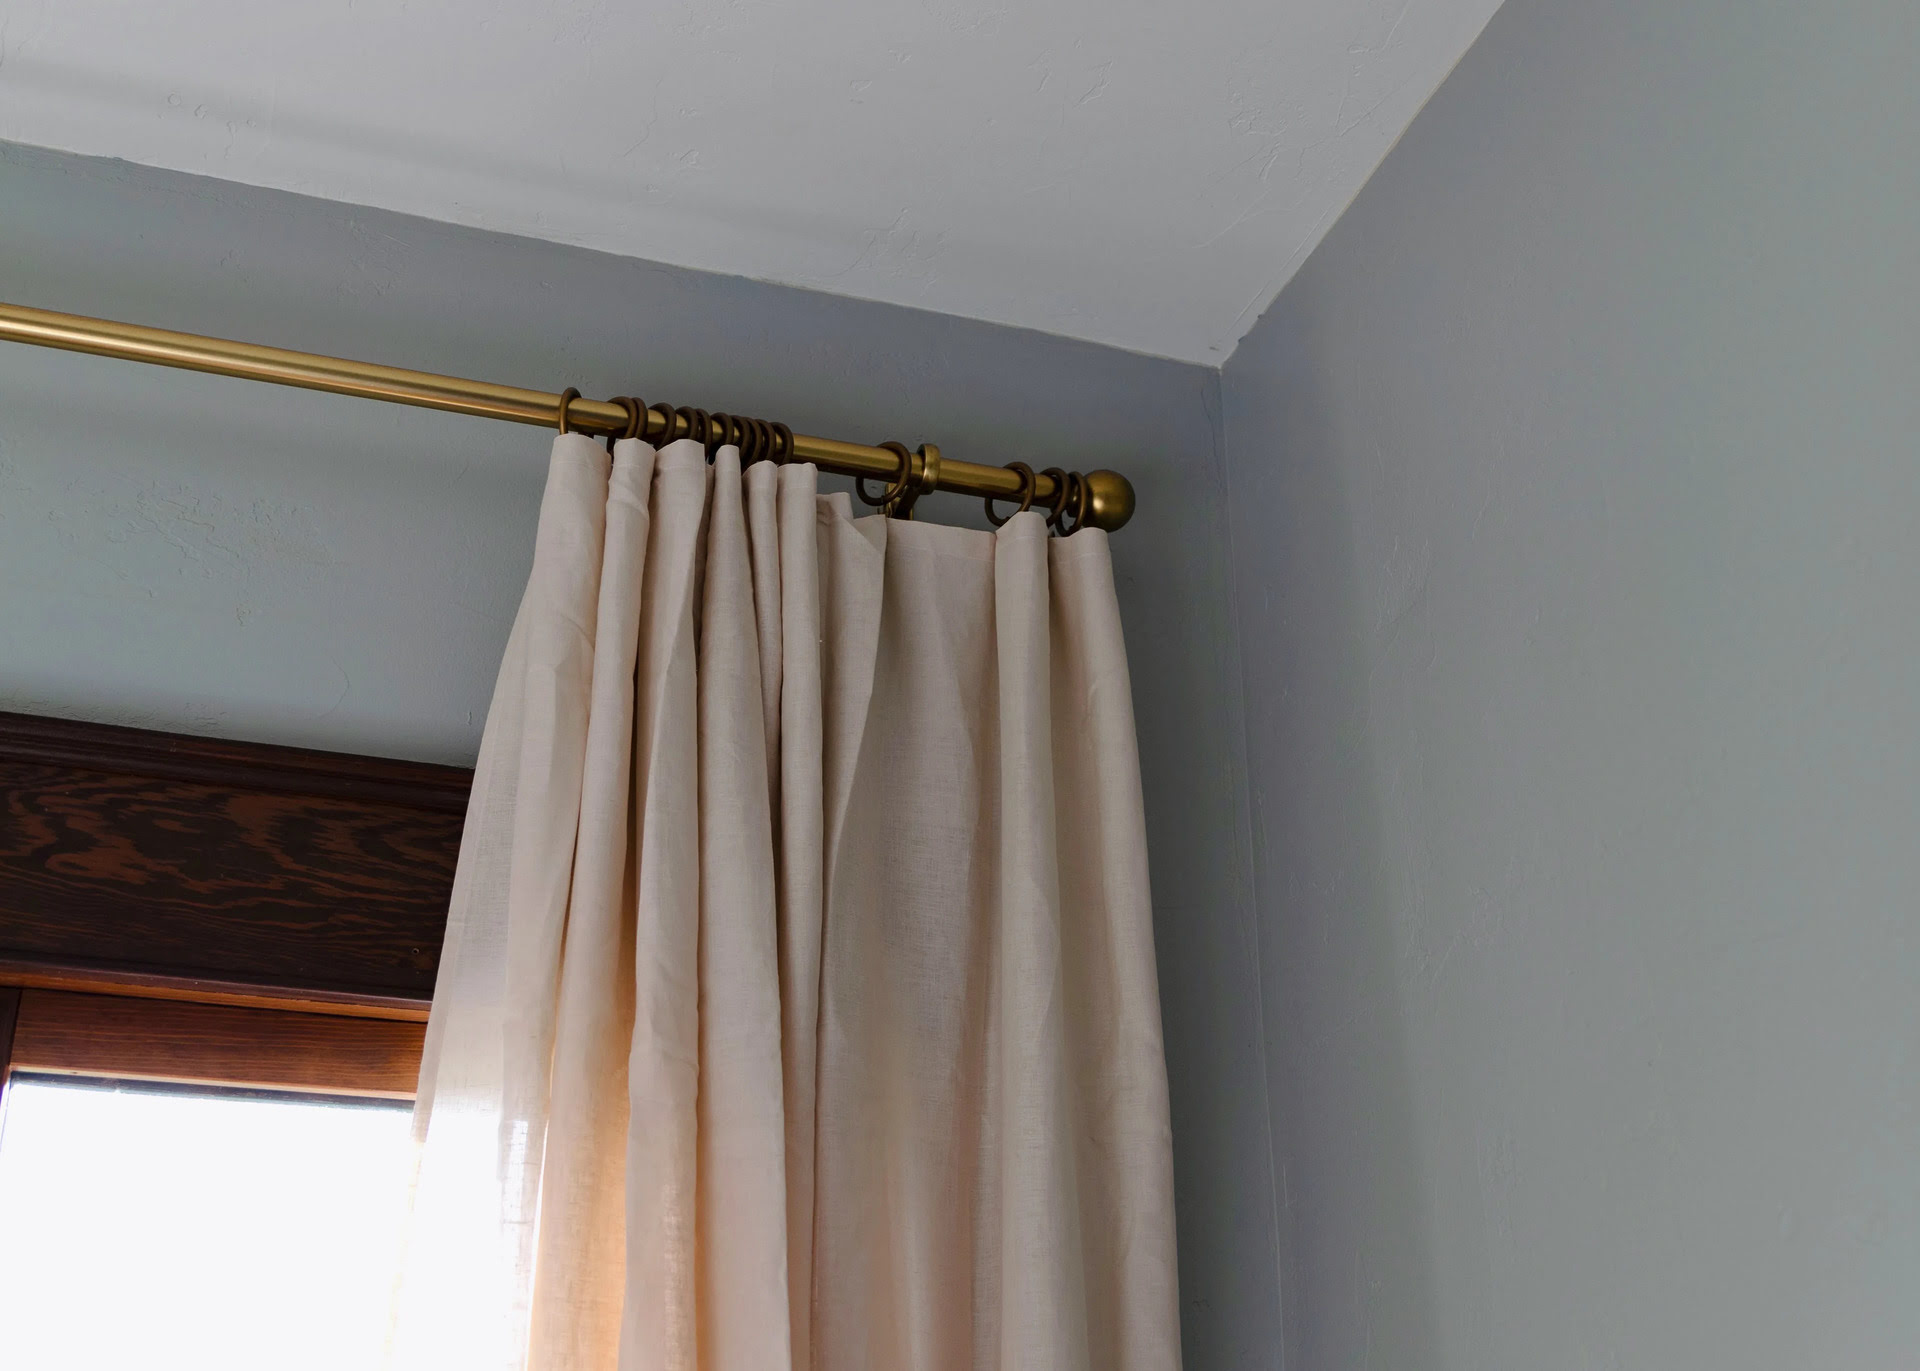
Step 7: Installing the Prairie Curtains
Finally, it’s time to install your prairie curtains and admire the finished result. Follow these steps to ensure a proper installation:
- Start by preparing the curtain rod or track. If using a curtain rod, make sure it is securely mounted above the window frame. If using a curtain track, ensure that it is properly installed and functional.
- With the curtain clips or rings attached to the top of the curtain panel, gently slide each clip or ring onto the curtain rod or track. Take your time to evenly distribute the gathered fabric along the rod or track.
- Once all the clips or rings are in place, adjust the curtains as needed, ensuring they hang straight and even.
- Step back and evaluate the appearance of the prairie curtains. Make any necessary adjustments to the gathers, length, or positioning to achieve the desired look.
- Stand back and admire your newly installed prairie curtains! Take a moment to appreciate the charming and rustic touch they bring to your space.
Now that you have successfully installed your prairie curtains, you can enjoy their beauty and functionality. These curtains add a touch of warmth and style to any room, creating an inviting and cozy atmosphere.
Remember, with proper care and maintenance, your prairie curtains will continue to enhance your space for years to come. Be sure to periodically dust or vacuum them to remove any dirt or debris, and follow the cleaning instructions specific to your chosen fabric.
Congratulations on completing your prairie curtain project! Enjoy the beauty and charm they bring to your windows!
Read more: How To Make Soundproofing Curtains
Conclusion
Making your own prairie curtains is a rewarding and creative project that allows you to add a touch of rustic charm to your windows. By following this step-by-step guide, you can create beautiful curtains that perfectly fit your style and enhance the ambiance of your space.
Throughout the process, we explored important steps such as measuring the window, selecting the fabric, cutting, hemming, gathering the top, attaching curtain clips or rings, and finally installing the prairie curtains. Each step plays a crucial role in achieving a professional and polished end result.
Remember, when choosing the fabric, consider factors like style, color, pattern, and light control. The right fabric will set the tone for your curtains and complement your room’s decor. Take your time with the measurements, cuts, and hems to ensure accuracy and neatness. And don’t forget the importance of gathering the top and attaching the clips or rings for that classic prairie curtain look.
Once everything is in place, step back and appreciate the beauty of your newly installed prairie curtains. Their flowing fabric and soft gathers will create an inviting and cozy atmosphere in your home.
Now that you have the knowledge and skills to make your own prairie curtains, let your creativity shine and customize them to your heart’s content. Experiment with different fabrics, patterns, and lengths to truly make your window treatments one-of-a-kind.
Enjoy the process, embrace your DIY spirit, and have fun transforming your windows with the charm of prairie curtains!
Frequently Asked Questions about How To Make Prairie Curtains
Was this page helpful?
At Storables.com, we guarantee accurate and reliable information. Our content, validated by Expert Board Contributors, is crafted following stringent Editorial Policies. We're committed to providing you with well-researched, expert-backed insights for all your informational needs.

0 thoughts on “How To Make Prairie Curtains”