Articles
How To Make Curtains Eyelet
Modified: April 22, 2024
Learn how to make beautiful eyelet curtains with our step-by-step articles. Discover tips, tricks, and expert advice for creating the perfect curtains for your home.
(Many of the links in this article redirect to a specific reviewed product. Your purchase of these products through affiliate links helps to generate commission for Storables.com, at no extra cost. Learn more)
Introduction
Welcome to the world of DIY home décor! Adding curtains to your windows not only enhances the aesthetic appeal of your space but also provides privacy and blocks out unwanted sunlight. If you’ve been thinking about making your own curtains, particularly eyelet curtains, you’re in the right place. In this article, we will guide you through the step-by-step process of creating stunning eyelet curtains that will transform your room.
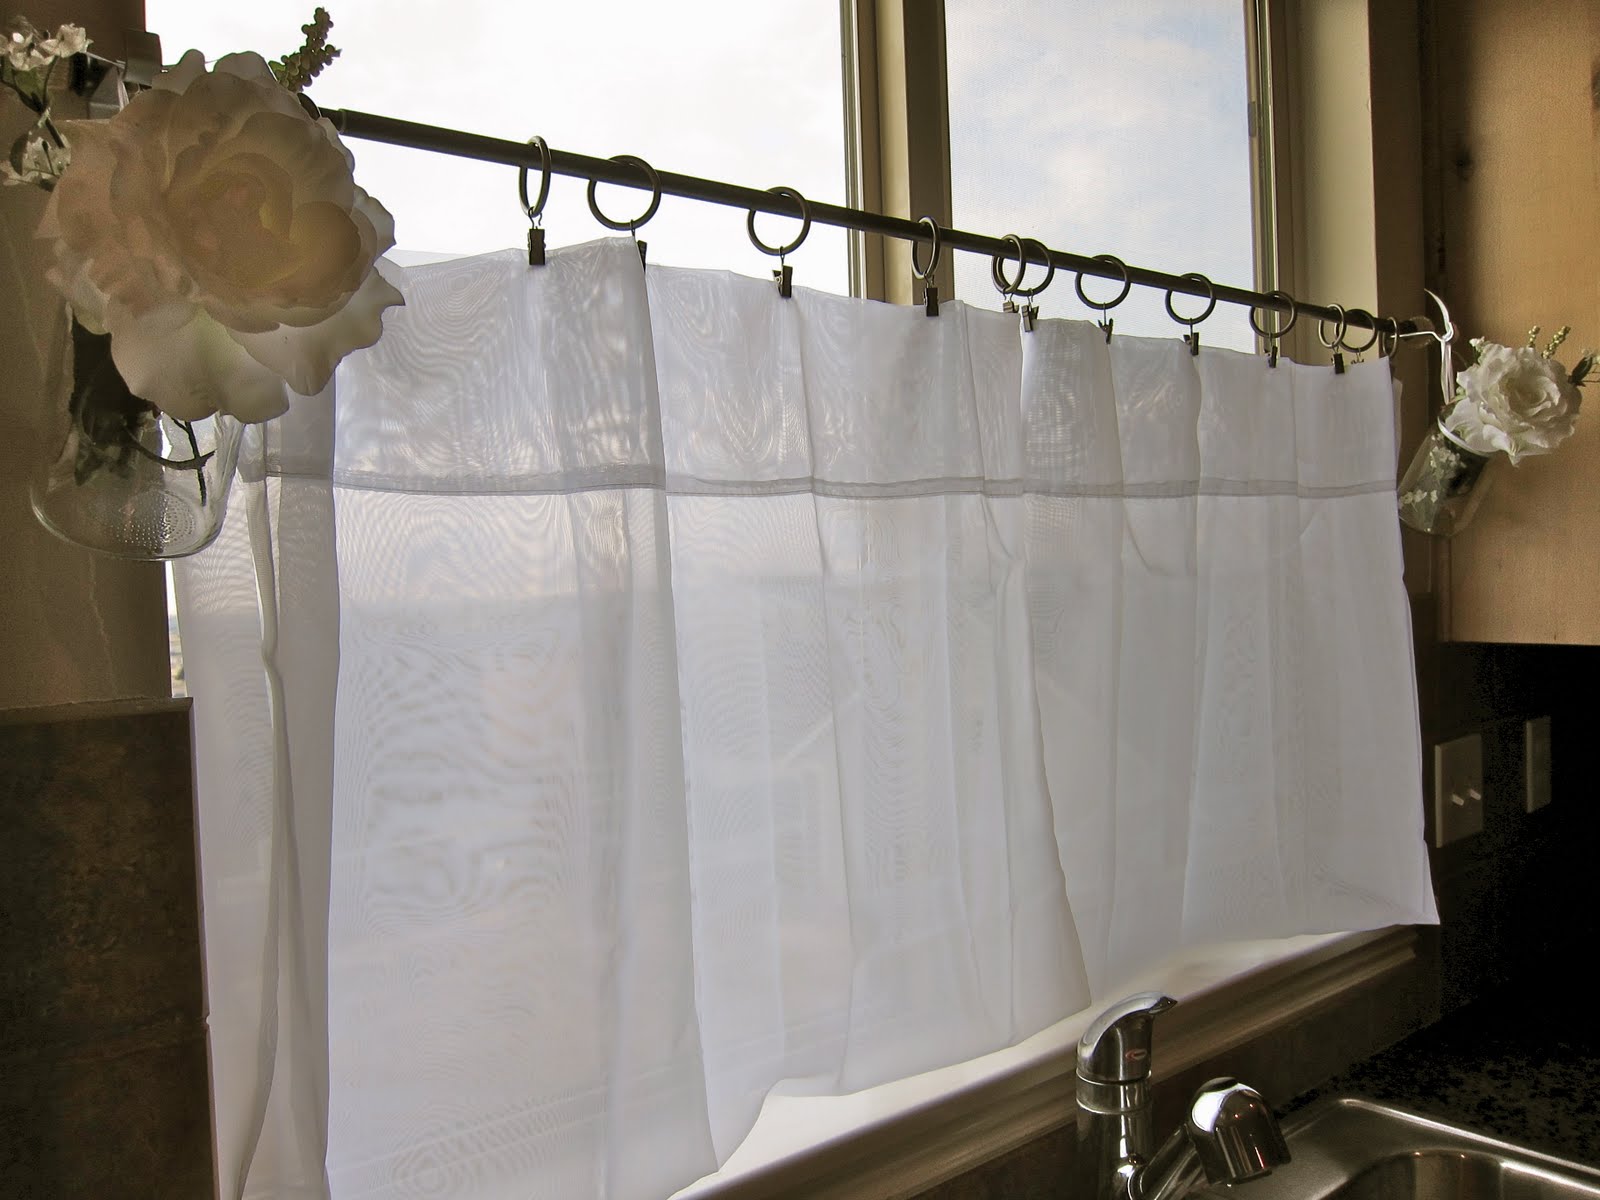
Eyelet curtains, also known as grommet curtains, are a popular choice for many homeowners due to their modern and stylish look. The eyelets or grommets are evenly spaced metal rings that are attached to the top of the fabric, allowing the curtain to easily slide onto a curtain rod. With a few essential supplies and some basic sewing skills, you can make your own eyelet curtains that perfectly match your decor.
In this article, we will cover the supplies you’ll need, the measurements and cutting of fabric, preparing the eyelet rings, attaching them to the fabric, installing the curtain rod, and finally, hanging the curtains. So, let’s get started on this exciting DIY project!
Key Takeaways:
- Create stunning eyelet curtains by following a step-by-step process, from gathering supplies to hanging the finished product. Enjoy the satisfaction of DIY home decor and personalized elegance.
- Transform your living space with custom eyelet curtains that offer both style and practical benefits. Showcase your creativity and enjoy the beauty of your handmade decor.
Read more: What Is Eyelet Curtains
Step 1: Gather Supplies
Before you begin making your eyelet curtains, you’ll need to gather all the necessary supplies. Here’s a list of items you’ll need:
- Fabric: Choose a fabric that suits your style and matches the decor of your room. Make sure to measure the dimensions of your windows to determine the amount of fabric you’ll need.
- Eyelet Rings: These metal rings are available in various sizes and finishes. Choose the size that fits your curtain rod and the finish that complements your curtain fabric.
- Measuring Tape: A measuring tape will help you accurately measure your windows and fabric.
- Fabric Scissors: You’ll need a sharp pair of fabric scissors to cut the fabric to the desired size.
- Sewing Machine or Needle and Thread: Depending on your sewing skills and preference, you can use a sewing machine or sew by hand using a needle and thread.
- Iron: An iron is essential for pressing the fabric and creating crisp, neat edges.
- Curtain Rod: Choose a curtain rod that complements the style of your curtains and fits the width of your window.
- Drill and Screwdriver: If necessary, you’ll need a drill and screwdriver to install the curtain rod.
Once you’ve gathered all the supplies, you’ll be ready to move on to the next step: measuring and cutting the fabric.
Step 2: Measure and Cut Fabric
Now that you have all the necessary supplies, it’s time to measure and cut your fabric for the eyelet curtains. Follow these steps:
- Measure your windows: Use a measuring tape to measure the height and width of your windows. Add a few inches to the measurements to account for hems and folds.
- Calculate the fabric measurements: Calculate the fabric measurements based on the window measurements. To determine the width of your fabric, multiply the width of your window by 1.5 or 2 to achieve a full and gathered look. For the length, add a few inches for hems and fold-over at the top for the eyelets and the bottom hem if desired.
- Place the fabric on a flat surface: Lay out your chosen fabric on a clean and flat surface. Use a measuring tape and fabric chalk or pins to mark the measurements accurately.
- Cut the fabric: Using fabric scissors, carefully cut along the marked lines to create your curtain panels. Ensure that the edges are straight and neat.
It’s important to double-check your measurements and ensure that the fabric is cut accurately before moving on to the next step. Once you’ve cut the fabric, you’re ready to move on to preparing the eyelet rings for attachment.
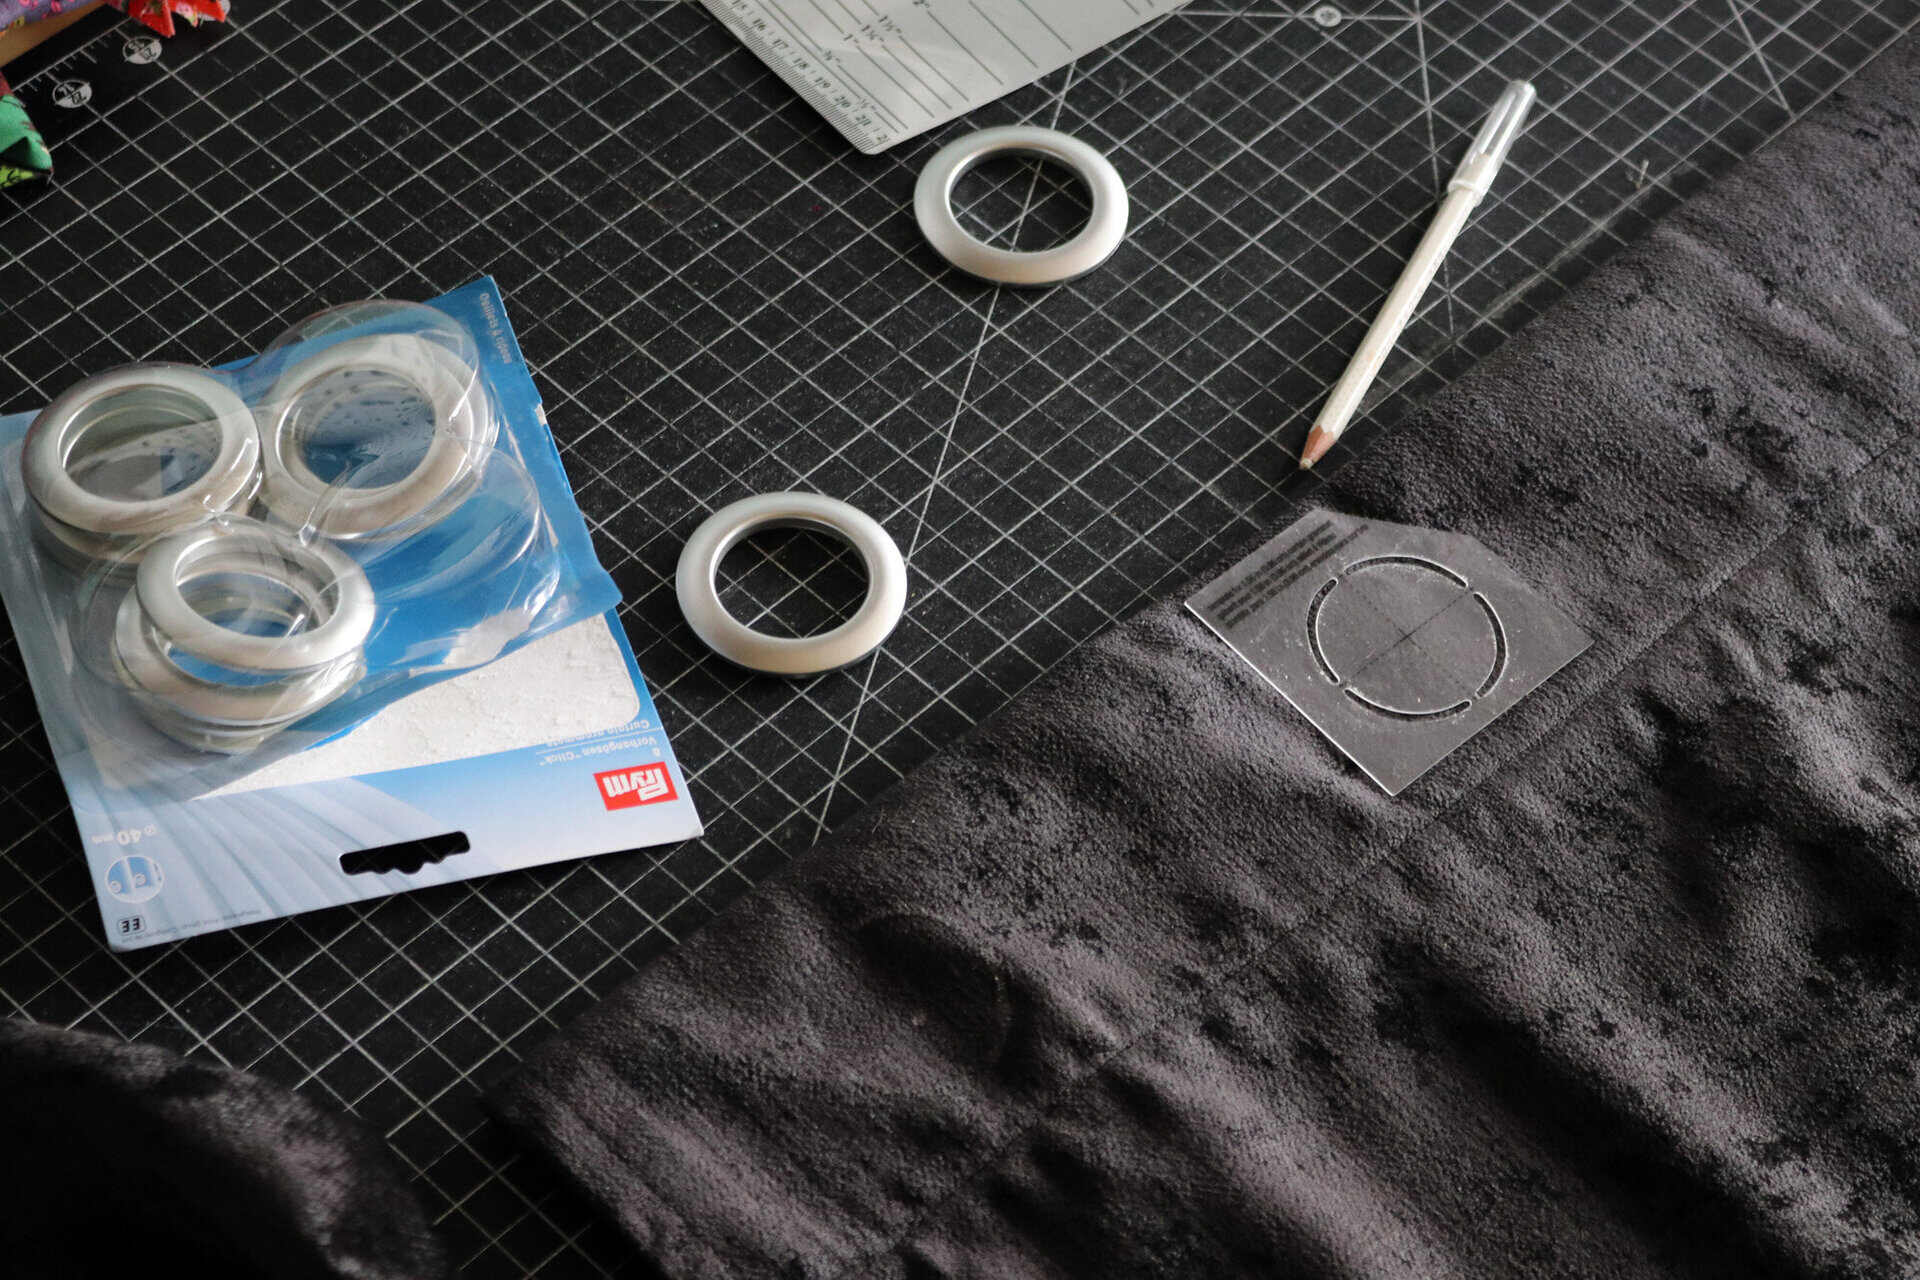
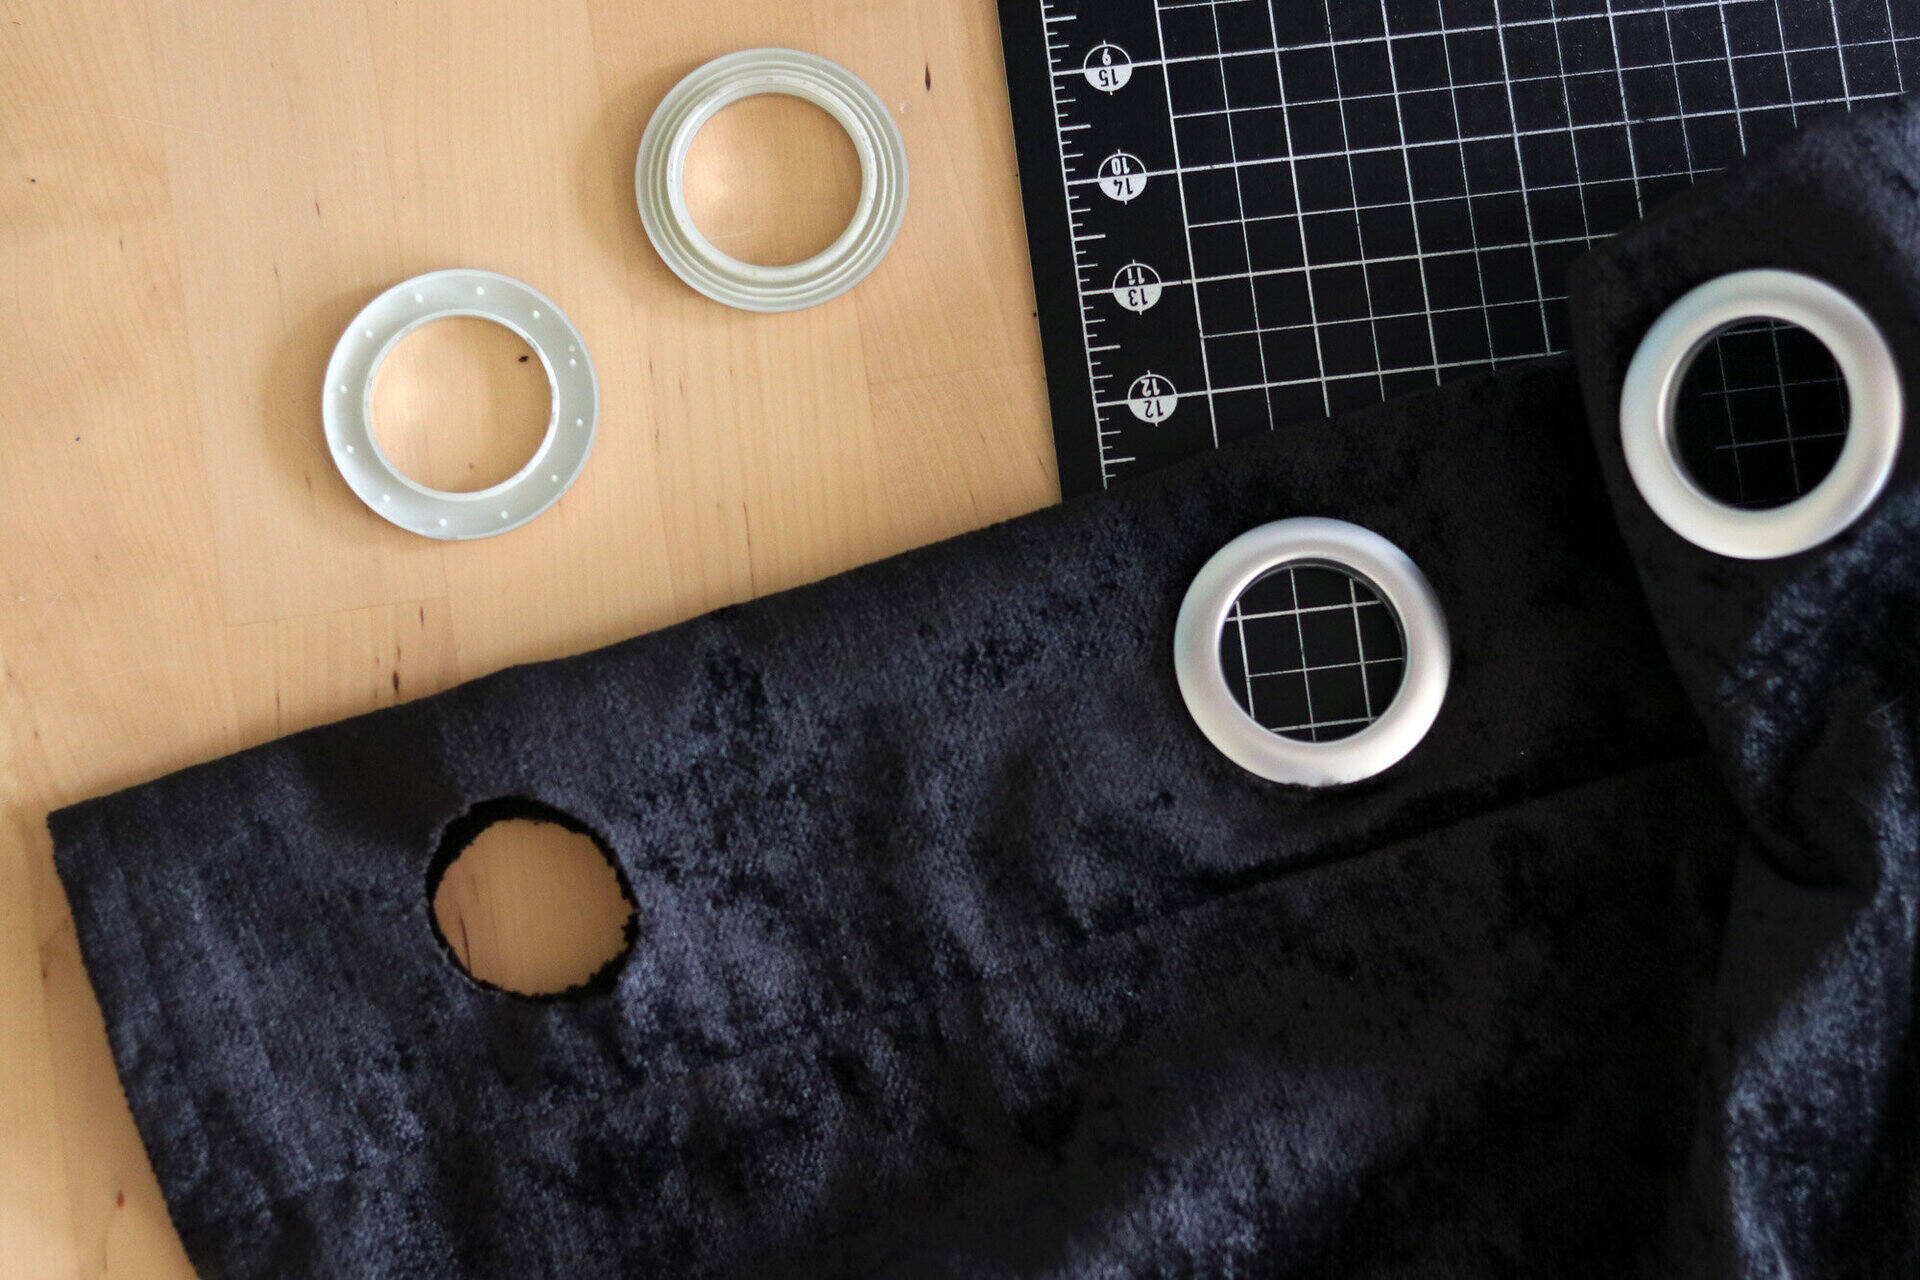
Step 3: Prepare Eyelet Rings
Now that you have cut your fabric, it’s time to prepare the eyelet rings that will be attached to the top of your curtains. Follow these steps:
- Read the instructions: Start by reading the instructions that come with your eyelet ring kit. Different kits may have specific guidelines or recommendations for preparing the rings.
- Mark the positions for the eyelets: Measure and mark the positions on the fabric where you want the eyelets to be placed. Ensure that they are evenly spaced and align with the width of your curtain rod.
- Trace the eyelet outlines: Place the eyelet rings on the fabric, aligning them with the marked positions. Use a pencil or fabric chalk to trace the inner and outer circles of each eyelet. This will serve as a guide for cutting the holes in the fabric.
- Cut the eyelet holes: Using sharp fabric scissors, carefully cut along the traced lines to create holes for the eyelets. Take your time and make clean, precise cuts to ensure a professional finish.
Once you have prepared the eyelet rings and cut the holes in the fabric, you are ready to move on to the next step: attaching the eyelet rings to the fabric.
When making eyelet curtains, be sure to use a sturdy fabric that can hold the eyelets without tearing. Additionally, use a template to evenly space and mark the eyelet placement for a professional finish.
Step 4: Attach Eyelet Rings to Fabric
With your fabric prepared and the eyelet holes cut, it’s time to attach the eyelet rings to your curtains. Follow these steps:
- Align the eyelet rings: Place the eyelet rings on the fabric, aligning them with the holes you’ve cut. Make sure the inner side of the ring is facing down and the outer side is facing up.
- Secure the rings: Once aligned, use the eyelet ring tool provided in your kit or a hammer to secure the rings in place. Follow the instructions specific to your eyelet kit to ensure proper installation.
- Repeat the process: Continue attaching the eyelet rings to the remaining marked positions on your fabric, ensuring that they are evenly spaced.
- Double-check the attachment: Once all the eyelet rings are attached, give them a gentle tug to ensure they are securely in place. This will help prevent any accidental detachment later on.
Attaching the eyelet rings to the fabric requires some precision and attention to detail. Take your time and be careful not to damage the fabric or the rings during the process. Once you’ve successfully attached the eyelet rings, you’re ready to move on to the next step: installing the curtain rod.
Read more: How To Hang Eyelet Curtains
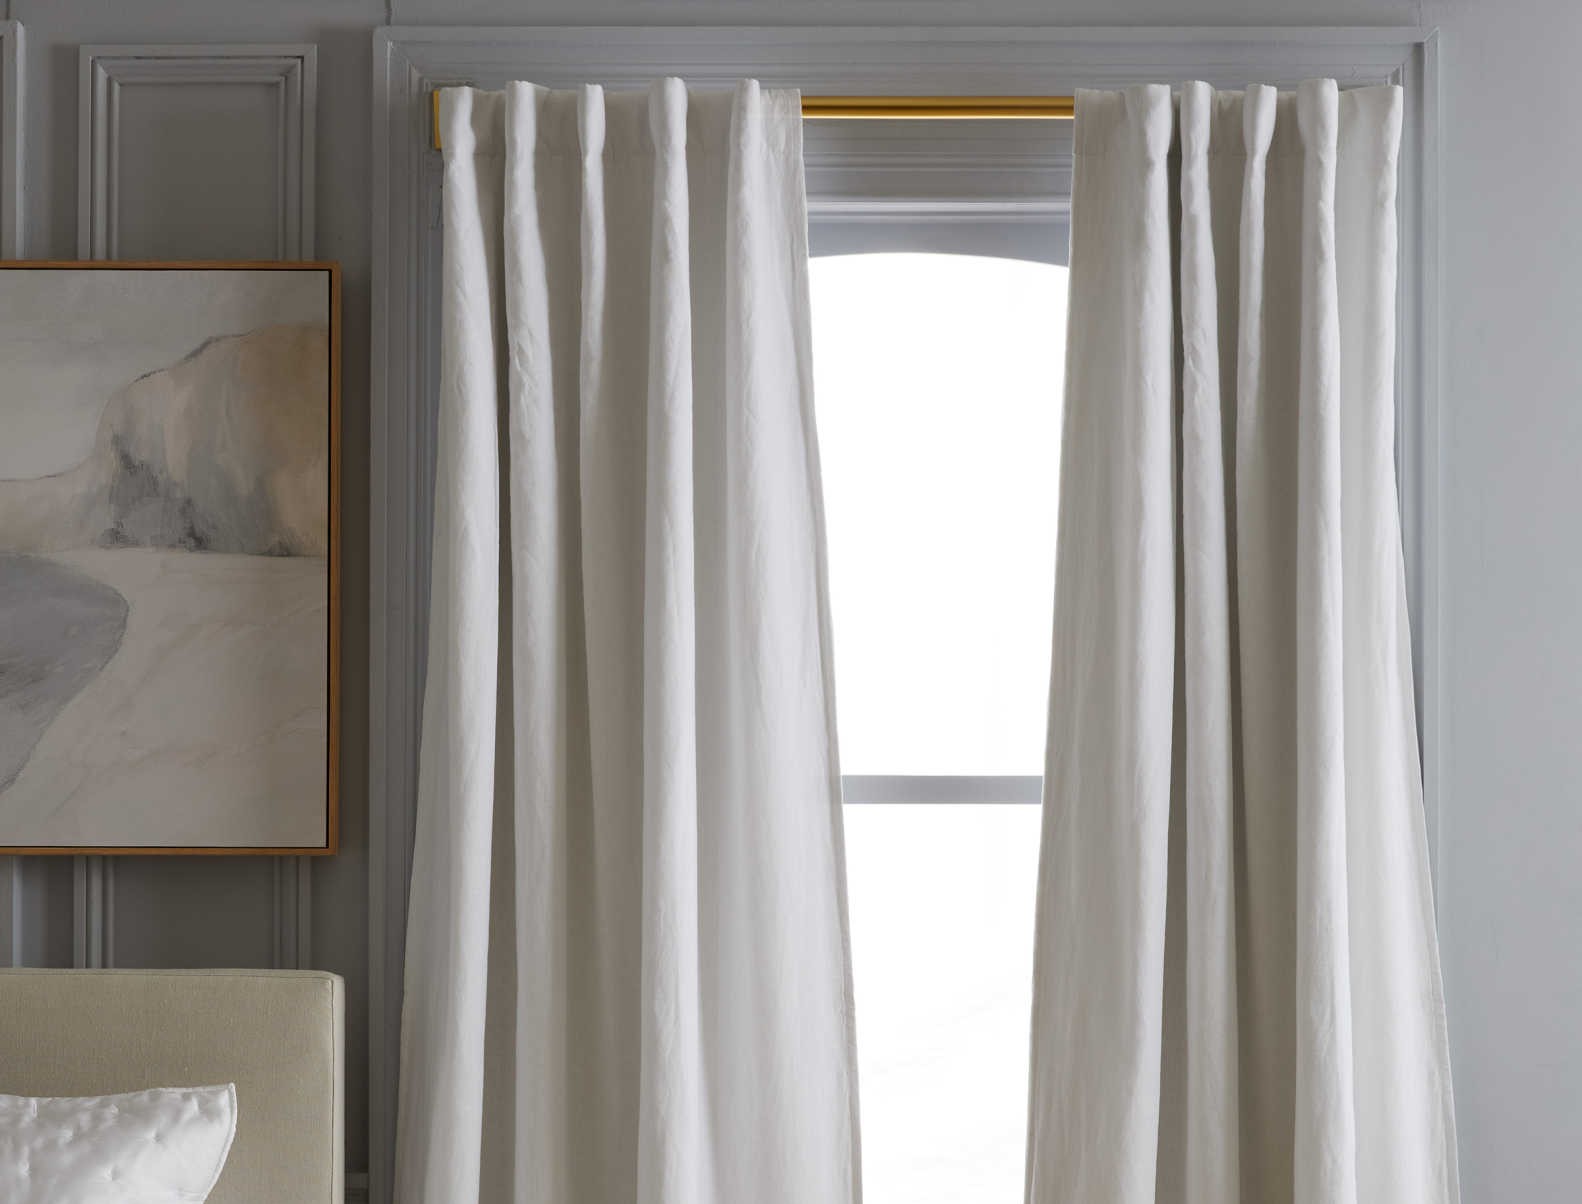
Step 5: Install Curtain Rod
Now that your eyelet curtains are ready, it’s time to install the curtain rod. Follow these steps to ensure a successful installation:
- Choose the right curtain rod: Select a curtain rod that complements the style of your curtains and fits the width of your window. Make sure it is sturdy enough to support the weight of the curtains.
- Measure and mark the placement: Use a measuring tape to determine the height at which you’d like to hang your curtains. Mark this measurement on the wall above your window frame, ensuring it is level.
- Mount the brackets: Install the brackets for the curtain rod according to the manufacturer’s instructions. Typically, brackets are secured to the wall using screws or wall anchors.
- Attach the curtain rod: Once the brackets are securely mounted, place the curtain rod onto the brackets. Make sure it is level and properly seated in the brackets.
- Secure the curtain rod: Use any provided screws or locking mechanisms to secure the curtain rod in place. This will prevent it from accidentally falling or shifting.
It’s essential to follow the specific instructions that come with your curtain rod for proper installation. Depending on the type of rod you’ve chosen, the installation process may vary slightly. Once the curtain rod is securely installed, you’re ready for the final step: hanging your eyelet curtains.
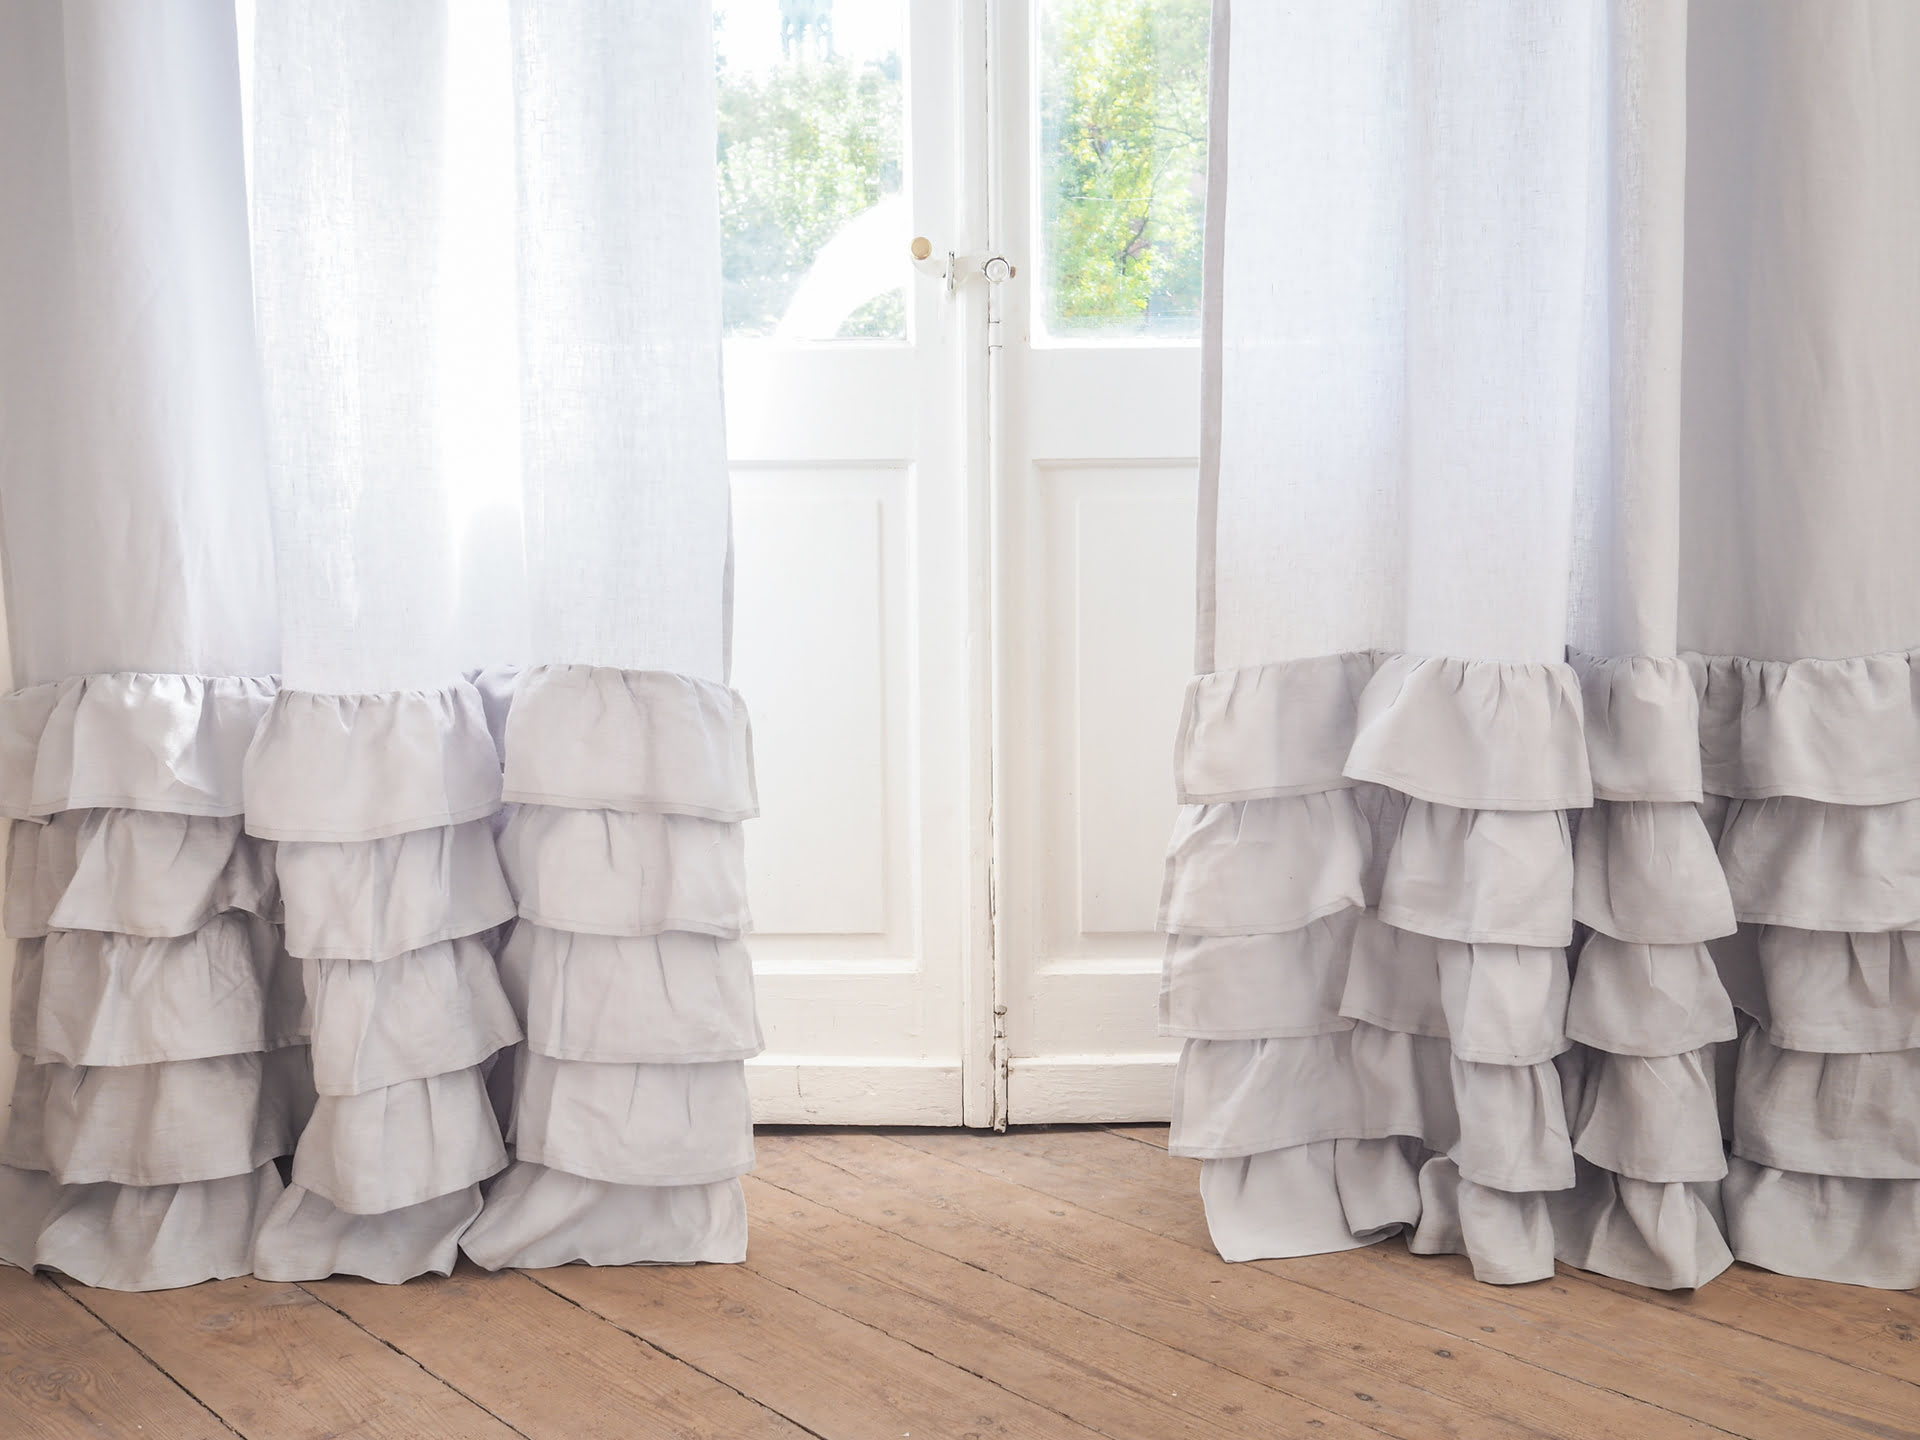
Step 6: Hang the Curtains
The final step in creating your eyelet curtains is hanging them up for everyone to admire. Follow these steps to ensure a smooth and beautiful installation:
- Prepare the curtains: Give your eyelet curtains a quick ironing or steaming to remove any wrinkles and ensure they hang nicely.
- Slide the curtains onto the rod: Starting from one end, gently slide each eyelet onto the curtain rod, allowing the fabric to gather naturally.
- Arrange the curtains: Once all the eyelets are onto the rod, adjust and arrange the fabric evenly along the rod. Ensure that the curtains hang straight and fall neatly.
- Step back and inspect: Take a step back to admire your handiwork. Make any necessary adjustments to ensure the curtains are level and hang exactly how you want them.
Remember, eyelet curtains are designed to glide smoothly along the curtain rod. Give them a gentle tug to make sure they move freely and don’t get caught on anything. Once you’re satisfied with the arrangement and appearance of your curtains, you’ve successfully completed the process of making and hanging your eyelet curtains!
Congratulations! You’ve taken a DIY approach to create stunning eyelet curtains that add a touch of elegance to your space. Sit back, relax, and enjoy the beauty and functionality of your newly made curtains.
Remember, the process of making eyelet curtains may vary depending on your specific supplies and preferences. Be sure to refer to the instructions provided with your eyelet ring kit and curtain rod for any specific guidelines. Happy decorating!
Conclusion
Creating your own eyelet curtains is a rewarding and cost-effective way to add a touch of style and elegance to your living space. By following the step-by-step process outlined in this article, you have learned how to make eyelet curtains from scratch, starting from gathering the necessary supplies, measuring and cutting the fabric, preparing the eyelet rings, attaching them to the fabric, installing the curtain rod, and finally, hanging the curtains.
Throughout the process, attention to detail and precision are key. Take your time to ensure accurate measurements, neat cuts, and secure attachment of the eyelet rings. Remember to choose a fabric that complements your decor and take into account the measurements of your windows for a perfect fit.
Not only do eyelet curtains provide a modern and stylish look to your space, but they also offer practical benefits such as privacy and light control. The eyelet rings allow for easy sliding of the curtains on the rod, making it convenient to open and close them as needed.
By choosing to make your own eyelet curtains, you have the freedom to customize the fabric, color, and design to perfectly suit your taste and preferences. It’s an opportunity to showcase your creativity and bring a personal touch to your home.
Now that you have completed the process, take a step back and admire your handiwork. Your newly made eyelet curtains will not only enhance the aesthetic appeal of your space but will also serve as a symbol of your DIY accomplishments.
So gather your supplies, follow the steps provided, and enjoy the satisfaction of creating beautiful eyelet curtains that transform your living space into a place of comfort and style. Happy DIY-ing!
Frequently Asked Questions about How To Make Curtains Eyelet
Was this page helpful?
At Storables.com, we guarantee accurate and reliable information. Our content, validated by Expert Board Contributors, is crafted following stringent Editorial Policies. We're committed to providing you with well-researched, expert-backed insights for all your informational needs.


0 thoughts on “How To Make Curtains Eyelet”