Articles
How To Make Tab Top Curtains
Modified: August 17, 2024
Learn how to make tab top curtains with our step-by-step articles. Create beautiful and functional window treatments for your home.
(Many of the links in this article redirect to a specific reviewed product. Your purchase of these products through affiliate links helps to generate commission for Storables.com, at no extra cost. Learn more)
Introduction
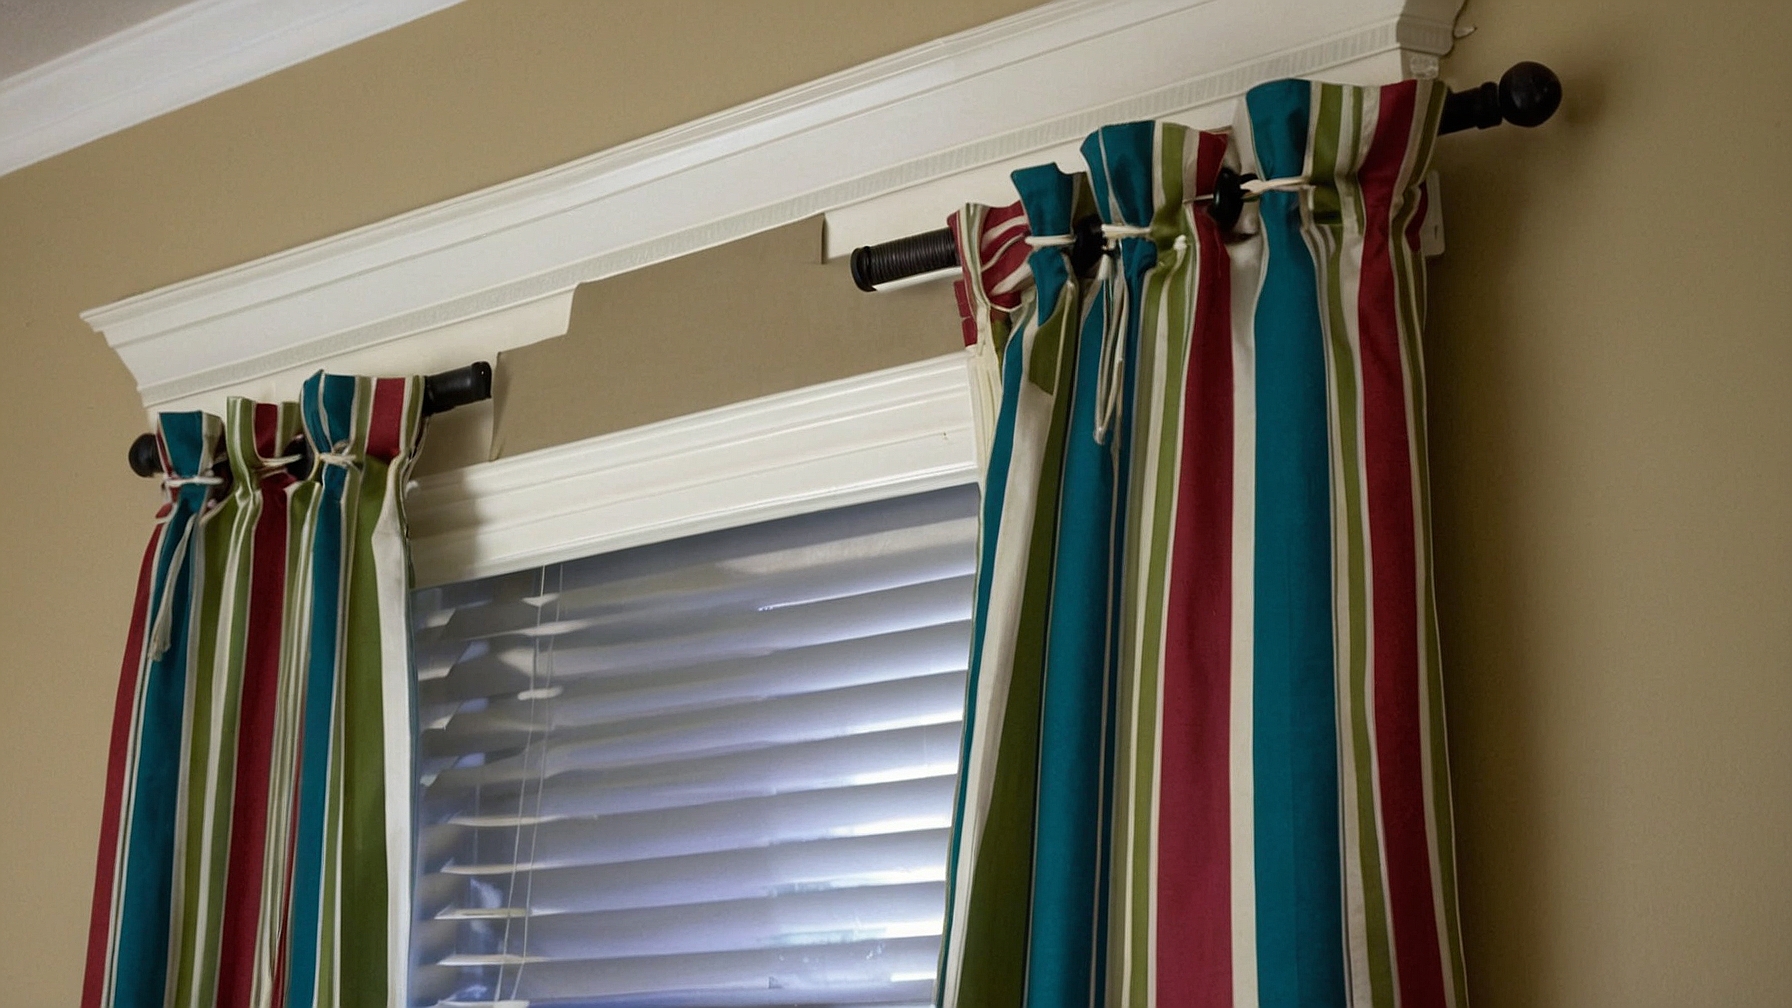
Tab top curtains are a stylish and practical addition to any home decor. They provide a clean, streamlined look while allowing for easy opening and closing. Whether you’re looking to add a touch of elegance to your living room or bedroom, or simply want to upgrade your existing curtains, making your own tab top curtains can be a fulfilling and cost-effective project.
In this article, we will guide you through the step-by-step process of making tab top curtains. You’ll learn about the materials needed, how to measure and cut the fabric precisely, and how to sew and attach the tabs. By the end of this article, you’ll be ready to adorn your windows with custom-made tab top curtains that perfectly match your personal style and home decor.
So, gather your supplies and let’s get started on creating beautiful and functional tab top curtains!
Key Takeaways:
- Create custom tab top curtains to elevate your home decor. Enjoy the process of measuring, cutting, sewing, and hanging your unique curtains for a stylish and functional upgrade.
- Embrace the freedom of DIY home decor with tab top curtains. Experiment with fabrics, colors, and patterns to reflect your personal style and create a cozy, inviting atmosphere in any room.
Read more: What Is Tab Top Curtains
Materials Needed
Before you begin making your tab top curtains, it’s important to gather all the necessary materials. Here’s a list of items you’ll need:
- Fabric: Choose a fabric that suits your taste and complements your home decor. Make sure to measure and purchase enough fabric to cover the desired length and width of your curtains.
- Thread: Select a thread color that matches or complements your fabric.
- Tab Tape: Tab tape is a strip of fabric with evenly spaced loops or tabs that will attach to the curtain rod. Choose a tab tape that matches the width of your curtain panels.
- Measuring Tape: A measuring tape will help you accurately measure the dimensions of your windows and fabric.
- Scissors: You’ll need a pair of sharp fabric scissors to cut the fabric neatly.
- Sewing Machine: A sewing machine is highly recommended for sewing the tabs and hems. However, if you don’t have access to one, you can hand-sew the curtains using a needle and thread.
- Pins: Sewing pins will come in handy for securing the fabric while cutting and sewing.
- Iron: An iron is essential for pressing the fabric and creating crisp seams.
Once you have gathered these materials, you’ll be all set to start making your very own tab top curtains!
Step 1: Measuring and Cutting the Fabric
The first step in making tab top curtains is to accurately measure and cut the fabric. Follow these steps to ensure your curtains fit perfectly:
- Measure the Window: Use a measuring tape to measure the height and width of the window or the area you want to cover with curtains. Add a few extra inches to all sides for allowances and desired fullness.
- Calculate the Curtain Panel Dimensions: To determine the dimensions of each curtain panel, divide the width of the window by the desired number of curtain panels. This will give you the width of each panel.
- Mark and Cut the Fabric: Lay the fabric flat on a clean and spacious surface. Measure and mark the dimensions of each curtain panel on the fabric using a ruler or measuring tape. Use fabric scissors to carefully cut along the marked lines.
It’s important to cut the fabric as accurately as possible to ensure the curtains hang properly and have a consistent appearance. Take your time and double-check your measurements before making any cuts.
Once you have cut the fabric panels, set them aside and move on to the next step of the process: sewing the tabs.
Step 2: Sewing the Tabs
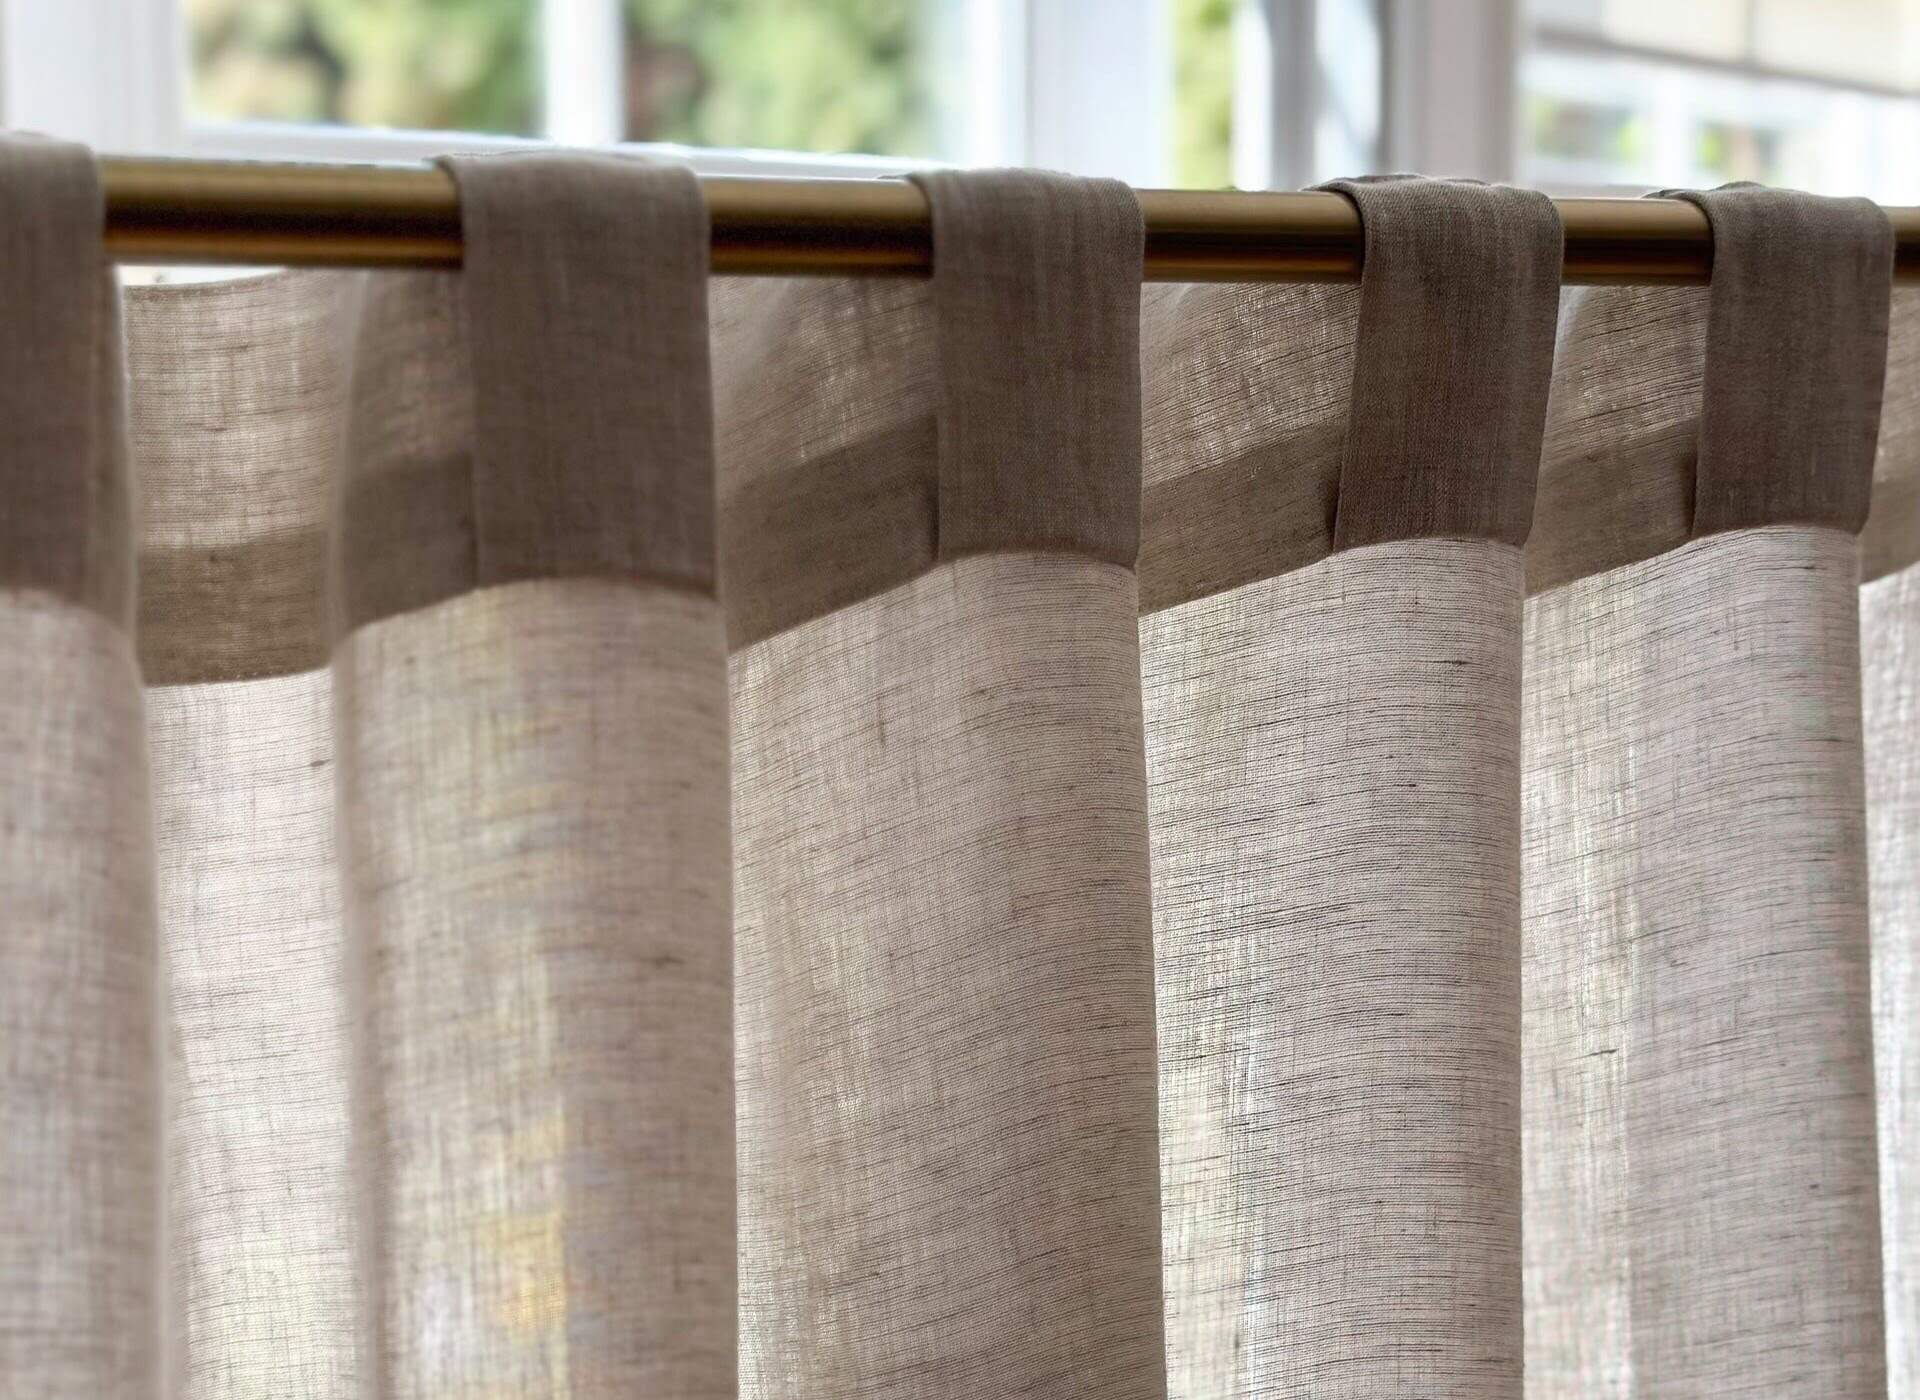
Now that you have your fabric panels cut to the appropriate size, it’s time to sew the tabs. The tabs will be attached to the curtain rod and will allow the curtains to be easily opened and closed. Follow these steps to sew the tabs:
- Measure and Cut the Tab Tape: Measure the width of the fabric panel and cut the tab tape to the same width. The tab tape should be long enough to cover the top edge of the fabric panel.
- Position the Tab Tape: Align the top edge of the tab tape with the top edge of the fabric panel, making sure the loops or tabs are facing downwards. Pin the tab tape in place along the top edge.
- Sew the Tab Tape: Using a sewing machine or needle and thread, sew a straight stitch along the top edge of the tab tape, securing it to the fabric panel. Be sure to backstitch at the beginning and end to reinforce the stitches.
- Repeat for Each Tab: Continue measuring, cutting, and sewing the tab tape along the top edge of each fabric panel. Space the tabs evenly apart, usually around 6-8 inches, but this can be adjusted according to your preference.
Once you have sewn the tabs onto all the fabric panels, take a moment to admire your work. The tabs will give your curtains a professional finish and make them functional for daily use.
Now, let’s move on to the next step: attaching the tabs to the curtain panels.
When making tab top curtains, be sure to measure and space the tabs evenly to ensure a professional and polished look. Use a ruler or measuring tape to ensure accuracy.
Step 3: Attaching the Tabs to the Curtain Panel
With the tabs sewn onto the fabric panels, it’s time to attach them to create your tab top curtains. Follow these steps to securely attach the tabs:
- Lay Out the Fabric Panels: Lay the fabric panels flat on a clean surface, with the wrong side facing up.
- Position the Tabs: Place each tab of the tab tape through the curtain rod, ensuring that the loops or tabs are facing outward. Slide the tabs along the rod to evenly distribute them.
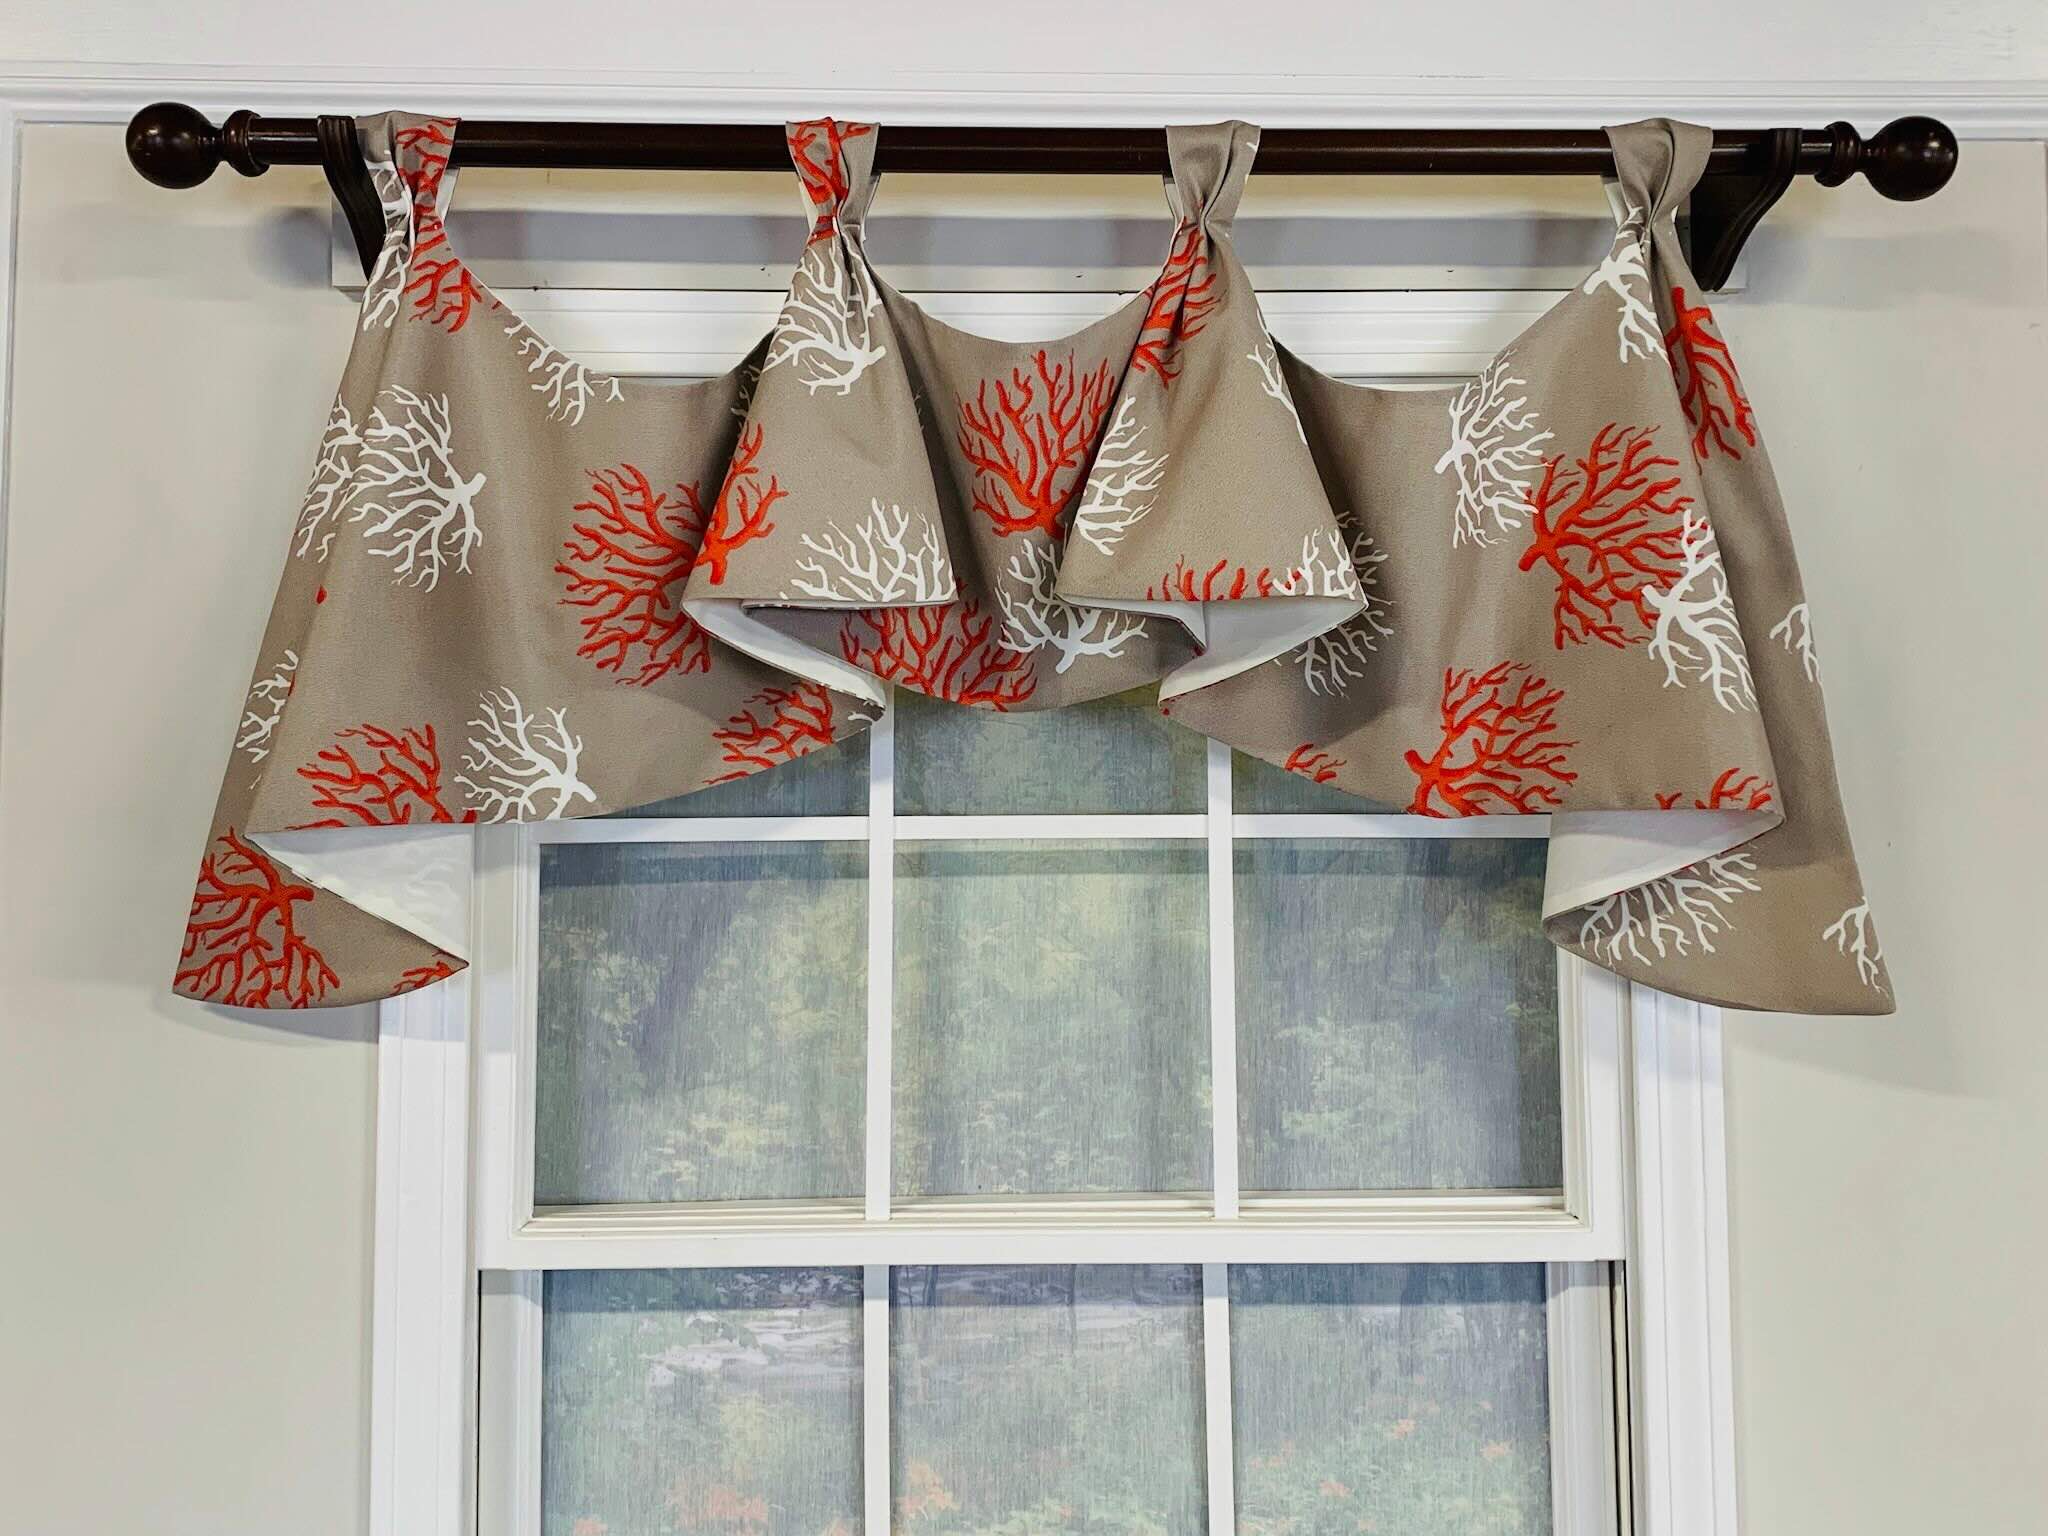
- Adjust the Pleating: Arrange the fabric panels in the desired pleating style. You can create evenly spaced pleats by gently sliding the fabric between each tab.
- Secure the Tabs: To secure the tabs in place, pin them to the back of the fabric panel. Make sure the tab tape is flush against the top edge of the fabric.
- Sew the Tabs: Using a sewing machine or needle and thread, sew a straight stitch across the bottom edge of each tab, attaching it securely to the fabric panel. Remove the pins as you sew.
Take your time when sewing the tabs to ensure that they are firmly attached and will withstand regular usage. Once all the tabs are sewn, give your curtains a gentle tug to ensure they are hanging evenly.
We’re almost done! Let’s proceed to the final step: hemming the bottom edge of the curtains.
Read more: What Is Back Tab Curtains
Step 4: Hemming the Bottom Edge
Now that the tabs are securely attached, it’s time to hem the bottom edge of the curtains. Hemming will give your tab top curtains a finished look while preventing the fabric from fraying. Follow these steps to hem the bottom edge:
- Measure and Mark: Measure the desired length for your curtains from the bottom of the fabric panel. Make a small mark or fold the fabric at this measurement.
- Create a Double Fold: Fold the fabric up along the mark, creating a double fold. The first fold should be about 0.5 inch and the second fold should be the desired length of the hem. Pin the double fold in place to secure it.
- Iron the Hem: Use an iron to press the double fold and create crisp, straight edges. Remove the pins as you iron, being careful not to create any unwanted creases or wrinkles.
- Sew the Hem: Starting from one end of the curtains, sew a straight stitch along the folded edge of the hem. Continue sewing until you reach the other end, backstitching at the beginning and end to secure the stitches.
Make sure to sew the hem as close to the folded edge as possible to create a clean and professional finish. Once the hem is sewn, give your curtains a quick press with the iron for a polished look.
Congratulations! Your tab top curtains are almost ready to be hung. Let’s move on to the final step: hanging the curtains.
Step 5: Hanging the Tab Top Curtains
After all the hard work of measuring, cutting, sewing, and hemming, it’s time to hang your beautifully crafted tab top curtains. Follow these steps to hang your curtains securely:
- Install the Curtain Rod: If you haven’t already, install the curtain rod according to the manufacturer’s instructions. Make sure the rod is level and properly secured to the wall or window frame.
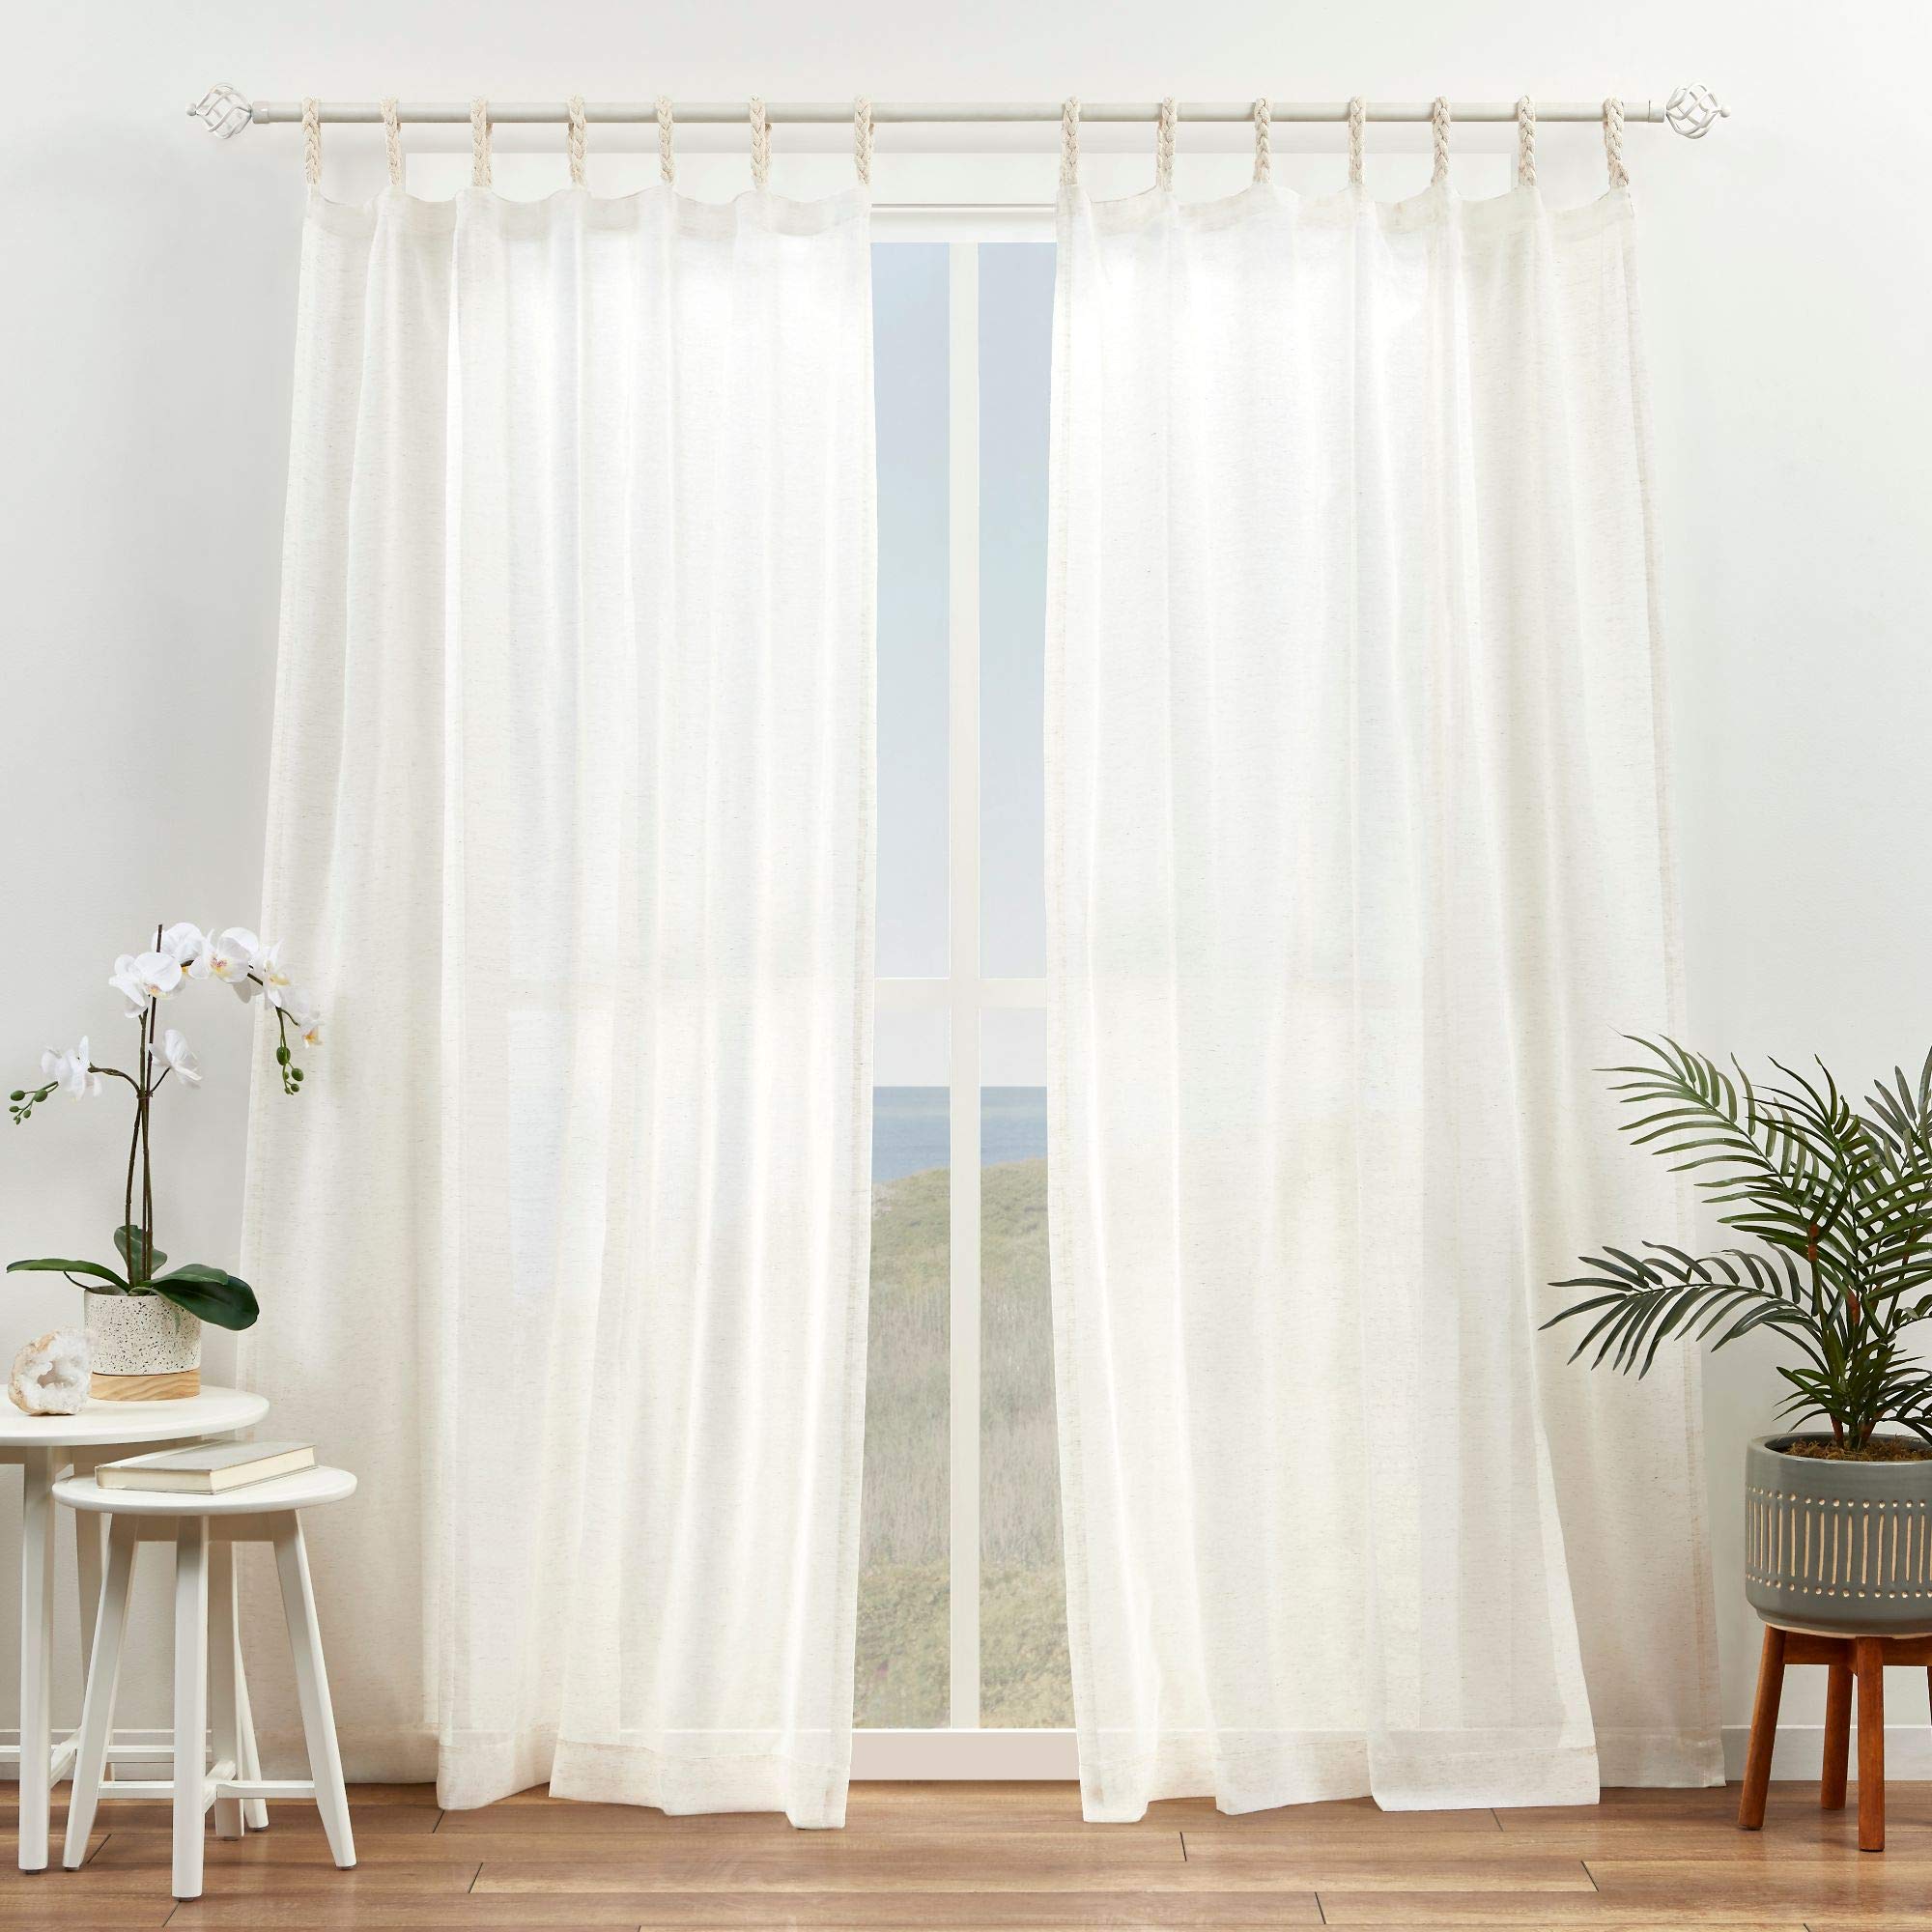
- Thread the Tabs onto the Rod: Slide each tab of the tab tape onto the curtain rod, ensuring that they are spaced evenly. Adjust the tabs as needed to achieve the desired fullness and appearance.
- Arrange and Adjust the Curtains: Once the tabs are on the rod, arrange and adjust the curtains to achieve an even and balanced look. Smooth out any wrinkles or folds and make sure the curtains hang at the desired length.
- Enjoy Your Tab Top Curtains: Step back and admire your handiwork! Your tab top curtains are now hanging beautifully and transforming the look of your space. Open and close the curtains to test their functionality and ensure smooth operation.
Now you can sit back, relax, and enjoy the beautiful tab top curtains you’ve created. They will not only add a touch of style to your space but also provide privacy and light control.
Remember, with tab top curtains, you can easily change the look by swapping out the fabric panels or adding decorative elements to the tabs. Get creative and have fun experimenting with different fabric patterns, colors, and textures.
Congratulations on completing your tab top curtains project! Your home decor has just received a stylish upgrade.
We hope this step-by-step guide has been helpful in guiding you through the process of making tab top curtains. Enjoy your newly adorned windows and the cozy atmosphere they create.
Conclusion
Congratulations on completing your journey of making tab top curtains! By following the steps outlined in this article, you have successfully created custom-made curtains that add both style and functionality to your space.
Throughout the process, you learned how to measure and cut the fabric precisely, sew the tabs securely, attach them to the curtain panels, hem the bottom edge, and finally, hang the curtains with finesse.
Tab top curtains not only enhance the aesthetic appeal of your home decor but also provide practical benefits such as privacy and light control. With your newfound sewing skills, you have the freedom to choose fabrics that reflect your personal style, perfectly complement your existing decor, and create a cozy and inviting atmosphere in any room.
Remember, you can always experiment with different fabrics, patterns, and colors to create unique tab top curtains for different seasons, occasions, or moods.
Now it’s time to sit back, relax, and enjoy the fruits of your labor. Bask in the beauty of your handcrafted tab top curtains as they bring warmth and character to your living space.
We hope this article has empowered you to embark on more DIY projects and explore the limitless possibilities of home decoration. Happy crafting!
Frequently Asked Questions about How To Make Tab Top Curtains
Was this page helpful?
At Storables.com, we guarantee accurate and reliable information. Our content, validated by Expert Board Contributors, is crafted following stringent Editorial Policies. We're committed to providing you with well-researched, expert-backed insights for all your informational needs.


0 thoughts on “How To Make Tab Top Curtains”