
Articles
How To Make A Homemade Water Pump
Modified: February 22, 2024
Learn how to make your own homemade water pump with easy-to-follow articles. Step-by-step guides and tips for building your own efficient water pump at home.
(Many of the links in this article redirect to a specific reviewed product. Your purchase of these products through affiliate links helps to generate commission for Storables.com, at no extra cost. Learn more)
Introduction
Welcome to the world of DIY projects! In this article, we will guide you step-by-step on how to make a homemade water pump. Whether you’re looking to improve your self-sufficiency or simply enjoy a fun and rewarding project, building a water pump from scratch can be a great way to accomplish both.
Having a water pump at your disposal can be incredibly useful in various situations. Whether you need to raise water from a well to use for irrigation, create a hydroponic system for your garden, or simply want an alternative water source for emergencies, a homemade water pump can serve as a reliable and cost-effective solution.
Now, before we dive into the nitty-gritty details, let’s go over the materials you’ll need for this project.
Key Takeaways:
- Building a homemade water pump is a rewarding DIY project that offers self-sufficiency and customization. By following simple instructions and using readily available materials, you can create a functional tool for various water-related tasks.
- Prioritize safety, regular maintenance, and inspection to ensure the longevity and optimal performance of your homemade water pump. Embrace DIY creativity and resourcefulness to tackle water-related tasks with confidence.
Read more: How To Make Water Pump Quieter
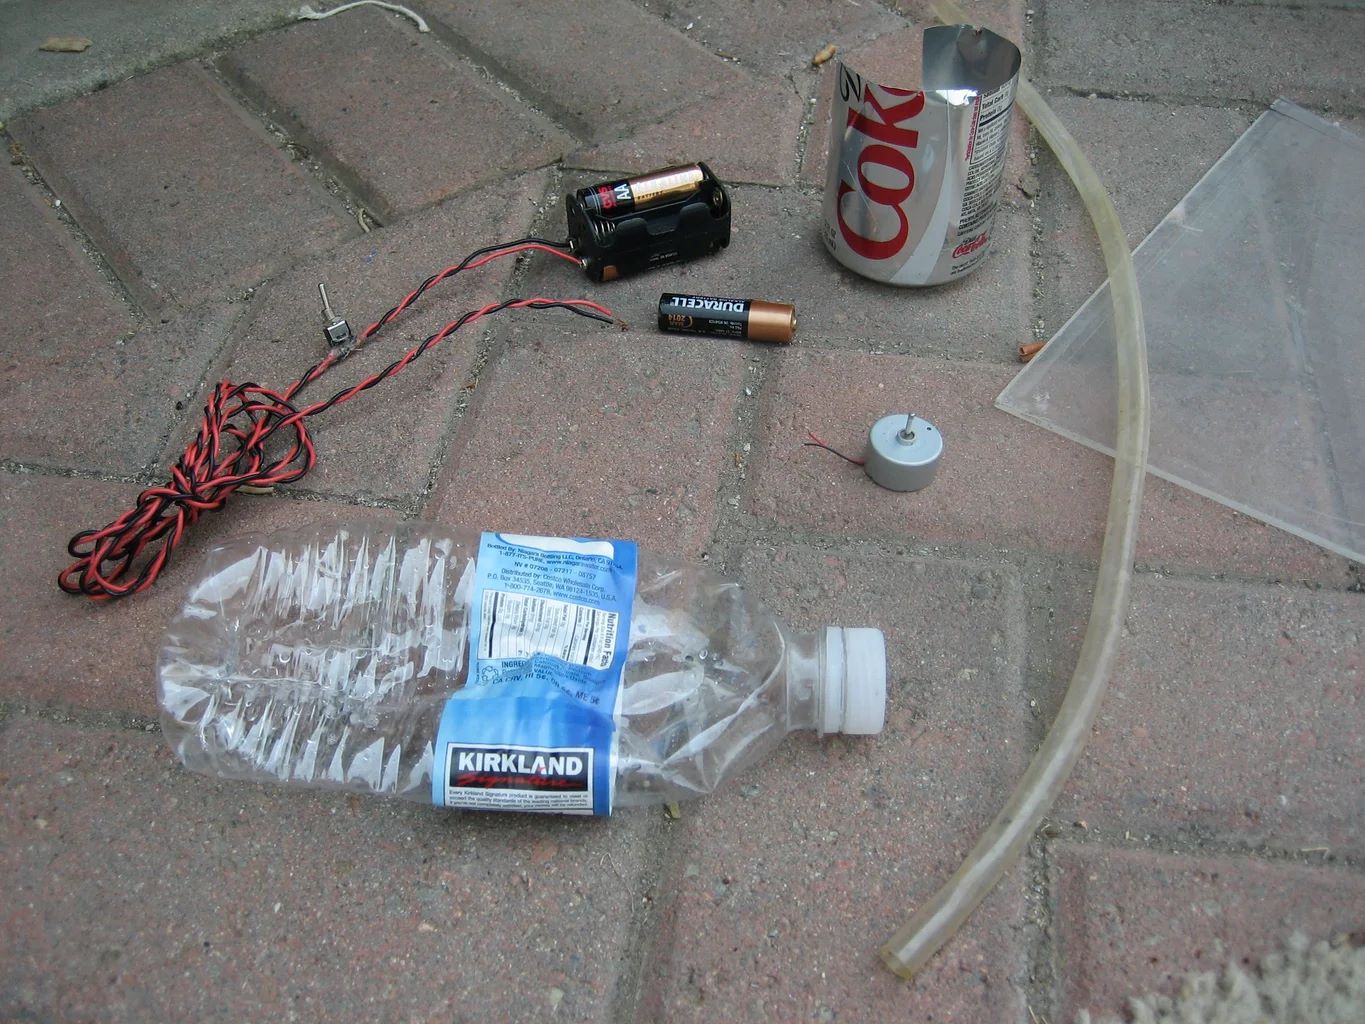
Materials Needed
Before you begin building your homemade water pump, you’ll need to gather the following materials:
- A small engine or motor – This will serve as the power source for your water pump. You can use an old lawnmower engine, a motor from an electric bike, or any other small engine you have available.
- Pipes and fittings – You’ll need both inlet and outlet pipes for your water pump. These can be PVC pipes or copper pipes, depending on your preference and availability. Make sure to also have the necessary fittings, such as elbows and couplers.
- Pistons – The pistons are crucial components of the water pump. You can either purchase pistons or make them yourself using PVC pipes or other materials that are compatible with water. You’ll need two pistons for your pump.
- A crankshaft – The crankshaft will connect the pistons to the engine or motor. You can purchase a crankshaft or make one yourself using a metal rod or sturdy pipe.
- A base – You’ll need a sturdy base to mount the engine, pistons, and crankshaft. This can be a wooden board, a metal plate, or any other material that can support the weight and withstand the vibrations.
- A handle – The handle will allow you to manually operate the water pump. It can be a simple lever or a rotating handle, depending on your preference.
- Seals or gaskets – To prevent water leakage, you’ll need seals or gaskets to create a tight seal between the pistons and the pump housing.
These are the essential materials you’ll need to build a homemade water pump. Depending on your specific design and preferences, you may also require additional tools such as a drill, saw, wrenches, and glue or adhesive for securing the components.
Now that you have all the necessary materials, let’s move on to the step-by-step process of assembling your homemade water pump.
Step 1: Gather the Components
Before you begin assembling your homemade water pump, it’s essential to gather all the necessary components and tools. This ensures that you have everything at hand and can start the assembly process smoothly.
Start by collecting the engine or motor that will serve as the power source for your water pump. Make sure it is in working condition and has the necessary power to drive the pump efficiently. If needed, clean the engine or motor and perform any necessary maintenance or repairs.
Next, gather the pipes and fittings you’ll be using for the inlet and outlet of the water pump. Measure and cut the pipes to the desired lengths, taking into consideration the distance between the water source and the desired output location. Don’t forget to collect the appropriate fittings, such as elbows, couplers, and any other connectors that will be required.
Now, move on to the pistons. You can either purchase pre-made pistons or create them yourself using PVC pipes or other compatible materials. Ensure that the pistons are the correct size and fit snugly within the pump housing. If necessary, sand or modify the pistons to achieve the desired dimensions.
Additionally, locate or create a crankshaft that will connect the pistons to the engine or motor. This can be a metal rod or sturdy pipe that is long enough to span the distance between the pistons and the engine. Make sure the crankshaft is smooth and does not have any sharp edges that could cause damage or interference during operation.
Lastly, gather a suitable base on which you will mount the components of the water pump. This can be a wooden board, a metal plate, or any other sturdy material that can support the weight and vibrations of the pump. Ensure that the base is large enough to accommodate the engine, pistons, crankshaft, and any other additional components you may have.
By gathering all the necessary components and tools beforehand, you’ll be ready to tackle the next steps in building your homemade water pump. Now that you have everything prepared, let’s move on to the assembly process in the following steps.
Step 2: Assemble the Base
Now that you have all the components gathered, it’s time to start assembling the base for your homemade water pump. The base will provide stability and support for the engine, pistons, crankshaft, and other parts of the pump.
Start by selecting a suitable base material, such as a wooden board or a metal plate. Ensure that the base is large enough to accommodate all the components without overcrowding. You want to have enough space for easy access and future maintenance if required.
Place the engine or motor onto the base and secure it firmly using screws, bolts, or clamps. Make sure the engine is centered and properly aligned with the base.
Next, position the pistons on either side of the engine, ensuring that they are evenly spaced and aligned. Use clamps or brackets to secure the pistons to the base, ensuring they are stable and won’t move during operation.
Once the engine and pistons are securely fastened to the base, it’s time to install the crankshaft. Attach one end of the crankshaft to the engine’s crankshaft output, making sure it is firmly connected. Then, position the other end of the crankshaft between the two pistons, aligning it so that it can rotate freely.
To secure the crankshaft in place, you may need to make holes or notches in the base to accommodate it. Use clamps or brackets to hold the crankshaft steady, ensuring it is aligned properly with the pistons.
With the base fully assembled, double-check all the connections and make any necessary adjustments to ensure stability. Ensure that the pistons can move freely without any obstructions or interference from the base.
Now that the base is assembled, you’re ready to move on to the next step: attaching the inlet and outlet pipes to complete the water pump’s structure. By following these step-by-step instructions, you’ll be well on your way to creating your very own homemade water pump.
Step 3: Attach the Inlet and Outlet Pipes
With the base of your homemade water pump fully assembled, it’s time to move on to the next step: attaching the inlet and outlet pipes. These pipes will allow water to enter the pump and be expelled, creating the pumping action.
Start by identifying the location on the base where you want to attach the inlet pipe. This is the pipe that will draw water from the water source and bring it into the pump for pumping. Depending on your design, you may need to drill holes or create an opening in the base to accommodate the pipe.
Once the opening is prepared, connect the inlet pipe to it using the appropriate fittings, such as elbows or couplers. Make sure the connection is secure and watertight to prevent any leakage or loss of suction.
Next, locate the position for the outlet pipe, which is where the pumped water will be expelled. Similar to the inlet pipe, you may need to create an opening in the base to accommodate the pipe. Securely attach the outlet pipe using suitable fittings.
Ensure that the inlet and outlet pipes are positioned in a way that allows for efficient water flow. They should be oriented in such a way that the water can easily enter the pump through the inlet and exit through the outlet.
After attaching the inlet and outlet pipes, check the connections to ensure they are secure and watertight. Any loose fittings or leaks could compromise the pumping efficiency of the water pump.
Keep in mind that the diameter of the pipes you use will affect the flow rate and pressure of the water pump. Select pipes that are suitable for your desired application and make sure they are compatible with the fittings you have chosen.
With the inlet and outlet pipes securely attached, you’re now ready to move on to the next step: creating a seal for the pistons to ensure proper pumping action. Following these step-by-step instructions will help you build a functional and efficient homemade water pump.
Read more: How To Make A Water Pump Using A Motor
Step 4: Create a Seal for the Pistons
Creating a proper seal for the pistons is an essential step in the assembly of your homemade water pump. The seal ensures that water is efficiently pumped without leakage or loss of pressure.
There are various methods you can use to create a seal for the pistons. One common approach is to use seals or gaskets made of rubber or silicone. These can be purchased from hardware stores or online, or you can make them yourself using rubber sheets or silicone caulking.
Start by measuring the dimensions of your pistons and the pump housing. Use these measurements to determine the size and shape of the seals you need to create. Cut the rubber or silicone material to the appropriate size, ensuring a snug fit when placed between the pistons and the pump housing.
Apply a thin layer of adhesive or sealant to one side of the seal, then carefully place it on the piston. Press down firmly to ensure a secure bond. Repeat this process for the remaining pistons.
Alternatively, you can use O-rings as seals for the pistons. These circular rubber rings can be placed around the pistons to create a tight seal against the pump housing. Choose O-rings that are compatible with the size of your pistons and ensure they fit securely.
Whichever method you choose, make sure the seals are properly positioned and provide a tight seal when the pistons move during operation. Inspect the seals for any gaps or irregularities that could lead to water leakage or loss of pressure.
Remember to regularly check and replace the seals if they become worn or damaged over time. Proper maintenance of the seals will ensure the longevity and efficiency of your homemade water pump.
With the pistons properly sealed, you’re now ready to move on to the next step: installing the pistons into the pump housing. Following these instructions will help you create a reliable water pump that can handle your pumping needs.
When making a homemade water pump, ensure that the tubing and connections are secure to prevent any leaks. Use waterproof sealant or tape to reinforce the connections if needed.
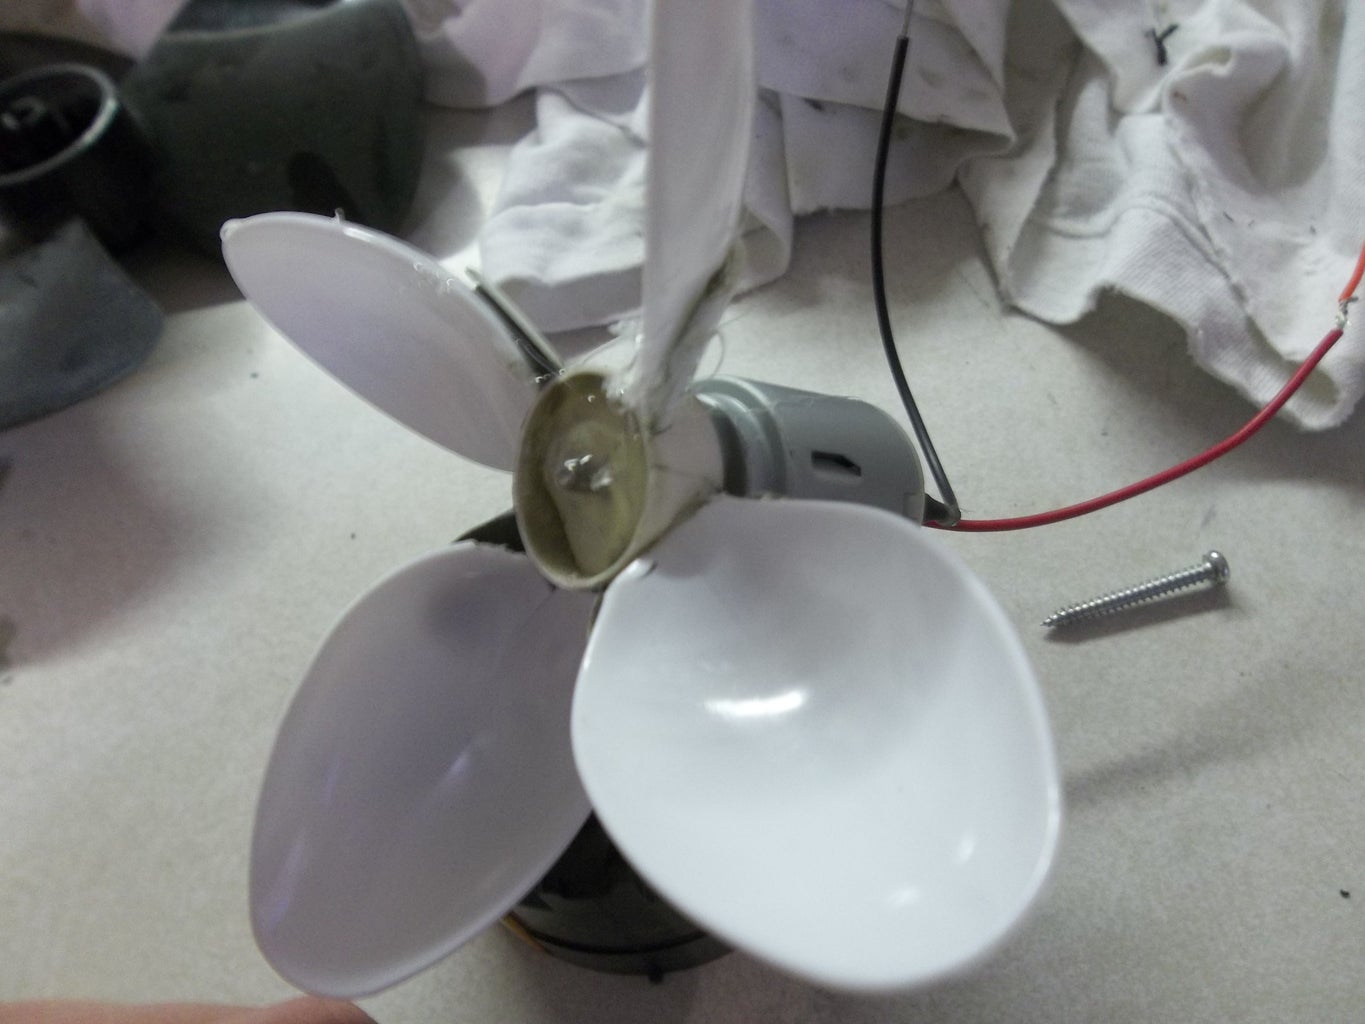
Step 5: Install the Pistons
With the seals in place, it’s time to install the pistons into the pump housing. The pistons are responsible for creating the pumping action that moves the water through the system.
Start by ensuring that the pump housing is clean and free of any debris or obstructions. This will ensure smooth movement of the pistons and prevent any damage to the components.
Carefully insert the pistons into their respective chambers within the pump housing. Ensure that they fit snugly and move freely without any resistance. The seals should provide a tight seal between the pistons and the pump housing, preventing any water leakage.
Double-check the alignment of the pistons to make sure they are parallel to each other and properly positioned within the pump housing. They should move in a synchronized manner when the crankshaft is rotated.
If necessary, make any adjustments to the position of the pistons to ensure proper alignment and movement. The pistons should have enough clearance to move up and down without hitting any other components of the pump.
Once the pistons are installed, test their movement by manually rotating the crankshaft. Observe how the pistons move within the pump housing. They should move smoothly and without any binding or resistance.
If you encounter any issues with the movement of the pistons, investigate and resolve the problem before proceeding. This could involve checking the alignment of the pistons, adjusting the seals, or making sure the pump housing is clean and free of any obstructions.
Remember, the proper installation of the pistons is crucial for the efficient and reliable operation of your homemade water pump. Take your time to ensure everything is set up correctly before moving on to the next step: connecting the pistons to the crankshaft.
By following these step-by-step instructions, you’ll be well on your way to creating a functional homemade water pump that can meet your pumping needs with ease.
Step 6: Connect the Pistons to the Crankshaft
Now that the pistons are installed in the pump housing, it’s time to connect them to the crankshaft. The crankshaft is responsible for translating the rotational motion from the engine or motor into the up and down movement of the pistons, creating the pumping action.
Start by positioning the crankshaft between the pistons, ensuring that it sits securely and can rotate freely. Depending on your specific design, you may need to attach the crankshaft to the pistons using connecting rods or other connecting mechanisms.
If using connecting rods, attach one end of each rod to the piston and the other end to the crankshaft. Secure the connections using appropriate fasteners, such as bolts or pins. Make sure the connections are tight and do not allow any movement or play.
Ensure that the connecting rods are of proper length, allowing the pistons to move up and down without interference. The length of the connecting rods determines the stroke length of the pistons and affects the pumping capacity of the water pump.
If your design does not involve connecting rods, carefully attach the pistons directly to the crankshaft. This can be achieved by drilling holes or creating slots in the pistons and crankshaft, allowing them to be interconnected securely.
Double-check all the connections to ensure that they are secure and properly aligned. Make any necessary adjustments to ensure smooth movement of the pistons when the crankshaft is rotated.
After connecting the pistons to the crankshaft, rotate the crankshaft by hand to test the movement of the pistons. Observe how the pistons move in a synchronized manner, rising and falling as the crankshaft turns.
If you notice any binding, resistance, or uneven movement of the pistons, investigate and resolve the issue before proceeding. This may involve adjusting the connections, lubricating the moving parts, or ensuring the pistons and crankshaft are properly aligned.
By connecting the pistons to the crankshaft, you’re one step closer to completing your homemade water pump. The next step will involve attaching the handle to manually operate the pump. Stick with it, and soon you’ll have a functional water pump ready for action.
Step 7: Attach the Handle
Attaching the handle is an important step in completing your homemade water pump. The handle allows you to manually operate the pump and generate the pumping action needed to move water.
Start by selecting a suitable handle that is comfortable to grip and has sufficient length for you to operate the pump effectively. This can be a simple lever or a rotating handle, depending on your design and preference.
Locate a suitable position on the base where you will attach the handle. This should be easily accessible and allow for smooth movement without any obstructions.
Securely attach one end of the handle to the base using screws, bolts, or clamps. Make sure it is firmly connected and can withstand the force applied during pumping.
If your design involves a lever handle, position it in a way that allows you to exert downward pressure while pumping. The lever should move in a smooth and controlled manner, providing the necessary force to operate the pistons.
If you have chosen a rotating handle, ensure that it is securely fixed to the base and is aligned with the crankshaft. The handle should rotate freely without any binding or resistance.
With the handle attached, test its functionality by manually operating the pump. Apply downward pressure or rotate the handle, observing how the pistons move in response. The handle should provide the necessary force to generate the pumping action.
If you encounter any issues with the handle, such as slipping or ineffective pumping action, investigate and make any necessary adjustments. This could involve tightening the connections, modifying the handle position, or ensuring proper alignment with the crankshaft.
By attaching the handle, you have completed a critical component of your homemade water pump. The next and final step will involve testing the water pump to ensure it operates smoothly and efficiently.
Keep up the great work, and soon you’ll have a fully functional homemade water pump ready for use!
Read more: How To Make Water Pump Without Electricity
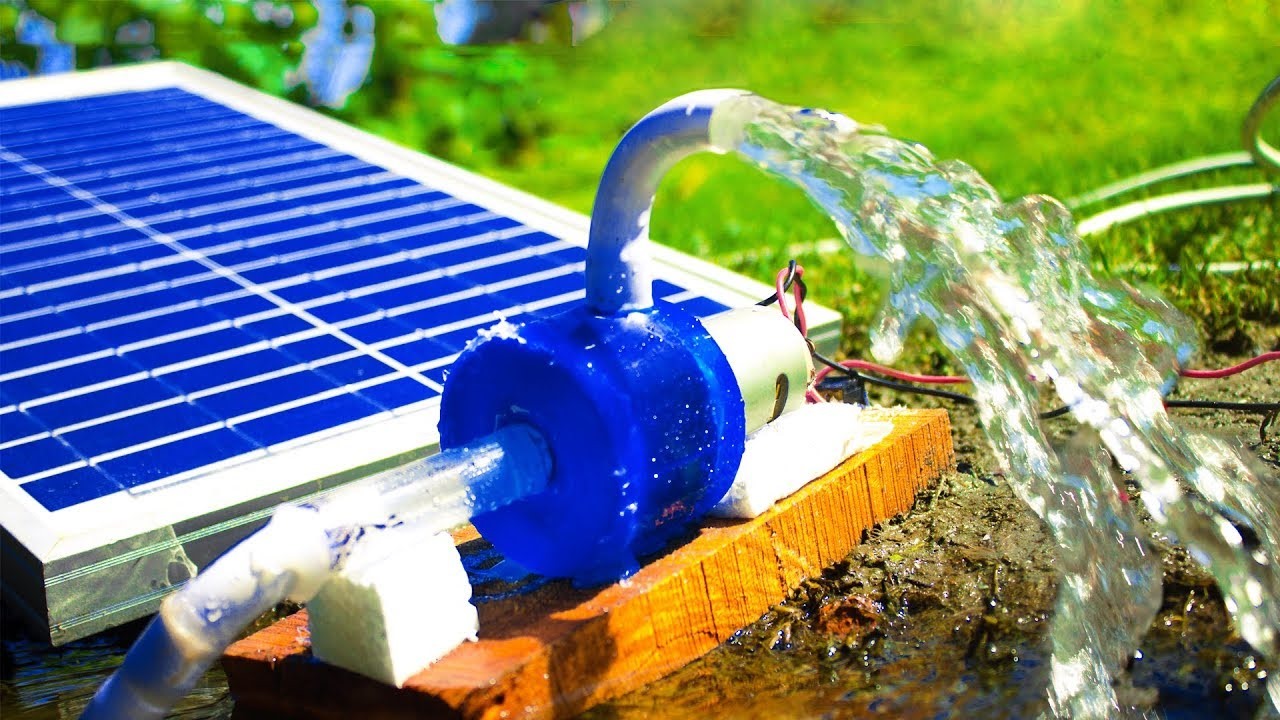
Step 8: Test the Water Pump
Congratulations on reaching the final step of building your homemade water pump! Testing the water pump is crucial to ensure its functionality, efficiency, and reliability before putting it into actual use.
Before you begin testing, ensure that all connections are secure, seals are intact, and the pump is free from any obstructions or debris. This will help prevent any accidents or damage during the testing process.
To start the test, fill the pump’s inlet pipe with water from a nearby water source, such as a bucket or a hose. You can also connect the pump to a water supply, such as a well, if available. Make sure the water level is sufficient to keep the inlet pipe submerged.
Once the pump is primed with water, gently rotate the handle or start the engine/motor to activate the pumping action. Observe the movement of the pistons and ensure that water is being drawn in through the inlet and discharged through the outlet pipe.
Monitor the water flow rate and pressure, making sure they meet your desired requirements. Pay attention to any signs of leakage or unusual noises during operation, as this may indicate a problem with the pump’s components.
Continue testing the water pump for a sufficient duration of time to ensure its consistency and reliability. This will help identify any potential issues or improvements that need to be addressed before putting the pump to practical use.
If you notice any problems during the test, such as inadequate pumping action, leakage, or decreased performance, investigate and troubleshoot the issue. This may involve checking the seals, adjusting the connections, or making any necessary repairs or adjustments.
Once you’re satisfied with the performance and functionality of your homemade water pump, you can confidently put it to use for irrigation, water supply, or any other intended application. However, regularly inspect and maintain the pump to ensure its longevity and optimal performance.
Remember to adhere to safety precautions when using the water pump, and always follow local regulations and guidelines regarding water usage and conservation.
By successfully testing your homemade water pump, you have accomplished a remarkable DIY project that will serve you well in various water-related tasks. Enjoy the fruits of your labor and the satisfaction of constructing your very own functional water pump!
Conclusion
Congratulations on successfully building your very own homemade water pump! By following the step-by-step instructions outlined in this guide, you have created a valuable tool that can be used for various purposes, from irrigation to emergency water supply. Not only have you achieved self-sufficiency, but you’ve also gained a sense of accomplishment and the satisfaction of completing a DIY project.
Throughout the process, you gathered the necessary materials, assembled the base, attached the inlet and outlet pipes, created seals for the pistons, installed the pistons, connected them to the crankshaft, attached the handle, and tested the water pump. Each step required attention to detail and careful execution to ensure its proper functioning.
Building a homemade water pump not only saves you money but also allows you to customize it to suit your specific needs. By using readily available materials and following simple instructions, you’ve harnessed the power of ingenuity to create a functional tool that can serve you well in various situations.
As with any DIY project, always prioritize safety by following proper procedures and using the necessary protective gear. Regular maintenance and inspection of your water pump will ensure its longevity and optimal performance.
Now that you have a fully functional homemade water pump at your disposal, you can confidently tackle water-related tasks, enhance your self-sufficiency, and make a positive impact on your environment.
Remember, the knowledge and skills you’ve gained throughout this process can be applied to future projects and can inspire you to explore other DIY endeavors. Continue to challenge yourself and embrace the world of DIY, where creativity and resourcefulness can lead to remarkable achievements.
Thank you for embarking on this DIY journey with us. We hope that building your homemade water pump has been an engaging and rewarding experience. Enjoy the benefits of your hard work and the satisfaction of knowing that you have the ability to create functional tools from scratch.
Happy pumping!
Frequently Asked Questions about How To Make A Homemade Water Pump
Was this page helpful?
At Storables.com, we guarantee accurate and reliable information. Our content, validated by Expert Board Contributors, is crafted following stringent Editorial Policies. We're committed to providing you with well-researched, expert-backed insights for all your informational needs.


0 thoughts on “How To Make A Homemade Water Pump”