Articles
How To Install Skirt Board On Existing Stairs
Modified: May 6, 2024
Learn how to install skirt board on existing stairs with our informative articles. Step-by-step guides and tips to help you complete your project efficiently.
(Many of the links in this article redirect to a specific reviewed product. Your purchase of these products through affiliate links helps to generate commission for Storables.com, at no extra cost. Learn more)
Introduction
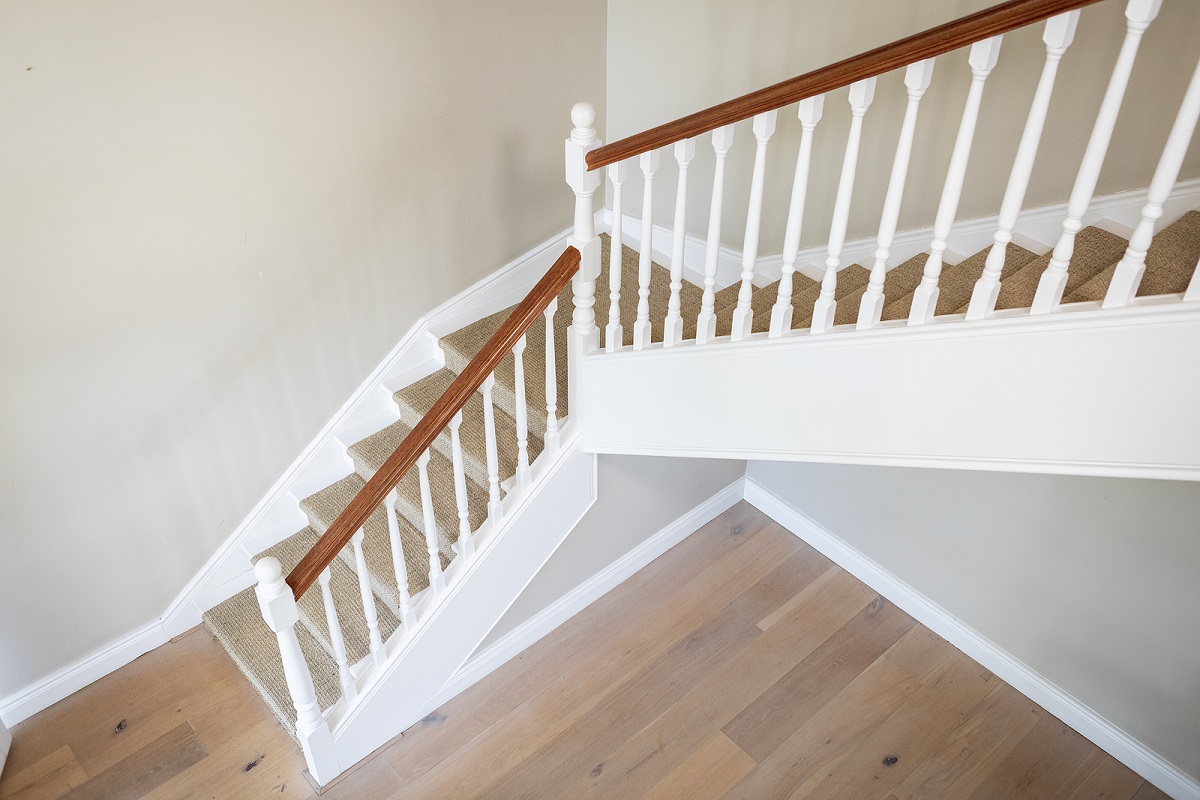
Welcome to our comprehensive guide on how to install a skirt board on existing stairs. Skirt boards not only add a finished and polished look to your staircase but also provide structural support and protection for the stair treads. Whether you’re renovating your home or looking to upgrade your staircase, installing a skirt board is a relatively simple and satisfying project that can make a big impact.
In this article, we will walk you through each step of the process, from gathering the necessary materials to finishing touches. By the end, you’ll have the knowledge and confidence to add a skirt board to your existing staircase.
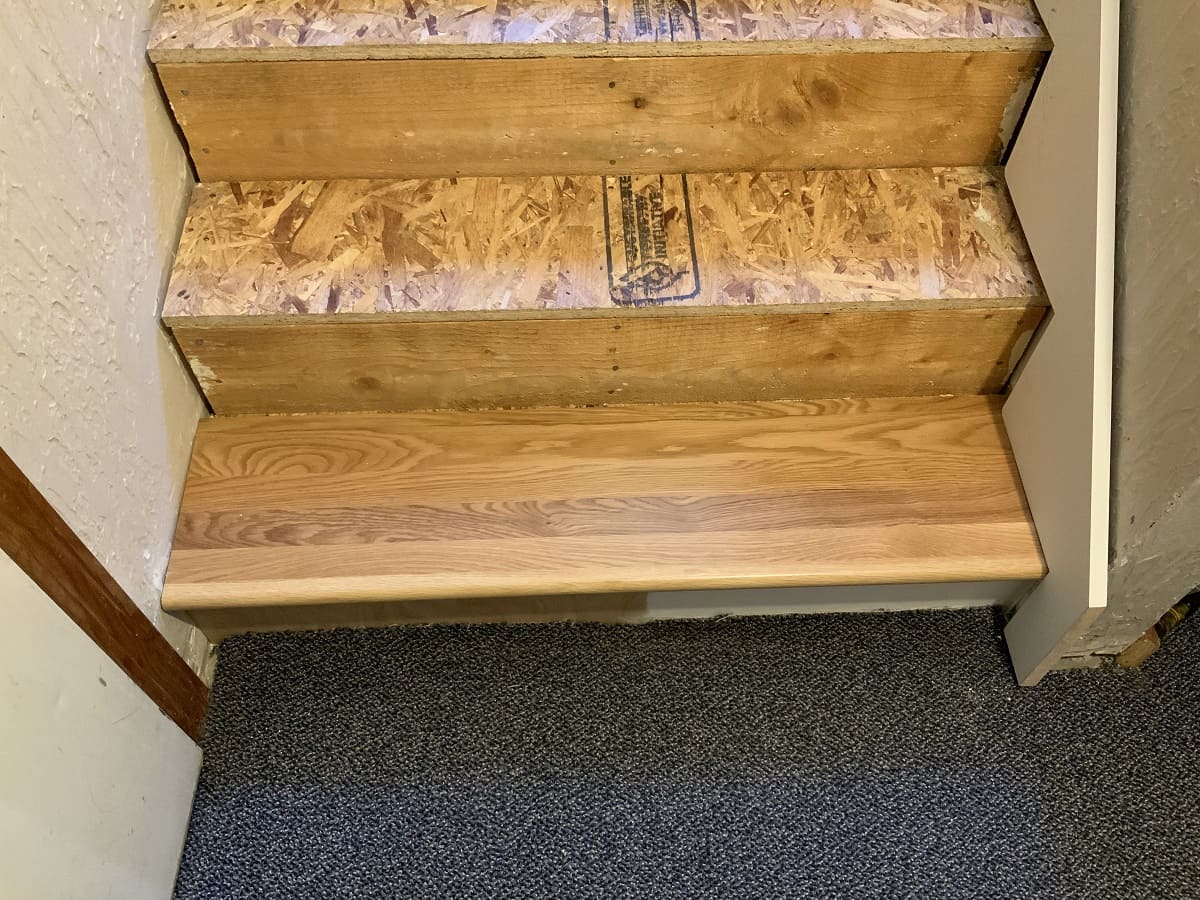
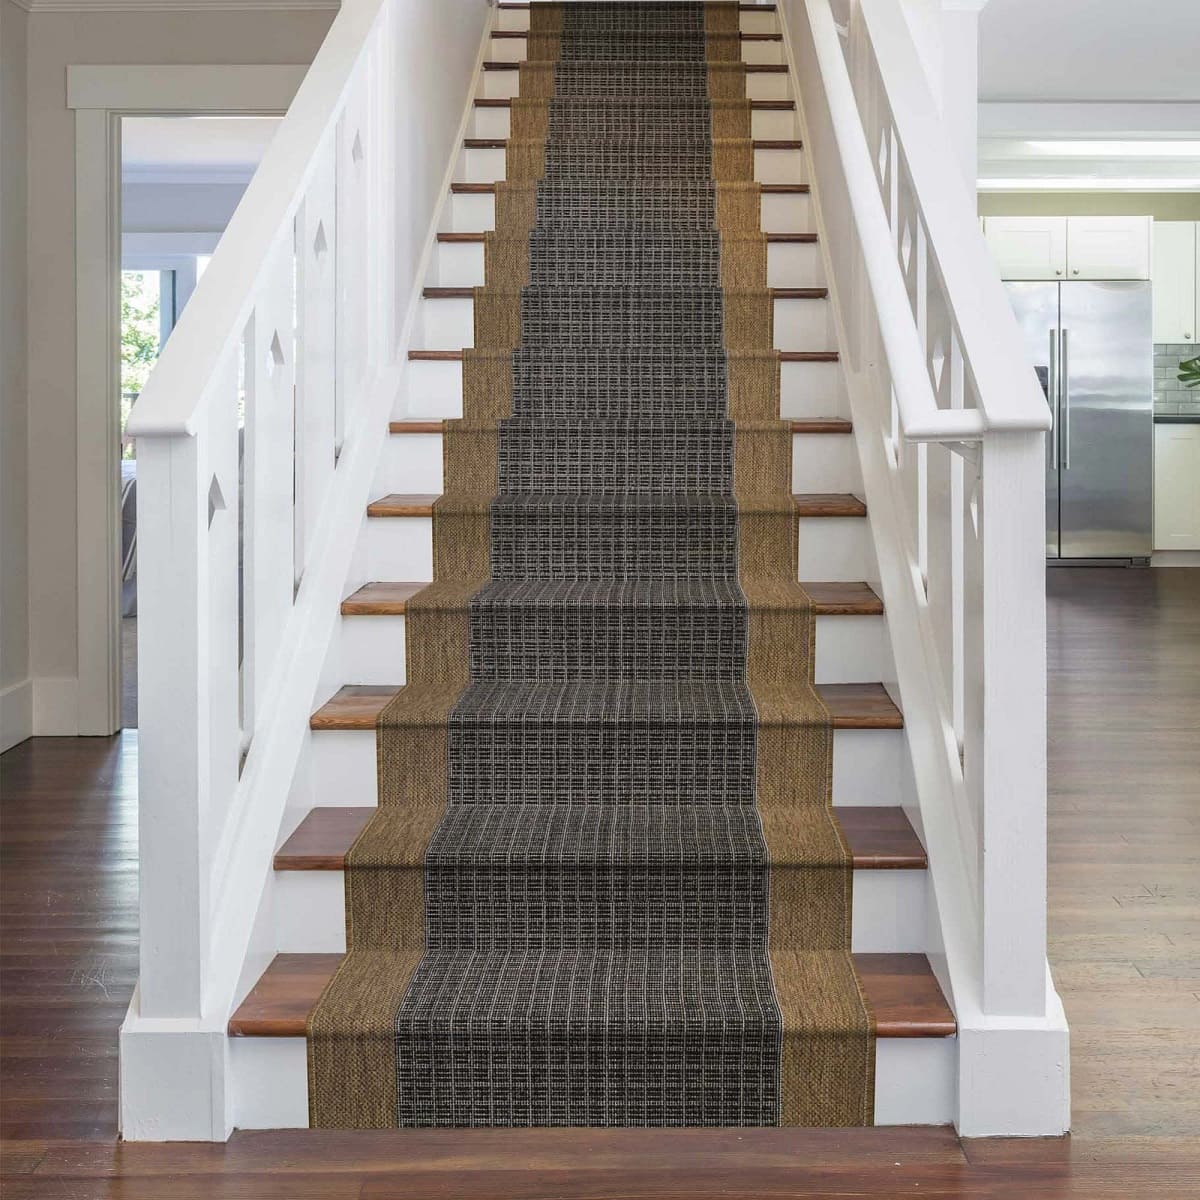
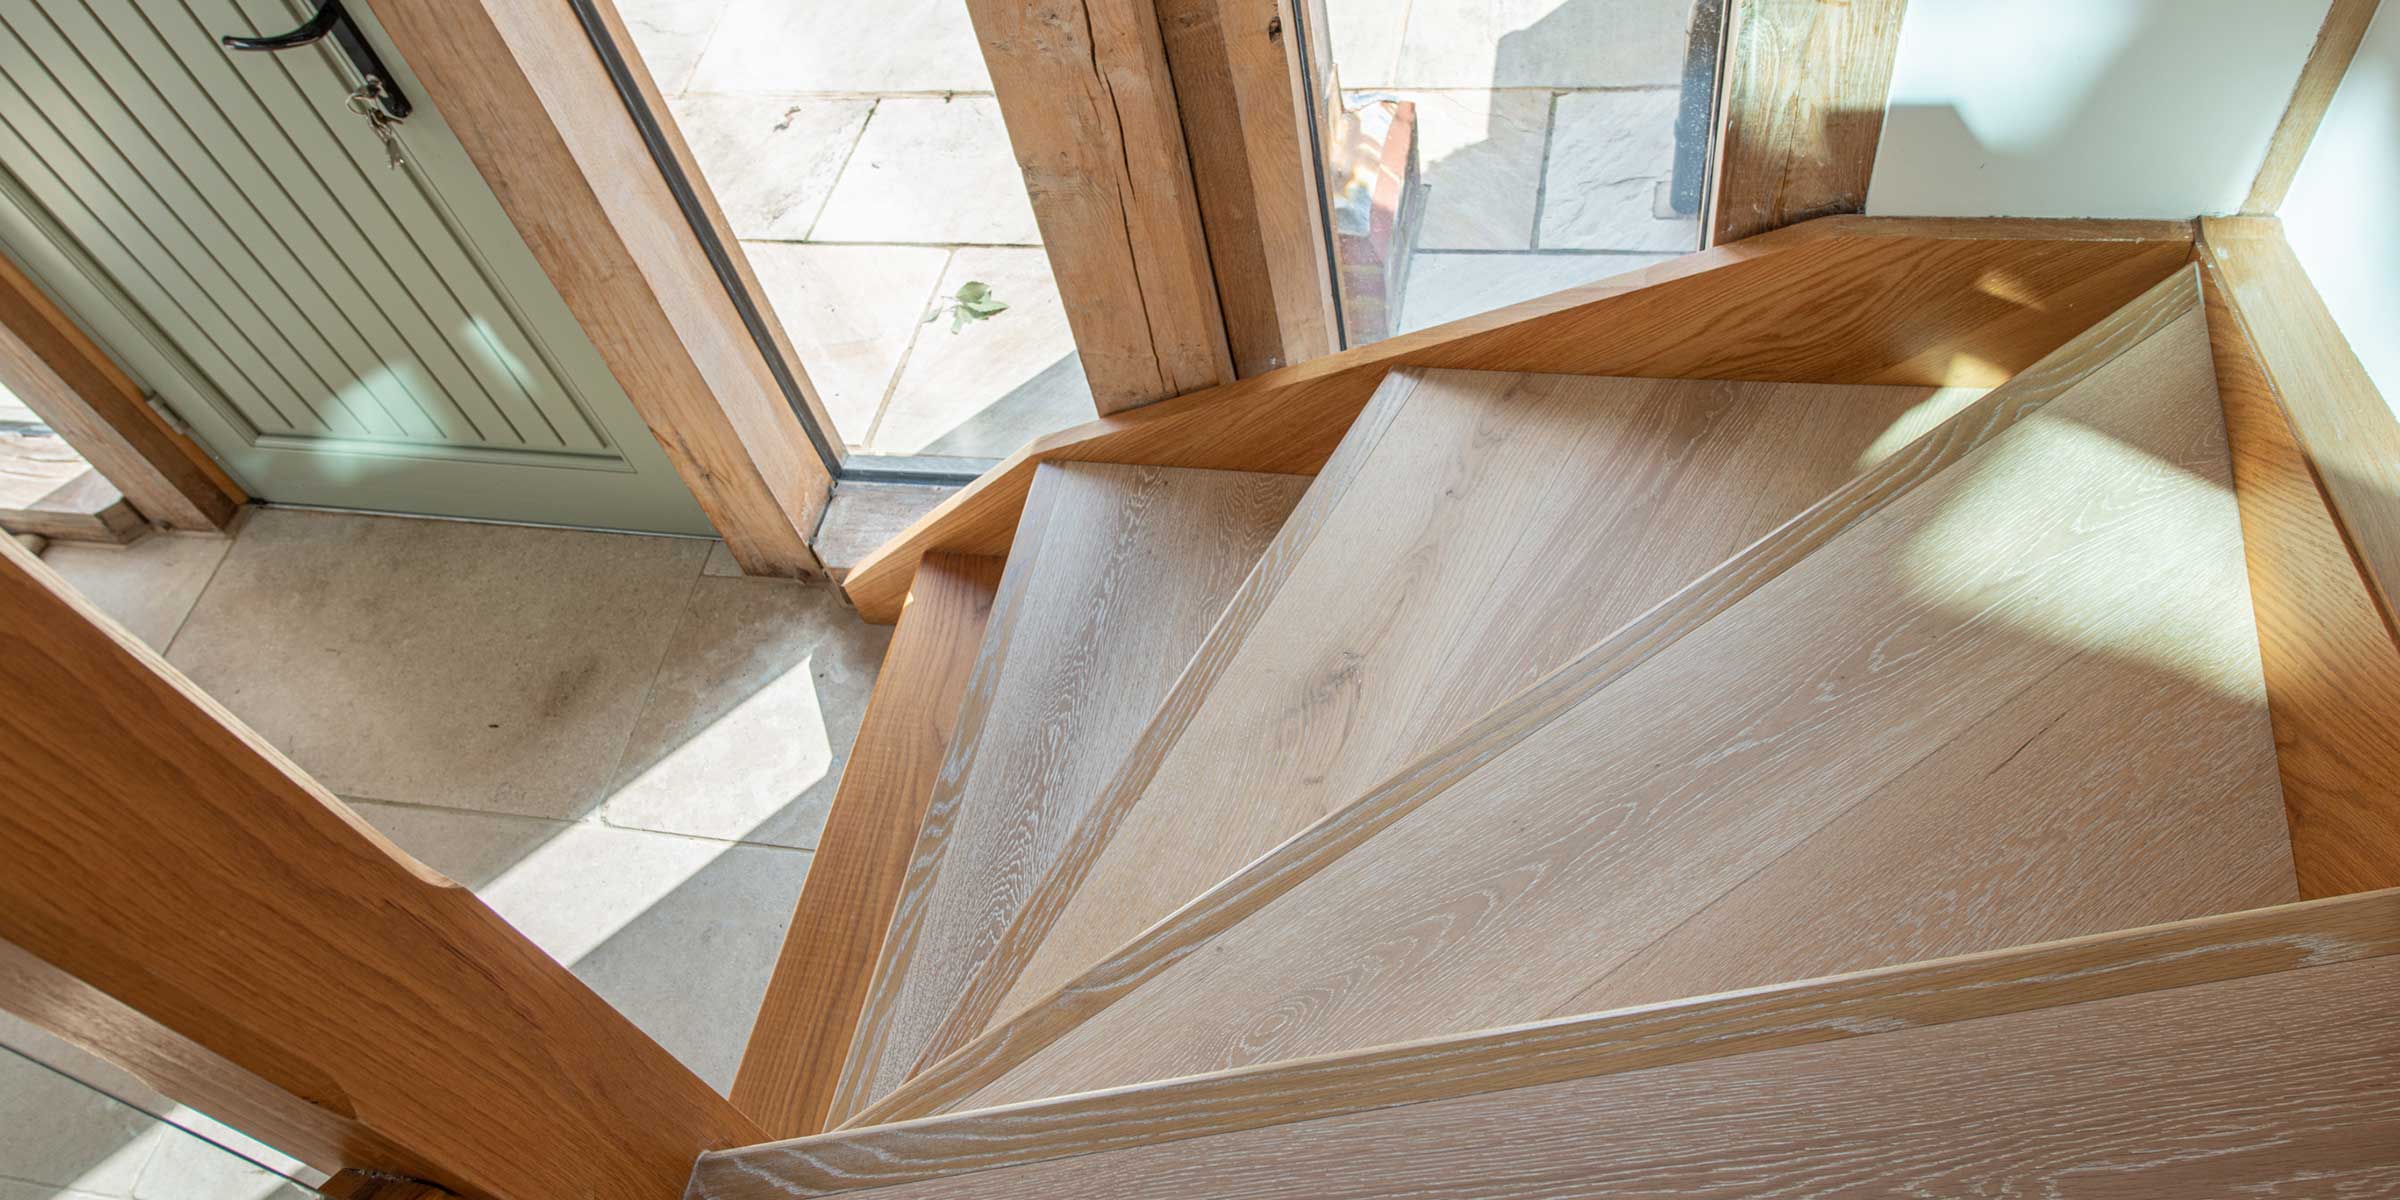
Before we dive into the steps, let’s briefly discuss what a skirt board is and why it’s important. A skirt board is a long, narrow board that runs along the side of the staircase, parallel to the stair treads. It serves as a decorative element, hiding the structural components of the stairs and providing a clean and seamless appearance. Additionally, it helps to protect the exposed edges of the stair treads, reducing the risk of damage and prolonging the lifespan of your staircase.
Now that we understand the purpose of a skirt board, let’s get started on the installation process. Gather your tools and materials, and let’s transform your stairs into a stunning focal point of your home.
Key Takeaways:
- Installing a skirt board on existing stairs is a simple yet impactful DIY project that adds both aesthetic appeal and structural support to your staircase. With careful measurements and attention to detail, you can achieve professional results and elevate the look of your home.
- The process of installing a skirt board involves gathering materials, measuring and cutting, attaching and securing, and finishing the board. By following each step meticulously and prioritizing safety, you can create a stunning and durable addition to your staircase.
Step 1: Gather the Necessary Materials
Before you begin the installation process, it’s important to gather all the necessary materials to ensure a smooth and successful project. Here’s a list of what you’ll need:
- Skirt board: Measure the length and height of your staircase to determine the amount of skirt board material you’ll need. Choose a high-quality wood material that complements your staircase design.
- Tape measure: A reliable tape measure is essential for accurate measurements.
- Pencil: Use a pencil to mark your measurements on the skirt board and staircase.
- Circular saw: A circular saw with a sharp blade will make it easier to cut the skirt board to the desired length.
- Drill: You’ll need a drill to pre-drill holes for the screws that will secure the skirt board to the stairs.
- Screws: Choose screws that are long enough to securely attach the skirt board to the stairs. Make sure they are compatible with your drill bit size.
- Screwdriver: A screwdriver will be used to drive the screws into place.
- Sanding block or sandpaper: To smooth out any rough edges or imperfections on the skirt board.
- Wood filler: This will be used to fill in any gaps or holes in the skirt board.
- Paint or stain: If desired, choose a paint or stain color that matches your staircase or complements your overall interior design.
- Paintbrushes or stain applicators: Use these to apply the paint or stain to the skirt board.
- Protective gear: Depending on the materials and finishes you’re using, it’s important to wear safety goggles, gloves, and a mask to protect yourself from dust and fumes.
Once you have gathered all the necessary materials, you’ll be well-prepared to tackle the installation process. Remember to double-check your measurements and take your time to ensure accurate and precise cuts. Now, let’s move on to the next step: measuring and cutting the skirt board.
Step 2: Measure and Cut the Skirt Board
Now that you have all the necessary materials, it’s time to measure and cut the skirt board to fit your staircase. Follow these steps to ensure accurate measurements and precise cuts:
- Start by measuring the length of the staircase where the skirt board will be installed. Use a tape measure to measure from the top of the first step to the bottom of the last step. Add a few extra inches to allow for any variations or mistakes.
- Next, measure the height of the staircase. This measurement will determine the height of your skirt board. Measure from the bottom of the first step to the top of the last step.
- Transfer these measurements to the skirt board. Use a pencil to mark the length and height measurements on the backside of the skirt board.
- Double-check your measurements to ensure accuracy. It’s important to measure twice and cut once to avoid any costly mistakes.
- Once you’re confident with your measurements, it’s time to cut the skirt board. Set up your circular saw with a sharp blade, making sure it’s securely fastened.
- Position the skirt board on a stable surface, such as a sawhorse or workbench. Align the blade of the circular saw with your pencil mark for the length measurement.
- Turn on the circular saw and carefully guide it along the pencil mark, making a straight and even cut. Take your time and let the saw do the work. Be sure to wear protective goggles and gloves while cutting.
- Once you’ve completed the length cut, repeat the process for the height cut. Align the blade with your pencil mark and carefully guide the circular saw along the mark.
- After cutting the skirt board to the correct length and height, double-check the fit against your staircase. Trim any excess if necessary.
Remember to take your time and be careful during the cutting process. It’s always better to be cautious and make precise cuts to ensure a professional and finished look. With the skirt board cut to the correct size, we can now move on to the next step: removing the old skirt board (if applicable).
Step 3: Remove the Old Skirt Board (if applicable)
If your staircase already has an existing skirt board that needs to be replaced or removed, you’ll need to take the time to remove it carefully. Follow these steps to remove the old skirt board:
- Start by inspecting the old skirt board to determine how it’s attached to the staircase. It may be secured with screws or nails.
- Use a screwdriver or a pry bar to carefully remove any screws or nails holding the old skirt board in place. Take your time and be gentle to avoid damaging the adjoining structures.
- If the old skirt board is stubborn and doesn’t come off easily, you may need to use a mallet and a chisel to carefully loosen it. Insert the chisel between the skirt board and the staircase and tap it gently with the mallet to create a gap. Continue working your way along the length of the skirt board until it starts to come loose.
- Once the old skirt board is loosened, carefully pull it away from the staircase. There may still be some residual nails or screws attached, so be cautious while removing the skirt board.
- Inspect the area where the old skirt board was attached for any remaining debris or loose pieces. Clean the surface thoroughly to ensure a smooth and secure installation of the new skirt board.
- If you plan on reusing the old skirt board or salvaging any materials, take the time to clean and store them properly.
Removing the old skirt board, if applicable, creates a clean canvas for the installation of the new skirt board. Make sure to take your time and be gentle during this step to prevent any damage to the surrounding structures. With the old skirt board removed, we can now move on to the next step: pre-drilling holes for the screws.
Step 4: Pre-Drill Holes for the Screws
Pre-drilling holes for the screws is an essential step in the installation process. This ensures that the skirt board attaches securely to the staircase without causing any splits or cracks in the wood. Follow these steps to pre-drill holes:
- Position the skirt board in place along the side of the staircase. Make sure it is aligned properly and sits flush against the staircase.
- Mark the locations of the screws on the skirt board. Space them evenly along the length of the skirt board, ensuring that they are positioned to hold the skirt board securely to the stairs.
- Choose a suitable drill bit size. The size should be slightly smaller than the diameter of the screws you are using. This will allow for a snug fit and prevent any splitting of the wood.
- Attach the appropriate drill bit to your drill and set it to the drilling mode.
- Position the drill bit on the marked locations and gently drill into the skirt board. Be careful not to drill too deep or too close to the edge to avoid weakening the skirt board.
- Repeat the drilling process for each marked location.
- Once all the holes are drilled, remove any wood chips or debris from the skirt board and the surrounding area.
- Inspect the pre-drilled holes to ensure they are clean and free of obstructions.
Pre-drilling holes reduces the risk of splitting and ensures a secure and sturdy attachment of the skirt board to the staircase. Take your time during this step to ensure accurate and properly positioned holes. With the pre-drilled holes in place, we can move on to the next step: attaching the skirt board to the stairs.
When installing a skirt board on existing stairs, make sure to measure and cut the board accurately to fit the dimensions of the stairs. Use construction adhesive and finish nails to secure the skirt board in place for a professional and durable finish.
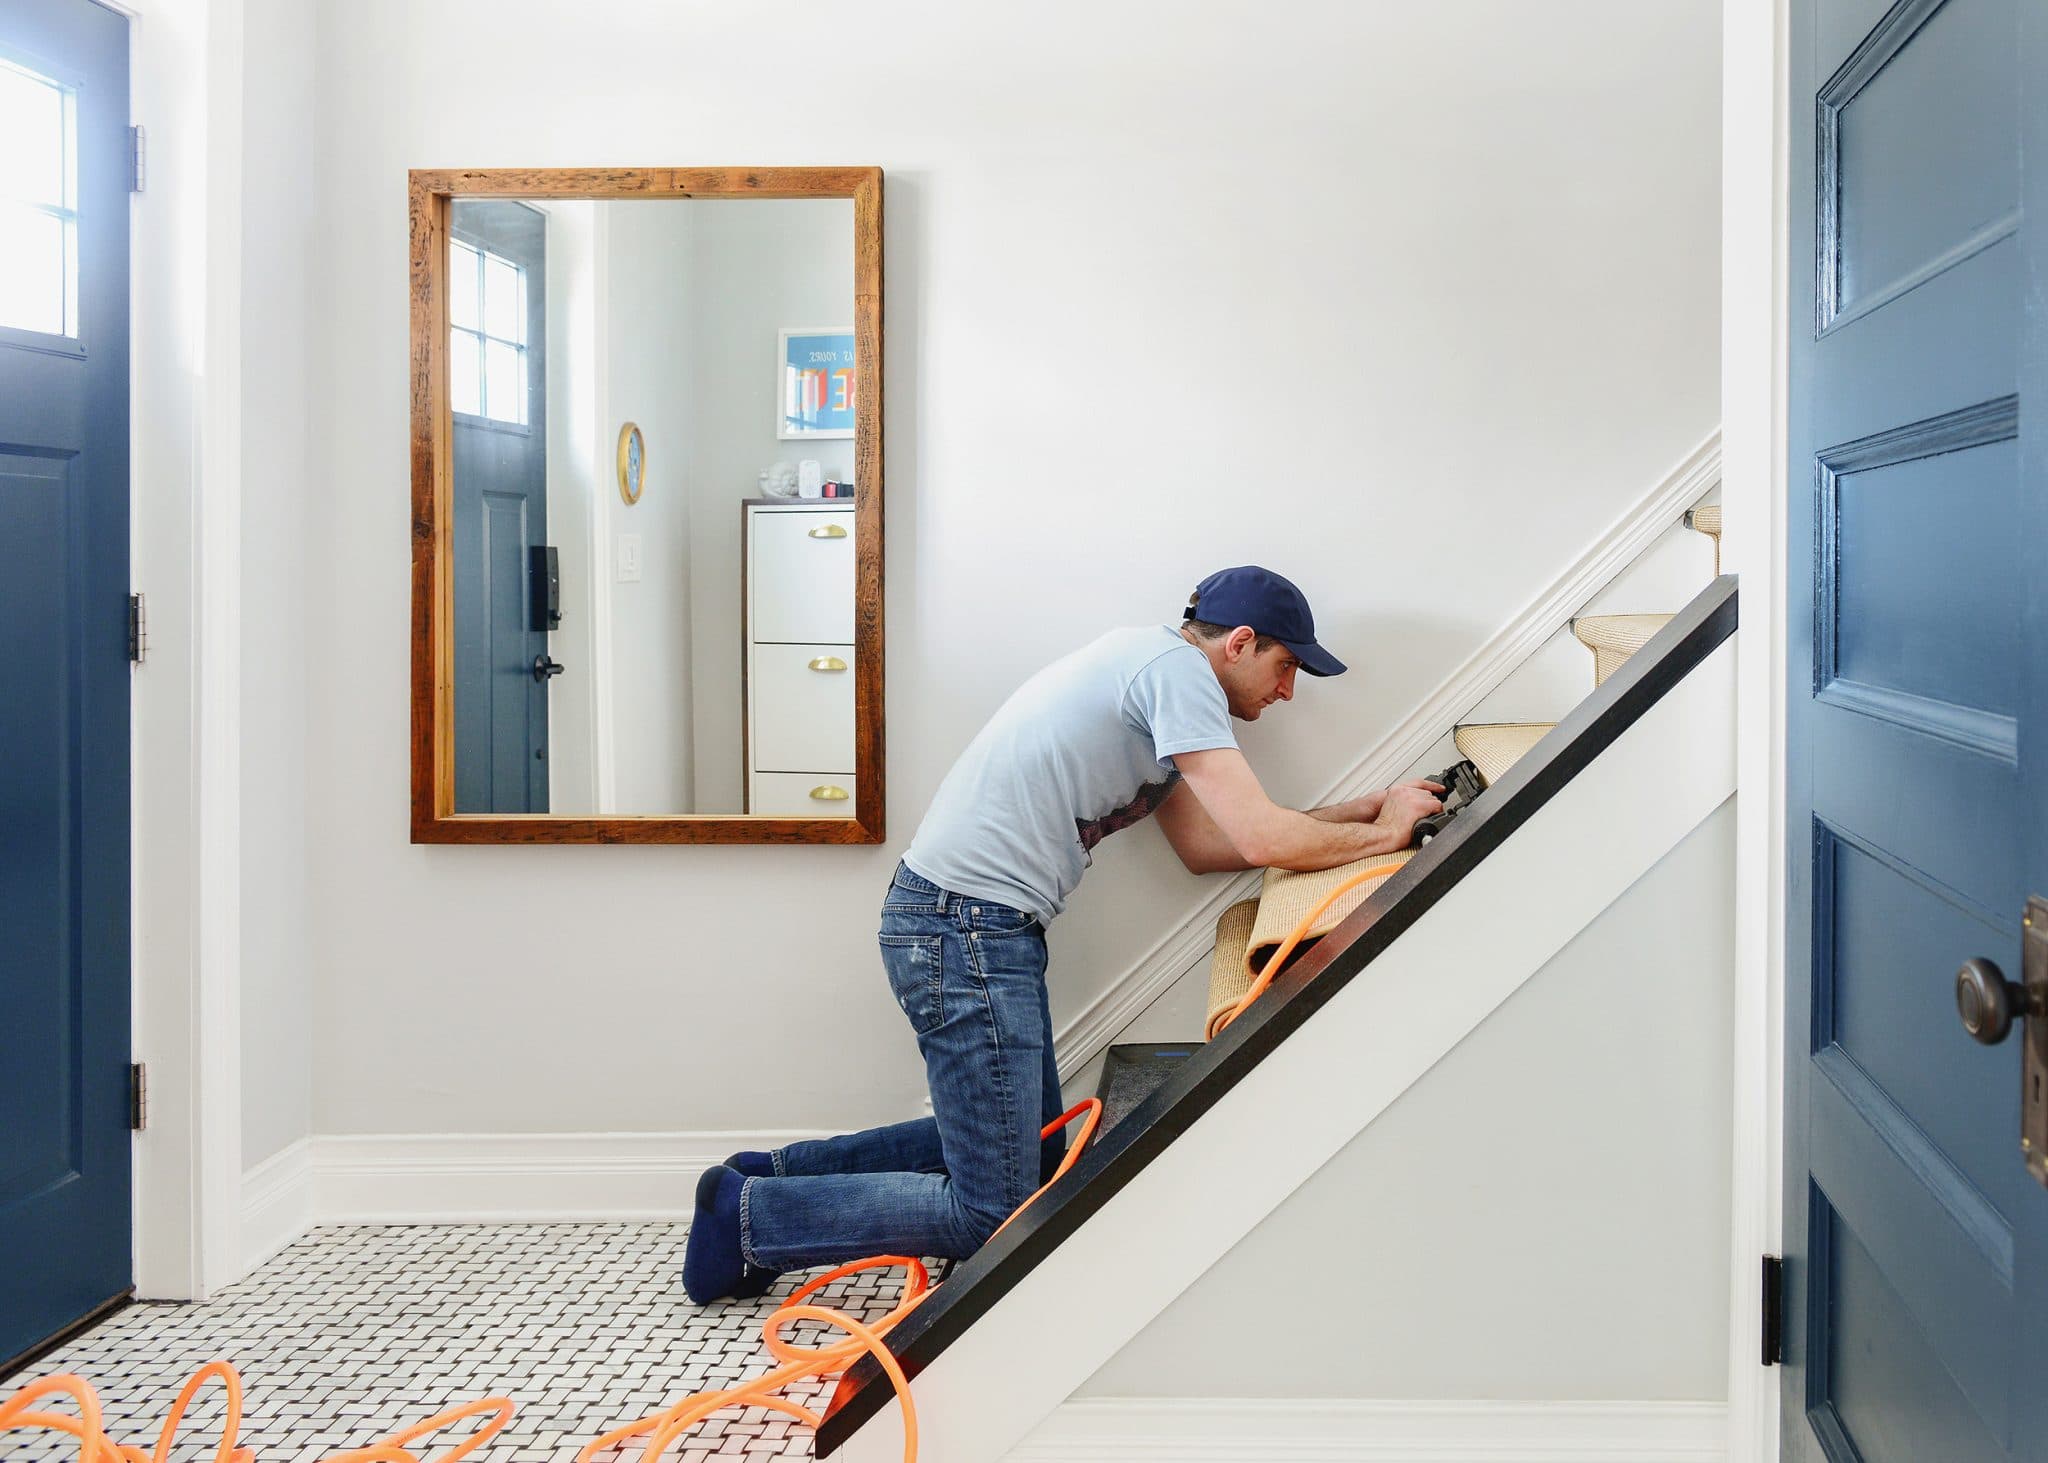
Step 5: Attach the Skirt Board to the Stairs
Now that the pre-drilled holes are ready, it’s time to secure the skirt board to the stairs. Follow these steps to attach the skirt board:
- Align the pre-drilled holes on the skirt board with the corresponding locations on the staircase.
- Starting from one end, hold the skirt board firmly against the staircase and position it so that the holes line up.
- Insert a screw into one of the pre-drilled holes and use a screwdriver or drill to drive it into the staircase. Be careful not to overtighten the screw, as it may cause the wood to split.
- Continue placing screws in the remaining pre-drilled holes, ensuring that the skirt board remains securely attached to the staircase.
- Check the alignment of the skirt board as you go along, making any necessary adjustments to ensure a straight and even installation.
- Work your way from one end of the skirt board to the other, securing it with screws at regular intervals.
It’s important to maintain a consistent and even spacing between the screws to ensure the skirt board is securely attached. Take your time during this step to ensure proper alignment and avoid any mistakes. With the skirt board attached to the stairs, we can move on to the next step: securing the skirt board with screws.
Step 6: Secure the Skirt Board with Screws
With the skirt board attached to the stairs, the next step is to secure it with screws. This will ensure that the skirt board remains firmly in place and provides the necessary structural support. Follow these steps to securely fasten the skirt board:
- Start by inserting a screw into one of the pre-drilled holes on the skirt board.
- Using a screwdriver or drill, drive the screw into the staircase until it is fully tightened. Be cautious not to over-tighten the screw, as it may cause damage to the wood.
- Continue placing screws into the remaining pre-drilled holes at regular intervals along the length of the skirt board.
- Ensure that each screw is securely fastened, but take care not to strip the screw or damage the skirt board.
- Check the alignment of the skirt board as you go along, making any necessary adjustments to ensure that it remains straight and properly positioned.
- Double-check the stability of the skirt board by gently pushing or pulling on it to ensure it is securely attached to the stairs.
- If you encounter any difficulty inserting or tightening a screw, it may be helpful to pre-drill a slightly larger hole to avoid splitting the wood.
By securely fastening the skirt board with screws, you will provide stability and structural integrity to your staircase. Take your time and be meticulous during this step to ensure a professional and polished finish. With the skirt board securely in place, we can move on to the next step: filling in any gaps or holes.
Step 7: Fill in any Gaps or Holes
After securing the skirt board with screws, it’s time to fill in any gaps or holes that may be present. This step will ensure a seamless and polished look for your staircase. Follow these steps to fill in any gaps or holes:
- Start by inspecting the skirt board and staircase for any noticeable gaps between them.
- If you notice any gaps or spaces, use a wood filler that matches the color of your skirt board to fill them in. Apply the wood filler to the gaps using a putty knife or a small spatula.
- Smooth out the wood filler with the putty knife, ensuring that it is evenly distributed and flush with the surface of the skirt board.
- If there are any small holes or imperfections on the skirt board, use the wood filler to fill them in as well.
- Once the wood filler is applied, allow it to dry completely according to the manufacturer’s instructions.
- Once the wood filler is dry, use sandpaper or a sanding block to gently sand the filled areas until they are smooth and blend seamlessly with the rest of the skirt board. Be careful not to oversand or damage the surrounding wood.
- After sanding, wipe away any dust or debris from the skirt board.
- Inspect the skirt board for any remaining gaps or imperfections. If necessary, repeat the filling and sanding process until the surface is smooth and flawless.
Filling in any gaps or holes is crucial for achieving a professional and finished appearance for your skirt board installation. Take your time and pay attention to detail during this step to ensure a seamless finish. With the gaps filled and sanded, we can now move on to the final step: sanding and finishing the skirt board.
Step 8: Sand and Finish the Skirt Board
The final step in installing a skirt board on your existing stairs is to sand and finish the skirt board. This step will enhance the appearance of the wood, smooth out any rough edges, and add a protective layer to ensure longevity. Follow these steps to sand and finish the skirt board:
- Start by inspecting the skirt board for any rough or uneven areas. Use sandpaper or a sanding block to gently remove any imperfections, ensuring that the surface becomes smooth and flawless.
- Sand the entire surface of the skirt board, working in the direction of the wood grain. This will help to achieve a consistent finish and prevent any visible sanding marks.
- After sanding, wipe away any dust or debris from the skirt board using a clean, dry cloth.
- If desired, apply a protective finish to the skirt board to enhance its durability and appearance. You can choose to paint, stain, or varnish the skirt board, depending on your preference and the overall look you want to achieve.
- If you decide to paint the skirt board, apply a primer first to create a smooth and even base. Once the primer is dry, apply multiple coats of paint, allowing each coat to dry thoroughly before applying the next.
- If you prefer a stained or natural wood look, apply a wood stain according to the manufacturer’s instructions. Allow the stain to penetrate the wood, and wipe away any excess stain with a clean cloth.
- For added protection and sheen, apply a clear coat of varnish or polyurethane on top of the stain. This will give the skirt board a beautiful finish and protect it from wear and tear.
- Allow the finish to dry completely before handling or using the stairs.
By sanding and finishing the skirt board, you will not only enhance its appearance but also protect it from moisture, scratches, and daily wear. Take your time during this step to achieve a flawless finish and ensure that the skirt board complements your staircase and overall home decor. With the sanding and finishing complete, your skirt board installation is now finished.
Congratulations! You have successfully installed a skirt board on your existing stairs. Step back and admire the transformed look of your staircase, now complete with a stylish and functional skirt board. This project not only enhances the aesthetic appeal of your home but also adds structural support and protection to your staircase.
Remember to take proper care of the skirt board by periodically cleaning it and applying touch-ups as needed. With minimal maintenance, your skirt board will continue to enhance the beauty and functionality of your staircase for years to come.
Read more: How To Install Basement Stairs
Conclusion
Adding a skirt board to your existing stairs is a rewarding and impactful project that can transform the look and feel of your staircase. Not only does a well-installed skirt board provide a polished and finished appearance, but it also offers structural support and protection for the stair treads. By following the step-by-step guide outlined in this article, you have learned how to install a skirt board with ease and confidence.
From gathering the necessary materials to measuring, cutting, attaching, and finishing, each step has been carefully explained to help you achieve professional and impressive results. Whether you’re tackling a home renovation project or simply looking to upgrade your staircase, the addition of a skirt board is sure to enhance the overall aesthetic and value of your home.
Remember, take your time during each step, pay attention to detail, and prioritize safety. Always double-check your measurements, pre-drill holes for screws, and fill any gaps or holes for a seamless finish. The sanding and finishing process adds the final touch, ensuring that your skirt board is both stunning and protected.
Now that you have completed the installation, step back and admire your handiwork. Your staircase has been elevated to a new level of elegance and sophistication. Enjoy the beauty and functionality of your newly installed skirt board, and revel in the satisfying knowledge that you accomplished this transformation with your own two hands.
With proper care and maintenance, your skirt board will continue to enhance the aesthetic appeal of your staircase for years to come. Keep it clean, periodically touch up the finish if needed, and enjoy the timeless beauty and functionality of your enhanced staircase.
Thank you for joining us in this comprehensive guide on how to install a skirt board on existing stairs. We hope that the knowledge and skills you have gained through this article empower you to embark on future DIY projects and make your home truly exceptional.
Ready to tackle more projects around your house? If you're looking to hone your DIY skills further, our guide on DIY home improvement offers practical advice to enhance any space in your home. For those with a passion for crafting and construction, don't miss our list of woodworking projects set to be the biggest hits in 2024. And, if repairs are on the agenda, our comprehensive steps on home repair ensure you're prepared for any mishap or maintenance task. Dive into these resources for more empowering home project ideas!
Frequently Asked Questions about How To Install Skirt Board On Existing Stairs
Was this page helpful?
At Storables.com, we guarantee accurate and reliable information. Our content, validated by Expert Board Contributors, is crafted following stringent Editorial Policies. We're committed to providing you with well-researched, expert-backed insights for all your informational needs.


0 thoughts on “How To Install Skirt Board On Existing Stairs”