Articles
How To Make Simple Lined Rod Pocket Curtains
Modified: January 5, 2024
Learn how to make simple lined rod pocket curtains with this step-by-step guide. Find articles and tips to easily create beautiful curtains for your home.
(Many of the links in this article redirect to a specific reviewed product. Your purchase of these products through affiliate links helps to generate commission for Storables.com, at no extra cost. Learn more)
Introduction
Welcome to this comprehensive guide on how to make simple lined rod pocket curtains. If you’re looking to enhance the aesthetics of your windows and add a touch of elegance to your home decor, these curtains are the perfect solution. Lined curtains not only provide privacy and light control, but they also add insulation, keeping your home cozy in the winter and cool in the summer.
Creating your own curtains allows you to customize the fabric, color, and pattern to suit your personal style. The process may seem daunting at first, but with a little patience and the right materials, you can create beautiful curtains that will transform the look and feel of any room. So, let’s get started!
Key Takeaways:
- Create custom, insulated curtains to elevate your home decor. Sewing your own lined rod pocket curtains allows for personalization and functionality, adding a unique touch to any room.
- Enjoy the satisfaction of creating beautiful, professional-looking curtains. Experiment with fabrics, colors, and patterns to showcase your creativity and style, and don’t be discouraged by imperfections – practice makes perfect!
Read more: What Is Rod Pocket Curtains
Materials Needed
Before you begin, make sure you have the following materials ready:
- Fabric: Choose a fabric that suits your style and complements your decor. Measure the length and width of your window to determine how much fabric you’ll need. Add a few extra inches for hems and fullness.
- Lining Fabric: Lining fabric adds weight, durability, and insulation to your curtains. Make sure the lining fabric is the same width as your main fabric.
- Thread: Choose a thread color that matches or complements your fabric.
- Rod Pocket Tape: This tape helps create a neat and sturdy rod pocket. You can find it at your local craft or fabric store.
- Pins: Use pins to hold the fabric together when sewing.
- Measuring Tape: A measuring tape is essential for accurately measuring your window and fabric.
- Sewing Machine: While it is possible to sew the curtains by hand, using a sewing machine will make the process faster and easier.
- Scissors: Sharp fabric scissors are necessary for cutting the fabric and lining.
- Iron: An iron is essential for pressing and ironing the fabric and seams.
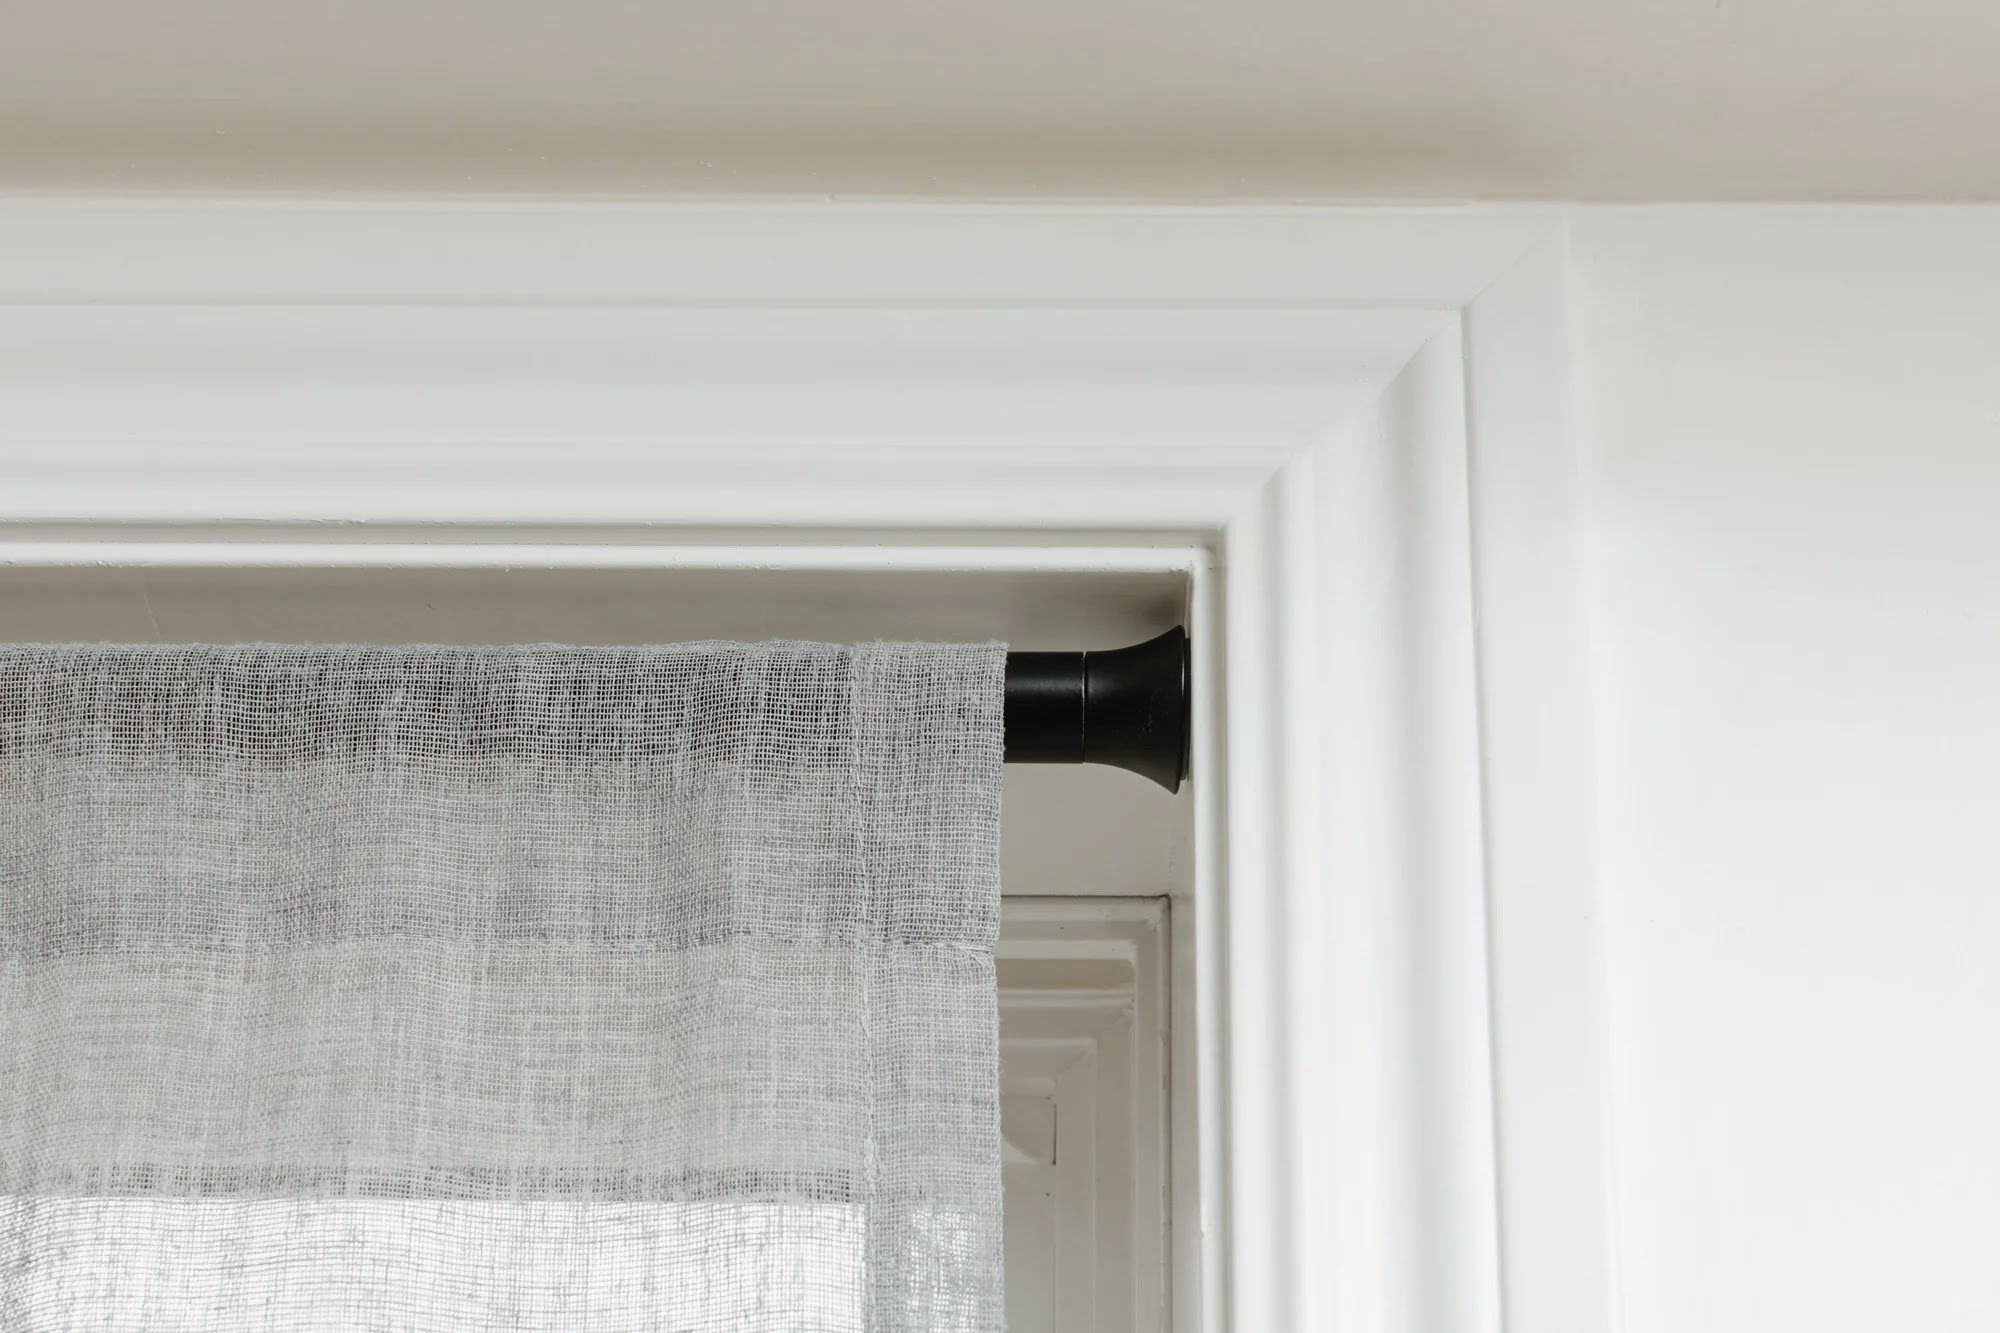
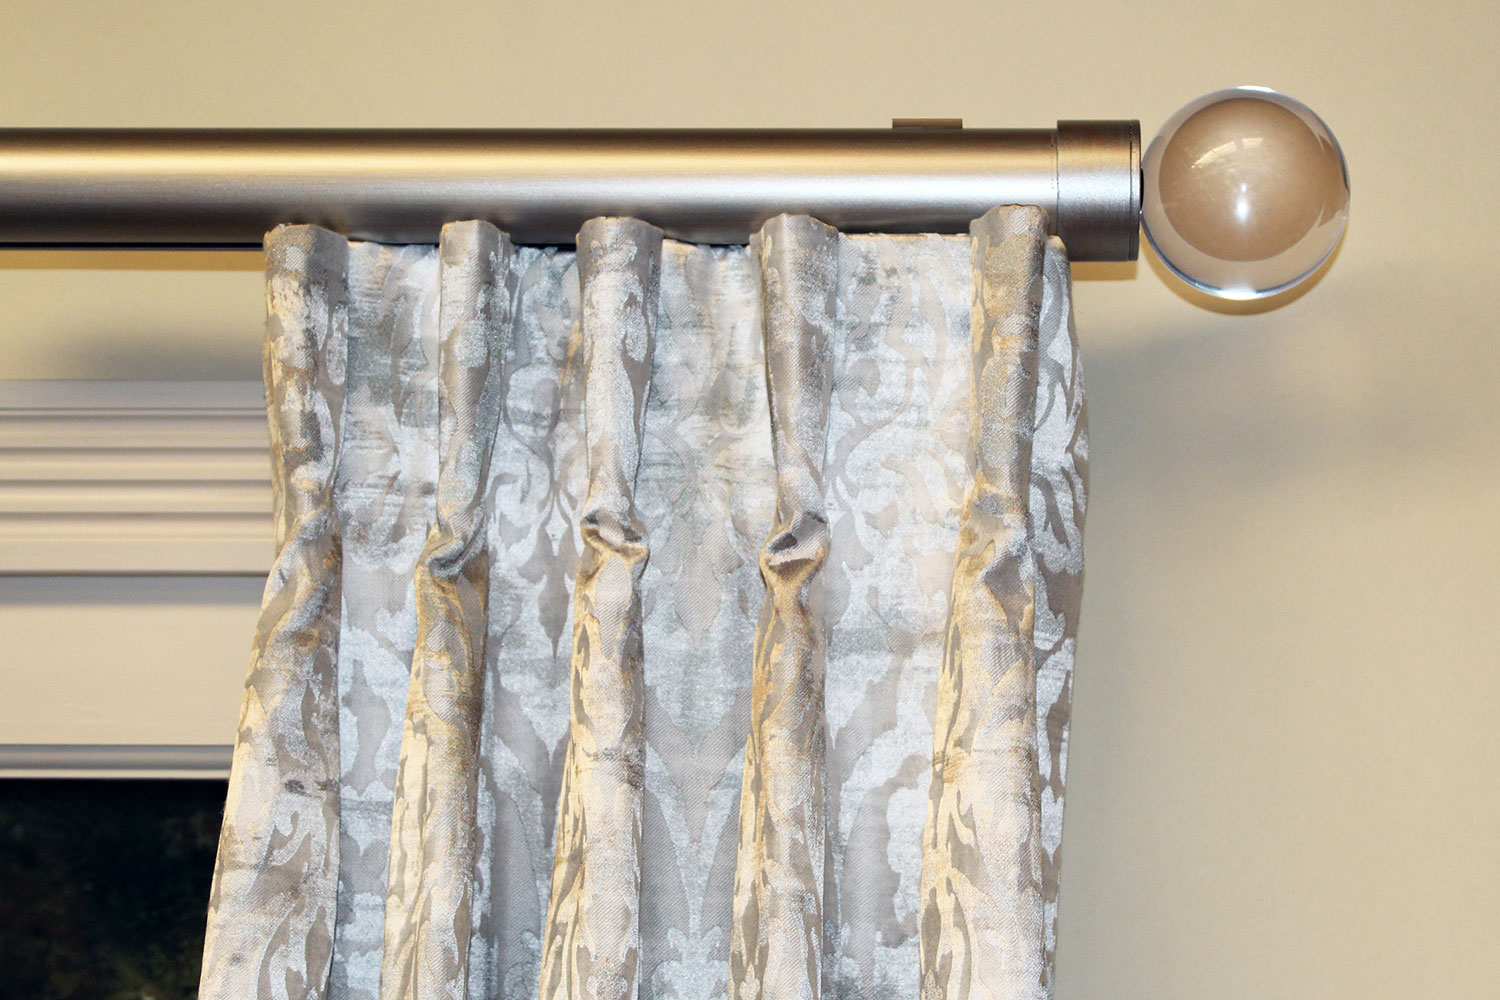
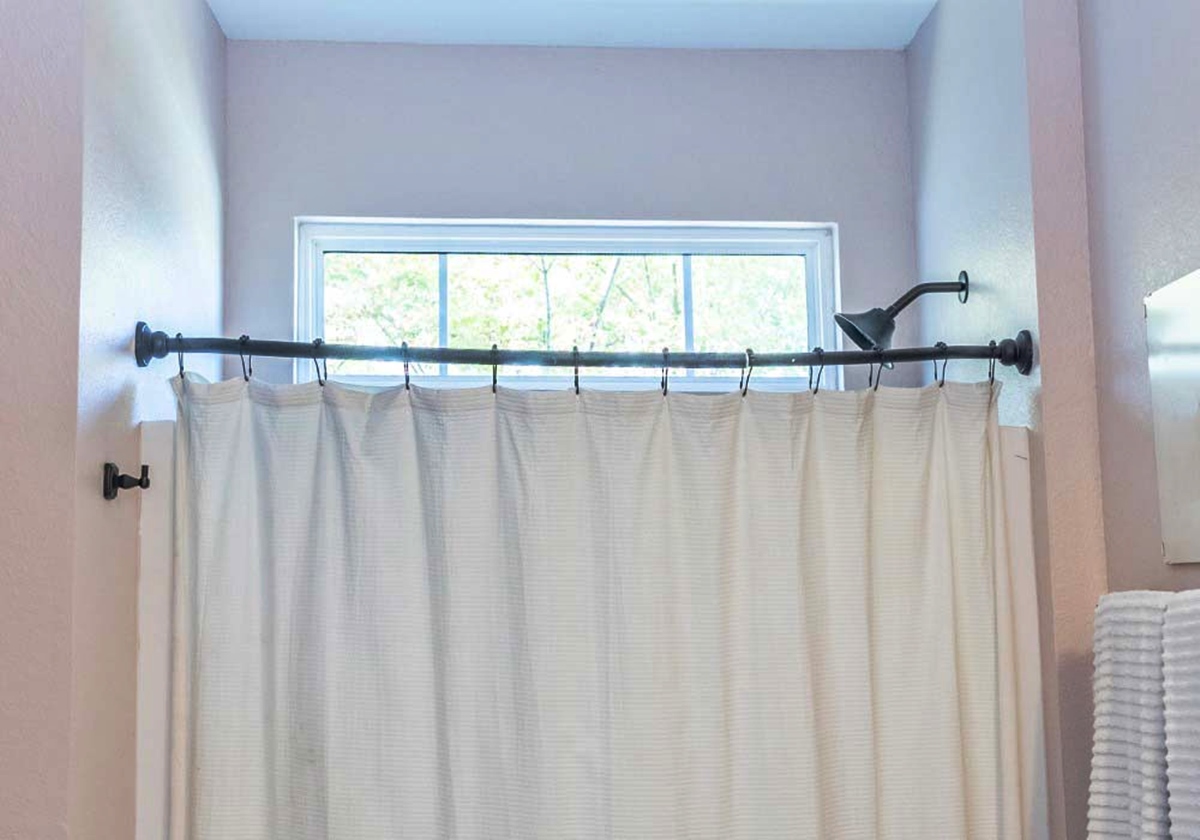
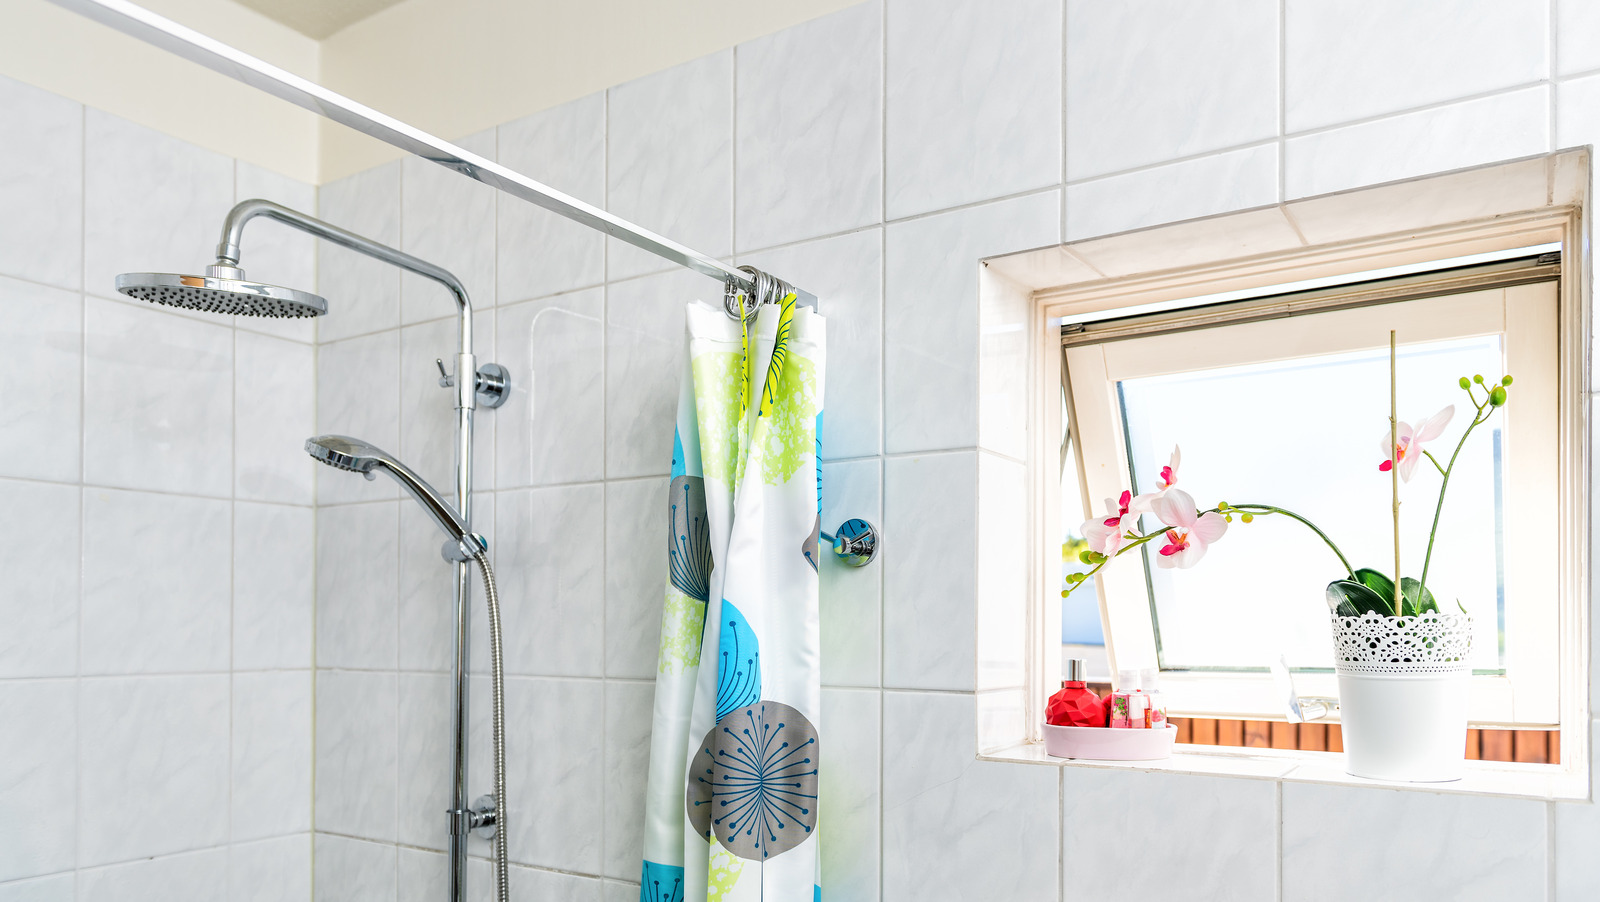
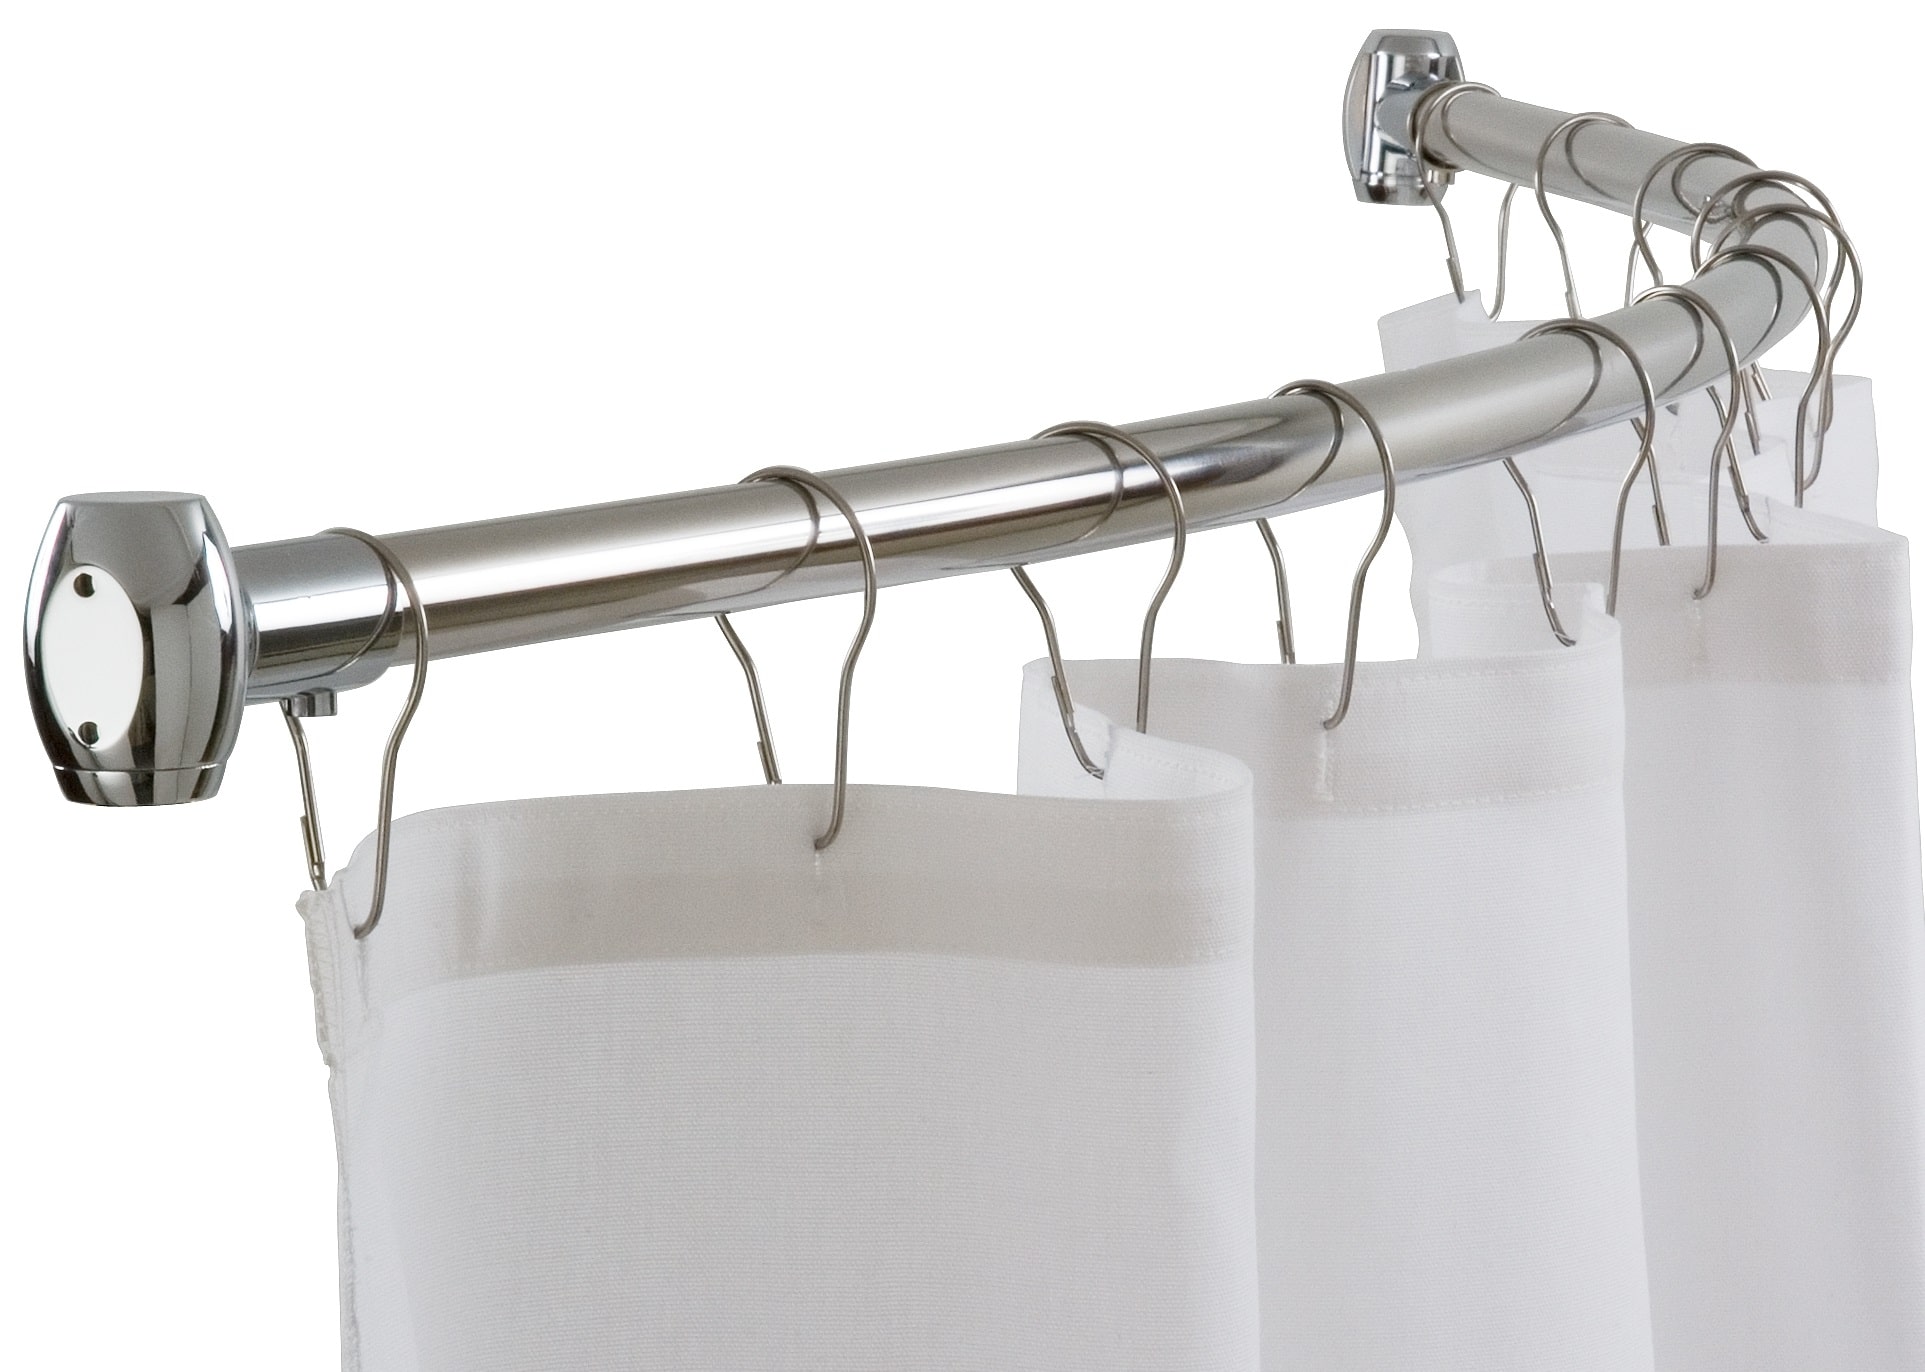
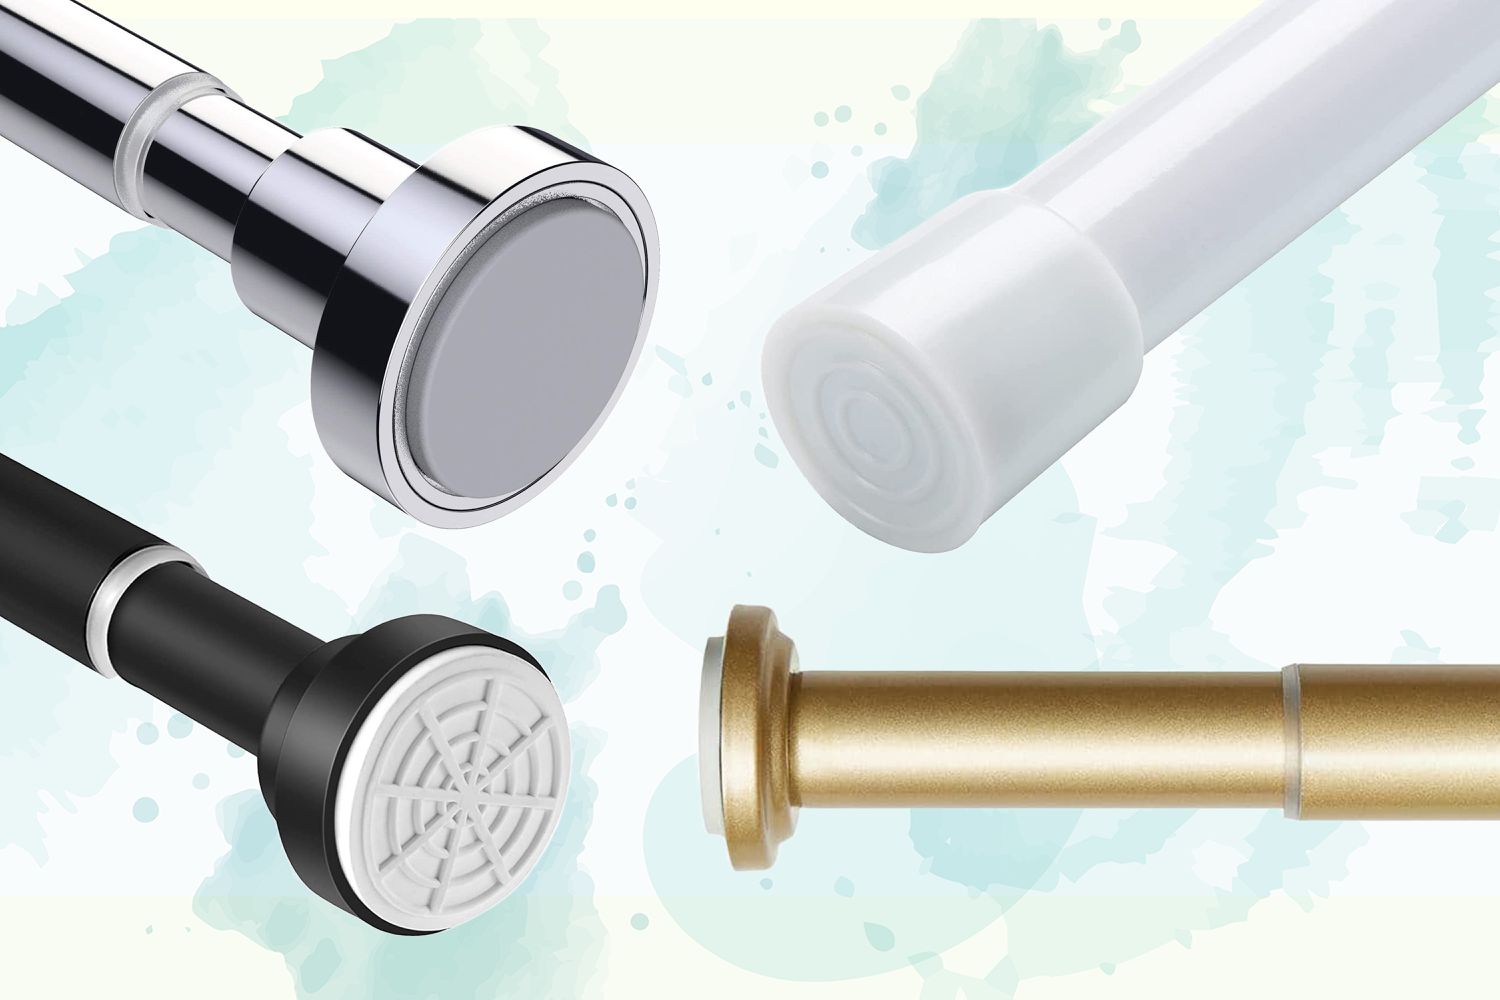
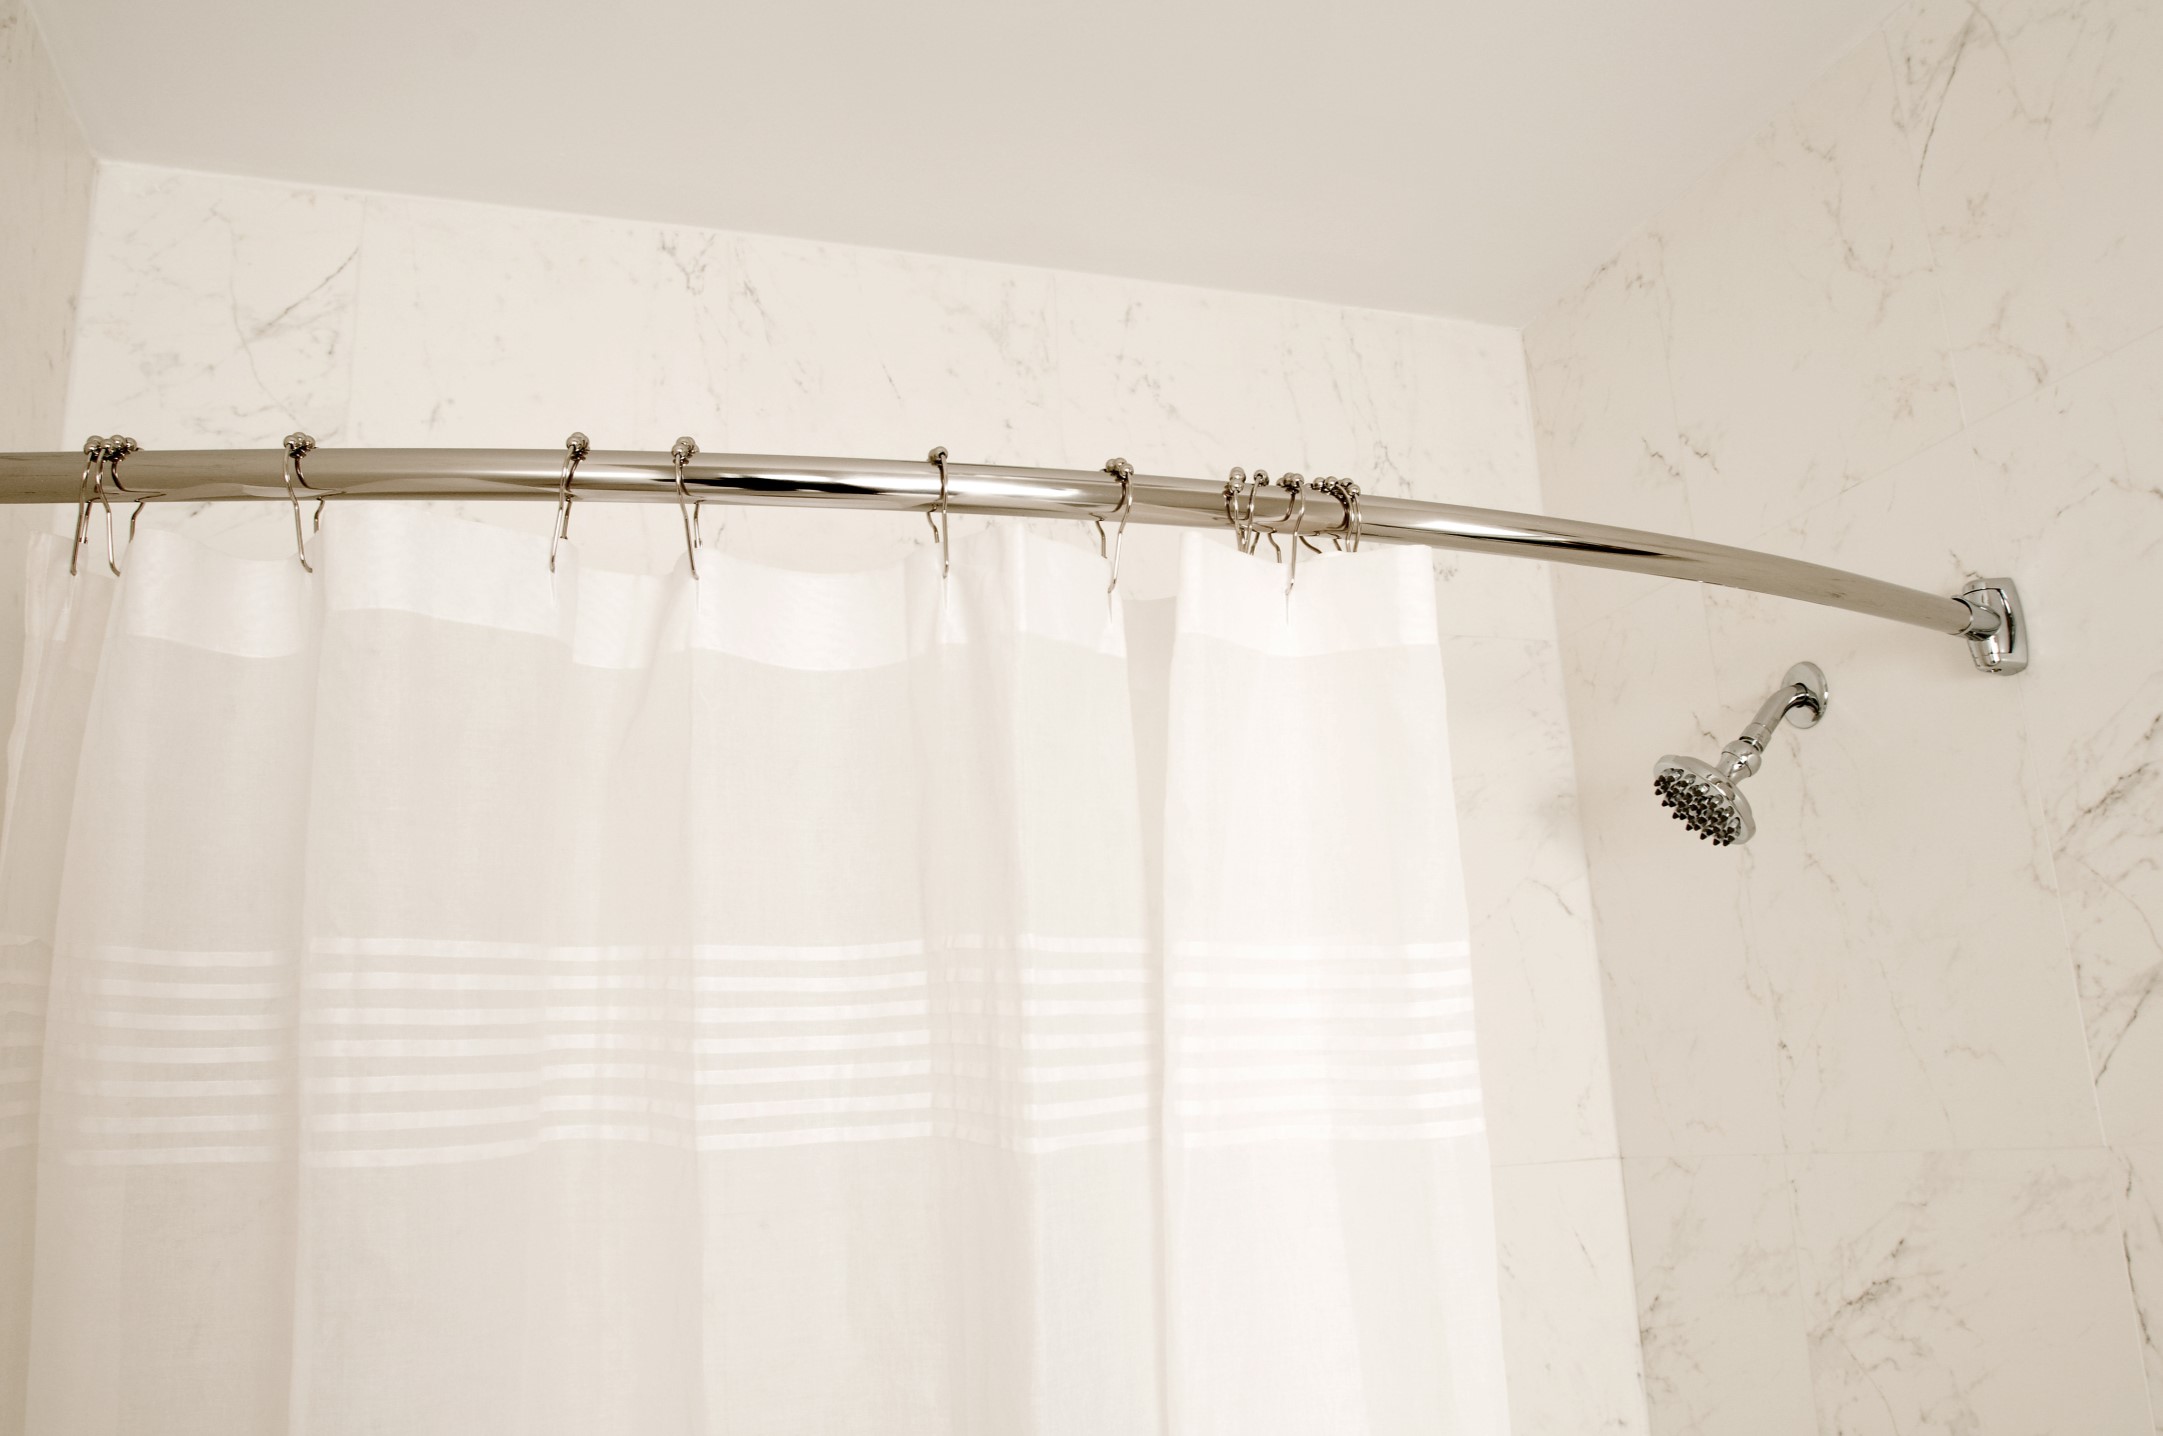
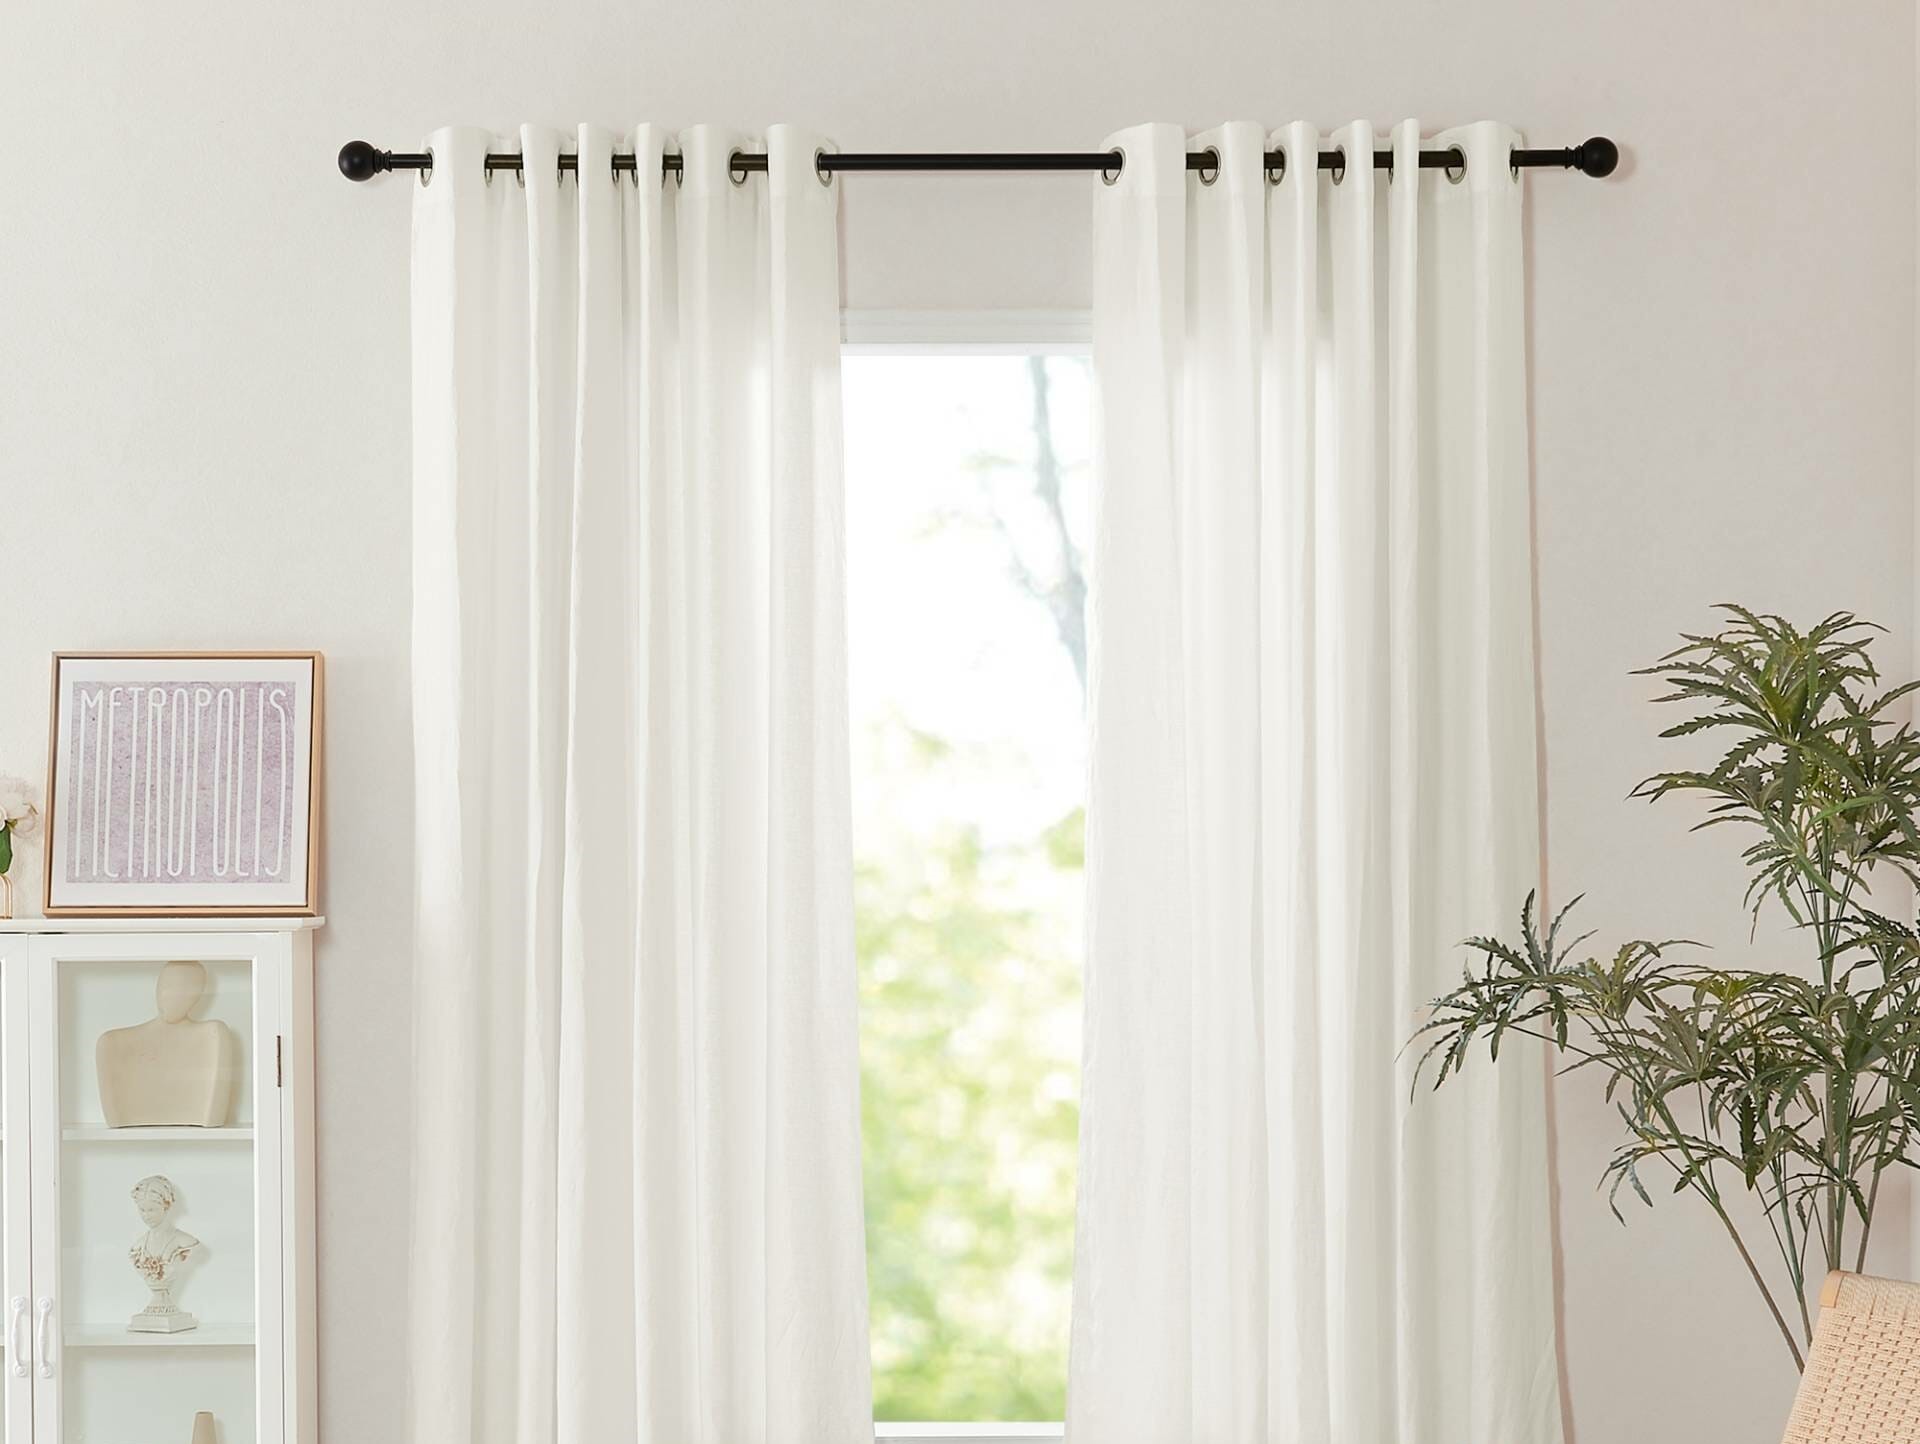
- Rod and Rings: Finally, you’ll need a curtain rod and rings to hang your completed curtains.
With these materials on hand, you’re ready to move on to the next steps in creating your lined rod pocket curtains.
Measurements and Cutting
Once you have gathered all the necessary materials, it’s time to take measurements and cut your fabric. Follow these steps:
- Measure the Window: Use a measuring tape to determine the width and length of your window. Measure from the top of the window frame or where you want the curtains to hang, down to where you want them to end.
- Add Width and Length Allowances: Add extra inches to your measurements for hems and fullness. Typically, you’ll want to add an additional 4-6 inches to the width for hems and about 2 inches to the length for the bottom hem.
- Cut the Fabric and Lining: Using sharp fabric scissors, cut the fabric and lining according to your measurements. Make sure both pieces are the same width and length.
- Trim Edges: If necessary, trim any uneven edges to ensure clean and straight lines.
By taking accurate measurements and cutting the fabric and lining correctly, you’ll ensure that your curtains fit perfectly and look polished.
Sewing the Hem
Now that you have your fabric and lining cut to the right size, it’s time to sew the hem. Follow these steps:
- Iron the Fabric: Start by ironing the fabric and lining to remove any wrinkles and create a smooth surface for sewing.
- Fold and Pin the Bottom Hem: Measure and fold up the bottom edge of the fabric by the desired hem allowance. Pin it in place to hold the fold.
- Sew the Bottom Hem: Using a sewing machine, sew a straight stitch along the folded edge of the bottom hem, securing it in place. Remove the pins as you sew.
- Press the Hem: After sewing, press the bottom hem with an iron to create a crisp finish.
- Repeat for Side Hems (Optional): If you prefer a clean and finished look on the sides of your curtains, repeat the same process for the side hems. Measure, fold, pin, sew, and press each side hem.
By sewing the hem, you create a polished edge that adds structure and durability to your curtains. Ensure that your stitches are even and secure for a professional finish.
When measuring the fabric for your rod pocket curtains, be sure to add extra length for the rod pocket and hem allowance to ensure a proper fit.
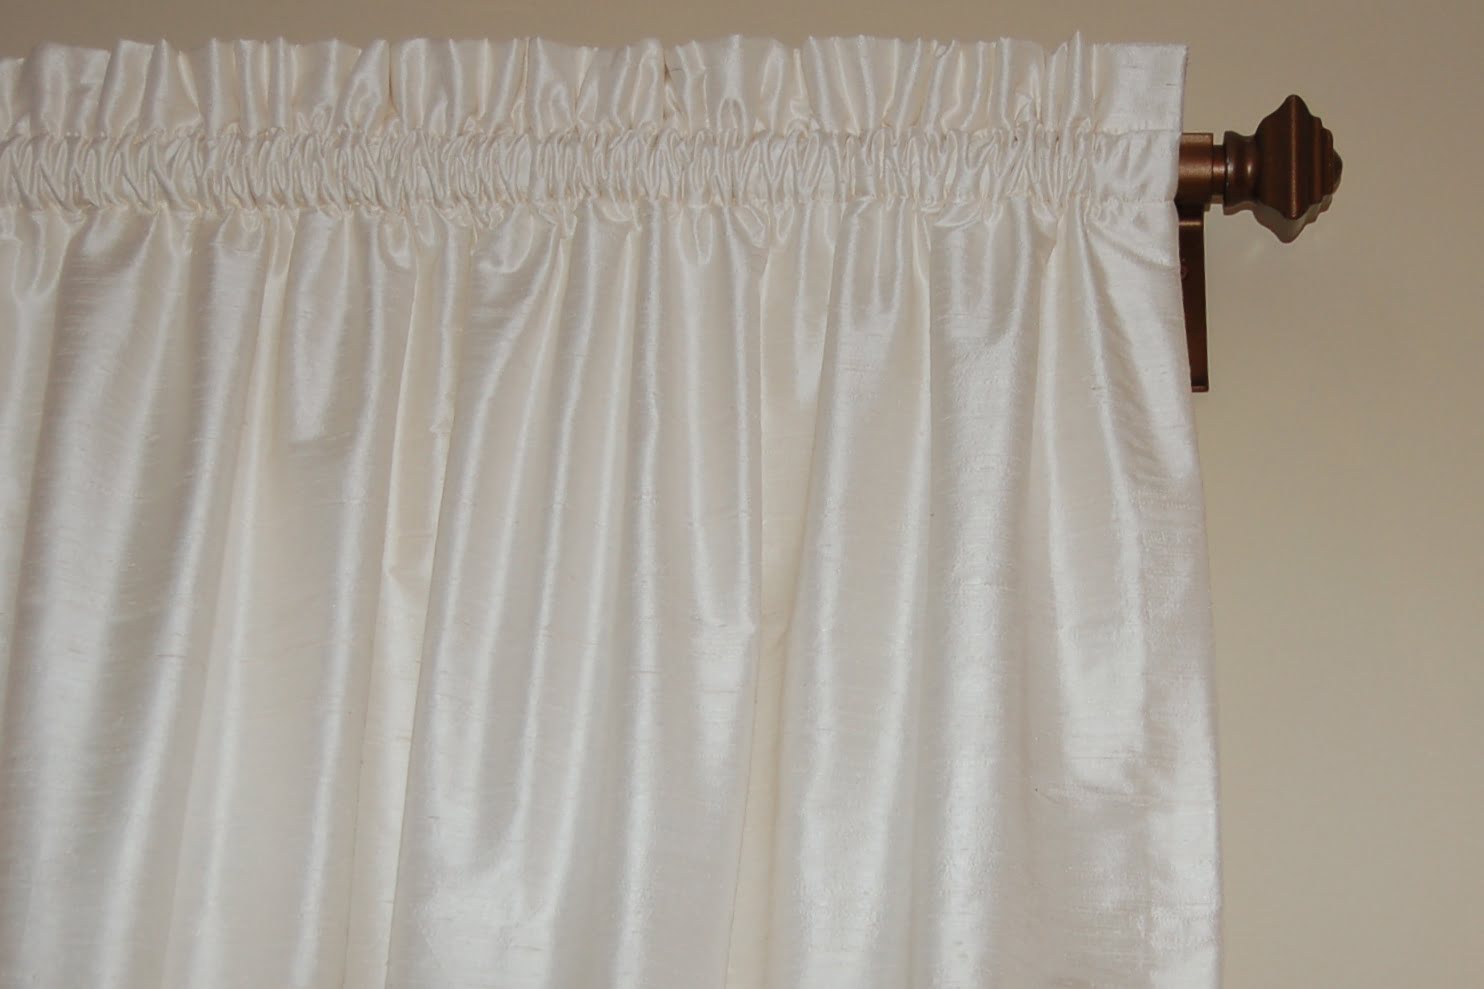
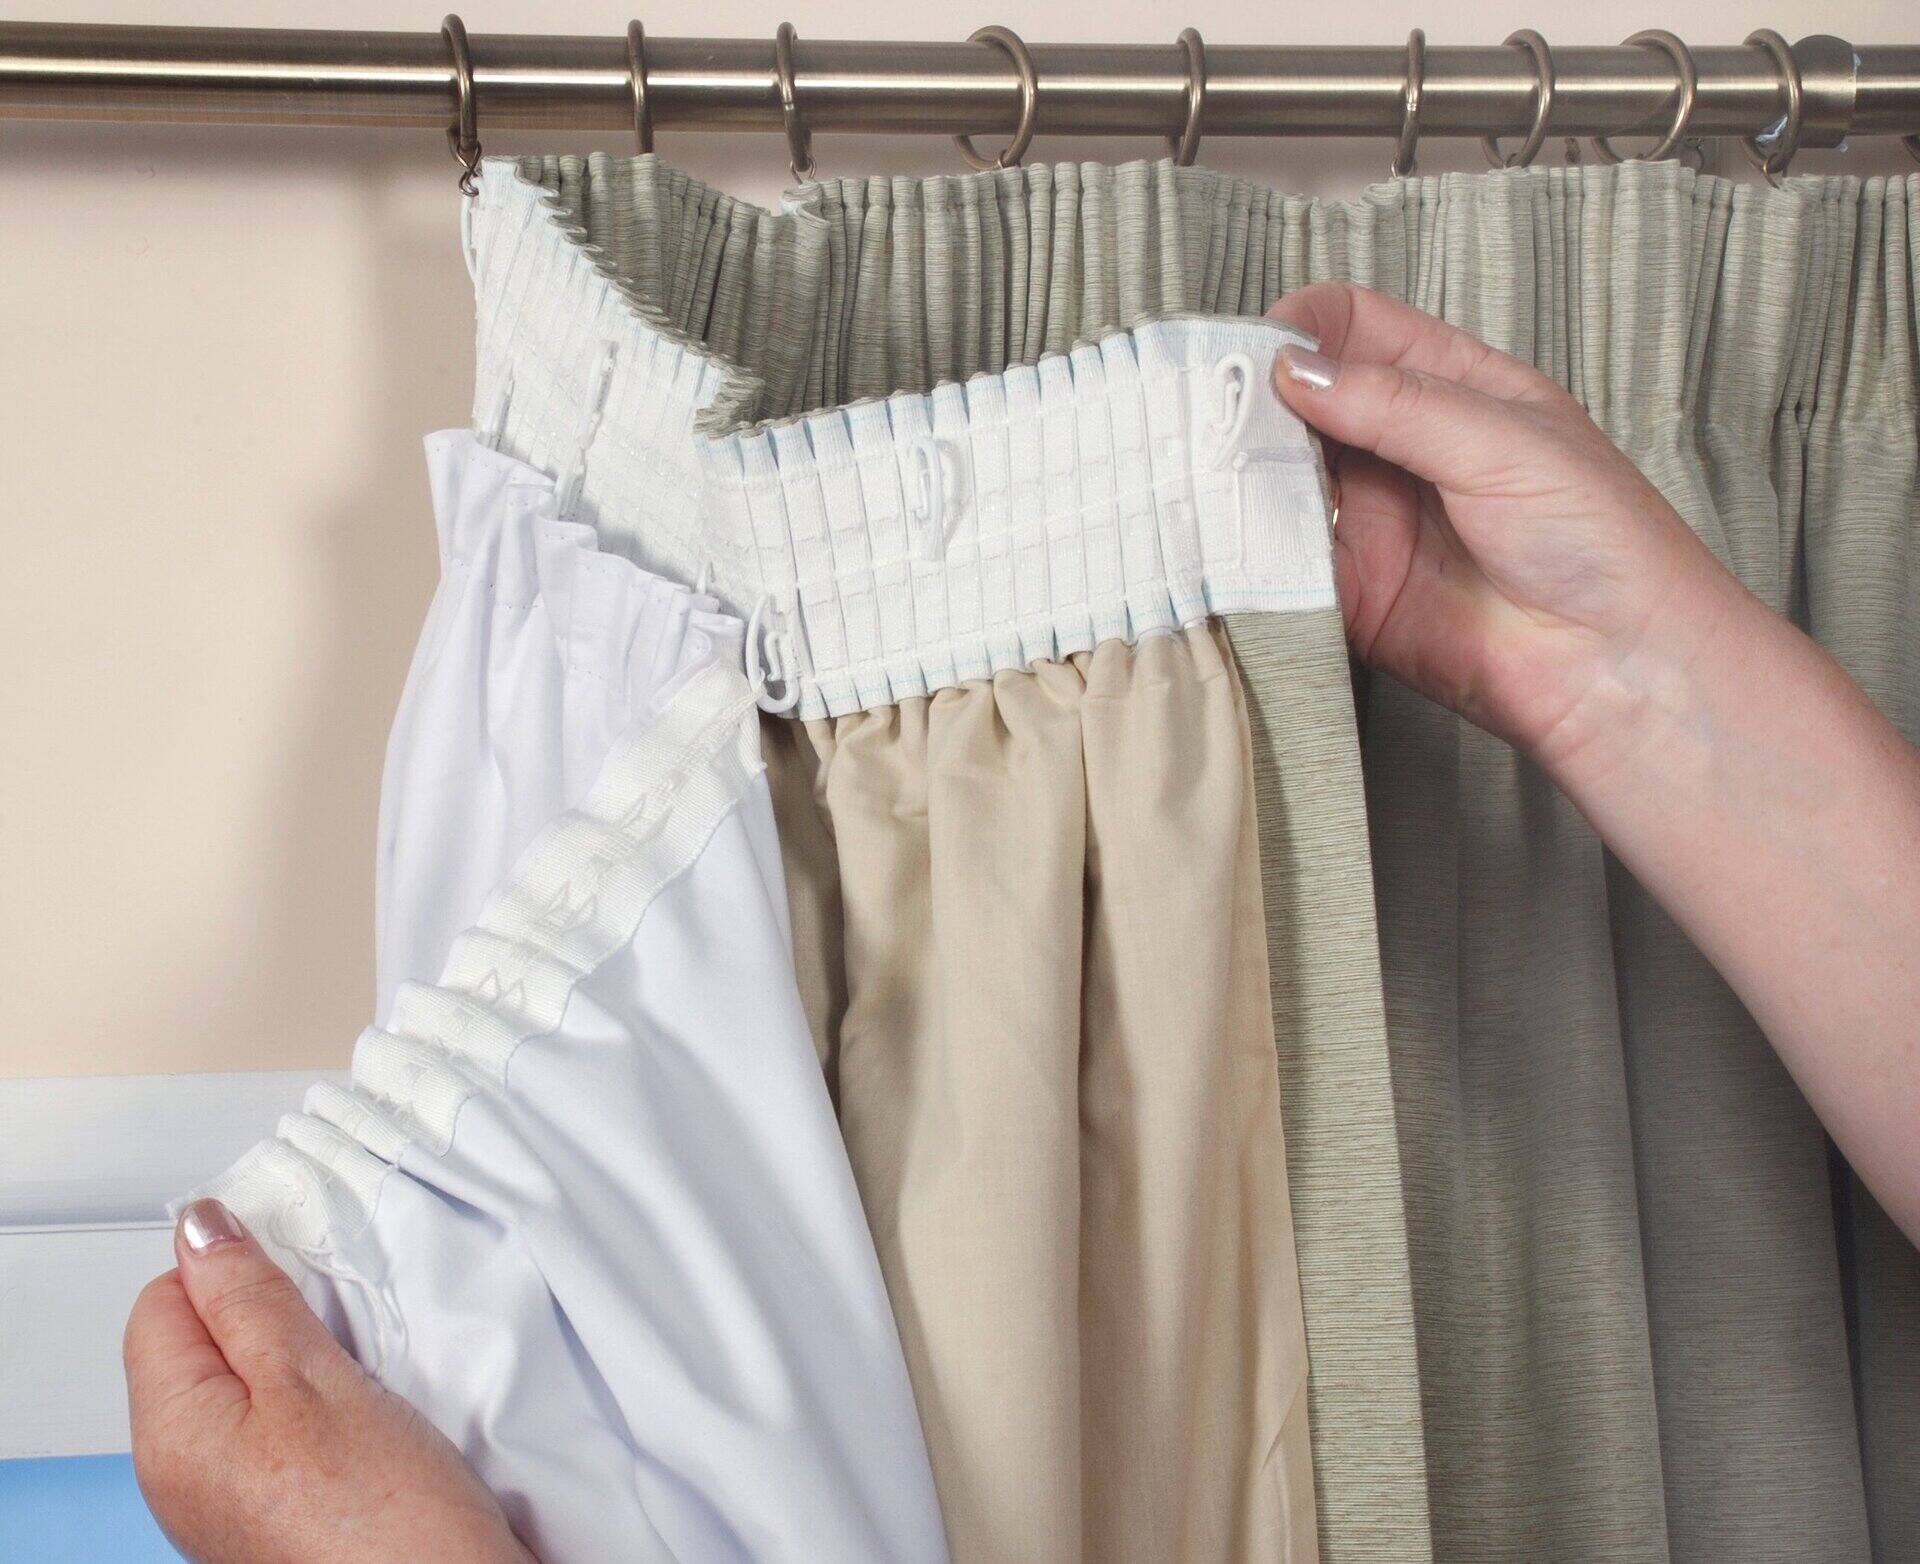
Creating the Rod Pocket
Next, we will create the rod pocket for hanging your curtains. Follow these steps:
- Measure and Fold: Measure the desired height of your rod pocket from the top edge of the fabric. Fold the fabric over to create a pocket, making sure it’s wide enough to accommodate your curtain rod.
- Pin the Fold: Use pins to secure the fold in place. Make sure the pins are placed perpendicular to the fold to avoid interfering with the sewing process.
- Sew the Rod Pocket: Using a sewing machine, sew a straight stitch along the bottom edge of the rod pocket, securing it in place. Remove the pins as you sew.
- Optional Reinforcement: For added strength, you can sew a second line of stitching above the first one along the top edge of the rod pocket. This will help distribute the weight of the curtains evenly on the rod.
Creating a sturdy and well-designed rod pocket ensures that your curtains will hang beautifully and smoothly. Take your time to measure and fold accurately, and sew the rod pocket securely for a professional look.
Read more: How To Make Rod Pocket Drapes
Sewing the Side Seams
With the rod pocket created, it’s time to sew the side seams of your curtains. Follow these steps:
- Pin the Side Seams: Lay your fabric flat with the right sides facing each other. Pin the side edges together, aligning them evenly.
- Sew the Side Seams: Using a sewing machine, sew a straight stitch along each side seam, starting from the top edge and ending at the bottom hem. Remove the pins as you sew.
- Trim Excess Fabric (Optional): If your fabric has excess bulk at the side seams, you can trim it carefully to create a cleaner finish. Be careful not to cut too close to the stitches.
- Press the Side Seams: After sewing, press the side seams flat with an iron to create a smooth and professional look.
By sewing the side seams, you ensure that the fabric is securely held together and that the curtains hang straight and even. Take your time to align the edges accurately and sew with precision for the best results.
Finishing Touches and Final Thoughts
Congratulations! You have successfully sewn your own lined rod pocket curtains. Now, it’s time for the finishing touches and some final thoughts:
- Press the Curtains: Before hanging your curtains, give them a final press with an iron to remove any remaining wrinkles and ensure a polished appearance.
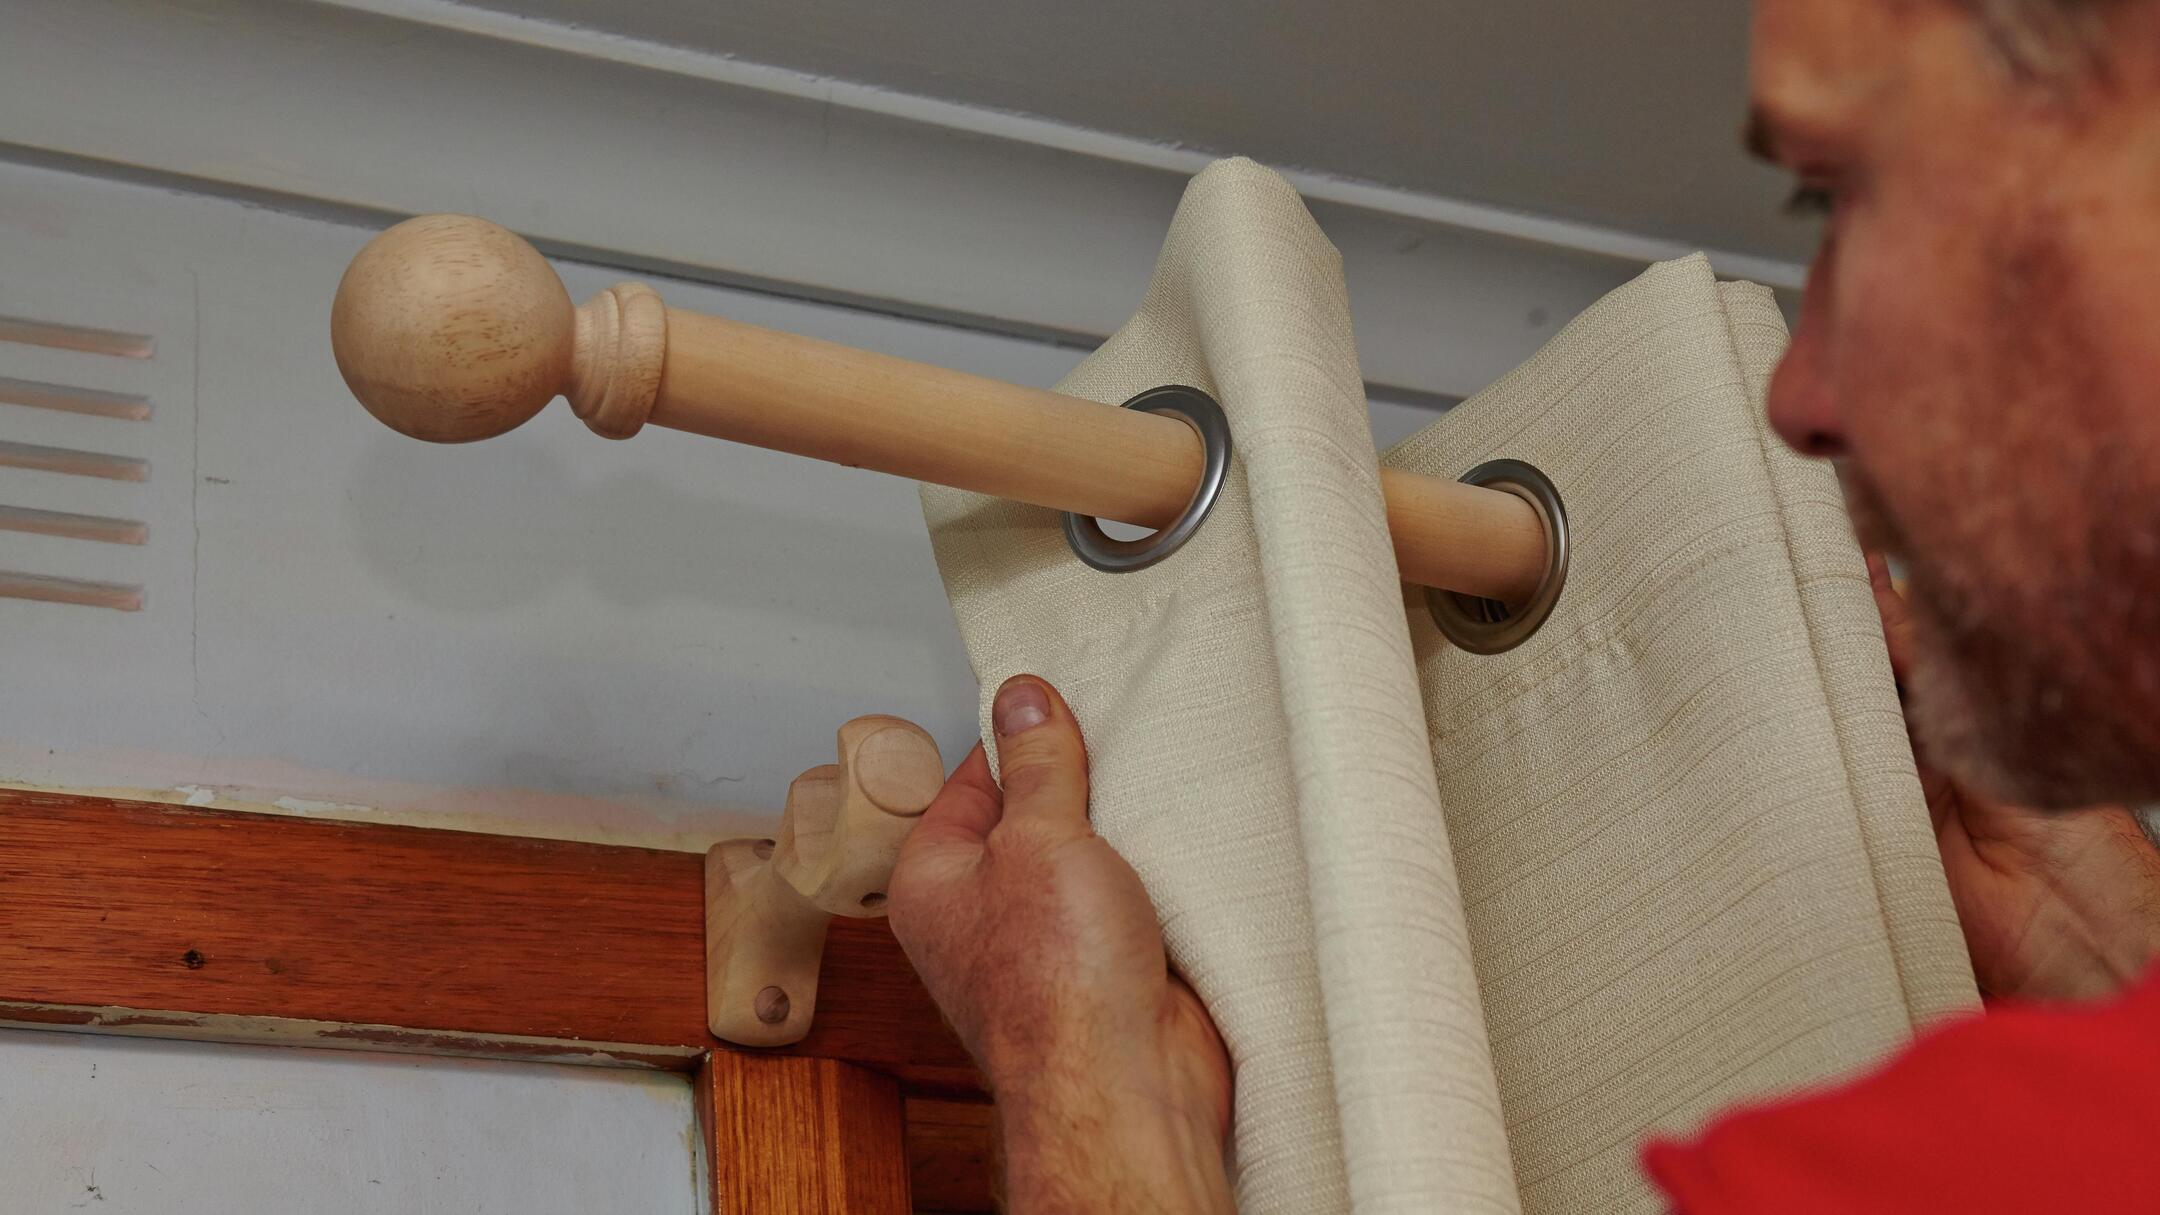
- Hang the Curtains: Install your curtain rod according to the manufacturer’s instructions. Slide the rod through the rod pocket and adjust the curtains to the desired position.
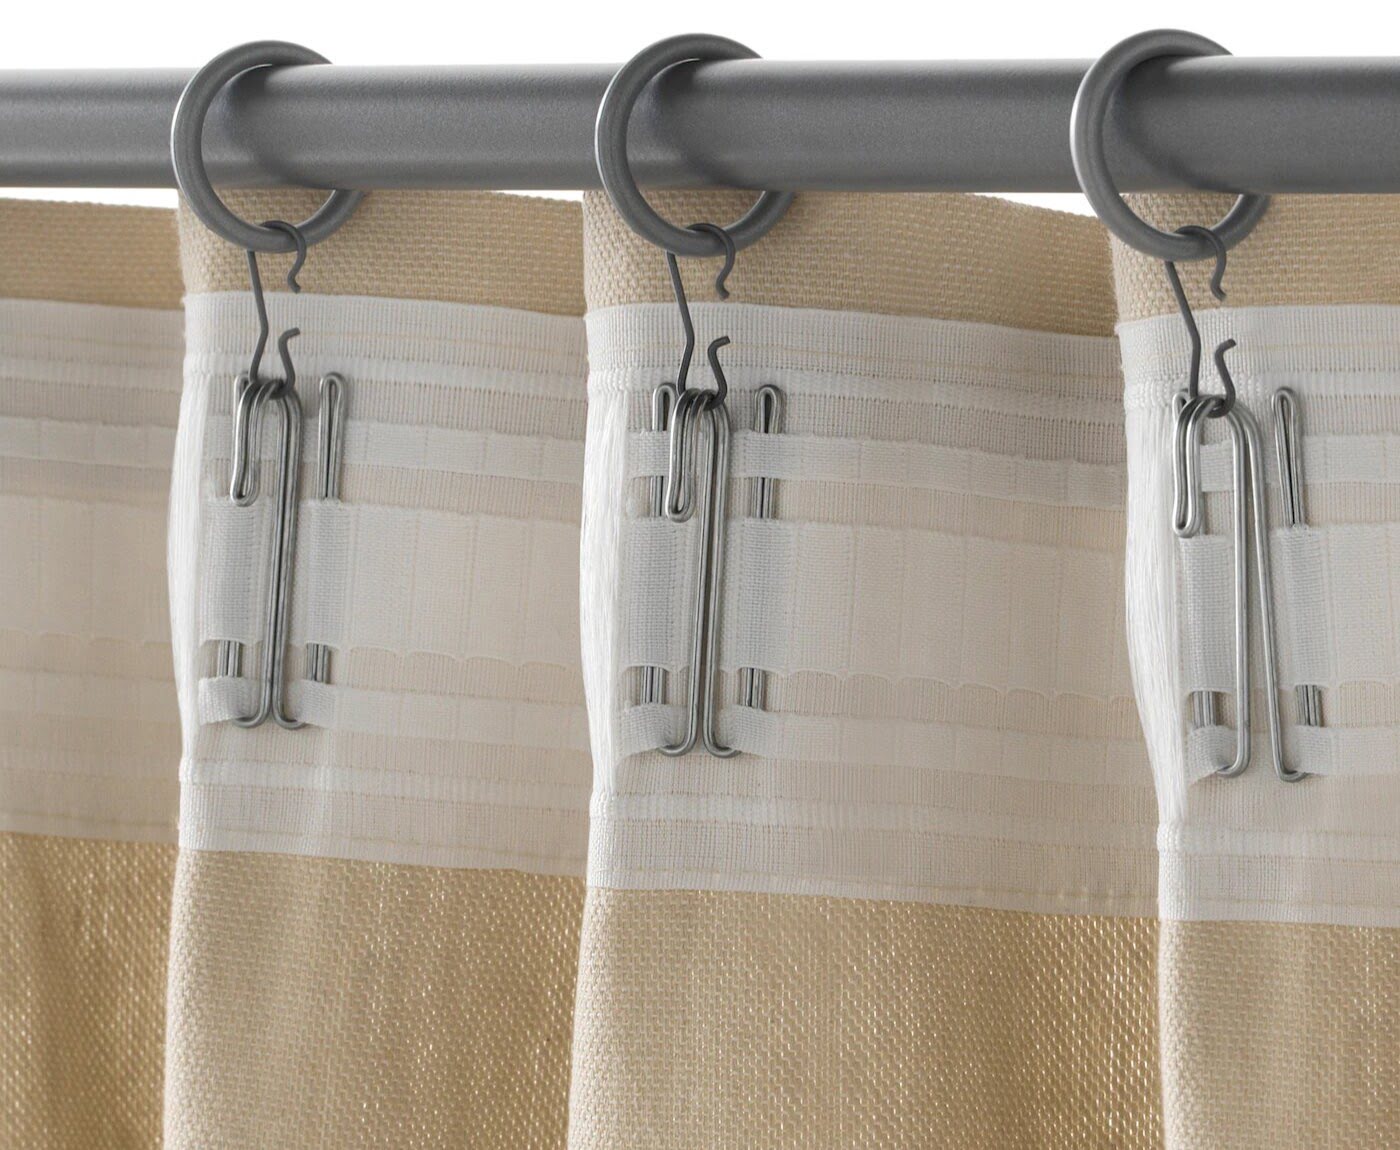
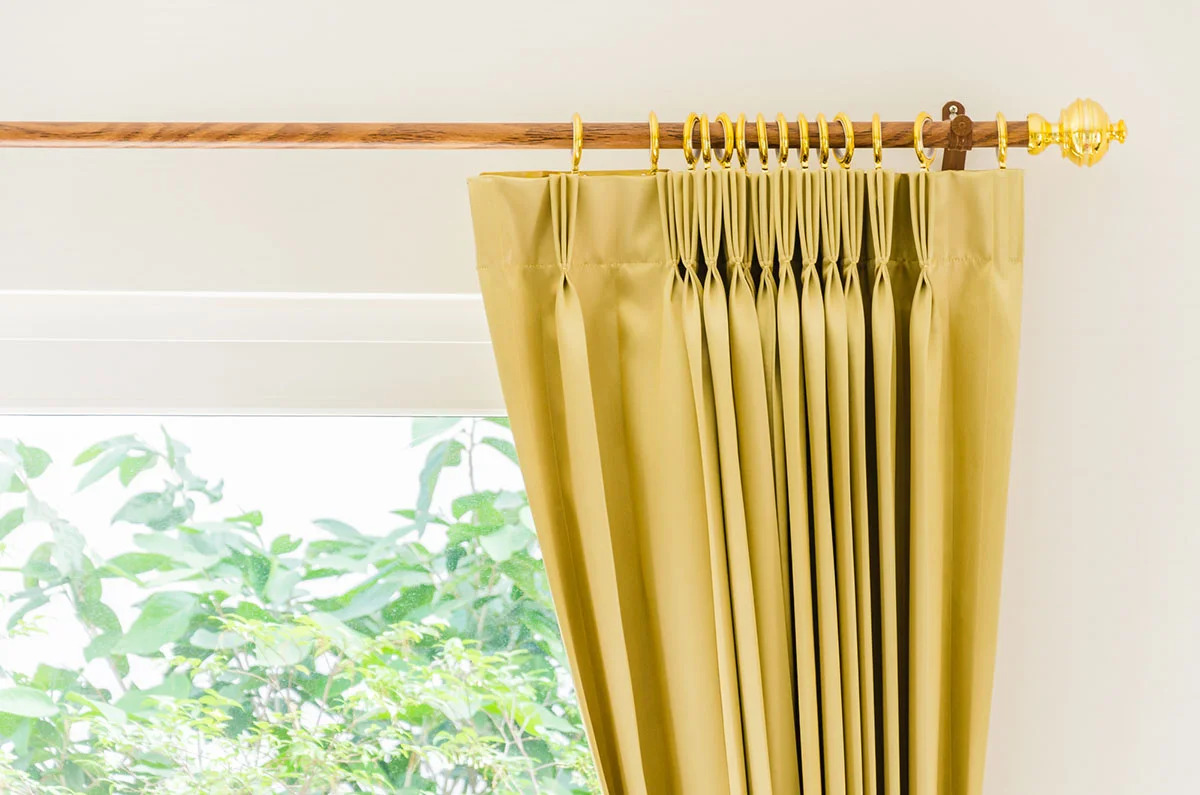
- Add Rings or Clips (Optional): If you prefer, you can use curtain rings or clips to attach your curtains to the rod. This option allows for easy opening and closing of the curtains.
- Enjoy Your New Curtains: Sit back and admire your handiwork! Your new lined rod pocket curtains will not only enhance the beauty of your space but also provide functionality and privacy.
As a final thought, be proud of your accomplishment. Making your own curtains allows you to showcase your creativity and personal style while adding a unique touch to your home. Don’t be afraid to experiment with different fabrics, colors, and patterns to create curtains that truly reflect your taste and personality.
Remember, practice makes perfect. If this is your first time sewing curtains, don’t be discouraged if they are not perfect. With more practice, you’ll refine your skills and create curtains that are even more beautiful and professional-looking.
So, go ahead and enjoy the satisfaction of creating something with your own hands. Admire your new curtains and revel in the beauty they bring to your space.
Frequently Asked Questions about How To Make Simple Lined Rod Pocket Curtains
Was this page helpful?
At Storables.com, we guarantee accurate and reliable information. Our content, validated by Expert Board Contributors, is crafted following stringent Editorial Policies. We're committed to providing you with well-researched, expert-backed insights for all your informational needs.

0 thoughts on “How To Make Simple Lined Rod Pocket Curtains”