Articles
How Do I Make Curtains
Modified: October 28, 2024
Learn how to make beautiful curtains with our helpful articles. Find step-by-step guides and tips for creating customized window treatments.
(Many of the links in this article redirect to a specific reviewed product. Your purchase of these products through affiliate links helps to generate commission for Storables.com, at no extra cost. Learn more)
Introduction
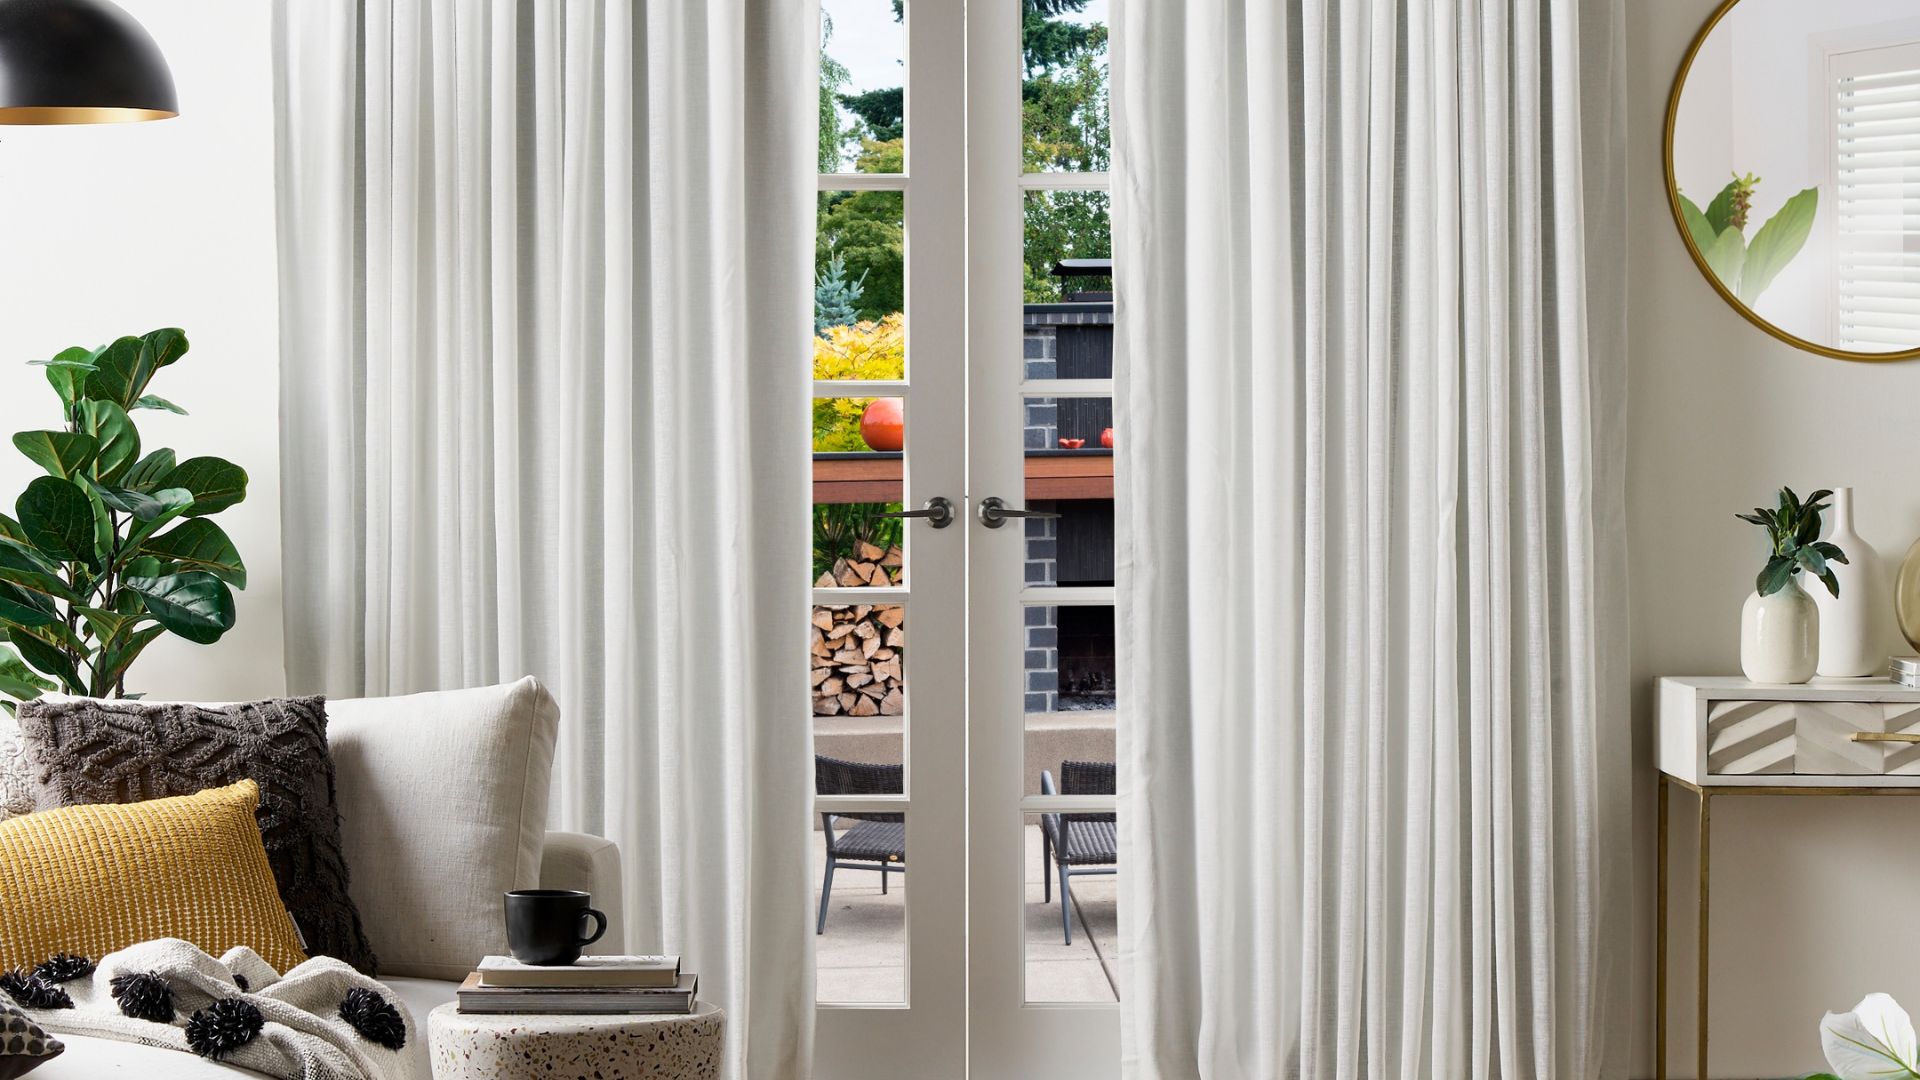
Making your own curtains can be a rewarding and cost-effective way to add a personalized touch to your home decor. Whether you’re looking to upgrade your existing curtains or starting from scratch, this comprehensive guide will walk you through the essential steps of making curtains that perfectly fit your windows and reflect your unique style.
By following these step-by-step instructions, you’ll be able to create custom curtains that not only enhance the aesthetics of your home but also provide privacy, control light, and add a sense of warmth and comfort to any room.
From choosing the right fabric to measuring your windows, cutting the fabric, and hanging the curtains, this article covers every aspect of the curtain-making process. Whether you’re a seasoned DIY enthusiast or a beginner, you’ll find all the information you need to successfully create beautiful curtains that are truly one-of-a-kind.
So, roll up your sleeves, unleash your creativity, and let’s dive into the world of curtain making!
Key Takeaways:
- Unleash your creativity and personalize your home decor by making custom curtains that fit your windows perfectly and reflect your unique style. Enjoy the process and take pride in your handcrafted curtains!
- From choosing the right fabric to adding final touches, creating your own curtains is a rewarding journey that enhances the aesthetics of your space while providing privacy, light control, and comfort. Embrace your newfound skills and continue to craft stunning window treatments.
Read more: How Do I Hang Curtains
Step 1: Choosing the right fabric
When it comes to making curtains, selecting the right fabric is crucial. Not only does it affect the overall look and feel of the curtains, but it also determines their durability and functionality. Here are some important factors to consider when choosing the fabric for your curtains:
- Weight and drape: Consider the weight and drape of the fabric you’re choosing. Heavier fabrics like velvet or jacquard provide better insulation and light-blocking properties, making them ideal for bedrooms or spaces where you want maximum privacy. Lighter fabrics such as linen or cotton voile are better suited for areas where you want to let in more natural light.
- Pattern and color: Think about the overall color scheme and style of your room. Choose a fabric pattern and color that complements the existing decor. If you want your curtains to make a statement, opt for bold patterns or vibrant hues. For a more subtle and timeless look, go for neutral tones or classic designs.
- Privacy and light control: Consider the level of privacy and light control you desire. Sheer or semi-sheer fabrics offer daytime privacy while allowing soft light to filter in. On the other hand, blackout or lined fabrics provide maximum privacy and light-blocking capabilities, making them ideal for bedrooms or media rooms.
- Care and maintenance: Take into account the care and maintenance requirements of the fabric. Some materials may require dry cleaning, while others can be machine washed. Consider your lifestyle and choose a fabric that is easy to clean and maintain.
- Budget: Lastly, consider your budget. Fabrics come in a wide range of prices, so it’s important to determine how much you’re willing to spend before making a decision. Keep in mind that investing in high-quality fabric can result in curtains that last longer and maintain their beauty over time.
Once you’ve taken these factors into consideration, head to a fabric store or browse online to explore the options. Don’t forget to request samples if available, as seeing and feeling the fabric firsthand can help you make a better decision.
Choosing the right fabric sets the foundation for creating curtains that are not only visually appealing but also functional and durable. So take your time, do some research, and select a fabric that truly reflects your style and meets your needs.
Step 2: Measuring the window
Accurate measurements are essential for creating curtains that fit perfectly and hang beautifully. Before you start cutting the fabric, follow these steps to measure your window:
- Measure the width: Start by measuring the width of the window frame or the area you want the curtains to cover. Use a steel measuring tape and record the width in inches or centimeters. For a fuller look, it’s recommended to add 6-8 inches (15-20 cm) to the width measurement.
- Measure the length: Next, measure the length from the top of the curtain rod or track to the desired length of the curtains. Decide whether you want floor-length curtains, curtains that just skim the floor, or any other specific length. Keep in mind that for a classic look, curtains should typically fall about ½ inch (1 cm) above the floor.
- Consider the curtain style: Different curtain styles require different measurements. For example, if you’re planning to make rod pocket curtains, remember to account for the space needed for the rod pocket at the top. Similarly, if you’re making grommet curtains, measure the length from the top of the curtain rod to where you want the curtains to end, excluding the space needed for the grommets.
- Measure multiple windows: If you’re planning to make curtains for multiple windows in the same room, repeat the measurements for each window. Even if the windows appear to be the same size, slight variations can occur, and it’s crucial to measure each window individually to ensure a precise fit.
It’s important to note that when measuring, always use a measuring tape or ruler for accuracy. Avoid using flexible materials or string, as they can result in inaccurate measurements.
Once you have the width and length measurements, double-check them to ensure accuracy. It’s always better to measure twice and cut once, as mistakes in measurements can lead to ill-fitting curtains.
By taking the time to measure your window correctly, you’ll ensure that the curtains you make will fit flawlessly and add a polished and cohesive look to your space.
Step 3: Calculating the fabric required
Now that you have the measurements of your window, it’s time to determine the amount of fabric you’ll need for your curtains. Here’s how to calculate the fabric required:
- Calculate the fabric width: The fabric width refers to the width of the fabric you will be using for your curtains. Standard fabric widths commonly available are 45 inches (114 cm) and 54 inches (137 cm). Determine the fabric width you have chosen for your project.
- Calculate the number of panels: Deciding the number of curtain panels depends on personal preference and the desired fullness of the curtains. For a minimalistic look, one panel per window is sufficient. However, for a fuller appearance, you may choose to use two or more panels. Keep in mind that the total fabric width will be divided among the panels.
- Calculate the fabric width per panel: Divide the total fabric width by the number of panels you’ve decided to use. For example, if the total fabric width is 54 inches (137 cm) and you’re using two panels, each panel will be 27 inches (68.5 cm) wide.
- Calculate the fabric length: The fabric length refers to the length of each curtain panel, including any allowances for hems and headers. Add the desired length of the curtains to any hem and header allowances. For example, if the desired length is 84 inches (213 cm) and you’re adding 2 inches (5 cm) for hems and headers, the fabric length per panel will be 86 inches (218.5 cm).
- Calculate the total fabric required: To determine the total fabric required for your curtains, multiply the fabric width per panel by the fabric length per panel. For example, if each panel is 27 inches (68.5 cm) wide and 86 inches (218.5 cm) long, the total fabric required per panel will be 2,322 square inches (14,973 cm2).
- Consider pattern repeats: If the fabric you’ve chosen has a pattern with a repeat, you’ll need to account for this when calculating the fabric required. The pattern repeat is typically mentioned on the fabric label. Make sure to add the necessary amount of fabric to match pattern repeats across the panels.
It’s always recommended to add some extra fabric to your calculations to account for any mistakes, variation in fabric width, or future adjustments. Adding an additional 10-15% to the total fabric required is a good rule of thumb.
By accurately calculating the fabric required for your curtains, you’ll be able to purchase the appropriate amount of fabric and avoid any unexpected shortages during the sewing process. This will help ensure a seamless and successful curtain-making project.
Step 4: Cutting the fabric
Once you have accurately calculated the amount of fabric required for your curtains, it’s time to move on to cutting the fabric. Follow these steps to ensure precise and clean cuts:
- Prepare your workspace: Clear a large, flat surface where you can lay out the fabric. A clean cutting mat or a flat table will work well for this task. Make sure there is enough space to accommodate the entire length and width of the fabric.
- Pre-wash or iron the fabric: If your fabric is washable, it’s a good idea to pre-wash and iron it before cutting. This helps remove any shrinkage and ensures a more accurate measurement. Ironing the fabric also helps eliminate wrinkles and creases, making it easier to handle during the cutting process.
- Mark the measurements on the fabric: Using a fabric marking pencil or tailor’s chalk, mark the measurements on the wrong side of the fabric. Start by marking the width of each panel and then mark the length. Be sure to include any allowances for hems and headers.
- Double-check the measurements: Before you start cutting, double-check the measurements one last time to ensure accuracy. Measure twice and cut once to avoid any mistakes.
- Cut the fabric: Using sharp fabric scissors, carefully cut along the marked lines. Take your time and cut slowly, ensuring that the cuts are straight and clean. If you have multiple panels, repeat the process for all the panels.
- Label the fabric pieces: To keep track of each fabric piece, consider labeling them with a small sticky note or piece of tape. You can use letters or numbers to indicate which piece corresponds to each panel.
- Store the fabric scraps: If you have any leftover fabric scraps after cutting, store them for future projects or use them for small accessories like throw pillows or fabric coasters.
When cutting the fabric, it’s important to exercise caution and precision, ensuring straight lines and accurate measurements. Taking the time to cut the fabric properly will set the stage for neatly sewn and well-fitted curtains.
Now that you’ve cut the fabric, it’s time to move on to the next step of the curtain-making process: hemming the edges.
Read more: How Do I Make Balloon Centerpieces?
Step 5: Hemming the edges
Hemming the edges of your curtains is an essential step to give them a polished and professional finish. Follow these steps to hem the edges of your fabric panels:
- Prepare your sewing machine: Set up your sewing machine with the appropriate thread color and a suitable sewing needle. Choose a straight stitch or a hemming stitch, depending on your preference and the fabric type.
- Fold and press the fabric: On one edge of the fabric panel, fold about ½ inch (1 cm) towards the wrong side of the fabric. Use an iron to press the fold, ensuring that it stays in place and creates a crisp edge.
- Repeat the folding and pressing: Fold the edge again, this time about 1 inch (2.5 cm) towards the wrong side of the fabric. Press the fold with an iron to create a double-folded hem. Ensure that the raw edge is neatly enclosed within the fold.
- Pin the hem in place: Use straight pins to secure the folded hem in place. Place the pins perpendicular to the folded edge, about every couple of inches (5 cm), ensuring that the fabric remains flat and the two folds stay aligned.
- Sew the hem: Starting at one end of the folded hem, sew a straight line along the edge, securing the hem in place. Remove the pins as you sew, taking care not to sew over them. Backstitch at the beginning and end of the seam to reinforce it.
- Repeat for all edges: Repeat the folding, pressing, pinning, and sewing process for all remaining edges of the fabric panels. Take your time to ensure that each hem is neat and even.
- Trim any loose threads: After sewing, trim any loose threads and excess fabric to create a clean and polished look.
Properly hemming the edges of your fabric panels adds structure to the curtains and prevents fraying. It also gives the curtains a professional appearance and ensures that they hang smoothly.
With the edges hemmed, you’re now ready to move on to the next step: creating the rod pocket or attaching the rings/grommets, depending on your chosen curtain style.
When measuring for curtains, make sure to add extra width to the curtain rod to allow for proper fullness when the curtains are closed. This will create a more luxurious and full look for your windows.
Step 6: Creating the rod pocket
If you’ve chosen a curtain style that requires a rod pocket, this step will guide you through creating a clean and functional pocket for the curtain rod. Follow these steps to create the rod pocket:
- Measure the rod pocket height: Determine the desired height of the rod pocket by measuring the curtain rod diameter and adding extra fabric for ease of movement. A typical rod pocket height is about 1.5 times the rod diameter.
- Mark the rod pocket: On the wrong side of the fabric panel, measure and mark the height of the rod pocket using a fabric marking pencil or tailor’s chalk. Draw a straight line across the width of the panel at the marked height.
- Fold and press the fabric: Fold the fabric panel along the marked line, with the wrong sides of the fabric together. Press the fold with an iron to create a crisp edge. This will form the rod pocket.
- Secure the sides: To ensure the rod pocket stays in place and prevents the fabric from shifting or sagging, sew along the sides of the rod pocket. Start at one end and sew a straight line about 2-3 inches (5-8 cm) from the edge, securing the fold and creating a tunnel for the curtain rod. Repeat this step on the other side of the rod pocket.
- Test the rod pocket: Slide the curtain rod through the rod pocket to ensure it fits smoothly and comfortably. Make any necessary adjustments, such as widening or narrowing the rod pocket, to ensure a proper fit.
- Press the rod pocket: Lastly, give the rod pocket a final press with the iron to ensure it lays flat and has a clean, professional appearance. Remove any wrinkles or creases before hanging the curtains.
Creating the rod pocket allows you to easily hang your curtains on a curtain rod. It provides a neat and tidy look while ensuring the curtains can be smoothly opened and closed.
Now that your rod pocket is ready, it’s time to move on to the next step: attaching the rings or grommets, depending on your preferred curtain style.
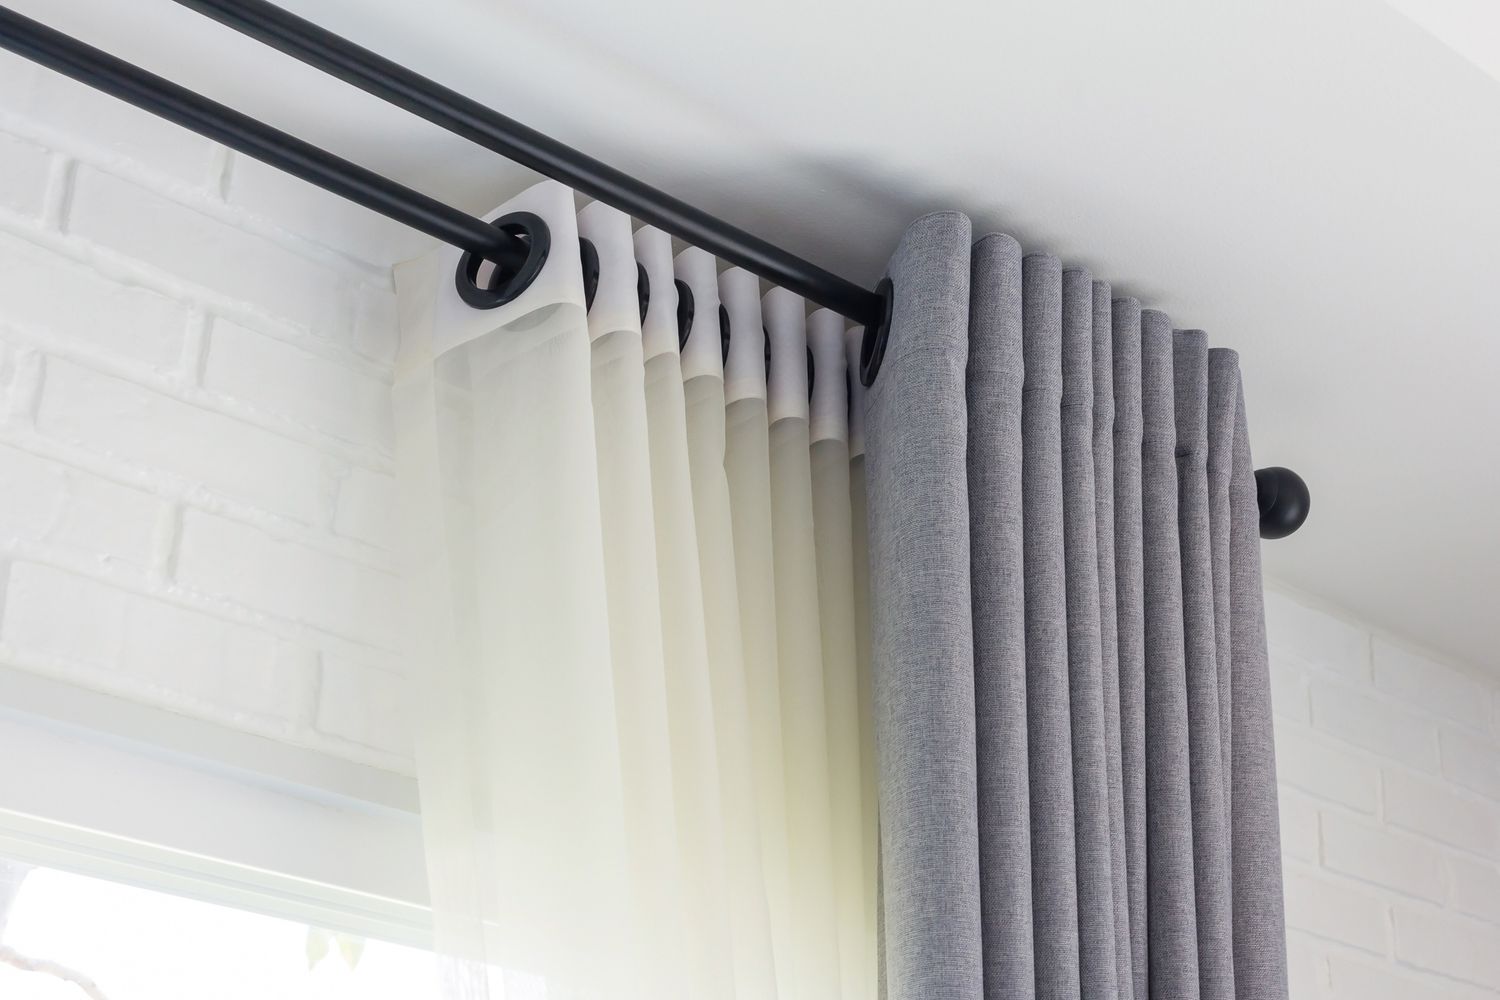
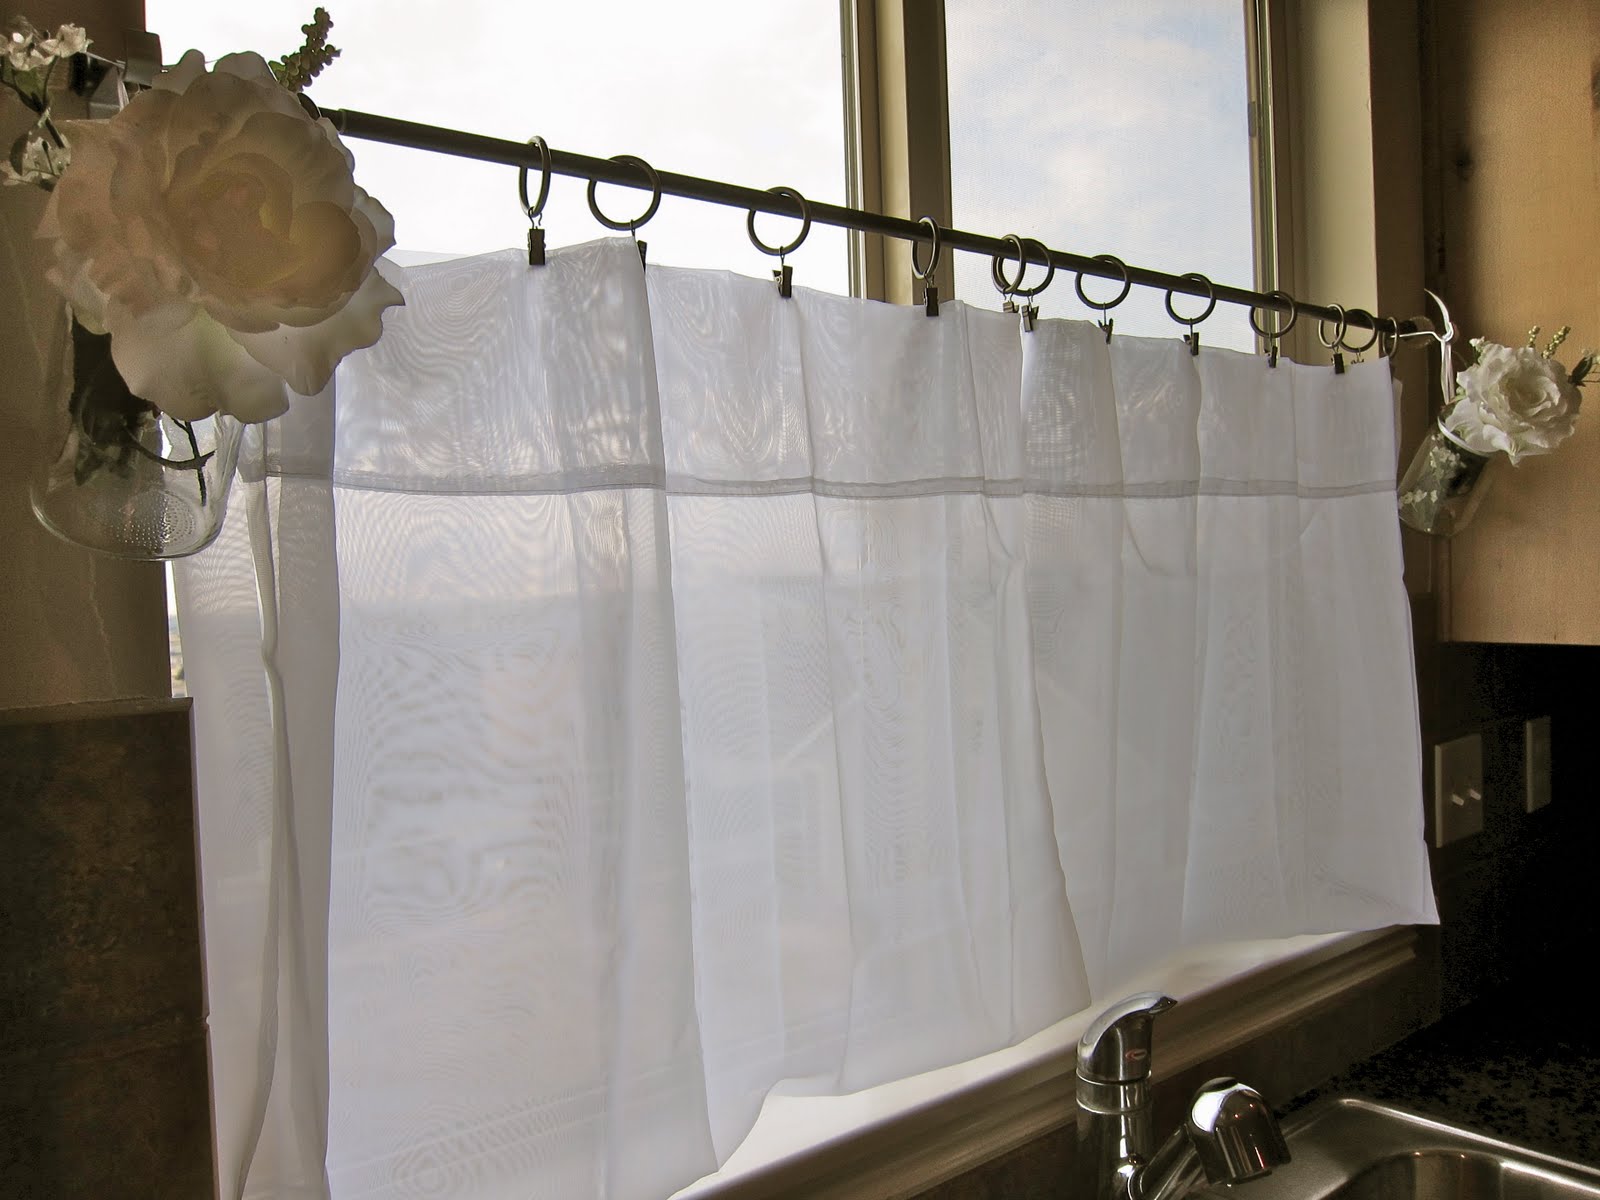
Step 7: Attaching the rings or grommets
If you’re opting for a curtain style with rings or grommets, this step will guide you through attaching them to your fabric panels. Follow these steps to securely attach the rings or grommets:
- Choose the type of rings or grommets: Decide whether you want to use rings or grommets for your curtains. Rings are typically made of metal or plastic and attach to the fabric with clips or sewing. Grommets are metal or plastic eyelets that are inserted directly into the fabric.
- Measure and mark the ring or grommet placement: Measure the spacing for the rings or grommets across the top edge of the fabric panel. Mark the placement evenly along the width, ensuring they are evenly spaced and align with your desired curtain appearance.
- Attach the rings: If using rings, insert them onto the fabric panel, making sure they are aligned with the marked placements. If the rings have clips, clip them securely onto the fabric. If the rings require sewing, thread a needle with matching thread and sew through the fabric and the ring, creating a secure attachment. Repeat this process for all rings.
- Insert the grommets: If using grommets, follow the manufacturer’s instructions for your specific grommet kit. Usually, the process involves cutting small holes at the marked placements, placing the grommet halves on either side of the hole, and securing them together with a hammer or a special grommet tool.
- Test the attachment: Once all rings or grommets are attached, test them by gently tugging on the fabric to ensure they are secure and can support the weight of the curtains. Make any necessary adjustments or reattach any loose rings or grommets.
Attaching rings or grommets to your curtains adds functionality and style. Rings allow for easy movement along the curtain rod, while grommets provide a contemporary and streamlined look.
With the rings or grommets securely in place, you’re ready to move on to the next step: hanging the curtains.
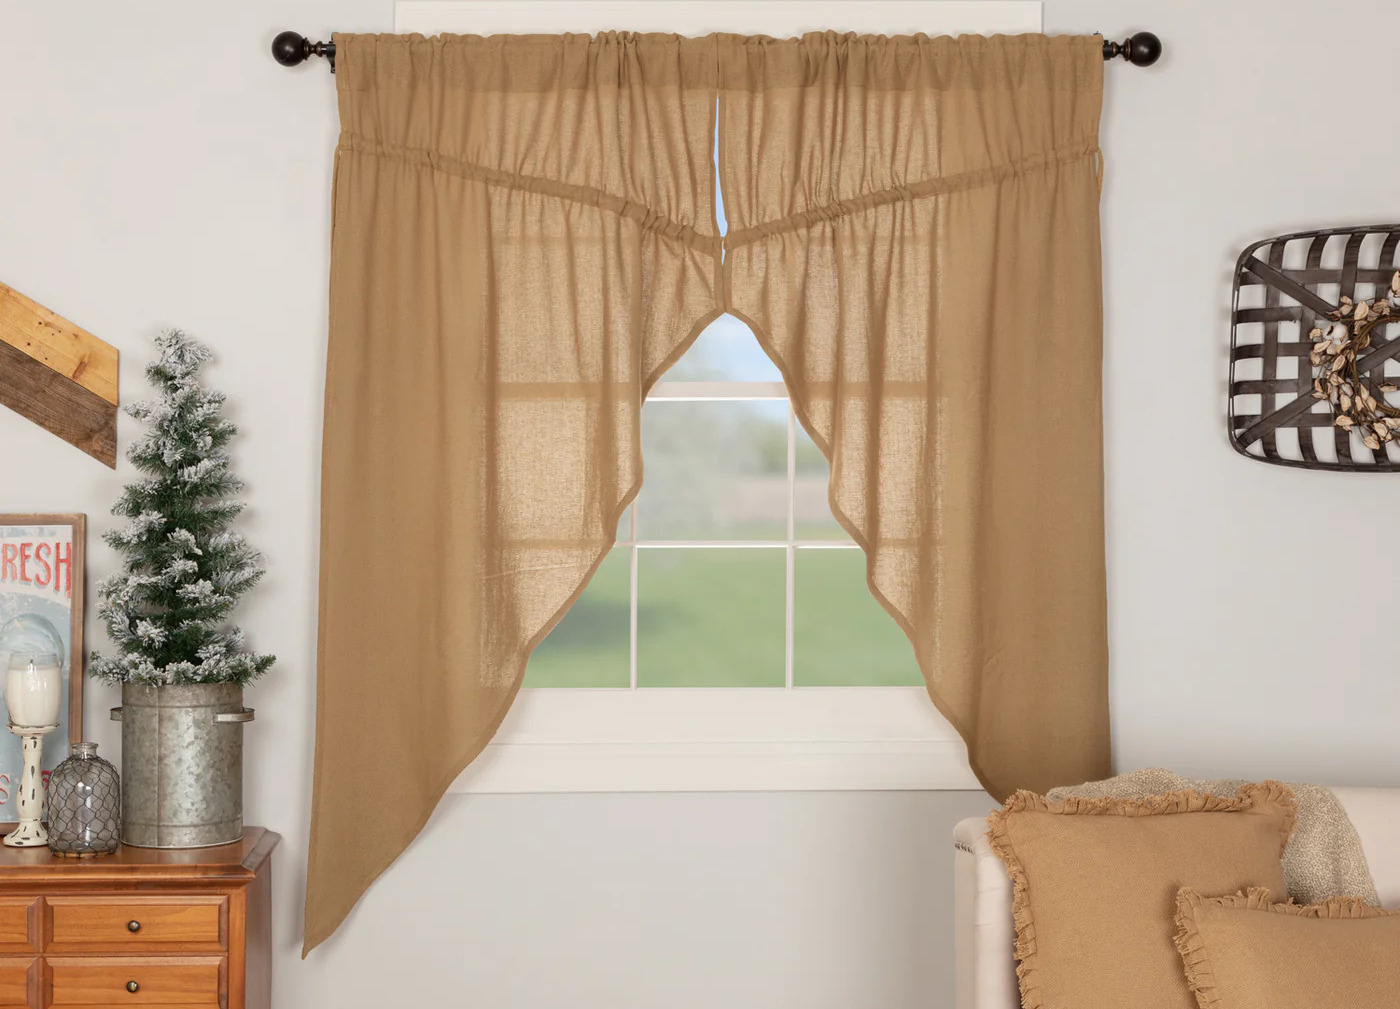
Step 8: Hanging the curtains
Now that your curtains are ready, it’s time to hang them and bring your window treatment to life. Follow these steps to hang your curtains:
- Prepare the curtain rod: Ensure that your curtain rod is properly installed and securely mounted above your window frame. Make sure the rod is level and can support the weight of your curtains.
- Open the rings or grommets: If you’re using rings, open each ring by unclipping or unfastening them. If you’re using grommets, ensure that they are fully open and ready to slide onto the curtain rod.
- Slide the curtains onto the rod: Starting at one end of the curtain rod, slide the rings or grommets onto the rod, one by one, ensuring that they are evenly spaced. Continue until all curtains are hung on the rod.
- Arrange and adjust the curtains: Once the curtains are on the rod, arrange and adjust them to ensure they hang evenly and neatly. Make sure they are properly centered and that the folds or pleats are evenly distributed.
- Move the curtains to the desired position: Slide the curtains along the rod, adjusting their position to your desired coverage and length. Experiment with different positions to find the perfect look for your space.
- Step back and inspect: Take a step back and inspect the curtains to ensure they hang properly and create the desired effect. Make any necessary adjustments to achieve the look you envisioned.
As you hang your curtains, pay attention to the length and fullness. Ensure that the curtains reach the desired height from the floor and that they provide enough coverage for your windows. Take this opportunity to appreciate your hard work and enjoy the transformation your curtains bring to your space.
With the curtains hung, it’s time for the final step: adding any finishing touches to complete the look.
Read more: How Do I Make An Invoice For Landscaping
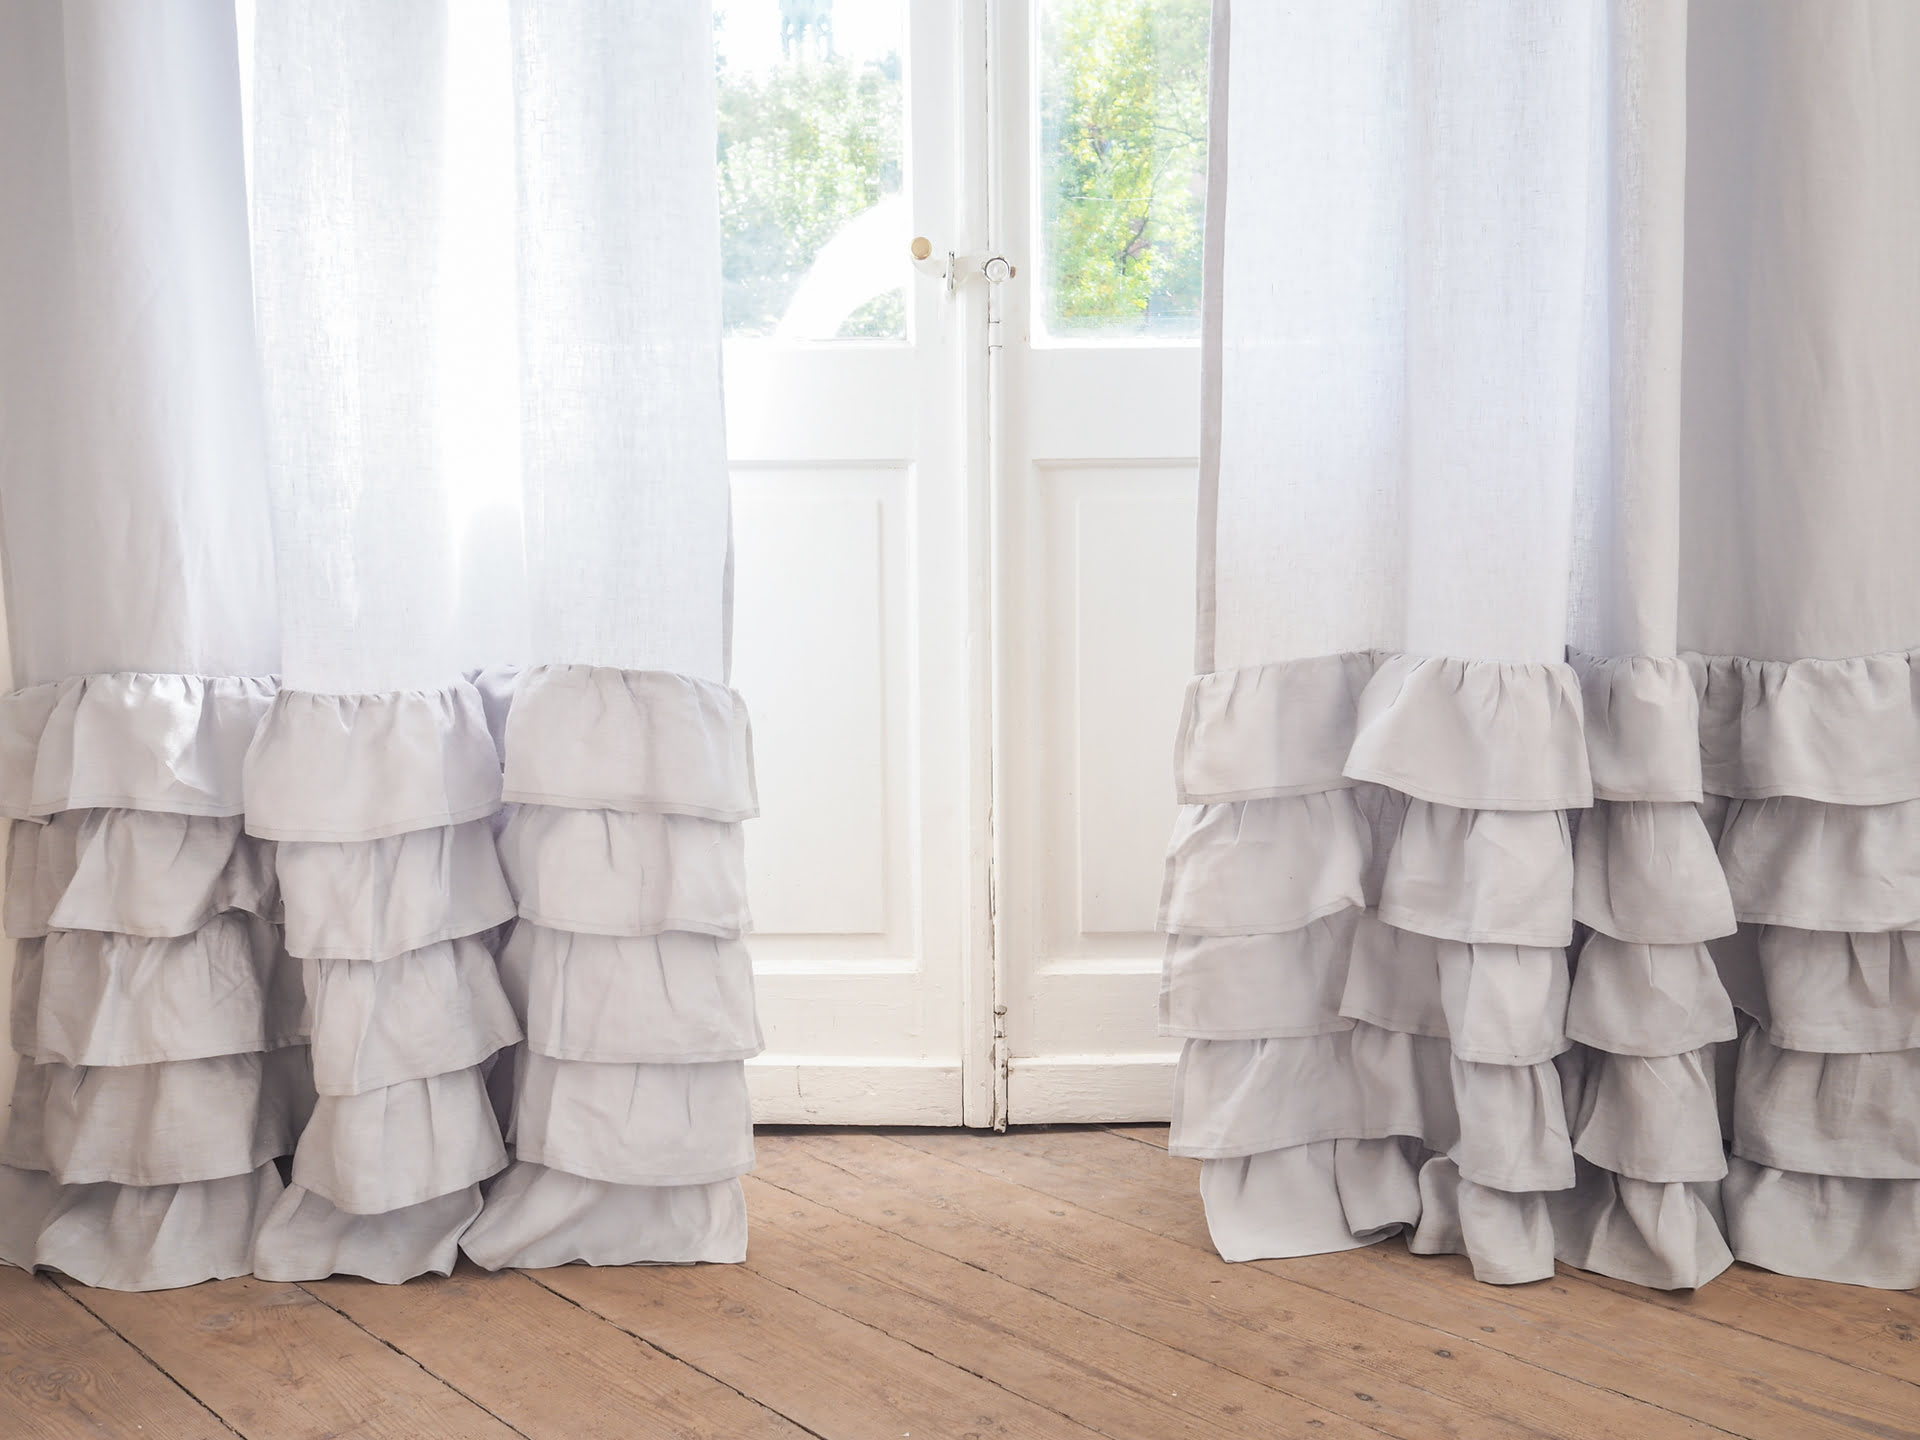
Step 9: Adding any final touches
Now that your curtains are hung, it’s time to add the finishing touches to complete the look and ensure that they function perfectly. Follow these steps to add those final touches:
- Adjust the length: Step back and assess the length of your curtains. If necessary, make any adjustments to ensure they are properly tailored to your desired length. You can hem them further or let them down slightly if needed.
- Steam or iron: To give your curtains a polished look, use a steamer or iron to remove any lingering wrinkles or creases. Smooth out the fabric and ensure that the curtains hang beautifully.
- Add tiebacks or holdbacks: Consider adding tiebacks or holdbacks to add a decorative touch to your curtains and to keep them open when desired. These can be fabric tiebacks, decorative hooks, or even simple ribbon ties.
- Style your curtains: Experiment with different styles to achieve the look you desire. Play around with how the curtains drape or gather, or adjust the pleats to create different effects. Take the time to arrange them in a way that enhances your space and matches your decor style.
- Consider lining or adding blackout fabric: If your curtains are made from a lightweight fabric or if you want to enhance their light-blocking capabilities, consider adding a lining or attaching blackout fabric to the back of the curtains. This will provide better insulation, light control, and privacy.
- Accessorize: Enhance the aesthetics of your curtains by adding decorative elements such as curtain clips, tiebacks, tassels, or trims. These can add personality and style to your curtains, making them truly unique.
- Step back and admire: Finally, step back and admire your completed curtains and how they transform the look and feel of your space. Take pride in your handcrafted curtains that perfectly fit your windows and reflect your personal style.
Remember, the final touches are an opportunity to add your own creative flair and customize your curtains to suit your taste. These details can make a significant difference in the overall appearance and functionality of your curtains.
With these final touches, your curtain-making journey is complete. Enjoy the beauty, privacy, and comfort that your custom-made curtains bring to your home.
For more inspiration, tips, and ideas, feel free to explore online resources, design magazines, or consult with experts in the field. Happy curtain making!
Conclusion
Congratulations! You have successfully completed the journey of making your own curtains. By following the steps outlined in this comprehensive guide, you have created custom curtains that perfectly fit your windows and reflect your personal style.
Making curtains allows you to unleash your creativity and add a personalized touch to your home decor. You have learned the importance of choosing the right fabric, measuring your windows correctly, calculating the fabric required, cutting the fabric with precision, hemming the edges, creating the rod pocket or attaching rings/grommets, hanging the curtains, and adding those final touches that elevate the overall look and functionality of your curtains.
As you enjoy your newly made curtains, take a moment to appreciate the time and effort you invested in this project. Your curtains not only enhance the aesthetics of your space, but they also provide privacy, control light, and add warmth and comfort to your home.
Remember, the beauty of making curtains is that it allows you to express your unique style and create a sense of pride and accomplishment. So, continue to explore different fabrics, colors, patterns, and styles as you embark on your creative journey.
Whether you are a seasoned DIY enthusiast or a beginner, crafting your own curtains is a rewarding experience that yields beautiful and functional results. Embrace your newfound skills and continue to create stunning window treatments that bring joy and personality to your space.
Thank you for joining us on this curtain-making adventure. We hope this guide has been helpful and inspiring, equipping you with the knowledge and confidence to tackle future projects. Happy curtain making!
Frequently Asked Questions about How Do I Make Curtains
Was this page helpful?
At Storables.com, we guarantee accurate and reliable information. Our content, validated by Expert Board Contributors, is crafted following stringent Editorial Policies. We're committed to providing you with well-researched, expert-backed insights for all your informational needs.


0 thoughts on “How Do I Make Curtains”