Articles
How To Build A Custom Cabinet
Modified: February 27, 2024
Looking for storage ideas? Learn how to build a custom cabinet that maximizes space and organizes your belongings efficiently. Transform your space with our step-by-step guide.
(Many of the links in this article redirect to a specific reviewed product. Your purchase of these products through affiliate links helps to generate commission for Storables.com, at no extra cost. Learn more)
Introduction
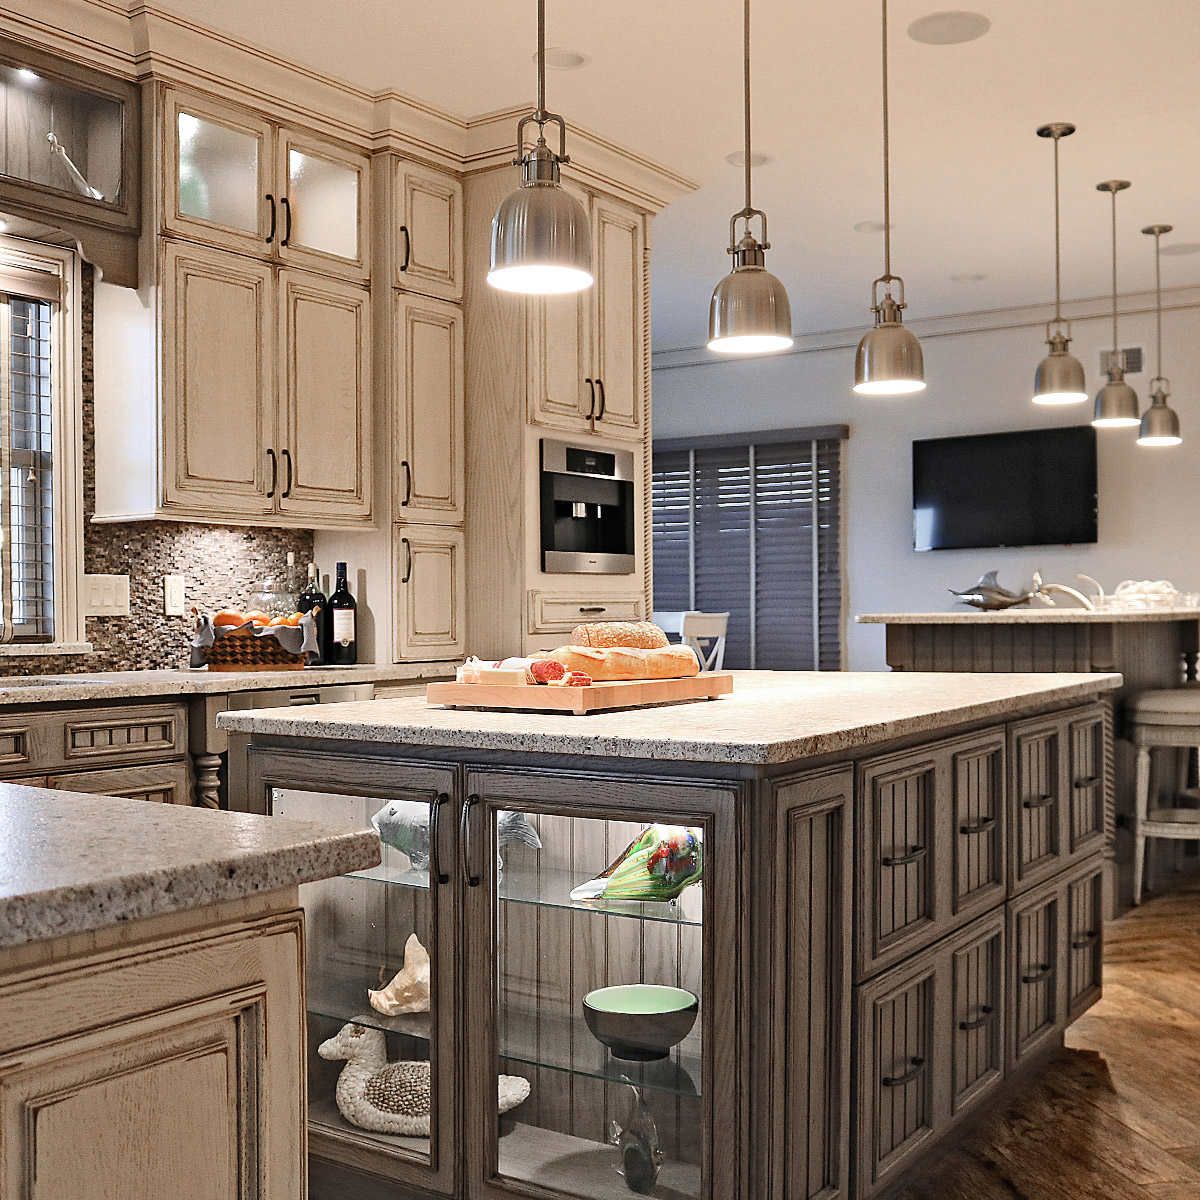
Building a custom cabinet is a great way to add functionality and style to your home. Whether you need additional storage in your kitchen, bathroom, or any other room, a custom cabinet can be tailored to fit your specific needs and complement your existing decor.
In this article, we will guide you through the step-by-step process of building your own custom cabinet. From planning and measurements to choosing materials, cutting panels, and assembling the frame, we will cover all the essential information you need to get started.
While building a custom cabinet may require some woodworking skills and tools, it is a rewarding project that allows you to create a unique piece of furniture that perfectly suits your space. So, grab your measuring tape and let’s dive into the exciting world of cabinet building!
Key Takeaways:
- Create a personalized and functional storage solution by carefully planning, measuring, and selecting high-quality materials for your custom cabinet. Enjoy the rewarding process of building a unique piece of furniture that perfectly suits your space.
- From precise panel cutting to adding finishes and hardware, each step in building a custom cabinet contributes to its overall success. Embrace the satisfaction of showcasing your woodworking skills and creativity while creating a standout piece for your home.
Read more: How To Build Custom Closet
Planning and Measurements
Before diving into the construction process, careful planning and accurate measurements are essential to ensure that your custom cabinet fits perfectly in the desired space. Here are the key steps to consider:
- Identify the Purpose: Determine the primary purpose of the cabinet. Will it be used for storage, display, or both?
- Measure the Space: Measure the dimensions of the area where the cabinet will be placed. Take into account any obstacles such as walls, doors, or windows.
- Create a Blueprint: Sketch a rough blueprint of the cabinet, including dimensions, shelves, drawers, and any other specific requirements. This will serve as your guide throughout the construction process.
- Consider Ergonomics: Think about how the cabinet will be used and ensure that the height, depth, and width are suitable for easy access and functionality.
- Select Materials: Based on the cabinet’s purpose and your personal preference, choose the appropriate materials such as wood, plywood, or medium-density fiberboard (MDF).
Remember to factor in allowances for hardware, such as drawer slides and hinges, as well as the thickness of the material when determining final measurements.
Accurate measurements are crucial at this stage to ensure that the cabinet will fit seamlessly in the allocated space and serve its purpose effectively. Take your time during this planning phase, as even small mismeasurements can lead to major issues during construction.
Once you have completed the planning and measurement phase, you are ready to move on to the next step: choosing the materials for your custom cabinet.
Choosing the Materials
Selecting the right materials for your custom cabinet is crucial for its durability and overall aesthetic appeal. Here are some factors to consider when choosing materials:
- Wood Type: Decide on the type of wood you want to use for your cabinet. Popular options include oak, maple, cherry, and birch. Each wood type has its own unique characteristics, so choose one that aligns with your desired style and budget.
- Plywood or MDF: Consider using plywood or medium-density fiberboard (MDF) for the cabinet sides, shelves, and backs. These materials are sturdy, affordable, and come in a variety of finishes. Depending on the look you want to achieve, you can opt for plain plywood or MDF with a veneer or laminate finish.
- Hardware: Pay attention to the quality and durability of the hardware you choose, such as hinges, drawer slides, and handles. These components should be sturdy and able to withstand regular use.
- Finishes: Determine the type of finish you want for your cabinet. Options include paint, stain, or a clear protective coating. Consider the existing decor in the room where the cabinet will be placed and choose a finish that complements it.
When selecting materials, keep in mind your budget and the overall style you want to achieve. It’s worth investing in high-quality materials, as they will result in a cabinet that not only looks great but also lasts for years to come.
Once you have chosen the materials, it’s time to move on to the next step: cutting the panels for your custom cabinet.
Cutting the Panels
Now that you have your materials ready, it’s time to start cutting the panels for your custom cabinet. Follow these steps for precise and accurate panel cutting:
- Measurements: Refer to your blueprint and measure the required dimensions for each panel. Use a measuring tape and a straight edge to ensure accuracy.
- Pick a Saw: Depending on your comfort level and the materials you are working with, choose the appropriate saw. A circular saw, table saw, or a jigsaw can be used for cutting panels.
- Prepare the Workspace: Set up a dedicated work area with sufficient space to accommodate the panels. Ensure that the area is well-lit and free from any obstructions.
- Mark and Cut: Using a pencil, mark the dimensions of each panel on the material. Double-check the measurements before cutting. Attach a straight edge or guide to the material to ensure a straight and accurate cut. Carefully follow the marked lines and make your cuts.
- Safety First: When using power saws, take necessary safety precautions. Wear safety goggles, ear protection, and gloves to protect yourself from debris and potential accidents.
It’s important to have a steady hand and take your time while cutting the panels. Accuracy in this stage will ensure that the pieces fit together seamlessly during assembly.
Once the panels are cut, carefully label each one to avoid confusion during the assembly process. Now, you are ready to move on to the next step: assembling the frame of your custom cabinet.
Assembling the Frame
Assembling the frame is a critical step in constructing your custom cabinet. It involves joining the panels together to create the structure of the cabinet. Follow these steps for a solid and sturdy frame:
- Gather the Panels: Take the panels you cut earlier and arrange them according to your blueprint. Ensure that the edges are clean and free from any debris or rough edges.
- Pre-drill and Countersink: Before joining the panels, pre-drill holes to prevent splitting and countersink the holes to allow the screws to sit flush with the surface.
- Apply Wood Glue: Apply a thin layer of wood glue to the edge of one panel and join it with another, aligning them properly. Clamp the panels together to provide pressure while the glue dries.
- Screw the Panels: Once the glue is dry, insert screws through the pre-drilled holes and tighten them using a screwdriver or a drill. Be careful not to overtighten, as it may cause the panels to crack or split.
- Repeat the Process: Repeat the process until all the panels are joined together, forming the basic frame of the cabinet.
Take your time during this process to ensure that the panels are aligned correctly and the frame is square. Use a carpenter’s square to check for 90-degree angles at the corners of the cabinet.
Once the frame is assembled, allow the wood glue to fully cure before moving on to the next step. This usually takes a few hours, but refer to the instructions provided by the glue manufacturer.
With the frame complete, you’re one step closer to having your custom cabinet. The next step is to install shelves and dividers to maximize storage space and create organization within the cabinet.
When building a custom cabinet, be sure to measure the space accurately and consider the function of the cabinet. Use high-quality materials and precise cutting for a professional finish.
Read more: How To Build A Custom Mailbox
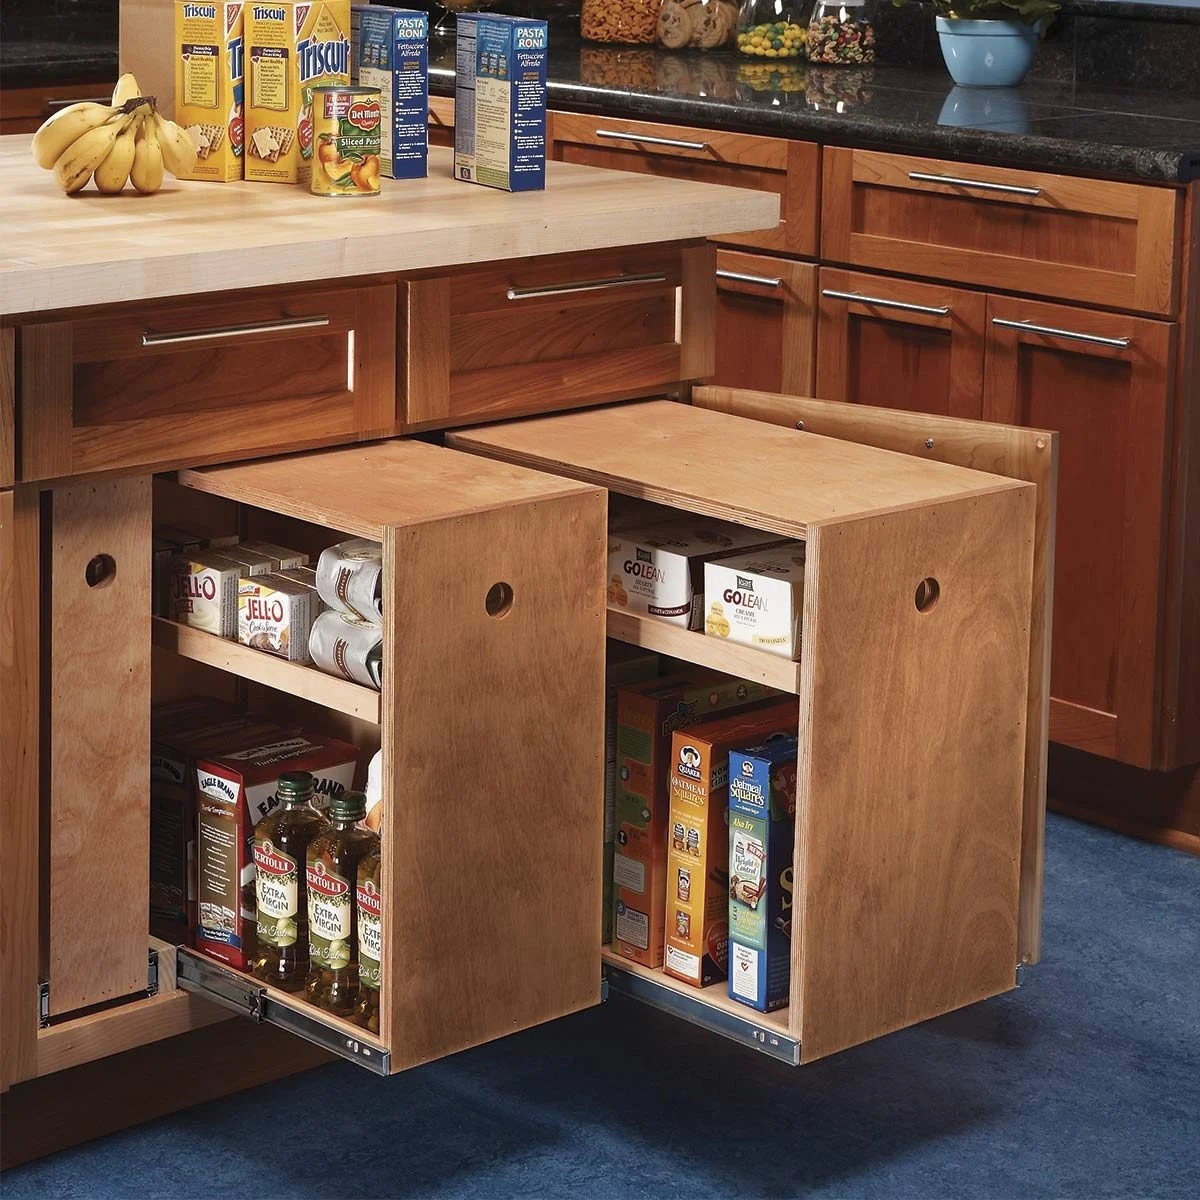
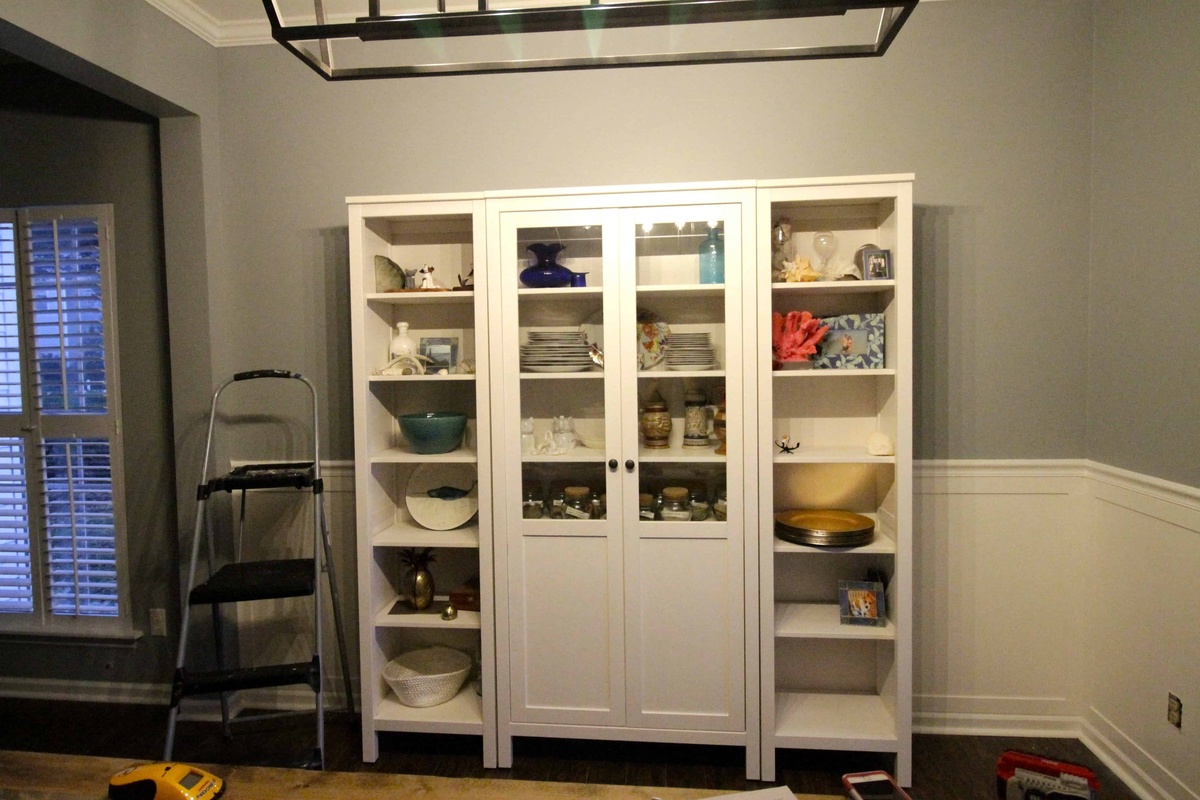
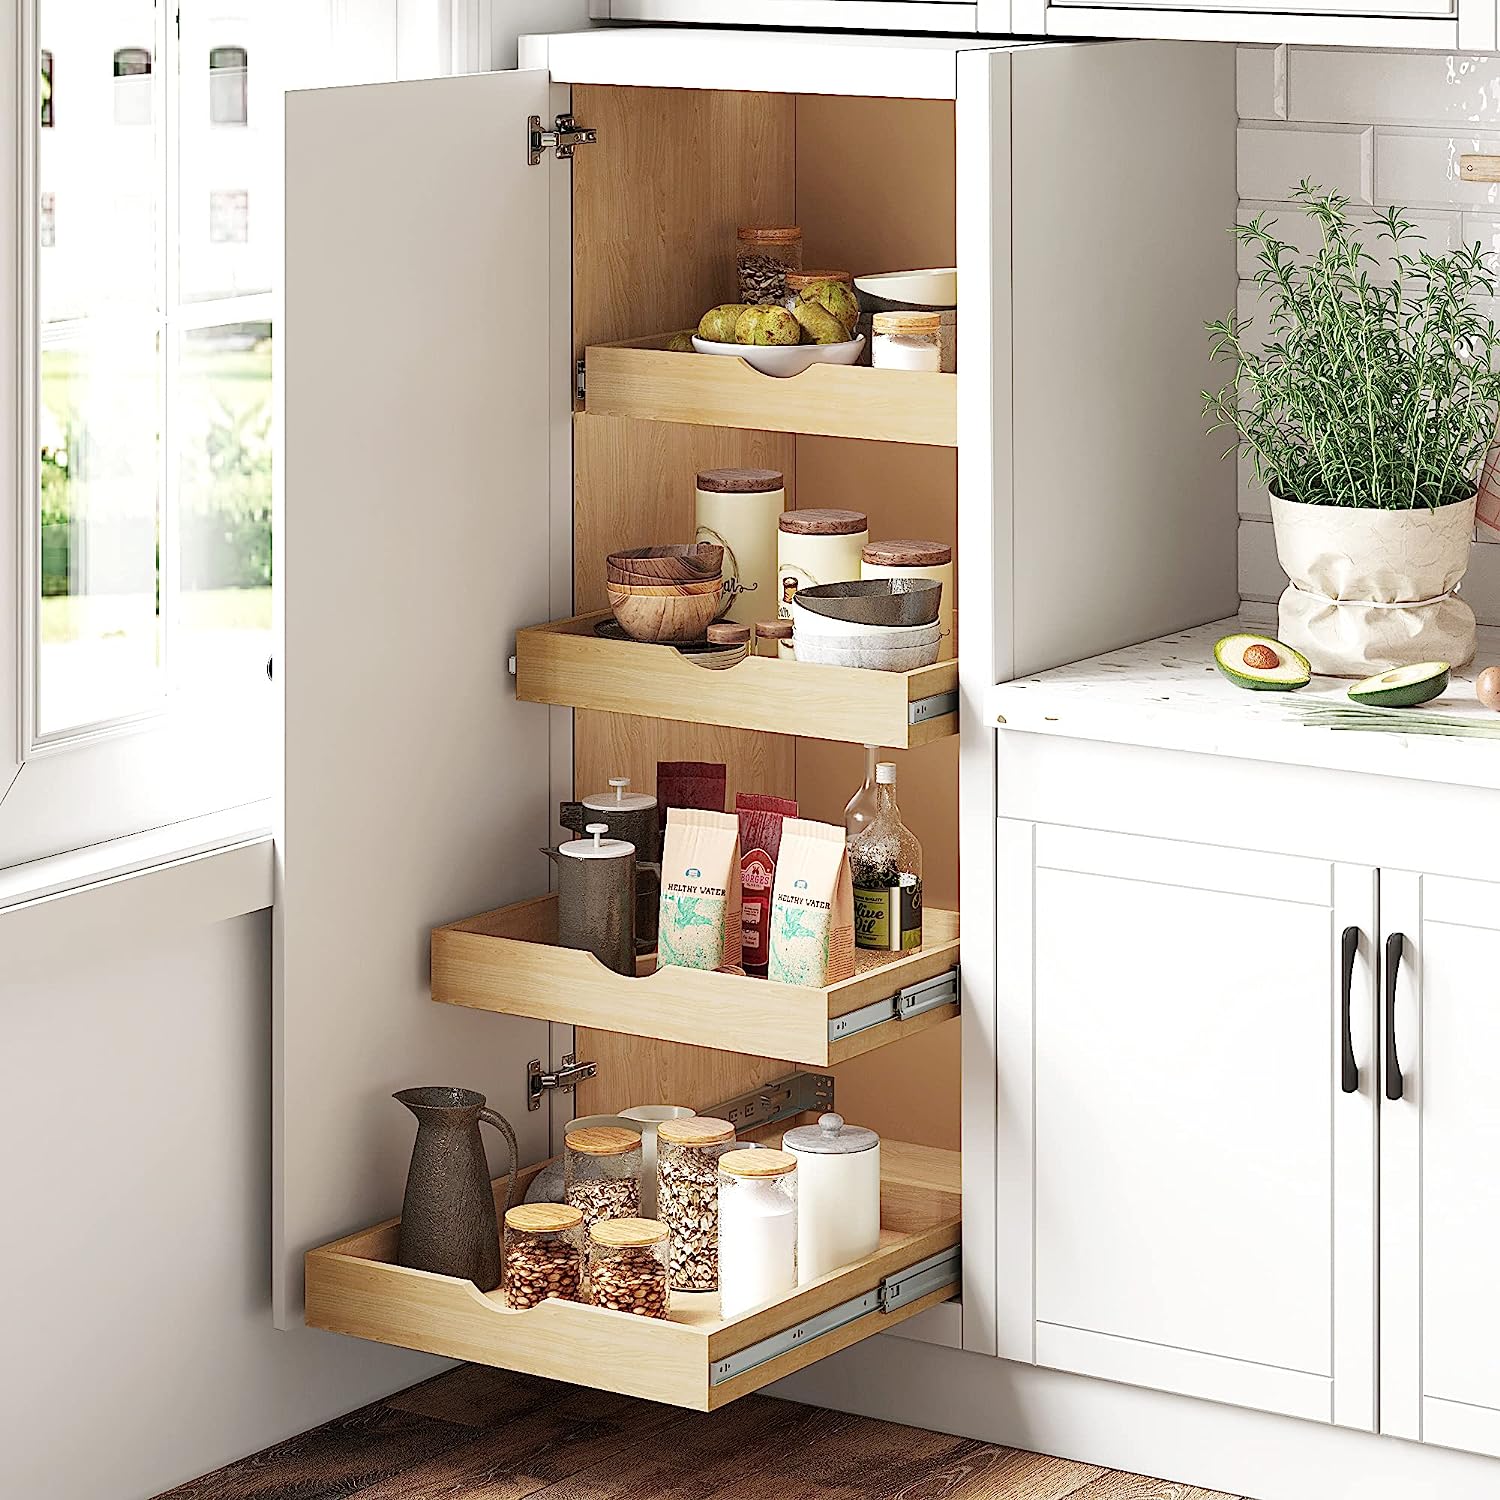
Installing the Shelves and Dividers
Installing shelves and dividers in your custom cabinet will help you optimize the storage space and create designated compartments for different items. Here’s how you can do it:
- Measurements: Determine the desired spacing between shelves and dividers based on the items you plan to store in the cabinet. Use a measuring tape to mark the positions on the inside walls of the cabinet.
- Cut the Shelves and Dividers: Using the measurements, cut the shelves and dividers from the same material used for the cabinet panels. Ensure they fit snugly within the cabinet.
- Install Shelf Supports: Install shelf supports or brackets along the cabinet walls at the desired positions for the shelves. Make sure they are level and securely attached.
- Place the Shelves and Dividers: Slide the shelves into the installed supports to create the different storage levels. Insert the dividers in the allocated spaces to create separate compartments.
- Adjust and Secure: Check that the shelves and dividers are level and adjust if necessary. Secure them in place using screws or other appropriate fasteners.
When installing the shelves and dividers, consider the weight they will bear and ensure the supports and attachments are sturdy enough to handle the load. Be mindful of spacing to accommodate taller items on the shelves and dividers.
Once the shelves and dividers are securely in place, you’ve successfully organized the interior of your custom cabinet. The next step is to add a back panel to give the cabinet stability and a finished look.
Adding the Back Panel
Adding a back panel to your custom cabinet serves several purposes, including providing stability, structural support, and a finished look. Follow these steps to add a back panel:
- Cut the Back Panel: Measure the dimensions of the back of the cabinet and cut the back panel accordingly from the same material used for the cabinet.
- Fit the Back Panel: Position the back panel against the back of the cabinet frame. Ensure it is flush with the top, bottom, and side edges of the cabinet.
- Secure the Back Panel: Attach the back panel to the cabinet frame using screws or nails. Space them evenly along the edges to ensure a secure fit. Pre-drilling the holes can help prevent splitting.
- Check for Stability: Once the back panel is attached, check the stability of the cabinet. Shake it gently to ensure there is no wobbling or movement. If needed, reinforce the cabinet by adding additional screws or braces.
The addition of the back panel not only provides structural support but also helps keep dust and debris from entering the cabinet through the rear opening.
With the back panel securely in place, the next step is to attach the doors to your custom cabinet, transforming it into a functional storage solution.
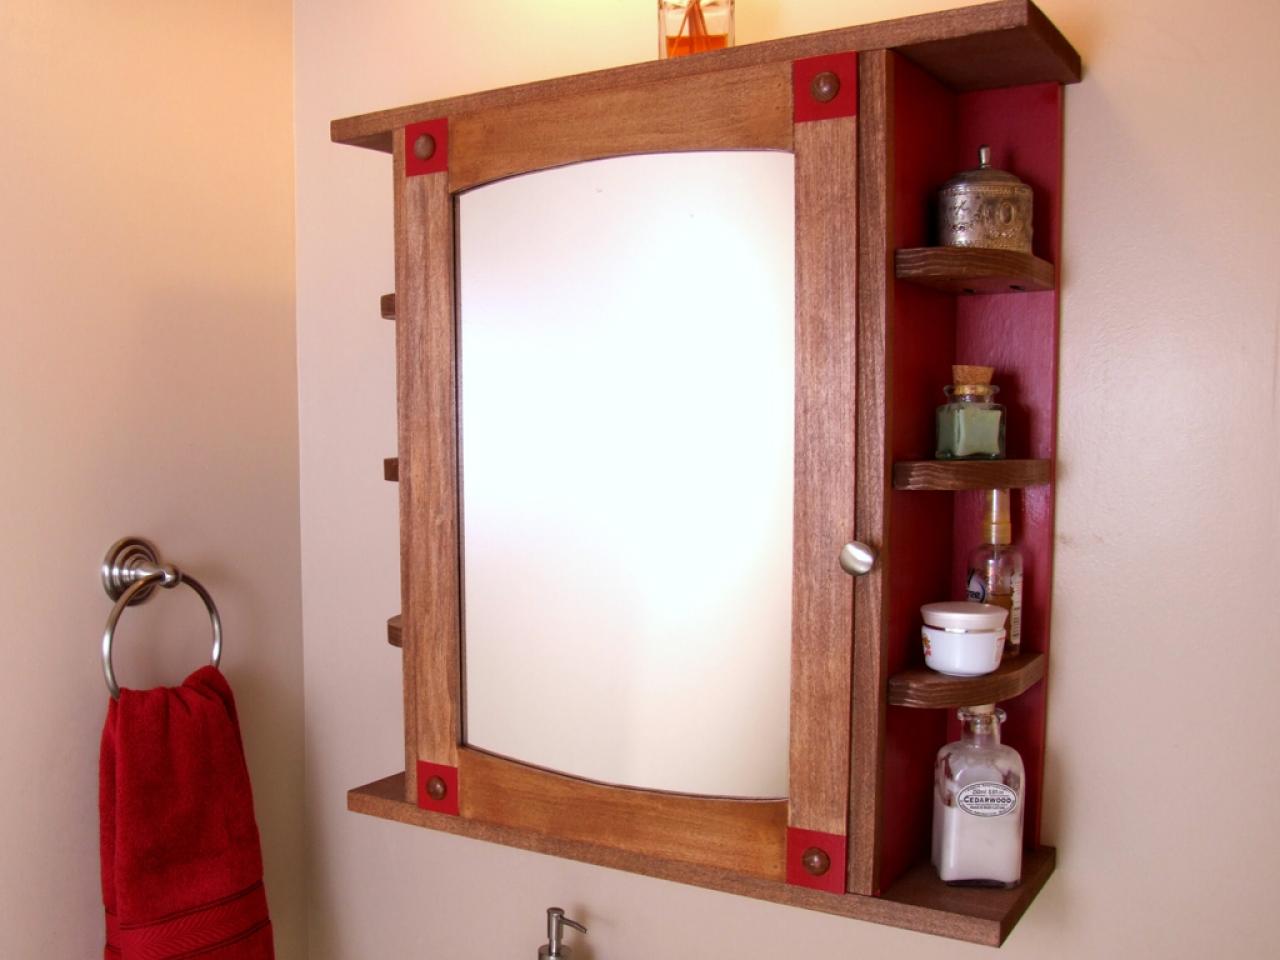
Attaching the Doors
The doors are the final touch to your custom cabinet, providing both functionality and aesthetics. Here’s how you can attach the doors:
- Measure and Mark: Measure the dimensions of the cabinet opening and the doors. Mark the position of the hinges on both the cabinet frame and the doors.
- Prep the Hinges: Attach the hinges to the doors according to the manufacturer’s instructions. Ensure they are aligned properly and securely fastened.
- Mount the Hinges: Position the doors against the cabinet frame, lining up the hinges with the marks made in the previous step. Secure the hinges to the cabinet frame using screws.
- Check Alignment: Close the doors and check if they align properly. Adjust as needed by loosening or tightening the hinge screws. Ensure the doors swing smoothly without rubbing or sticking.
- Add Door Handles: Install door handles or knobs to enhance the functionality and visual appeal of the cabinet. Choose handles that complement the overall style of the cabinet.
Ensure that the doors open and close smoothly before moving on. If adjustments are necessary, make them to ensure a proper fit.
Attaching the doors completes the construction of your custom cabinet. The final step is to apply finishes and hardware to enhance its appearance and functionality.
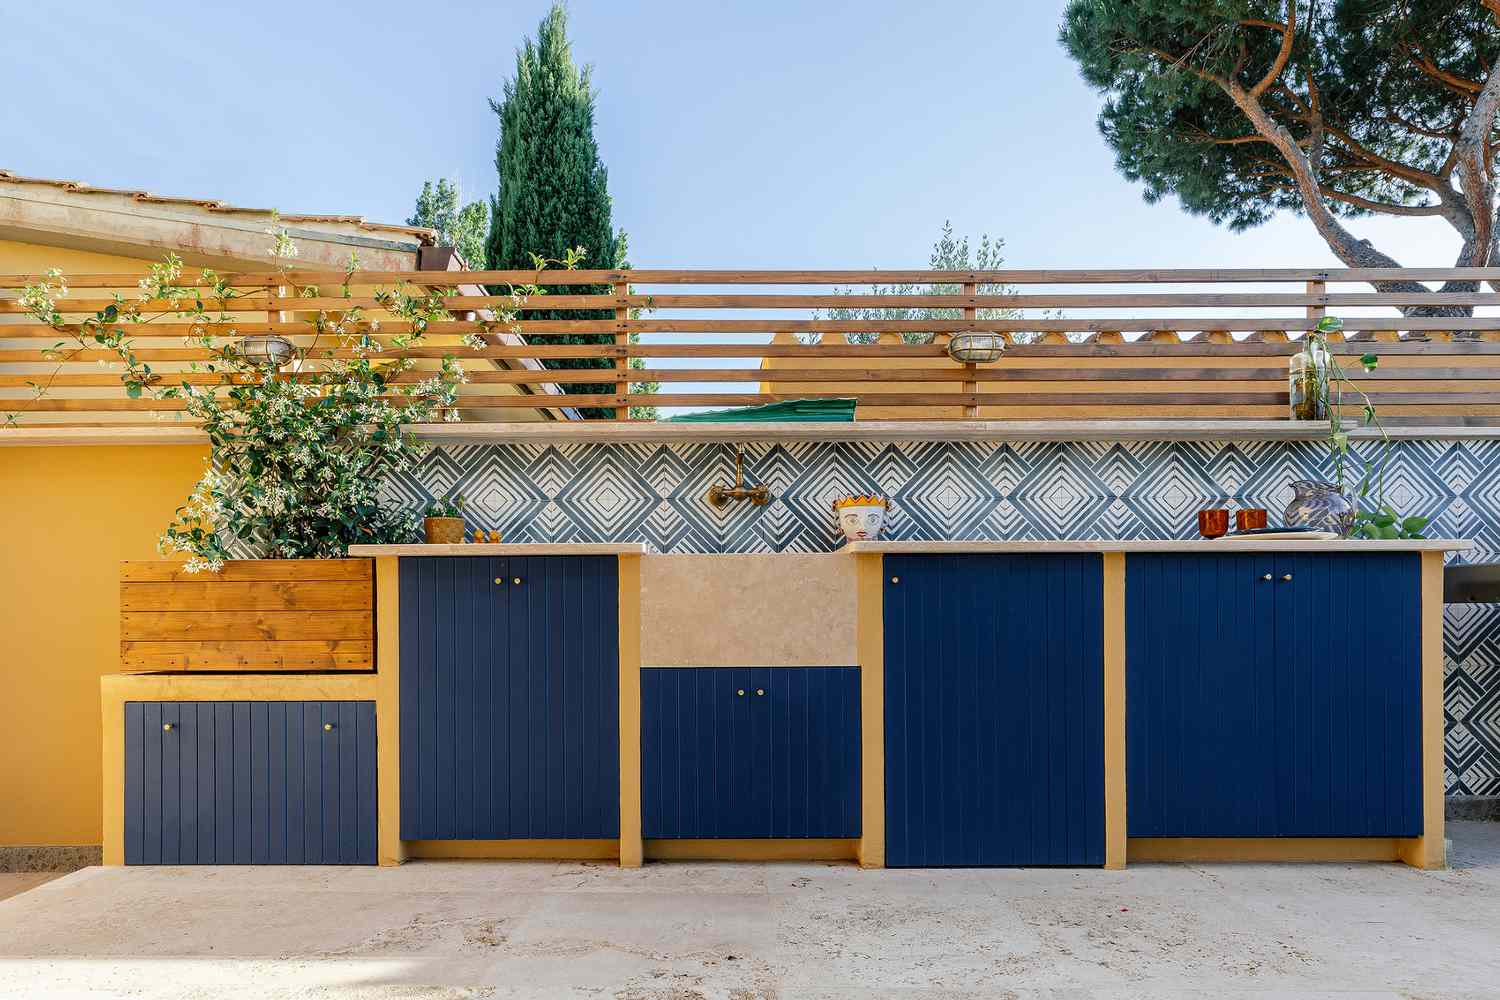
Applying Finishes and Hardware
Applying finishes and hardware to your custom cabinet adds the final touches that make it stand out. Follow these steps to give your cabinet a polished and professional look:
- Sanding: Start by sanding the entire cabinet surface to smooth out any rough edges or imperfections. Use sandpaper with a medium grit, and gradually move to a finer grit for a smooth finish.
- Stain or Paint: Decide whether you want to stain the wood to enhance its natural beauty or paint it to match your desired color scheme. Apply the chosen finish using a brush or a roller, ensuring even coverage. Let it dry completely before proceeding.
- Sealing: If you stained the cabinet, apply a clear coat or varnish to protect the wood and give it a durable finish. For painted cabinets, a clear coat may still be applied for added protection and a glossy appearance.
- Hardware Installation: Install the chosen hardware, such as drawer pulls, knobs, or handles. Measure and mark the position of each piece, then attach them securely using screws or other appropriate fasteners.
- Final Inspection: Carefully inspect the cabinet for any touch-ups or adjustments that may be necessary. Ensure that all finishes and hardware are securely in place.
Don’t forget to clean up any excess paint or stain and allow sufficient drying time for the finishes to cure before using the cabinet.
By applying finishes and adding hardware, you enhance the visual appeal and functionality of your custom cabinet, making it a standout piece of furniture in your home.
With the finishes and hardware in place, your custom cabinet is now complete and ready to be showcased in your space.
Read more: How To Build Custom Cedar Shutters
Conclusion
Congratulations on completing the construction of your custom cabinet! By following the steps outlined in this guide, you have created a functional and personalized storage solution that fits perfectly in your space.
Building a custom cabinet requires careful planning, precise measurements, and attention to detail. From the initial planning stages to the final touches of finishes and hardware, each step contributes to the overall success of your project.
Remember, constructing a custom cabinet is a rewarding endeavor that allows you to showcase your woodworking skills and creativity. The end result is a cabinet that not only serves its purpose but also adds aesthetic value to your home.
As you admire your finished cabinet, take a moment to appreciate the effort put into selecting materials, cutting panels, assembling the frame, installing shelves and dividers, adding the back panel, attaching the doors, and applying finishes and hardware. Each step plays a significant role in the final outcome.
Now that you have successfully built your own custom cabinet, you have the satisfaction of knowing that you have a unique piece of furniture that perfectly suits your needs.
Thank you for joining us on this cabinet-building journey, and we hope that your custom cabinet brings you joy, organization, and functionality for years to come!
Frequently Asked Questions about How To Build A Custom Cabinet
Was this page helpful?
At Storables.com, we guarantee accurate and reliable information. Our content, validated by Expert Board Contributors, is crafted following stringent Editorial Policies. We're committed to providing you with well-researched, expert-backed insights for all your informational needs.


0 thoughts on “How To Build A Custom Cabinet”