
Articles
How To Make A Quilt Larger
Modified: January 18, 2024
Learn the best techniques to make your quilt larger with these helpful articles. Expand your quilting skills and create a larger masterpiece today!
(Many of the links in this article redirect to a specific reviewed product. Your purchase of these products through affiliate links helps to generate commission for Storables.com, at no extra cost. Learn more)
Introduction
Quilting is a cherished craft that allows you to create beautiful, cozy, and meaningful pieces. Whether you’re a seasoned quilter or just starting out, you may find yourself faced with the challenge of making a quilt larger. Perhaps your original quilt top is too small for the desired finished size, or maybe you want to transform a smaller quilt into a bed-sized masterpiece. Whatever the reason, there are several methods and techniques you can employ to increase the size of your quilt.
In this article, we will explore various ways to make a quilt larger. From evaluating the quilt to choosing a method to extend its size, we will cover all the essential steps to help you successfully expand your quilting project. So, gather your materials, put on your creative hat, and let’s dive in!
Before we delve into the details, it’s crucial to note that making a quilt larger requires some additional planning and considerations. It’s essential to maintain the integrity of the original quilt design, ensuring that the new additions seamlessly blend with the existing elements. Additionally, having a clear vision of the desired final size and understanding the techniques involved will help you achieve the best results.
Now that we have set the stage, let’s begin our journey of making a quilt larger. First, let’s gather the necessary materials for the project.
Key Takeaways:
- Embrace creativity and expand your quilting projects by adding sashing, incorporating borders, extending the quilt top, adjusting the quilt backing, and lengthening the binding for visually appealing and harmonious larger quilts.
- Making a quilt larger requires patience, attention to detail, and a touch of creativity. Enjoy the journey of expanding your quilting projects and watch them transform into stunning pieces of art.
Read more: How To Make A Quilt
Gathering Materials
Before you begin the process of making a quilt larger, it’s crucial to gather all the necessary materials. Having everything you need at hand will ensure a smooth and organized workflow. Here are some essential materials you’ll need:
- Fabric: Depending on the size of the quilt and the method you choose to increase its size, you may need additional fabric. It’s ideal to have fabric that matches or complements the existing quilt top.
- Thread: Ensure you have enough thread in the appropriate color to continue sewing the quilt. Consider getting extra thread to accommodate the added stitches.
- Rotary Cutter and Mat: These tools are indispensable for accurate cutting and measuring. A rotary cutter will make it easier to trim and adjust the fabric.
- Quilt Ruler: A quilt ruler with clear measurement markings will help you maintain accuracy while cutting and piecing the fabric.
- Sewing Machine: A reliable sewing machine is essential for stitching the quilt top, adding borders, and completing the project efficiently.
- Iron and Ironing Board: Pressing the fabric and seams is crucial for achieving neat and professional-looking results. Ensure you have a functional iron and a sturdy ironing board.
- Quilting Pins: These pins will help hold the fabric layers together during the quilting process.
- Batting: Depending on the desired final size, you may need additional batting to extend and fill the newly added sections of the quilt.
- Backing Fabric: If you plan to extend the quilt, you’ll need extra backing fabric to match the dimensions of the elongated quilt top.
These are the basic materials necessary for making a quilt larger. Depending on the specific technique you choose, you may also require additional tools or supplies. It’s always a good idea to have a well-stocked sewing kit and a clean working space. Once you have gathered all your materials, let’s move on to evaluating the quilt.
Evaluating the Quilt
Before you begin the process of making your quilt larger, it’s important to evaluate the quilt as it currently stands. Take a close look at the size, design, and overall layout of the quilt top. This evaluation will help you determine the best approach for increasing its size without compromising its original aesthetic.
Consider the following factors when evaluating your quilt:
- Size: Measure the dimensions of your quilt top. Determine how much larger you want the quilt to be and calculate the additional measurements required.
- Design: Take note of the quilt’s design elements, such as blocks, patterns, or motifs. Consider how the design elements will translate when you extend the quilt.
- Fabric: Assess the fabric used in the quilt top. Take note of the colors, prints, and textures, as well as the amount of available fabric.
- Seam Allowances: Check the seam allowances used in the quilt top construction. Ensure that any added pieces or borders align correctly with the existing seams.
- Backing and Batting: Examine the amount and type of backing fabric and batting used. Determine if you’ll need to extend or replace these components to accommodate the larger size.
By evaluating these aspects, you’ll gain a better understanding of the quilt’s current state and determine the best course of action. This evaluation will guide you in choosing the most suitable method to increase the size of your quilt.
Next, we will explore different methods and techniques you can use to make your quilt larger. From adding sashing to incorporating borders, we’ll cover a range of options to help you achieve your desired quilt size. So, let’s dive in and explore the possibilities!
Choosing a Method to Increase Size
When it comes to making a quilt larger, there are several methods and techniques you can use. The method you choose will depend on factors such as the desired final size, the design of your quilt, and your personal preference. Here are a few common methods to consider:
- Adding Sashing: Sashing is thin strips of fabric placed between quilt blocks. It can be a great way to increase the size of your quilt while adding visual interest. Choose sashing fabric that complements the colors and design of your quilt top.
- Incorporating Borders: Borders are wide strips of fabric added to the edges of the quilt top. They can enhance the overall look of the quilt and provide an opportunity to add extra design elements. Select border fabric that complements the colors and patterns already present in your quilt.
- Extending the Quilt Top: If you have extra fabric that matches the existing quilt top, you can extend it by adding rows or columns of additional blocks. This method requires careful planning to ensure the new blocks seamlessly blend with the original design.
- Adjusting the Quilt Backing: In some cases, you may need to extend or replace the backing fabric to accommodate the larger quilt top. Measure the required dimensions and choose fabric that coordinates with the existing backing fabric.
When choosing a method to increase the size of your quilt, consider how it will affect the overall design and balance of the quilt. It’s important to maintain the visual harmony and integrity of the original quilt while adding new elements. Experiment with different methods and techniques to find the one that best suits your needs and vision.
Once you have selected a method, it’s time to implement it and bring your larger quilt to life. In the following sections, we will explore each method in detail, providing step-by-step instructions to guide you through the process. Let’s dive in and start adding size and dimension to your quilt!
Adding Sashing
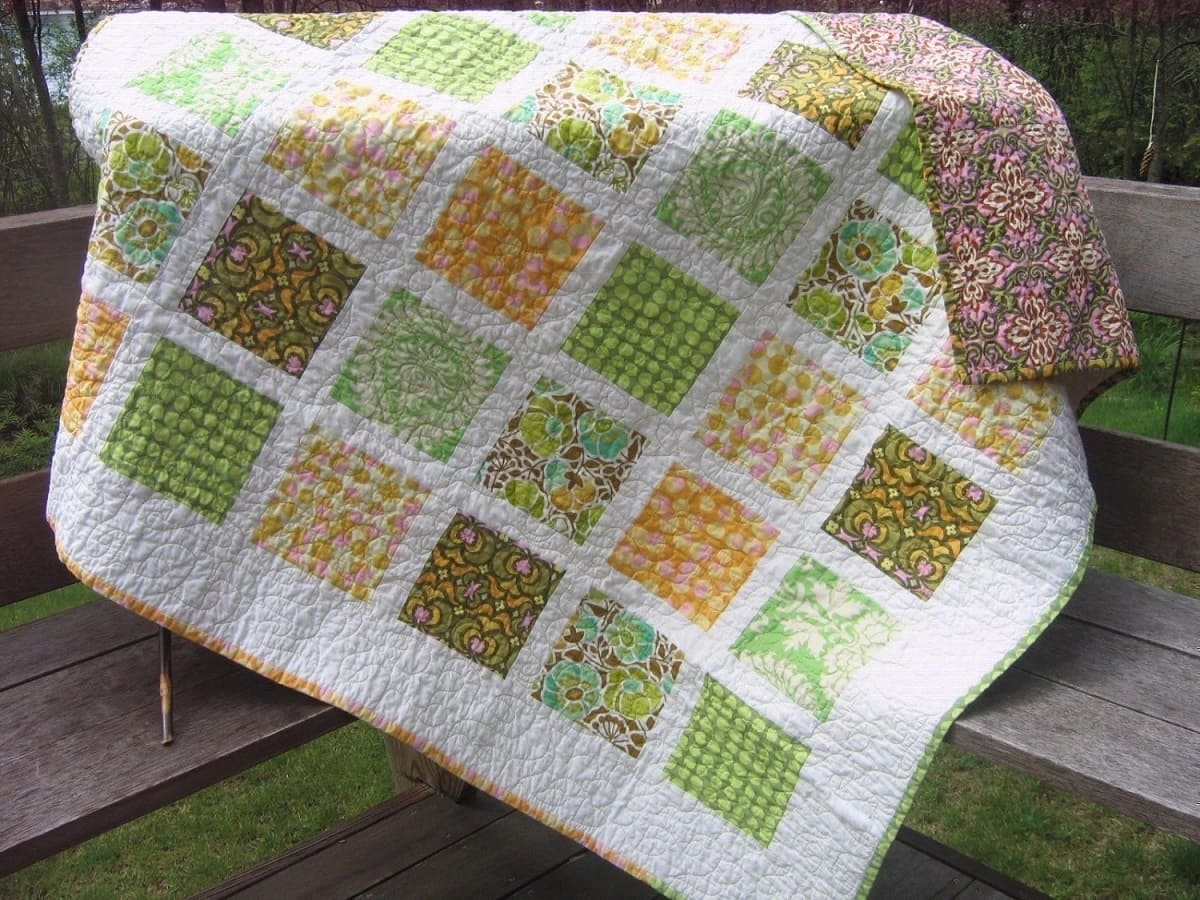
One popular method to increase the size of your quilt is by adding sashing. Sashing is thin strips of fabric placed between quilt blocks, providing a visual break and adding a touch of elegance to the overall design. Not only does it add width and length to the quilt, but it also creates a stunning effect by framing each block.
Here’s a step-by-step guide on how to add sashing to your quilt:
- Measure: Evaluate the size of your quilt top and determine how much additional width and length you want to add. Calculate the measurements for the sashing strips accordingly.
- Select Fabric: Choose a sashing fabric that complements the colors and design of your quilt top. Consider using a neutral or coordinating color that allows the quilt blocks to shine.
- Cut Strips: Using a rotary cutter and ruler, cut fabric strips for the sashing. The width of the strips will depend on your design preference, but a common width is 2.5 inches.
- Arrange: Lay out your quilt blocks and the sashing strips on a flat surface. Experiment with different arrangements until you find the desired placement.
- Sew: Take a sashing strip and align it with the edge of a quilt block. Sew with a ¼ inch seam allowance, securing the strip to the block. Repeat this process for each block, sewing sashing strips between each one.
- Press: After sewing, press the seams towards the sashing strips to create a crisp finish. Be careful not to stretch the fabric while pressing.
- Repeat: Continue adding sashing strips between each block until you have completed the quilt top. Check the measurements periodically to ensure the quilt is expanding as desired.
- Add Borders: If desired, you can further enhance the size and design of the quilt by adding borders. Choose fabric that complements the sashing and quilt blocks, and sew them to the outer edges of the quilt top.
Adding sashing to your quilt not only increases its size but also adds elegance and visual interest. It provides a beautiful framework for each block, giving your quilt a polished and finished look. Experiment with different sashing widths, colors, and patterns to achieve the desired effect.
Incorporating sashing is just one method to make a quilt larger. In the next section, we will explore another popular technique: incorporating borders. Get ready to take your quilt to the next level as we dive into the world of borders!
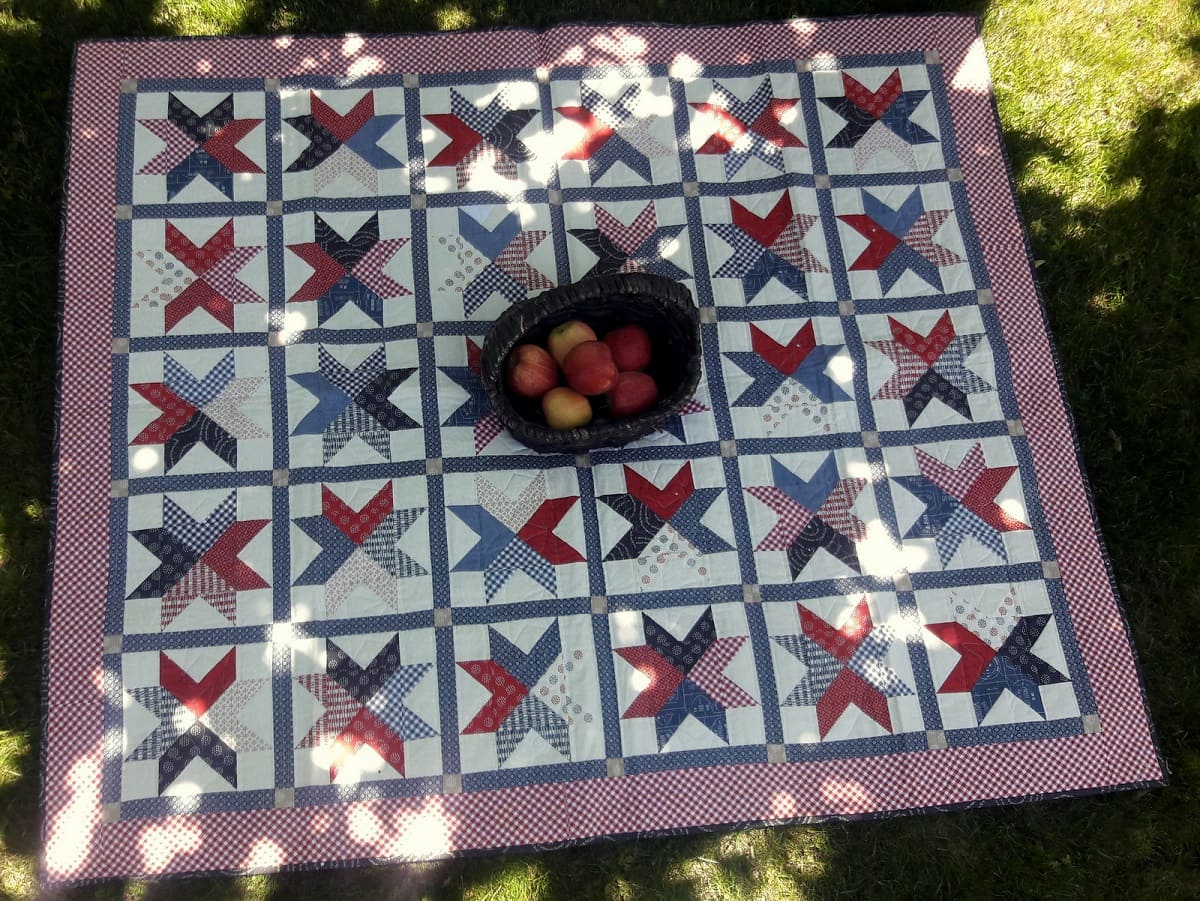
Consider adding borders to your quilt to make it larger. You can use coordinating or contrasting fabric to create a visually appealing frame around your quilt. This is a simple and effective way to increase the size of your quilt.
Read more: How To Make A Quilt Backing
Incorporating Borders
Another effective method to increase the size of your quilt is by incorporating borders. Borders are wide strips of fabric that are added to the outer edges of the quilt top, extending its dimensions and adding a decorative element. Not only do borders enhance the overall design, but they also provide a finished look to your quilt.
Here’s a step-by-step guide on how to incorporate borders into your quilt:
- Measure: Evaluate the size of your quilt top and determine how much additional width and length you want to add. Calculate the measurements for the borders accordingly.
- Select Fabric: Choose a fabric for the borders that complements the colors and design of your quilt top. Consider using a fabric that is compatible with the existing quilt blocks and sashing.
- Cut Strips: Using a rotary cutter and ruler, cut fabric strips for the borders. The width of the strips will depend on your design preference, but a common width is 4-6 inches.
- Arrange: Lay out your quilt top and the border strips on a flat surface. Experiment with different arrangements until you find the desired placement.
- Sew: Take a border strip and align it with one side of the quilt top. Sew with a ¼ inch seam allowance, securing the strip to the quilt top. Repeat this process for each side, sewing border strips to the remaining edges.
- Press: After sewing, press the seams towards the border strips to create a crisp finish. Be careful not to stretch the fabric while pressing.
- Measure and Adjust: Measure the width and length of the quilt top after adding the borders. Ensure that the dimensions match your desired size.
- Continue with Quilting: Once the borders are added, you can proceed with the quilting process. Layer the quilt top, batting, and backing, and quilt as desired.
- Binding: Finally, complete your larger quilt by binding the edges. Measure and cut binding fabric to go around the entire perimeter of the quilt, attach it with a ¼ inch seam allowance, and finish it off with your preferred binding method.
Incorporating borders can transform your quilt, giving it a polished and elegant look. Borders can be a simple contrasting frame or can feature additional design elements such as appliqué or piecing. Play with different border widths and fabric choices to achieve the desired effect.
Now that you’ve learned about adding sashing and incorporating borders, you have two powerful techniques to make your quilt larger. In the next sections, we will explore additional methods, including extending the quilt top and adjusting the quilt backing. Stay tuned as we continue our journey of expanding your quilt!
Extending the Quilt Top
If you have extra fabric that matches the existing quilt top, you can extend the quilt by adding rows or columns of additional blocks. This method allows you to seamlessly expand the quilt while maintaining the original design and pattern. Here’s a step-by-step guide on how to extend your quilt top:
- Evaluate the Quilt: Assess the size of your current quilt top and determine how much larger you want it to be. Calculate the number of additional blocks you’ll need to achieve the desired size.
- Gather Fabric: Collect fabric that matches the colors, prints, and textures of your existing quilt top. This will ensure a cohesive and harmonious extension.
- Cut Additional Blocks: Using a rotary cutter and ruler, cut the additional fabric into blocks that match the size of the existing blocks. Pay attention to the seam allowances to ensure proper alignment.
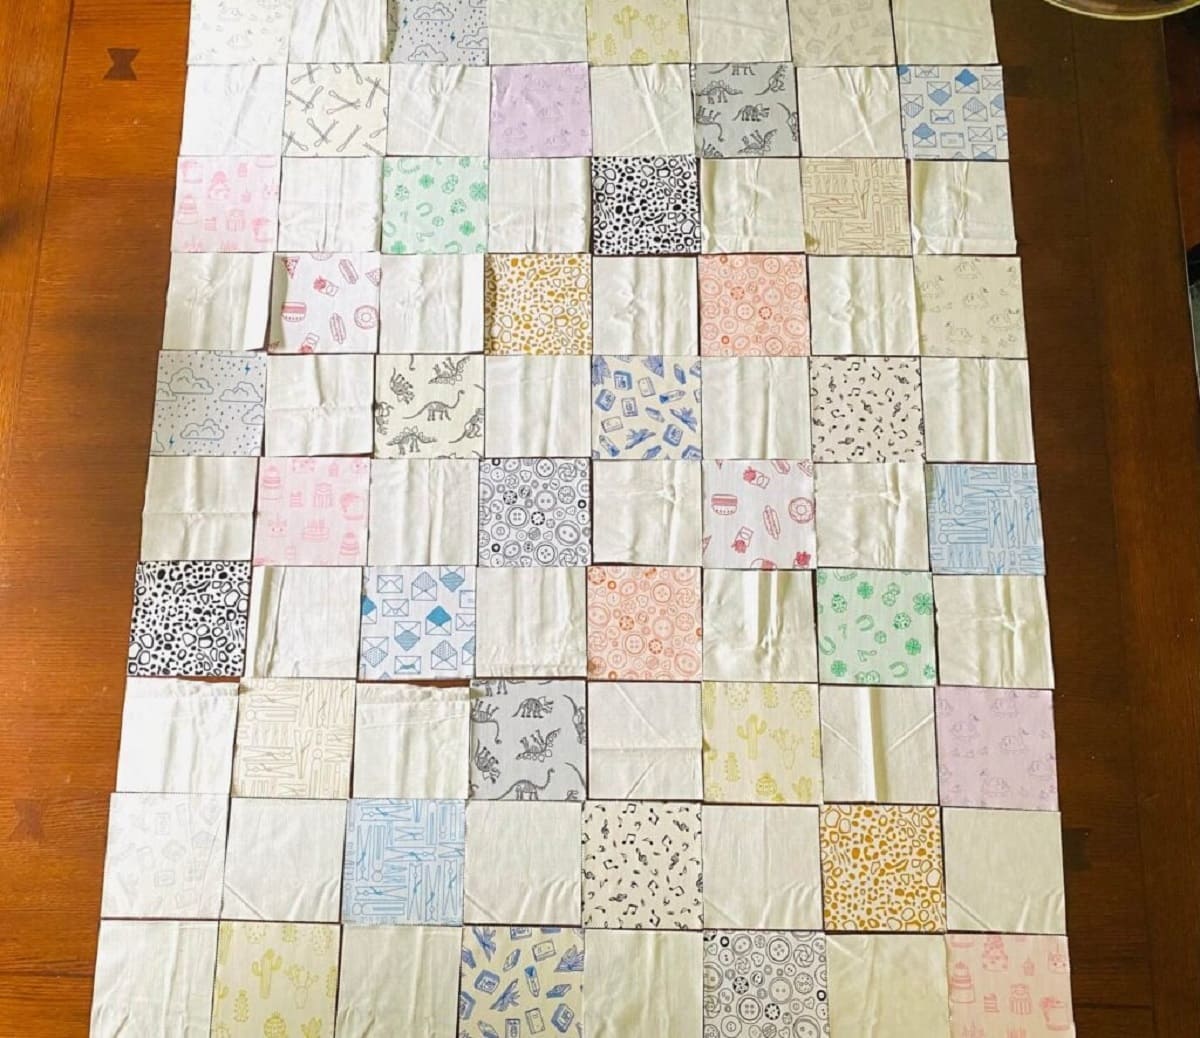
- Layout: Lay out the existing blocks and the additional blocks on a flat surface. Experiment with different arrangements until you achieve a balanced and visually appealing design.
- Sew Rows: Begin sewing the additional blocks to the original quilt top, row by row. Use a ¼ inch seam allowance and press the seams open or to one side, depending on your preference. Take care to maintain consistent seam allowances throughout.
- Align Seams: As you sew the rows together, make sure to match up the seams of the existing blocks with the seams of the new blocks. This will create a seamless transition between the original quilt top and the extension.
- Complete the Quilt Top: Continue sewing the additional rows until the quilt top reaches the desired size. Press all the seams to ensure a flat and smooth surface.
- Border and Bind: To finish the quilt top, you can add borders to the outer edges following the instructions mentioned earlier. Finally, bind the edges using your preferred binding method.
Extending the quilt top by adding additional blocks allows you to create a larger quilt while maintaining the original design. It’s important to pay attention to fabric choices, seam alignments, and overall balance to achieve a cohesive look.
Now that you’ve explored different methods for making a quilt larger, including adding sashing, incorporating borders, and extending the quilt top, you’re well-equipped to expand your quilting projects. In the next section, we’ll discuss how to adjust the quilt backing to accommodate the increased size. So, let’s continue our journey of creating larger quilts!
Adjusting the Quilt Backing
When you’re making a quilt larger, it’s important to adjust the quilt backing to accommodate the increased size of the quilt top. By doing so, you will ensure that all the layers of your quilt align properly and provide a neat and professional finish. Here’s a step-by-step guide on how to adjust the quilt backing:
- Measure the Quilt Top: Measure the dimensions of your expanded quilt top to determine the size of the backing fabric you’ll need.
- Select Backing Fabric: Choose a fabric for the backing that coordinates with the quilt top. Consider using a single large piece of fabric or piecing together smaller sections to achieve the desired size.
- Cut the Backing Fabric: Use a rotary cutter and ruler to cut the backing fabric to the appropriate size, adding extra for seam allowances and any desired overhang.
- Piece the Backing (if necessary): If your desired backing size exceeds the width of your fabric, you may need to piece the backing together. Sew the sections of fabric together using a ¼ inch seam allowance, ensuring that the seams are pressed open or to one side for a flat finish.
- Adjust Quilt Layers: Place the quilt top, batting, and adjusted backing fabric on a flat surface, ensuring they are all aligned properly.
- Baste the Layers: Secure the layers together by basting. This can be done with pins, hand basting, or using temporary adhesive spray.
Adjusting the quilt backing is essential to ensure that all the layers of your quilt fit correctly. By carefully measuring, selecting appropriate fabric, and properly aligning the backing with the quilt top and batting, you’ll create a sturdy foundation for quilting and ensure a visually appealing finished product.
With the quilt backing adjusted, you can now proceed with quilting and completing your larger quilt. Remember to follow your preferred quilting techniques and finish the edges with binding or other finishing methods.
By exploring various methods and techniques like adding sashing, incorporating borders, extending the quilt top, and adjusting the quilt backing, you now have a range of options to make your quilt larger. Each method offers its own unique flair, allowing you to unleash your creativity and achieve the desired size and design.
Now that you’re armed with these techniques, it’s time to put them into practice. Enjoy the process of expanding your quilt and watch it transform into a larger and more dynamic masterpiece. Happy quilting!
Lengthening the Binding
When making a quilt larger, it’s important to ensure that your binding is long enough to wrap around the expanded quilt top. Lengthening the binding is necessary to ensure a secure and neat finish on the edges of your quilt. Here’s a step-by-step guide on how to lengthen the binding:
- Measure: Measure the entire perimeter of your expanded quilt top, including the added sashing, borders, or extended sections.
- Calculate the Length: Using the measurement from step 1, calculate the length of binding you’ll need by adding the perimeter measurement to the desired overhang length (usually around 10-12 inches).
- Select Binding Fabric: Choose a fabric for the binding that coordinates with the quilt top and complements the overall design. Consider using the same fabric as the original binding or a complementary fabric that enhances the larger quilt.
- Cut Strips: Using a rotary cutter and ruler, cut fabric strips for the binding. The width of the strips should be 2.5 inches for single-fold binding or 4.5 inches for double-fold binding, plus seam allowances.
- Join Strips (if necessary): If the length of your binding is longer than the fabric width, you may need to join multiple strips together. Align the strips at a 45-degree angle and sew them together using a diagonal seam. Press the seams open or to one side.
- Press: Press the binding strips in half lengthwise, wrong sides together, to create a crisp fold.
- Attach Binding: Starting in the middle of one side of your quilt, align the raw edges of the binding with the raw edges of the quilt top. Leave a 6-8 inch tail at the beginning for later joining.
- Sew Binding: Sew the binding to the quilt using a ¼ inch seam allowance, stopping ¼ inch before the corner. Secure the stitching and backstitch.
- Miter Corners: To create mitered corners, fold the binding up at a 45-degree angle, then fold it back down, aligning the raw edges with the next side of the quilt. Continue sewing until you reach the starting point.
- Join Ends: When you reach the starting point, trim the excess binding, leaving a 6-8 inch tail. Open both ends of the binding and align them, right sides together. Sew diagonally from corner to corner, trim the excess, and press the seam open or to one side.
- Finish Sewing: Sew the remaining length of the binding to the quilt, tucking the raw edges under, and overlapping the first section. Secure the stitching, backstitch, and trim any excess.
By lengthening the binding, you’ll have enough fabric to wrap around the larger quilt top, ensuring a secure and visually appealing finish. Remember to carefully align the corners and miter them for crisp and professional-looking results.
With the longer binding in place, your quilt is now complete and ready to be enjoyed. Admire your larger quilt, the result of your creativity, skill, and dedication.
Congratulations on successfully making your quilt larger! You’ve explored various techniques and methods, including adding sashing, incorporating borders, extending the quilt top, adjusting the quilt backing, and lengthening the binding. These strategies have allowed you to expand your quilt while maintaining its design and integrity.
Happy quilting, and may your larger quilt bring comfort and joy for years to come!
Read more: How To Make A Label For A Quilt
Conclusion
Congratulations! You’ve reached the end of our journey of making a quilt larger. We’ve explored various methods and techniques to help you expand your quilt while maintaining its design and integrity. By adding sashing, incorporating borders, extending the quilt top, adjusting the quilt backing, and lengthening the binding, you now have an array of strategies at your disposal to create larger quilts. These techniques allow you to unleash your creativity and transform your quilting projects into spectacular and sizeable masterpieces.
As you’ve learned, each method offers its own unique flair. Adding sashing creates a visual break and elegance between quilt blocks, while incorporating borders enhances the design and adds a finished touch. Extending the quilt top seamlessly integrates additional fabric and blocks, while adjusting the quilt backing ensures all layers fit correctly. Finally, lengthening the binding ensures a secure and neat finish for your larger quilt.
Throughout this journey, we’ve emphasized the importance of careful planning, measuring, and fabric selection. It’s essential to evaluate the quilt, consider the overall design, and choose materials that complement the existing elements. By following these steps, you can create harmonious and visually appealing larger quilts that retain the essence of the original design.
Remember, quilting is a labor of love. Whether you’re an experienced quilter or just starting out, the process of making a quilt larger requires patience, attention to detail, and a touch of creativity. Enjoy the journey as you expand your quilting projects and watch them transform into stunning pieces of art.
Now, armed with the knowledge and techniques shared in this article, it’s time to put your skills into practice. Gather your materials, choose a method that resonates with your vision, and embark on the exciting process of making your quilt larger. Experiment, explore, and let your creativity guide you as you create beautiful and sizeable quilts that will be treasured for years to come.
Happy quilting!
Frequently Asked Questions about How To Make A Quilt Larger
Was this page helpful?
At Storables.com, we guarantee accurate and reliable information. Our content, validated by Expert Board Contributors, is crafted following stringent Editorial Policies. We're committed to providing you with well-researched, expert-backed insights for all your informational needs.




0 thoughts on “How To Make A Quilt Larger”