

Articles
How To Make A Pineapple Quilt
Modified: February 24, 2024
Learn how to make a beautiful pineapple quilt with our informative articles. Discover step-by-step instructions and expert tips to create stunning designs.
(Many of the links in this article redirect to a specific reviewed product. Your purchase of these products through affiliate links helps to generate commission for Storables.com, at no extra cost. Learn more)
Introduction
Quilting is a time-honored craft that allows you to create beautiful, functional, and personalized works of art. One popular quilting pattern that has stood the test of time is the pineapple quilt. This classic design features vibrant, geometric pineapple blocks that create a visually striking and intricate quilt top.
In this article, we will guide you through the process of making your very own pineapple quilt. Whether you are a seasoned quilter or a beginner looking to embark on your first quilting project, this step-by-step guide will provide you with all the information you need to create a stunning pineapple quilt.
Before we dive into the process, let’s take a moment to gather the materials and supplies you will need.
Key Takeaways:
- Creating a pineapple quilt is a rewarding journey that combines artistic expression and the joy of quilting. From gathering materials to adding finishing touches, each step contributes to a unique and beautiful creation.
- Let your creativity shine by choosing colors, exploring quilting designs, and adding personal touches like embroidery or labels. Enjoy the process and embrace challenges as learning opportunities.
Read more: How To Make Pineapple Juice With Blender
Materials Needed
Before you start your pineapple quilt project, it’s essential to gather all the necessary materials and supplies. Here’s a list of what you’ll need:
- Fabric: Choose a variety of colors and patterns for your pineapple blocks. You will need fabric for the pineapple sections, background, and borders. Consider using a combination of solid colors and prints to add visual interest.
- Rotary Cutter and Mat: These tools will make it easier to cut precise shapes and sizes for your quilt blocks.
- Ruler: A clear, acrylic quilting ruler with measurements marked will help you accurately cut your fabric.
- Quilting Pins: These will be used to hold your fabric in place during sewing.
- Sewing Machine: A reliable sewing machine with a straight stitch and zigzag stitch capability is essential for quilting.
- Thread: Choose a thread color that complements your fabric choices.
- Iron: An iron is necessary to press your fabric and create crisp seams.
- Quilt Batting: This provides the middle layer of your quilt sandwich.
- Backing Fabric: Choose a fabric for the back of your quilt that coordinates with the front.
- Binding Fabric: This fabric will be used to finish off the edges of your quilt.
- Quilting Needles: These needles have a larger eye and a sharp point, making them ideal for quilting through multiple layers of fabric.
- Quilting Ruler: A long ruler with markings for measuring and straight lines will help you when quilting your layers together.
- Quilting Gloves: These gloves have grippy palms, allowing you to easily maneuver your quilt layers when quilting.
Once you have gathered all the necessary materials and supplies, you’re ready to move on to the next step: preparing the fabric.
Step 1: Gathering Fabric and Supplies
The first step in creating your pineapple quilt is to gather all the fabric and supplies you will need. As mentioned earlier, you will need a variety of colors and patterns for your pineapple blocks, background, and borders. Here’s how to go about it:
- Decide on Color Scheme: Think about the overall color scheme you want for your quilt. Will you opt for a vibrant and bold look, or a more subtle and calming palette? Take inspiration from the colors in your home, your personal preferences, or the intended use of the quilt.
- Choose Fabrics: Once you have decided on a color scheme, it’s time to choose the fabrics. Visit your local fabric store or browse online to find a variety of prints and solids that match your vision. Consider selecting fabrics of different textures and scales to add depth and interest to your quilt.
- Calculate Yardage: Determine how much fabric you will need for your project. The amount will depend on the size of your quilt, the number of pineapple blocks, and the desired width of borders and binding. Use a quilting calculator or consult a quilt pattern to help you calculate the yardage required.
- Purchase Supplies: Once you have finalized your fabric choices and calculated the yardage, make a list of the other supplies you will need. This includes items like rotary cutter and mat, ruler, quilting pins, sewing machine, thread, iron, quilt batting, backing fabric, binding fabric, quilting needles, quilting ruler, and quilting gloves.
Take your time when selecting fabrics and supplies for your pineapple quilt. Consider how the colors and patterns will work together and how they will enhance the overall design of your quilt. Once you have gathered everything you need, you can move on to the next step: preparing the fabric.
Step 2: Preparing the Fabric
After gathering all the necessary fabric and supplies for your pineapple quilt, it’s time to prepare the fabric before you start cutting and sewing. Properly preparing the fabric will ensure that your quilt turns out beautifully and will help your finished project to withstand the test of time. Here’s what you need to do:
- Wash and Press: Before you begin, it’s recommended to pre-wash your fabric to remove any sizing or shrinkage. Follow the washing instructions for each fabric type. Once washed, press the fabric using an iron to remove any wrinkles and create a smooth surface for cutting.
- Straighten Edges: Use a rotary cutter and ruler to trim off the selvage (the tightly woven edge) of each fabric piece. This will ensure that your fabric pieces are straight and square, which is essential for accurate cutting and sewing.
- Prepare Templates: Depending on the pineapple block pattern you’re using, you may need to create templates for cutting the fabric. Trace the required shapes onto template plastic or cardboard and cut them out. Templates will help you achieve consistent shapes and sizes throughout your quilt.
- Organize and Label: As you prepare your fabric, it’s helpful to keep everything organized and labeled. Use separate containers or ziplock bags to store different fabrics and pieces, and label them accordingly. This will make it easier to locate the correct pieces as you proceed with the quilt construction.
By taking the time to properly prepare your fabric, you set yourself up for success in the rest of the quilt-making process. Straight and smoothly pressed fabric will give you more accurate measurements and cleaner sewing lines. Plus, organized and labeled fabric pieces will save you time and minimize confusion as you work through the quilt construction steps.
With your fabric now prepared, you’re ready to move on to the next step: cutting the pineapple templates.
Step 3: Cutting the Pineapple Templates
Now that your fabric is prepared and organized, it’s time to cut the pineapple templates. These templates will serve as the foundation for your pineapple blocks, ensuring that each block is the same size and shape. Follow these steps to cut the pineapple templates:
- Refer to the Pattern: If you are using a specific pineapple quilt pattern, refer to the instructions to determine the size and shape of the pineapple templates you need to cut. If you are designing your own pineapple blocks, decide on the dimensions for the templates.
- Trace and Cut Templates: Place the template plastic or cardboard on the chosen fabric and trace around the template shape using a pen or a fabric marker. Repeat this process for each piece of the pineapple block. Once traced, carefully cut out the fabric pieces along the marked lines.
- Label and Organize: As you cut each fabric piece, label it according to its position in the pineapple block. For example, label the center piece, the wedges, and background pieces. This will help you keep track of the different components as you assemble the blocks later on.
- Repeat for Additional Blocks: If you plan to make multiple pineapple blocks, repeat the tracing and cutting process for each block. You may choose to cut all the templates for one block before moving on to the next to streamline the process.
It’s important to be precise when cutting the pineapple templates to ensure accurate and consistent blocks. Take your time and use sharp scissors or a rotary cutter to achieve clean edges. Also, double-check the dimensions and shapes of the templates to match the design you are aiming for.
With the pineapple templates cut and labeled, you’re ready to move on to the next step: sewing the pineapple blocks together.
Read more: How To Make A Quilt
Step 4: Sewing the Pineapple Blocks
With the pineapple templates cut and labeled, it’s time to sew the pineapple blocks together. This is where the magic happens as you bring the vibrant pineapple design to life. Follow these steps to sew the pineapple blocks:
- Layout the Pieces: Begin by laying out the fabric pieces for each pineapple block according to the design or pattern you are following. This will give you a visual reference and help ensure that you sew the pieces together in the correct order.
- Stitch the Center Square: Start by sewing the smaller square or rectangle that forms the center of the pineapple block. Use a quarter-inch seam allowance and a straight stitch to sew the pieces together. Press the seam open or to one side to create a flat surface.
- Add the Wedge Pieces: Next, attach the wedge pieces to the center square. Align the edges of the wedge pieces with the edges of the center square, right sides together. Sew along the edge with a quarter-inch seam allowance, being careful to maintain an accurate seam allowance along the curve. Press the seams open or to one side.
- Sew the Background Pieces: After attaching the wedge pieces, sew the background pieces to complete the pineapple block. Align the edges of the background pieces with the remaining edges of the center square and wedges. Sew with a quarter-inch seam allowance and press the seams open or to one side.
- Trim and Square-Up: Once the block is sewn together, trim off any excess fabric or uneven edges to create a square or rectangle shape. Use a square ruler to check that all sides are straight and even. Repeat these steps for each pineapple block you are making.
As you sew the pineapple blocks together, take your time to ensure precise seam allowances and accurate placement of the fabric pieces. Press the seams open or to one side after each step to create a smooth and flat block. Trim and square-up the blocks to ensure they are uniform in size and ready for the next step.
With the pineapple blocks completed, you’re ready to move on to assembling the quilt top.
When making a pineapple quilt, be sure to accurately trim the fabric strips to the correct size to ensure that the points of the pineapple blocks line up neatly.
Step 5: Assembling the Quilt Top
Now that you have sewn the pineapple blocks, it’s time to assemble the quilt top. This is where you will bring all the blocks together to create a cohesive and visually appealing design. Follow these steps to assemble the quilt top:
- Layout the Blocks: Start by arranging the pineapple blocks in the desired layout. Experiment with different arrangements until you find a design that you love. Consider the placement of colors, the flow of the design, and the overall balance of the quilt top.
- Arrange the Borders: Once you are satisfied with the placement of the pineapple blocks, it’s time to add the borders. Cut strips of fabric to the desired width for the borders and attach them to the sides of the quilt top. Press the seams open or to one side.
- Join the Rows: To assemble the quilt top, begin by joining the blocks in each row. Place two blocks right sides together, aligning the edges, and sew along the seam with a quarter-inch allowance. Continue joining the blocks in each row until all rows are complete.
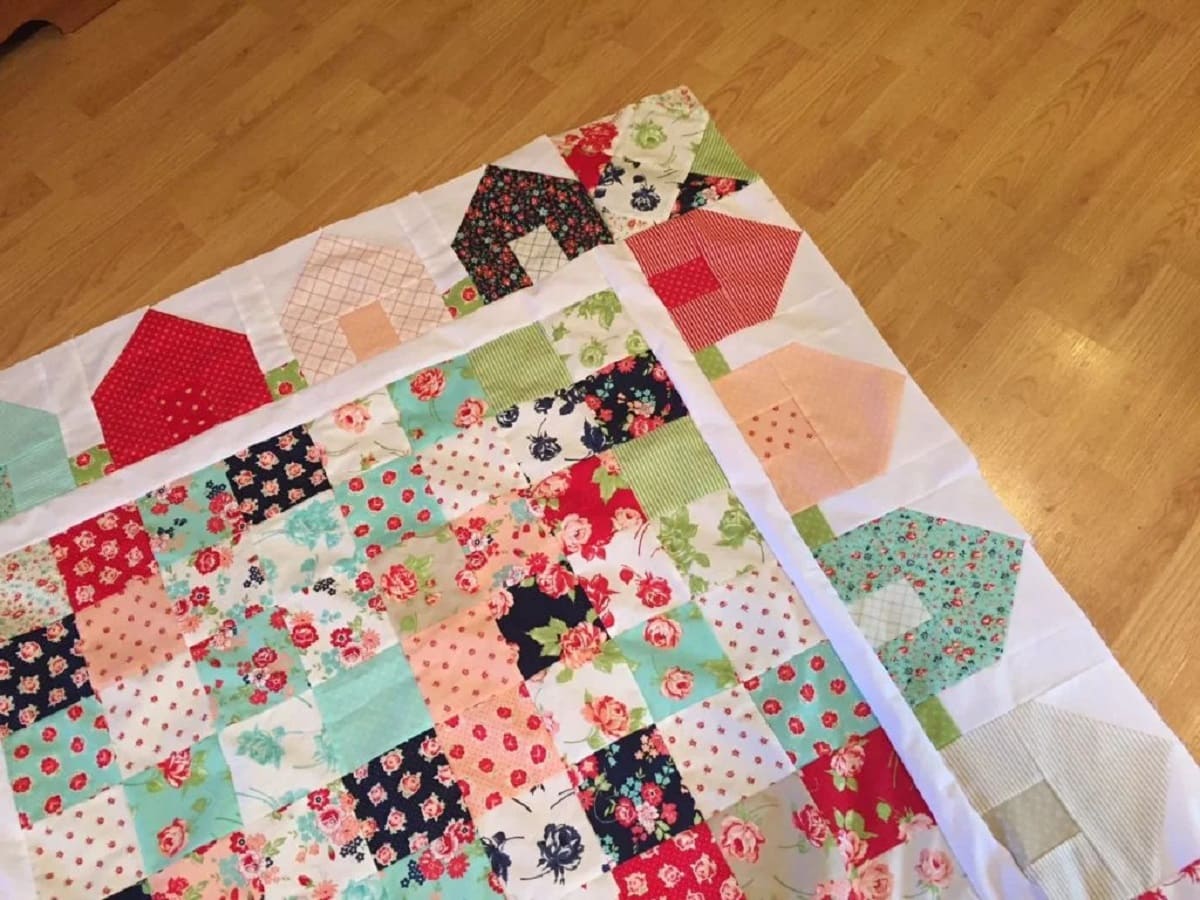
- Join the Rows Together: Once the rows are complete, join them together to form the final quilt top. Align the edges of two rows, right sides together, and sew along the seam with a quarter-inch allowance. Continue joining the rows until the entire quilt top is assembled.
- Press and Trim: After the quilt top is assembled, press the seams open or to one side to create a flat surface. Trim any excess fabric and ensure that all edges are straight and even.
Take your time to arrange the blocks and borders in a way that pleases your eye. Consider taking a step back and viewing the layout from a distance to get a better sense of the overall design. Once the quilt top is assembled, pressing the seams and trimming the edges will give your quilt a polished and professional finish.
With the quilt top completed, you’re ready to move on to the next step: adding the quilt backing and batting.
Step 6: Adding the Quilt Backing and Batting
With the quilt top assembled, it’s time to add the quilt backing and batting layers. The backing provides the bottom layer of the quilt, while the batting adds the warmth and loftiness. Follow these steps to add the quilt backing and batting:
- Prepare the Backing: Start by cutting the quilt backing fabric to the desired size. Make sure it is at least a few inches larger than the quilt top on all sides to provide room for trimming and securing.
- Smooth and Secure: Lay the quilt backing fabric on a flat surface, wrong side facing up. Smooth out any wrinkles or folds to create a flat surface. You can pin the edges of the backing to the surface to keep it in place.
- Add the Batting: Place the quilt batting on top of the backing fabric, centering it so that there is an equal amount of excess batting on all sides. Smooth out any wrinkles or folds in the batting to create an even layer.
- Layer the Quilt Top: Carefully place the quilt top on top of the batting, right side facing up. Align the edges of the quilt top with the edges of the backing and batting layers. Smooth out any wrinkles or folds.
- Pin or Baste the Layers: Use quilting pins or large basting stitches to secure the layers together. Start in the center and work your way out, smoothing the fabric as you go. Make sure all layers are taut and free from wrinkles or bubbles.
- Trim Excess Fabric: Trim the quilt backing and batting layers to match the size of the quilt top. Use the edges of the quilt top as a guide and cut off any excess fabric. Be careful not to cut into the quilt top.
Adding the quilt backing and batting layers is an important step in creating a sturdy and cozy quilt. Take your time to smooth out the layers and ensure that they are properly aligned. Pinning or basting the layers together will keep them in place during the quilting process.
With the backing and batting in place, you’re ready to move on to the next step: quilting the layers together.
Step 7: Quilting the Layers Together
Now that the quilt top, backing, and batting layers are securely in place, it’s time to quilt them together. Quilting not only adds decorative stitching to the quilt but also ensures that the layers are held firmly together. Follow these steps to quilt the layers:
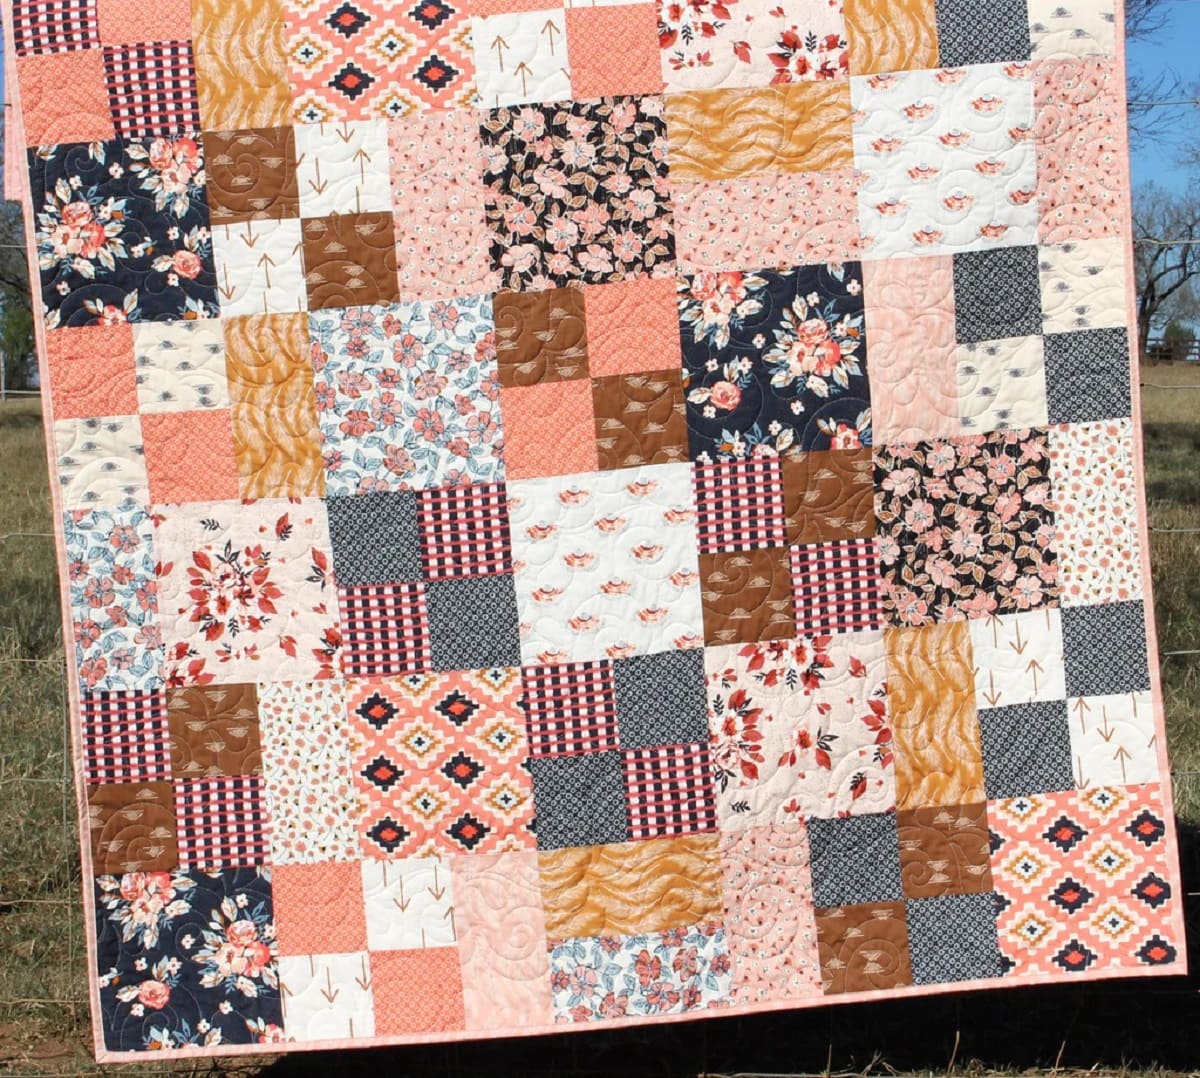
- Choose a Quilting Design: Decide on the quilting design you want to use for your pineapple quilt. This can be simple straight lines, free-motion quilting, or even a specific pattern that complements the pineapple block design. Consider the style of your quilt and the level of quilting experience you have.
- Prepare the Sewing Machine: Set up your sewing machine with the appropriate quilting needle and thread. You may choose to use a walking foot or free-motion quilting foot, depending on the desired effect and your sewing machine capabilities.
- Start Quilting: Begin quilting by stitching along the chosen quilting design. Take your time and guide the quilt sandwich through the machine, following your chosen design. Be sure to secure the beginning and ending stitches to prevent unraveling.
- Quilt in Sections: Depending on the size of your quilt, it may be easier to quilt in smaller sections rather than attempting to quilt the entire quilt at once. This will give you more control and ensure that the stitches are even and consistent throughout.
- Continue Quilting: Work your way across the quilt, following the quilting design and securing the layers together. Remember to take breaks as needed and adjust your stitching speed to maintain accuracy.
- Change Thread Colors: If desired, you can change thread colors as you quilt to add visual interest or emphasize certain areas of the quilt. Simply knot off the previous thread and start with the new color, securing the beginning and ending stitches.
- Backstitch and Secure: Once you have finished quilting the entire quilt, backstitch a few stitches to secure the threads. Trim any loose threads and inspect the quilt top for any missed or uneven quilting stitches.
Quilting is an opportunity to add your personal touch and creativity to the quilt. Experiment with different quilting designs and thread colors to achieve the desired effect. Take your time and enjoy the process of stitching the layers together.
With the quilt layers quilted together, you’re ready to move on to the next step: binding the quilt.
Read more: How To Make Greenery From Pineapple Growing
Step 8: Binding the Quilt
Binding is the final step in finishing your pineapple quilt, giving the edges a clean and polished look. It not only adds durability but also completes the overall aesthetic of the quilt. Follow these steps to bind your quilt:
- Prepare Binding Strips: Measure the perimeter of your quilt to determine the length of binding fabric you will need. Cut fabric strips that are about 2.5 inches wide and long enough to cover all four sides of the quilt with a bit of overlap.
- Join the Binding Strips: If necessary, join the binding strips together to create one long continuous strip. Align the ends of two strips at a 45-degree angle, right sides together, and sew across the diagonal. Trim the excess fabric and press the seam open.
- Prepare and Attach Binding: Fold the binding strip in half lengthwise, wrong sides together, and press it to create a crease. Starting in the middle of one side, align the raw edges of the binding strip with the raw edges of the quilt, leaving a few inches of binding free at the start.
- Sew Binding to Quilt: Using a quarter-inch seam allowance, sew the binding to the quilt, backstitching at the beginning and end. Stop sewing a few inches before reaching the corner, leaving the remaining binding free.
- Miter the Corners: To miter the corners, fold the binding strip upward, away from the quilt, at a 45-degree angle. Then fold it back down, aligning the raw edge of the binding with the new side of the quilt. Continue sewing along the next side, repeating this process for each corner.
- Finish Binding: Once you reach the starting point, trim the excess binding, leaving a few inches of overlap. Fold the raw edge of the binding strip under and tuck it into the starting point. Then, sew the remaining binding to the quilt, overlapping the stitches slightly.
- Press and Secure Binding: Press the binding away from the quilt, both on the front and back, to create a crisp edge. Use hand sewing or machine stitching to secure the folded edge of the binding to the back of the quilt, ensuring that the stitches are not visible from the front.
Binding adds the final touch to your pineapple quilt, framing the design and providing a finished edge. Take your time during the binding process to achieve neat, even stitching and smooth corners. Pressing the binding and securing it well will give your quilt a professional and polished look.
With the quilt bound, you have successfully completed the major steps in creating your pineapple quilt. The next step will cover some finishing touches to make it truly special.
Step 9: Finishing Touches
Now that your pineapple quilt is bound, there are a few finishing touches you can add to make it truly special. These final details will elevate your quilt and give it a personal touch. Follow these steps to add the finishing touches:
- Label Your Quilt: Create a fabric label with your name, the date, and any other relevant information about the quilt. Hand-stitch or fuse the label to the back of the quilt for a lasting reminder of your creative accomplishment.
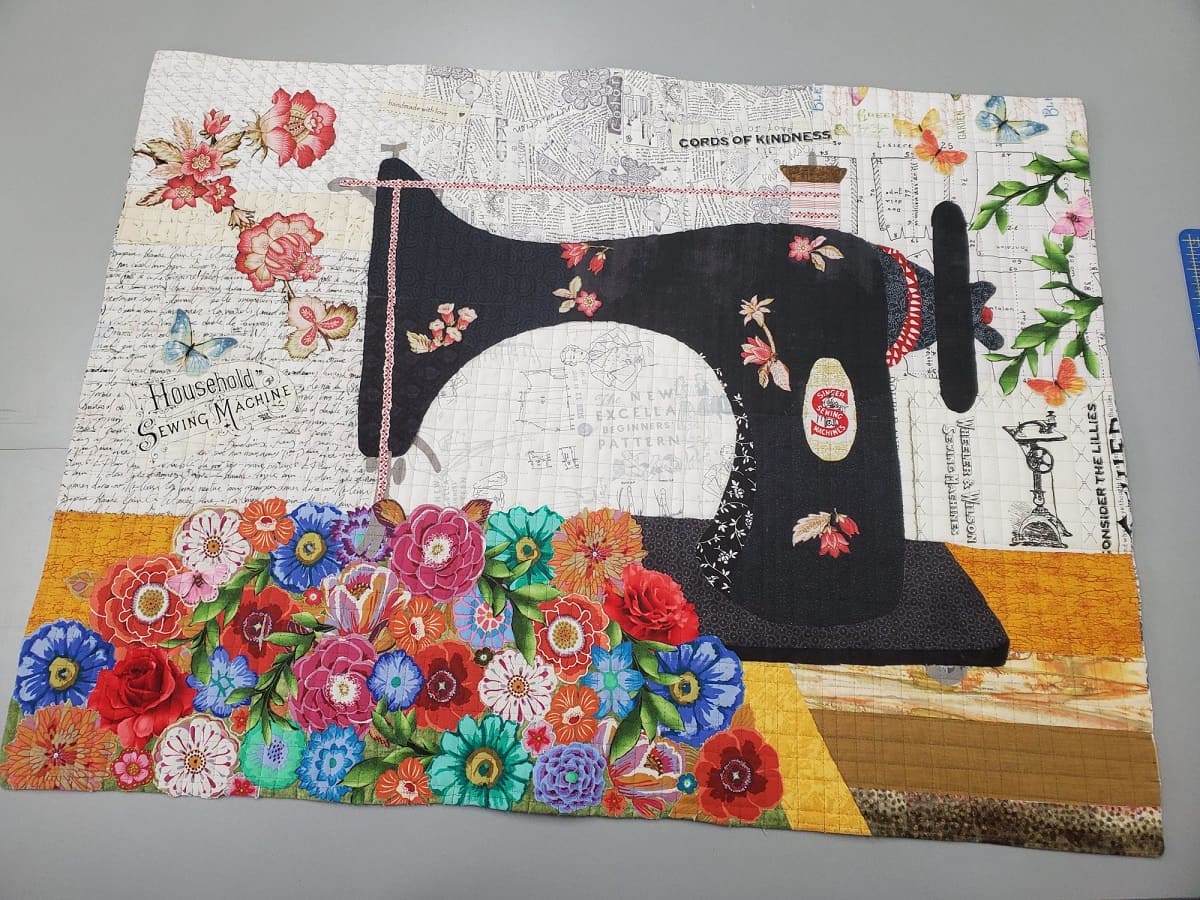
- Embellish with Embroidery: Consider adding hand embroidery to your quilt. You can stitch additional designs, names, or meaningful quotes onto the quilt top or borders. Use embroidery floss or specialized quilting threads to add texture and interest.
- Quilt Label: Make a quilt label to document the quilt’s name, the maker’s name, and any other relevant information. You can transfer the information onto fabric using a fabric pen or print it onto fabric using a printer and fabric sheets.
- Quilt Hanging Sleeve: If you plan to hang your pineapple quilt, you may want to attach a hanging sleeve to the back. A hanging sleeve is a fabric tube that allows you to insert a dowel or rod for hanging. Sew the sleeve to the back of the quilt before attaching the binding.
- Give It a Final Press: After completing all the finishing touches, give your quilt a final press to remove any wrinkles or creases. Use a pressing cloth to protect the fabric and gently press with a warm iron.
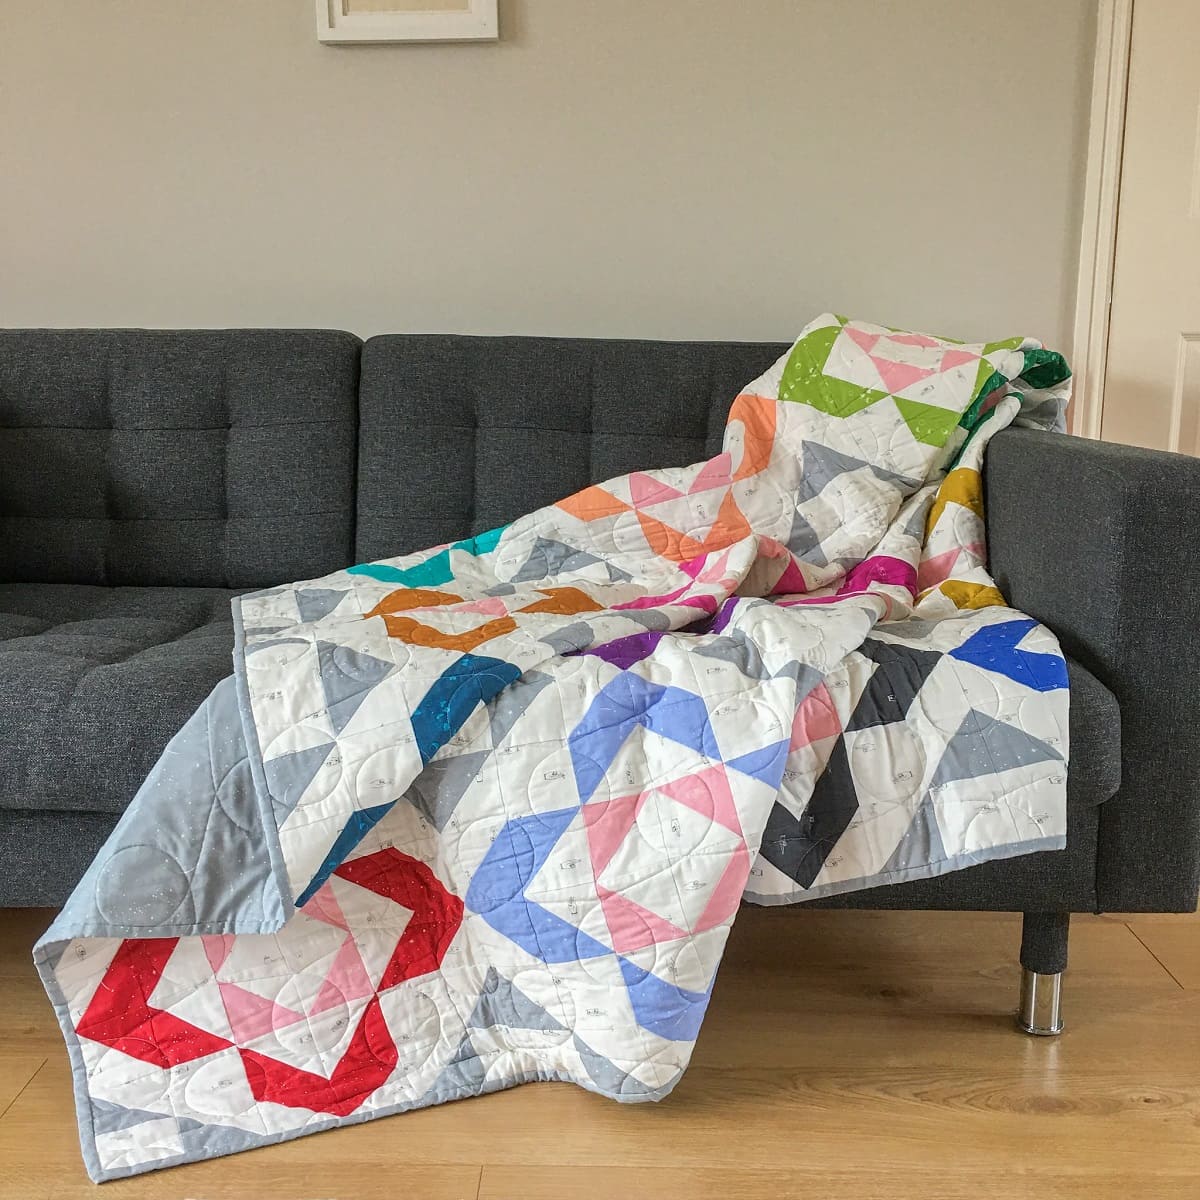
- Share and Display: Once your quilt is complete, proudly display it on a bed, sofa, or as a wall hanging. Share your creation with friends, family, and fellow quilters to showcase your talent and inspire others.
Adding these finishing touches will not only personalize your pineapple quilt but also add an extra layer of sentimental value. Whether it’s a hand-stitched label, embroidered designs, or a hanging sleeve, these details will make your quilt truly unique.
Now that you have completed all the finishing touches, you can step back and admire your beautiful pineapple quilt. Celebrate your accomplishment and enjoy the warmth and beauty it will bring to your home or as a gift to a loved one.
Congratulations on completing your pineapple quilt!
With the quilt top assembled, you’re ready to move on to the next step: adding the quilt backing and batting.
Conclusion
Creating a pineapple quilt is a rewarding and fulfilling journey that combines artistic expression and the joy of quilting. From gathering fabric and supplies to adding the finishing touches, each step contributes to the creation of a beautiful and unique quilt that reflects your creativity and craftsmanship.
Throughout this article, we have provided a comprehensive guide to help you make your own pineapple quilt. We explored the importance of gathering the right materials and preparing the fabric, cutting the pineapple templates with precision, sewing the blocks together to form the quilt top, and adding the quilt backing and batting layers for stability and comfort. We also covered the quilting process, binding the quilt, and the final finishing touches that add a personal touch to your creation.
Along the way, we encouraged you to let your creativity shine by choosing the colors and patterns that speak to you, exploring different quilting designs, and even adding embroidery or personalized labels. Each pineapple quilt is a unique representation of the quilter’s vision and skill, and we hope this guide has inspired you to create a quilt that truly reflects your own style.
Remember, quilting is a journey that should be enjoyed. Take your time with each step, embrace any challenges as learning opportunities, and find joy in the process. The end result will be a wonderful handmade masterpiece that you can cherish for years to come.
Now, armed with the knowledge and guidance provided in this article, it’s time to embark on your pineapple quilting adventure. Gather your materials, free up some time, and let the creativity flow as you bring your pineapple quilt to life. Happy quilting!
Frequently Asked Questions about How To Make A Pineapple Quilt
Was this page helpful?
At Storables.com, we guarantee accurate and reliable information. Our content, validated by Expert Board Contributors, is crafted following stringent Editorial Policies. We're committed to providing you with well-researched, expert-backed insights for all your informational needs.





0 thoughts on “How To Make A Pineapple Quilt”