Articles
How To Make Valance Curtains
Modified: December 7, 2023
Learn how to make valance curtains with these helpful articles. Find step-by-step instructions and tips to create beautiful valances for your home.
(Many of the links in this article redirect to a specific reviewed product. Your purchase of these products through affiliate links helps to generate commission for Storables.com, at no extra cost. Learn more)
Introduction
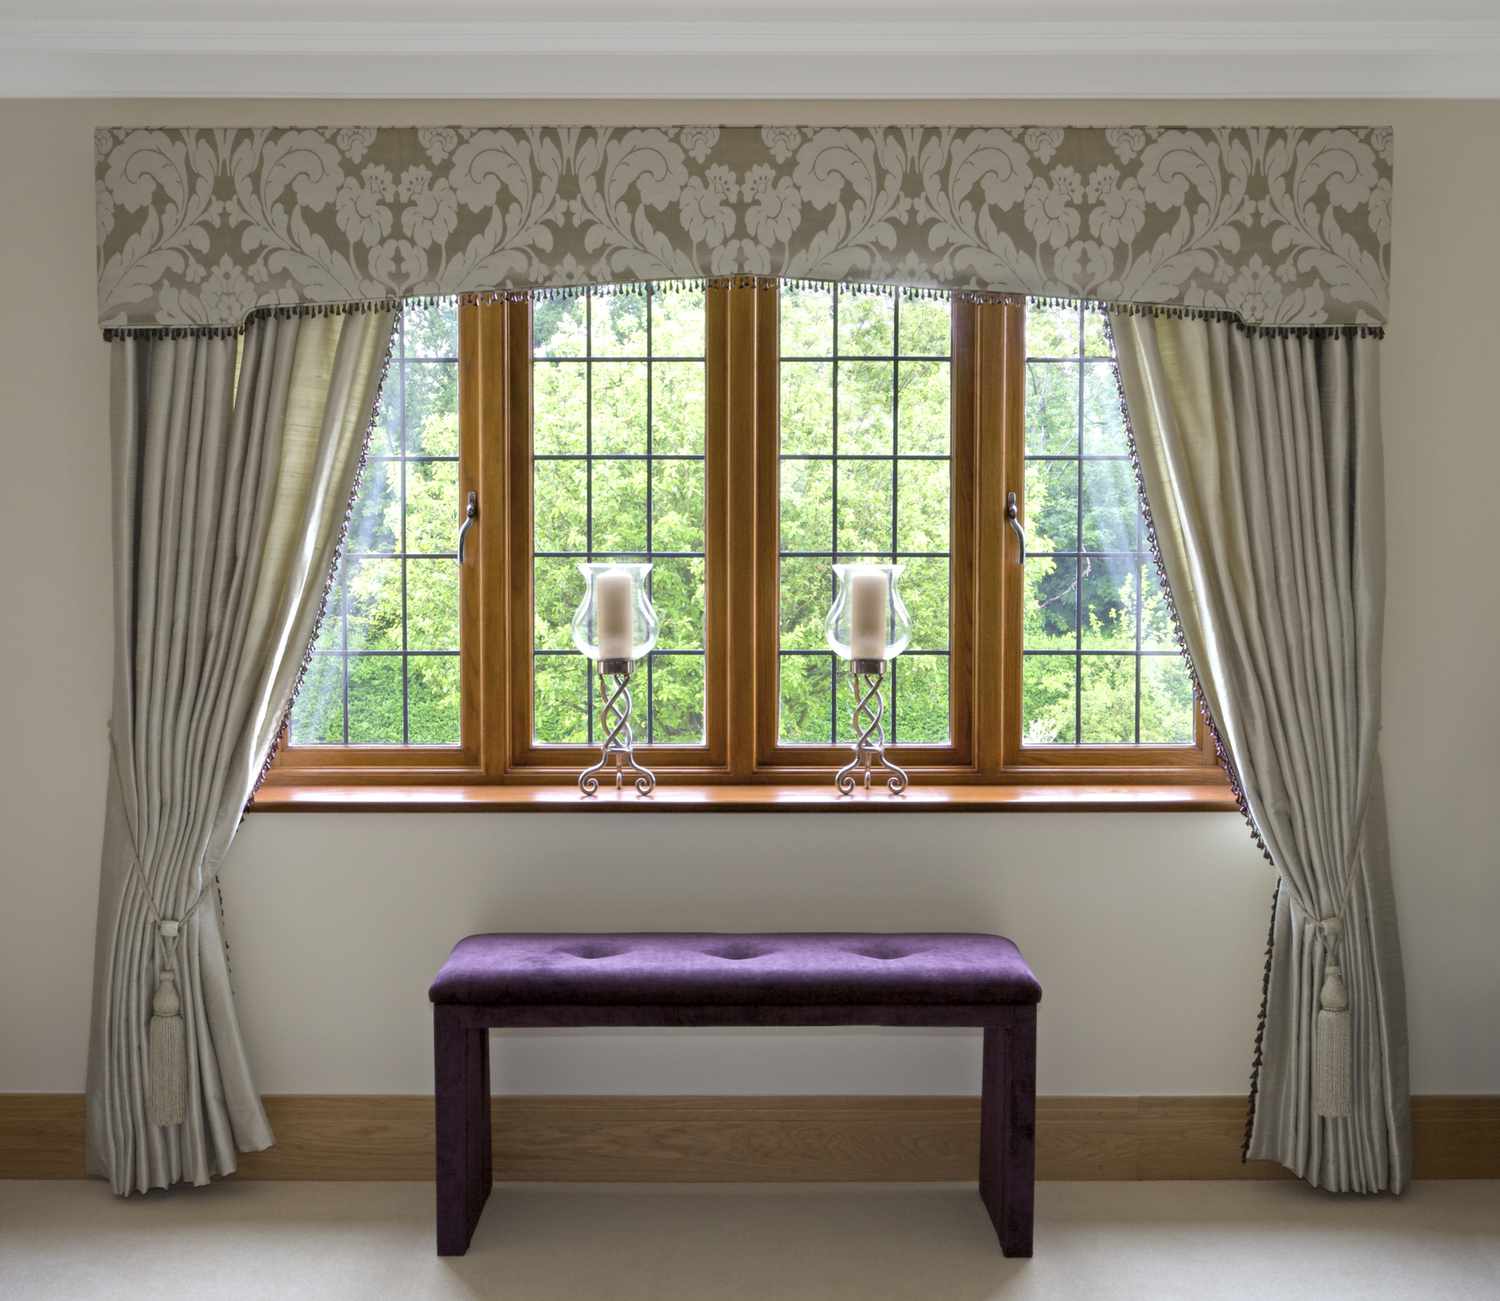
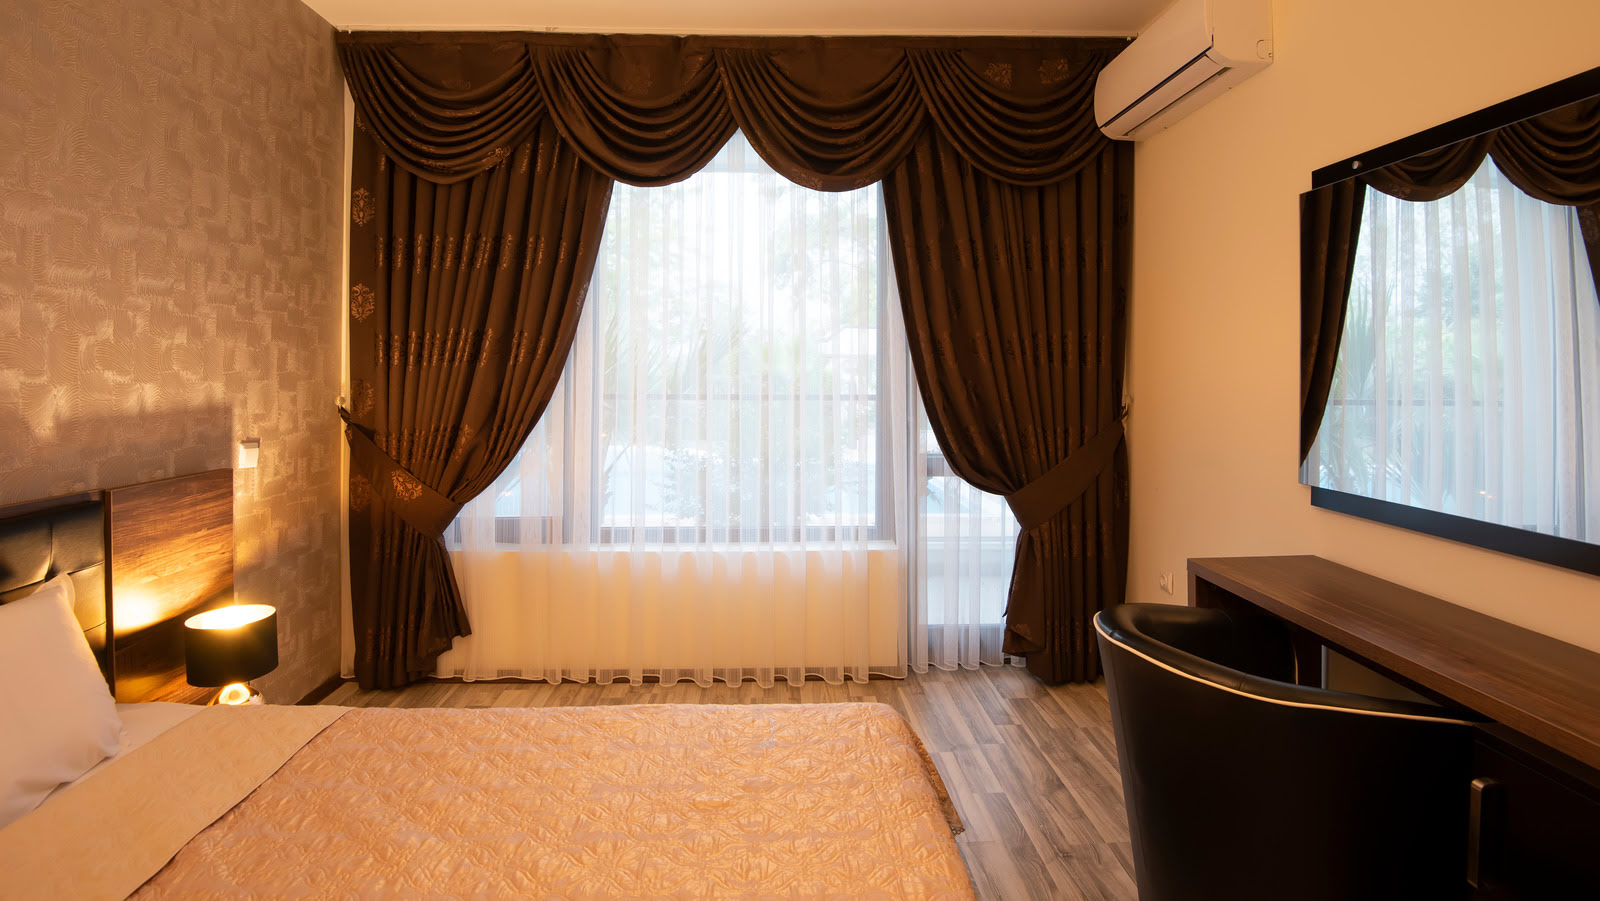
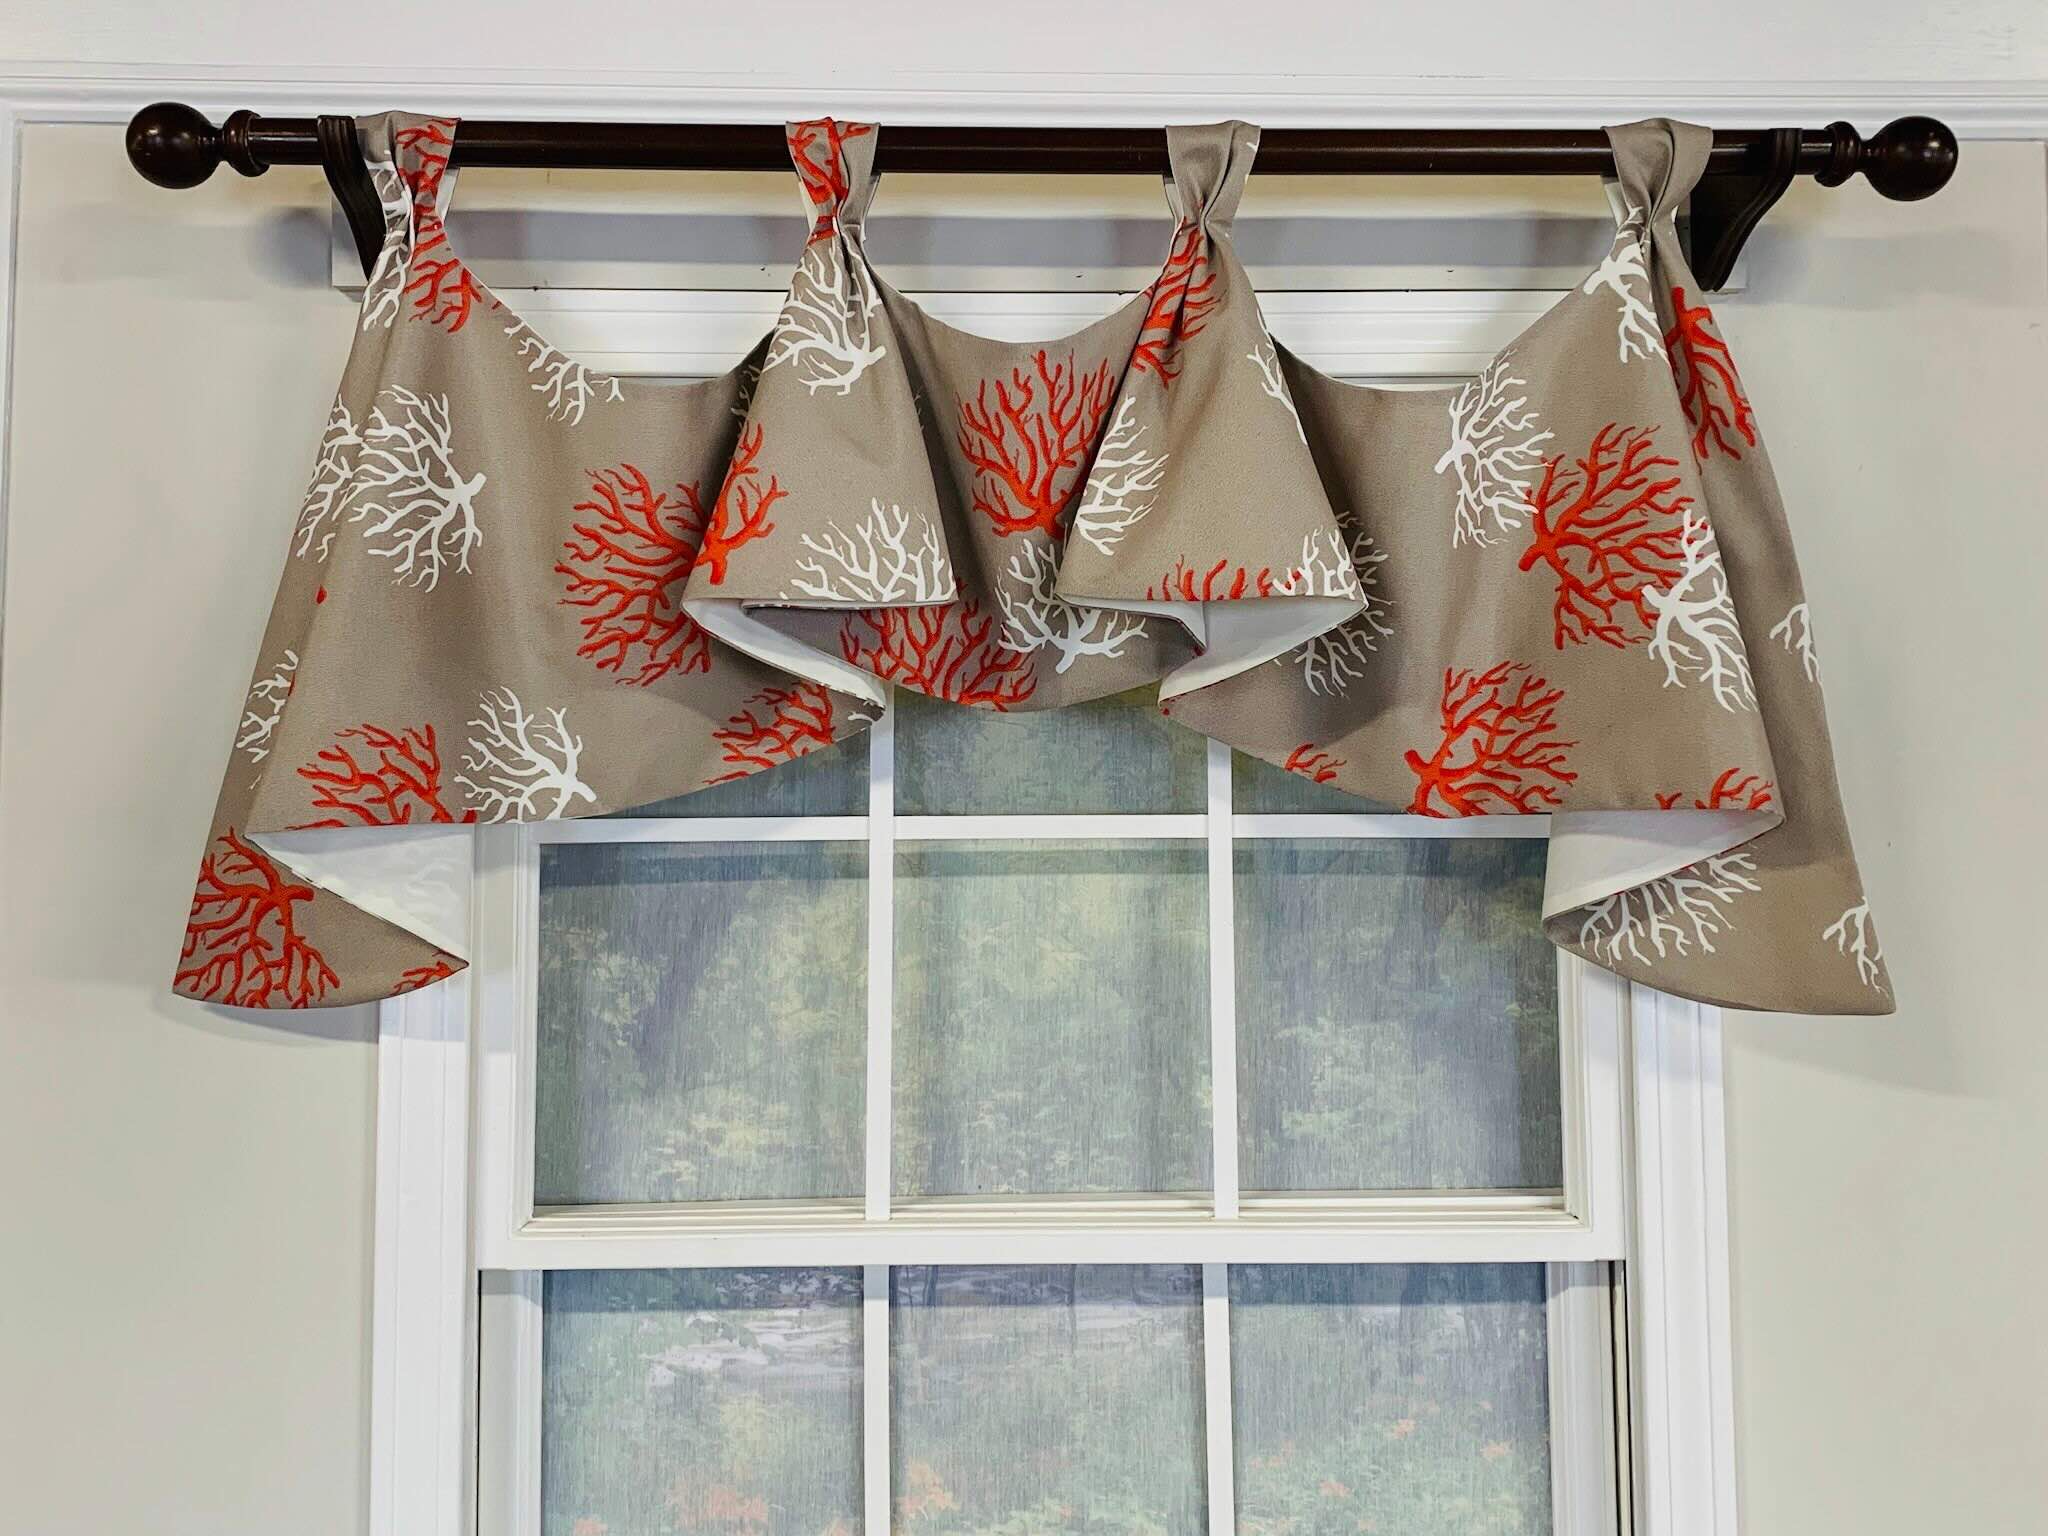
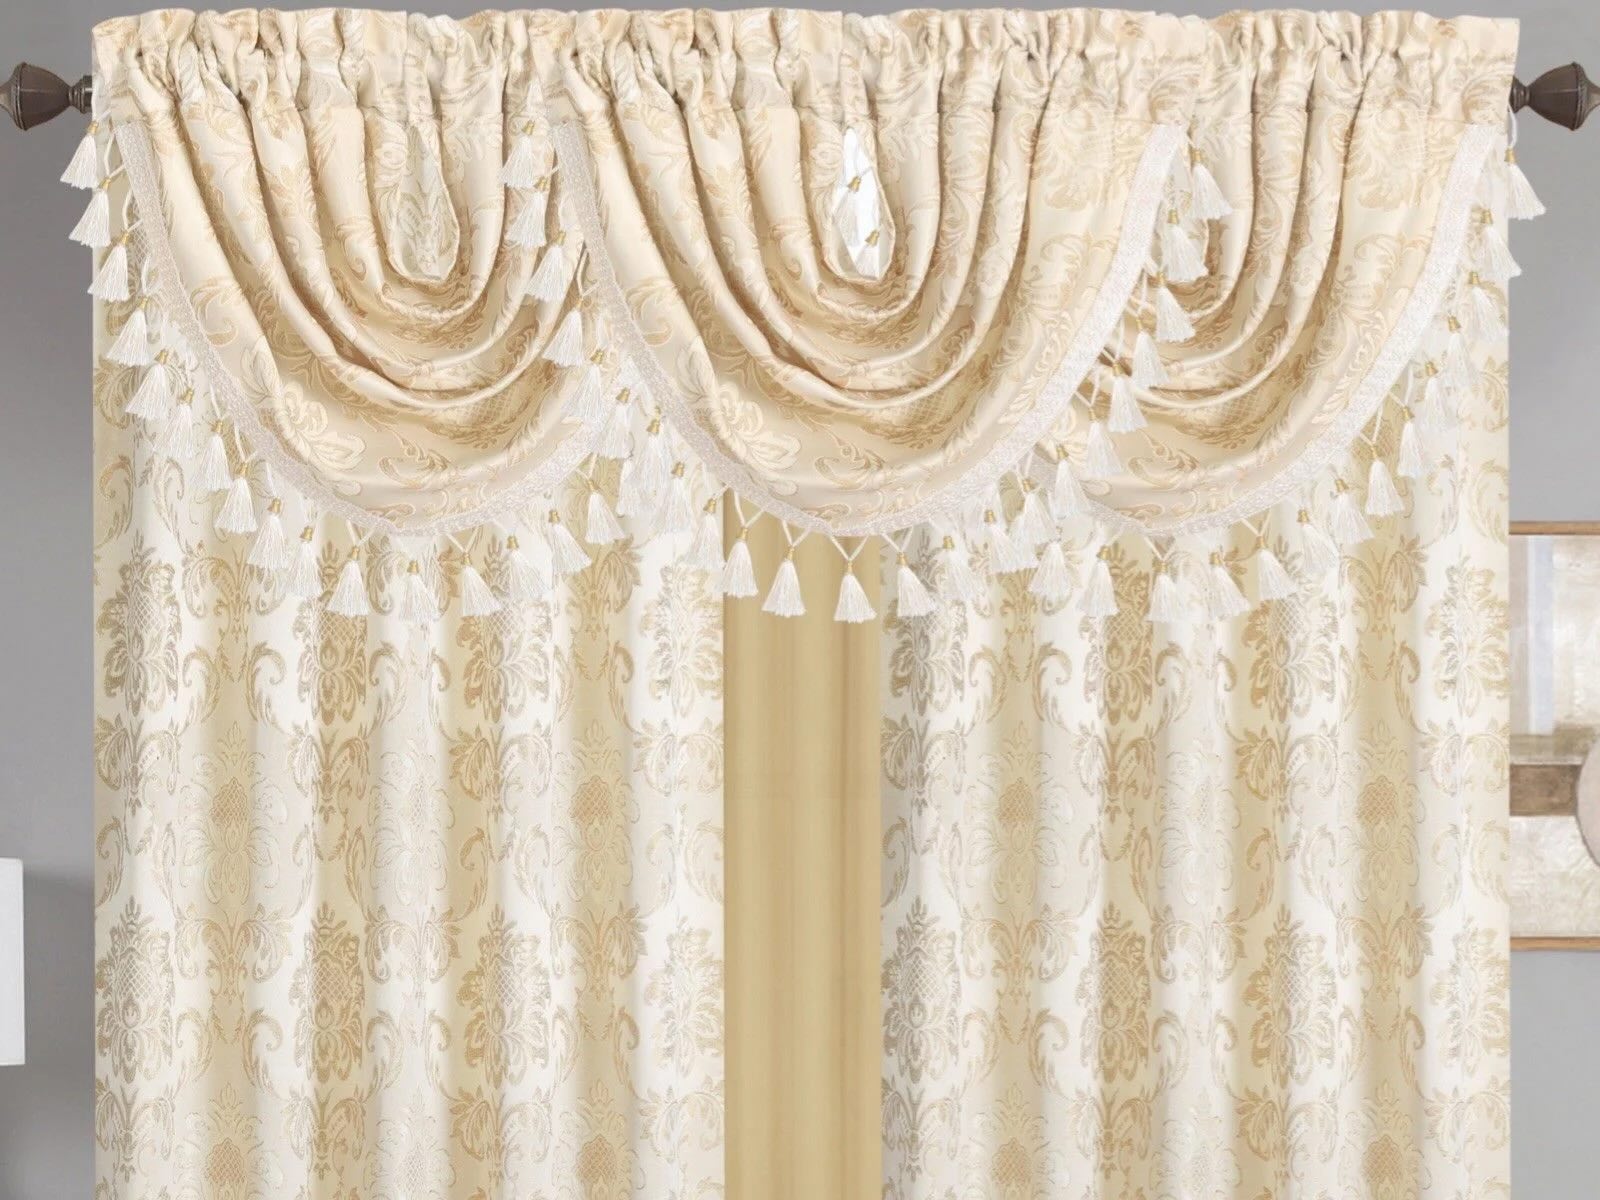
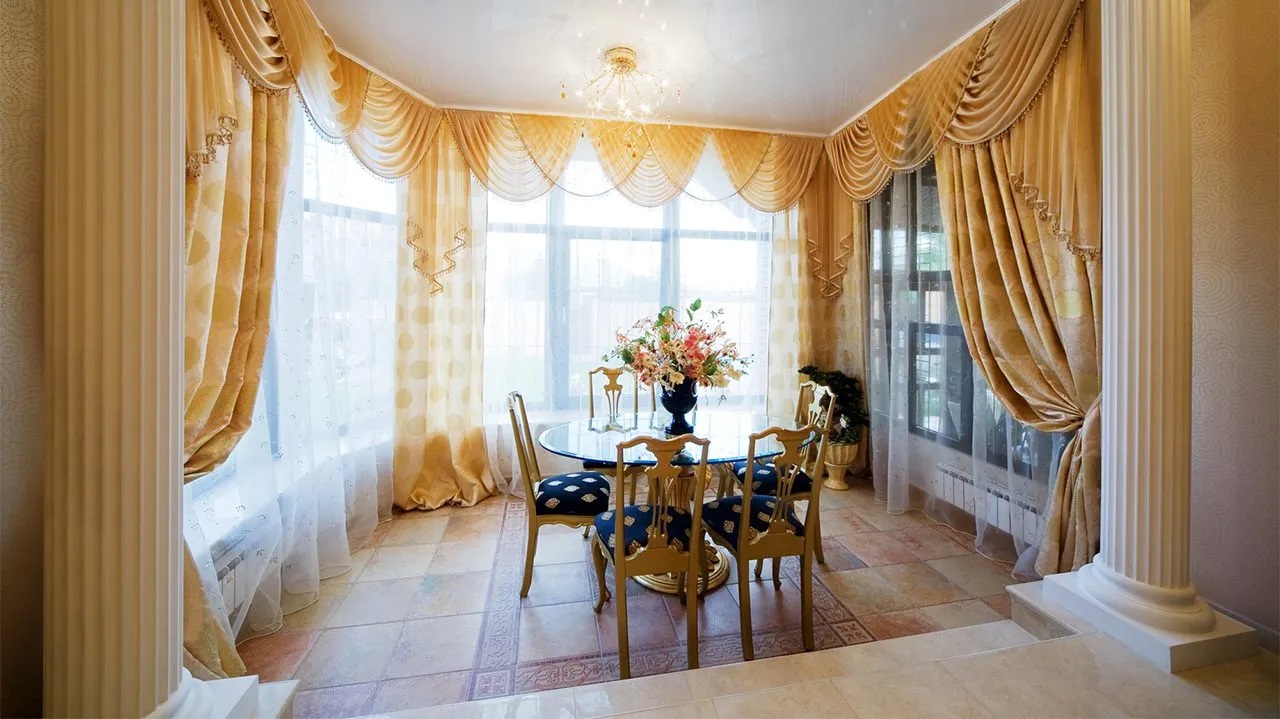
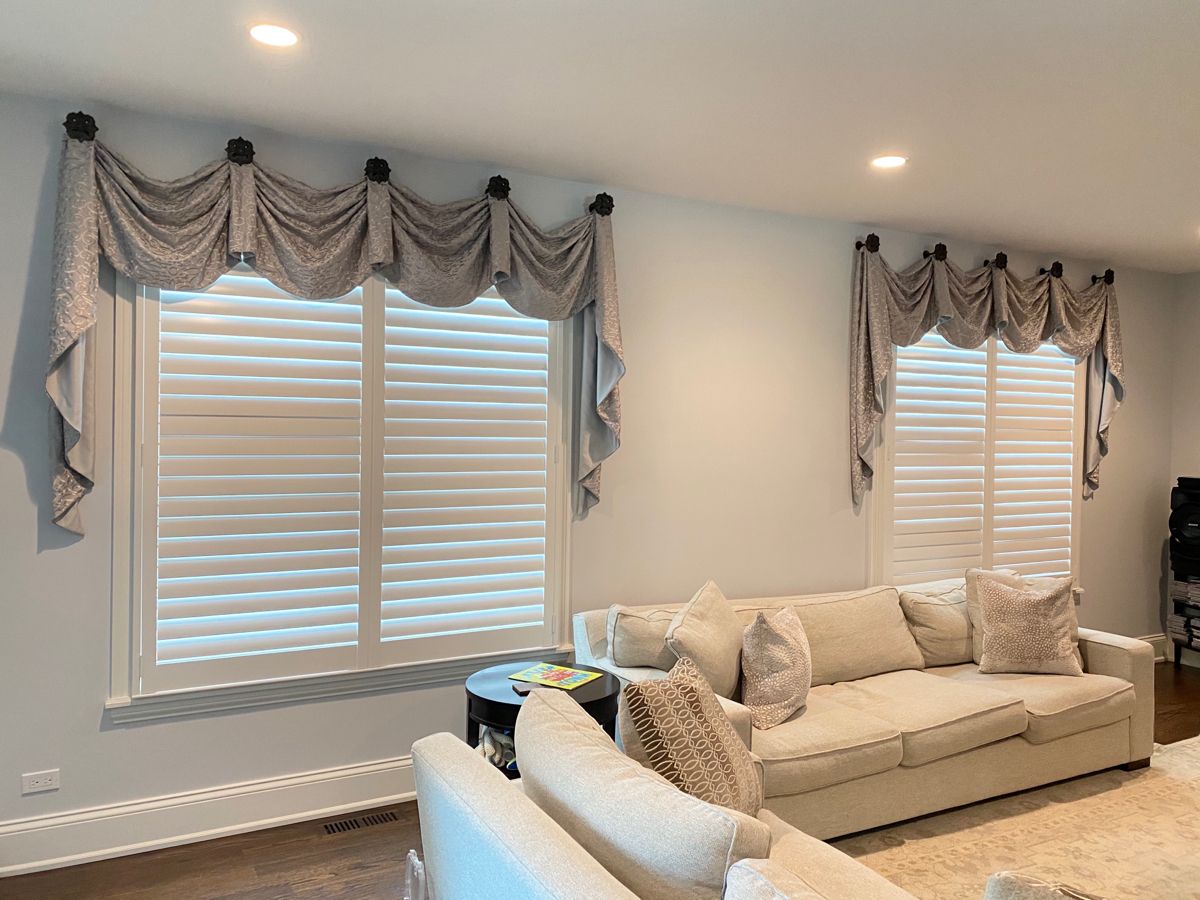
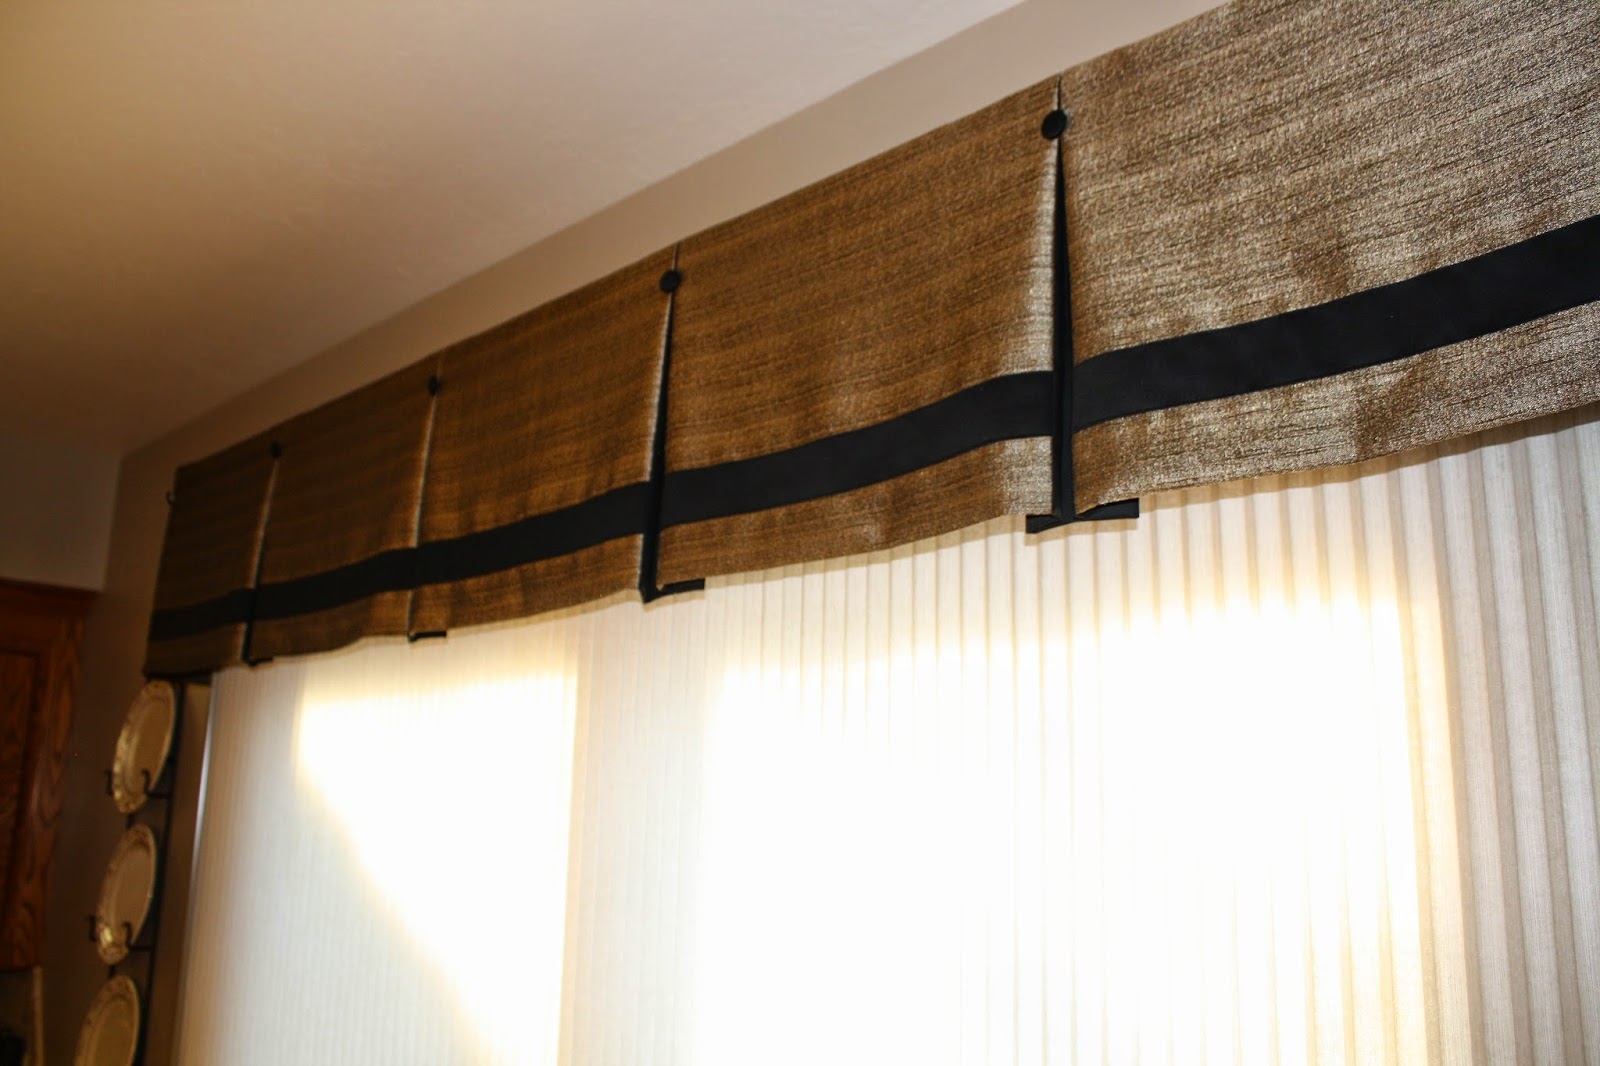
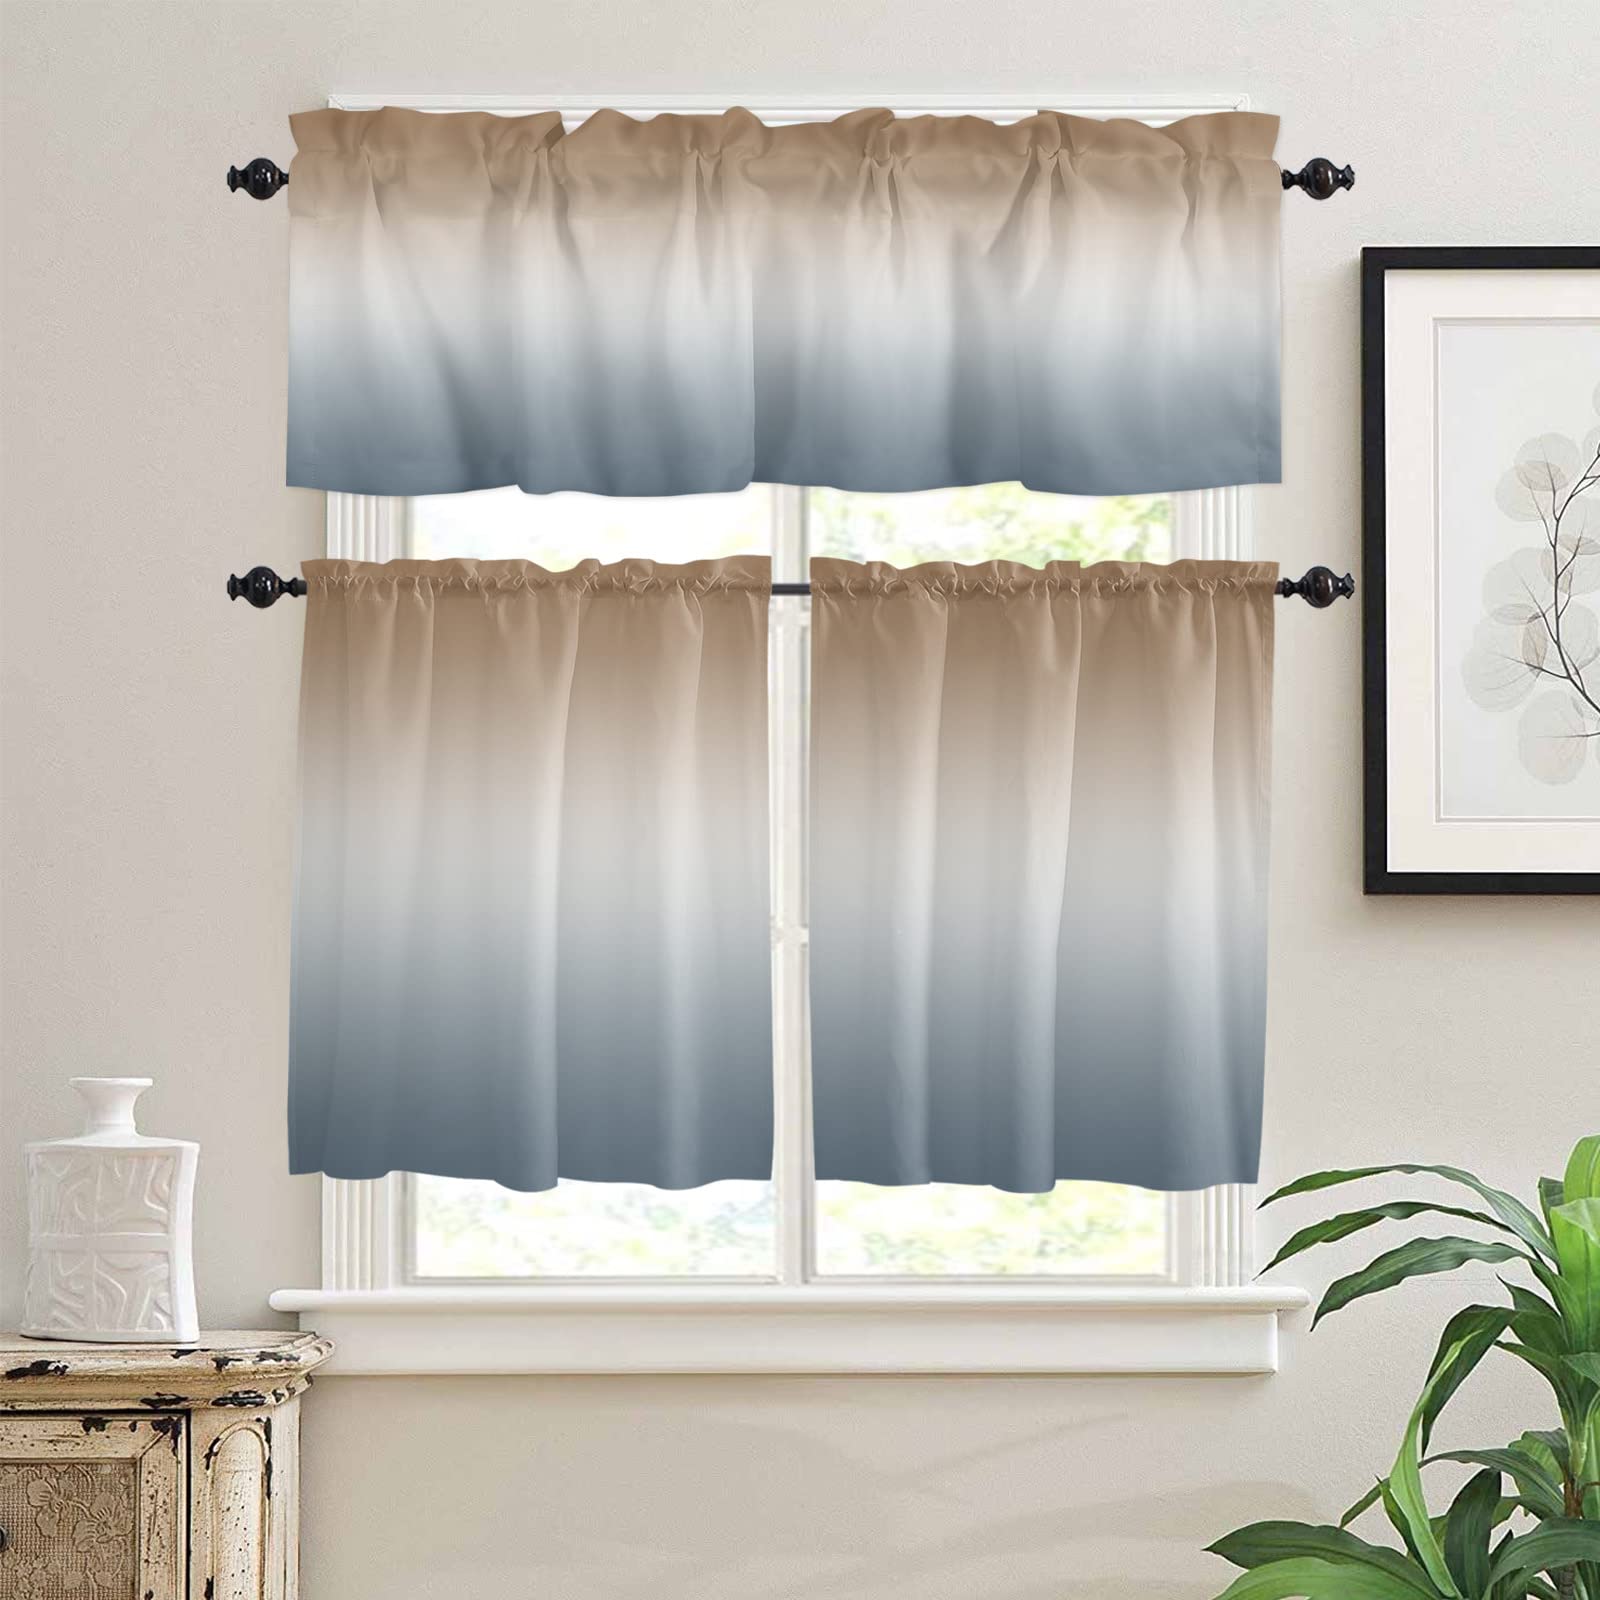
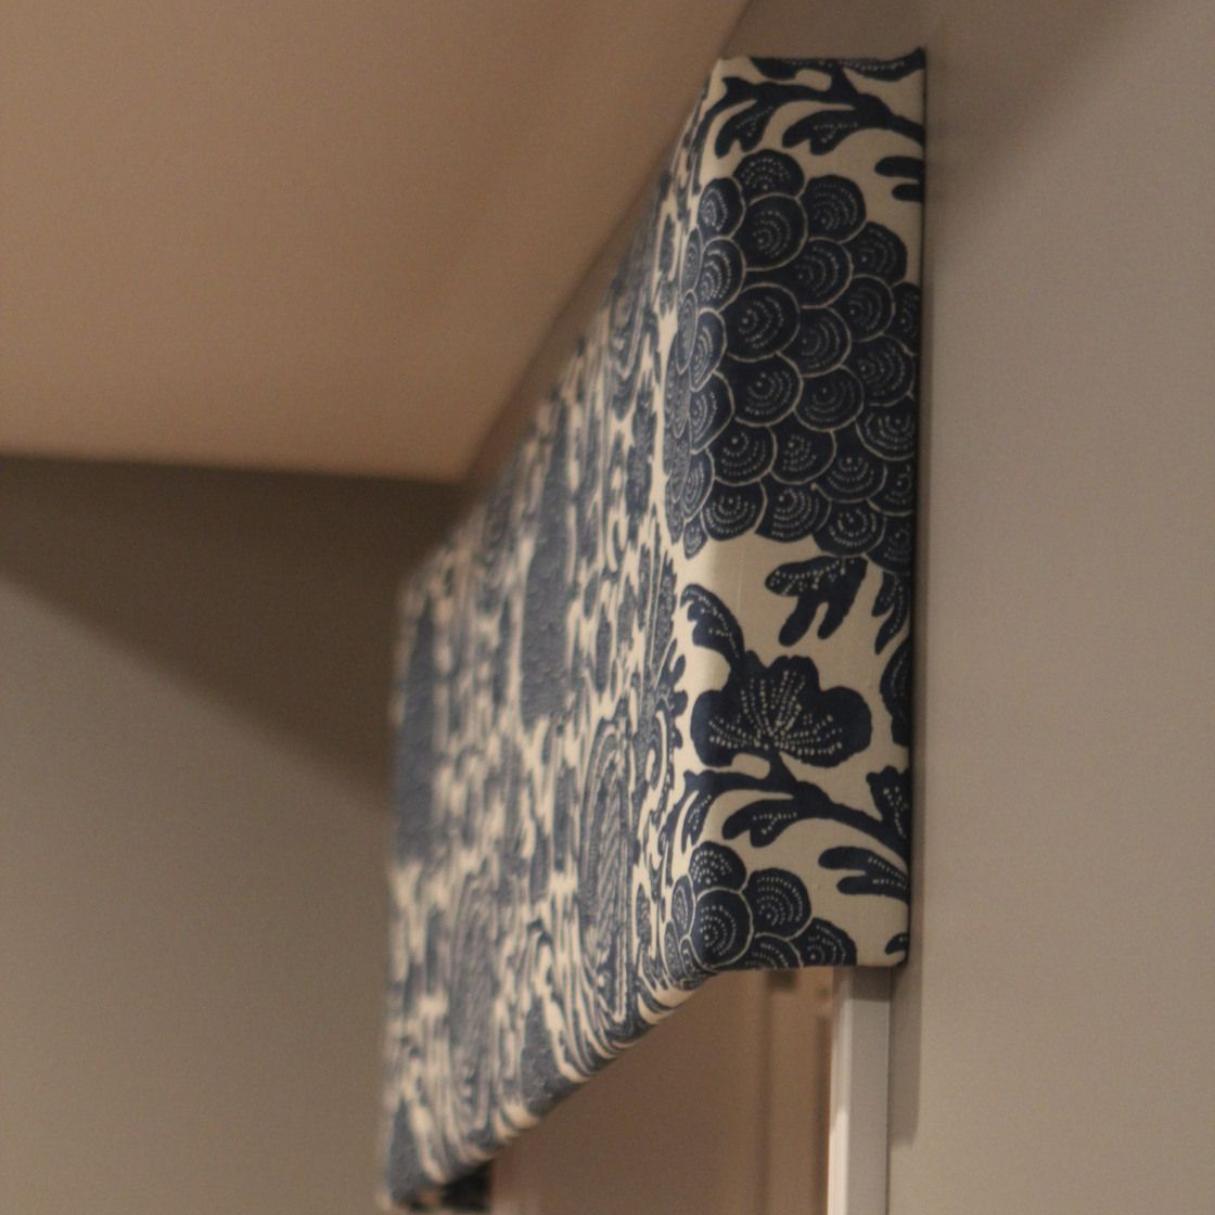
Welcome to this article on how to make valance curtains! Valance curtains are a great way to add a stylish and decorative touch to any window. They can be used on their own or paired with other curtains or blinds to create a layered look. Not only do valances enhance the aesthetics of a room, but they also provide some functionality by concealing curtain rods or hardware.
In this article, we will guide you through the step-by-step process of making your own valance curtains. It’s a fun and rewarding DIY project that allows you to customize the size, fabric, and design according to your preferences. By following our instructions and using the right materials and tools, you’ll be able to create beautiful valances that will elevate the look of your windows and complement your home decor.
Before we dive into the process, let’s talk about the materials you’ll need to make valance curtains.
Key Takeaways:
- Making valance curtains is a fun and rewarding DIY project that allows you to customize the size, fabric, and design according to your preferences, adding a stylish and decorative touch to any window.
- Precision and attention to detail are crucial when making valance curtains. From accurate measuring and cutting to sewing hems and creating a rod pocket, each step contributes to a polished and professional finish.
Read more: How To Make A Shower Curtain Valance
Materials Needed
Before you start making your valance curtains, make sure you have the following materials on hand:
- Fabric of your choice: Select a fabric that suits your style and complements your existing decor. Consider the weight and texture of the fabric to achieve the desired look for your valance curtains.
- Measuring tape: You’ll need a measuring tape to accurately measure the width and length of your window to ensure a proper fit for the valance.
- Fabric scissors: A pair of good quality fabric scissors will make it easier to cut the fabric neatly and accurately.
- Thread: Choose a thread color that matches or coordinates with your fabric to give your valance a seamless finish.
- Sewing machine: While hand sewing is an option, using a sewing machine will make the process faster and ensure more precise stitching.
- Sewing pins: These will be used to pin the fabric together and keep it in place while you sew.
- Iron and ironing board: An iron will help you create crisp edges and remove any wrinkles in the fabric.
- Rod pocket tape or ribbon: This will be used to create the rod pocket through which you’ll insert the curtain rod.
- Optional embellishments: If you want to add decorative elements to your valance curtains, consider items like lace, trims, or tassels.
Once you have gathered all the necessary materials, you’re ready to move on to the next steps of measuring and cutting the fabric for your valance curtains.
Step 1: Measuring and Calculating Fabric
The first step in making valance curtains is to accurately measure your window and calculate the fabric needed. Here’s how to do it:
- Measure the width of your window: Use a measuring tape to determine the width of your window from one side to the other. Add a few extra inches on each side to account for the desired fullness and any additional decorative elements you plan to add. This will be your valance width measurement.
- Decide on the desired valance height: Consider how high you want your valance curtains to hang. Measure from the top of your window frame to the desired height. This will be your valance length measurement.
- Calculate the fabric needed: To determine the amount of fabric needed for your valance curtains, use the following formula: Valance Width x 2 + Valance Length + Hem Allowance
- Add hem allowances: Decide on the desired hem allowance for the top, bottom, and sides of your valance. Typically, a 1-inch hem allowance is sufficient. Add this allowance to your valance width and length measurements. For example, if your valance width is 36 inches and your valance length is 18 inches, with a 1-inch hem allowance, your fabric dimensions will be 38 inches wide and 20 inches long.
- Round up and purchase the fabric: Make sure to round up your fabric dimensions to the nearest yard or meter when purchasing your fabric. It’s always better to have a little extra fabric than to run short.
By accurately measuring and calculating the fabric needed, you can ensure that your valance curtains will fit your window perfectly and have the desired fullness. Once you have the fabric, you’re ready to move on to the next step: cutting the fabric.
Step 2: Cutting the Fabric
Now that you have the fabric and the correct measurements, it’s time to cut it for your valance curtains. Follow these steps:
- Prepare your work area: Clear a large, flat surface like a table or the floor to ensure you have enough space to lay out the fabric.
- Iron the fabric: Before cutting, iron out any wrinkles in the fabric to ensure accurate cutting and neat edges.
- Lay out the fabric: Lay the fabric flat on your work surface, ensuring that it is smooth and wrinkle-free.
- Measure and mark the fabric: Measure and mark the dimensions you calculated earlier on the fabric using a fabric marker or tailor’s chalk. Use a ruler or straight edge to ensure straight and even lines.
- Carefully cut the fabric: Use sharp fabric scissors to cut along the marked lines. Take your time and use long, clean cuts to achieve precise edges.
- Double-check the measurements: Once you have cut the fabric, double-check that the dimensions are correct and match your calculated values.
By taking your time and cutting the fabric accurately, you’ll ensure that your valance curtains are the right size and shape for your window. Once you have cut the fabric, you can move on to the next step: hemming the edges.
Step 3: Hemming the Edges
Now that you have cut the fabric for your valance curtains, it’s time to hem the edges. Hemming will provide a clean and finished look to your valance. Follow these steps:
- Prepare your sewing machine: Set up your sewing machine with a matching thread color and ensure that it is threaded correctly.
- Start with the bottom edge: Fold the raw edge of the fabric up by your specified hem allowance. Pin it in place to hold the fold. Then, sew a straight stitch along the folded edge, securing the hem.
- Proceed with the sides: Fold in the raw edges of the fabric along the sides by your specified hem allowance. Pin and sew along the folded edges.
- Finish with the top edge: Fold down the raw edge of the fabric along the top by your specified hem allowance. Pin and sew along the folded edge.
- Trim excess threads: After hemming all the edges, trim any excess threads to give your valance a clean and professional look.
Hemming the edges of your valance curtains will prevent fraying and give them a polished finish. Take your time and sew with precision to achieve neat and straight stitches. Once you have hemmed all the edges, you can move on to the next step: creating the rod pocket.
When making valance curtains, be sure to measure the width of your window and add extra fabric for fullness. This will ensure a professional and polished look.
Read more: How To Make Kitchen Curtain Valances
Step 4: Creating the Rod Pocket
Creating a rod pocket is an essential step in making valance curtains as it allows you to easily hang the valance on a curtain rod. Follow these steps to create the rod pocket for your valance:
- Measure and mark the rod pocket placement: Measure the desired height of the rod pocket from the top edge of your valance. Mark this measurement evenly across the width of the fabric using a fabric marker or tailor’s chalk.
- Prepare the rod pocket tape or ribbon: Cut a piece of rod pocket tape or ribbon to match the width of your valance. This tape will be used to create the pocket for the curtain rod.
- Position the rod pocket tape or ribbon: Place the rod pocket tape or ribbon on the backside of the fabric, aligning it with the marked placement line. Center it along the width of the valance, ensuring that equal amounts of tape or ribbon extend beyond the edges.
- Sew the rod pocket: Sew along the top and bottom edges of the rod pocket tape or ribbon, attaching it to the fabric. Make sure to sew close to the edges to securely hold the tape or ribbon in place.
- Test the rod pocket: Slide a curtain rod through the newly created rod pocket to ensure a proper fit. Make any necessary adjustments, such as increasing the width of the pocket, if needed.
Creating a rod pocket allows you to easily hang your valance curtains on a curtain rod, giving them a finished and professional look. By following these steps, you’ll be able to create a sturdy and functional rod pocket for your valance. Once you have completed this step, it’s time to move on to step 5, where you have the option to add decorative elements to your valance (optional).
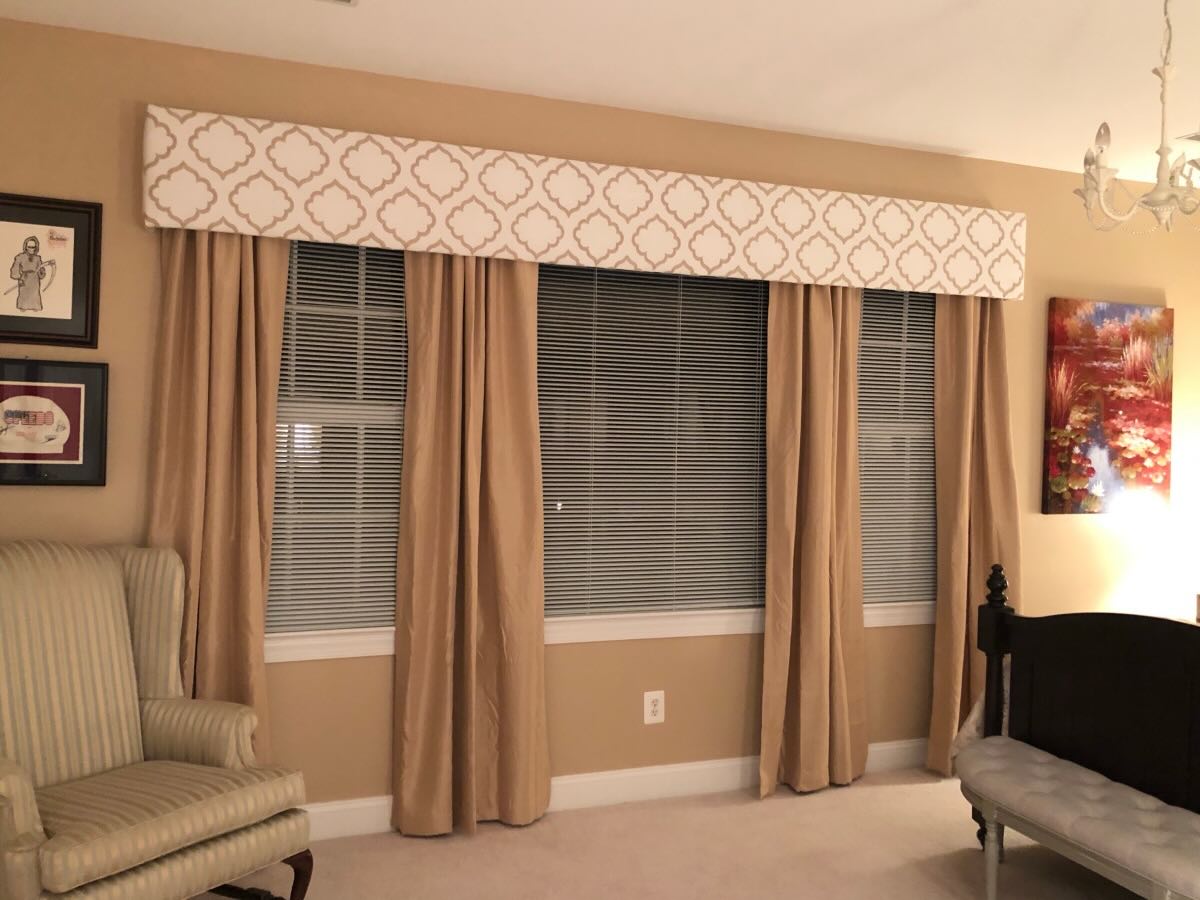
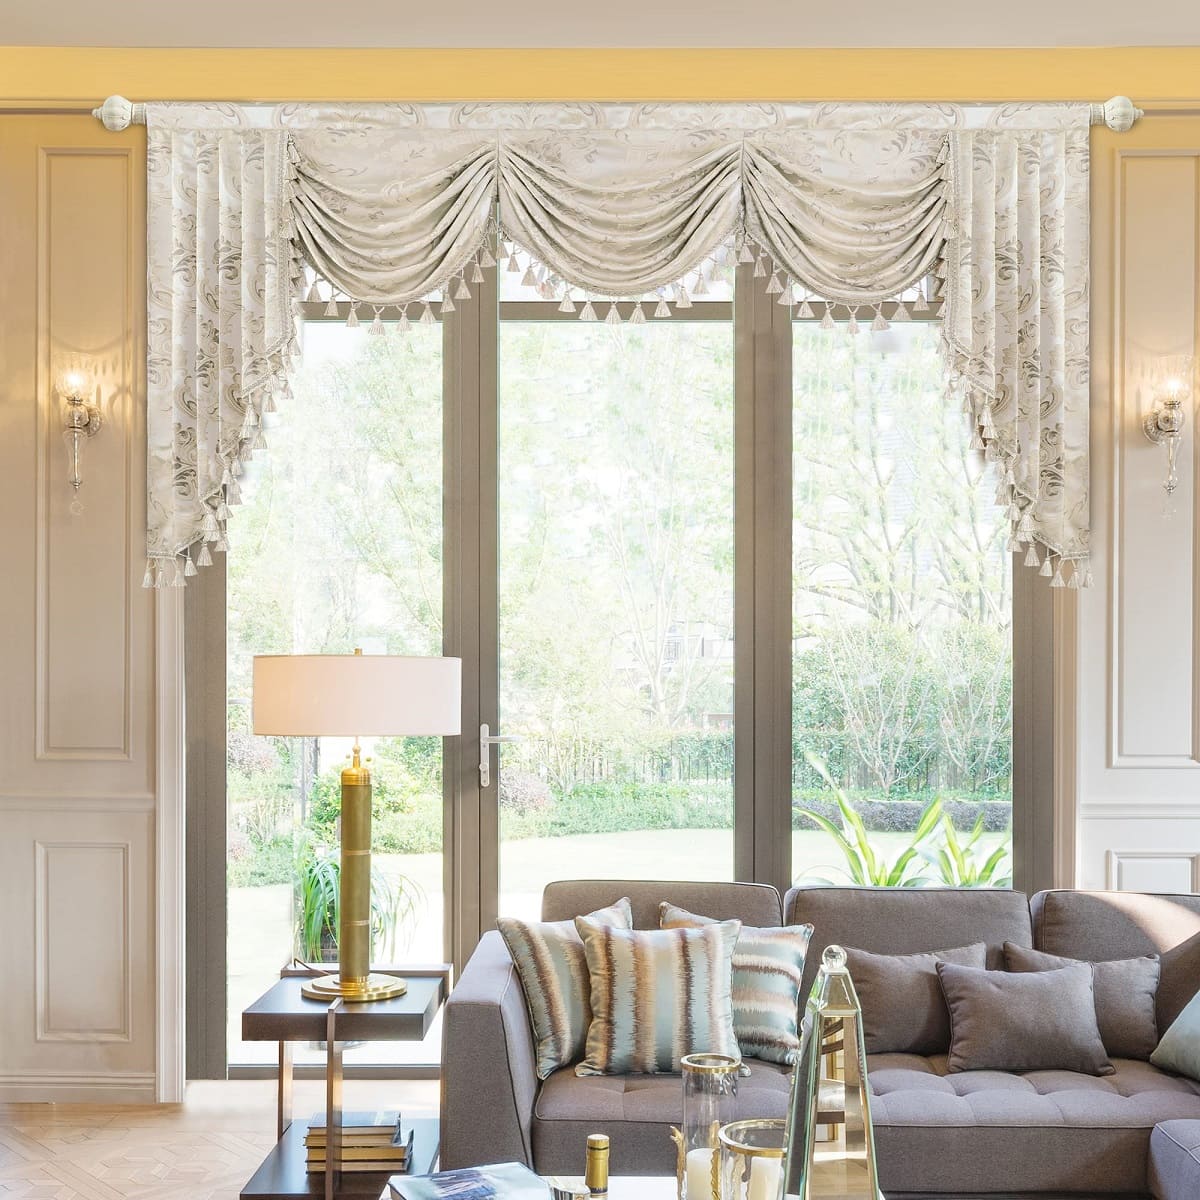
Step 5: Adding Decorative Elements (Optional)
If you want to add some extra flair and personality to your valance curtains, you have the option to incorporate decorative elements. Here’s how you can do it:
- Choose your decorative elements: Decide on the type of decorations you want to add to your valance. Popular options include lace, trim, tassels, or fabric embellishments.
- Position the decorative elements: Lay out your valance on a flat surface and experiment with different placements of the decorative elements. You can position them along the bottom edge, the sides, or even create patterns with them.
- Secure the decorative elements: Once you’re satisfied with the placement, use fabric glue or hand-sewing techniques to secure the decorative elements to the valance fabric. Ensure that they are firmly attached and won’t easily come off.
- Allow the decorations to dry or set: If you’ve used fabric glue, give it enough time to dry and set before handling the valance.
Adding decorative elements to your valance curtains can elevate their visual appeal and make them stand out. It’s a great opportunity to get creative and infuse your personal style into the design. However, keep in mind that adding decorative elements is optional. If you prefer a simpler and more understated look, you can skip this step altogether.
Once you’ve completed adding the optional decorative elements, you’re ready for the final step: attaching the valance to the curtain rod.
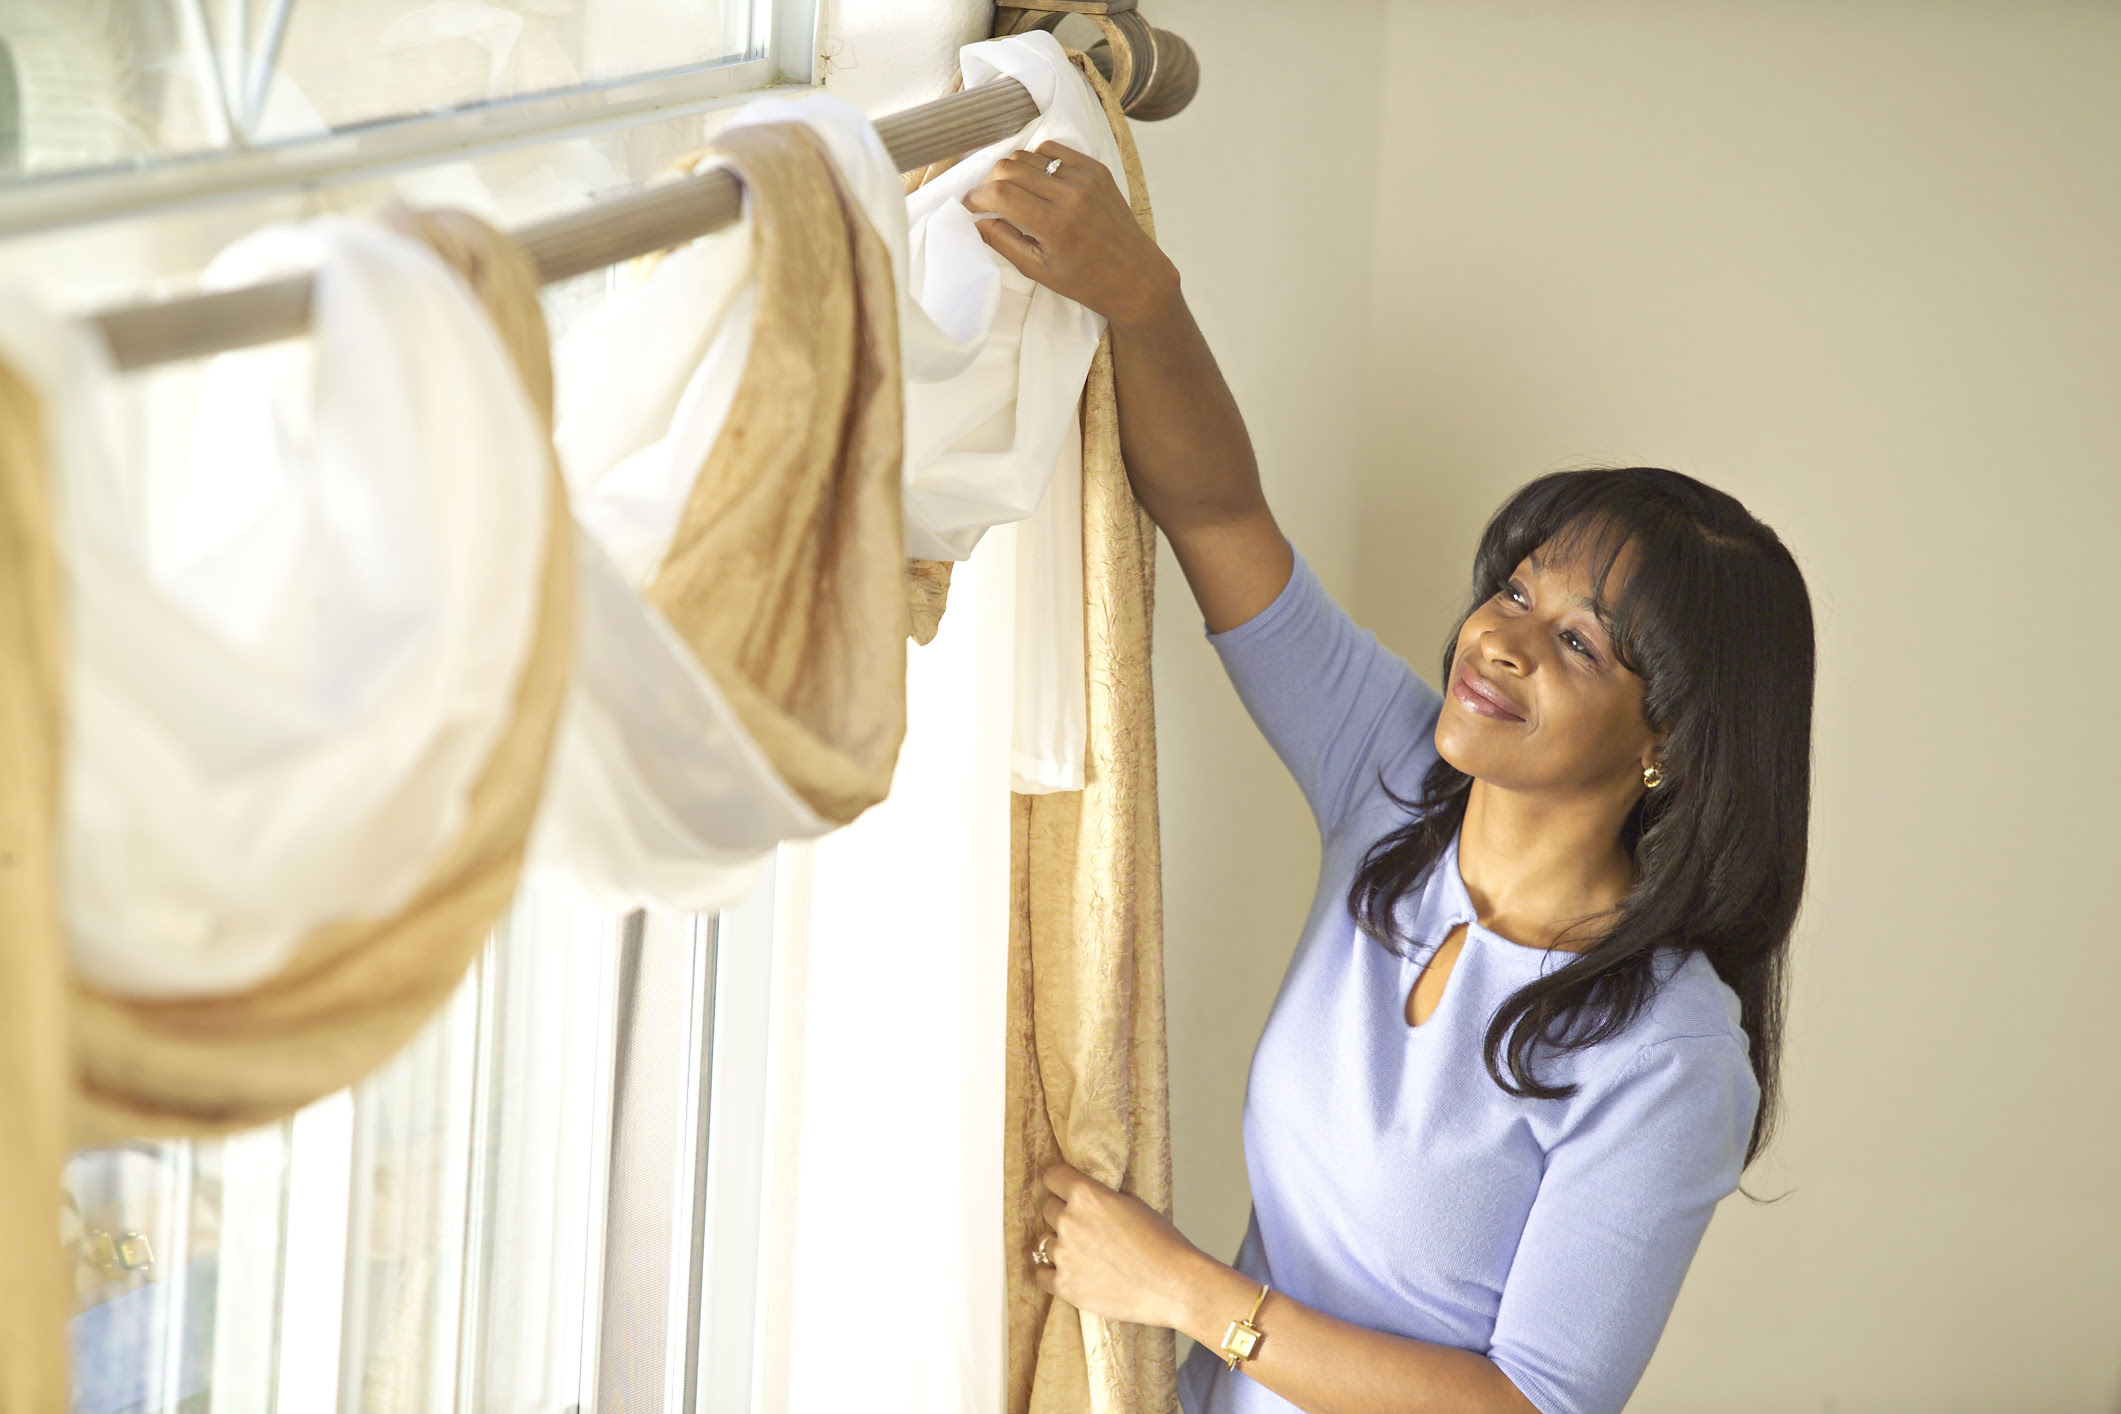
Step 6: Attaching the Valance to the Curtain Rod
The final step in making your valance curtains is attaching them to the curtain rod. Follow these steps to hang your valance:
- Choose the appropriate curtain rod: Select a curtain rod that matches the style and length of your window. Make sure it is strong enough to support the weight of your valance curtains.
- Slide the curtain rod through the rod pocket: Insert the curtain rod through the rod pocket you created in step 4. Make sure the valance is evenly distributed along the length of the rod.
- Position the valance on the curtain rod: Place the rod with the attached valance onto the brackets or supports that hold the rod in place on each side of the window. Adjust the positioning of the valance, ensuring it is centered and hangs evenly.
- Secure the curtain rod: Once you are satisfied with the placement of the valance, secure the curtain rod in place by tightening the brackets or supports. Make sure the rod is level and secure.
Attaching the valance to the curtain rod is the final step in the process. Take your time to ensure that the valance is positioned correctly and securely hung. Step back and admire your handiwork as your valance curtains complete the look of your window and enhance the overall ambiance of the room.
Now that you have successfully made and attached your valance curtains, you can step back and enjoy the beautiful transformation they bring to your windows and living spaces. Congratulations on completing this DIY project!
Remember, making valance curtains is a creative and customizable process. Don’t be afraid to experiment with different fabric choices, decorative elements, and styles to create valances that perfectly complement your home decor. Enjoy the process and let your creativity shine!
Thank you for reading this article on how to make valance curtains. We hope you found it informative and inspiring. Happy crafting!
Conclusion
Congratulations! You have reached the end of this comprehensive guide on how to make valance curtains. By following the step-by-step instructions and utilizing your creativity, you have learned how to create beautiful and personalized valances that add a touch of elegance and style to your windows.
We started by discussing the materials needed for this DIY project, which include fabric, measuring tape, scissors, thread, sewing machine, and optional decorative elements. We then walked through each step, from measuring and calculating fabric, to cutting, hemming, and creating a rod pocket. We also explored the option of adding decorative elements to further customize your valance curtains.
Remember, the key to making valance curtains is precision and attention to detail. Take your time with measuring and cutting to ensure the perfect fit, and sew the hems and rod pocket with care to achieve a polished finish. Adding decorative elements is a great opportunity to infuse your personal style into the design and make the valances truly unique.
Once your valance curtains are complete, hang them with pride on a suitable curtain rod, ensuring they are centered and secure. Step back and admire the transformation they bring to your windows and living spaces. The valance curtains will not only enhance the aesthetics of the room but also provide an element of functionality by concealing curtain rods or hardware.
Now that you possess the knowledge and skills to make valance curtains, feel free to experiment with different fabrics, patterns, and decorative elements to create valances that perfectly complement your home decor. This DIY project allows you to add a personal touch to your living spaces while saving money and showcasing your creativity.
We hope this article has inspired you to embark on the journey of making your own valance curtains. So go ahead, gather your materials, and get started on this enjoyable and rewarding DIY project. Happy crafting!
Frequently Asked Questions about How To Make Valance Curtains
Was this page helpful?
At Storables.com, we guarantee accurate and reliable information. Our content, validated by Expert Board Contributors, is crafted following stringent Editorial Policies. We're committed to providing you with well-researched, expert-backed insights for all your informational needs.


0 thoughts on “How To Make Valance Curtains”