Articles
How To Make Candles In A Mason Jar
Modified: August 27, 2024
Learn how to make beautiful candles in a mason jar with our informative articles. Discover step-by-step guides, tips, and tricks to create stunning DIY candles at home.
(Many of the links in this article redirect to a specific reviewed product. Your purchase of these products through affiliate links helps to generate commission for Storables.com, at no extra cost. Learn more)
Introduction
Welcome to the world of DIY candle making! Making your own candles can be a rewarding and enjoyable craft. Not only do candles provide a cozy and warm ambiance, but they also make wonderful gifts for friends and family. One popular style of candle making is using mason jars as containers. Mason jar candles are not only charming and versatile but also easy to create.
In this article, we will guide you through the process of making candles in a mason jar. From preparing the jar to pouring the wax and adding fragrance, we will cover each step in detail. So, let’s gather our supplies and get started on this exciting candle making journey.
Key Takeaways:
- Create personalized mason jar candles by following simple steps, from preparing the jar to pouring wax and adding fragrance. Enjoy the process and share the warmth with loved ones.
- Embrace creativity and experimentation to craft unique mason jar candles. Add personal touches and scents for a cozy and inviting ambiance in any space.
Read more: How To Make Mason Jar Centerpieces
Supplies Needed
Before diving into the candle making process, let’s gather all the necessary supplies. Here’s a list of what you’ll need:
- A mason jar – choose a size that suits your preference
- Candle wax – either soy wax, beeswax, or paraffin wax
- Candle wick – make sure it’s appropriate for the size of the jar
- Fragrance oil (optional) – for adding a delightful scent to your candle
- Candle dye (optional) – to add color to your candle wax
- A double boiler or a heat-resistant container and a pot
- A thermometer – to monitor the temperature of the wax
- A stirring utensil – a wooden spoon or a dedicated candle making stirrer
- A heat-resistant surface – to place your jar while pouring the wax
- A pair of scissors – for trimming the wick
- Decorative elements (optional) – ribbons, charms, or labels to embellish the jar
Ensure that you have all these supplies ready before you start the candle making process. This will make the process smoother and more enjoyable. Now, let’s move on to the step-by-step instructions on making your own mason jar candle.
Step 1: Prepare the Jar
The first step in making a mason jar candle is to prepare the jar itself. Here’s how:
- Ensure that your mason jar is clean and free from any dust or debris. Wash it with warm soapy water and dry it thoroughly.
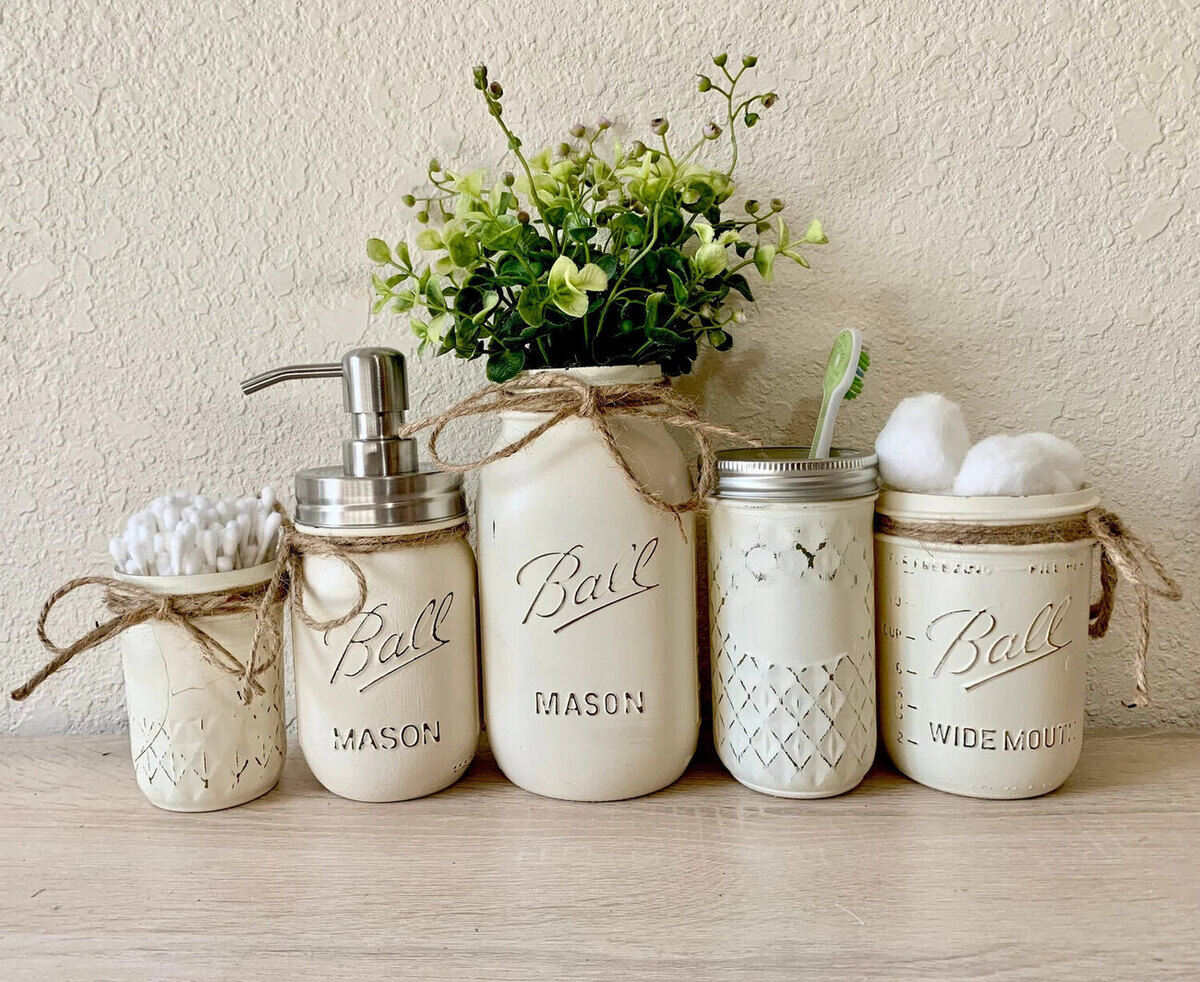
- If you want to add a personal touch to your candle, this is the time to decorate the jar. You can tie a ribbon around the neck, add a label, or even paint the jar with glass paint. Get creative and make it uniquely yours!
- Next, prepare the wick. Cut the wick according to the height of your jar, leaving a few inches of extra length. Attach a metal wick sustainer to one end of the wick.
- Place the wick sustainer at the bottom center of the jar. You can use a glue dot or a small dab of hot glue to secure it in place. Make sure the wick is centered and straight.
Your mason jar is now ready to be transformed into a beautiful candle holder. In the next step, we will learn how to melt the wax for your candle.
Step 2: Melt the Wax
Now that the jar is prepared, it’s time to melt the wax for your mason jar candle. Follow these steps:
- Prepare a double boiler by filling a pot with water and placing a heat-resistant container on top. Alternatively, you can use a dedicated candle making pitcher.
- Add the desired amount of wax to the top container or pitcher. The amount will depend on the size of your jar. Remember to consider the expansion of the wax when melted.
- Place the double boiler or the pitcher on the stove over medium heat. Slowly heat the water until the wax begins to melt. Stir occasionally with a wooden spoon or a dedicated candle making stirrer to ensure even melting.
- Monitor the temperature of the wax using a thermometer. The ideal temperature will vary depending on the type of wax you are using. Generally, soy wax melts at around 120-140°F (49-60°C), while paraffin wax melts at around 150-160°F (65-71°C).
- Once the wax has completely melted and reached the desired temperature, you can now move on to the next step of adding fragrance (optional). If you want a plain unscented candle, you can skip to Step 4.
By following these steps, you will have successfully melted the wax for your mason jar candle. In the next step, we will explore the option of adding fragrance to your candle for a delightful aroma.
Step 3: Add Fragrance (Optional)
If you want to add a lovely scent to your mason jar candle, this is the step where you can incorporate fragrance into the melted wax. Follow these instructions:
- Select a fragrance oil that appeals to you. There are various scents available, such as lavender, vanilla, and citrus. Be sure to choose a fragrance oil that is designed specifically for candle making.
- Determine the appropriate amount of fragrance oil to add. The recommended ratio is typically 1 ounce (30 mL) of fragrance oil per 1 pound (450 grams) of wax. However, it’s always best to refer to the manufacturer’s instructions for the specific fragrance oil you are using.
- Add the fragrance oil to the melted wax. Stir gently to ensure that the fragrance is evenly dispersed throughout the wax. Take care not to over-stir, as this can lead to air bubbles forming in the wax.
- Allow the scented wax to cool slightly, keeping an eye on the temperature. You want it to reach a pour temperature that is suitable for the type of candle wax you are using. This is usually around 120-140°F (49-60°C) for soy wax and 150-160°F (65-71°C) for paraffin wax.
Adding fragrance to your mason jar candle can elevate the experience and create a welcoming atmosphere. However, if you prefer an unscented candle, you can skip this step and move on to attaching the wick in the following step.
Read more: How To Make A Mason Jar Chandelier
Step 4: Attach the Wick
With the scented wax prepared, it’s time to move on to attaching the wick to the mason jar. Follow these steps:
- Take the wick with the attached sustainer that you prepared earlier.
- Hold the sustainer and carefully lower the wick into the jar, ensuring that it is centered.
- Press the sustainer firmly against the bottom of the jar to secure the wick in place. The sustainer should be flat against the bottom of the jar and the wick should be straight and centered.
By attaching the wick securely, you ensure that it remains centered during the pouring process and while the candle burns. This step is crucial for a well-functioning and aesthetically pleasing mason jar candle. In the next step, we will pour the melted wax into the jar to create your candle.
When making candles in a mason jar, ensure the wick is centered and secured in place before pouring the wax to prevent it from moving or leaning to one side as the candle sets.
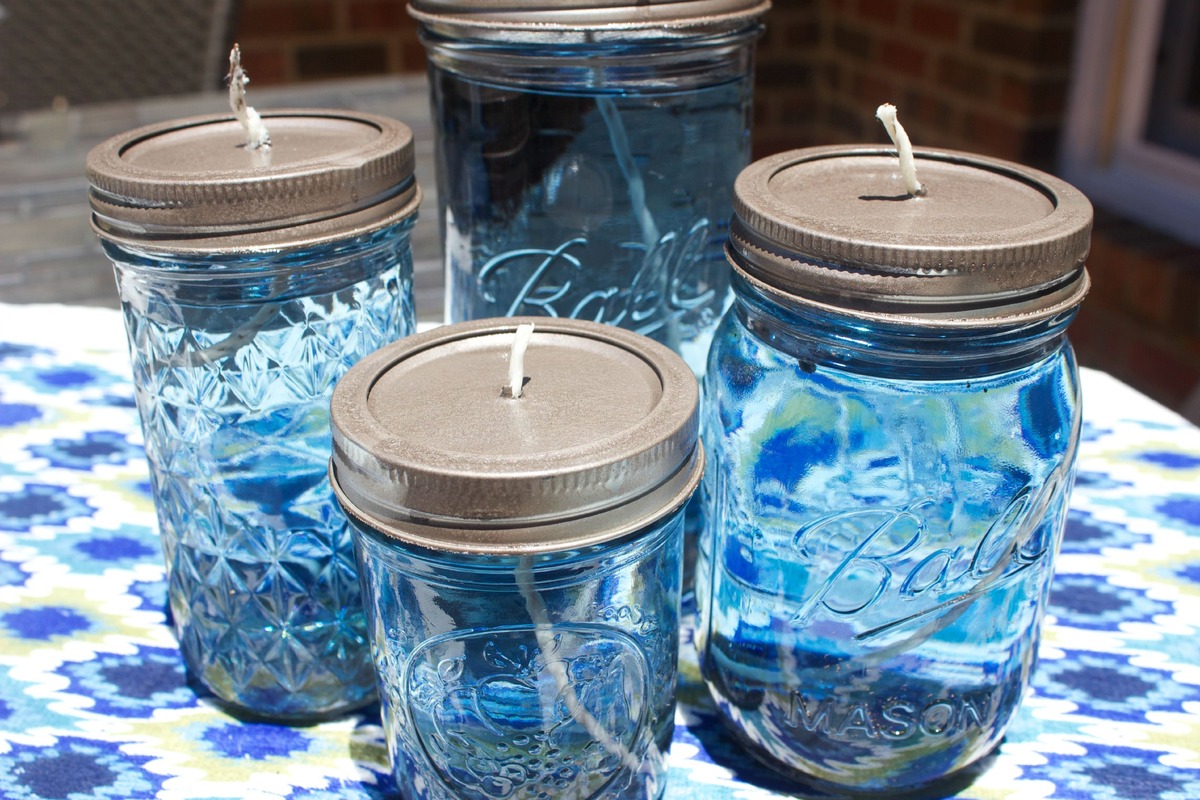
Step 5: Pour the Wax into the Jar
Now that the wick is securely attached, it’s time to pour the melted wax into the mason jar to create your candle. Follow these steps:
- Ensure that the melted wax has reached the appropriate pour temperature, which is typically around 120-140°F (49-60°C) for soy wax and 150-160°F (65-71°C) for paraffin wax.
- Slowly and carefully pour the wax into the mason jar. Start from the center and pour in a steady stream to avoid air bubbles and splashing.
- Fill the jar to the desired level, leaving a small amount of space at the top. This space allows for the wax to settle and prevents overflow when the candle burns.
- Take your time while pouring to ensure a smooth and even fill. If you have excess wax, you can use a second jar or container to make an additional candle.
As you pour the wax into the mason jar, you will begin to see your candle taking shape. Make sure to pour carefully to avoid any spills or uneven filling. In the next step, we will allow the candle to cool and solidify before moving on to the finishing touches.
Step 6: Let the Candle Cool
After pouring the melted wax into the mason jar, it’s important to allow the candle to cool and solidify. This step ensures that your candle sets properly and prepares it for the final steps. Here’s what you need to do:
- Place the jar on a heat-resistant surface and let it sit undisturbed. Avoid moving or jostling the jar, as this can cause the wax to cool unevenly or form air pockets.
- Allow the candle to cool naturally at room temperature. The cooling process can take several hours, depending on the size of the candle and the ambient temperature.
- Resist the temptation to touch or move the jar until the wax has completely solidified. You can check if it’s ready by gently touching the surface of the wax. If it feels firm and no longer liquid, it’s ready for the next step.
It’s important to exercise patience during this step, as rushing the cooling process can result in an unevenly-set candle. Once you’re confident that the wax has solidified, you can move on to the next step to trim the wick.
Step 7: Trim the Wick
Now that your mason jar candle has cooled and solidified, it’s time to trim the wick before lighting it. Trimming the wick helps create a clean and efficient burn, ensuring a longer-lasting candle. Follow these steps to trim the wick:
- Carefully remove any decorative elements or coverings from the jar, if you added them during the earlier steps.
- Using a pair of scissors, trim the wick to a length of about ¼ inch (6 mm) above the surface of the wax. This length is optimal for a controlled and even burn without excessive smoke or soot.
- Discard the trimmed wick and any excess debris that may have accumulated on the surface of the wax during the cooling process.
Trimming the wick not only ensures a better burning experience but also reduces the risk of the flame flickering or causing smoke. By following this step, you’re preparing your mason jar candle for a beautiful and long-lasting burn. The final step involves adding any optional decorations to personalize your candle.
Read more: How To Make A Mason Jar Lamp
Step 8: Decorate the Jar (Optional)
If you want to give your mason jar candle a personal touch, this is the step where you can get creative and decorate the jar. Adding decorative elements can enhance the aesthetic appeal of the candle and make it truly unique. Here are some ideas to inspire you:
- Tie a ribbon or twine around the neck of the jar. Choose a color that complements the scent or theme of your candle.
- Create a label for the jar with the name of the fragrance or a special message. You can use stickers, printable labels, or even handwrite your own.
- Adorn the jar with charms or trinkets that reflect your personal style or the occasion the candle is meant for.
- Use washi tape or decorative tape to add a pop of color or pattern to the jar.
- Apply glass paint or use a paint marker to create unique designs or patterns directly on the jar’s surface.
Remember, the goal is to let your creativity shine and make the mason jar candle uniquely yours. Be sure to let any applied decorations dry and set completely before handling or lighting the candle.
Congratulations! You have successfully completed all the steps to create your own mason jar candle. It’s now ready to be displayed, gifted, or enjoyed in the comfort of your home. The warm glow and fragrant ambiance of your handmade candle will surely bring joy and relaxation to any space.
Enjoy the process of candle making and let your creativity flourish. May your mason jar candle illuminate many delightful moments!
Conclusion
Congratulations on completing your journey into the world of DIY candle making! By following the step-by-step instructions, you have successfully created your very own mason jar candle. From preparing the jar to pouring the wax and adding optional fragrance and decorations, each step was designed to help you craft a beautiful and personalized candle.
Mason jar candles are not only charming and versatile but also make wonderful gifts or additions to your home decor. The flickering flame and enticing fragrance create a warm and inviting atmosphere, perfect for relaxing evenings or special occasions.
Remember, as you continue your candle making journey, it’s important to stay curious and experiment with different scents, colors, and decorative elements. The possibilities are endless, allowing you to create a wide variety of unique and personalized candles.
Now that you’re equipped with the knowledge and skills to make candles in a mason jar, don’t hesitate to share your creations with family and friends. They will surely appreciate the effort and care you put into handcrafting each candle.
Enjoy the process of making candles, and may your mason jar candles bring warmth, light, and a touch of magic to your life. Happy candle making!
Frequently Asked Questions about How To Make Candles In A Mason Jar
Was this page helpful?
At Storables.com, we guarantee accurate and reliable information. Our content, validated by Expert Board Contributors, is crafted following stringent Editorial Policies. We're committed to providing you with well-researched, expert-backed insights for all your informational needs.