Articles
How To Move Refrigerator To Clean Behind
Modified: August 24, 2024
Learn how to safely move your refrigerator to clean behind it with this informative article. Follow these step-by-step instructions and keep your kitchen spotless.
(Many of the links in this article redirect to a specific reviewed product. Your purchase of these products through affiliate links helps to generate commission for Storables.com, at no extra cost. Learn more)
Introduction
Keeping your refrigerator clean is essential for maintaining its efficiency and ensuring the freshness of your food. While regular cleaning of the interior is part of your routine, it’s just as important to clean behind the refrigerator. Over time, dust, dirt, and debris can accumulate in this often-neglected area, affecting the refrigerator’s performance and potentially causing it to overheat. In this article, we will guide you through the step-by-step process of moving your refrigerator to clean behind it.
Before we begin, it’s important to note that moving a refrigerator can be a challenging task due to its weight and size. It is recommended to have at least two people for this task to ensure a safe and efficient process. Additionally, always refer to the manufacturer’s instructions specific to your refrigerator model for any additional guidance or precautions.
Now, let’s get started on how to move a refrigerator to clean behind it!
Key Takeaways:
- Keep your refrigerator clean and efficient by following a step-by-step process to safely move and clean behind it. Regular maintenance ensures optimal performance and creates a healthier environment for your food.
- Gather necessary supplies, unplug, empty, remove detachable parts, protect flooring, slide, clean, reassemble, and plug back in. Maintain a clean and organized refrigerator for optimal performance and food safety.
Read more: How To Move A Refrigerator In A Truck
Step 1: Gather necessary supplies
Before moving your refrigerator, it’s important to gather all the necessary supplies to ensure a smooth and hassle-free process. Here’s a list of items you’ll need:
- Protective gloves
- Dolly or hand truck
- Furniture sliders or cardboard
- Cleaning supplies (such as a vacuum cleaner, broom, mop, and all-purpose cleaner)
- Old towels or rags
These supplies will help you protect your floors, safely move the refrigerator, and clean the area behind it effectively. Once you have all these items ready, you’re prepared to start the moving process.
Step 2: Unplug the refrigerator
Before moving your refrigerator, it’s crucial to unplug it to ensure your safety and prevent any electrical accidents. Locate the power cord at the back of the refrigerator, near the bottom, and gently unplug it from the electrical outlet. Make sure there are no loose or damaged wires that could pose a risk.
Keep in mind that unplugging the refrigerator will not only allow you to move it safely but also save energy during the cleaning process. It’s recommended to wait for at least 15 minutes before proceeding to the next step. This will allow the compressor to cool down and prevent any potential damage.
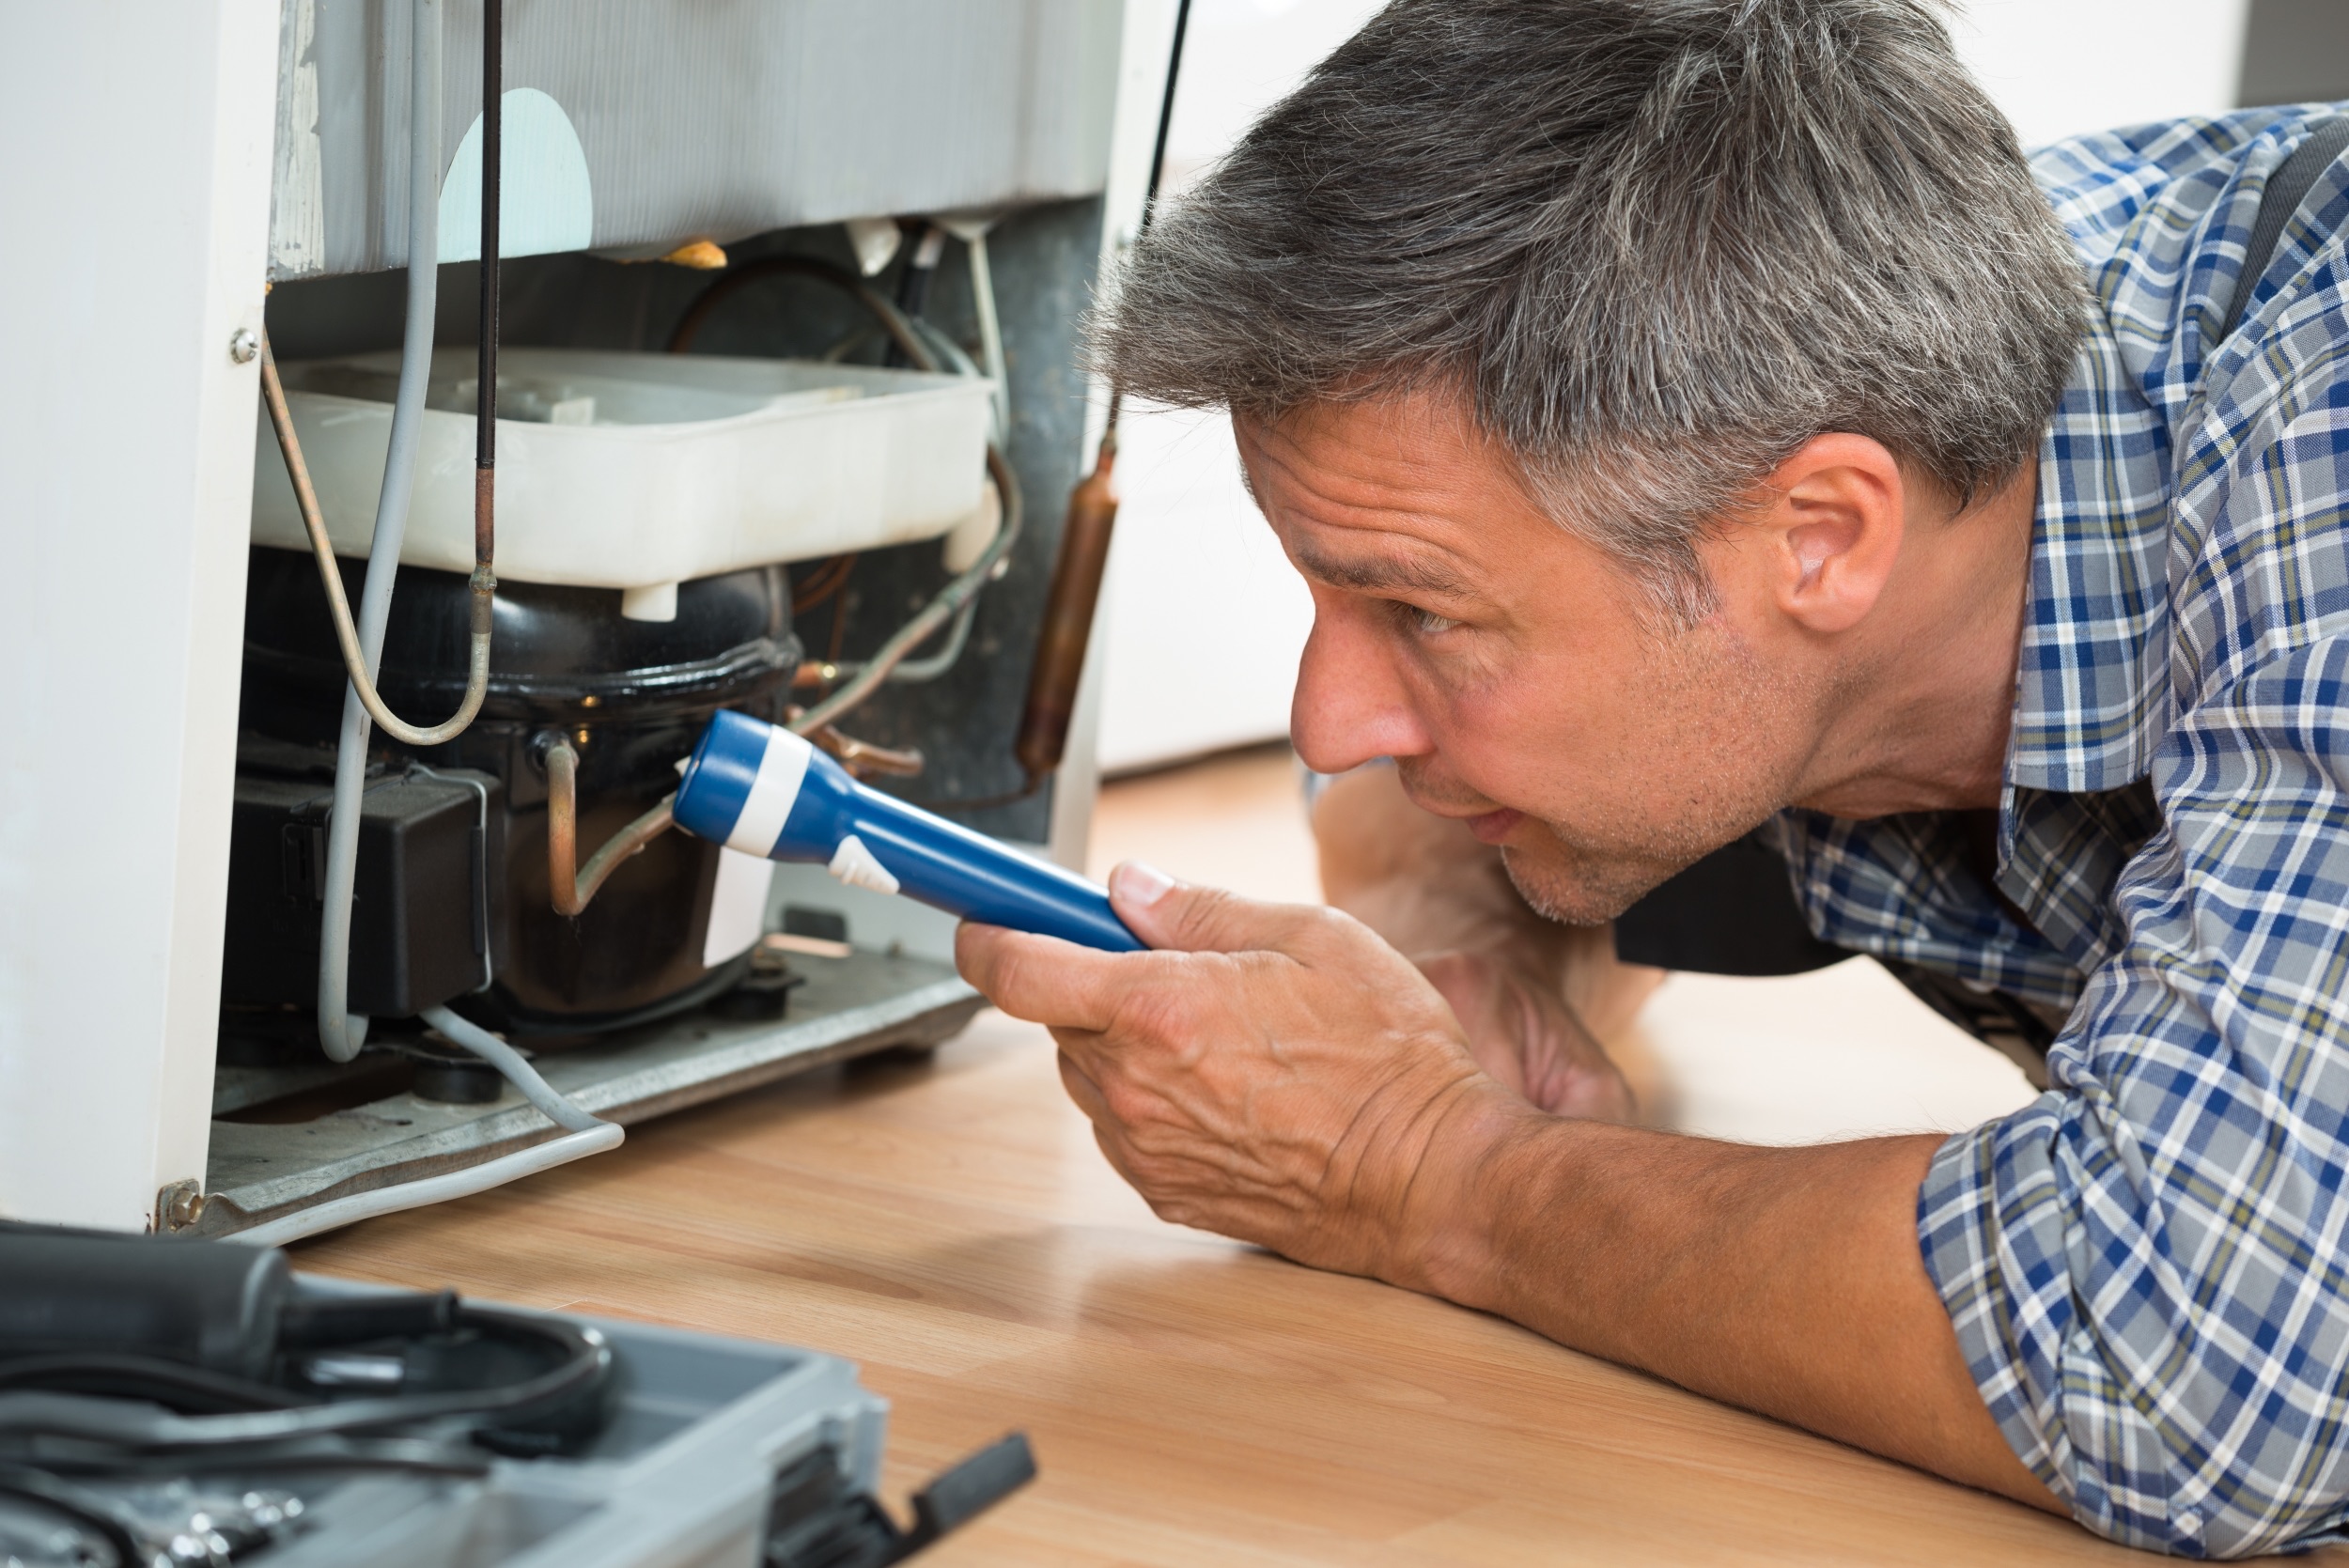
Additionally, take this opportunity to clean the coils located at the back or bottom of the refrigerator. These coils are responsible for dissipating heat, and a buildup of dust and debris can affect the refrigerator’s efficiency. Using a vacuum cleaner or a brush, gently remove any dirt from the coils to improve the performance of the appliance.
Once you’ve unplugged the refrigerator and cleaned the coils, you’re ready to move on to the next step.
Step 3: Empty the contents of the refrigerator
Before moving your refrigerator, it’s important to empty its contents to prevent any spills or accidents during the process. Start by removing all the perishable food items, such as fruits, vegetables, dairy products, and meats.
Check the expiration dates and discard any expired or spoiled items. If you have any open containers or bottles that could potentially leak, transfer them to sealed containers or dispose of them properly.
Consider using a cooler with ice packs to temporarily store any food items that need to remain chilled. This will help maintain their freshness while you clean and move the refrigerator.
Don’t forget to remove any removable shelves, drawers, and other parts from the refrigerator. These items are usually dishwasher-safe, so you can wash them separately to ensure a thorough cleaning.
Once the refrigerator is empty and all removable parts are taken out, it’s time to move on to the next step.
Step 4: Remove any detachable parts
To facilitate the process of moving your refrigerator, it’s important to remove any detachable parts that might get damaged during transportation. Common detachable parts include:
- Shelves and drawers: Take out any adjustable shelves, crispers, or storage drawers from the refrigerator. These parts can easily slide out or be lifted and removed.
- Doors: Some refrigerator models have removable doors. If your refrigerator has this feature, consult the manufacturer’s instructions on how to safely detach the doors.
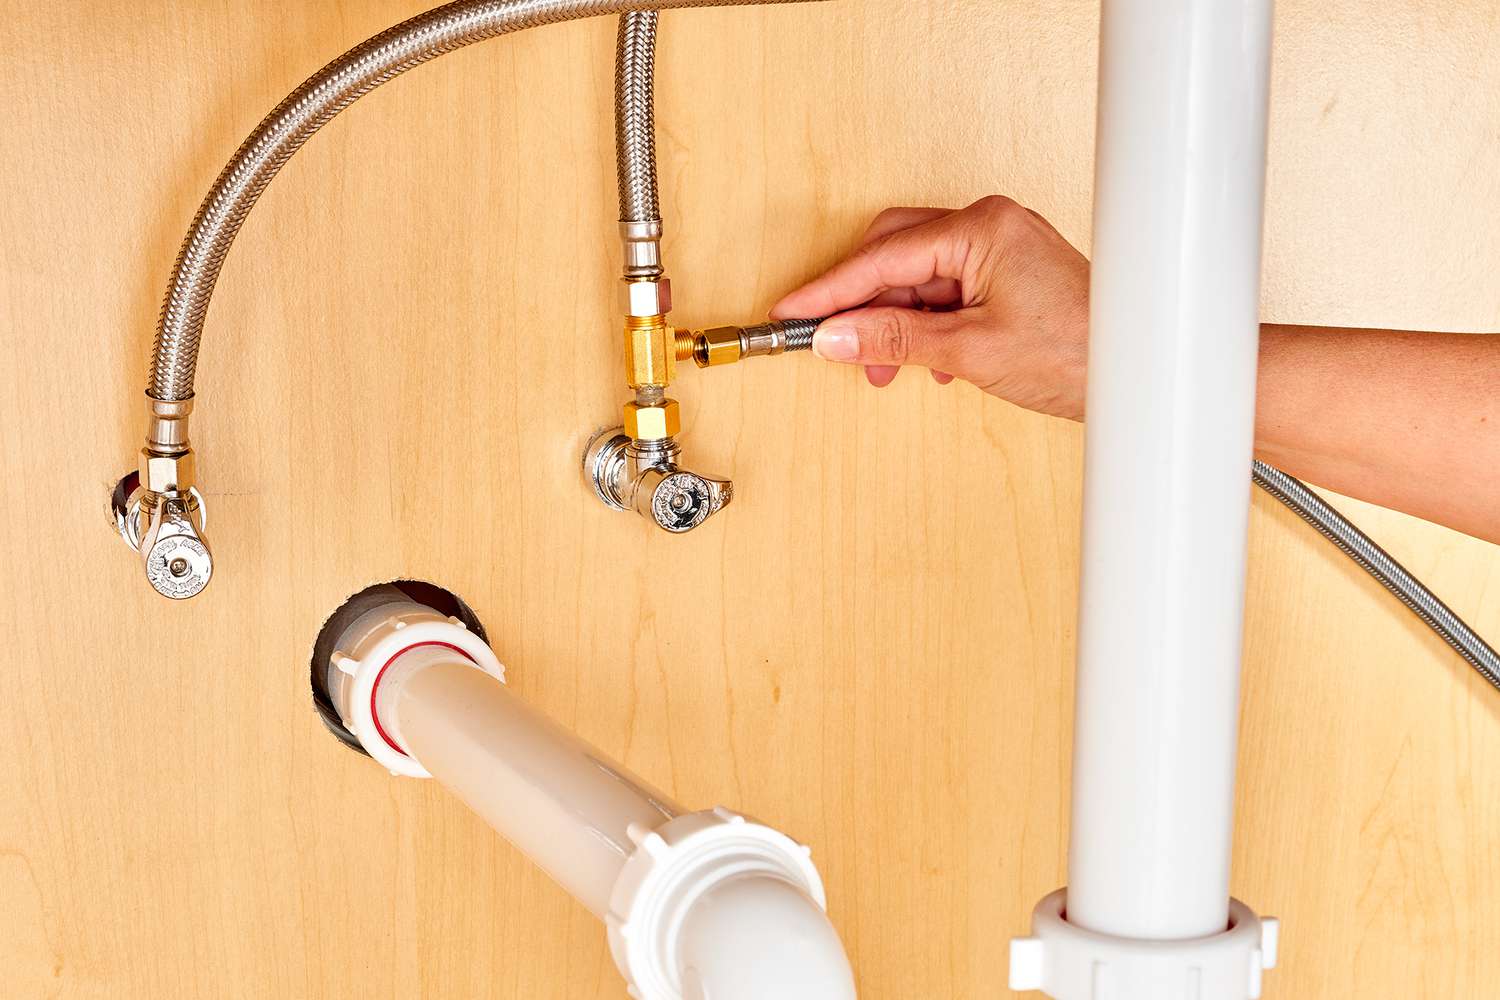
- Water filters: If your refrigerator has a water dispenser or ice maker with a water filter, make sure to disconnect and remove the filter to prevent any leaks or damage.
Removing these detachable parts will not only protect them from getting damaged but also make the refrigerator lighter and easier to move. Remember to keep all the removed parts in a safe place so that they can be easily reassembled later.
Once you’ve safely removed all the detachable parts, you’re ready to proceed with the next step.
Read more: How To Move Samsung Refrigerator
Step 5: Protect the flooring
Before you start moving your refrigerator, it’s essential to protect your flooring to prevent any scratches or damage. Follow these steps to ensure your flooring stays in pristine condition:
- Clear the area: Remove any obstacles or furniture that may hinder the movement of the refrigerator.
- Use furniture sliders or cardboard: Place furniture sliders or pieces of cardboard under the front and back of the refrigerator. These will act as a buffer between the heavy appliance and the floor, allowing for smoother movement.
- Place old towels or rags: Place old towels or rags on the floor to absorb any liquid that may spill during the cleaning process. This will protect your flooring from stains or water damage.
By taking these precautions, you can move your refrigerator without worrying about damaging your floors. Always make sure to choose materials that are suitable for your specific flooring type.
Once you’ve adequately protected the flooring, you’re ready to proceed to the next step.
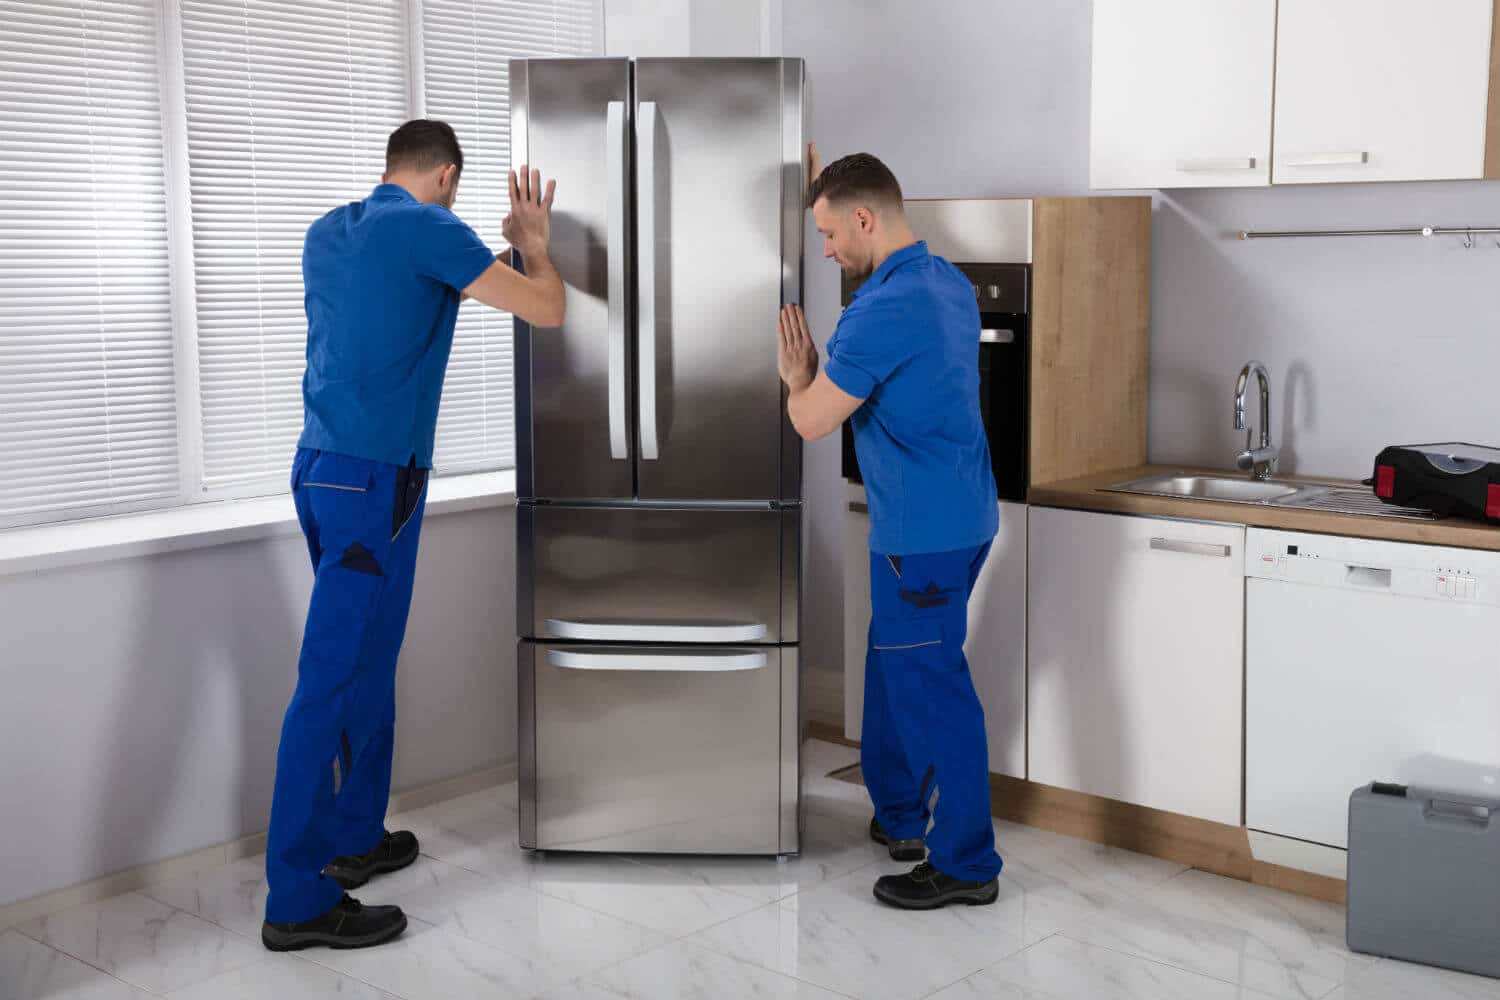
Before moving the refrigerator, unplug it and remove any food or items on top. Use furniture sliders or ask for help to carefully slide the refrigerator away from the wall for easy cleaning.
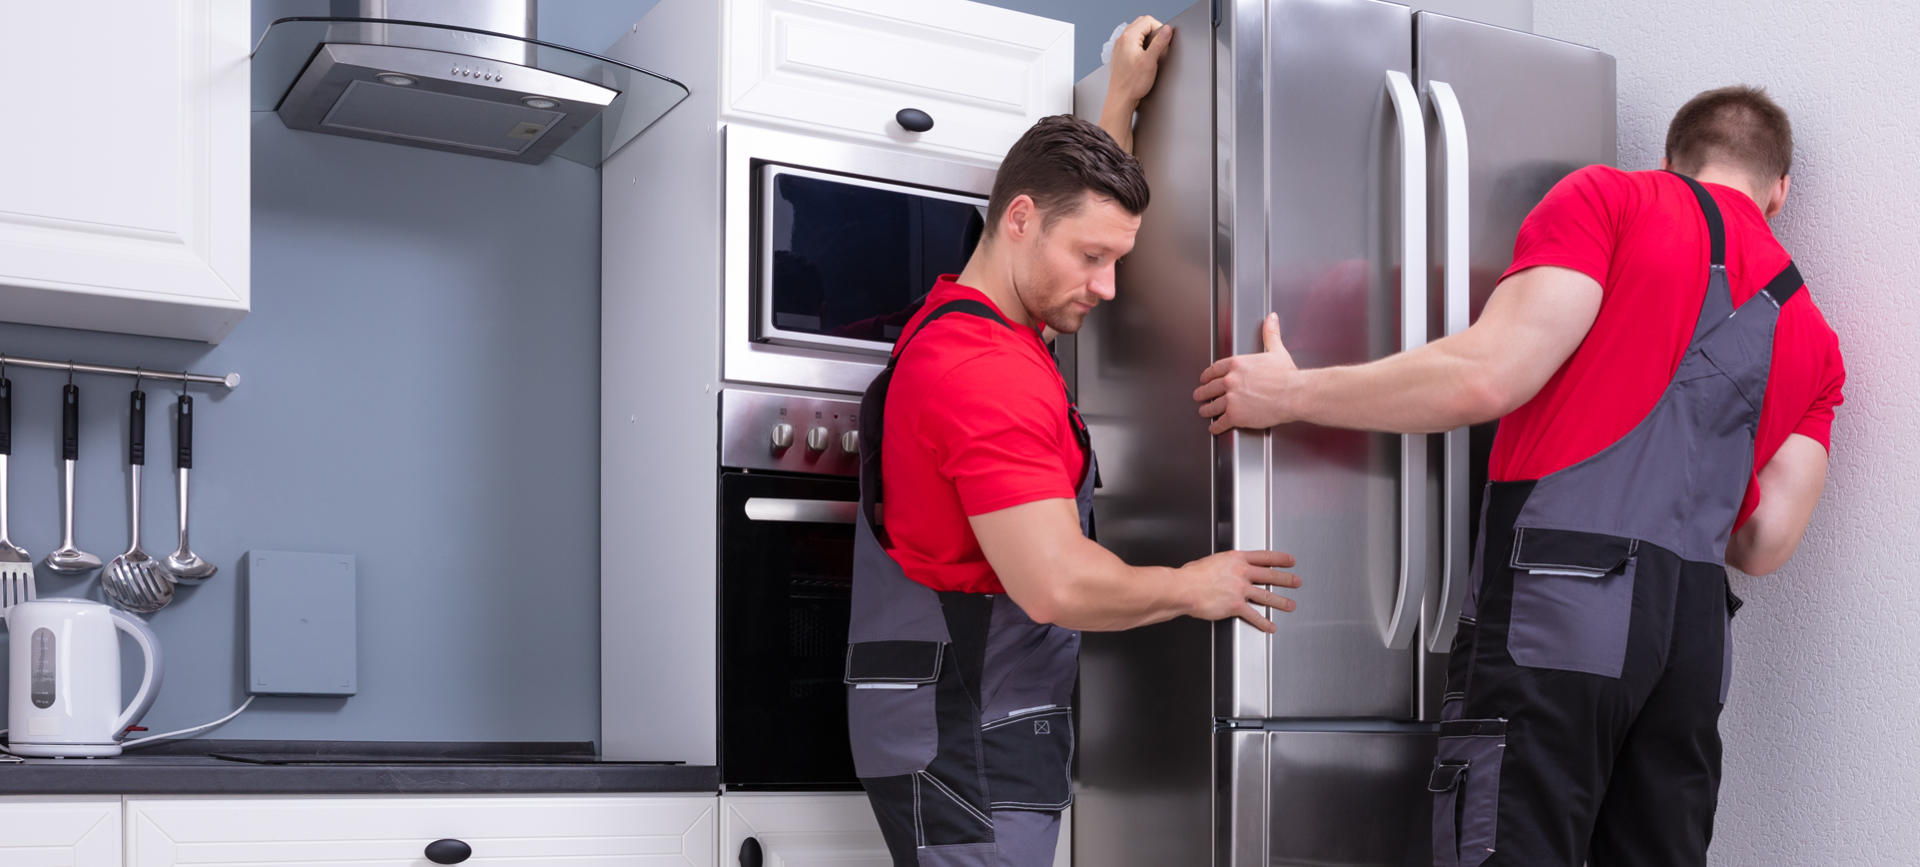
Step 6: Slide the refrigerator away from the wall
Now that you’ve prepared the surrounding area, it’s time to start moving the refrigerator. Follow these steps to safely slide it away from the wall:
- Make sure you have a firm grip: With the help of another person, firmly grab both sides of the refrigerator near the middle and lift it slightly off the ground. It’s important to lift with your legs and not your back to avoid any strain or injuries.
- Use a dolly or hand truck: If available, place a dolly or hand truck behind the refrigerator. Gently lower the appliance onto the dolly, ensuring it’s centered and secure.
- Slowly slide the refrigerator: With one person at the back guiding the dolly, and the other person at the front, slowly and carefully push the refrigerator away from the wall. Use the furniture sliders or cardboard underneath to provide a smoother glide.
- Watch out for obstacles: Pay close attention to any obstacles in your path, such as corners, doorways, or furniture. Take your time and navigate around them safely.
Remember, refrigerators can be heavy and difficult to maneuver, so communication and caution are key during this step. Take breaks if needed and ensure the path is clear before proceeding.
Once you’ve successfully slid the refrigerator away from the wall, you can move on to the next step: cleaning behind it.
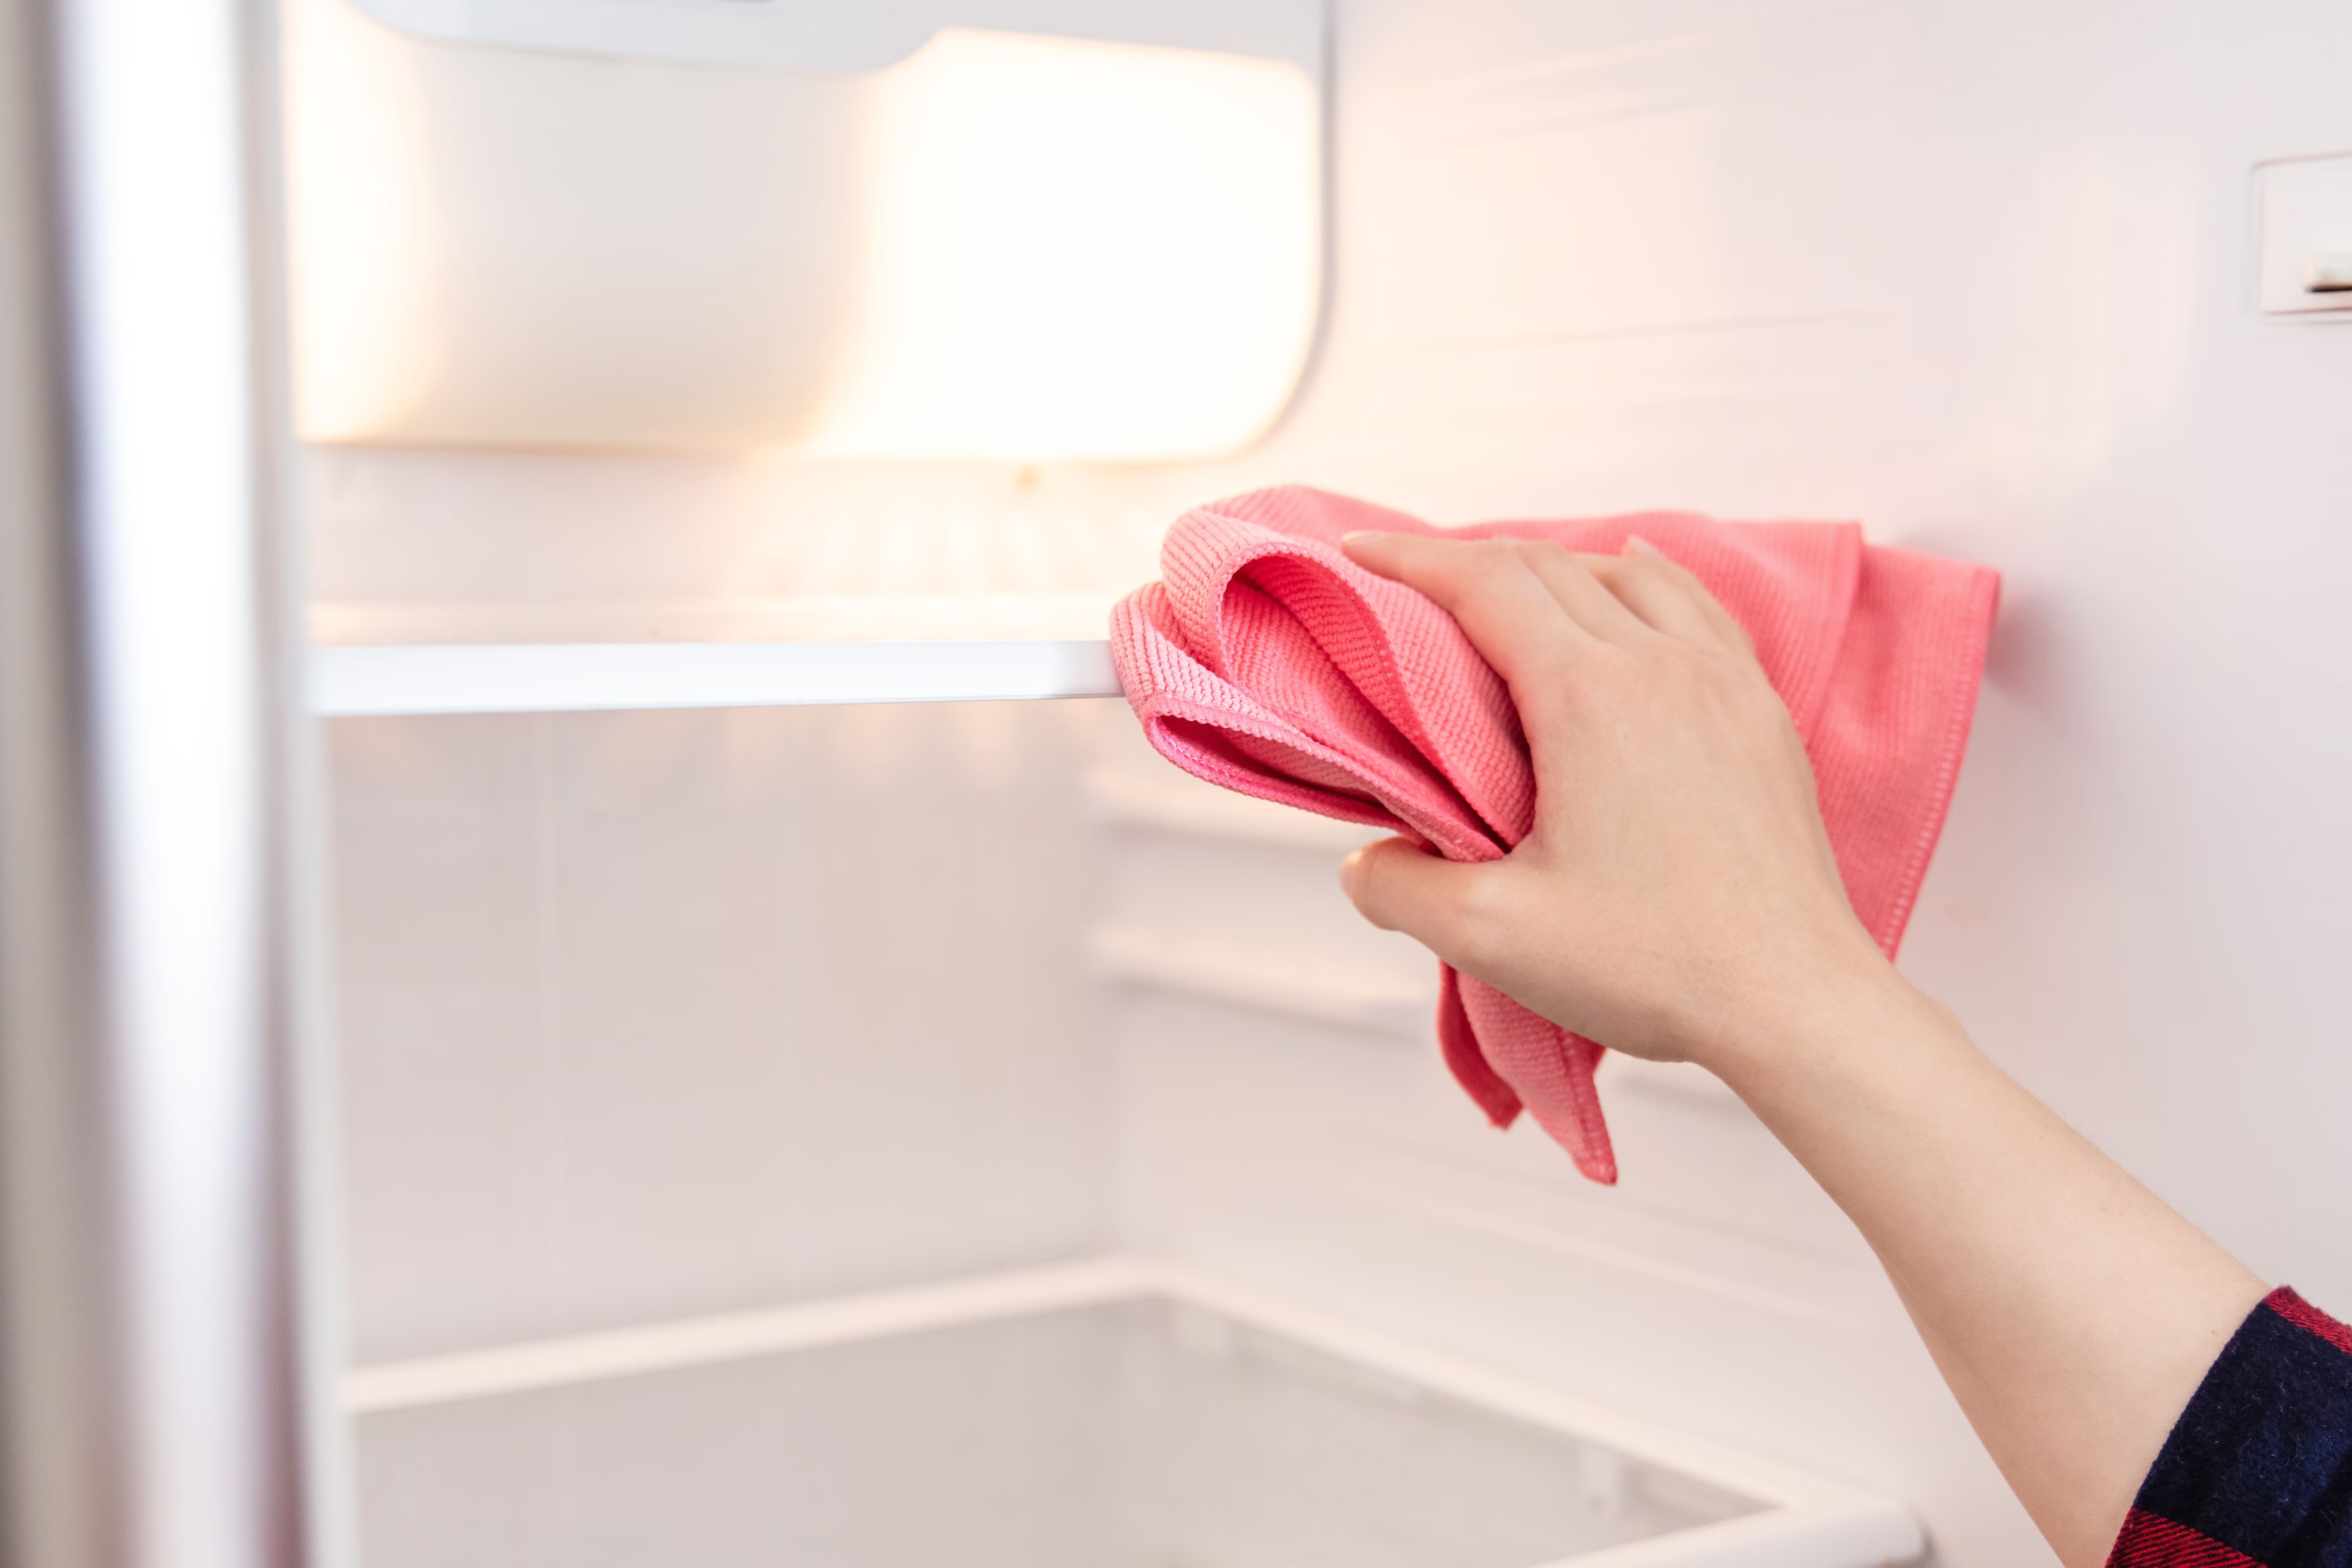
Step 7: Clean behind the refrigerator
Now that you have the refrigerator moved away from the wall, it’s time to tackle the task of cleaning the area behind it. Follow these steps for a thorough cleaning:
- Start with dusting: Use a duster or a microfiber cloth to remove any loose dust and debris from the back of the refrigerator, coils, and vents. This will improve the appliance’s efficiency and prevent overheating.
- Vacuuming: Use a vacuum cleaner with a crevice attachment to carefully vacuum any remaining dirt, dust, or cobwebs from hard-to-reach areas. Pay close attention to the floor, walls, and surrounding surfaces.
- Wipe down surfaces: Dampen a clean cloth with a mixture of mild dish soap and water, and gently wipe down the back of the refrigerator, walls, and floor. Be cautious not to get any electrical components wet.
- Don’t forget the floor: If the floor behind the refrigerator is dirty, use a mop or a damp cloth to clean it thoroughly. Dry the area afterward to prevent any accidents when moving the refrigerator back into place.
While cleaning, take the opportunity to check for any signs of pest infestation, such as droppings or nests. If you notice any, take necessary precautions or seek professional help.
Once you’ve completed the cleaning process and ensured the area is free of dirt and debris, you’re ready to move on to the next step: moving the refrigerator back in place.
Step 8: Move the refrigerator back in place
After you’ve thoroughly cleaned behind the refrigerator, it’s time to move it back into its original position. Follow these steps to safely and efficiently move the refrigerator back:
- Make sure the path is clear: Ensure that there are no obstacles or furniture in the way before attempting to move the refrigerator.
- Remove the furniture sliders or cardboard: If you used furniture sliders or cardboard to protect your flooring, safely remove them from underneath the refrigerator.
- Gently slide the refrigerator: With the help of another person, position yourselves on opposite ends of the refrigerator. Lift the appliance slightly and gently slide it back into place. Take care not to damage any flooring or baseboards in the process.
- Align the refrigerator: Once the refrigerator is back against the wall, ensure that it is properly aligned and centered in its designated space.
- Use a level to check for balance: Place a level on top of the refrigerator to ensure it is sitting level. If necessary, adjust the refrigerator’s legs or use shims to achieve proper balance.
Remember, refrigerator doors should be securely closed before attempting to move it. This will prevent any unnecessary strain on the doors or potential damage to the refrigerator.
Once the refrigerator is back in place and properly aligned, you can proceed to the next step: reassembling any detachable parts.
Read more: How To Clean Glass Behind Screen Door
Step 9: Reassemble the detachable parts
Now that the refrigerator is back in its original position, it’s time to reassemble the detachable parts that you removed earlier. Follow these steps to ensure everything is properly put back together:
- Refer to the manufacturer’s instructions: Consult the user manual or any specific instructions provided by the refrigerator manufacturer to guide you in reassembling the detachable parts. This will ensure that you are following the correct steps for your specific refrigerator model.
- Place shelves and drawers: Carefully slide the shelves and drawers back into their designated positions within the refrigerator. Make sure they are aligned properly and securely in place.
- Reattach doors: If you had removed the doors of your refrigerator, follow the manufacturer’s instructions to reattach them. Ensure that they are properly aligned and securely fastened.
- Reinsert the water filter: If your refrigerator has a water filter, carefully insert it back into its designated slot. Follow any instructions provided by the manufacturer for proper installation.
- Double-check everything: Once all the detachable parts have been reassembled, take a moment to double-check that everything is in its correct place and properly secured.
By carefully reassembling the detachable parts, you ensure that the refrigerator functions properly and that all components are in their correct positions.
Now that the refrigerator is fully assembled, it’s time to move on to the final step: plugging it back in.
Step 10: Plug the refrigerator back in
After successfully reassembling the detachable parts, the final step is to plug the refrigerator back into the electrical outlet. Follow these steps to ensure a safe and proper reconnection:
- Locate the power cord: Find the power cord at the back of the refrigerator.
- Position the refrigerator near the outlet: Move the refrigerator closer to the electrical outlet so that the power cord can reach it.
- Plug in the refrigerator: Gently insert the power cord into the electrical outlet. Ensure that the plug is securely connected and that there are no loose or damaged wires.
- Inspect the cord and outlet: Take a moment to inspect the power cord and the outlet for any signs of damage or wear. If you notice any issues, it is recommended to seek professional assistance to avoid electrical hazards.
- Turn on the refrigerator: Once the refrigerator is plugged in, locate the power switch or control panel and turn it on. Listen for any sounds indicating that the refrigerator is functioning properly.
After plugging in the refrigerator, it will take some time for it to reach the desired temperature. Be patient and avoid opening the doors frequently to allow the appliance to cool efficiently.
Congratulations! You have successfully moved and cleaned behind your refrigerator. By following these steps, you have not only improved the cleanliness and performance of your appliance but also created a healthier and more efficient environment for your food.
Remember, maintenance is key to keeping your refrigerator in top condition, so be sure to incorporate regular cleaning and maintenance into your routine.
With a clean and well-maintained refrigerator, you can enjoy fresh and properly stored food for years to come!
Conclusion
Moving and cleaning behind your refrigerator may seem like a daunting task, but it is important for maintaining the efficiency, performance, and longevity of the appliance. By following the step-by-step process outlined in this article, you can easily and safely move your refrigerator, clean the area behind it, and ensure optimal functionality.
Remember to gather the necessary supplies, unplug the refrigerator, empty its contents, remove detachable parts, protect the flooring, slide the appliance away from the wall, clean the area behind it, and then move it back in place. Reassemble any detachable parts and finally, plug the refrigerator back in.
Regularly maintaining your refrigerator, including cleaning behind it, not only improves its performance but also contributes to a healthier living environment. Cleaning away dust, dirt, and debris can prevent issues such as overheating and potential pest infestation. Additionally, maintaining a clean and organized refrigerator helps to keep your food fresh and safe to consume.
Always refer to the manufacturer’s instructions specific to your refrigerator model for any additional guidance or safety precautions that may be necessary.
By taking the time to properly clean and maintain your refrigerator, you can prolong its lifespan, reduce energy consumption, and ensure optimal food storage conditions. So go ahead, follow these steps, and enjoy the benefits of a clean and efficiently running refrigerator!
Frequently Asked Questions about How To Move Refrigerator To Clean Behind
Was this page helpful?
At Storables.com, we guarantee accurate and reliable information. Our content, validated by Expert Board Contributors, is crafted following stringent Editorial Policies. We're committed to providing you with well-researched, expert-backed insights for all your informational needs.


0 thoughts on “How To Move Refrigerator To Clean Behind”