Home>Articles>How To Paint Door Knobs And Hardware So They Look New Again
Articles
How To Paint Door Knobs And Hardware So They Look New Again
Modified: December 7, 2023
Learn how to transform your door knobs and hardware with a fresh coat of paint! Our articles provide step-by-step instructions for achieving that brand new look.
(Many of the links in this article redirect to a specific reviewed product. Your purchase of these products through affiliate links helps to generate commission for Storables.com, at no extra cost. Learn more)
Introduction
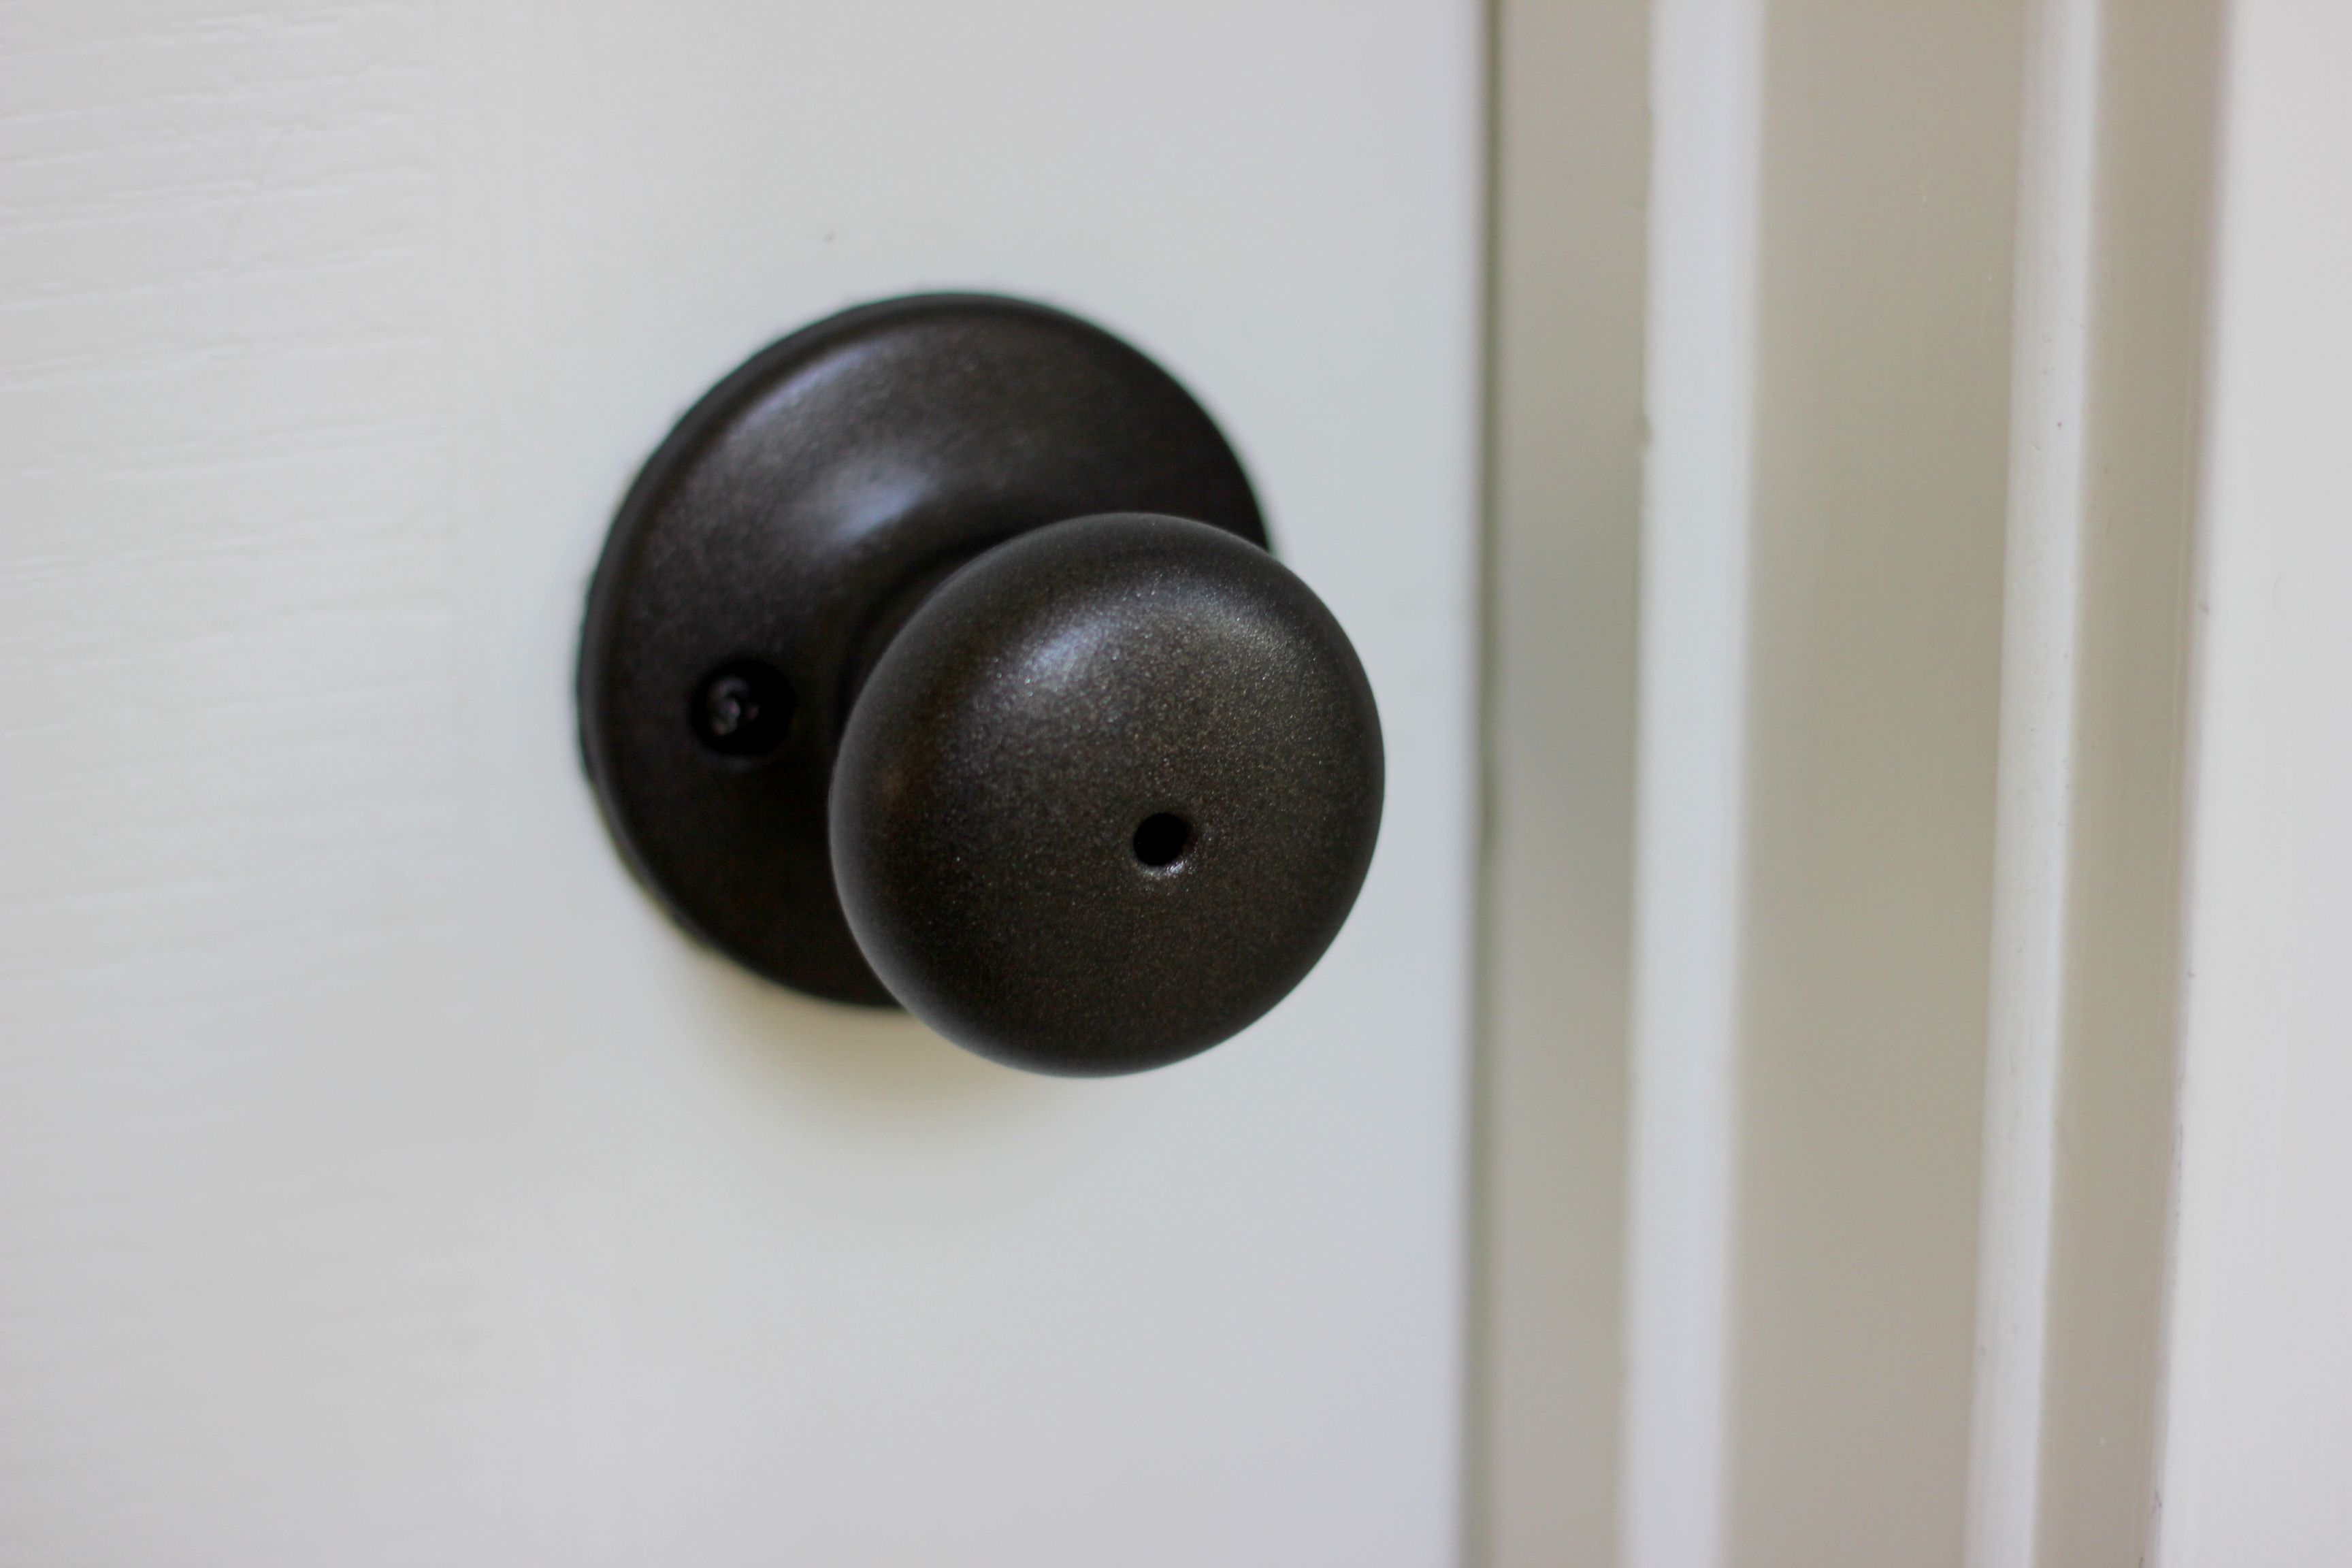
When it comes to refreshing the look of your home, don’t overlook the little details. Door knobs and hardware may seem like insignificant components, but they can greatly impact the overall aesthetic of your space. Over time, these pieces can become worn, tarnished, or simply no longer match your decor. Instead of replacing them entirely, you can easily give them a new lease on life with a fresh coat of paint.
Painting door knobs and hardware is a cost-effective and simple DIY project that can instantly transform the look and feel of your doors. Not only will this save you money, but it also allows you to customize the color of your hardware to match your personal style or the current design trends.
In this article, we will provide you with a step-by-step guide on how to paint door knobs and hardware so they look new again. We will cover everything from preparation to choosing the right paint and applying a protective coat. So, let’s dive in!
Key Takeaways:
- Transform worn or outdated door knobs and hardware into stylish accents that complement your decor with a simple and cost-effective DIY painting project.
- Achieve professional-looking results and give your doors and cabinets a new lease on life by following a step-by-step guide to painting door knobs and hardware.
Preparation
Before you begin painting your door knobs and hardware, it is important to prepare the surfaces properly. This will ensure that the paint adheres well and provides a long-lasting finish. Follow these steps:
- Gather Supplies: Collect all the necessary supplies for this project. You will need painter’s tape, sandpaper (medium and fine-grit), a small brush or sponge, a screwdriver for removing the hardware, a drop cloth or newspaper for protecting surfaces, and of course, your chosen paint.
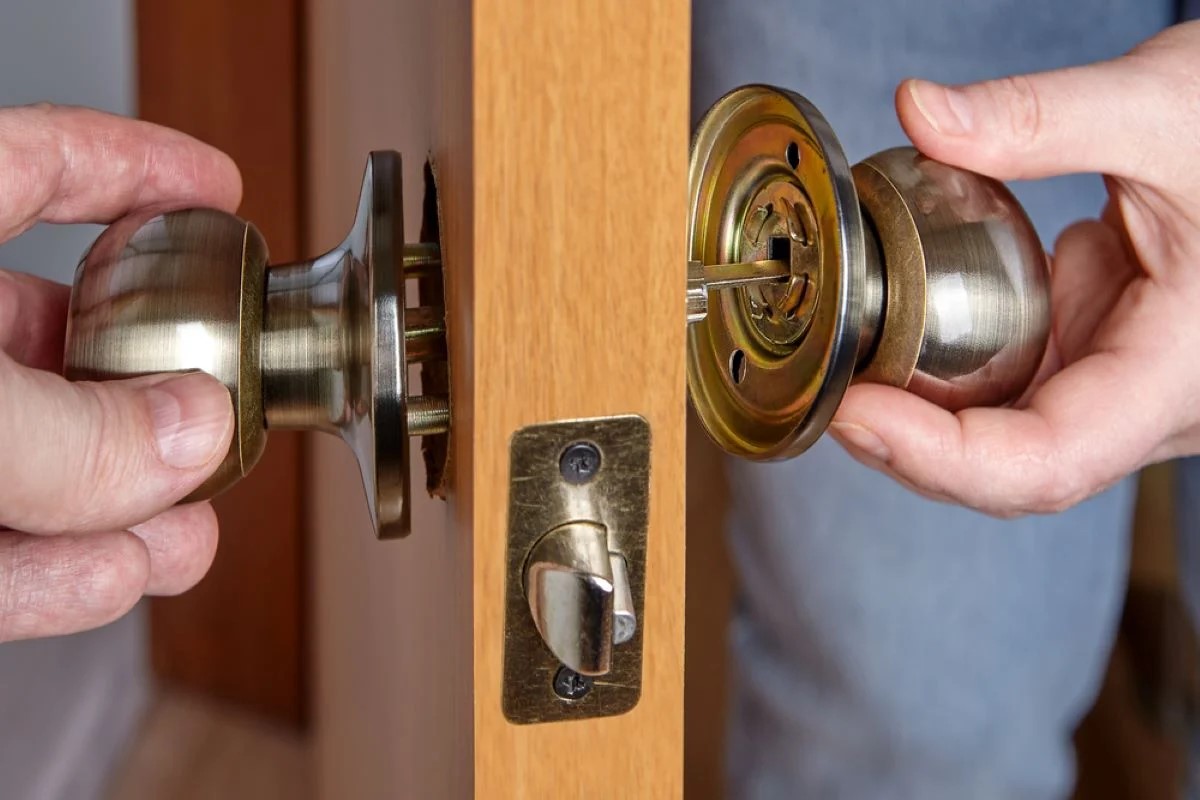
- Remove the Hardware: Use a screwdriver to remove the door knobs, hinges, and any other hardware you wish to paint. Place them on a protected surface, such as a drop cloth or newspaper.
- Clean the Hardware: Before proceeding, it is crucial to clean the hardware thoroughly to remove dust, dirt, grease, and any residual oils. You can use warm soapy water and a soft cloth or sponge for this task. Make sure to dry the hardware completely before moving on to the next step.
- Tape and Protect: Take painter’s tape and cover any areas of the hardware that you do not want to paint, such as the screws, decorative plates, or the part that comes into contact with the door. This will ensure clean edges and a professional-looking finish.
- Prepare the Work Area: To prevent any accidental paint spills or drips, lay down a drop cloth or use newspaper to cover your work area. This will protect your surfaces from any paint splatters and make clean-up easier.
Following these preparation steps will ensure that your door hardware is ready for painting. Now, you can move on to selecting the right paint for your project.
Selecting the Right Paint
Choosing the right paint for painting door knobs and hardware is essential to achieving a durable and professional-looking finish. Here are some factors to consider when selecting the paint:
- Type of Paint: Look for paint specifically formulated for metal surfaces, such as metal enamel or metal spray paint. These types of paint are designed to adhere well to metal and provide a long-lasting finish.
- Finish: Decide on the finish you want for your hardware. You can choose from a variety of options, including satin, semi-gloss, or gloss finishes. Satin finishes offer a subtle sheen, while semi-gloss and gloss provide a more reflective and shiny appearance. Consider the style of your space and the level of durability you desire when selecting the finish.
- Color: The color of your paint is a personal choice and should complement your overall interior design. Opt for a color that either matches your existing hardware or complements the color scheme of your doors and walls.
- Spray Paint or Brush-On Paint: Decide whether you want to use spray paint or brush-on paint. Spray paint can provide a smooth and even finish, but it requires more precision and control. Brush-on paint allows for more control over the application but may require multiple coats to achieve a consistent finish.
- Quality: Invest in high-quality paint to ensure a durable and long-lasting result. Cheaper paints may not adhere well or have a shorter lifespan, leading to peeling or chipping over time.
Once you have considered these factors, head to your local hardware or paint store to explore the options available. Consult with a store representative if you need help in making the right choice for your project. With the right paint in hand, you are now ready to move on to the next step: cleaning and sanding the hardware.
Cleaning and Sanding the Hardware
Before you can paint your door knobs and hardware, it’s important to clean and sand the surfaces to ensure proper adhesion and a smooth finish. Follow these steps:
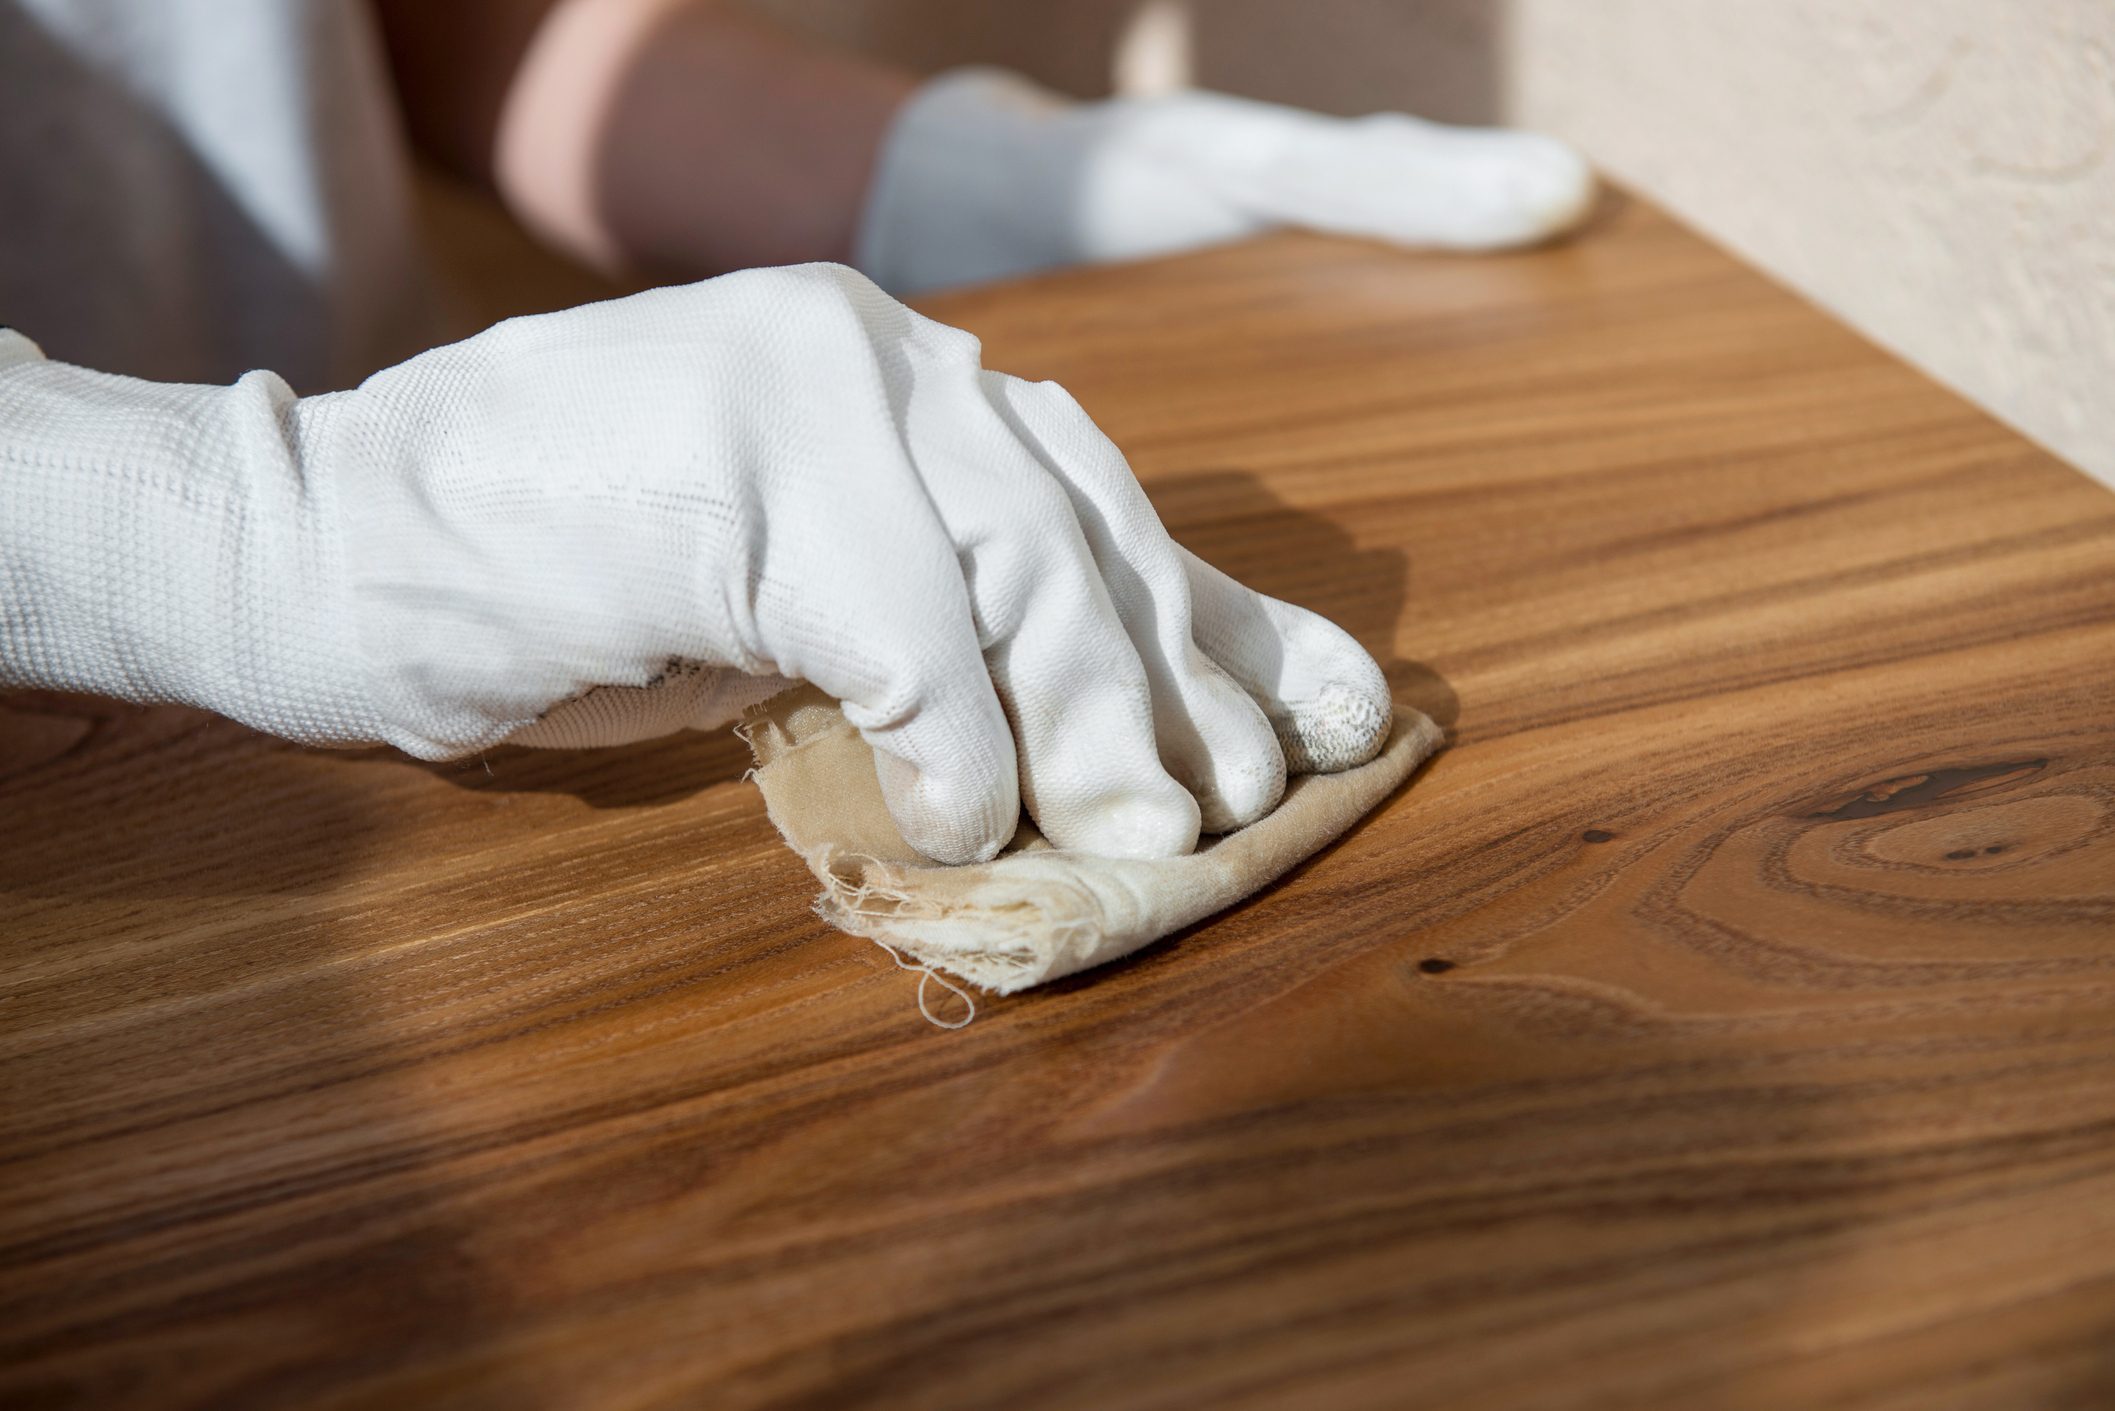
- Cleaning: Start by cleaning the hardware using a mild degreaser or soapy water. Use a soft cloth or sponge to scrub away any dirt, grime, or oils. Make sure to clean all sides of the hardware thoroughly. Rinse off the cleaning solution and allow the hardware to dry completely.
- Sanding: Once the hardware is dry, it’s time to sand the surfaces to create a rough texture for the paint to adhere to. Use medium-grit sandpaper to gently roughen up the surface of the hardware. Pay attention to any scratches or uneven areas and sand them down as well. Don’t sand too aggressively, as you don’t want to damage the metal. After sanding, use a fine-grit sandpaper to smooth out the roughness and create a smoother surface.
- Remove Dust: After sanding, wipe away any dust or debris using a clean, dry cloth or a tack cloth. It’s important to remove all the sanding residue to ensure a clean surface for painting.
- Inspect for Imperfections: Take a close look at the hardware to check for any imperfections or areas that need further attention. If there are deep scratches or dents, you may need to use a filler or putty to smooth out the surface. Follow the instructions on the filler product and allow it to dry before sanding again, if necessary.
Cleaning and sanding the hardware is a crucial step in the painting process. It helps to create a smooth and clean surface for the paint to adhere to, resulting in a professional-looking finish. Once the hardware is cleaned and sanded, it’s time to move on to the next step: priming.
Priming the Hardware
Priming the hardware is an important step in the painting process as it helps to create a smooth base and ensures better adhesion of the paint. Follow these steps to prime your door knobs and hardware:
- Select the Right Primer: Choose a primer specifically formulated for metal surfaces. Look for a product that is compatible with the type of paint you will be using.
- Prepare the Hardware: Ensure that the hardware is clean and free of any dust or debris. If needed, use a clean, dry cloth to wipe away any remaining particles before applying the primer.
- Apply the Primer: Use a small brush or a sponge brush to apply an even coat of primer to the hardware. Make sure to cover all surfaces, including the recessed areas and edges. Follow the manufacturer’s instructions for drying times and any additional steps required for the specific primer you are using.
- Sand the Hardware: After the primer has fully dried and cured, lightly sand the hardware using a fine-grit sandpaper. This step helps to smooth out any brush marks or imperfections in the primer. Wipe away any dust with a clean, dry cloth.
Priming the hardware is essential as it creates a solid foundation for the paint and improves its longevity. It also helps in achieving a more even and professional finish. Once the hardware is properly primed and sanded, it’s time to move on to the exciting part – painting!
When painting door knobs and hardware, make sure to thoroughly clean and sand the surface before applying a primer and paint. This will ensure a smooth and long-lasting finish.
Painting the Hardware
Now that you have prepared and primed your door knobs and hardware, it’s time to apply the paint and give them a fresh new look. Follow these steps to paint your hardware:
- Choose the Right Painting Method: Decide whether you want to use a brush, foam brush, or spray paint. Each method has its advantages and disadvantages. A brush or foam brush allows for more control and precision but may leave visible brushstrokes. Spray paint provides a smooth and even finish, but it requires more careful application and can result in overspray if not done properly.
- Stir the Paint: If you are using a brush-on paint, thoroughly stir the paint to ensure an even color consistency. Follow the manufacturer’s instructions regarding stirring techniques for best results.
- Apply Thin, Even Coats: Start by applying a thin and even coat of paint to the hardware. If you are using a brush, use smooth and even strokes to minimize brush marks. If using spray paint, apply light coats, keeping the can at a consistent distance from the hardware. Allow each coat to dry before applying the next one. Multiple thin coats are preferable to avoid drips or buildup of paint.
- Drying Time: Follow the instructions provided by the paint manufacturer regarding the drying time between coats. It’s essential to allow each coat to dry completely to achieve a smooth and durable finish.
- Inspect and Touch Up: Once the final coat of paint has dried, inspect the hardware for any missed spots or areas that need touch-ups. Use a small brush or foam brush to touch up any imperfections or thinly painted areas. Allow the touch-up paint to dry completely.
Painting the hardware allows you to transform its appearance and give it a fresh, new look. Take your time and be patient during the painting process to achieve the best results. After the paint has dried and any touch-ups have been completed, it’s time to protect the paint with a protective coat.
Applying a Protective Coat
Applying a protective coat is a crucial step in painting door knobs and hardware. This extra layer helps to seal and protect the paint, enhancing its durability and longevity. Follow these steps to apply a protective coat:
- Select the Right Protective Coating: Choose a clear protective coating specifically designed for metal surfaces. Look for a product that provides durability, UV protection, and resistance to scratches and chipping.
- Prepare the Hardware: Ensure that the painted hardware is clean and free of any dust or debris. If needed, use a clean, dry cloth to wipe away any remaining particles before applying the protective coat.
- Test in an Inconspicuous Area: Before applying the protective coating to the entire hardware, it’s a good idea to test it on a small, inconspicuous area to ensure compatibility with the paint. Follow the manufacturer’s instructions regarding the testing process.
- Apply the Protective Coat: Using a brush, foam brush, or spray, apply an even and thin coat of the protective coating to the hardware. Be careful to avoid drips or over-application. Follow the manufacturer’s instructions for drying times and any additional steps required for the specific product you are using.
- Allow Proper Drying and Curing Time: After applying the protective coat, allow it to dry and cure according to the manufacturer’s instructions. This will ensure that the coating properly adheres to the paint and provides maximum protection.
- Inspect for Touch-ups: Once the protective coat has dried, inspect the hardware for any areas that need touch-ups or additional protection. Use a small brush or foam brush to address any imperfections or thinly coated areas. Allow the touch-up coat to dry completely.
Applying a protective coat not only adds an extra layer of protection to your painted hardware but also enhances its overall appearance and durability. It helps to safeguard the paint from daily wear and tear and keeps it looking fresh for a longer period. With the protective coat applied, you can now move on to the final step: reinstalling the hardware.
Reinstalling the Hardware
After the paint and protective coat have dried and cured, it’s time to reinstall your freshly painted door knobs and hardware. Follow these steps to ensure a successful and seamless reinstallation:
- Gather the Necessary Tools: Before you begin, make sure you have the appropriate tools on hand, such as a screwdriver, screws, and any other hardware needed for installation.
- Align the Hardware: Align the hardware with the appropriate holes on the door or cabinet. Make sure the knobs are facing the correct direction and that they handle properly.
- Attach the Hardware: Using a screwdriver, reattach the hardware securely to the door or cabinet. Ensure that the screws are tightened properly but avoid overtightening, as it may damage the painted surface.
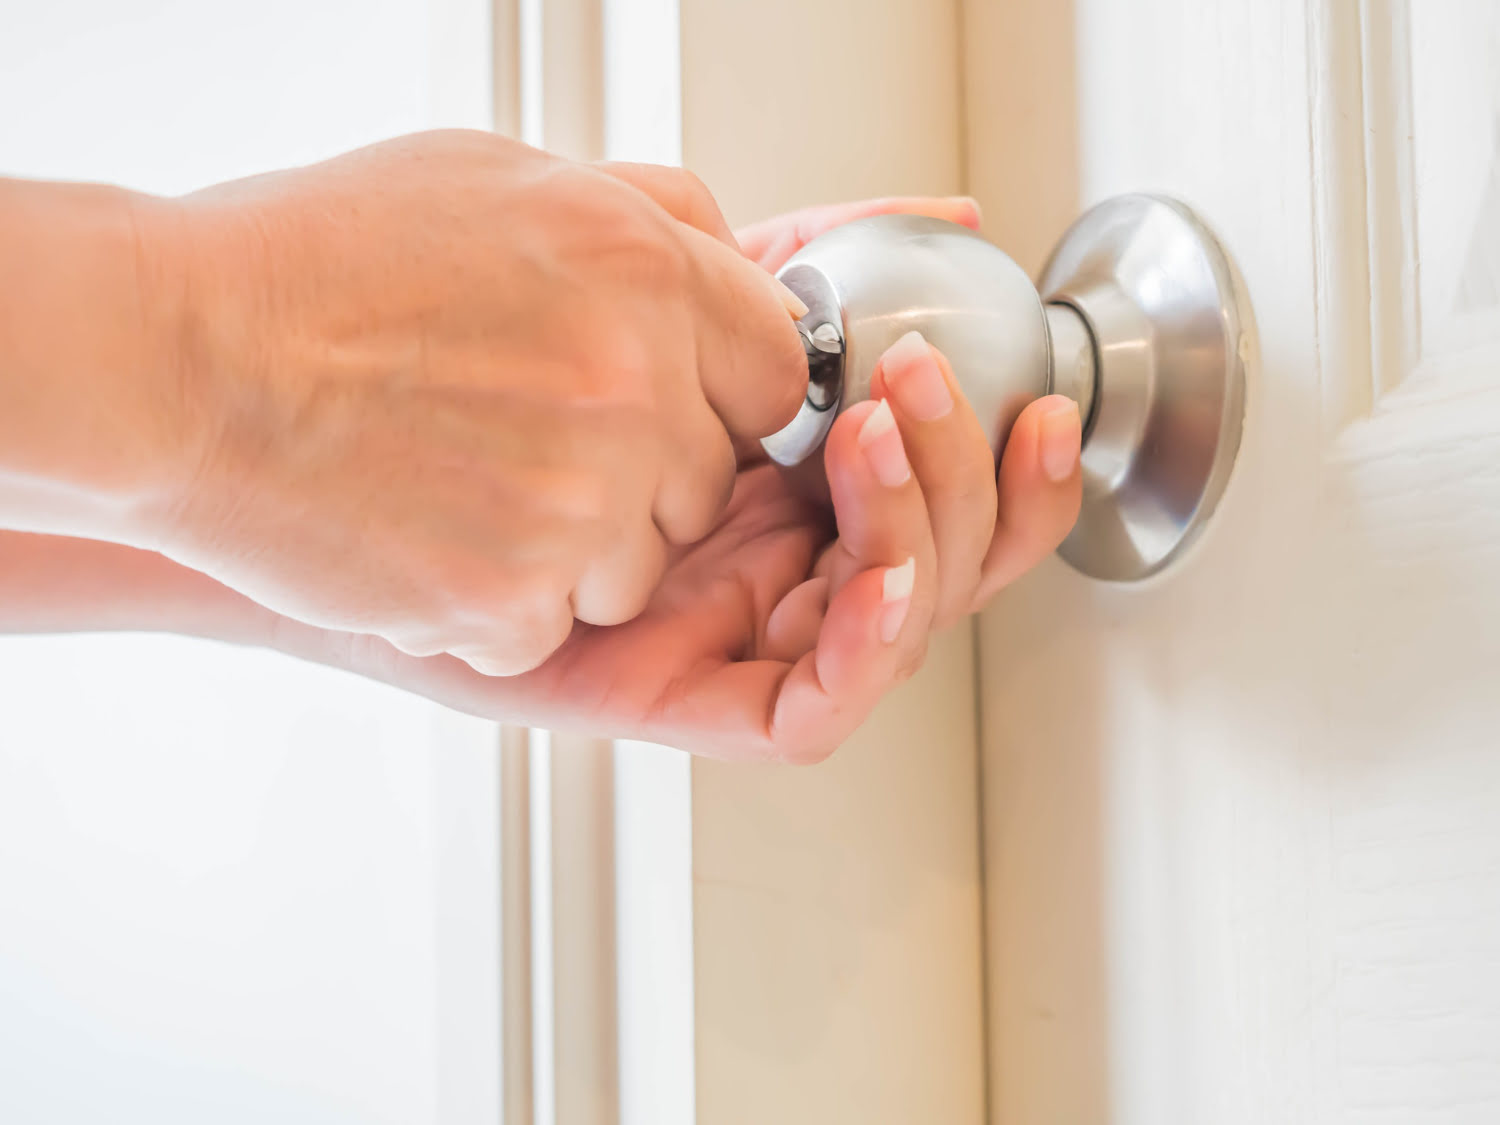
- Check the Functionality: Once the hardware is securely attached, test the knobs or handles to make sure they function properly. Ensure they open and close smoothly and that the latching mechanism works correctly.
- Inspect the Painted Hardware: Take a moment to inspect the freshly painted hardware for any touch-ups or imperfections that may have occurred during the reinstallation process. If needed, use a small brush or foam brush to address any areas that require additional paint or protective coating.
- Clean Up: Clean up any stray paint or dust that may have accumulated during the reinstallation process. Use a damp cloth or mild cleaning solution to wipe down the hardware and surrounding area.
With the hardware reinstalled, you can now step back and admire the transformation you have achieved. Your doors and cabinets will have a renewed look, thanks to your efforts in painting and updating the hardware. Enjoy the fresh appearance and the sense of accomplishment that comes from a successful DIY project.
If you’ve followed all the steps in this guide, your newly painted door knobs and hardware should now look new again and complement your desired style and decor. Remember, with a little time and effort, you can easily update and refresh the look of your home without breaking the bank.
So go ahead and give it a try. Get creative, have fun, and enjoy the process of transforming your door knobs and hardware into stylish accents that enhance your home’s aesthetic appeal.
Conclusion
Painting door knobs and hardware is a simple and cost-effective way to update the look of your home. With just a few supplies and some patience, you can transform worn or outdated hardware into fresh and stylish accents that complement your decor. By following the step-by-step guide outlined in this article, you can achieve professional-looking results and give your doors and cabinets a new lease on life.
Preparation is key to a successful painting project. Gather the necessary supplies, remove the hardware, clean it thoroughly, and protect the surrounding area. Selecting the right paint is crucial for a durable and visually appealing finish. Choose a paint specifically formulated for metals and consider factors such as finish, color, and application method.
Prior to painting, cleaning and sanding the hardware is necessary to create a smooth surface for the paint to adhere to. Applying a primer helps to enhance the bond between the paint and the metal, resulting in a more professional finish. Once the hardware is primed, it’s time to paint using thin, even coats, allowing each coat to dry completely before applying the next. Remember to inspect and touch up as needed.
To protect your newly painted hardware, apply a clear protective coat designed for metal surfaces. This provides an additional layer of durability and helps preserve the paint over time. Finally, reinstall the hardware, ensuring proper alignment and functionality.
Through this DIY project, you have not only saved money by avoiding costly hardware replacements but also added a personal touch to your home. The possibilities are endless when it comes to choosing colors and finishes to suit your style or the current design trends.
So, go ahead and take the plunge. Revamp your door knobs and hardware with a fresh coat of paint and enjoy the satisfaction of transforming your space with this simple yet effective home improvement project.
Frequently Asked Questions about How To Paint Door Knobs And Hardware So They Look New Again
Was this page helpful?
At Storables.com, we guarantee accurate and reliable information. Our content, validated by Expert Board Contributors, is crafted following stringent Editorial Policies. We're committed to providing you with well-researched, expert-backed insights for all your informational needs.


0 thoughts on “How To Paint Door Knobs And Hardware So They Look New Again”