Articles
How To Replace Formica Countertops
Modified: May 6, 2024
Looking for articles on how to replace Formica countertops? Check out our step-by-step guide and expert tips to make the process easy and successful.
(Many of the links in this article redirect to a specific reviewed product. Your purchase of these products through affiliate links helps to generate commission for Storables.com, at no extra cost. Learn more)
Introduction
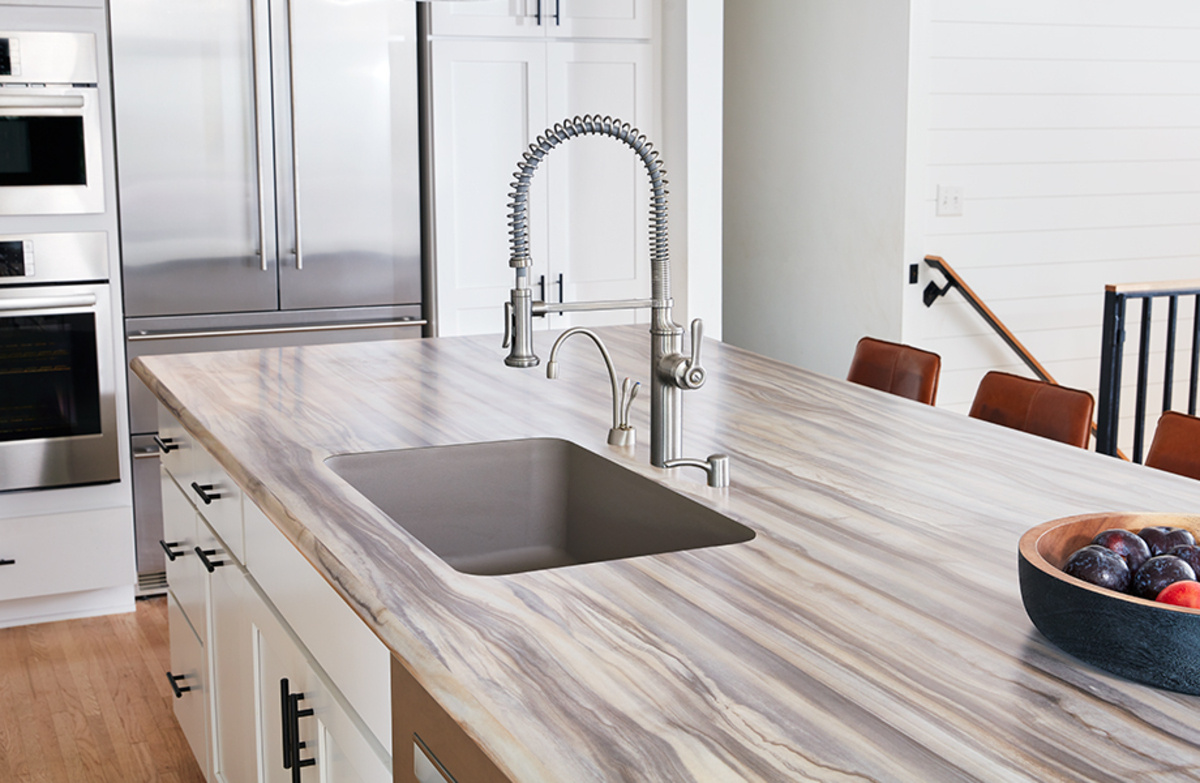
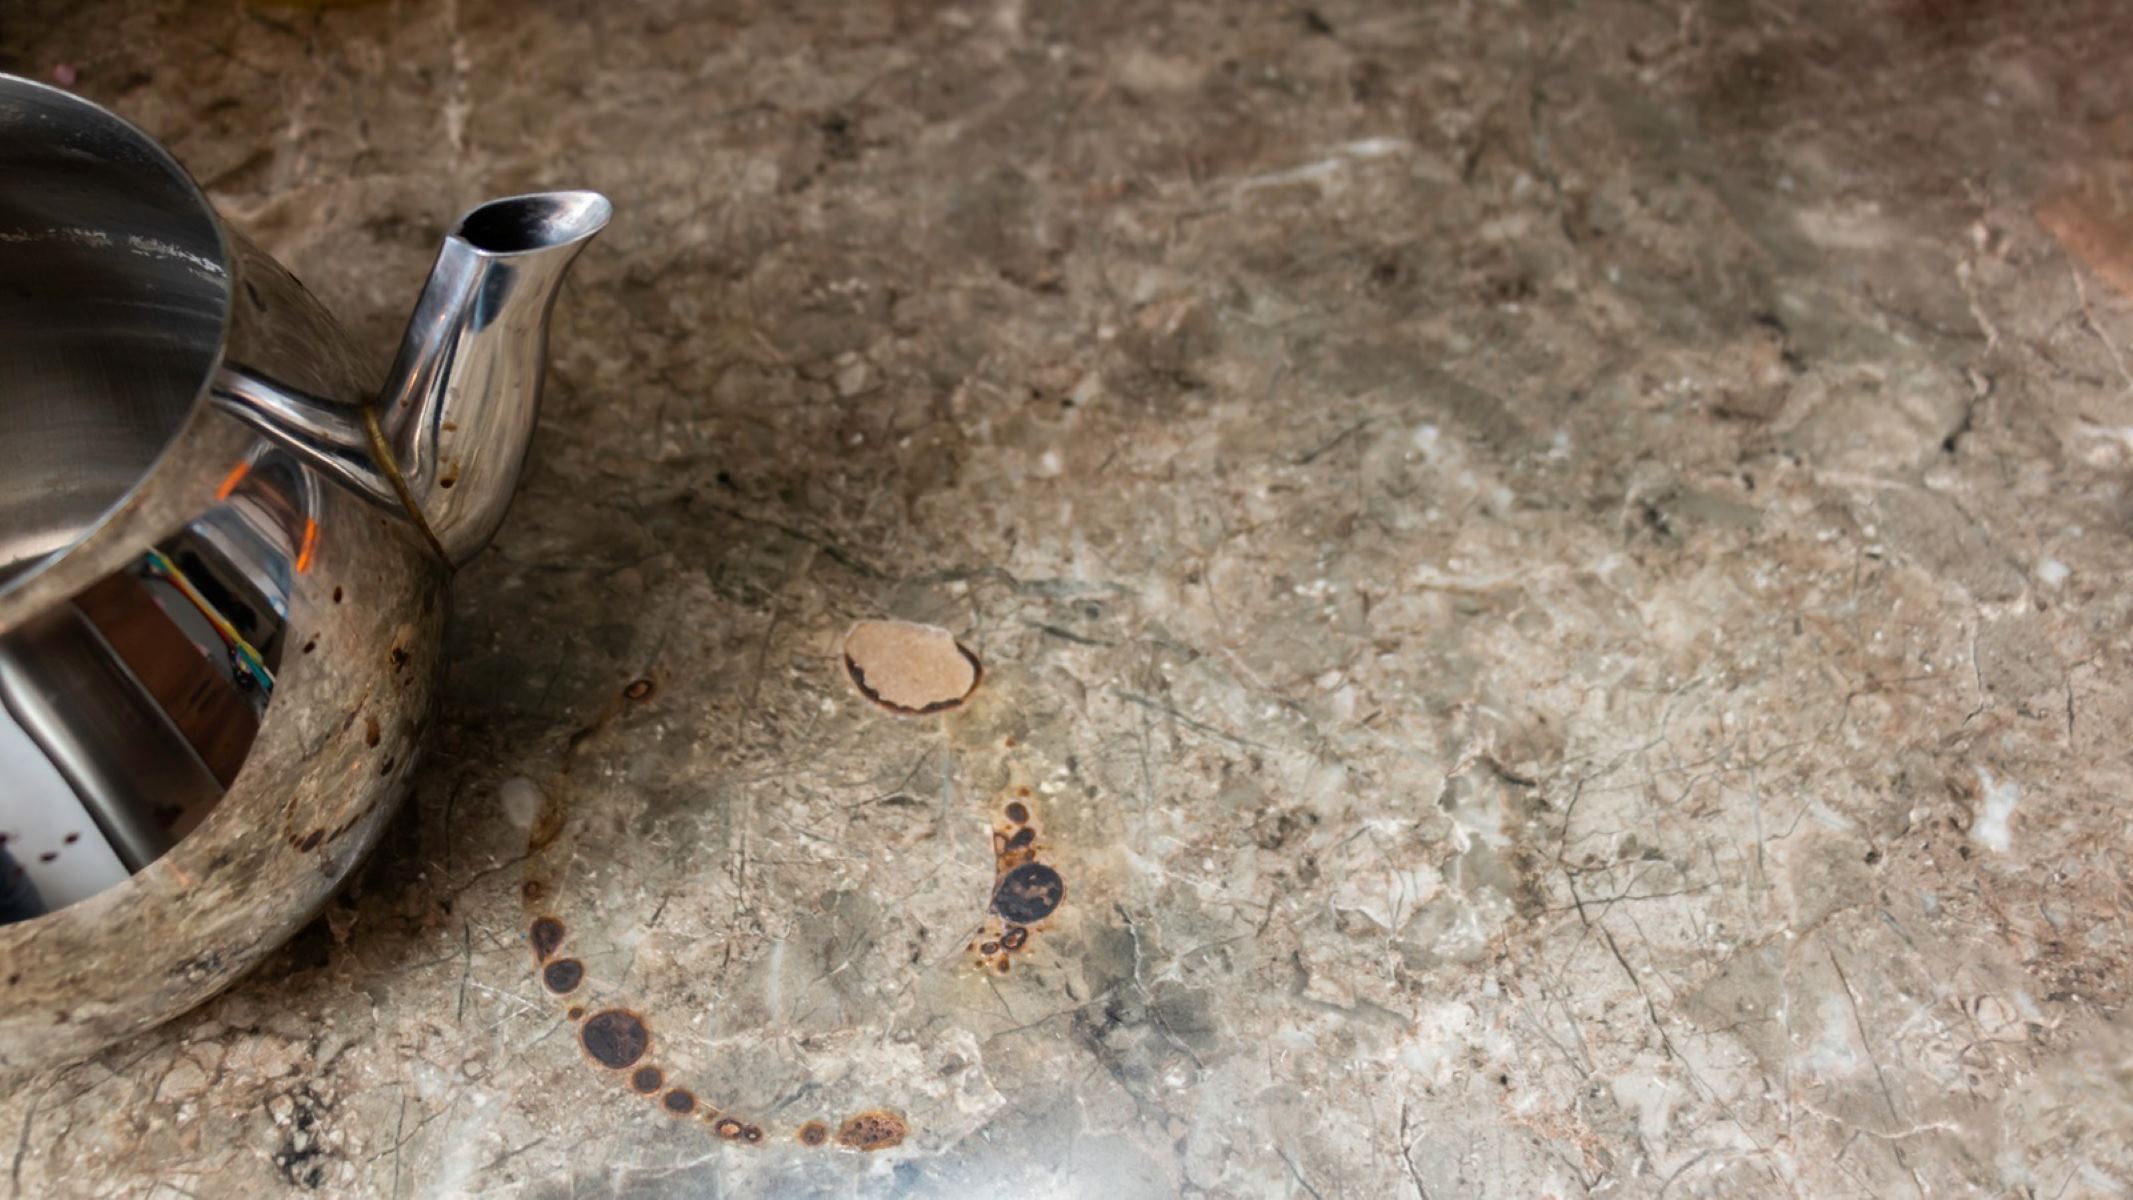
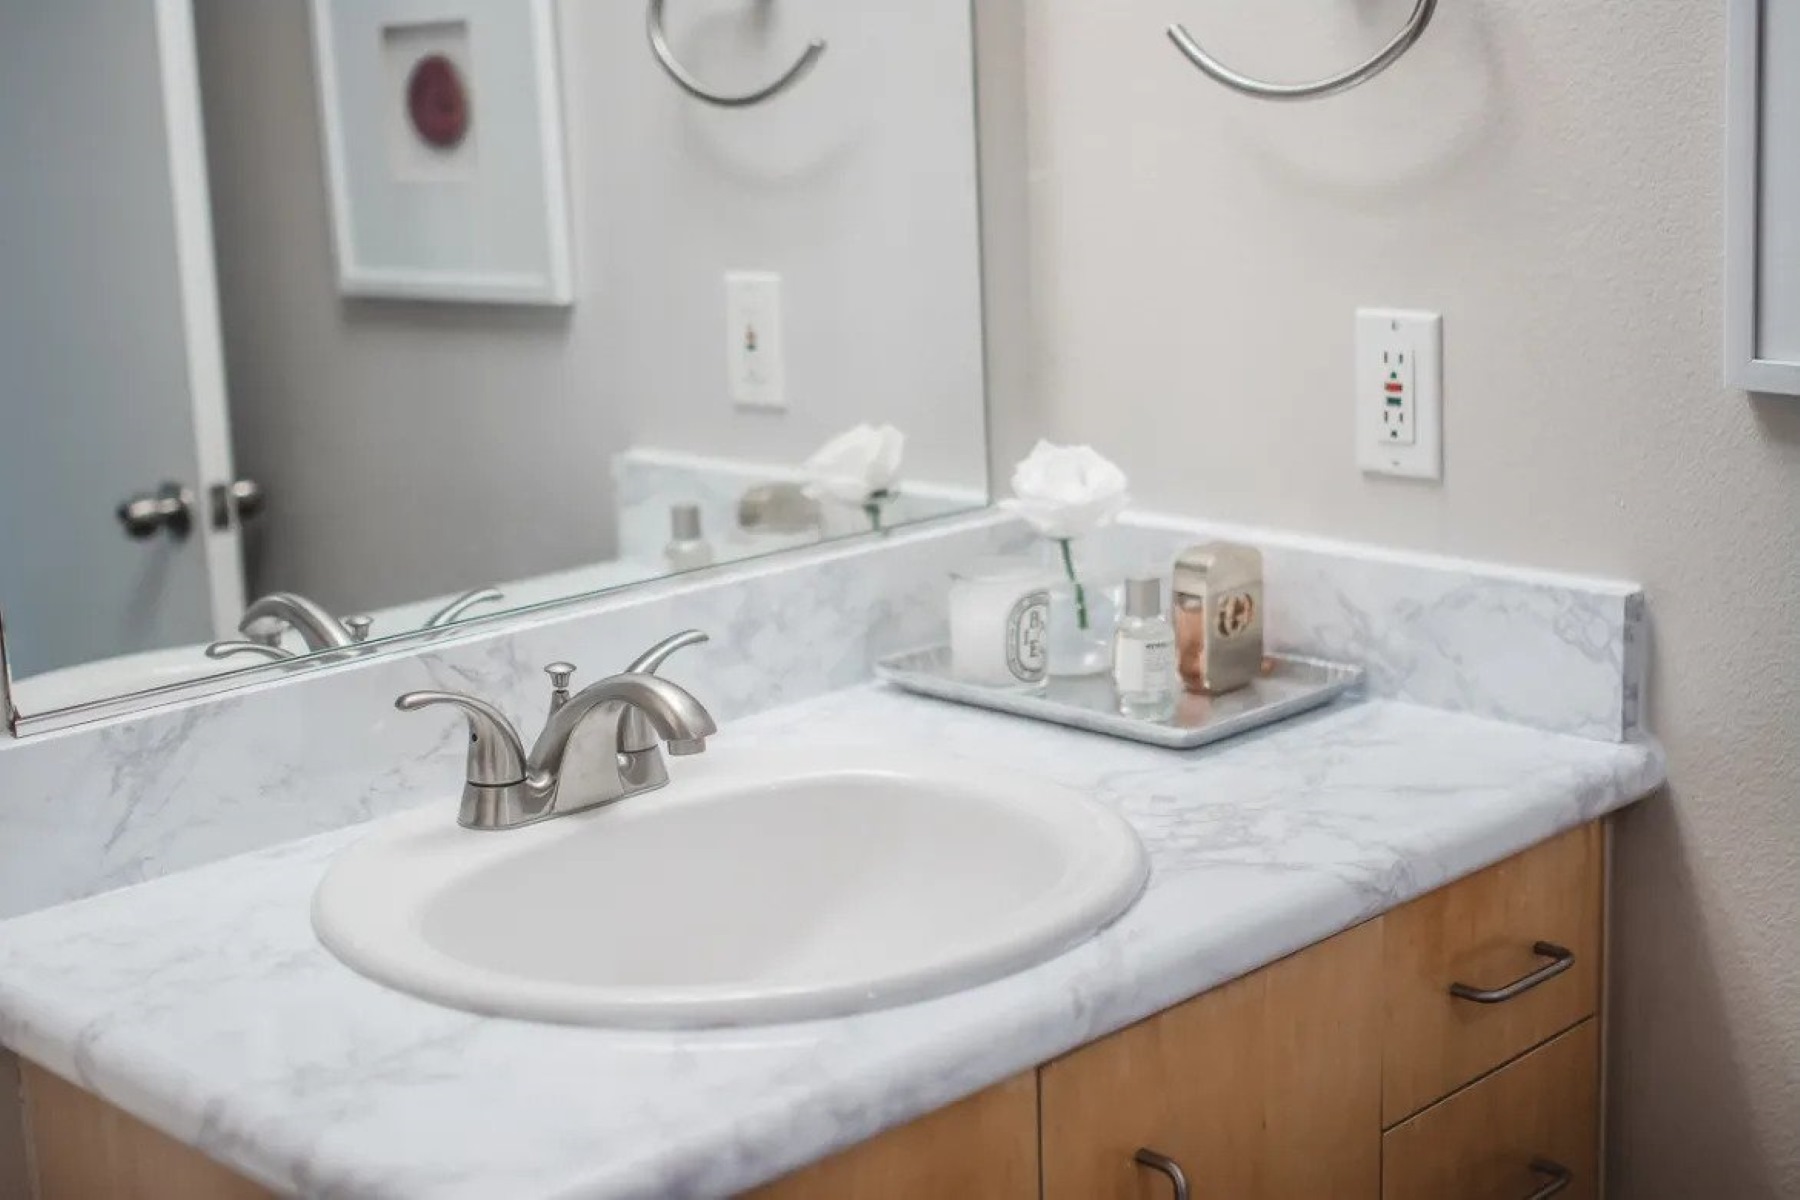
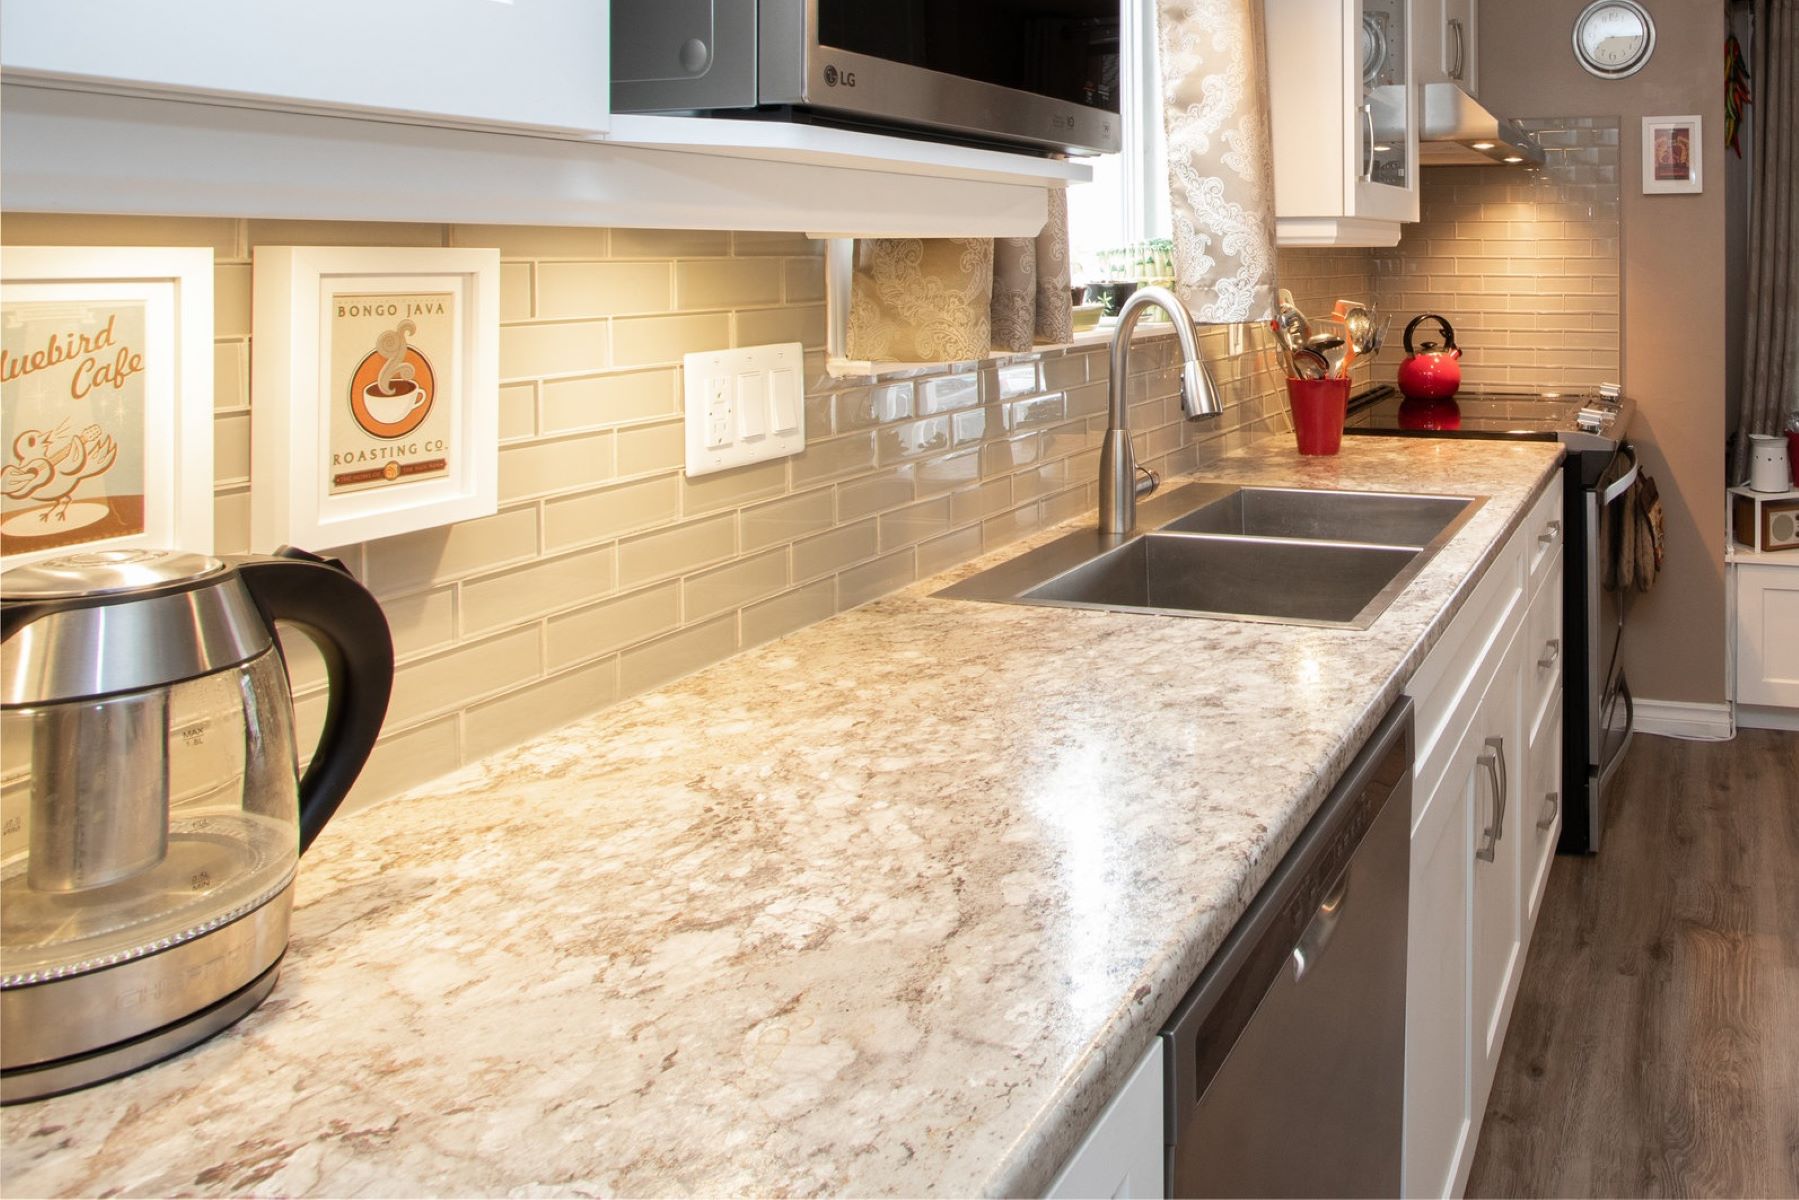
Replacing formica countertops is a great way to give your kitchen or bathroom a fresh and updated look. Formica, a popular laminate material, may become outdated or worn over time. Luckily, with the right tools and a bit of know-how, you can easily replace formica countertops on your own.
In this article, we will guide you through the step-by-step process of replacing formica countertops. From removing the existing countertops to installing the new ones, we will provide you with all the information you need to successfully complete the project. So let’s get started and transform your space!
Key Takeaways:
- Easily transform your kitchen or bathroom by replacing outdated formica countertops with a step-by-step guide for a professional and long-lasting result.
- Achieve a polished and functional countertop installation by carefully preparing the substrate, measuring and cutting the new material, and securing it with proper adhesive.
Read more: Where To Buy Formica Countertops
Step 1: Remove the Existing Formica Countertops
Before you can install new countertops, you’ll need to remove the old formica ones. Follow these steps to safely and effectively remove the existing formica countertops:
- Start by disconnecting all the appliances, such as the sink, cooktop, and any other fixtures attached to the countertop. Turn off the water supply and disconnect any plumbing connections.
- Using a utility knife, score along the edges of the formica countertop where it meets the walls or backsplash. This will help prevent any damage to surrounding surfaces during the removal process.
- Next, use a pry bar or putty knife to gently lift the formica countertop away from the substrate. Be careful not to apply too much force, as this could result in damage.
- If the formica has been glued down, you may need to use a heat gun to soften the adhesive. Hold the heat gun a few inches away from the countertop surface and move it back and forth until the adhesive becomes pliable.
- After softening the adhesive, carefully lift the formica countertop away from the substrate. If there are any stubborn areas where the formica is still attached, use a putty knife or scraper to gently pry it off.
- Repeat this process for each section of the countertop until the entire formica surface is removed.
Once you have successfully removed the existing formica countertops, you can move on to the next step of preparing the substrate for the installation of the new countertops.
Step 2: Prepare the Substrate
After removing the old formica countertops, it’s important to prepare the substrate before installing the new countertops. Follow these steps to ensure a proper foundation for your new countertops:
- Inspect the substrate surface to check for any damage or imperfections. If there are any cracks, dents, or uneven areas, use a patching compound or wood filler to repair them. Allow the filler to dry completely before moving on.
- Clean the substrate surface thoroughly. Remove any dust, debris, or adhesive residue left behind from the old countertops. You can use a vacuum cleaner or a damp cloth to ensure a clean surface.
- If you’re planning to install a solid surface or granite countertop, you may need to reinforce the substrate with plywood. Measure and cut plywood pieces to fit the dimensions of the countertop area and secure them to the existing substrate using screws.
- Ensure that the plywood pieces are level and flush with the edges of the countertop area. Use a level and shims if necessary to achieve a flat and even surface.
- If you’re installing laminate countertops, you can skip the plywood reinforcement step. However, it’s still important to ensure that the substrate surface is clean and smooth.
- Once the substrate is prepared and in good condition, you’re ready to move on to the next step of measuring and cutting the new countertop material.
Taking the time to properly prepare the substrate will ensure a strong and stable foundation for your new countertops. This step is crucial for achieving a professional and long-lasting result.
Step 3: Measure and Cut the New Countertop Material
With the substrate prepared, it’s time to measure and cut the new countertop material to fit perfectly in your space. Here’s how to do it:
- Start by taking accurate measurements of the countertop area. Use a measuring tape to measure the length, width, and depth of the space where the new countertops will be installed.
- When measuring, take into account any overhang or edge details you want to include in the countertops.
- Transfer the measurements onto the new countertop material. Depending on the material you choose, such as laminate, solid surface, or granite, you may need different tools for cutting.
- If you’re using laminate, mark the measurements on the backside of the laminate sheet and use a circular saw or jigsaw to cut along the lines. Take caution to follow the marked lines accurately.
- For solid surface or granite countertops, it’s best to leave the cutting to professionals who have the proper tools and expertise. Contact a countertop fabricator to cut the material according to your measurements.
- If there are any sink or cooktop openings, use a jigsaw or hole saw to cut those out according to the manufacturer’s guidelines.
- After cutting the new countertop material, do a dry fit to ensure that it fits properly in the space. Make any necessary adjustments or trimmings before proceeding to the next step.
Accurate measurements and precise cuts are crucial for achieving a seamless and professional-looking countertop installation. Take your time during this step to ensure the best possible results for your new countertops.
Step 4: Install the New Countertop Material
Now that you have the new countertop material cut to the correct size, it’s time to install it. Follow these steps to ensure a secure and stable installation:
- Apply construction adhesive to the top of the prepared substrate. Use a notched trowel to spread the adhesive evenly across the surface.
- Place the new countertop material onto the adhesive, aligning it with the edges and corners of the substrate. Press down firmly to ensure good adhesion.
- Place small wooden blocks or shims under the countertop to provide temporary support and create a consistent gap between the countertop and the substrate.
- Use clamps or heavy objects to hold the countertop in place while the adhesive cures. Follow the manufacturer’s instructions for the curing time of the adhesive.
- If you have multiple countertop sections, repeat the adhesive application and installation process for each section.
- Check the alignment of the countertops to ensure that they are level and properly positioned. Make any necessary adjustments before the adhesive fully cures.
- Remove any excess adhesive that squeezes out from the edges using a putty knife or damp cloth. Be careful not to damage the countertop surface.
It’s important to handle the new countertop material with care during installation to avoid any mishaps or damage. The adhesive will provide a strong bond between the material and the substrate, ensuring a secure and long-lasting installation.
When replacing Formica countertops, be sure to measure and cut carefully to ensure a precise fit. Use a straight edge and a sharp utility knife for clean cuts.
Read more: How Much Is Formica Countertops
Step 5: Apply Adhesive and Secure the Countertop Material
Once the new countertop material is in place, it’s time to secure it to the substrate using adhesive. This will ensure a strong and durable installation. Follow these steps to apply adhesive and properly secure the countertop material:
- Before applying the adhesive, clean the surface of the countertop material and the substrate. Remove any dust, debris, or adhesive residue that may hinder the adhesion.
- Apply a generous amount of construction adhesive to the top of the substrate. Use a notched trowel or a putty knife to spread the adhesive evenly, creating a thin layer.
- For laminate countertops, make sure to apply adhesive around the edges and in the center of the substrate to ensure proper adhesion.
- Lower the countertop material onto the adhesive, aligning it carefully with the edges and corners of the substrate.
- Press down firmly on the countertop material to ensure good contact with the adhesive. Apply even pressure across the surface to create a strong bond.
- Use clamps or heavy objects to secure the countertop material in place while the adhesive cures. This will prevent any movement or shifting during the curing process.
- Check the alignment of the countertop material to ensure it is level and properly positioned. Make any necessary adjustments before the adhesive fully cures.
- Allow the adhesive to cure according to the manufacturer’s instructions. This typically takes 24 to 48 hours.
Properly applying adhesive and securing the countertop material is vital to ensure a stable and long-lasting installation. Take your time during this step to achieve the best results for your new countertops.
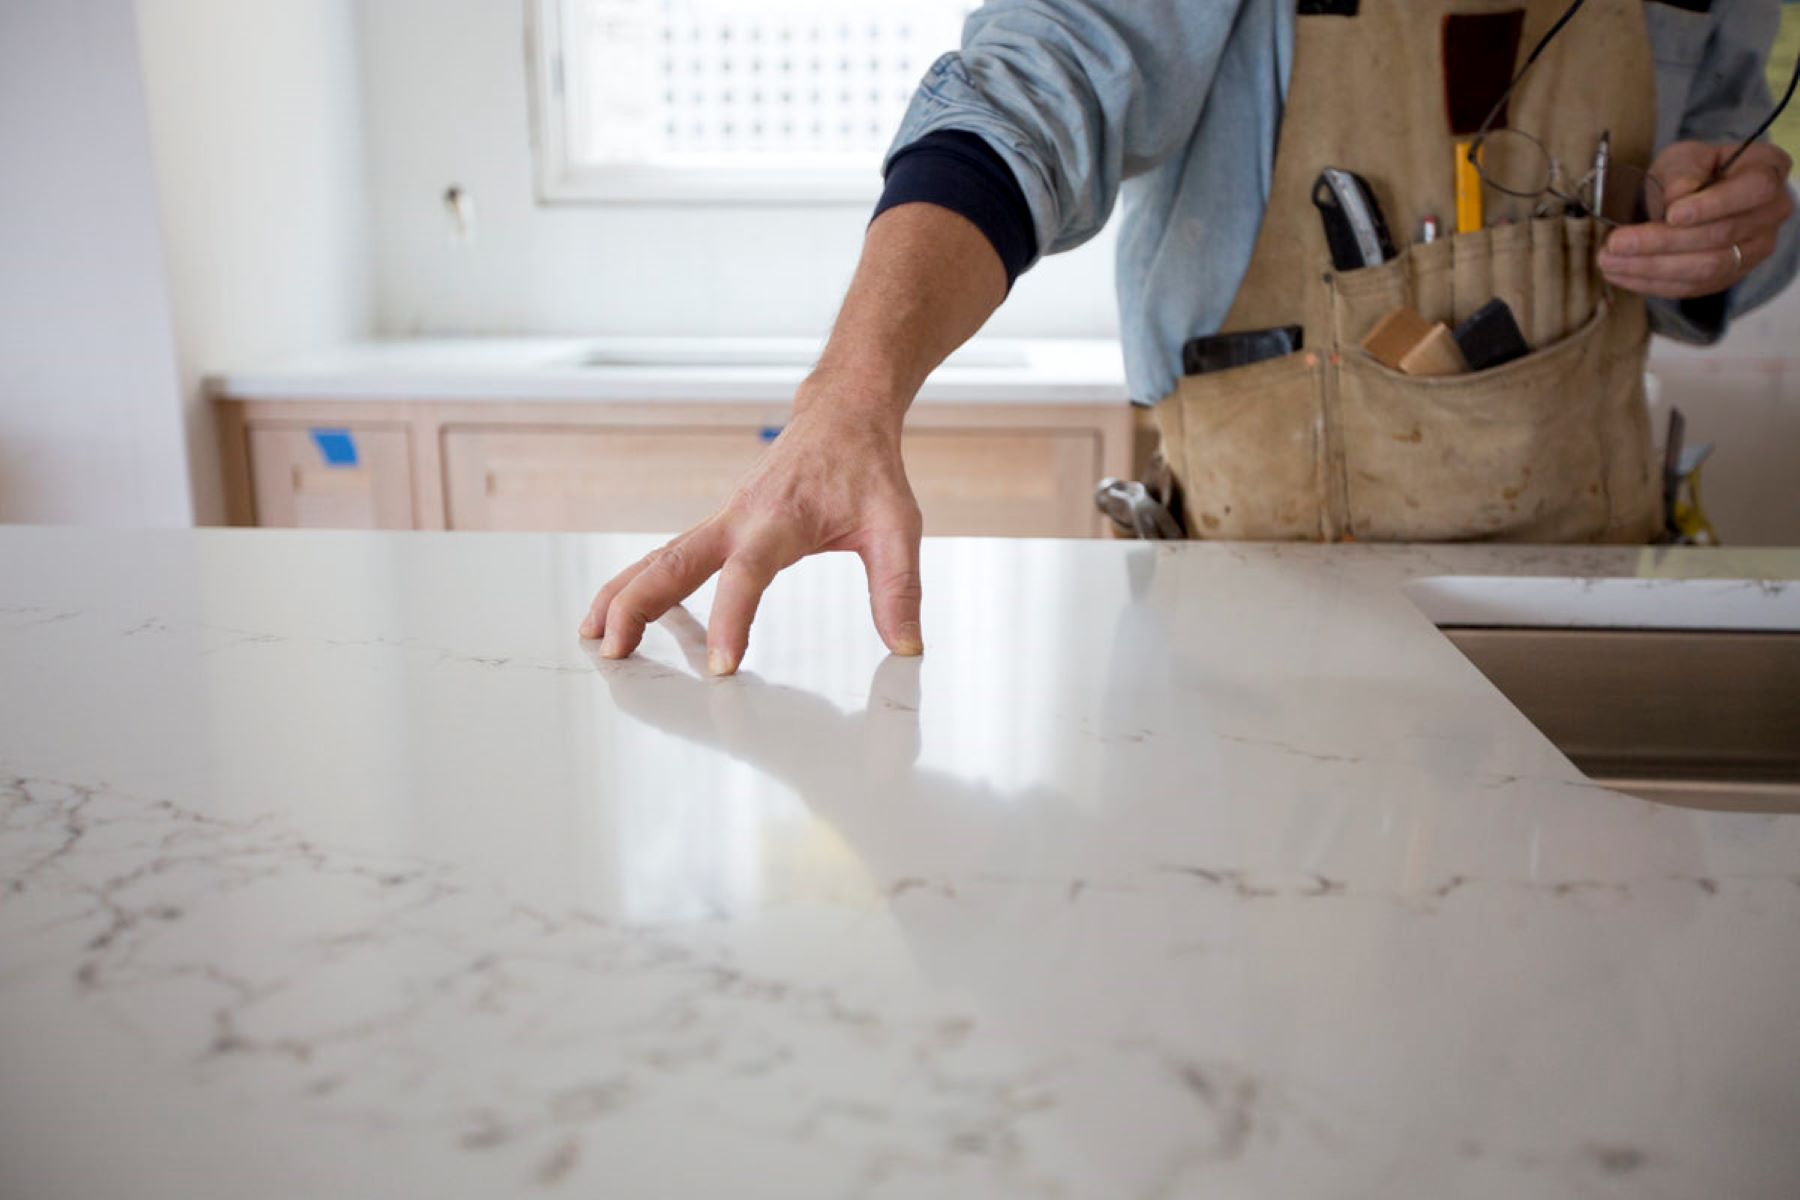
Step 6: Trim and Finish the Edges of the Countertops
Once the countertop material is securely installed, it’s time to trim and finish the edges for a polished and professional look. Follow these steps to trim and finish the edges of your countertops:
- Start by assessing the type of countertop material you have. The method of trimming and finishing may vary based on the material, such as laminate, solid surface, or granite.
- For laminate countertops, use a router with a laminate trimming bit to trim the edges. Move the router along the edges, following a smooth and steady motion to achieve clean and precise cuts.
- If you have solid surface countertops, you can use a router with a special solid surface trimming bit or a belt sander to trim the edges. Again, take your time and follow a steady motion to achieve a smooth finish.
- For granite or other natural stone countertops, it’s best to leave the trimming and finishing to professionals who have the proper tools and expertise.
- After trimming the edges, use fine-grit sandpaper to smooth out any rough edges or imperfections. Start with a coarser grit and gradually move to finer grits for a polished finish.
- Wipe the edges clean with a damp cloth to remove any dust or debris from the sanding process.
- Apply a countertop edge treatment or a laminate edge strip if desired. This can provide a finished and decorative touch to the edges of your countertops.
- Follow the manufacturer’s instructions for applying the edge treatment or laminate edge strip, ensuring proper adhesion and a seamless appearance.
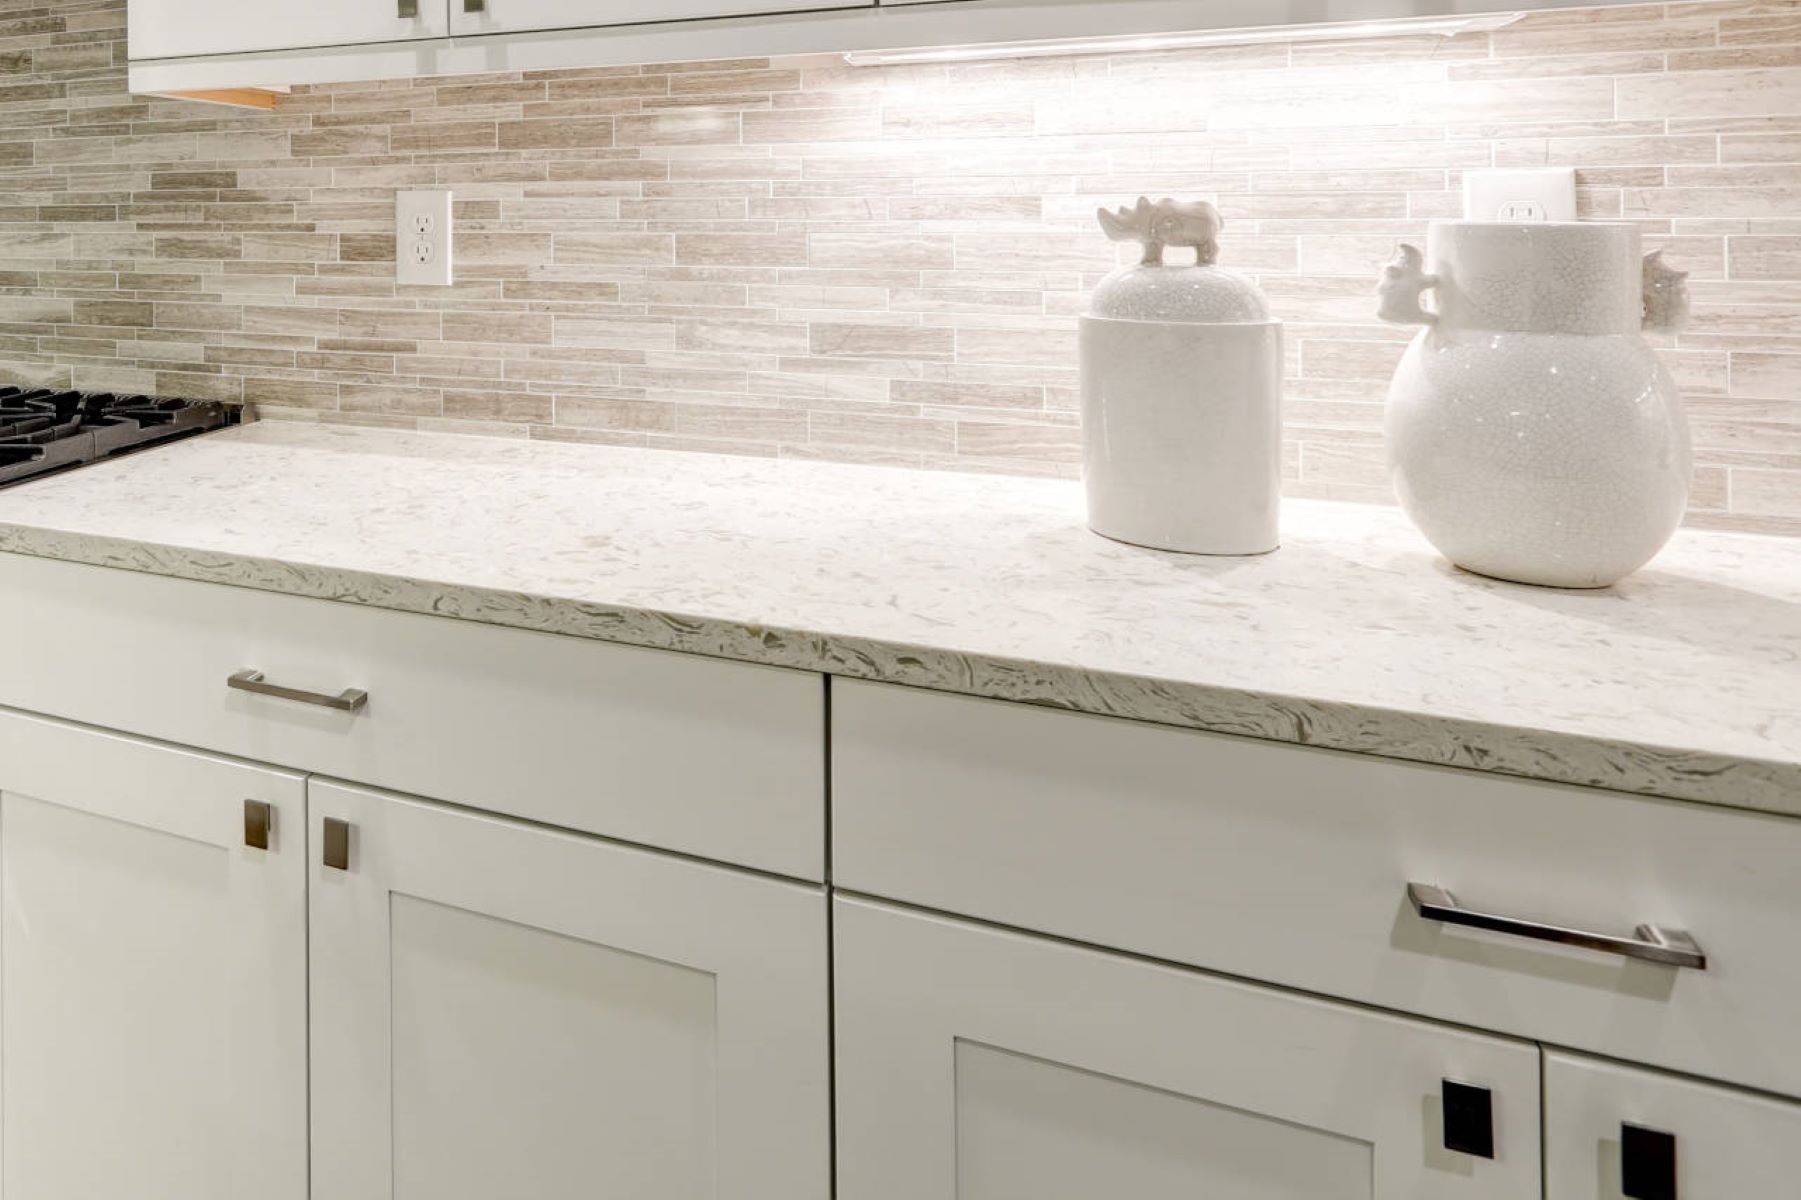
Taking the time to trim and finish the edges of your countertops will give them a professional and polished look. This step adds the finishing touch to your countertop installation, enhancing the overall aesthetics of your space.
Step 7: Install the Sink and Reconnect Plumbing (if applicable)
Now that the countertops are installed and the edges are finished, it’s time to install the sink and reconnect the plumbing if necessary. Follow these steps to complete the final touches of your countertop replacement project:
- If you have a new sink, place it into the designated sink opening on the countertop. Ensure that the sink is level and properly aligned.
- Apply a bead of silicone caulk around the edges of the sink to create a watertight seal. Smooth out the caulk using a caulk smoothing tool or your finger.
- If you are reusing an existing sink, clean it thoroughly before reinstalling it. Apply a fresh coating of silicone caulk around the edges to ensure a proper seal.
- Once the sink is in place, reconnect the plumbing. This includes attaching the drain pipes and connecting the supply lines for hot and cold water.
- Ensure that all connections are tightly secured to prevent any leaks. If necessary, use plumber’s tape or thread sealant to seal the threaded connections.
- Turn on the water supply and check for any leaks. Tighten any loose connections if needed.
- Test the functionality of the sink by running water and checking the drainage. Make any adjustments or repairs as necessary.
Installing the sink and reconnecting the plumbing is an important step to complete the functionality of your new countertops. Take your time during this process to ensure a proper and leak-free installation.
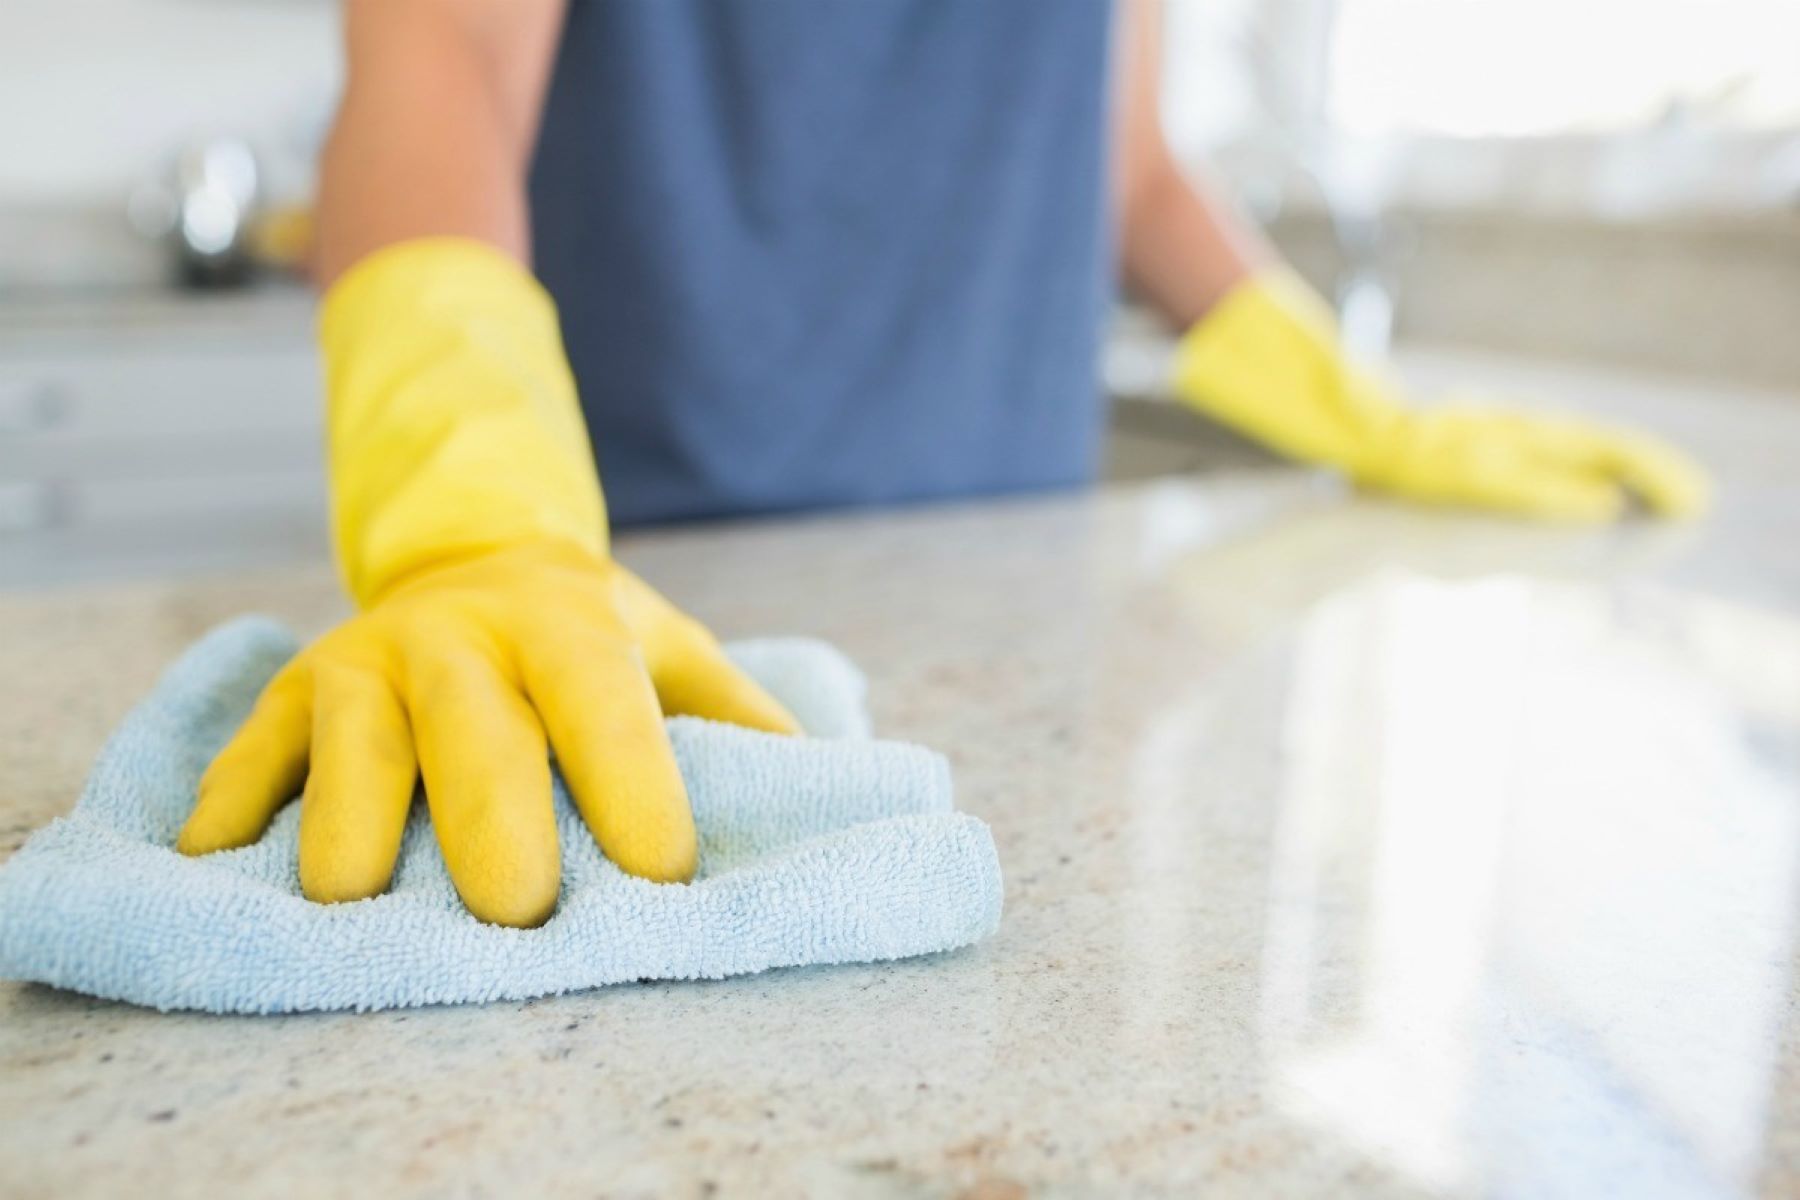
Step 8: Clean and Maintain the New Countertops
Congratulations! You have successfully installed your new countertops. To keep them looking their best for years to come, it’s important to implement a regular cleaning and maintenance routine. Follow these steps to clean and maintain your new countertops:
- For laminate countertops, use a mild household cleaner or a mixture of warm water and dish soap to clean the surface. Avoid abrasive cleaners or scrub brushes that may damage the laminate.
- If you have solid surface countertops, clean them with a non-abrasive cleaner specifically designed for solid surface materials. Wipe the surface with a soft cloth or sponge to remove any stains or spills.
- For granite or natural stone countertops, use a pH-neutral stone cleaner and a soft cloth to clean the surface. Avoid harsh chemicals or abrasive cleaners that can dull or etch the stone.
- Regularly wipe down the countertops after each use to remove any spills or crumbs. This will prevent stains and bacteria buildup.
- Use trivets or hot pads to protect the countertop surface from hot pans or pots. Avoid placing hot objects directly on the countertop to prevent heat damage.
- Avoid cutting directly on the countertop surface to prevent scratches. Use cutting boards instead.
- Periodically reapply a protective sealer to granite or other natural stone countertops. This will help maintain their shine and protect them from stains.
- Inspect the countertops regularly for any signs of damage or wear. Attend to any repairs or maintenance needs promptly to prevent further issues.
By following a regular cleaning and maintenance routine, you can prolong the life and beauty of your new countertops. Remember, each type of countertop material may have specific cleaning requirements, so refer to the manufacturer’s recommendations for the best care practices.
Read more: How To Paint Formica Countertops
Conclusion
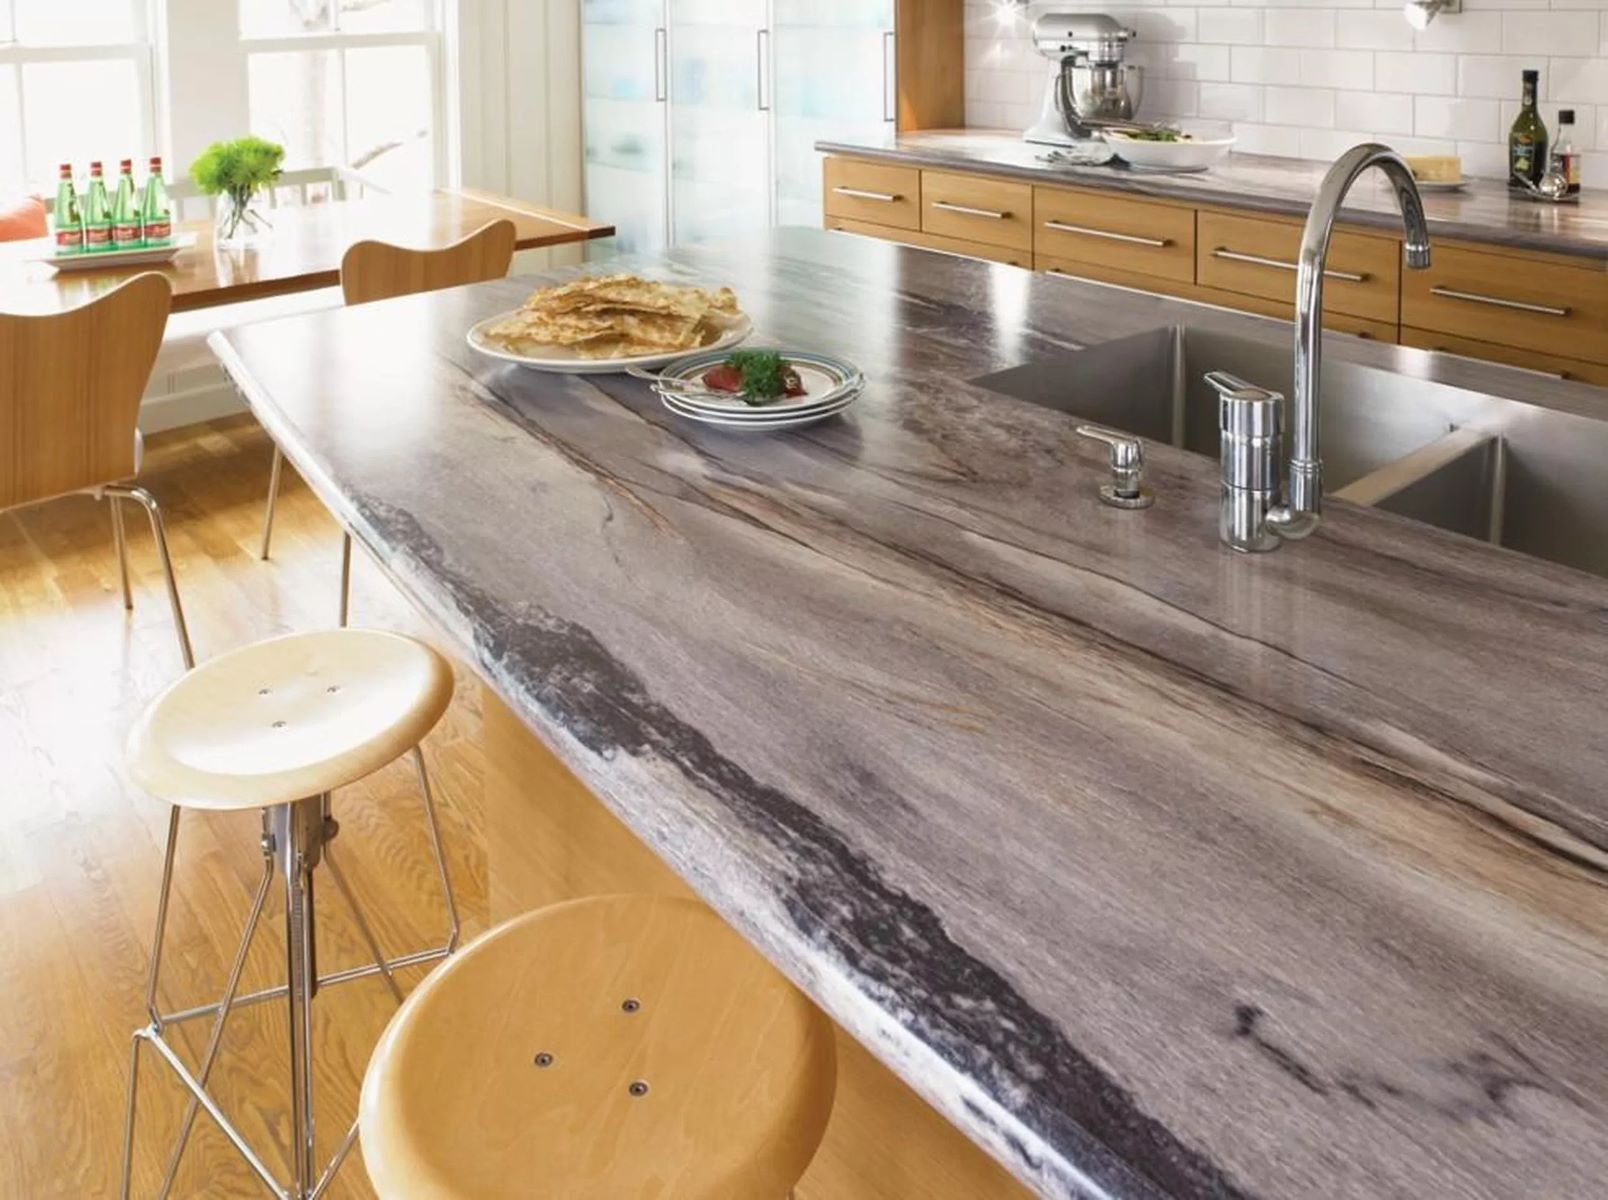
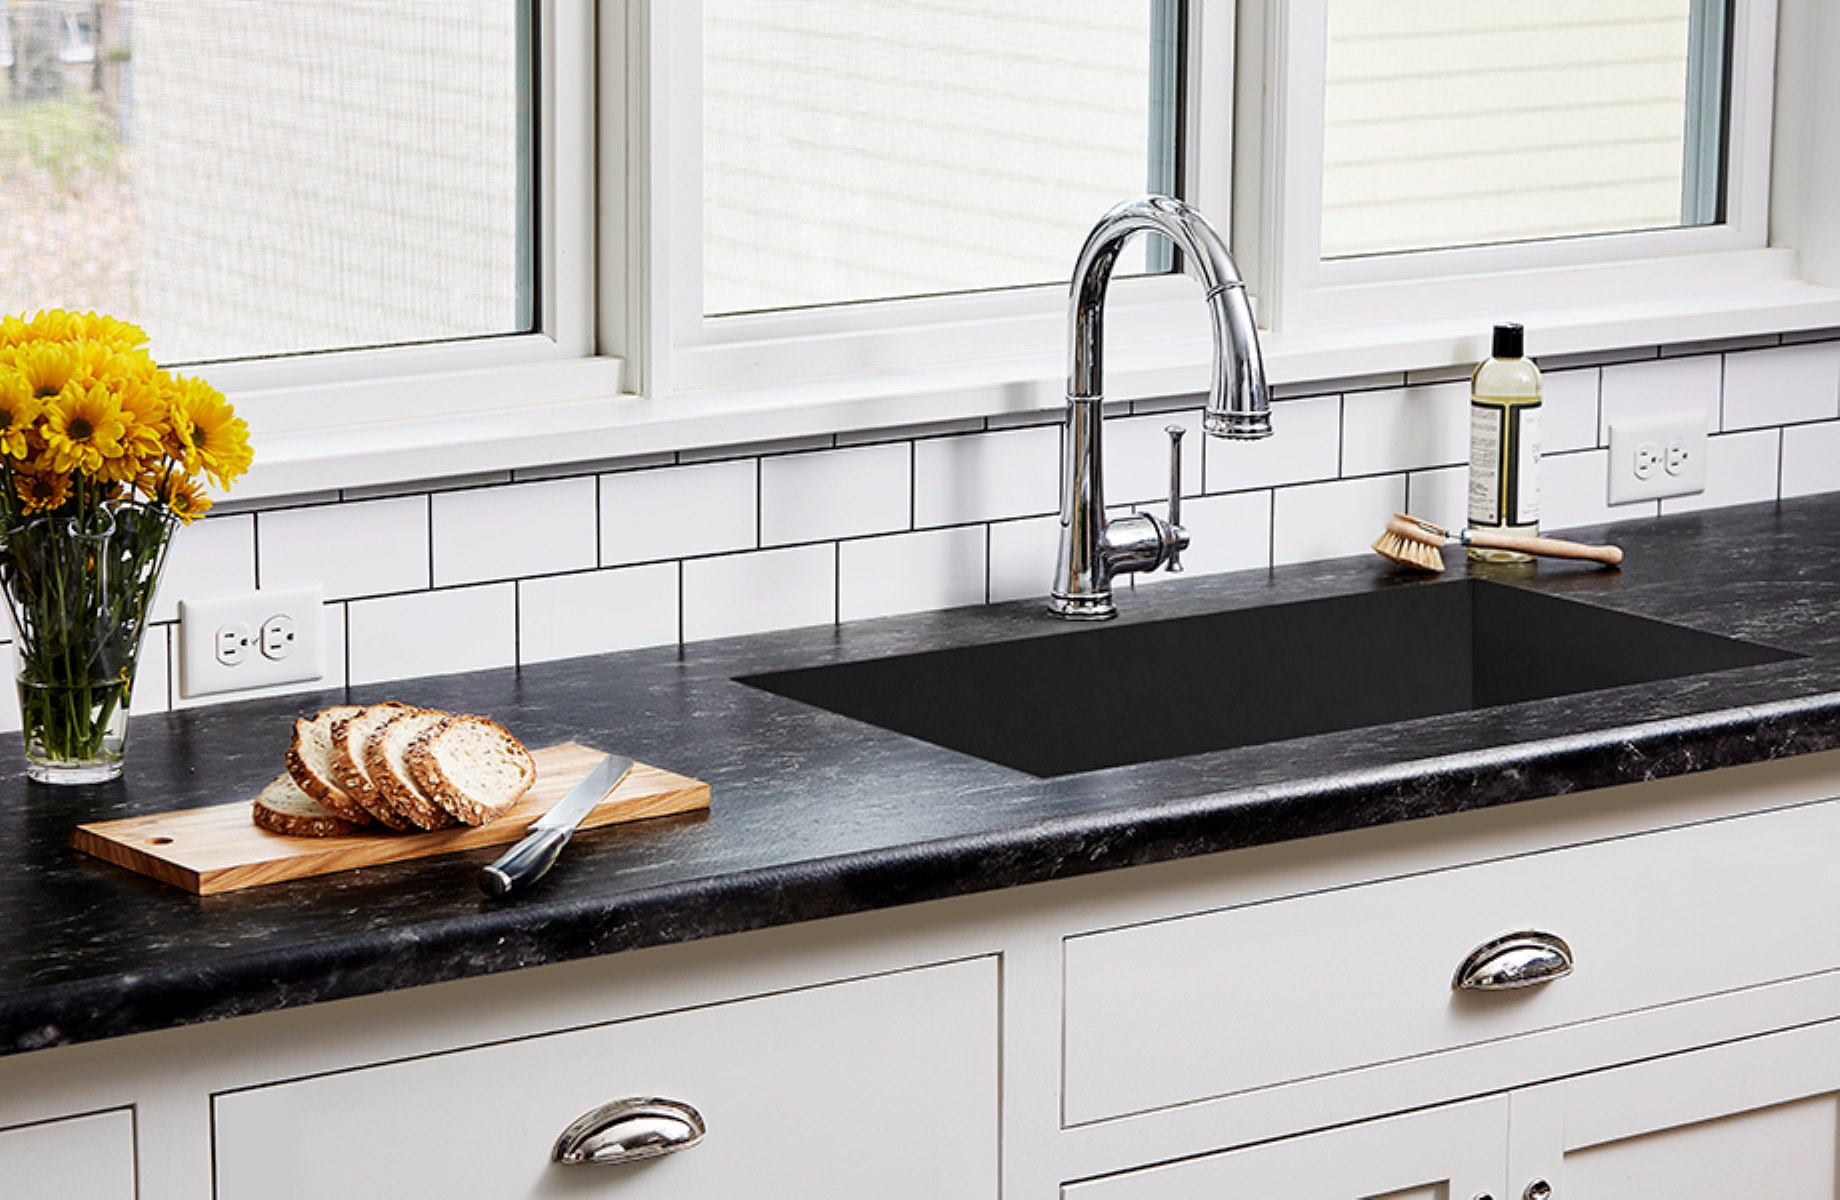
Replacing formica countertops can breathe new life into your kitchen or bathroom, giving it a fresh and updated appearance. By following the step-by-step process outlined in this article, you can successfully replace your formica countertops and achieve professional-looking results. Remember to remove the existing countertops carefully, prepare the substrate, measure and cut the new countertop material accurately, and install it securely using adhesive.
Once the new countertops are in place, take the time to trim and finish the edges for a polished look. If applicable, install the sink and reconnect the plumbing to complete the functionality. Finally, establish a regular cleaning and maintenance routine to keep your new countertops looking their best.
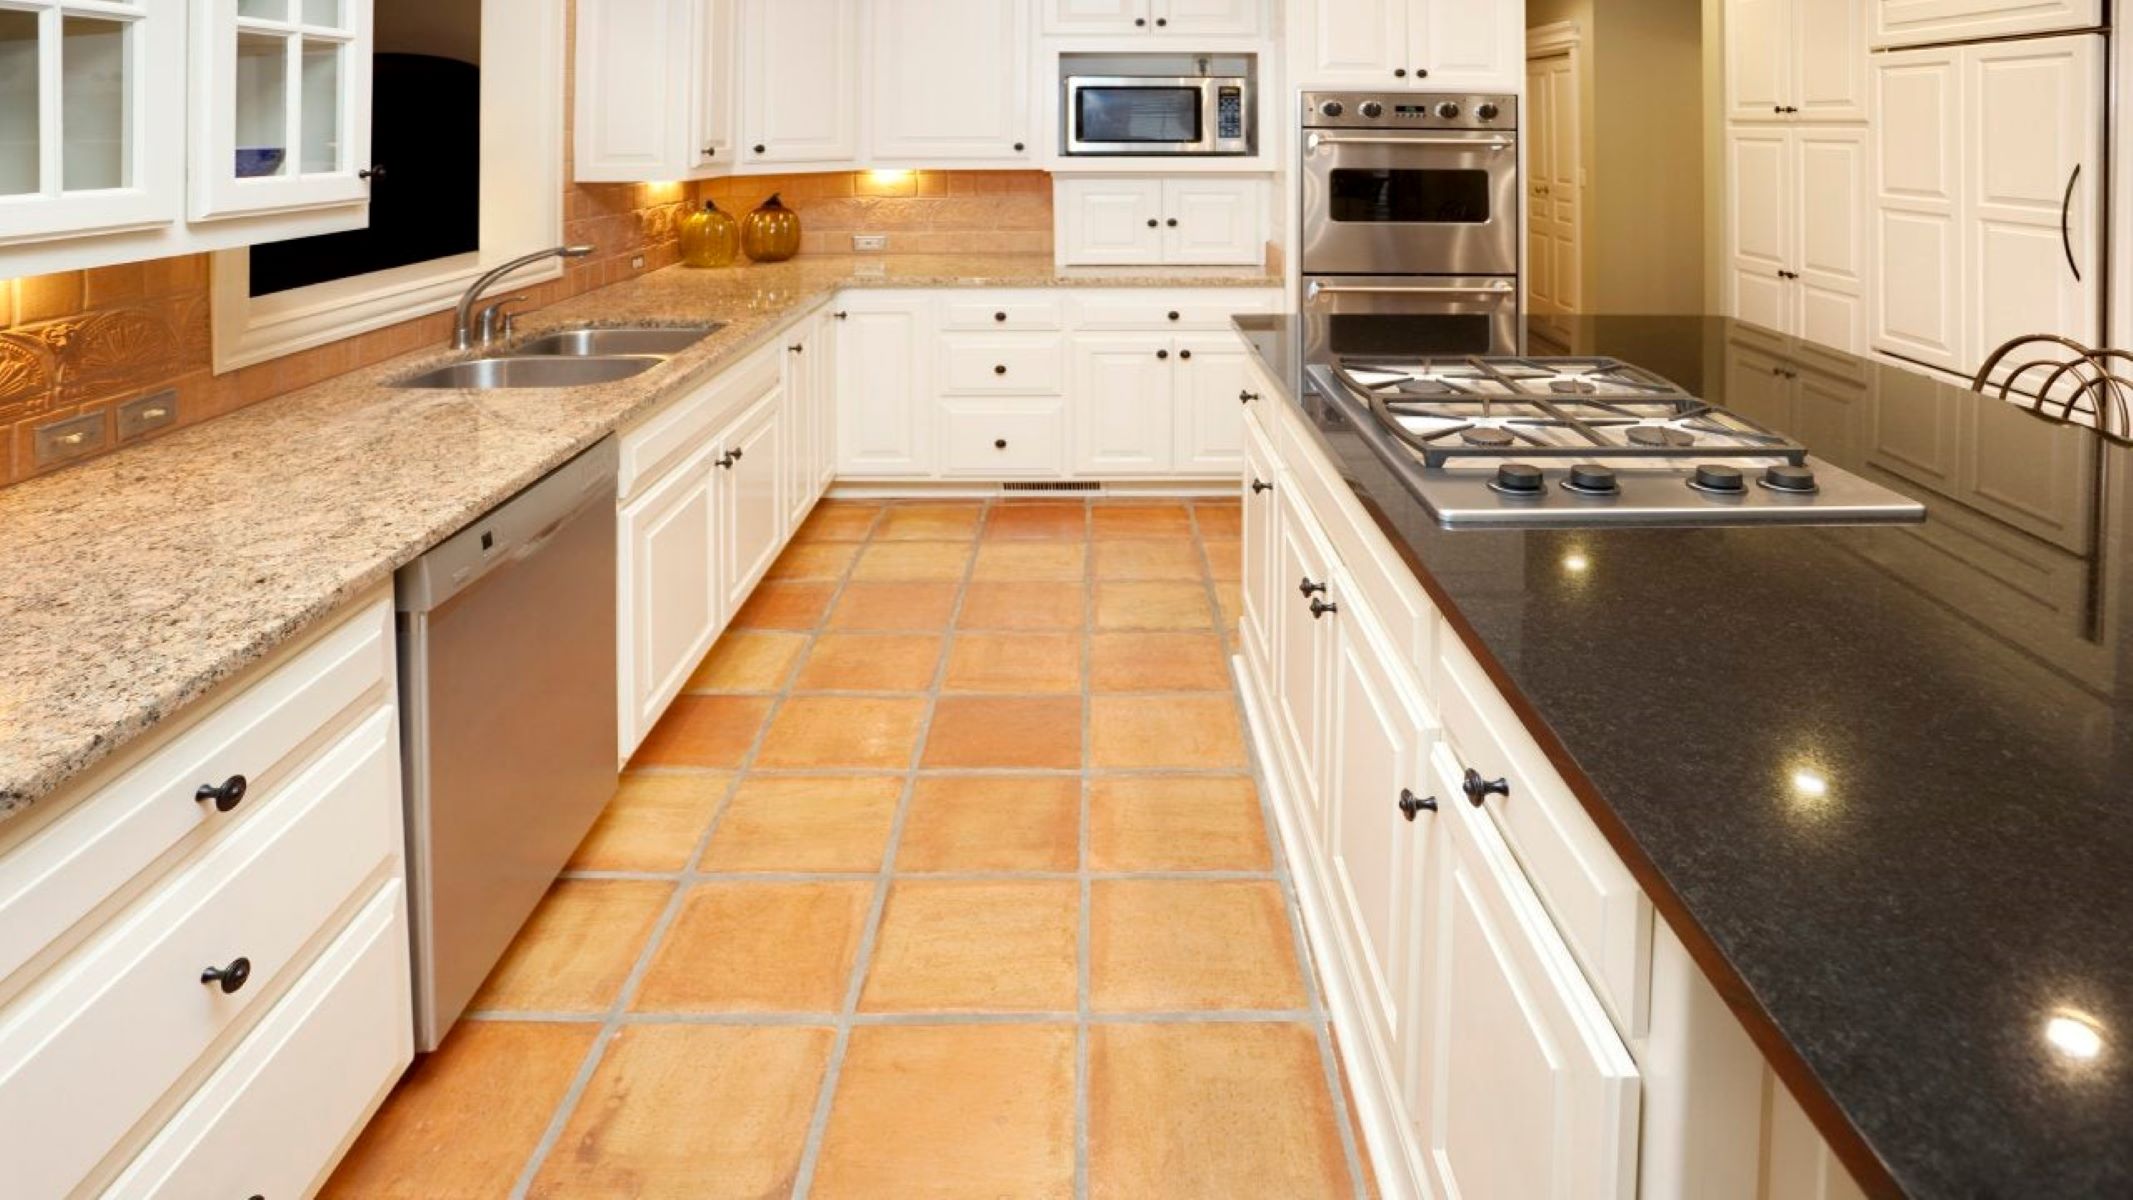
Whether you choose laminate, solid surface, or granite, each countertop material has its own unique characteristics and care requirements. Make sure to follow the manufacturer’s recommendations for proper cleaning, maintenance, and sealing, if necessary.
With these tips and steps in mind, you are well-equipped to tackle your formica countertop replacement project. Get started today and transform your space with beautiful and durable new countertops that will stand the test of time.
Just finished updating your countertops and hungry for more home projects? Dive into our guide on DIY home improvement for practical advice on tackling your next big challenge. Curious about different materials? Our detailed review on laminate countertops provides insights into durability, style, and maintenance. For those considering a bigger transformation, check out the scoop on the best hardwood floors for home renovation, ensuring your space looks fabulous for years to come.
Frequently Asked Questions about How To Replace Formica Countertops
Was this page helpful?
At Storables.com, we guarantee accurate and reliable information. Our content, validated by Expert Board Contributors, is crafted following stringent Editorial Policies. We're committed to providing you with well-researched, expert-backed insights for all your informational needs.


0 thoughts on “How To Replace Formica Countertops”