Articles
How To Build Formica Countertops
Modified: December 7, 2023
Learn how to build beautiful Formica countertops with our informative articles. Gain expert tips and tricks for a successful DIY project.
(Many of the links in this article redirect to a specific reviewed product. Your purchase of these products through affiliate links helps to generate commission for Storables.com, at no extra cost. Learn more)
Introduction
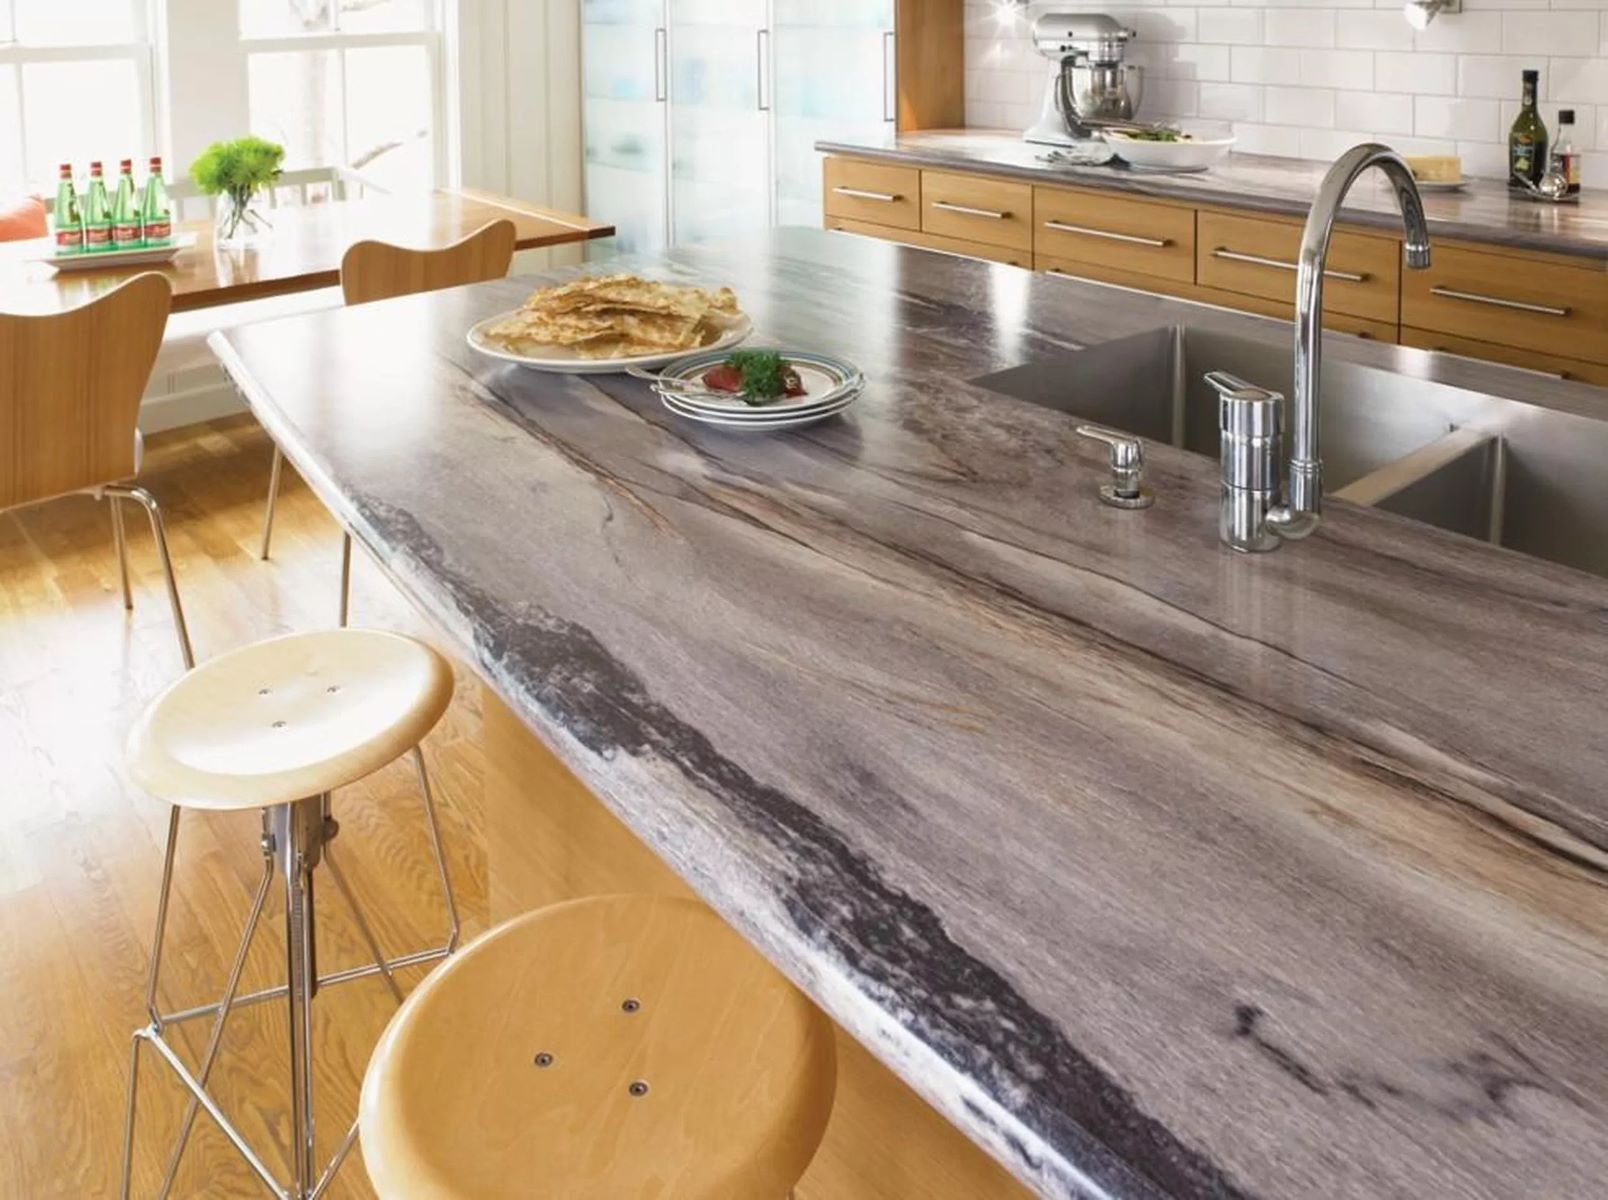
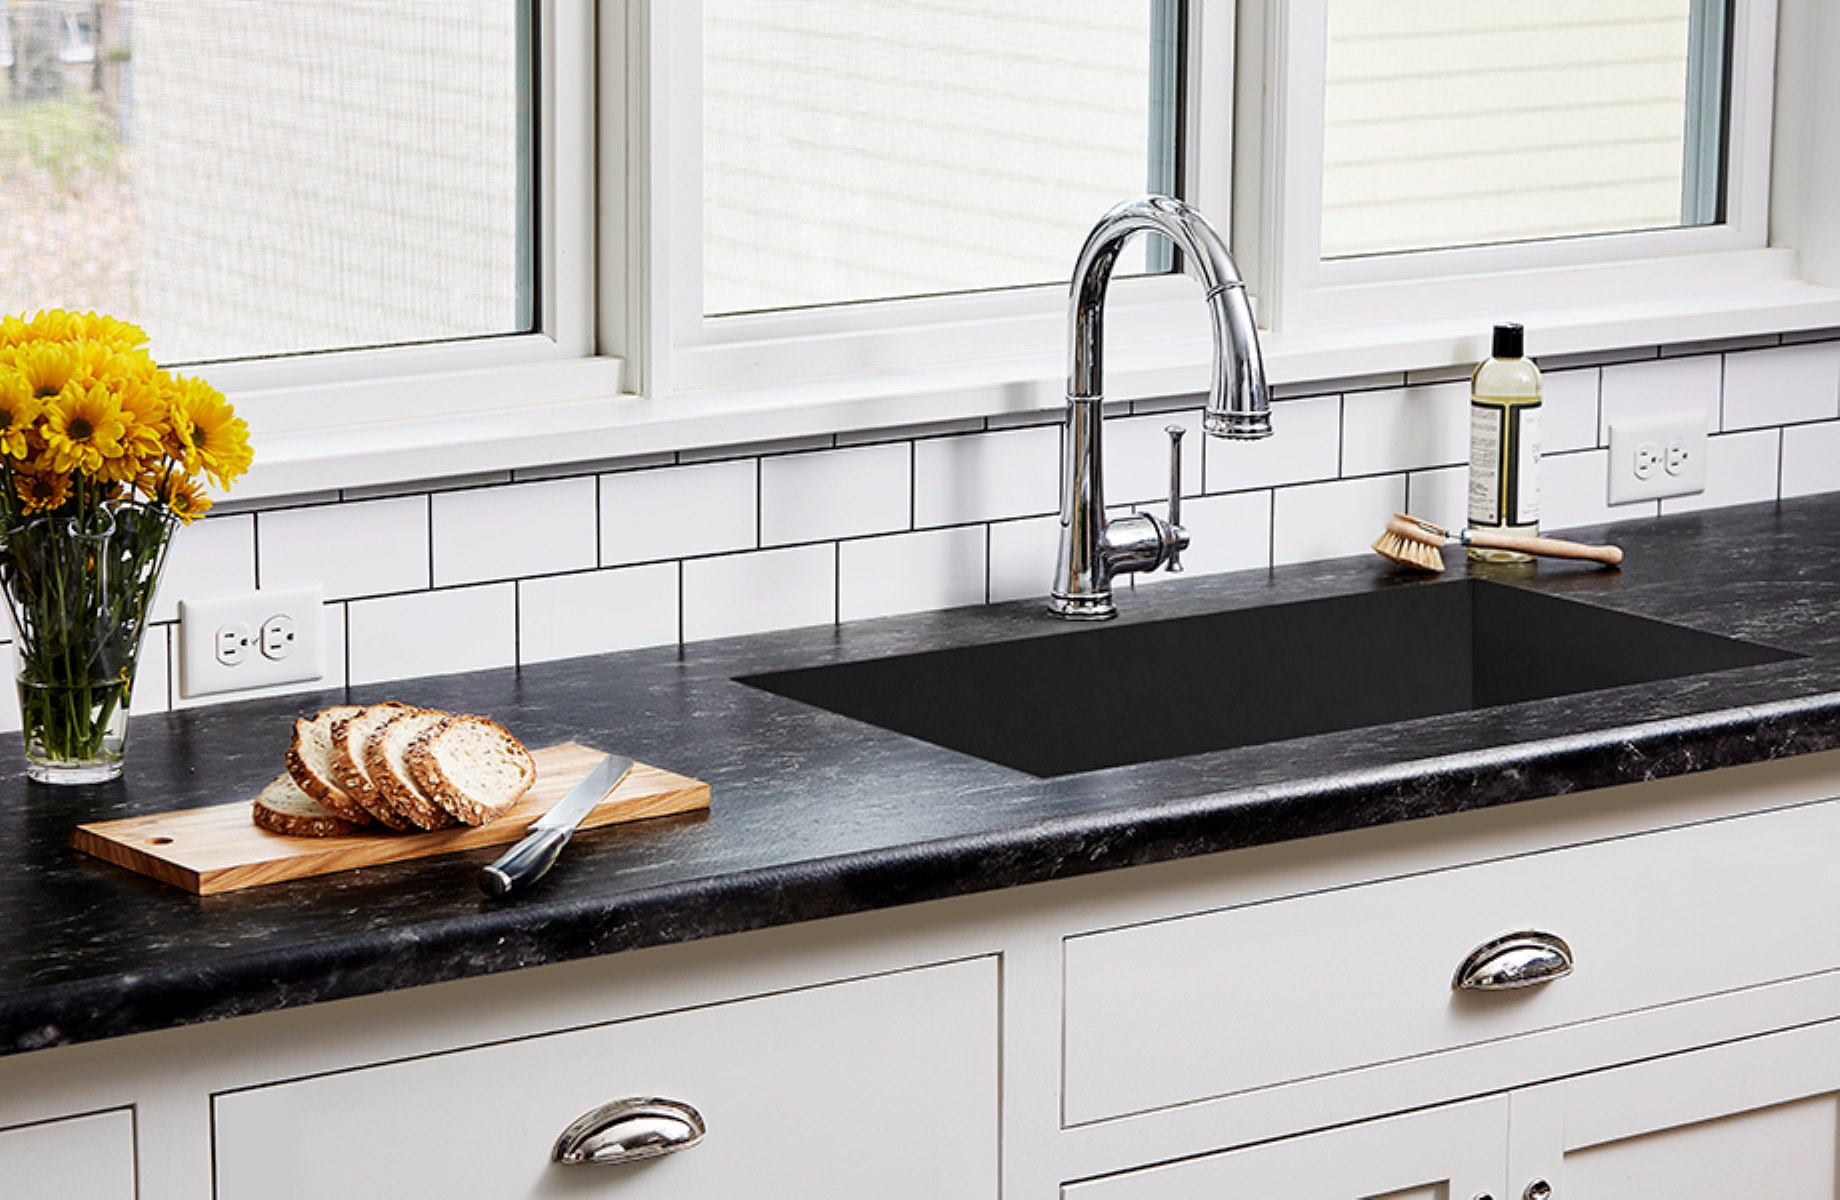
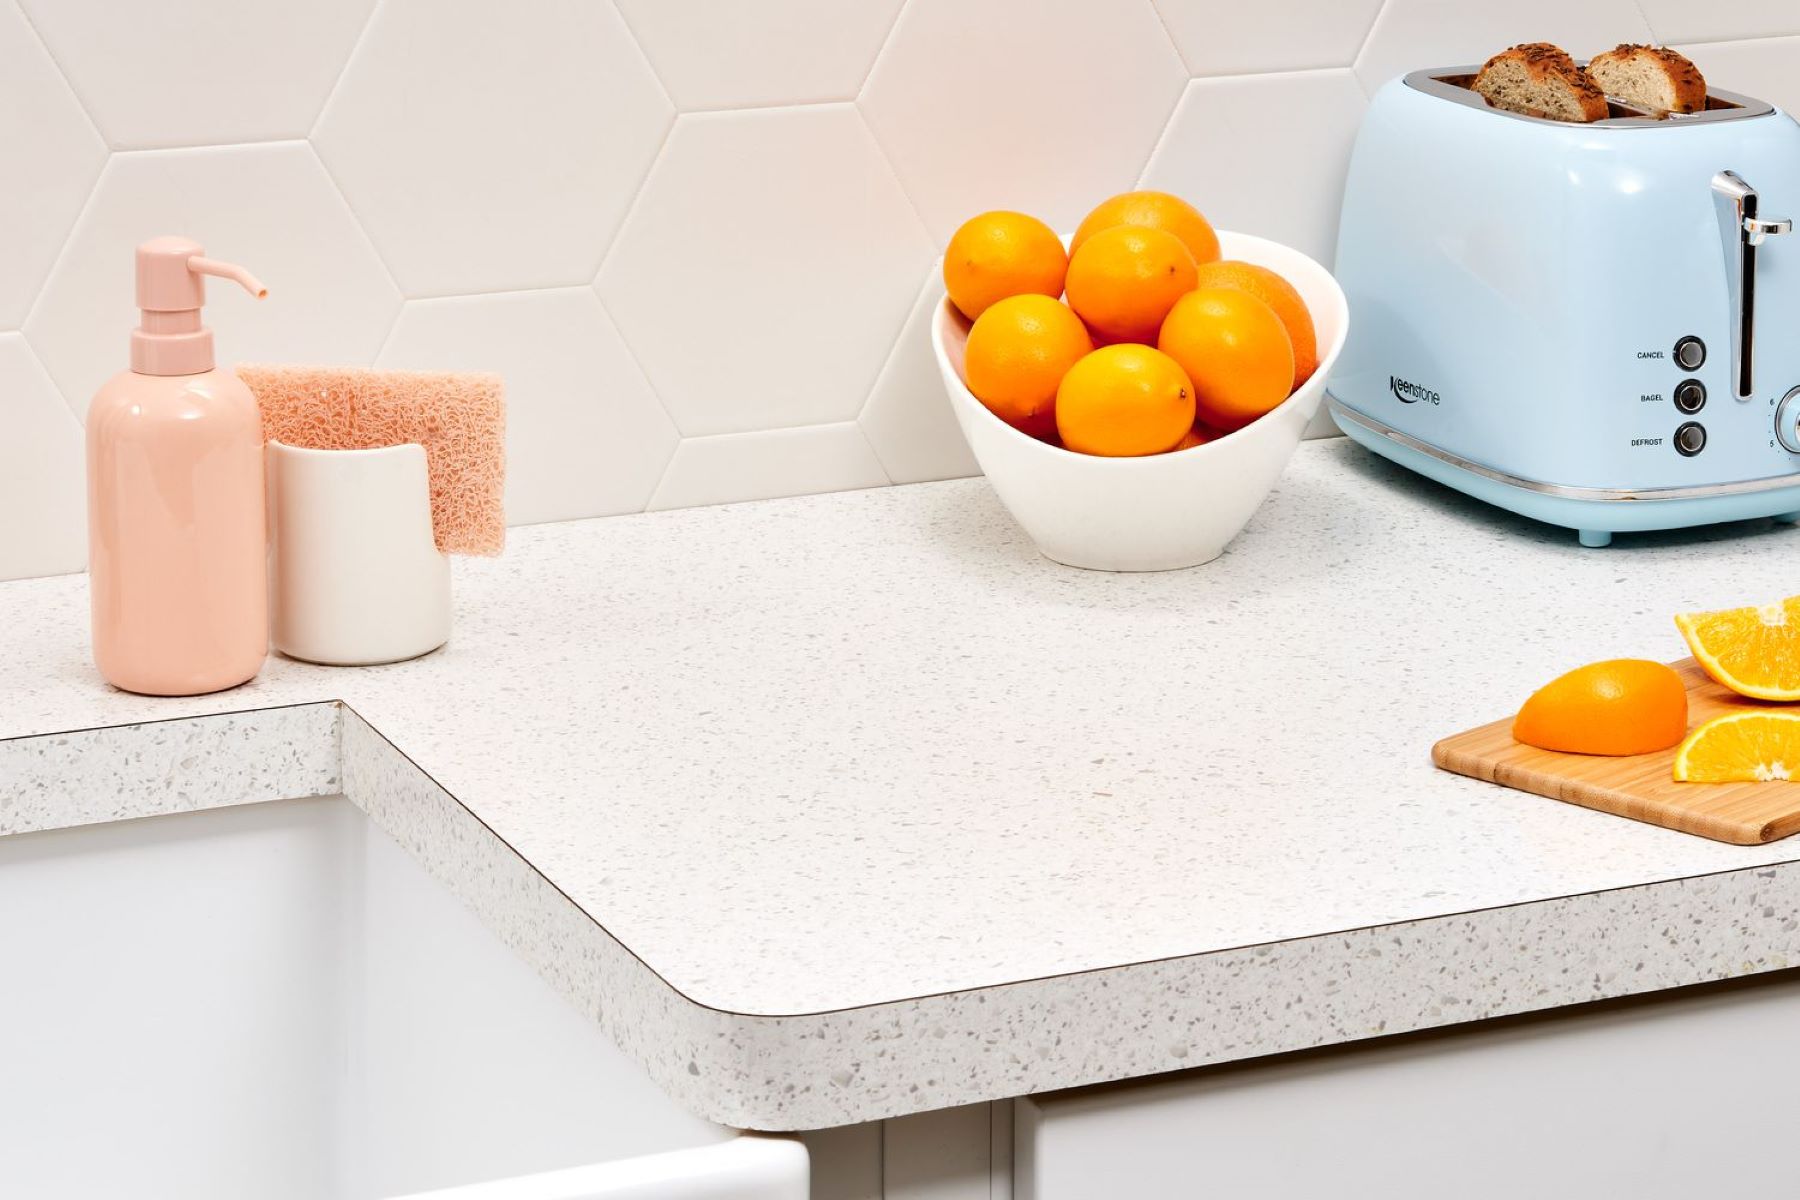
Formica countertops are a popular choice for homeowners looking to upgrade their kitchen surfaces. Formica is a durable and affordable material that comes in a wide range of colors and patterns, making it easy to find the perfect style to complement any kitchen design. Building Formica countertops can be a DIY project that adds beauty and functionality to your kitchen space.
In this article, we will guide you through the step-by-step process of building Formica countertops. From measuring and planning to applying adhesive and trimming the excess, we will cover everything you need to know to successfully complete this project.
Before we get started, let’s quickly go over the materials you will need for this project.
Key Takeaways:
- Building Formica countertops is a DIY project that requires careful planning, precise measurements, and attention to detail. From preparing the surface to applying adhesive and finishing the edges, each step contributes to achieving professional-looking results.
- By following the step-by-step process and using the right materials and tools, homeowners can create beautiful and functional Formica countertops that enhance their kitchen space. This cost-effective option allows for personalization and customization to match any kitchen design.
Read more: Where To Buy Formica Countertops
Materials Needed
Before you begin building Formica countertops, gather the following materials:
- Formica sheets – make sure to choose a color and pattern that matches your kitchen design
- Adhesive – look for a high-quality adhesive specifically designed for laminate countertops
- Utility knife – for cutting the Formica sheets
- Router – for trimming the excess Formica and creating a finished edge
- Sanding block – for smoothing out rough edges
- Edge banding – a strip of matching material used to cover the exposed edges of the countertops
- Clamps – for holding the Formica sheets in place while the adhesive sets
- Measuring tape – for accurately measuring the dimensions of your countertops
- Screwdriver – for removing and reinstalling any hardware on your existing countertops
- Pencil – for marking measurements and guidelines
- Rags – for wiping away excess adhesive and cleaning the countertops
It’s important to have all of these materials on hand before starting the project to ensure a smooth and efficient workflow.
Step 1: Measuring and Planning
The first step in building Formica countertops is to accurately measure and plan the dimensions of your countertops. Start by removing any existing countertops or fixtures that may be in place. Use a measuring tape to measure the length, width, and depth of your countertops.
Once you have the measurements, transfer them onto a sheet of paper or create a digital drawing of your countertops. This will serve as a guide when cutting the Formica sheets later on.
Take note of any corner angles or irregularities in your countertops. If you have any curved or angled sections, it may be helpful to create a template using cardboard or another flexible material to ensure a precise fit.
Consider the placement of sinks, stoves, and other fixtures that will be installed in the countertops. Measure and mark their locations on your drawing to ensure proper alignment when cutting and installing the Formica sheets.
Finally, think about the overhang you want for your countertops. The standard overhang is around 1 to 1.5 inches, but you can adjust it according to your preferences. Mark the desired overhang on your drawing as well.
With the measurements and plans in place, you are ready to move on to the next step: preparing the surface for the Formica sheets.
Step 2: Preparing the Surface
Before applying the Formica sheets, it’s crucial to prepare the surface of your countertops to ensure proper adhesion and a smooth, long-lasting finish.
Start by cleaning the surface thoroughly. Remove any dirt, grease, or residue using a mild detergent and water. Wipe down the countertops with a clean rag to ensure they are free from any debris. Allow the surface to dry completely before proceeding.
If your existing countertops have any loose or damaged areas, now is the time to repair them. Fill in any cracks or holes with a suitable filler, following the manufacturer’s instructions. Smooth out the repaired areas with sandpaper to create a level surface.
Next, roughen the surface of the countertops using sandpaper or a sanding block. This will help the adhesive bond more effectively to the surface. Sand in a circular motion, applying moderate pressure. Be sure to remove any dust or particles from the surface afterward.
If you have any edges or corners that are sharp or unfinished, use a router to round them off or create a finished edge. This will not only enhance the overall appearance of your countertops but also provide a safer and more comfortable surface.
Once the surface is prepared, clean it once again to remove any remaining dust or debris. You are now ready to move on to the next step: cutting the Formica sheets to size.
Step 3: Cutting the Formica Sheets
Now that the surface is prepared, it’s time to cut the Formica sheets to fit your countertops. Ensure that you have the measurements and plans from Step 1 readily available.
Start by laying out the Formica sheets on a clean and flat work surface, with the decorative side facing down. Using a pencil, mark the measurements of your countertops onto the back of the Formica sheets, making precise lines that match your plans.
Before cutting the sheets, it’s important to protect the decorative surface. Apply masking tape along the lines you’ve marked to prevent chipping or splintering during the cutting process.
Using a sharp utility knife, carefully cut along the marked lines. Apply firm, even pressure to ensure a clean and precise cut. Take your time and make multiple passes if needed, rather than rushing and risking a jagged or uneven cut.
If you have curved or angled sections in your countertops, use a jigsaw or a router with a flush trim bit to make those cuts. Ensure that you use the appropriate tools and take all necessary safety precautions when working with power tools.
Once the Formica sheets are cut to size, remove the masking tape and inspect the edges for any roughness or imperfections. Use a sanding block or sandpaper to smooth out any uneven edges, creating a seamless transition between the Formica sheets.
With the Formica sheets properly cut and prepared, you are ready to move on to the next step: applying adhesive to the surface of the countertops.
Read more: How To Repair Formica Countertops
Step 4: Applying Adhesive
Now that your Formica sheets are cut to size, it’s time to apply adhesive to the surface of the countertops. The adhesive ensures a strong bond between the Formica and the countertop surface.
Start by selecting a high-quality adhesive suitable for laminate countertops. Follow the manufacturer’s instructions regarding the application method, coverage, and drying time.
Before applying the adhesive, ensure that the countertop surface is clean and free from any dust or debris. Use a clean rag to wipe away any remaining particles.
Using a paintbrush or a roller, apply a thin and even layer of adhesive onto the entire surface of the countertops. Make sure to cover the edges and any exposed areas where the Formica sheets will be attached.
Depending on the type of adhesive you are using, you may need to wait for a specific drying time or for the adhesive to become tacky. Refer to the manufacturer’s instructions for the appropriate waiting period.
During this waiting period, it’s important to ensure that the adhesive does not dry out. Avoid direct exposure to sunlight or strong drafts that can accelerate the drying process.
Remember to work in manageable sections to ensure that the adhesive remains tacky during the attachment process. It’s best to start with one sheet at a time to prevent the adhesive from drying out before you have a chance to attach the Formica.
With the adhesive applied and ready for attachment, you are now ready to move on to the next step: attaching the Formica sheets to the countertops.
When building Formica countertops, make sure to use a high-quality adhesive specifically designed for laminate surfaces to ensure a strong and durable bond.
Step 5: Attaching the Formica Sheets
With the adhesive applied, it’s time to attach the Formica sheets to the surface of the countertops. This step requires precision and careful placement to ensure a seamless and professional-looking finish.
Gently lift the Formica sheet and carefully align it with the edges of the countertop. Start at one end and gradually lower the sheet onto the adhesive, applying even pressure to ensure proper adhesion.
As you lower the Formica sheet, use your hand or a clean cloth to smooth out any air bubbles or wrinkles that may appear. Work from the center outwards to ensure a uniform and smooth surface.
Once the Formica sheet is in place, use a roller or a clean wood block to firmly press down on the surface, ensuring strong contact between the Formica and the adhesive below. This will help to eliminate any remaining air bubbles and create a secure bond.
Repeat this process for each Formica sheet, working one sheet at a time to ensure accuracy and precision. Take your time and double-check the alignment before proceeding to the next sheet.
If necessary, use clamps to hold the Formica sheets in place while the adhesive sets. This will prevent any shifting or movement during the drying process.
Continue attaching the Formica sheets until you have covered the entire surface of the countertops. Make sure that the edges of the sheets are flush with the edges of the countertops for a seamless finish.
Allow the adhesive to cure according to the manufacturer’s instructions before moving on to the next step. This will ensure a strong and durable bond between the Formica and the countertops.
With the Formica sheets securely attached to the countertops, you are now ready to move on to the next step: trimming the excess Formica.
Step 6: Trimming the Excess Formica
With the Formica sheets attached to the countertops, it’s time to trim the excess material for a clean and professional-looking edge. Trimming the excess Formica will give your countertops a polished and finished appearance.
Start by removing any clamps or supports that were used during the adhesive drying process. Ensure that the Formica sheets are securely attached and the adhesive has fully cured.
Using a router with a flush trim bit, carefully trim the excess Formica along the edges of the countertops. Move the router in a smooth and even motion, following the contours of the countertop surface. Take your time and maintain a steady hand to achieve clean and straight cuts.
As you trim the excess Formica, ensure that the router bit is cutting through both the Formica sheet and the underlying substrate material. This will create a flush and seamless edge.
Alternatively, if you do not have access to a router, you can use a utility knife to score the excess Formica along the edges. Once scored, carefully snap off the excess by bending it away from the surface. Use a file or sandpaper to smooth out any rough or uneven edges.
After trimming the excess Formica, inspect the edges for any imperfections. Use sandpaper or a sanding block to smooth out any rough areas and create a uniform surface.
Take this opportunity to ensure that the edges of the Formica sheets are securely adhered to the countertops. If any sections are loose or have lifted during the trimming process, apply additional adhesive and press them back into place.
Once the edges are trimmed and smooth, you are ready to move on to the next step: applying the edge banding to cover the exposed edges of the countertops.
Step 7: Applying the Edge Banding
Applying edge banding is an important step in giving your Formica countertops a finished and polished look. Edge banding is a strip of matching material that covers the exposed edges of the countertops, creating a clean and seamless appearance.
Start by measuring the length of each exposed edge that needs edge banding. Cut the edge banding strips to size, leaving a slight overhang to be trimmed later. Ensure that the strips are long enough to cover the entire edge.
Apply a thin and even layer of adhesive to the back of the edge banding strips. A contact cement adhesive is commonly used for this purpose. Follow the manufacturer’s instructions for the specific adhesive you are using.
Align the edge banding strip with the edge of the countertop, making sure it is flush and evenly positioned. Apply firm pressure along the length of the strip to ensure a strong bond. Use a roller or a clean wood block to press down and remove any air bubbles.
Repeat this process for each exposed edge, working one strip at a time. Take your time to ensure accurate placement and alignment.
Once all of the edge banding strips are in place, it’s time to trim the excess. Use a router with a trim bit to carefully trim the overhanging edge banding. Move the router in a smooth and even motion, following the contour of the countertop edge.
If you do not have access to a router, you can use a utility knife or a file to trim and smooth the excess edge banding. Take care to make clean and precise cuts to create a seamless and professional finish.
After trimming, inspect the edges to ensure a clean and even appearance. Use sandpaper or a sanding block to smooth out any rough edges or imperfections.
With the edge banding applied and trimmed, your countertops are now starting to take shape. The next step is to sand and finish the surface for a smooth and beautiful final result.
Read more: How To Polish Formica Countertops
Step 8: Sanding and Finishing
The final step in building Formica countertops is sanding and finishing the surface. This step will ensure a smooth and polished look and provide added durability to your countertops.
Start by sanding the entire surface of the countertops using a fine-grit sandpaper or a sanding block. Sand in a circular motion, applying light pressure. This will help to smooth out any imperfections, such as small bumps or rough areas.
Pay extra attention to the edges and corners where the Formica sheets and the edge banding meet. Use a sanding block or folded sandpaper to carefully smooth these areas, ensuring a seamless transition between the two materials.
Once you have finished sanding, wipe away any dust or debris using a clean, damp cloth. Ensure that the surface is completely dry before moving on to the finishing step.
To provide added protection and enhance the appearance of your Formica countertops, apply a clear sealant or laminate finish. This will create a glossy finish and make the countertops more resistant to scratches and stains.
Follow the manufacturer’s instructions for the specific sealant or laminate finish you are using. Apply the product evenly to the entire surface of the countertops using a clean brush or roller. Allow the finish to dry completely before using your new Formica countertops.
Take care to protect the countertops from any heavy or sharp objects for at least 24 to 48 hours after applying the finish to ensure proper curing.
With the sanding and finishing complete, step back and admire your newly built Formica countertops. They are now ready to be installed and enjoyed in your kitchen for years to come.
Congratulations on successfully building your own Formica countertops and adding a touch of beauty and functionality to your kitchen space!
Conclusion
Building Formica countertops can be a rewarding DIY project that allows you to create beautiful and functional surfaces for your kitchen. From measuring and planning to cutting and attaching the Formica sheets, every step plays a crucial role in achieving professional-looking results.
By following the step-by-step process outlined in this article and using the right materials and tools, you can confidently build Formica countertops that perfectly match your kitchen design and meet your specific needs.
Remember to measure and plan carefully, ensuring accurate dimensions and accounting for any curved or angled sections. Prepare the surface by cleaning, repairing, and roughening it to promote proper adhesion.
Cutting the Formica sheets accurately and attaching them with the appropriate adhesive is key to achieving a seamless and secure bond. Trim the excess Formica and apply edge banding to cover the exposed edges, creating a polished and finished look.
Finish by sanding the surface to smooth out imperfections, and apply a clear sealant or laminate finish to enhance the appearance and protect your countertops from daily wear and tear.
Building Formica countertops is not only a cost-effective option but also a chance to personalize your kitchen. With a wide range of colors and patterns available, you can choose the perfect style to suit your taste and complement your kitchen’s overall aesthetic.
So, roll up your sleeves and embark on this DIY project. With patience, accuracy, and attention to detail, you can create stunning Formica countertops that will be the centerpiece of your kitchen for years to come.
Frequently Asked Questions about How To Build Formica Countertops
Was this page helpful?
At Storables.com, we guarantee accurate and reliable information. Our content, validated by Expert Board Contributors, is crafted following stringent Editorial Policies. We're committed to providing you with well-researched, expert-backed insights for all your informational needs.

0 thoughts on “How To Build Formica Countertops”