Articles
How To Repair Formica Countertops
Modified: January 6, 2024
Learn how to repair Formica countertops with our informative articles. Discover effective techniques and tips for restoring your Formica surfaces.
(Many of the links in this article redirect to a specific reviewed product. Your purchase of these products through affiliate links helps to generate commission for Storables.com, at no extra cost. Learn more)
Introduction
Formica countertops are a popular choice for their durability and affordability. However, over time, these countertops may develop scratches, burns, or other damages that can detract from their appearance. Fortunately, with the right tools and techniques, you can repair Formica countertops and restore them to their original condition.
In this article, we will guide you through the step-by-step process of repairing Formica countertops. Whether you have a small scratch or a larger area of damage, this article will provide you with the knowledge and instructions needed to effectively repair your countertops.
Before diving into the repair process, it’s important to note that Formica countertops come in various styles and colors. Therefore, it’s essential to find a repair method that matches the original design of your countertop to achieve a seamless finish.
Now, let’s get started with step one: gathering the necessary tools and materials.
Key Takeaways:
- Repairing Formica countertops is a manageable task with the right tools and techniques. Thorough cleaning, precise application of repair paste, and protective finish application are key to achieving a seamless and durable repair.
- Regular maintenance and preventive measures, such as using cutting boards and gentle cleaners, can help preserve the repaired Formica countertop’s appearance and extend its longevity. Following the manufacturer’s recommendations is essential for proper care.
Read more: What Are Formica Countertops
Step 1: Gather the necessary tools and materials
Before you begin the repair process, it’s crucial to gather all the essential tools and materials. Having everything prepared in advance will help you work efficiently and ensure a smooth repair. Here are the tools and materials you will need:
- Utility knife or razor blade: This will be used to clean and prepare the damaged area.
- Piece of sandpaper: Choose a fine-grit sandpaper, such as 220-grit, for smoothing the repaired surface.
- Putty knife: You will need a putty knife to apply the repair paste to the damaged area.
- Clean cloth or sponge: Use this to clean the countertop before and after the repair.
- Formica repair paste: Look for a repair paste specifically designed for Formica countertops. This paste will help fill in the damaged area and create a smooth surface.
- Protective finish: Depending on the type of Formica countertop you have, you may need a specific protective finish to apply after the repair. This will help protect the repaired area from future damage.
Make sure you have all these tools and materials readily available before starting the repair. This will save you time and ensure a more successful outcome.
Now that you’ve gathered the necessary tools, let’s move on to step two: cleaning the damaged area.
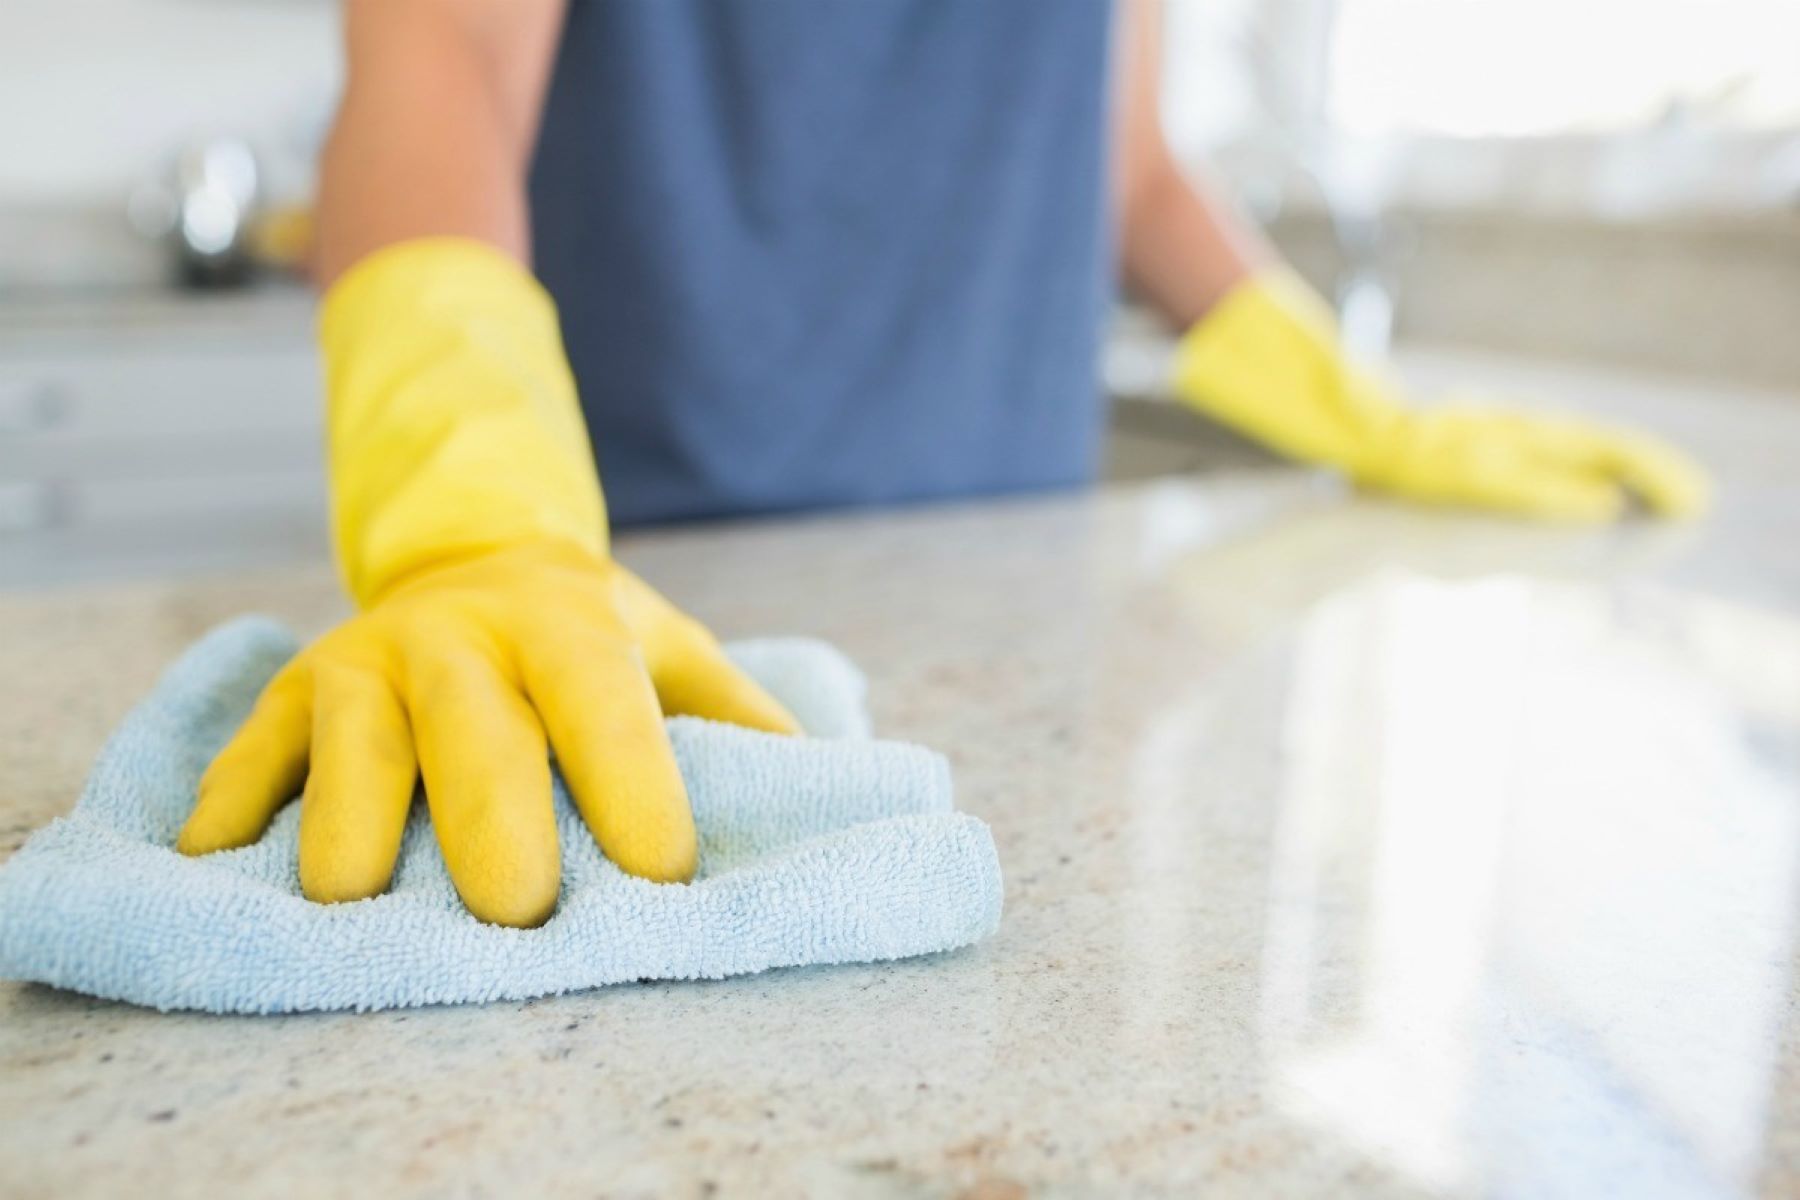
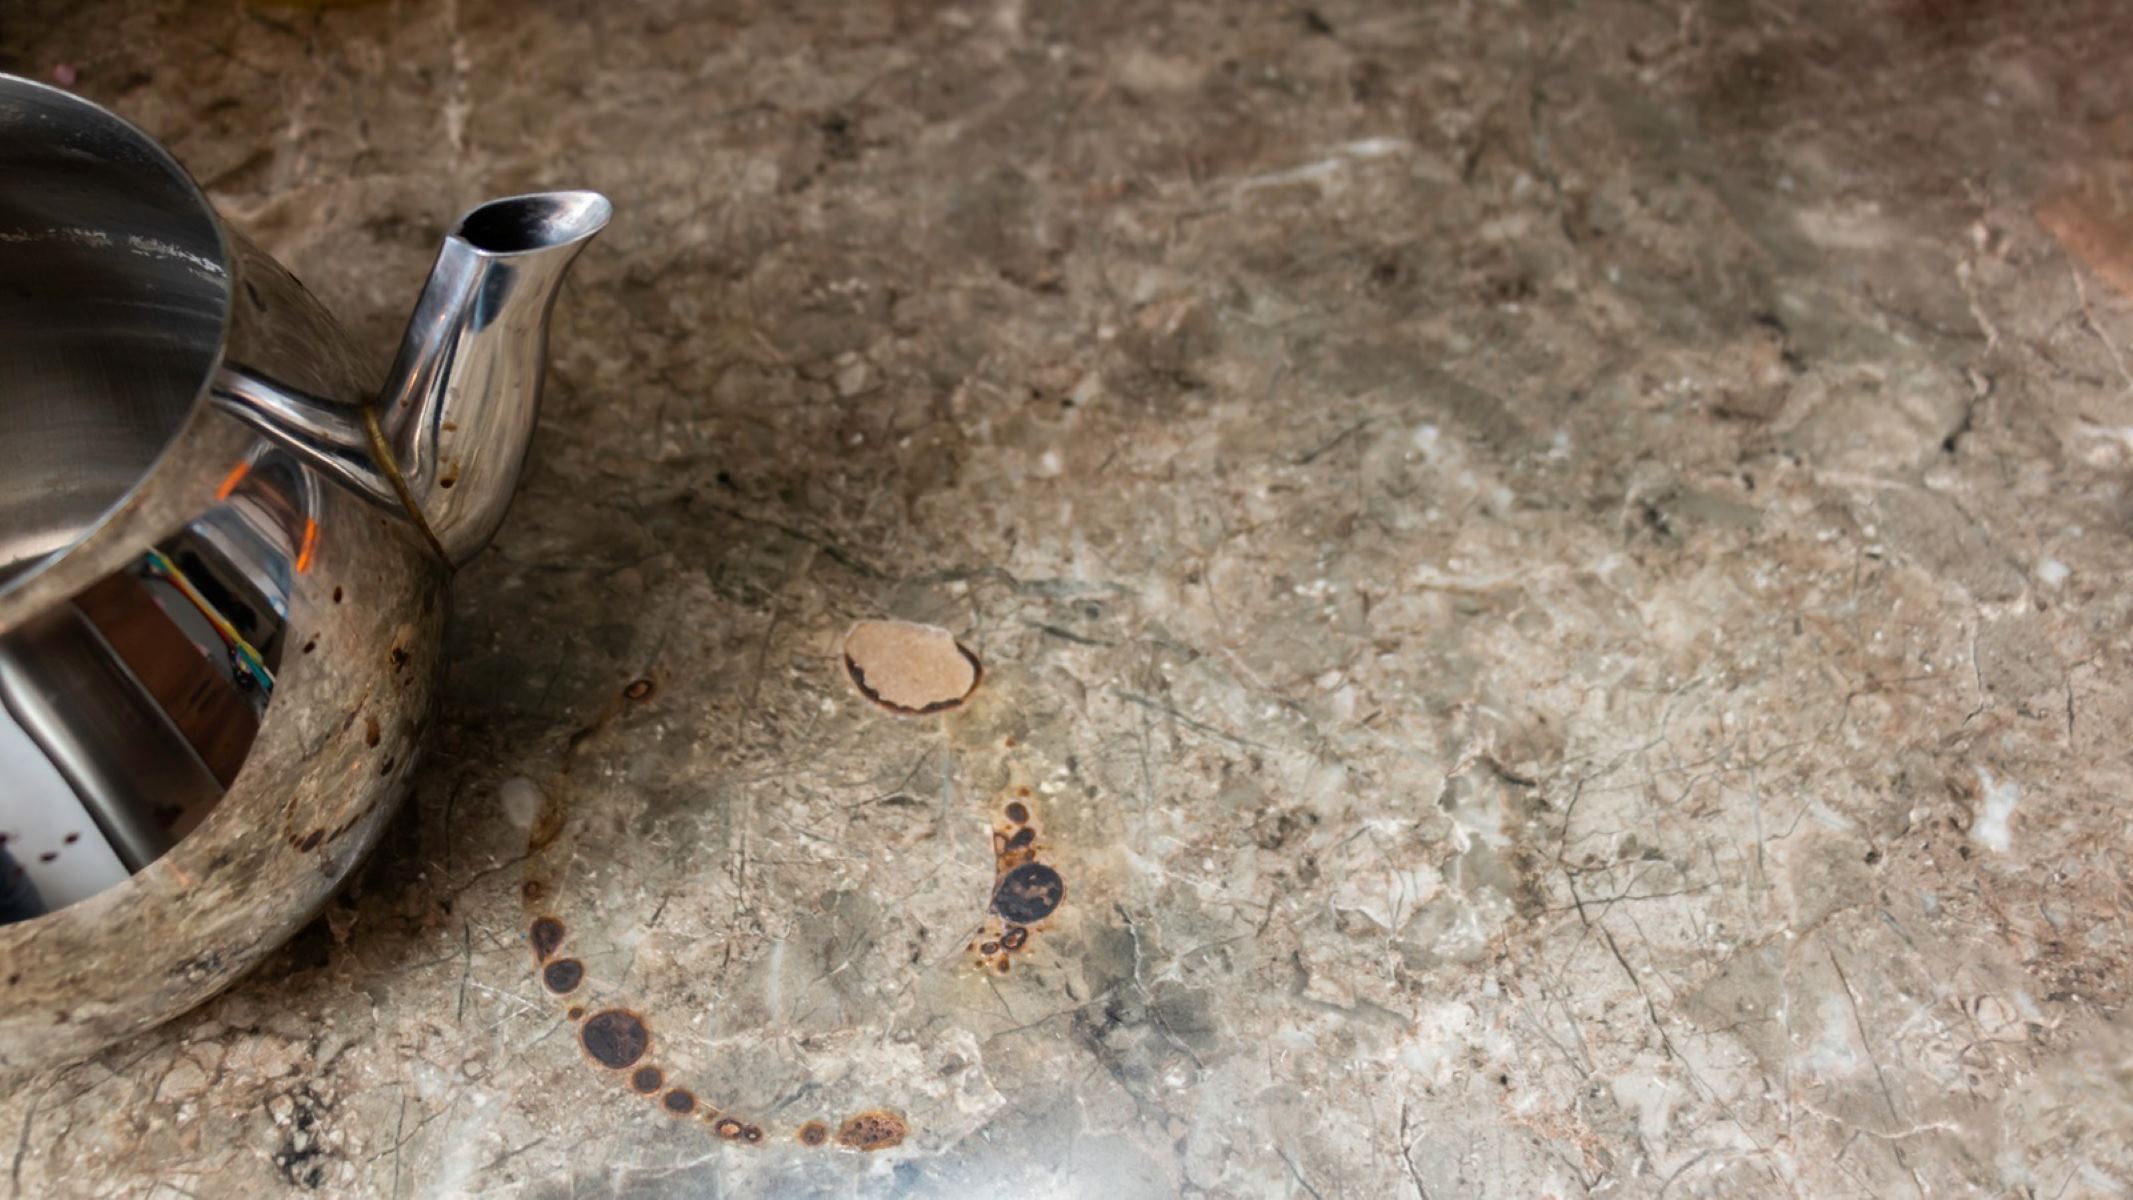
Step 2: Clean the damaged area
Before you can begin the repair process, it’s important to thoroughly clean the damaged area of your Formica countertop. This will ensure that the repair paste adheres properly and creates a seamless finish. Here’s how to clean the damaged area:
- Start by removing any loose debris or dirt from the damaged area. You can use a soft cloth or a sponge to gently wipe away any loose particles.
- If there are any sticky substances, such as food residue or adhesive, on the damaged area, you can use a mild household cleaner or a solution of warm water and dish soap to remove it. Dampen a clean cloth or sponge with the cleaning solution and gently scrub the area.
- If there are any stubborn stains or residue that won’t come off with a basic cleaner, you can try using a non-abrasive cleaner specifically formulated for Formica surfaces. Follow the instructions on the cleaner and use a soft cloth or sponge to apply and gently scrub the stained area.
- Once you have thoroughly cleaned the damaged area, rinse it with clean water to remove any residue from the cleaning products.
- Dry the area completely using a clean and dry cloth. Ensure that there is no moisture left on the surface before moving on to the next step.
By cleaning the damaged area before the repair, you will remove any dirt, grime, or residue that could hinder the effectiveness of the repair paste. This will allow the repair to bond properly and ensure a successful outcome.
Now that you’ve cleaned the damaged area, it’s time to move on to step three: preparing the repair paste.
Step 3: Prepare the repair paste
Once you have cleaned the damaged area of your Formica countertop, it’s time to prepare the repair paste. The repair paste will help fill in the damaged area and create a smooth, even surface. Here’s how to prepare the repair paste:
- Start by reading the instructions on the repair paste package. Different repair pastes may have slightly different preparation methods, so it’s essential to follow the manufacturer’s guidelines.
- If the repair paste comes in multiple components, such as a base and catalyst, you will need to mix them together according to the instructions. Use a clean container and a mixing tool, such as a putty knife or a spatula, to ensure thorough mixing.
- Some repair pastes may require the addition of a small amount of water to achieve the desired consistency. Again, refer to the instructions on the package to determine if water is needed, and if so, the appropriate amount.
- Mix the repair paste until it is smooth and free of any lumps or clumps. Make sure all the components are well blended.
- Allow the repair paste to sit for a few minutes to activate or thicken, if necessary, as per the instructions provided.
It’s important to follow the instructions on the repair paste package to ensure that the paste is prepared correctly. This will ensure that it sets and hardens properly, resulting in a durable and long-lasting repair.
Now that you have prepared the repair paste, you are ready to move on to step four: applying the repair paste to the damaged area.
Step 4: Apply the repair paste to the damaged area
Now that you have prepared the repair paste, it’s time to apply it to the damaged area of your Formica countertop. This process will fill in the damaged area, creating a smooth and even surface. Here’s how to apply the repair paste:
- Using a putty knife, apply a thin layer of the repair paste to the damaged area. Start by spreading the paste evenly over the damaged portion, ensuring that it covers the entire area.
- Smooth out the paste using the putty knife, ensuring an even and level surface. Feather the edges of the paste to blend it seamlessly with the surrounding countertop.
- If you’re repairing a deep scratch or a large area of damage, you may need to apply multiple layers of the repair paste. Allow each layer to dry completely before applying the next one, following the instructions on the repair paste package for the recommended drying time.
- Continue applying and smoothing the repair paste until the damaged area is fully filled and level with the rest of the countertop.
Be careful not to overapply the repair paste, as it can result in an uneven finish. It’s better to apply thin layers and build up as needed. Remember to follow the manufacturer’s instructions on drying time and application techniques for the best results.
Now that you’ve applied the repair paste to the damaged area, it’s time to move on to step five: removing excess paste and cleaning the countertop.
Read more: Where To Buy Formica Countertops
Step 5: Remove excess paste and clean the countertop
After applying the repair paste to the damaged area of your Formica countertop, it’s important to remove any excess paste and clean the countertop to achieve a smooth finish. Here’s how to remove excess paste and clean the countertop:
- Using a clean cloth or a putty knife, gently scrape off any excess repair paste that may have accumulated around the repaired area. Be careful not to disturb or damage the freshly applied paste.
- If the repair paste has dried and hardened, you may need to use a fine-grit sandpaper to carefully sand down any rough edges or bumps. This will help create a smooth surface that blends in with the rest of the countertop.
- Once you have removed the excess paste and smoothed any rough areas, use a damp cloth or sponge to clean the entire countertop. Wipe away any dust, debris, or residue left from the repair process.
- For stubborn residue, you can use a non-abrasive cleaner specifically formulated for Formica surfaces. Follow the instructions on the cleaner and use a soft cloth or sponge to apply and gently scrub the countertop.
- After cleaning the countertop, make sure to thoroughly rinse it with clean water to remove any remaining cleaner or residue. Then, dry the countertop with a clean and dry cloth.
Removing excess repair paste and cleaning the countertop will give you a smooth and polished finish. This step is crucial in achieving a seamless repair that blends in with the rest of the countertop.
Now that you have removed excess paste and cleaned the countertop, it’s time to move on to step six: allowing the paste to dry and set.
When repairing Formica countertops, use a high-quality adhesive specifically designed for laminate surfaces. Clean the area thoroughly before applying the adhesive to ensure a strong bond.
Step 6: Allow the paste to dry and set
After applying the repair paste to your Formica countertop and cleaning the surface, it’s important to allow the paste to dry and set properly. This step is crucial for achieving a durable and long-lasting repair. Here’s how to properly dry and set the repair paste:
- Refer to the instructions on the repair paste package for the recommended drying time. The drying time may vary depending on the brand and type of repair paste you are using.
- During the drying process, it’s essential to avoid placing any items on the repaired area or applying pressure to it. This will prevent any potential damage or disruption to the repair.
- Ensure that the repaired area is in a well-ventilated space to allow for proper drying. You may consider using fans or opening windows to facilitate airflow and expedite the drying process.
- While waiting for the repair paste to dry, it’s essential to avoid any activities that may introduce moisture or cause damage to the repaired area. This includes avoiding contact with water, excessive heat, or sharp objects.
- Depending on the type of repair paste used, it may take anywhere from a few hours to a full day for the paste to fully dry and set. It’s crucial to be patient and allow sufficient drying time to achieve optimal results.
Properly allowing the repair paste to dry and set will ensure that it bonds effectively and creates a strong, seamless repair. Rushing this step can compromise the quality and longevity of the repair.
Now that you have allowed the repair paste to dry and set, it’s time to move on to step seven: sanding and smoothing the repaired area.
Step 7: Sand and smoothen the repaired area
After the repair paste has dried and set on your Formica countertop, the next step is to sand and smoothen the repaired area. This process will ensure that the repaired area blends in seamlessly with the rest of the countertop. Here’s how to sand and smoothen the repaired area:
- Start by gently sanding the repaired area using a fine-grit sandpaper (such as 220-grit). Use light, circular motions to sand the area, being careful not to apply too much pressure.
- The goal is to create a smooth and even surface that matches the texture of the surrounding countertop. Continue sanding until any rough edges, bumps, or unevenness are eliminated.
- Periodically wipe away the dust generated from sanding with a clean cloth or sponge. This will help you assess the progress and avoid any debris interfering with the sanding process.
- Once you have achieved a smooth and even surface, switch to a finer-grit sandpaper (such as 400-grit) to further refine the repaired area. This step will help blend the repaired section seamlessly with the rest of the countertop.
- After sanding, wipe down the countertop with a damp cloth or sponge to remove any remaining dust or debris. Then, dry it thoroughly with a clean, dry cloth.
Taking the time to sand and smoothen the repaired area will ensure that it mimics the texture and appearance of the rest of the countertop. This step is crucial in achieving a seamless repair that blends in seamlessly.
Now that you have sanded and smoothened the repaired area, it’s time to move on to step eight: applying a coat of protective finish.
Step 8: Apply a coat of protective finish
After sanding and smoothening the repaired area of your Formica countertop, the next step is to apply a protective finish. This will help protect the repaired section from future damage and ensure its longevity. Here’s how to apply a coat of protective finish:
- Select a protective finish that is compatible with Formica countertops. There are various options available, such as polyurethane, laminate sealant, or clear epoxy resin. Choose a finish that matches the desired look and level of protection you want to achieve.
- Read and follow the manufacturer’s instructions for the protective finish carefully. Each finish may have specific application instructions and drying times.
- Using a clean brush or roller, apply a thin and even coat of the protective finish to the entire countertop, including the repaired area. Ensure that you cover all surfaces evenly and avoid excessive application.
- Allow the protective finish to dry according to the manufacturer’s instructions. This may involve leaving the countertop undisturbed for a specific period.
- If multiple coats of protective finish are recommended, repeat the process, allowing sufficient drying time between each coat.
- Once the protective finish has dried completely, inspect the countertop for any inconsistencies or imperfections. If necessary, lightly sand the surface with a very fine-grit sandpaper to smoothen any rough spots.
- Finish by cleaning the countertop with a damp cloth or sponge to remove any residue or dust. Then, dry it thoroughly with a clean, dry cloth.
Applying a protective finish will not only safeguard the repaired area but also enhance the overall durability and lifespan of your Formica countertop. It will provide an added layer of protection against stains, scratches, and everyday wear and tear.
Now that you have applied a coat of protective finish, it’s time for step nine: final touches and maintenance tips.
Read more: How To Replace Formica Countertops
Step 9: Final touches and maintenance tips
After completing the repair process and applying a protective finish to your Formica countertop, it’s time for the final touches and some maintenance tips to keep your countertop looking its best. Here’s what you need to do:
- Inspect the entire countertop, including the repaired area, for any imperfections or areas that may need additional touch-ups. If you notice any discrepancies, you can repeat the necessary steps to achieve the desired outcome.
- Take a step back and evaluate the overall appearance of your countertop. If necessary, clean the entire surface with a mild household cleaner or a solution of warm water and dish soap to remove any residue or stains.
- When cleaning your Formica countertop in the future, use non-abrasive cleaners and avoid harsh chemicals that can damage or dull the surface. Opt for gentle cleaning solutions and soft cloths or sponges to maintain the countertop’s shine and longevity.
- Take preventive measures to protect your countertop from potential damages. Use cutting boards, trivets, or hot pads to avoid direct contact with hot pots, pans, or sharp objects. This will help preserve the appearance and surface integrity of your countertop.
- Regularly inspect your countertop for any signs of wear and tear. If you notice any scratches or small damages, address them promptly using the repair process outlined in this article.
- Consider applying a fresh coat of protective finish periodically to keep your countertop well-maintained and protected from daily use and exposure.
- Stay up to date with the latest cleaning and maintenance recommendations from the manufacturer of your Formica countertop to ensure proper care.
By following these final touches and maintenance tips, you can extend the life of your repaired Formica countertop and keep it looking as good as new for years to come.
Congratulations! You have successfully completed the repair process and learned how to maintain your Formica countertop. Enjoy your revitalized countertop and the satisfaction of a job well done!
Now that you have reached the end of this repair guide, you have gained the knowledge and skills to repair and maintain your Formica countertops with confidence.
Conclusion
Repairing Formica countertops doesn’t have to be a daunting task. With the right tools, materials, and knowledge, you can restore your countertops to their former glory. By following the step-by-step process outlined in this guide, you can effectively repair scratches, burns, or other damages on your Formica surface.
Remember to gather all the necessary tools and materials before beginning the repair process. Take your time to clean the damaged area thoroughly and prepare the repair paste according to the manufacturer’s instructions. Apply the repair paste carefully, removing any excess and ensuring a smooth surface.
Allow the repair paste to dry and set properly before proceeding to sand and smoothen the repaired area. Applying a protective finish is the final touch that will provide added durability and aesthetic appeal to your countertop. Regular maintenance and proper care will keep your repaired Formica countertop looking its best for years to come.
We hope this guide has equipped you with the knowledge and confidence to tackle your Formica countertop repairs. Remember to always refer to the specific instructions provided by the manufacturer of your repair materials for the best results.
With a little effort and attention, your Formica countertop can be transformed from damaged to pristine, allowing you to enjoy its beauty and functionality once again.
So roll up your sleeves, gather your tools, and embark on the journey of repairing your Formica countertops. You’ll be amazed at the transformative power of a well-executed repair and the difference it can make in your kitchen or bathroom space.
Good luck, and happy repairing!
Frequently Asked Questions about How To Repair Formica Countertops
Was this page helpful?
At Storables.com, we guarantee accurate and reliable information. Our content, validated by Expert Board Contributors, is crafted following stringent Editorial Policies. We're committed to providing you with well-researched, expert-backed insights for all your informational needs.

0 thoughts on “How To Repair Formica Countertops”