Articles
What Kind Of Sheathing Is For Exterior Walls
Modified: October 20, 2024
Discover the best sheathing options for exterior walls with our informative articles. Learn about the different types, benefits, and installation methods.
(Many of the links in this article redirect to a specific reviewed product. Your purchase of these products through affiliate links helps to generate commission for Storables.com, at no extra cost. Learn more)
Introduction
When it comes to constructing exterior walls, choosing the right kind of sheathing is essential. Sheathing acts as a protective layer that provides structural support and insulation to the walls. It serves as a barrier against moisture, wind, and other outdoor elements, while also contributing to the overall energy efficiency of the building.
In this article, we will explore the various types of sheathing available for exterior walls and discuss their features and benefits. Understanding these different options will help you make an informed decision when selecting the most suitable sheathing material for your project.
Let’s dive into the world of sheathing and discover the options at your disposal!
Key Takeaways:
- Choose the right sheathing material for exterior walls based on climate, energy efficiency, structural requirements, budget, ease of installation, and aesthetics to ensure a durable, energy-efficient, and visually appealing building envelope.
- Consider plywood, OSB, fiber cement, exterior gypsum sheathing, SIPs, EIFS, and ICFs for their unique features and benefits when selecting sheathing materials for exterior walls. Each material offers specific advantages to meet the requirements of your construction project.
Types of Sheathing for Exterior Walls
When it comes to sheathing for exterior walls, there are several options available, each with its own unique features and benefits. Let’s take a closer look at some of the most commonly used types:
-
Plywood
Plywood is a popular choice for sheathing due to its strength, durability, and versatility. Made from thin layers of wood veneer, which are glued together to form a sturdy panel, plywood offers excellent structural support. It is resistant to moisture and can withstand extreme weather conditions. Plywood is often used in both residential and commercial construction projects.
-
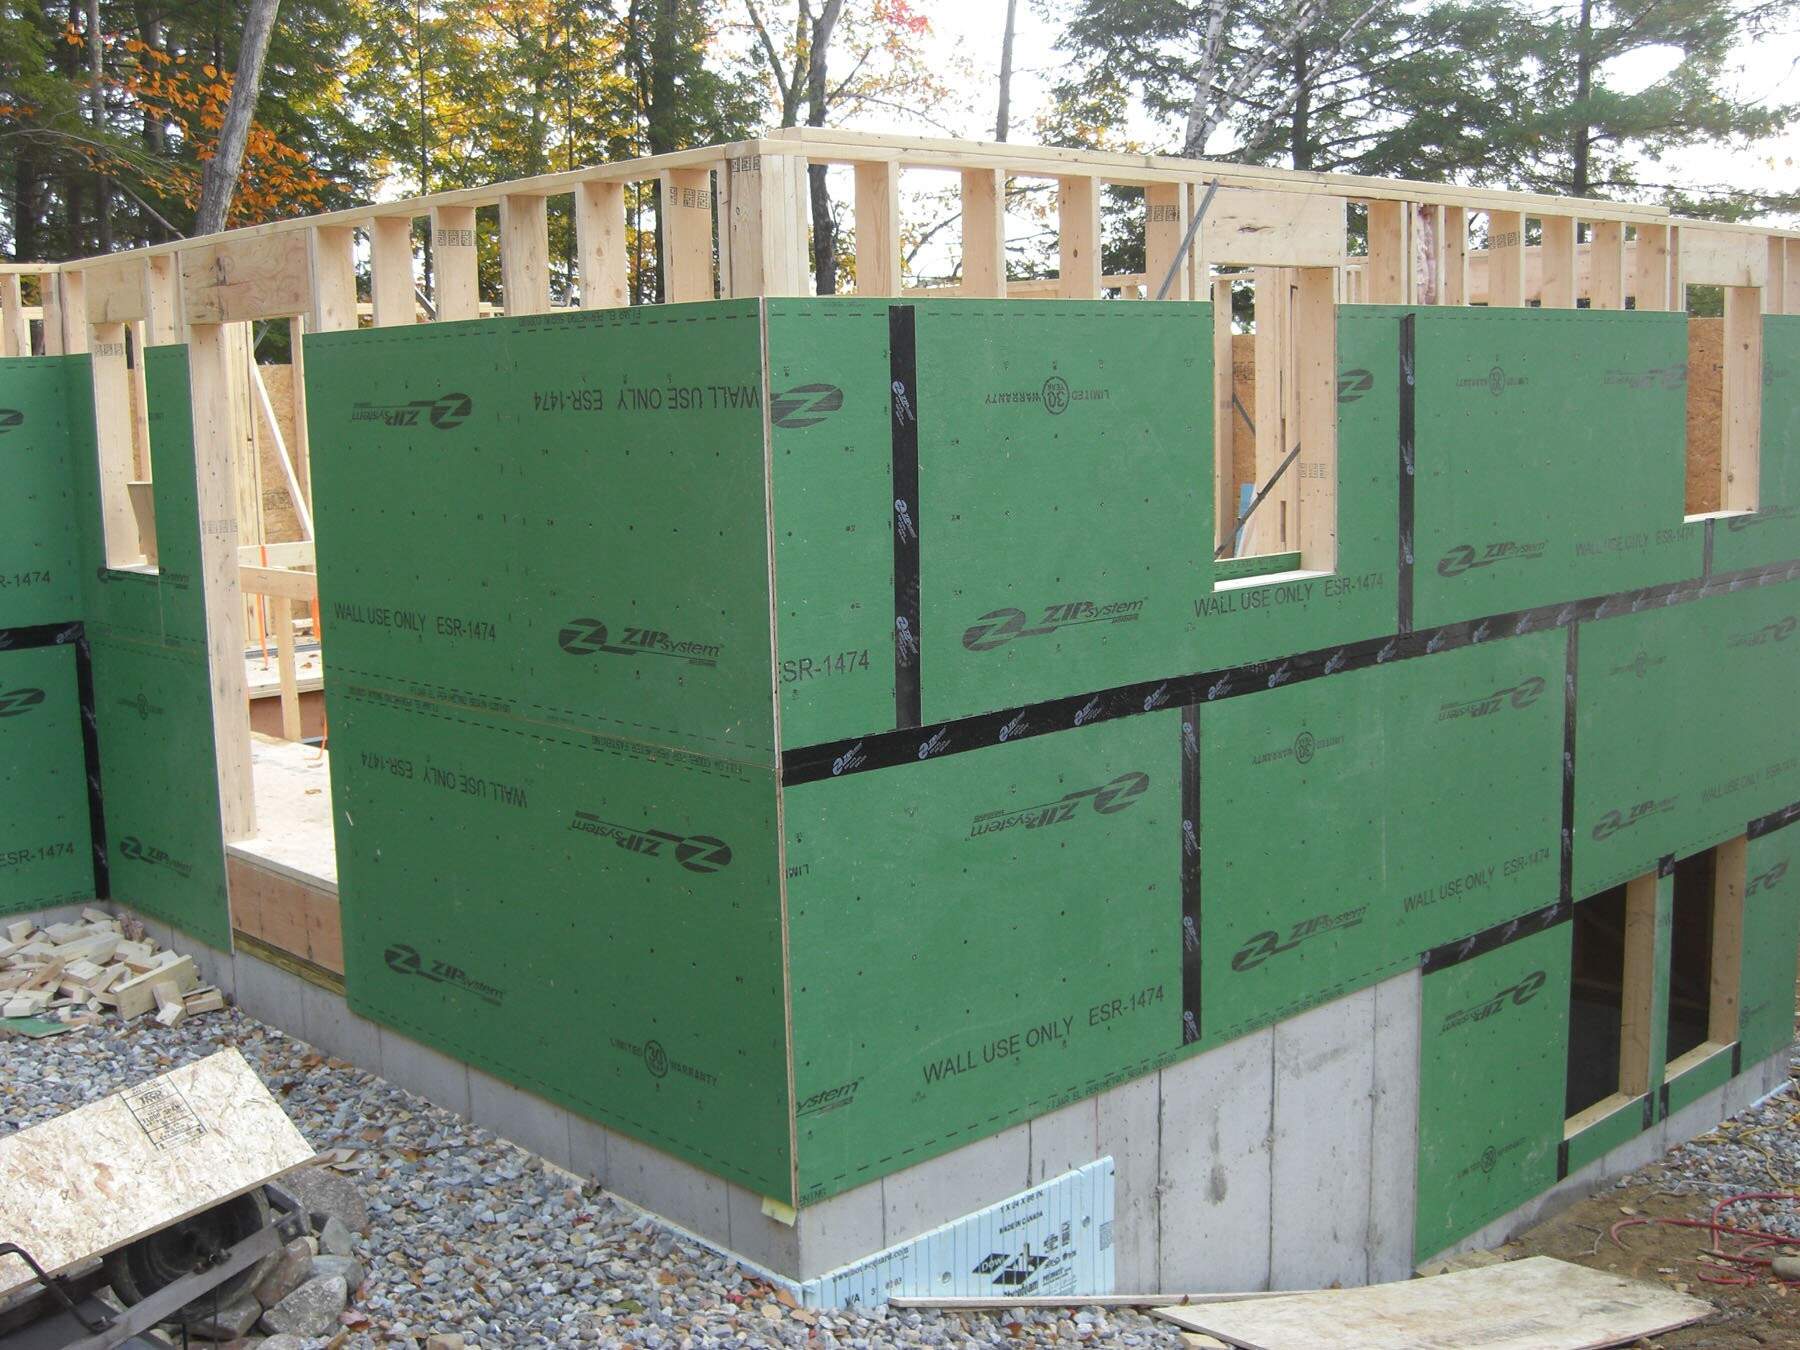
OSB (Oriented Strand Board)
OSB is another widely used sheathing material. It is made from compressed strands of wood chips and adhesive, forming a solid and durable panel. OSB is known for its affordability and dimensional stability. It offers good resistance to moisture and is suitable for various applications, including wall sheathing, roof decking, and subflooring.
-
Fiber Cement
Fiber cement sheathing is a composite material made from a mixture of cement, sand, cellulose fibers, and water. It is highly durable, fire-resistant, and resistant to rot and pests. Fiber cement sheathing provides excellent weather protection and is commonly used in areas with extreme weather conditions.
-
Read more: What Are Exterior Walls Made Of
Exterior Gypsum Sheathing
Exterior gypsum sheathing is made from gypsum plaster and fiberglass mats. It offers good fire resistance and is suitable for areas with high humidity. Exterior gypsum sheathing is lightweight and easy to install, making it a popular choice for commercial buildings and residential structures.
-
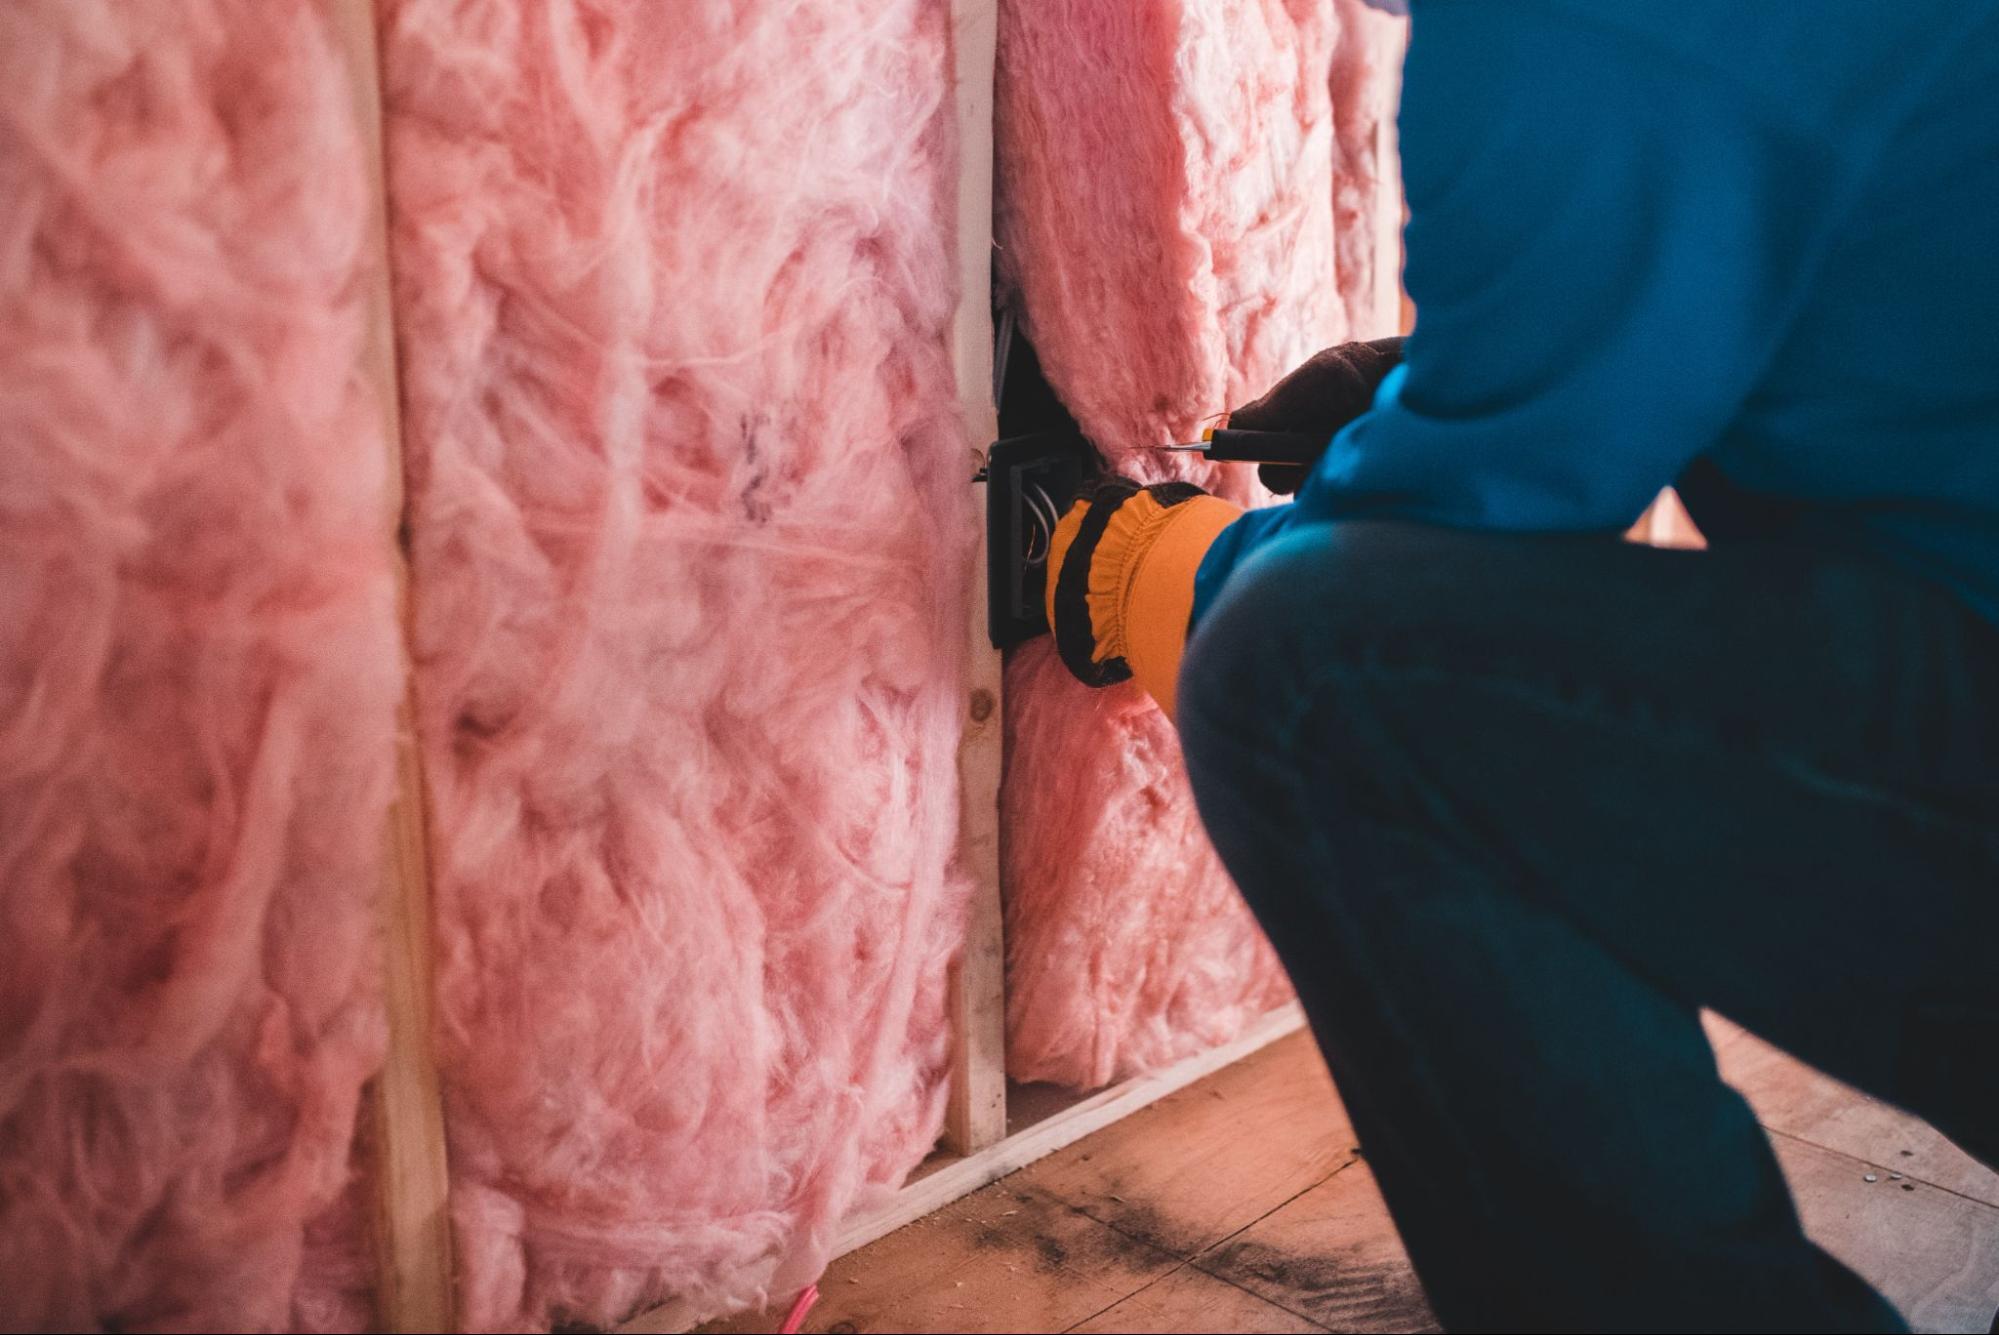
Structural Insulated Panels (SIPs)
SIPs are prefabricated panels made from a combination of sheathing material (usually OSB) and a rigid foam insulation core. They provide excellent insulation value and structural strength. SIPs are energy-efficient, reduce construction time, and offer airtightness, making them a sustainable choice for exterior walls.
-
Exterior Insulation and Finish System (EIFS)
EIFS is a multi-layered system that consists of an insulation board, a base coat, and a textured finish coat. It provides continuous insulation and enhances the energy efficiency of the building. EIFS offers a wide range of design options and is commonly used in commercial and high-rise residential buildings.
-
Insulated Concrete Forms (ICFs)
ICFs are hollow foam blocks or panels that are stacked, steel-reinforced, and filled with concrete. They provide excellent insulation, structural strength, and soundproofing properties. ICFs are energy-efficient, durable, and have good fire resistance. They are becoming increasingly popular for both residential and commercial construction projects.
These are just a few examples of the types of sheathing available for exterior walls. When choosing the right sheathing material, it’s important to consider factors such as climate, budget, durability, and energy efficiency requirements.
Read more: What Insulation To Use For Exterior Walls
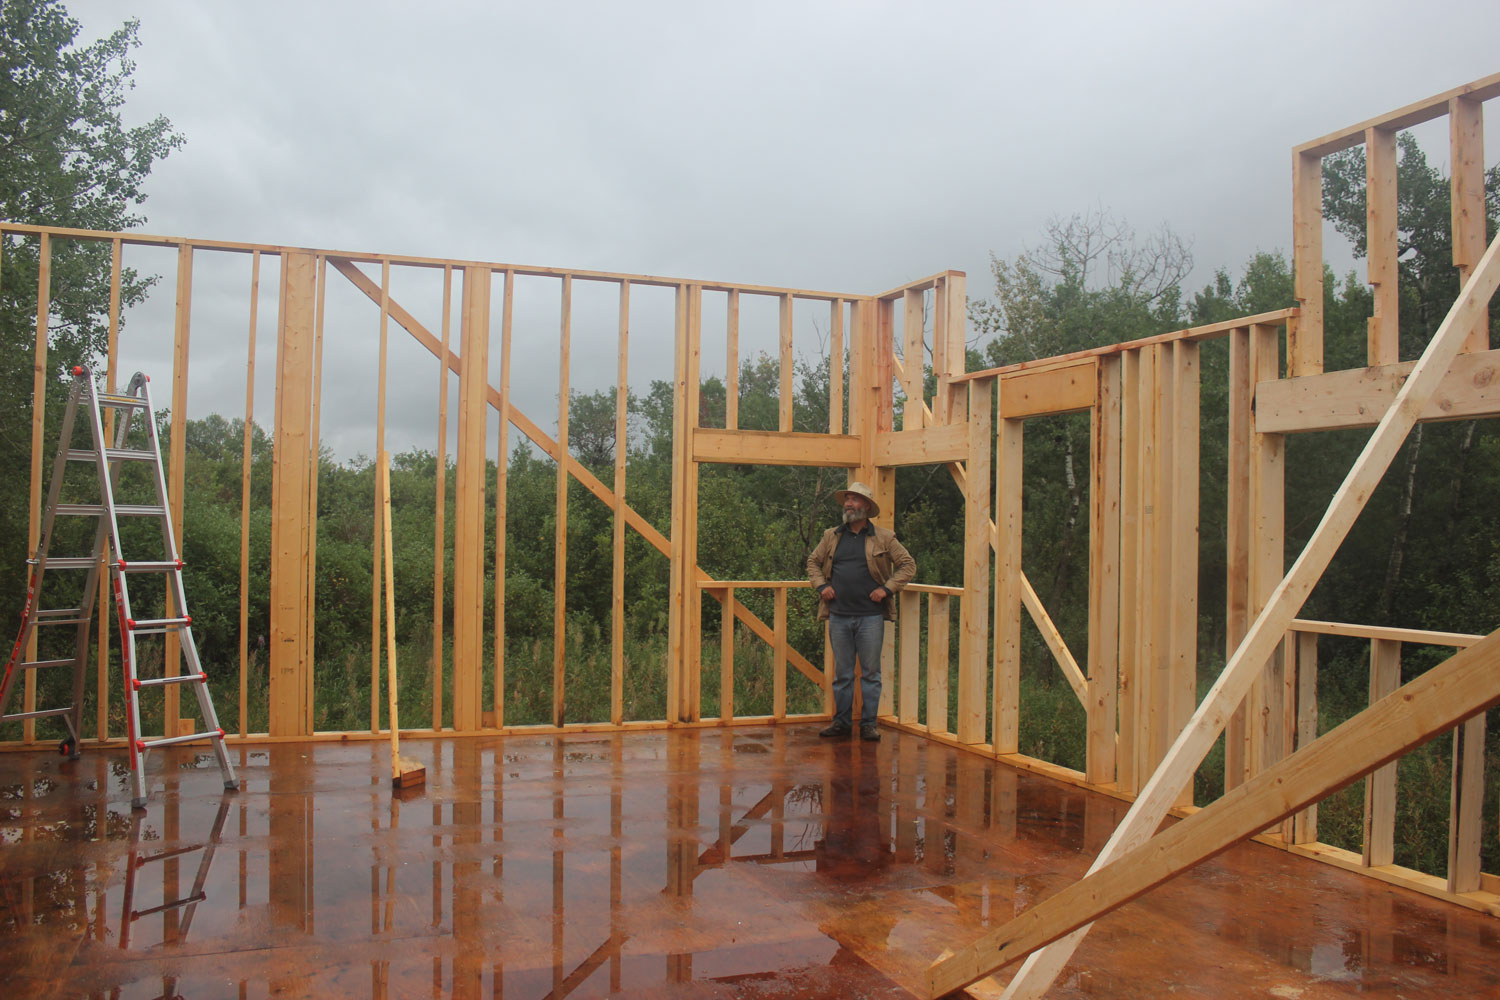
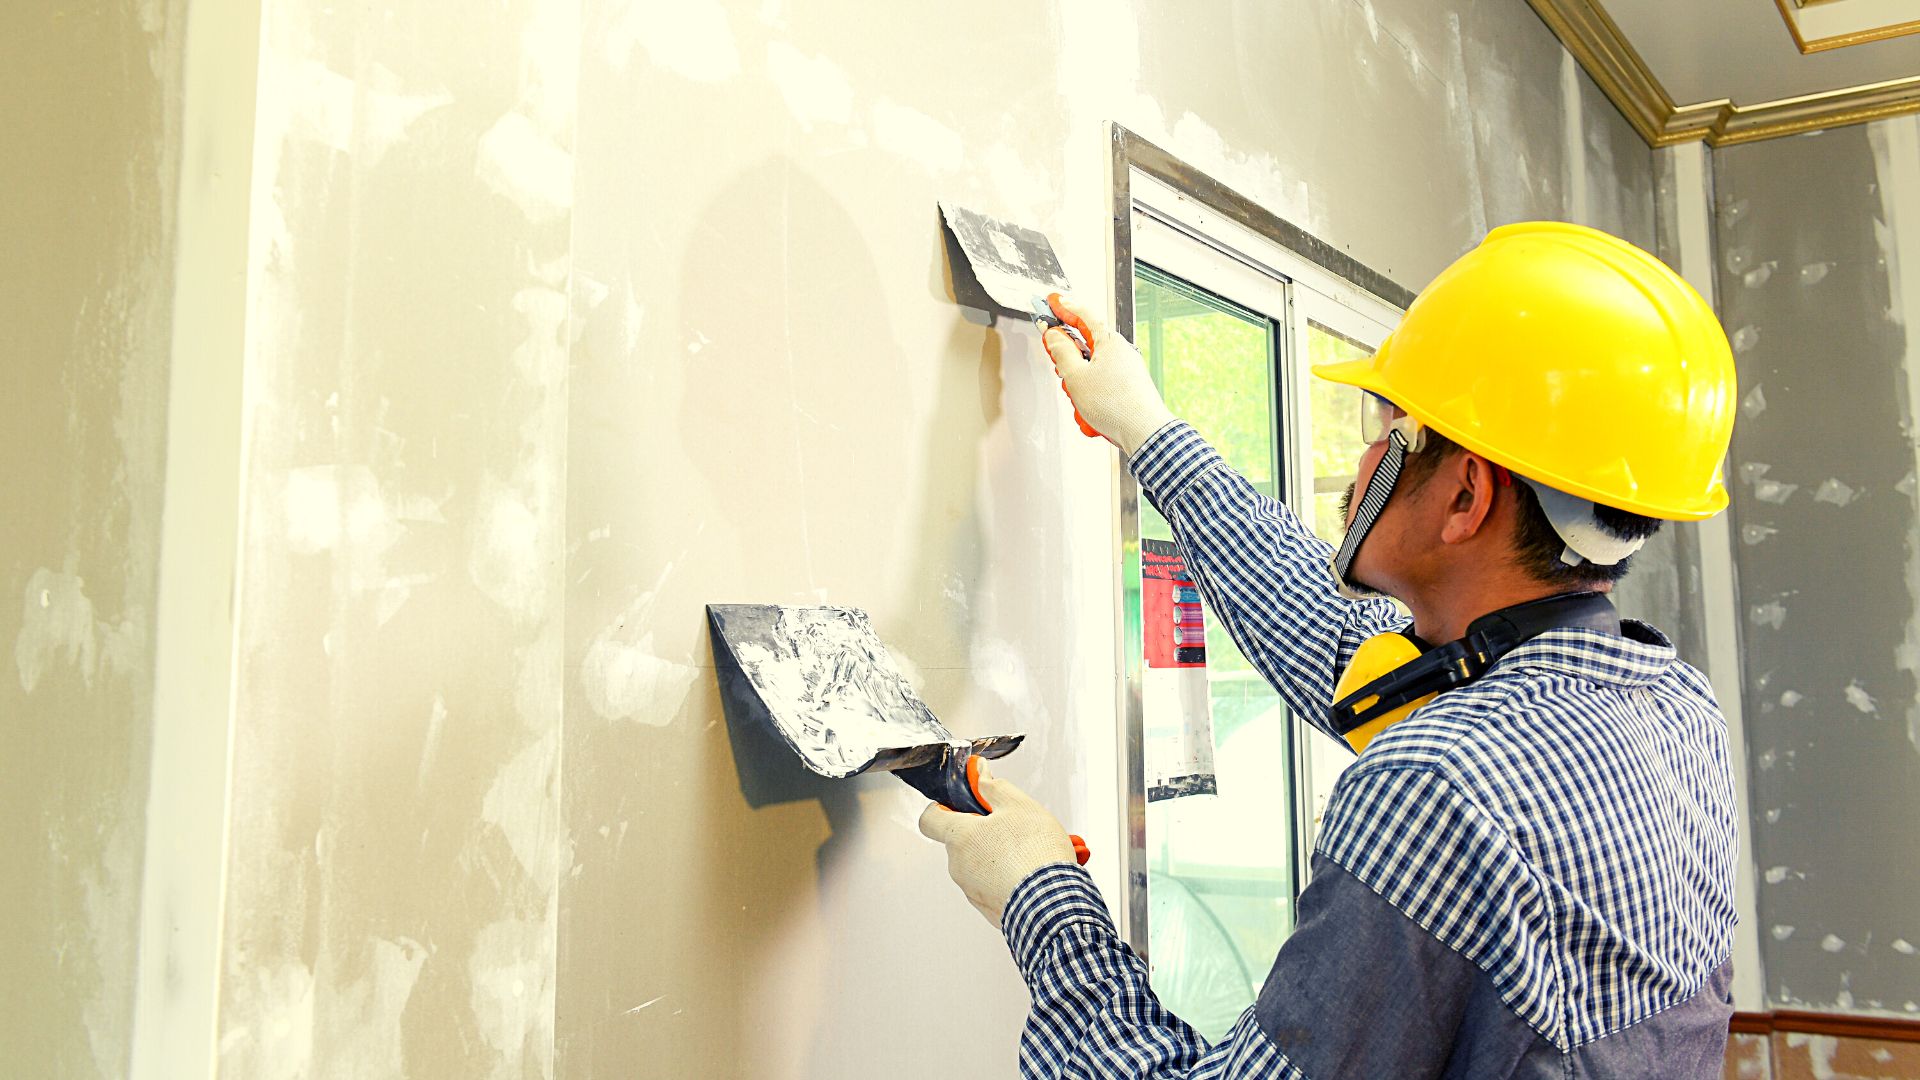
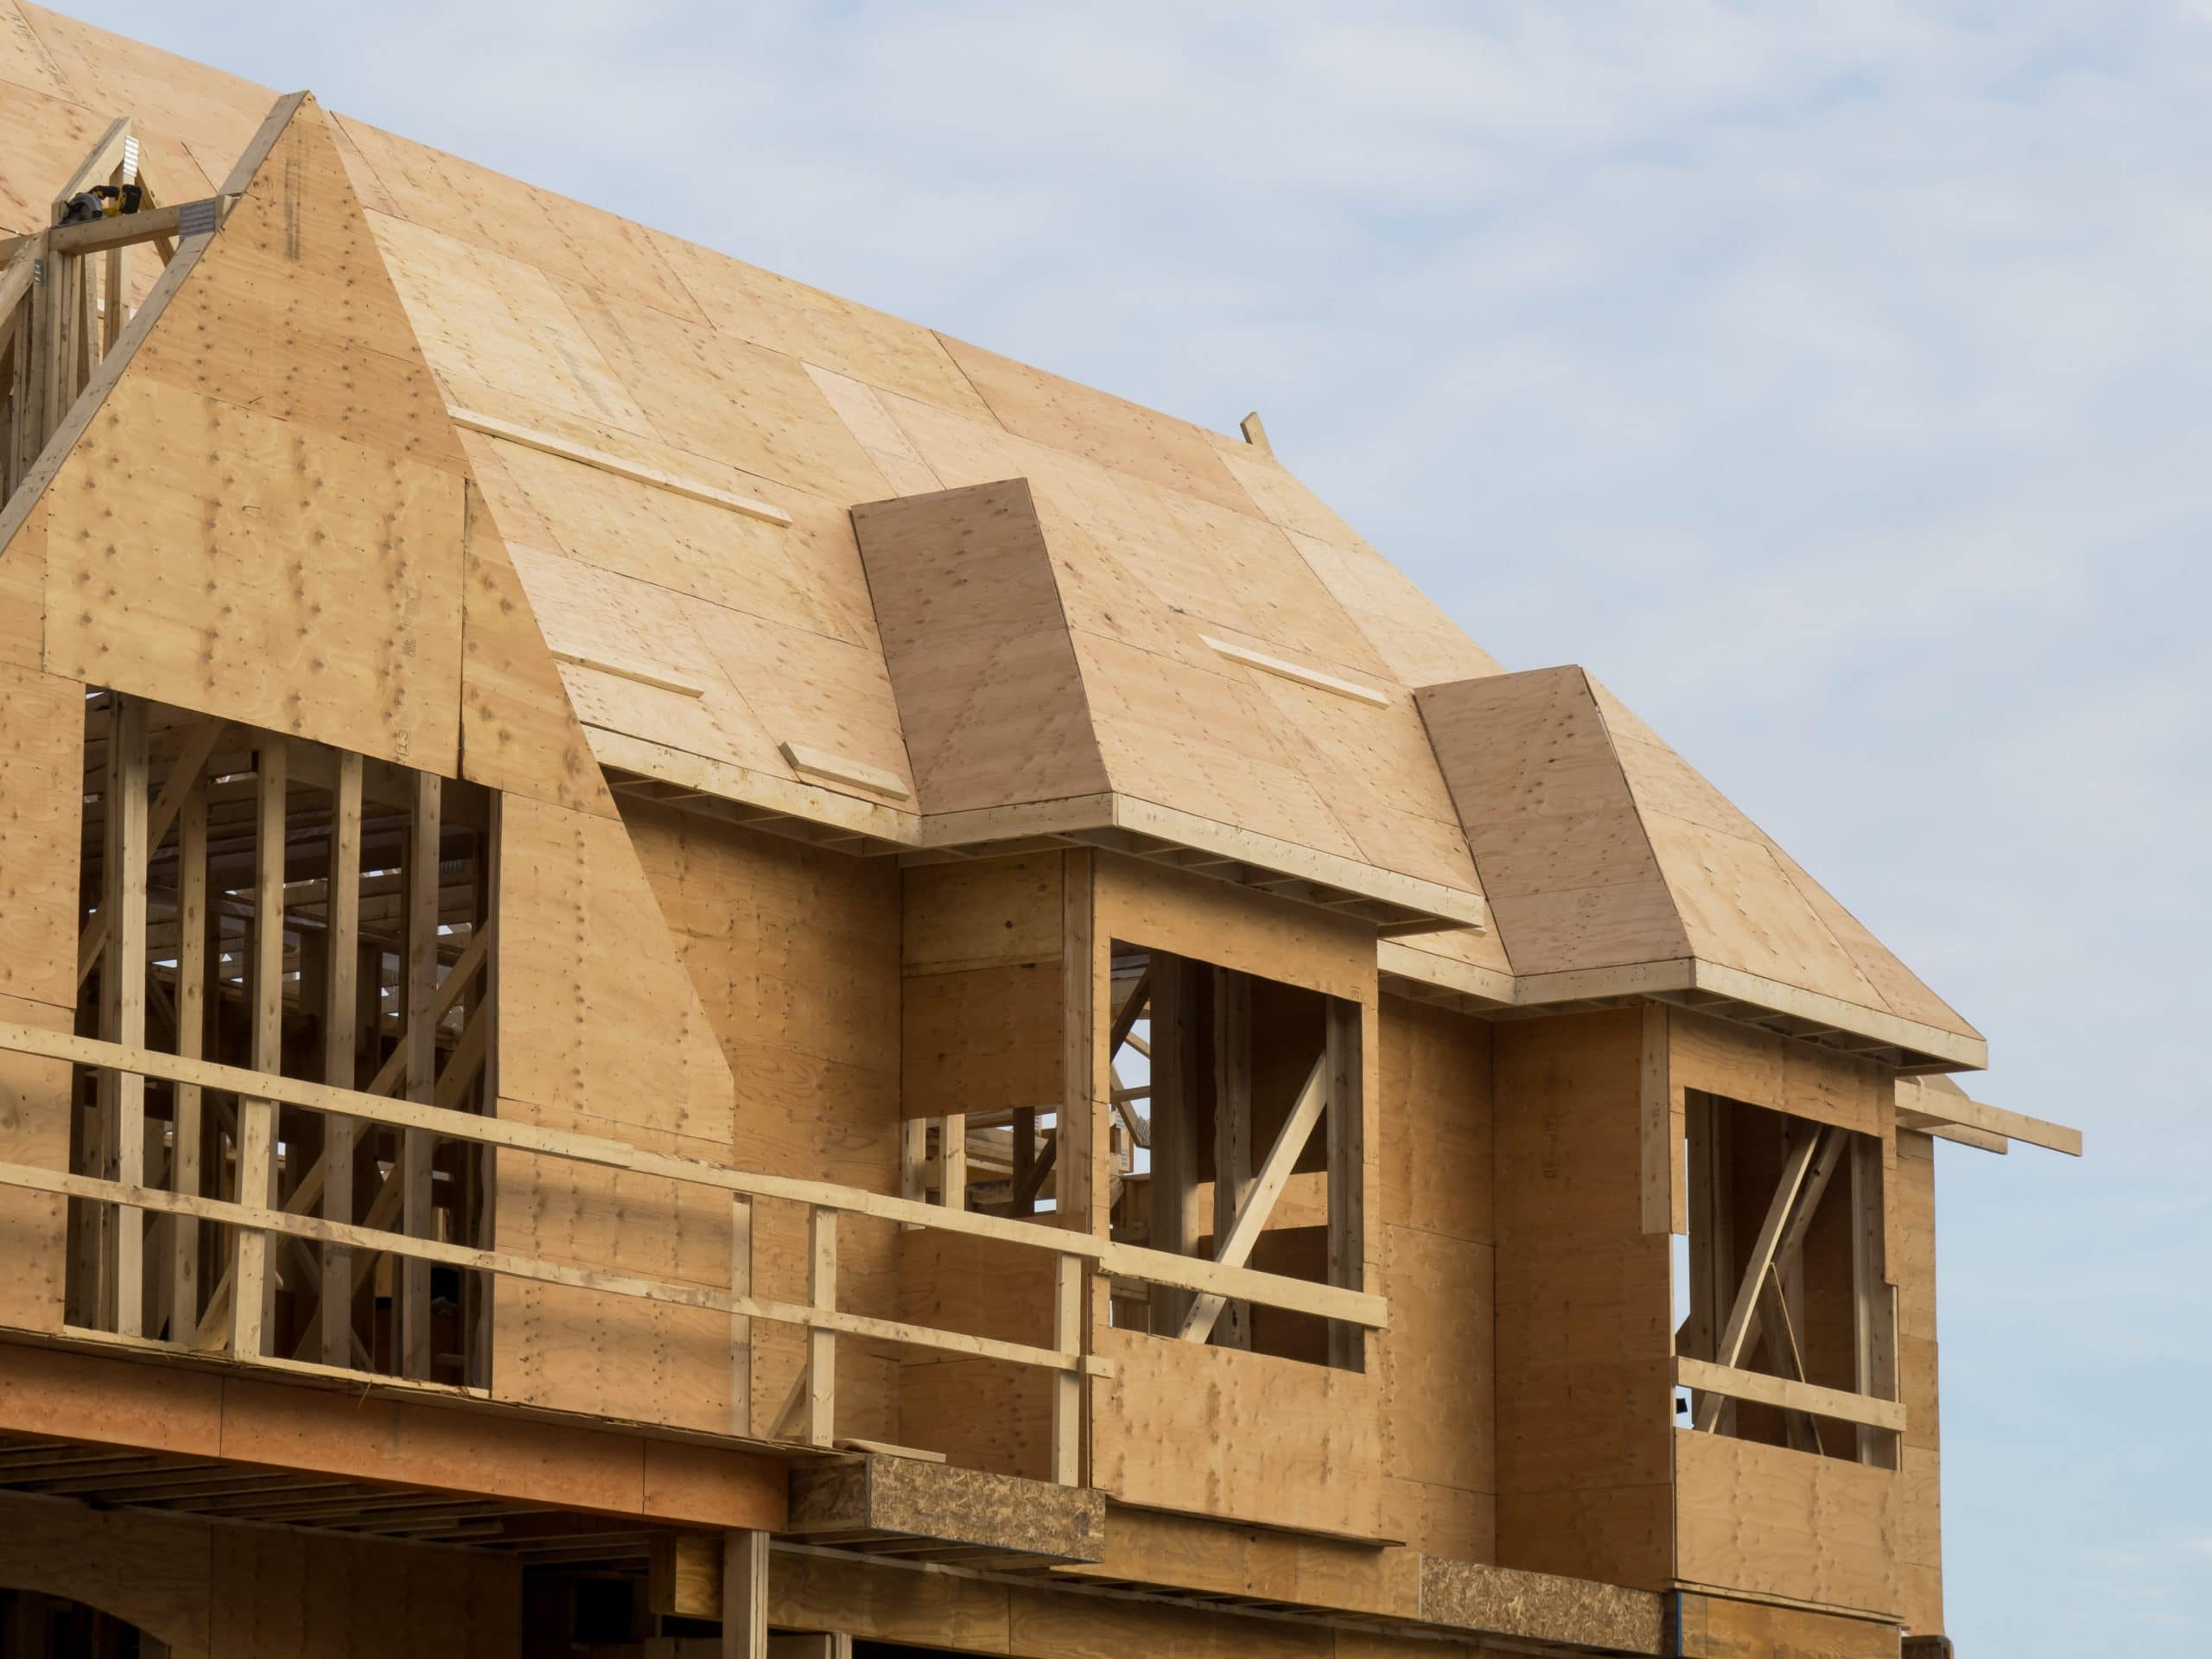
Plywood
Plywood is a versatile and widely used sheathing material for exterior walls. It is made by gluing together multiple thin layers of wood veneer, which are stacked in alternating grain directions to enhance its strength and stability. This construction method gives plywood excellent structural integrity and durability.
One of the key advantages of plywood is its ability to withstand various weather conditions. It has good resistance to moisture, making it suitable for exterior applications where exposure to rain, snow, and humidity is expected. Plywood is also known for its dimensional stability, meaning it does not shrink or expand significantly with changes in temperature or humidity.
Plywood comes in different grades and thicknesses, allowing for customization based on the specific requirements of the project. It can be treated with preservatives to enhance its resistance to decay and insect damage, further increasing its longevity.
When it comes to installation, plywood is relatively easy to work with. It can be easily cut, nailed, and screwed into place. Its lightweight nature makes it convenient to handle and transport. However, it is important to ensure proper installation techniques are followed to maintain the integrity of the sheathing and the overall structure.
In addition to its structural properties, plywood also offers some insulation value. Its natural composition provides a certain level of thermal resistance, which can contribute to the energy efficiency of the building. However, it is important to note that additional insulation measures may be needed for optimal energy performance.
Plywood is widely used in both residential and commercial construction projects. It is commonly utilized as a sheathing material for exterior walls, roofs, and subfloors. Its versatility and strength make it suitable for a wide range of applications.
Overall, plywood is a reliable and popular choice for exterior wall sheathing. Its strength, durability, and weather resistance make it a versatile and practical option for construction projects of all sizes. Whether you’re building a new home or renovating an existing structure, plywood can provide the necessary support and protection for your exterior walls.
OSB (Oriented Strand Board)
OSB, or Oriented Strand Board, is another popular sheathing material commonly used for exterior walls. It is made by compressing and gluing together strands of wood chips in a specific orientation, creating a strong and durable panel.
One of the primary advantages of OSB is its affordability. It is generally more cost-effective compared to other sheathing materials like plywood. This makes it a popular choice for projects with budget constraints, without compromising on quality and performance.
OSB offers excellent dimensional stability, which means it is less prone to swelling or warping when exposed to moisture or changes in temperature and humidity. It provides consistent strength and stiffness, making it a reliable option for structural support.
Similar to plywood, OSB has good resistance to moisture, making it suitable for exterior applications. However, it is important to note that proper installation and adequate moisture protection measures, such as a vapor barrier, should be employed to ensure long-term durability.
OSB is known for its versatility and ease of installation. It can be easily cut, nailed, or screwed into place, allowing for efficient construction processes. It is available in various thicknesses, providing flexibility for different structural requirements.
In terms of its environmental impact, OSB is considered a sustainable choice. It is typically made from fast-growing and renewable wood species, reducing the strain on natural resources. Additionally, the manufacturing process of OSB utilizes wood chips and residues, minimizing waste.
While OSB offers many benefits, it is important to note its limitations. It has less inherent moisture resistance compared to plywood and may exhibit swelling if continuously exposed to water over a prolonged period. Additionally, OSB may not have the same aesthetic appeal as other materials, as it is often left unfinished or covered with other exterior finishes.
Due to its affordability, strength, and versatility, OSB is commonly used for residential and commercial construction projects. It is a popular choice for exterior wall sheathing, roof decking, and subflooring applications. With proper installation and maintenance, OSB can provide reliable and long-lasting support to your exterior walls.
Fiber Cement
Fiber cement is a composite material that is widely used as a sheathing material for exterior walls. It is made from a mixture of cement, sand, cellulose fibers, and water. This combination results in a durable and versatile material that offers numerous benefits.
One of the key advantages of fiber cement as a sheathing material is its exceptional durability. It is highly resistant to rot, insect damage, and fire. Fiber cement does not warp, crack, or break easily, making it a reliable choice for exterior applications.
In addition to its durability, fiber cement is known for its moisture resistance. It can withstand exposure to moisture without swelling or deteriorating. This makes fiber cement an ideal choice for areas with high humidity or frequent rainfall.
Fiber cement sheathing also offers excellent dimensional stability. It does not expand or contract significantly with changes in temperature or moisture, ensuring the integrity of the building envelope remains intact over time.
Another advantage of fiber cement is its versatility in terms of design options. It can be manufactured to mimic the appearance of wood, stucco, or other traditional building materials, allowing for a wide range of aesthetic choices. Fiber cement is available in various textures, colors, and sizes, enabling architects and builders to achieve the desired look and style for the exterior walls.
Installation of fiber cement sheathing requires special care and attention. It is important to follow the manufacturer’s guidelines and use appropriate fasteners to ensure proper attachment and prevent damage. Working with fiber cement may require specialized tools, as it can be denser and heavier than other sheathing materials.
While fiber cement has many advantages, it is worth noting that it can be more expensive compared to other sheathing materials. However, the long-term durability and low maintenance requirements of fiber cement can contribute to cost savings over time.
Fiber cement is commonly used in residential and commercial construction projects, especially in regions with demanding weather conditions. It is a popular choice for both new constructions and renovations due to its durability, moisture resistance, and design flexibility. Whether you’re looking for a strong and resilient exterior wall sheathing material or want to achieve a specific architectural style, fiber cement can meet your needs.
Exterior Gypsum Sheathing
Exterior gypsum sheathing is a type of sheathing material that is made from a combination of gypsum plaster and fiberglass mats. It is specifically designed for use in exterior applications, providing structural support, fire resistance, and moisture protection for exterior walls.
One of the key advantages of exterior gypsum sheathing is its fire resistance. Gypsum is inherently fire-resistant, making it a reliable choice for buildings where fire safety is a priority. It can help to contain the spread of flames and provide additional time for occupants to evacuate in the event of a fire.
In addition to its fire resistance, exterior gypsum sheathing offers good moisture resistance. The fiberglass mats provide a protective barrier against moisture, preventing water infiltration and damage to the underlying structure. This makes it suitable for use in areas with high humidity or frequent exposure to rain and moisture.
Exterior gypsum sheathing is also known for its ease of installation. It is lightweight and easy to handle, allowing for efficient installation processes. It can be easily cut to size and attached to the framing using nails or screws, making it a convenient choice for construction projects.
Another advantage of exterior gypsum sheathing is its versatility. It can be used in various applications, including residential and commercial buildings. Exterior gypsum sheathing can be installed as a standalone sheathing material or as part of a multi-layered wall assembly, offering flexibility in design and construction.
It is worth noting that exterior gypsum sheathing may have certain limitations. It is not as structurally robust as other sheathing materials like plywood or OSB and may require additional support or reinforcement in certain applications. Additionally, while it provides some insulation value, additional insulation measures may be required to meet the desired energy efficiency requirements.
Overall, exterior gypsum sheathing is a reliable and practical choice for sheathing exterior walls. Its fire resistance, moisture protection, and ease of installation make it a preferred option for many construction projects. Whether you’re constructing a new building or renovating an existing structure, exterior gypsum sheathing can provide the necessary support and protection for your exterior walls.
Read more: What Is Sheathing On A Roof
Structural Insulated Panels (SIPs)
Structural Insulated Panels (SIPs) are an innovative and energy-efficient type of sheathing material used for exterior walls. They are composed of a layer of sheathing material, typically OSB (Oriented Strand Board), with a foam insulation core sandwiched between the two panels. This unique construction method provides exceptional strength, insulation, and ease of installation.
SIPs offer outstanding thermal performance, making them an excellent choice for energy-efficient buildings. The foam insulation core acts as a continuous layer of insulation, significantly reducing air leakage and thermal bridging. This results in superior insulation value and reduced heating and cooling costs.
In addition to their excellent insulation properties, SIPs provide exceptional strength and rigidity. The combination of the sheathing material and the foam core creates a structural panel that can resist heavy loads, including wind, snow, and seismic forces. The strength of SIPs can allow for longer spans and reduce the need for additional structural support.
One of the key advantages of SIPs is their ease of installation. They come in prefabricated panels, which are custom-made based on the specific design requirements of the project. This off-site fabrication reduces construction time and minimizes on-site waste. SIPs can be quickly installed by interlocking the panels and sealing the joints to create a continuous, airtight, and well-insulated building envelope.
SIPs also offer design flexibility. They can be used for walls, roofs, and floors, allowing for a consistent and efficient building envelope. The panels can be easily customized to accommodate openings for windows, doors, and other architectural elements. SIPs offer great design freedom and can be used in both residential and commercial construction projects.
While SIPs offer numerous benefits, it is important to consider certain factors before choosing this sheathing material. Due to their high insulation value, proper ventilation and moisture management systems should be in place to prevent moisture buildup. Additionally, the cost of SIPs may be higher compared to other traditional sheathing materials, but the long-term energy savings may offset the initial investment.
Structural Insulated Panels are an excellent choice for those seeking energy-efficient and sustainable building solutions. Their combination of strength, insulation, and ease of installation make them a popular choice for exterior wall sheathing. Whether you’re constructing a new home or commercial building, SIPs can provide a durable, well-insulated, and efficient building envelope.
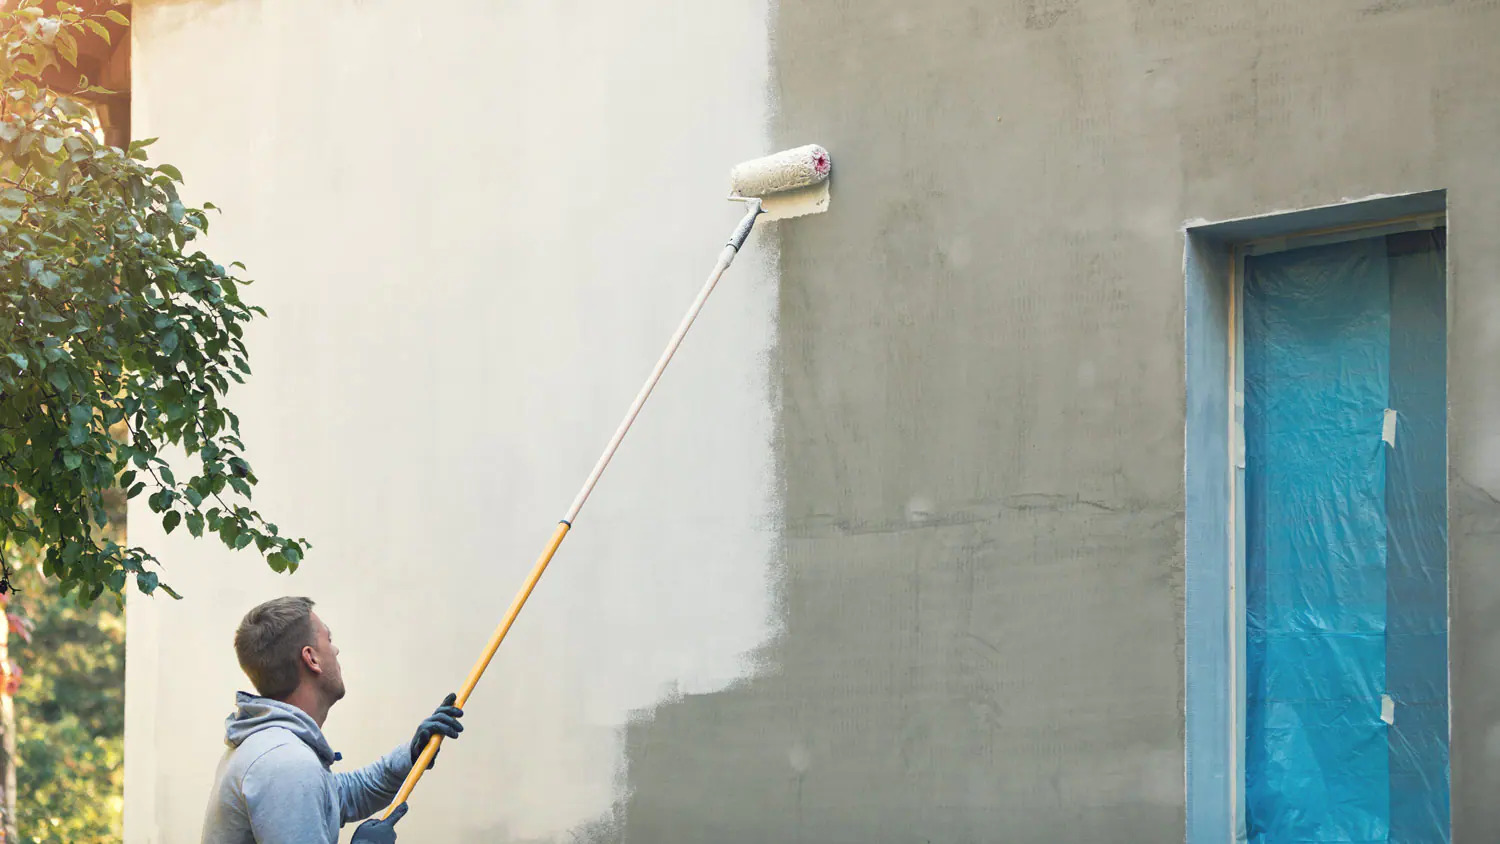
Exterior Insulation and Finish System (EIFS)
The Exterior Insulation and Finish System (EIFS), commonly referred to as synthetic stucco, is a widely used type of sheathing material for exterior walls. It is a multi-layered system that provides both insulation and a decorative finish for buildings.
EIFS typically consists of several layers, including an insulation board, a base coat, a reinforcing mesh, and a textured finish coat. The insulation board is typically made of foam, providing excellent thermal insulation for the building. The base coat and reinforcing mesh add strength and durability to the system, and the textured finish coat gives the walls an attractive and customizable appearance.
One of the main advantages of EIFS is its exceptional insulation properties. The foam insulation board helps to create a continuous thermal barrier, minimizing heat transfer through the walls. This insulation factor contributes to energy efficiency, reducing heating and cooling costs for the building occupants.
Another benefit of EIFS is its design versatility. The textured finish coat can be customized to mimic various materials like stucco, stone, or brick, offering a wide range of aesthetic options. EIFS allows for creative freedom in design, making it a popular choice for architects and builders who want to achieve a specific architectural style.
EIFS also offers excellent durability. The system is designed to withstand various weather conditions, including wind, rain, and UV exposure. The synthetic materials used in EIFS are resistant to rot, insect damage, and moisture, ensuring the longevity of the system.
Installation of EIFS requires specialized expertise. Proper installation techniques are crucial to ensure satisfactory performance of the system. It is important to follow the manufacturer’s guidelines and work with experienced professionals to achieve a high-quality installation.
It’s worth noting that EIFS has faced some concerns related to moisture intrusion and potential water damage if not properly installed or maintained. However, advancements in EIFS technology and improved installation practices have significantly mitigated these issues.
EIFS is commonly used in both residential and commercial construction projects. Its combination of insulation, design versatility, and durability has made it a popular choice for exterior wall sheathing. Whether you’re looking to enhance the energy efficiency of your building or achieve a specific aesthetic, EIFS can provide a reliable and attractive solution for your exterior walls.
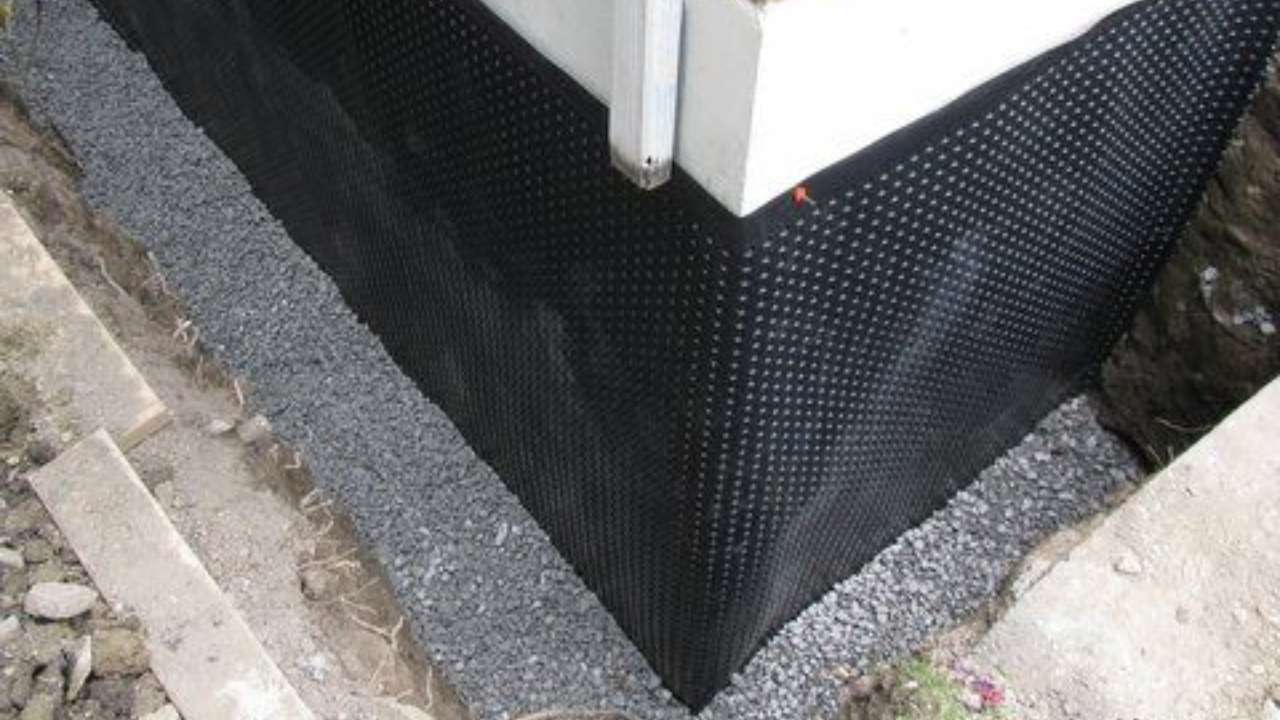
Insulated Concrete Forms (ICFs)
Insulated Concrete Forms (ICFs) are a unique and innovative type of sheathing material used for exterior walls. They consist of interlocking hollow foam blocks or panels that are stacked, steel-reinforced, and filled with concrete. ICFs offer excellent insulation, structural strength, and energy efficiency.
One of the primary advantages of ICFs is their superior insulation properties. The foam blocks or panels create a continuous layer of insulation, providing exceptional thermal resistance. This insulation factor helps to minimize heat transfer through the walls, resulting in energy-efficient structures and reduced heating and cooling costs.
ICFs also offer exceptional structural strength. The steel reinforcement within the ICFs, combined with the solid concrete core, creates a robust and durable wall system. ICFs have been proven to withstand extreme weather conditions, including high winds, earthquakes, and fire.
The insulation properties and strength of ICFs contribute to their excellent soundproofing capabilities. The dense foam and solid concrete construction act as effective barriers against exterior noise, providing a quiet and comfortable indoor environment.
In addition to their insulation and structural benefits, ICFs offer ease of installation. The interlocking foam blocks or panels make assembly quick and straightforward. The hollow cores allow for easy access to wiring and plumbing, reducing the need for additional wall penetrations.
ICFs also have a positive impact on the environment. The foam used in ICFs is often made from recycled materials, reducing waste and minimizing the ecological footprint. The energy efficiency of ICFs contributes to reduced carbon emissions and a smaller carbon footprint for the building.
While ICFs offer numerous advantages, it’s important to consider certain factors before choosing this sheathing material. ICF construction requires specialized knowledge and expertise, and it is essential to work with professionals experienced in ICF installation. The cost of ICFs may be higher compared to other traditional sheathing materials, but the long-term energy savings and durability may outweigh the initial investment.
ICFs are commonly used in both residential and commercial construction projects. Their excellent insulation, strength, and energy efficiency make them a popular choice for exterior wall sheathing. Whether you’re constructing a new home or a commercial building, ICFs can provide a solid, well-insulated, and environmentally friendly solution for your exterior walls.
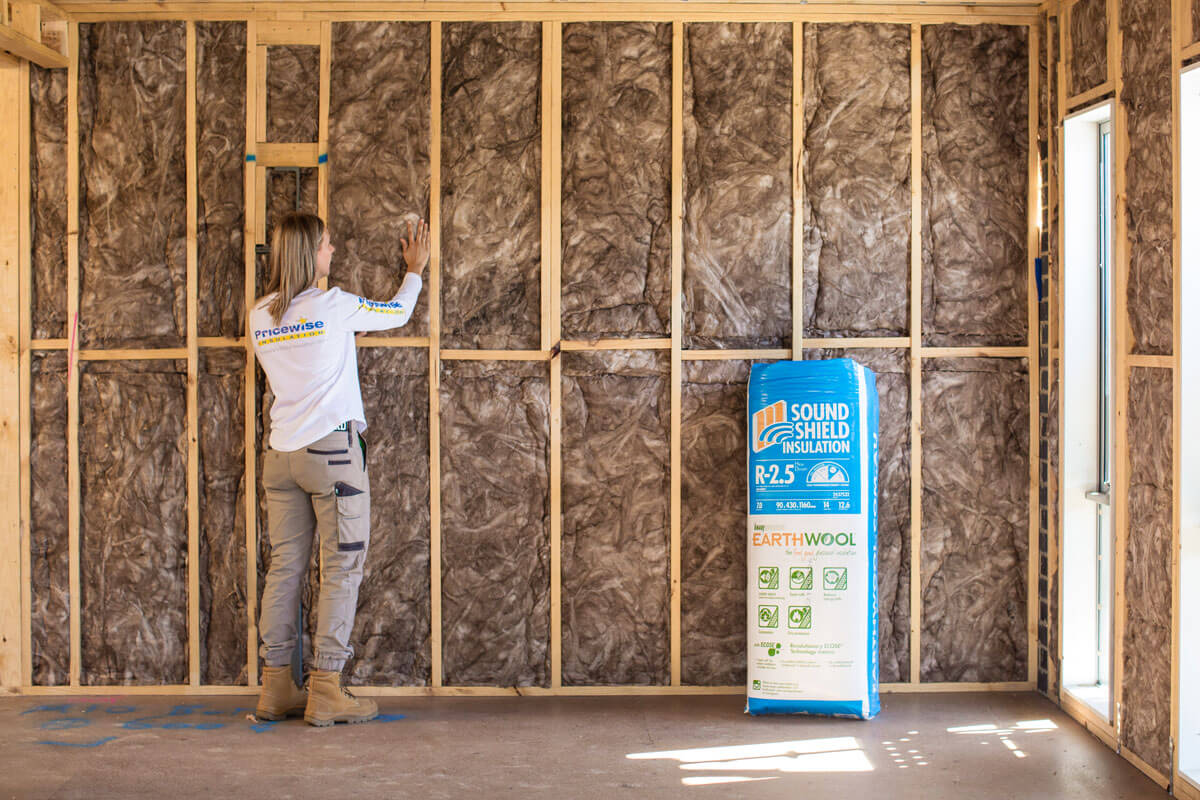
When choosing sheathing for exterior walls, consider using materials such as plywood, oriented strand board (OSB), or foam board insulation. These materials provide structural support and help protect against moisture and air infiltration.
Factors to Consider When Choosing Sheathing for Exterior Walls
When it comes to selecting the appropriate sheathing material for exterior walls, several factors should be considered. Each project has unique requirements and considerations that can influence the choice of sheathing. Here are some key factors to keep in mind:
- Climate: The local climate plays a crucial role in determining the best sheathing material. Areas with high humidity or frequent rainfall may require materials with excellent moisture resistance, such as fiber cement or exterior gypsum sheathing. In regions with extreme weather conditions, materials with superior durability and strength, like plywood or OSB, may be preferred.
- Energy Efficiency: Consider the desired level of energy efficiency for the building. Insulated materials, such as SIPs or ICFs, offer excellent thermal performance and can contribute to energy savings. Evaluating the insulation value, airtightness, and overall energy efficiency of the sheathing material is important for long-term energy cost reductions.
- Structural Requirements: Assess the structural requirements and load-bearing capabilities of the sheathing material. Plywood and OSB are known for their strength and ability to withstand heavy loads, making them suitable choices for structural support. ICFs, on the other hand, provide both insulation and structural strength, offering versatility in design and construction.
- Budget: Consider the budget constraints of the project. Some sheathing materials may be more cost-effective than others, such as OSB or exterior gypsum sheathing. However, it is essential to balance cost with other factors like durability and energy efficiency to ensure the long-term performance of the building.
- Installation: Evaluate the ease of installation and the skill level required. Some sheathing materials, like plywood and fiber cement, can be easily cut and installed using standard construction tools. Others, such as ICFs or SIPs, may require specialized knowledge and expertise for proper installation. Consider the availability of qualified professionals and the overall construction schedule.
- Aesthetics: Take into account the desired aesthetic appearance of the exterior walls. Some materials, like EIFS, offer a wide range of decorative finishes and design versatility. Others, like fiber cement, can mimic the look of natural materials like wood or stone. Choose a sheathing material that aligns with the desired architectural style and visual appeal of the building.
Remember that each factor is interconnected, and it is important to find a balance that meets the specific requirements of the project. Consulting with architects, builders, or industry professionals can provide valuable insights and guidance in choosing the most suitable sheathing material for exterior walls.
Read more: What Type Of Plywood Is For Exterior Walls
Conclusion
Choosing the right sheathing material for exterior walls is a critical decision in any construction project. The right sheathing material provides structural support, insulation, and protection against the elements, ensuring the longevity and energy efficiency of the building.
In this article, we have explored various types of sheathing materials commonly used for exterior walls. From plywood and OSB to fiber cement, exterior gypsum sheathing, SIPs, EIFS, and ICFs, each material offers unique features and benefits.
Plywood and OSB are popular choices for their strength, versatility, and affordability. Fiber cement provides durability, moisture resistance, and design versatility. Exterior gypsum sheathing offers fire resistance, lightweight installation, and suitability for high humidity environments. SIPs deliver excellent insulation, structural strength, and energy efficiency. EIFS provides an attractive finish, design flexibility, and insulation. ICFs combine insulation and structural integrity, enhancing energy efficiency and durability.
When selecting sheathing for exterior walls, it is essential to consider factors such as climate, energy efficiency, structural requirements, budget, ease of installation, and aesthetics. Each factor plays a pivotal role in finding the most suitable sheathing material for the specific project.
By carefully evaluating these factors and consulting with professionals in the industry, you can make an informed decision that meets the requirements of your project while considering long-term performance and durability.
Remember, the choice of sheathing material is a significant investment that impacts the overall construction process and the building’s performance for years to come. Assess your priorities, consult with experts, and select the sheathing material that offers the best combination of strength, insulation, durability, and aesthetics for your exterior walls.
With the right sheathing in place, you can ensure a structurally sound, energy-efficient, and visually pleasing building envelope that will stand the test of time.
Frequently Asked Questions about What Kind Of Sheathing Is For Exterior Walls
Was this page helpful?
At Storables.com, we guarantee accurate and reliable information. Our content, validated by Expert Board Contributors, is crafted following stringent Editorial Policies. We're committed to providing you with well-researched, expert-backed insights for all your informational needs.


0 thoughts on “What Kind Of Sheathing Is For Exterior Walls”