Articles
How To Frame Exterior Walls
Modified: August 28, 2024
Learn the step-by-step process of framing exterior walls with our informative articles. Boost your construction skills and create sturdy walls for your next project.
(Many of the links in this article redirect to a specific reviewed product. Your purchase of these products through affiliate links helps to generate commission for Storables.com, at no extra cost. Learn more)
Introduction
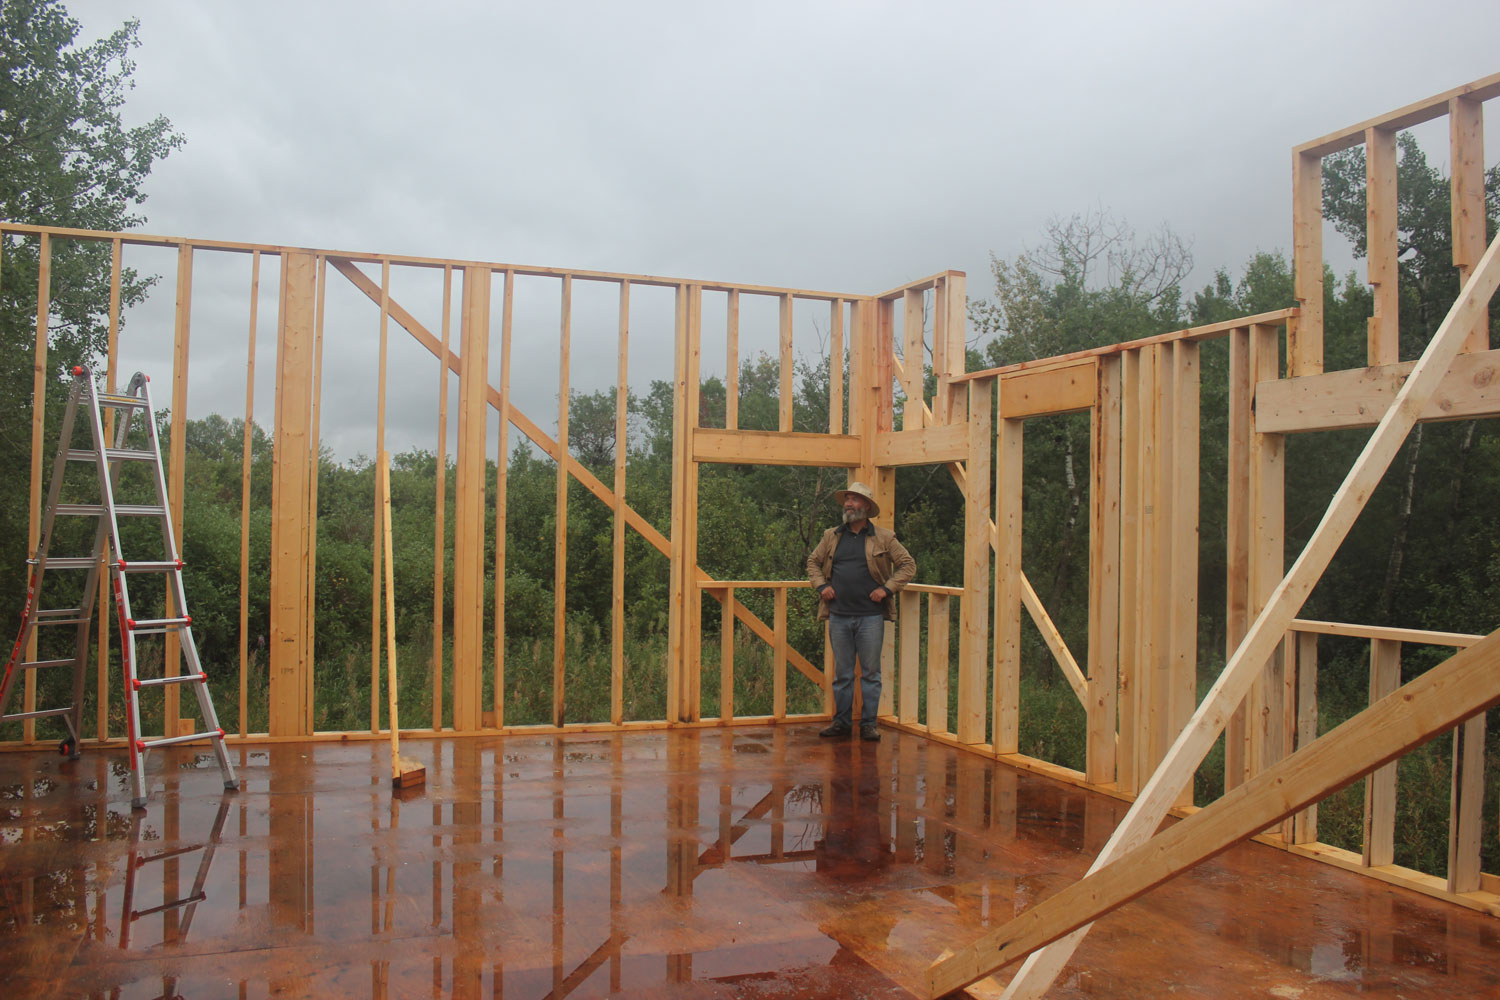
When it comes to building a house or any structure, framing the exterior walls is a fundamental step. Properly framed walls provide structural integrity, support for the roof, and a solid foundation for the entire structure. This article will guide you through the process of framing exterior walls, ensuring that you have the knowledge and tools necessary to successfully complete this essential task.
Before we dive into the step-by-step process, it’s important to note that framing exterior walls requires a certain level of skill and knowledge. If you’re a confident and experienced DIY-er, you can tackle this project with the right guidance. However, if you’re unsure about your abilities, it may be wise to consult with a professional or enlist the help of an experienced contractor.
In this article, we’ll cover everything you need to know about framing exterior walls, from gathering the necessary tools and materials to finishing up the wall framing. So, let’s get started!
Key Takeaways:
- Properly framing exterior walls requires gathering essential tools and materials, preparing the workspace, measuring and marking the wall layout, cutting and assembling wall plates, installing wall studs, framing door and window openings, securing the walls, and applying weatherproofing and insulation.
- The process of framing exterior walls involves attention to detail, accurate measurements, and secure installation to ensure structural integrity, stability, and weather resistance. It’s essential to follow local building codes and industry standards for a successful outcome.
Read more: How Thick Are Exterior Walls
Step 1: Gather the necessary tools and materials
Before you begin framing the exterior walls, it’s essential to gather all the tools and materials you’ll need for the project. Having everything at hand will help you work efficiently and ensure that you don’t have to stop midway to find missing supplies. Here is a list of the basic tools and materials you’ll need:
- Measuring tape
- Hammer
- Nail gun
- Level
- Saw (circular or reciprocating)
- Carpenter’s square
- Chalk line
- Corner clamps
- 2×4 lumber for wall plates and studs
- Plywood or OSB (oriented strand board) for sheathing
- Nails
- Construction adhesive
- Weatherproofing materials (house wrap, flashing tape, caulk, etc.)
- Insulation (if applicable)
- Personal protective equipment (safety glasses, gloves, etc.)
Having these tools and materials ready will save you time and ensure that you can complete the project without any unnecessary interruptions. Remember to always prioritize safety and use protective gear when handling tools and working on the construction site.
Step 2: Prepare the workspace
Before you begin framing the exterior walls, it’s important to prepare your workspace to ensure a smooth and efficient construction process. Here are some steps to follow:
- Clean the area: Clear any debris, rocks, or vegetation from the construction site. This will provide a clean and safe area to work in.
- Level the ground: Use a shovel or rake to level the ground where the walls will be constructed. This will help ensure that your walls are straight and properly aligned.
- Mark the wall layout: Use a chalk line and a carpenter’s square to mark the outline of the wall on the ground. This will serve as a guide when you start assembling the wall frames.
- Secure a temporary bracing: Install temporary braces at each corner of the wall layout. This will provide stability and support as you construct and secure the wall frames.
- Ensure proper drainage: If the ground is not adequately sloped to promote drainage, consider digging trenches or installing french drains to prevent water buildup around the foundation of your walls.
By properly preparing the workspace, you’ll create an organized and safe environment for framing the exterior walls. Taking these steps beforehand will ensure that you have a solid foundation to work on and minimize any potential hurdles during the construction process.
Step 3: Measure and mark the wall layout
Accurate measurements and properly marked wall layouts are crucial when framing exterior walls. This step ensures that your walls are straight, square, and properly aligned. Follow these steps to measure and mark the wall layout:
- Refer to the building plans: Review the architectural blueprints or building plans to determine the dimensions and layout of the exterior walls. Familiarize yourself with any specific measurements or design requirements.
- Measure the wall lengths: Use a measuring tape to measure the lengths of the walls. Start from one corner and measure along the wall outline, marking the measurements on the ground with chalk or a pencil.
- Measure the wall heights: Measure the desired height of the walls from the bottom plate to the top plate. Remember to account for any additional factors such as ceiling height or slope of the roof.
- Check for square: Use a carpenter’s square to ensure that the corners of the wall layout form 90-degree angles. Adjust the layout if necessary to achieve square corners.
- Mark the stud locations: Determine the spacing for the wall studs according to local building codes and standards. Typically, studs are spaced at 16 inches or 24 inches on center. Mark these locations on the wall layout to guide you during the framing process.
- Consider door and window openings: Identify the locations and dimensions of door and window openings on the wall layout. Mark these with precise measurements and indicate the appropriate heights and widths.
Accurate measurement and marking of the wall layout will ensure that your walls are constructed properly, straight, and aligned. Take your time with this step to avoid any mistakes or discrepancies that may affect the overall quality of your exterior walls.
Step 4: Cut and assemble wall plates
The wall plates serve as the top and bottom horizontal members of the exterior wall frame. It’s crucial to cut and assemble them accurately to provide a stable base for the wall structure. Here’s a step-by-step guide:
- Measure and mark the wall plates: Using the dimensions of your wall layout, measure and mark the lengths for the top and bottom plates. Ensure that they are straight and have square ends.
- Cut the wall plates: Use a circular or reciprocating saw to cut the wall plates along the marked lines. Take caution when cutting and ensure that you have proper safety measures in place.
- Position the plates: Lay the bottom plate on the ground, aligning it with the marked wall layout. Make sure it’s straight and secure it temporarily in place.
- Attach the plates: Pre-drill holes and secure the plates to the foundation with construction adhesive and masonry screws or anchor bolts. Ensure the plates are level and firmly anchored.
- Cut and install blocking: Measure and cut blocking pieces to fit between the studs. These will provide additional support and stability for the wall structure. Install them between the top and bottom plates at appropriate intervals.
- Install fire blocking: In some cases, building codes may require fire blocking to be installed between the wall studs. This helps prevent the spread of fire within the walls. Cut and install fire blocking at specific heights or as per local regulations.
Properly cutting and assembling the wall plates is essential for a stable and well-aligned exterior wall structure. Take your time to ensure accurate measurements and secure installation, as this will lay the foundation for the rest of the framing process.
Read more: How To Build Exterior Door Framing
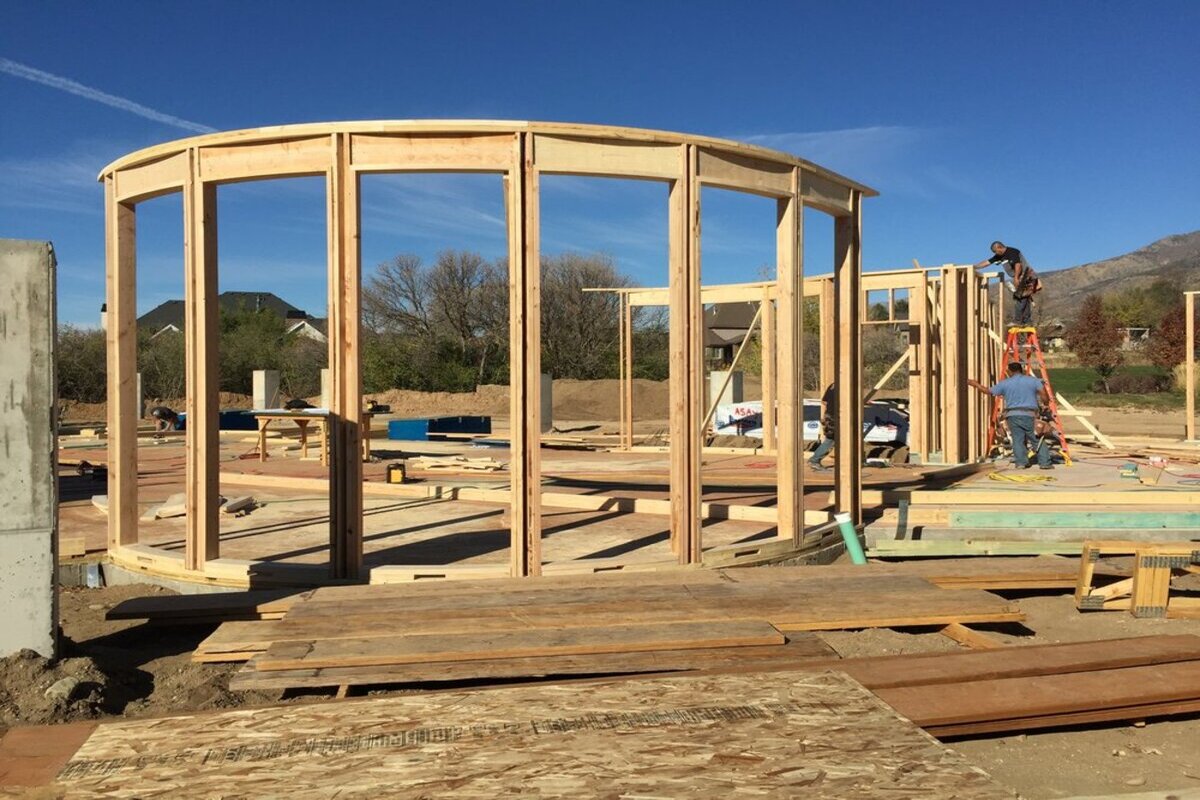
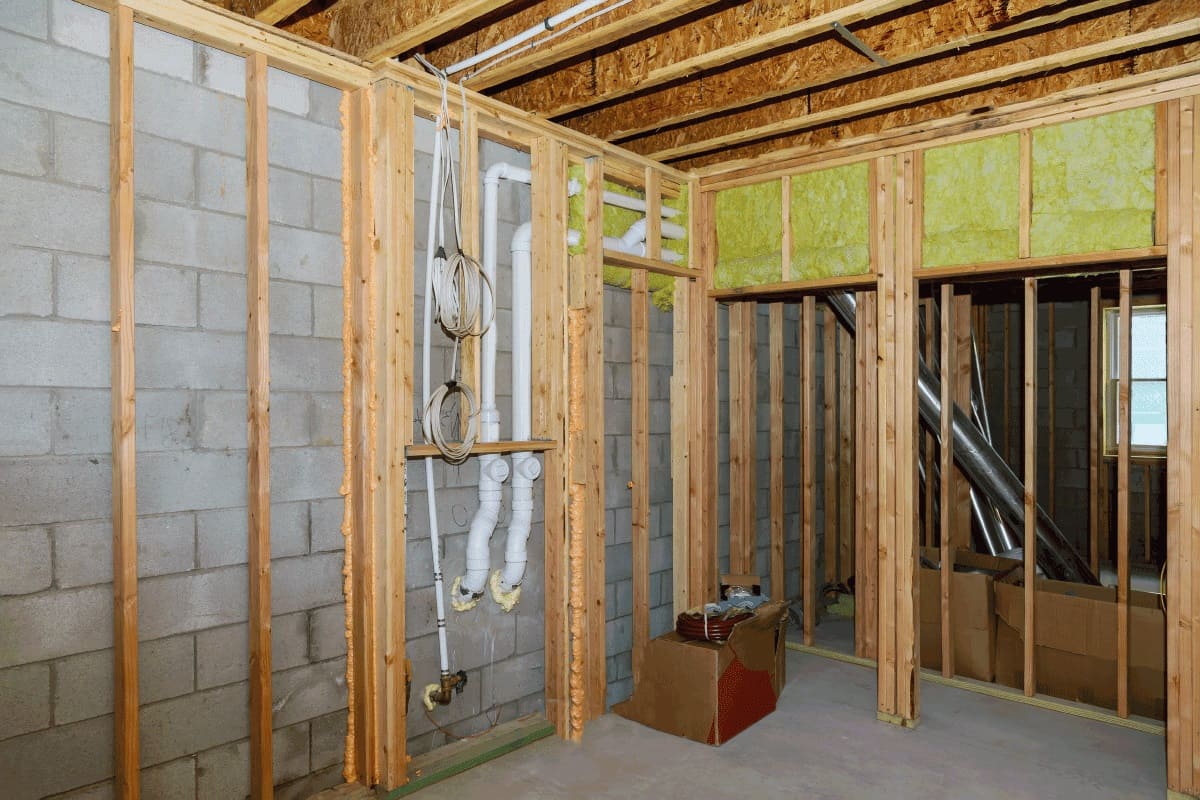
Step 5: Install exterior wall studs
Now that the wall plates are securely in place, it’s time to install the exterior wall studs. These vertical members provide the framework for the walls and support the overall structure. Follow these steps to properly install the wall studs:
- Measure stud spacing: Determine the spacing for the wall studs according to local building codes. Common spacing options are 16 inches or 24 inches on center. Mark these measurements on the top and bottom plates to guide you during installation.
- Prep the studs: Measure and cut the wall studs according to the desired height of the wall. Take into account any variations in ceiling height, floor levels, or door/window heights. Ensure the studs have square ends.
- Position the studs: Starting from one end, place each stud vertically between the top and bottom plates, aligning them with the marked stud spacing. Use a level to ensure the studs are plumb.
- Secure the studs: Nail or screw the studs to the plates using appropriate fasteners. Ensure the studs are securely attached and don’t have any wobbling or movement.
- Continue the process: Repeat the process of measuring, cutting, and installing the wall studs along the entire length of the wall. Pay attention to any door or window openings, adding additional studs as necessary to support these areas.
- Check for alignment: Use a straightedge or level to ensure that the studs are aligned and create a straight and even wall. Make any adjustments as needed before moving forward.
Proper installation of the exterior wall studs is critical for the stability and structural integrity of the walls. Take your time to ensure accurate measurements, level placement, and secure attachment. This step sets the stage for the next stages of framing the exterior walls.
When framing exterior walls, be sure to use pressure-treated lumber for the bottom plate to prevent moisture damage. This will help ensure the longevity and stability of your exterior walls.
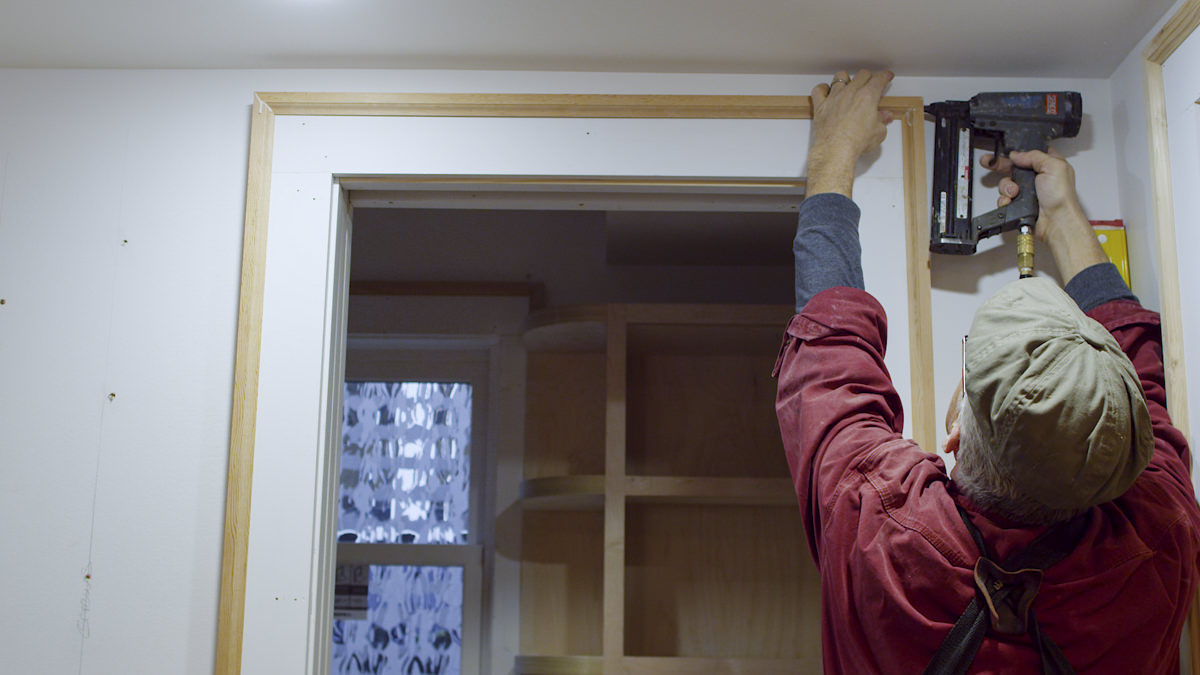
Step 6: Frame door and window openings
Now that the exterior wall studs are securely in place, it’s time to frame the door and window openings. Proper framing of these openings is crucial for structural support and ensuring a proper fit for doors and windows. Follow these steps to frame the openings:
- Measure and mark the opening dimensions: Using the specifications provided by the manufacturer or building plans, measure and mark the dimensions of the door and window openings on the wall studs. Double-check the measurements to ensure accuracy.
- Install header and sill plates: Cut and install the header and sill plates for the door and window openings. These horizontal members provide structural support and help distribute the weight of the walls above the openings.
- Frame the door opening: Install king studs on both sides of the door opening, extending from the bottom plate to the top plate. Next, insert a header between the king studs and secure it in place. Finally, add trimmers on each side of the door opening from the bottom plate to the header.
- Frame the window openings: Similar to the door opening, install king studs on each side of the window opening. Insert a header between the king studs, ensuring it’s level. Add trimmers on each side of the window opening from the bottom plate to the header.
- Add additional support: Depending on the size and weight of the doors or windows, additional cripple studs or jack studs may be needed for added support. Consult building plans or local codes to determine the necessary support requirements.
- Secure the framing: Nail or screw the door and window framing components together securely. Make sure the framing is plumb, level, and square, and check for any signs of movement or instability.
Framing the door and window openings requires careful measurement and accurate placement to ensure a proper fit and structural integrity. Take your time during this step to ensure that the framing is solid and aligned, providing a sturdy foundation for the doors and windows that will be installed later.
Step 7: Secure the framed walls in place
With the exterior walls fully framed, it’s time to secure them in place to ensure stability and structural integrity. Here are the steps to securely fasten the framed walls:
- Check for plumb and square: Before securing the walls, use a level and carpenter’s square to ensure that the walls are plumb (vertical) and square (all corners form 90-degree angles). Make any necessary adjustments before proceeding.
- Install temporary bracing: Install temporary diagonal braces on the exterior side of the walls to prevent them from falling or shifting during the installation process. These braces will provide stability while you secure the walls in place.
- Anchor the walls to the foundation: Use construction adhesive and nails or anchor bolts to secure the bottom wall plates to the foundation. This will provide a solid connection between the walls and the foundation, preventing any movement or shifting.
- Secure the walls to each other: Nail or screw the adjacent walls together at the corners, ensuring they are properly aligned and flush. Use corner clamps to hold the walls in place while fastening them together.
- Add additional bracing: Install temporary horizontal and diagonal braces between the walls to provide additional support and prevent any movement. These braces can be removed later once the structure is more secure.
- Double-check alignment: Use a level and plumb line to confirm that the walls are straight and aligned. Make any necessary adjustments to ensure the walls are properly positioned before proceeding.
By securely fastening the framed walls in place, you ensure they remain stable and aligned throughout the construction process. Taking the time to properly anchor and brace the walls provides a solid foundation for the rest of the building project.
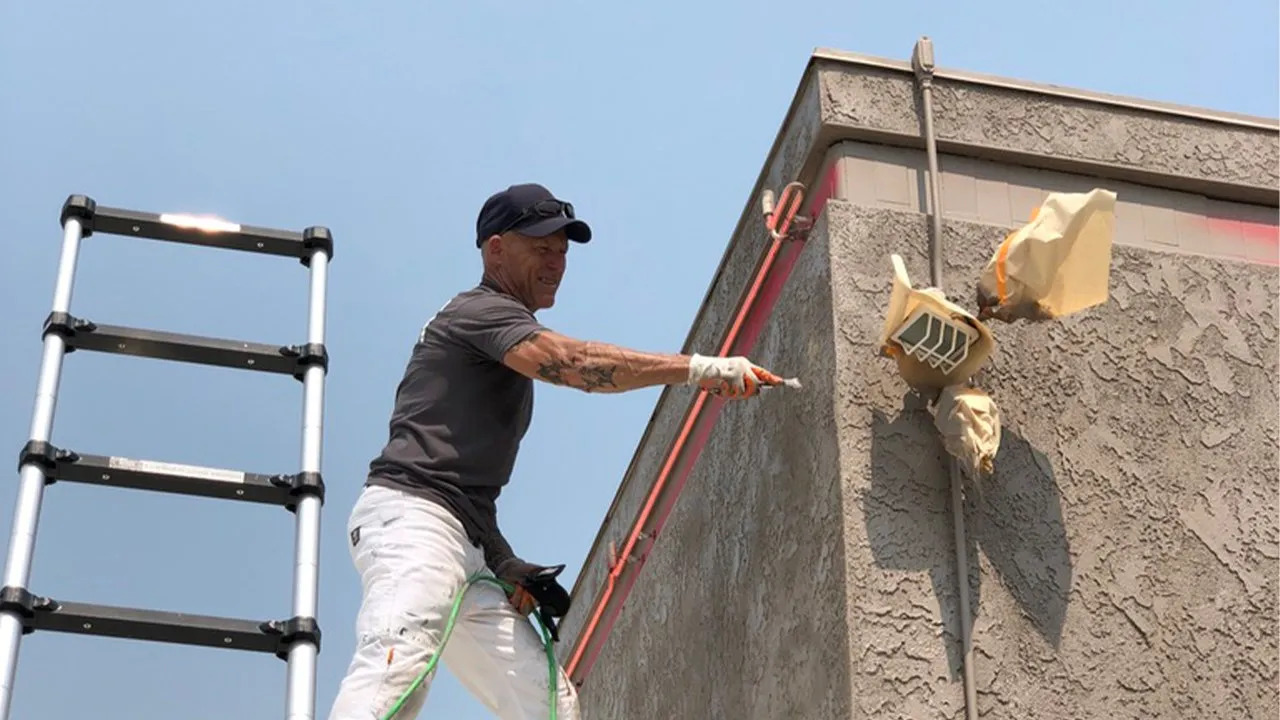
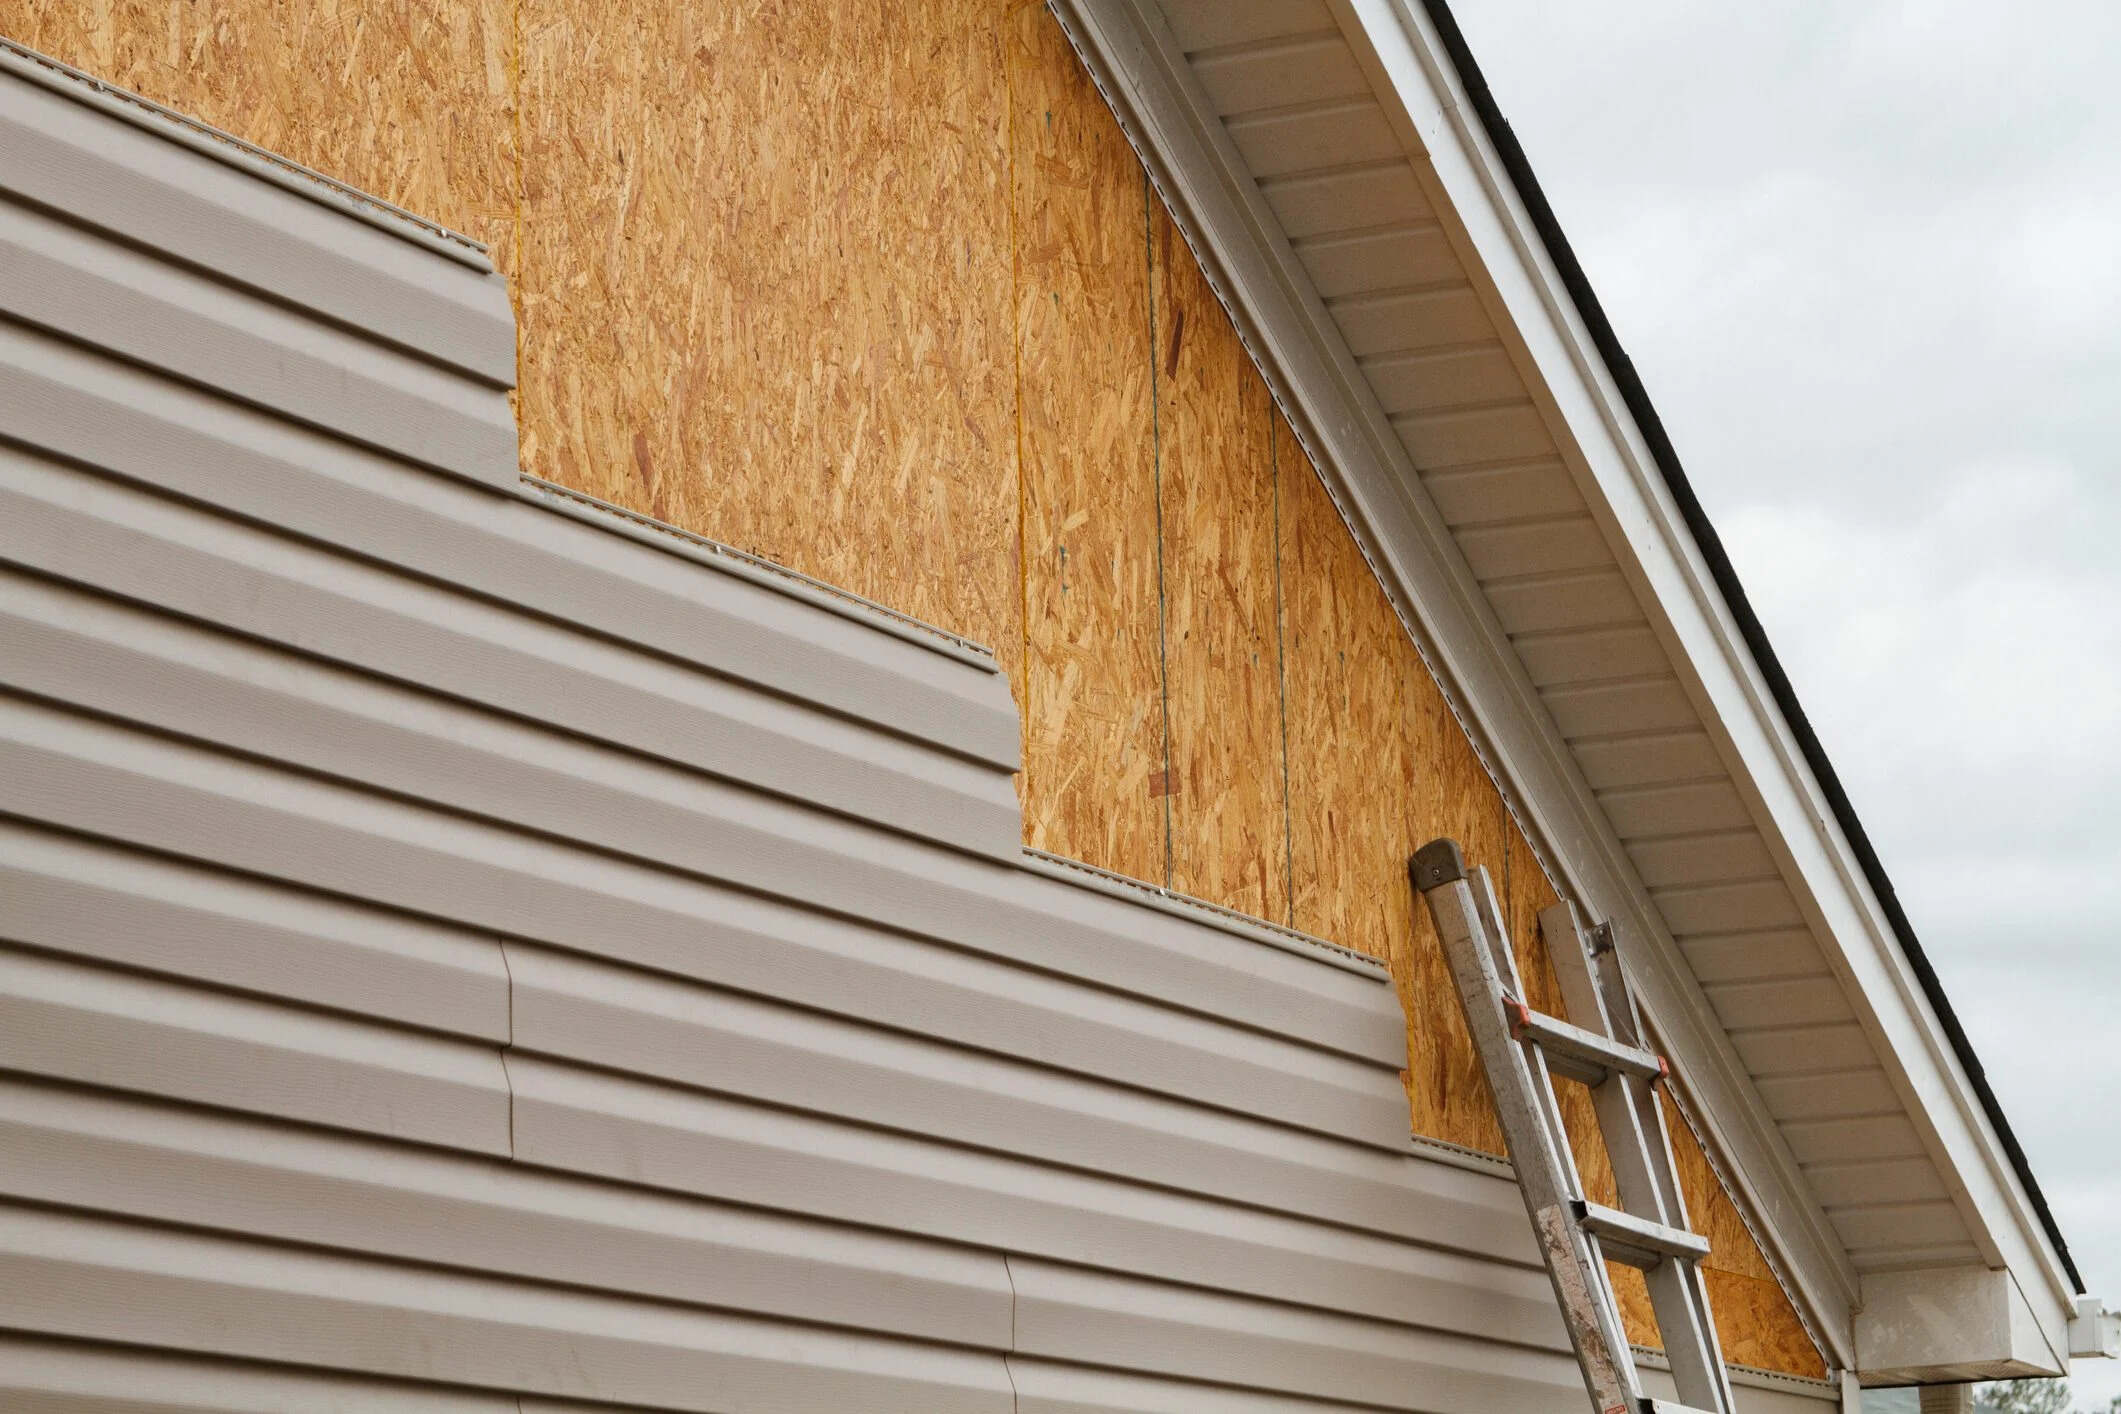
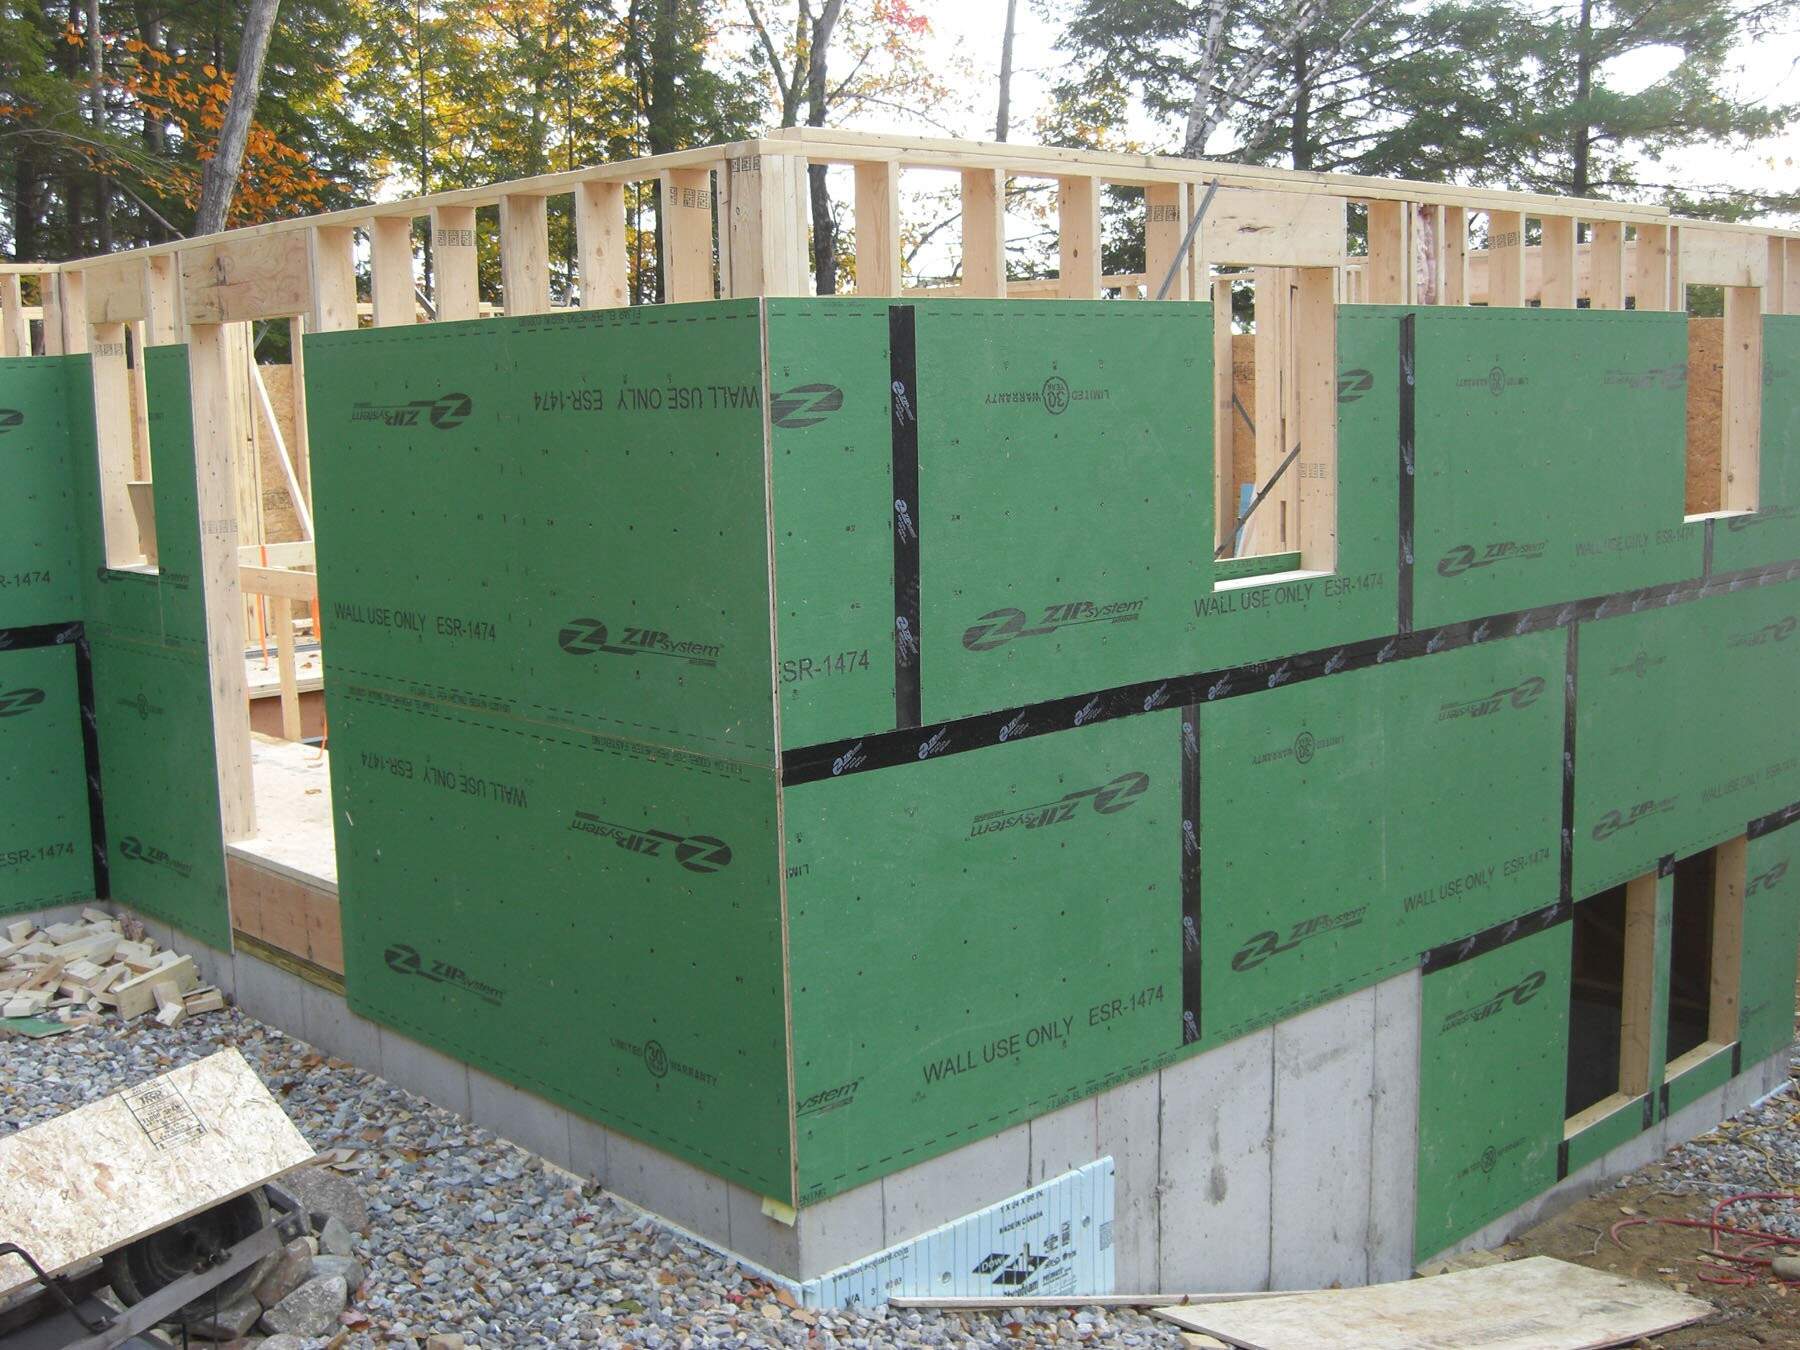
Step 8: Install exterior sheathing
With the framed walls secured in place, it’s time to install the exterior sheathing. This layer serves as a protective barrier, providing additional structural integrity, insulation, and weather resistance. Follow these steps to install the exterior sheathing:
- Select the sheathing material: Choose an appropriate sheathing material based on your building plans and local codes. Common options include plywood or oriented strand board (OSB). Ensure it is compatible with the climate and conditions of your area.
- Measure and cut the sheathing: Measure and mark the dimensions of the wall sections on the sheathing material. Use a circular saw or a table saw to cut the sheathing panels to the correct size.
- Start at the corners: Begin installation at a corner of the wall. Have a helper hold the first sheathing panel in place while you secure it to the wall studs using nails or screws. Ensure the panel is plumb and flush with the edges of the wall.
- Continue with the remaining panels: Install the remaining sheathing panels, working your way along the wall. Leave a small gap between panels to allow for expansion. Secure each panel to the wall studs using nails or screws, making sure they are properly aligned.
- Overlap the joints: Ensure that the sheathing panels overlap at the joints according to manufacturer’s instructions. This helps to create a continuous, waterproof barrier and improve the overall strength of the wall structure.
- Trim openings: Use a jigsaw or a reciprocating saw to cut out openings for doors, windows, and any other required openings. Take accurate measurements to ensure a precise fit.
- Seal the seams: Apply a weatherproofing tape or sealant to seal the seams between the sheathing panels. This helps to prevent water infiltration and improve the overall weather resistance of the walls.
Installing exterior sheathing is an essential step in creating a durable and weather-resistant wall system. Ensure each panel is properly fastened and aligned, and take extra care when installing around openings to maintain structural integrity.
Read more: How To Waterproof Exterior Walls
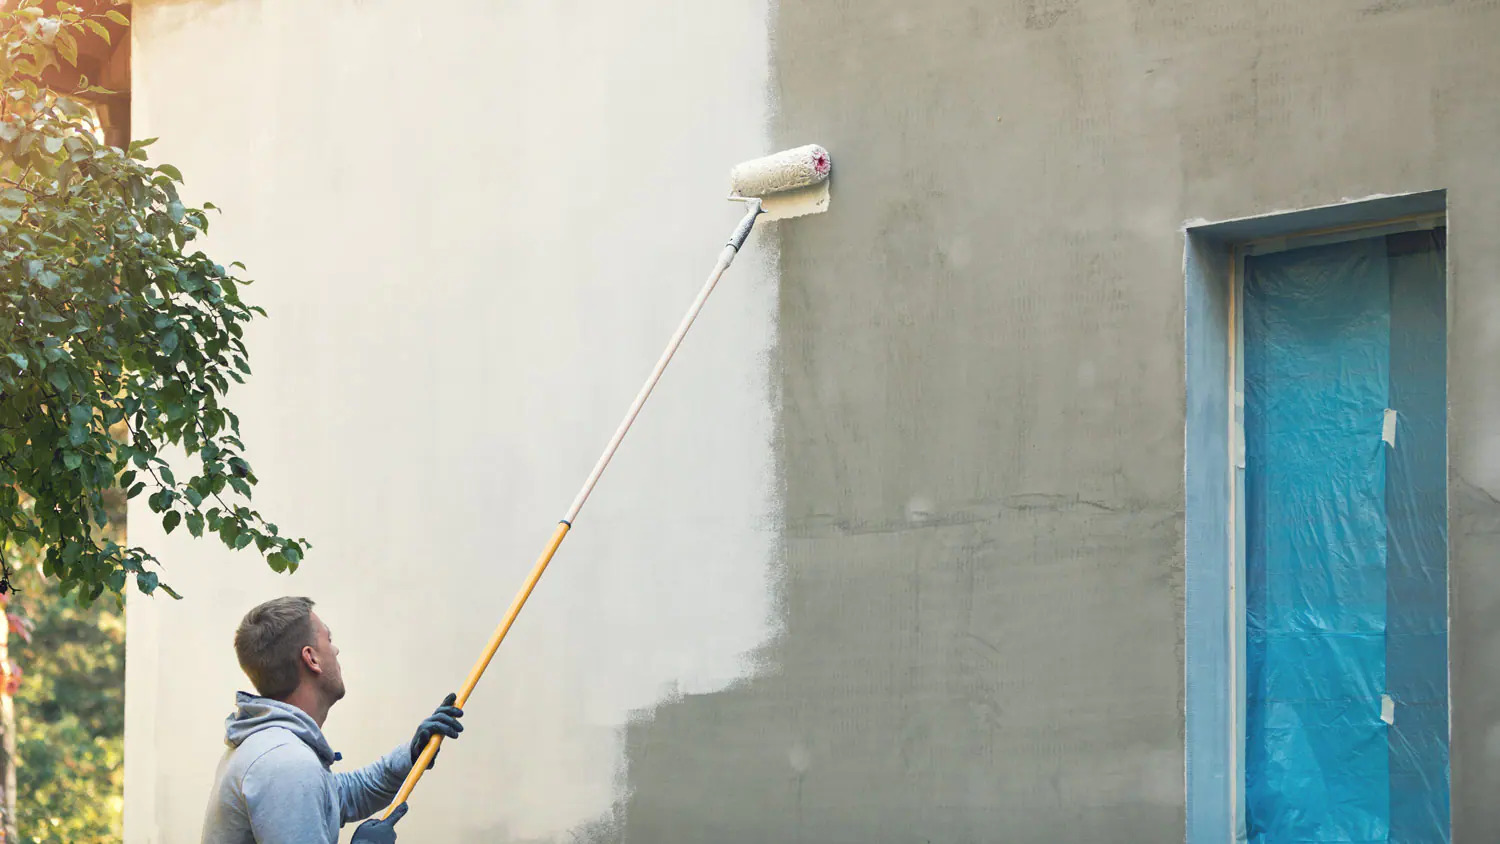
Step 9: Apply weatherproofing and insulation
After installing the exterior sheathing, it’s important to apply weatherproofing materials and insulation to enhance the energy efficiency and durability of your walls. Here’s how to complete this step:
- Install house wrap: Begin by installing a layer of house wrap over the exterior sheathing. This acts as a moisture barrier, preventing water penetration while allowing the walls to breathe. Secure the house wrap tightly around the walls, overlapping the seams and sealing them with tape or adhesive.
- Apply flashing: Install flashing around windows, doors, and any other vulnerable areas to prevent water intrusion. Follow manufacturer instructions for proper installation techniques.
- Insulate the walls: Install insulation in the wall cavities to improve energy efficiency and thermal performance. Choose insulation material suitable for your climate and follow local building codes. Ensure insulation is cut to fit snugly in each cavity.
- Vapor barrier installation: If recommended by local building codes and climate conditions, add a vapor barrier layer over the insulation to prevent moisture transmission. Install according to manufacturer guidelines, ensuring proper overlap and sealing of seams.
- Seal gaps and penetrations: Seal any gaps or penetrations in the exterior walls using caulk or foam insulation to prevent air leaks and moisture infiltration.
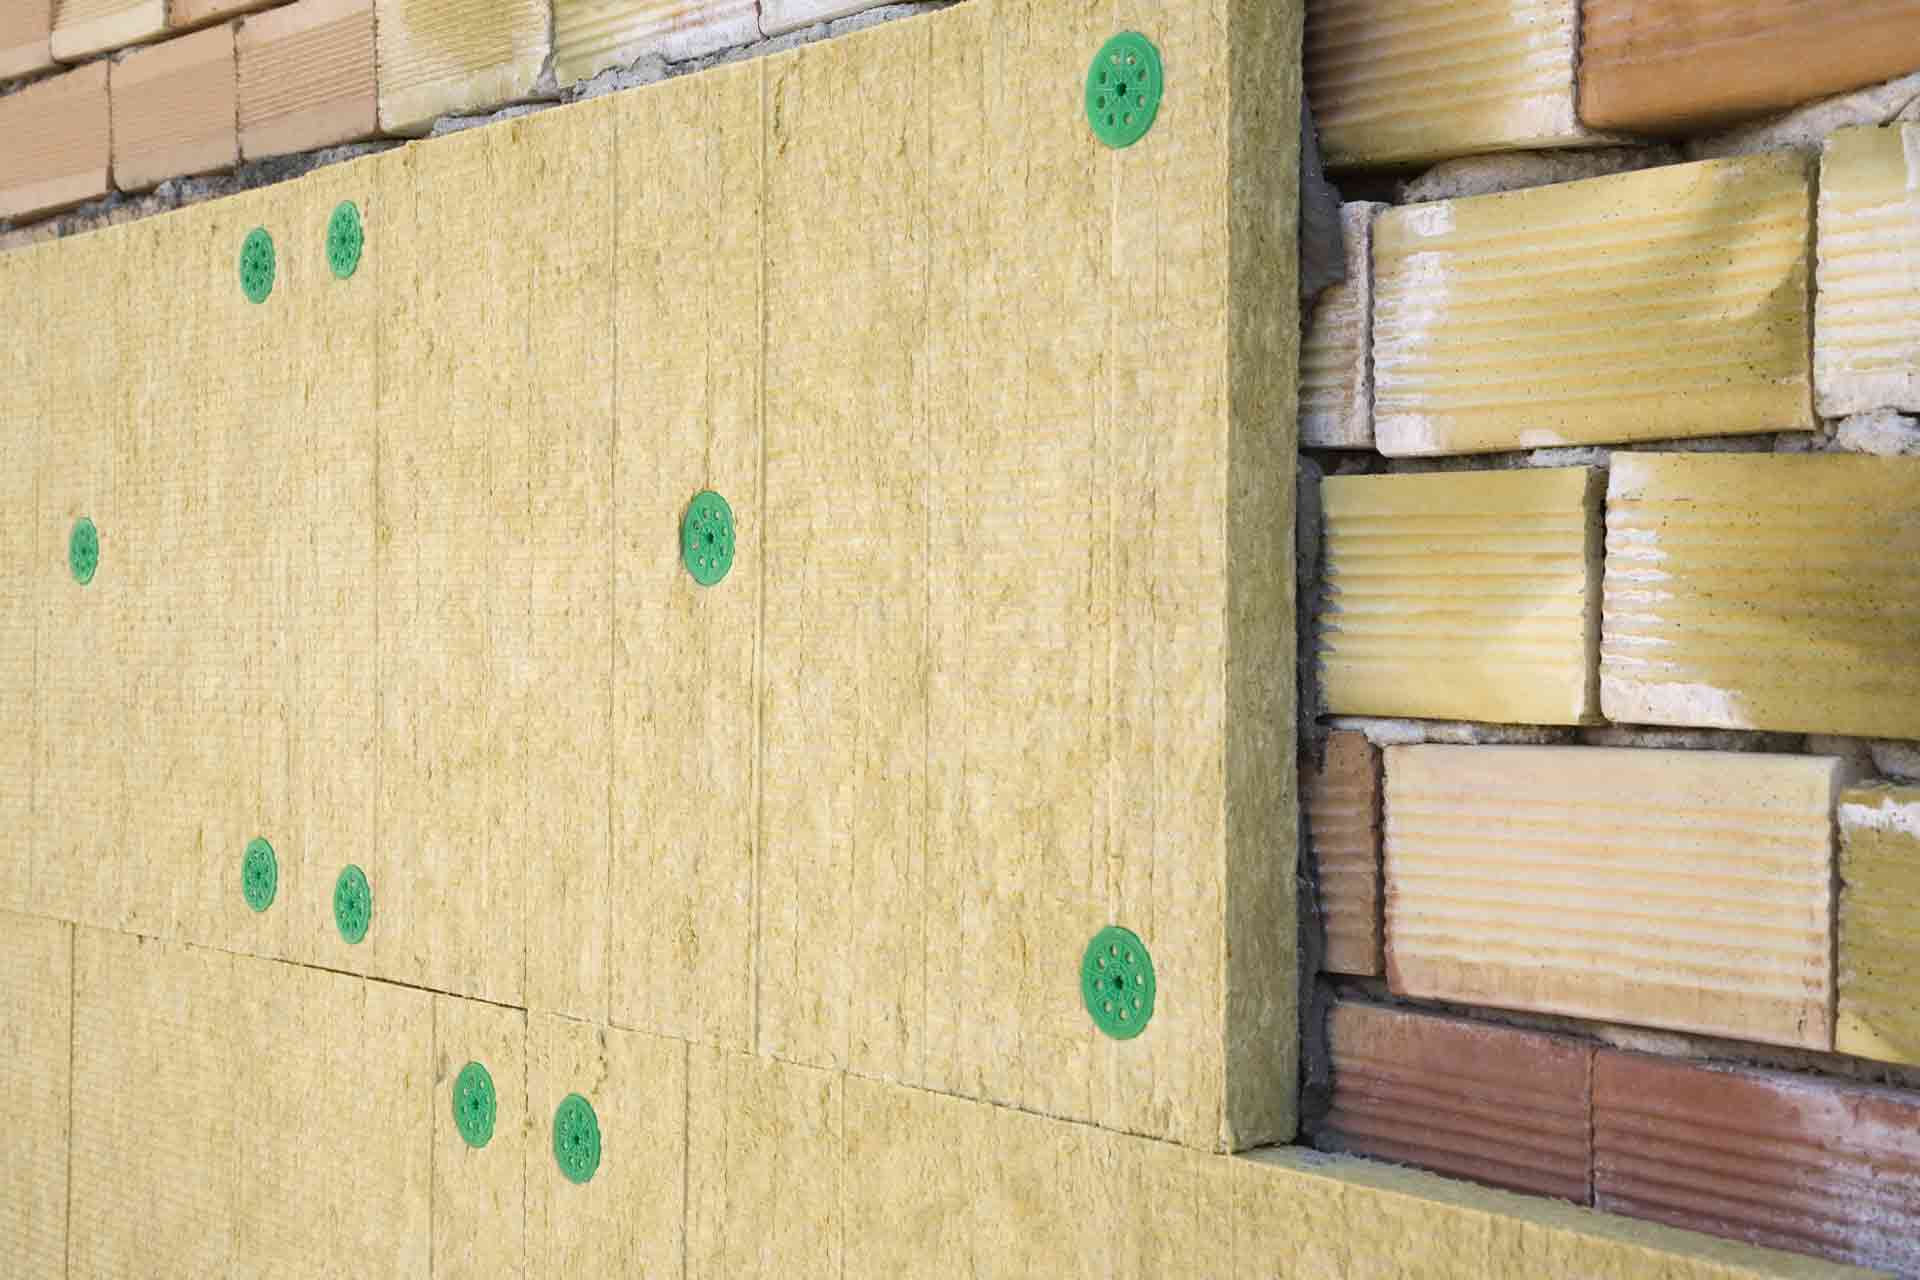
- Consider additional insulation: Depending on the energy efficiency requirements and your climate, consider adding exterior insulation to further enhance thermal performance. This can be in the form of rigid foam insulation installed over the sheathing.
Applying weatherproofing materials and insulation is crucial for creating a comfortable and energy-efficient living space. These measures help prevent moisture build-up, improve thermal performance, and reduce energy consumption.
Step 10: Finish the exterior wall framing
With the weatherproofing and insulation in place, it’s time to finish the exterior wall framing. This final step involves completing the remaining elements of the framing process to prepare the walls for further construction. Here’s what you need to do:
- Add blocking and additional framing: Install blocking between the wall studs for added support and stability. This will help reinforce the structure and provide attachment points for interior finishes and exterior cladding.
- Frame the wall corners: Reinforce the corners of the walls by adding metal corner braces or additional framing members. This will strengthen the corners and ensure the walls maintain their shape and alignment.
- Install electrical and plumbing systems: If applicable, rough-in the electrical and plumbing systems within the walls before adding the interior finishes. Consult with professionals to ensure proper installation and adherence to local building codes.
- Prepare for interior finishes: Install blocking where necessary to support interior features such as cabinets, countertops, or handrails. Plan and prepare for any specific requirements of the finishing materials that will be applied to the interior walls.
- Inspect and make any necessary adjustments: Take the time to inspect the walls for any discrepancies, such as unevenness or structural issues. Make any needed adjustments or repairs to ensure that the walls are in proper condition for future stages of construction.
- Consult with professionals: If you’re unsure about any aspect of the finishing process, it’s advisable to consult with contractors or professionals in the field. They can provide valuable insights and help you ensure that the exterior wall framing is completed to industry standards.
By completing the finishing touches on the exterior wall framing, you set the stage for the next phases of construction. Be meticulous during this step, ensuring that all elements are properly installed and in compliance with building codes and industry best practices.
Frequently Asked Questions about How To Frame Exterior Walls
Was this page helpful?
At Storables.com, we guarantee accurate and reliable information. Our content, validated by Expert Board Contributors, is crafted following stringent Editorial Policies. We're committed to providing you with well-researched, expert-backed insights for all your informational needs.


0 thoughts on “How To Frame Exterior Walls”