Home>Furniture>Outdoor Furniture>How To Paint Plastic Patio Chairs

Outdoor Furniture
How To Paint Plastic Patio Chairs
Modified: March 7, 2024
Learn how to transform your outdoor furniture with this step-by-step guide on painting plastic patio chairs. Perfect for reviving your outdoor space.
(Many of the links in this article redirect to a specific reviewed product. Your purchase of these products through affiliate links helps to generate commission for Storables.com, at no extra cost. Learn more)
Introduction
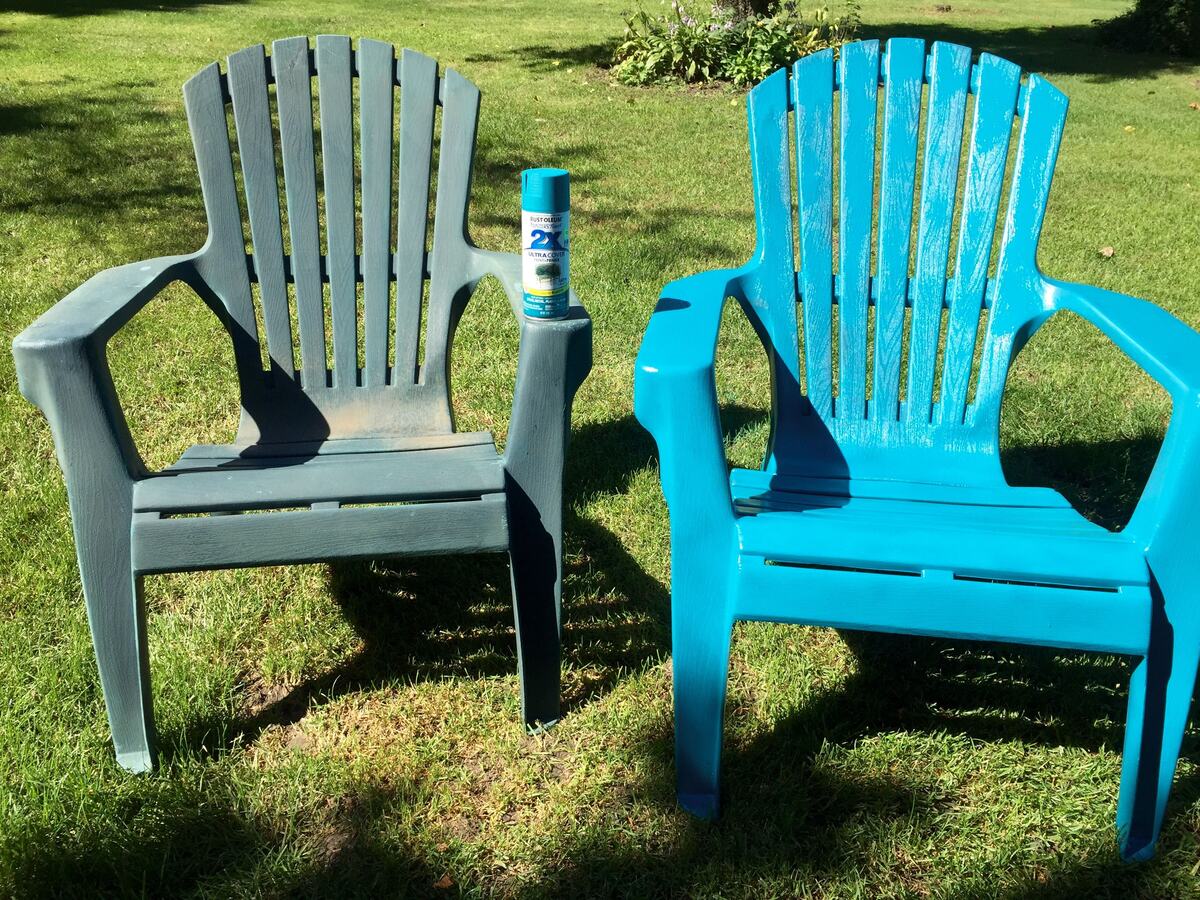
Welcome to our guide on how to paint plastic patio chairs! If you have weathered plastic chairs that have lost their sheen and charm, painting them can breathe new life into your outdoor space. Whether you want to match them to your current color scheme or give them a completely new look, this step-by-step tutorial will guide you through the process of transforming your plastic patio chairs.
Painting plastic furniture requires careful preparation and the right materials to ensure a long-lasting finish. With the help of a few supplies and some patience, you’ll be able to revitalize your chairs and create a welcoming outdoor seating area.
Before we dive into the step-by-step instructions, let’s quickly go over the materials you’ll need to get started.
Key Takeaways:
- Revitalize weathered plastic patio chairs by following a step-by-step painting process. Proper preparation, cleaning, and priming are essential for achieving a durable and vibrant finish.
- Choose outdoor paint and primer specifically formulated for plastic surfaces. Applying a protective finish can enhance durability and protect the chairs from fading or chipping.
Read more: How To Spray Paint Patio Chairs
Materials Needed
Before you embark on your plastic patio chair painting project, gather the following materials:
- Plastic patio chairs
- Sandpaper (medium and fine grit)
- Tack cloth or microfiber cloth
- Primer specifically formulated for plastic surfaces
- Outdoor paint suitable for plastic
- Paintbrushes (synthetic bristle brushes work well)
- Drop cloth or old sheets to protect the surrounding area
- Masking tape or painter’s tape
- Protective finish (optional)
Make sure to choose outdoor paint and primer that are specifically formulated for plastic surfaces. This is essential to achieve maximum adhesion and durability. Additionally, consider selecting a paint color that complements your outdoor decor and style.
Once you have gathered all the necessary materials, you’re ready to start transforming your plastic patio chairs!
Step 1: Preparing the Chairs
Before you begin the painting process, it’s crucial to properly prepare your plastic patio chairs. This step ensures that the paint adheres well and creates a smooth, durable finish. Follow these steps to prepare the chairs:
- Start by removing any cushions or accessories from the chairs.
- If your chairs are stackable, separate them to make it easier to work on each chair individually.
- Choose a well-ventilated area, preferably outdoors, to work on the chairs. If this is not possible, make sure to open windows and use a fan to ensure proper airflow.
- Place a drop cloth or old sheets under the chairs to protect the surrounding area.
- Inspect the chairs for any loose or broken parts. Tighten or repair them as needed.
- If there are any stubborn stains or grime on the chairs, use a mild detergent mixed with water to clean them. Rinse thoroughly and allow the chairs to dry completely before proceeding.
By properly preparing the chairs, you’ll create a clean and smooth surface, allowing the paint to adhere better and increase the longevity of your newly painted plastic patio chairs.
Step 2: Cleaning the Chairs
Once you have prepared the chairs, it’s time to thoroughly clean them to remove any dirt, grime, or leftover cleaning solution. Follow these steps to clean your plastic patio chairs:
- Fill a bucket with warm water and add a mild detergent.
- Dip a soft-bristled brush or sponge into the soapy water and scrub the chairs gently in a circular motion.
- Pay special attention to any areas with stains or stubborn dirt, using a bit of extra pressure if necessary.
- Rinse the chairs with clean water to remove the soap residue.
- Use a microfiber cloth or tack cloth to dry the chairs thoroughly.
- Inspect the chairs for any remaining dirt or stains. If needed, repeat the cleaning process.
It’s important to ensure that the chairs are completely dry before moving on to the next step. Any moisture left on the surface can interfere with paint adhesion and result in an uneven finish. Take your time to clean the chairs properly, as this will contribute to the overall quality and longevity of the painted surface.
Step 3: Sanding the Chairs
Sanding the chairs is a crucial step in the painting process, as it helps create a rough surface for better paint adhesion. Follow these steps to sand your plastic patio chairs:
- Put on a pair of gloves and protective eyewear to ensure your safety.
- Using medium-grit sandpaper, start sanding the chairs in a circular motion. Focus on any glossy or smooth areas, as these need to be roughened up for optimal paint adhesion.
- Continue sanding until the surface of the chairs feels slightly rough to the touch. Don’t worry about removing the entire glossy finish; the goal is to create a gentle texture.
- Switch to a fine-grit sandpaper and go over the chairs again to smooth out any rough areas left by the medium-grit sandpaper.
- After sanding, use a tack cloth or microfiber cloth to remove any dust or debris from the surface of the chairs.
Sanding the chairs helps create micro-indentations in the plastic, allowing the primer and paint to adhere better. It also helps smooth out any imperfections on the surface. Take your time during this step to ensure that the chairs are properly sanded and free from dust before moving on to the next step.
Before painting plastic patio chairs, make sure to clean them thoroughly with soap and water to remove any dirt or debris. This will help the paint adhere better and last longer.
Read also: 10 Best Plastic Patio Chairs For 2024
Step 4: Priming the Chairs
Priming the chairs is a crucial step in the process of painting plastic patio chairs. The primer helps create a strong bond between the plastic surface and the paint, ensuring a durable and long-lasting finish. Follow these steps to prime your chairs:
- Make sure that the chairs are clean, dry, and free from any dust or debris.
- Place the chairs on a drop cloth or old sheets to protect the surrounding area.
- Shake the can of plastic primer well to ensure proper mixing of the contents.
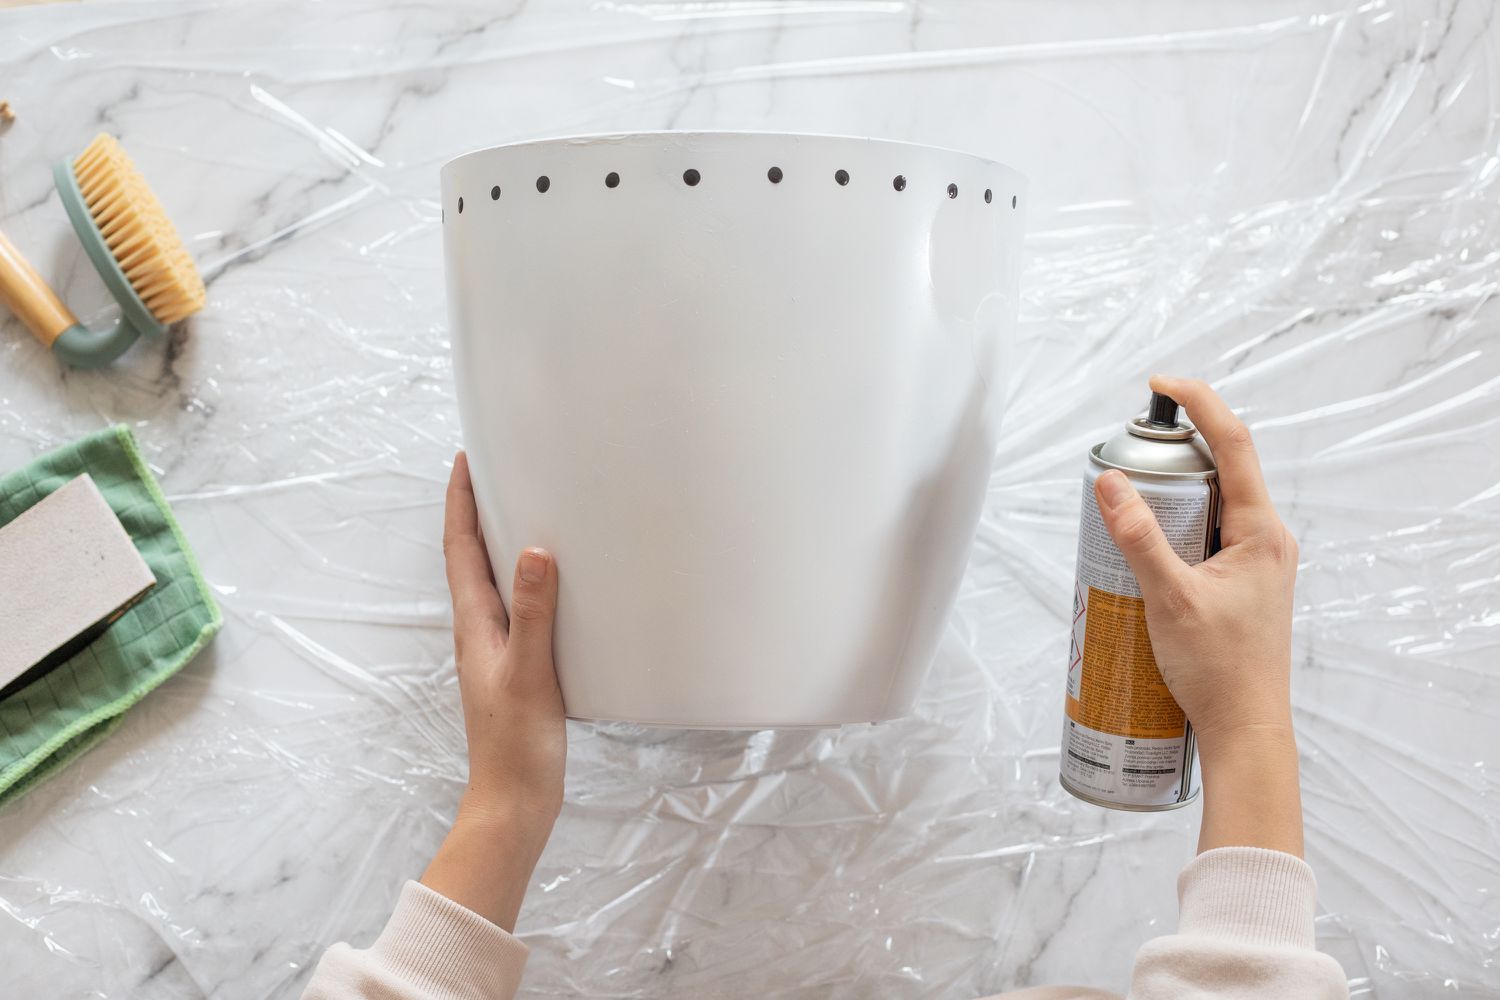
- Hold the can about 6-8 inches away from the chairs and apply an even coat of primer. Start with the undersides of the chairs, then move to the top and sides.
- Use smooth, sweeping motions to apply the primer. Avoid overspraying or creating thick build-ups, which can lead to a less even finish.
- Allow the primer to dry completely according to the manufacturer’s instructions. This typically takes around 1-2 hours, but it may vary depending on the specific product and environmental conditions.
- Inspect the chairs for any missed spots or areas that require additional primer. Apply a second coat if necessary, following the same application process.
- Allow the primer to dry completely before moving on to the next step. This ensures that the surface is properly prepared for the paint.
Priming the chairs helps create a solid foundation for the paint and improves its adhesion to the plastic surface. It also helps enhance the color and overall finish of the final coat. Take your time during this step to ensure that the chairs are evenly and thoroughly primed before proceeding to the next step.
Step 5: Painting the Chairs
Now that you have properly primed the chairs, it’s time to paint them. Choose a high-quality outdoor paint specifically formulated for use on plastic surfaces. Follow these steps to achieve a smooth and professional-looking finish:
- Ensure that the chairs are clean, dry, and free from any dust or debris.
- Place the chairs on a drop cloth or old sheets to protect the surrounding area.
- Shake the can of outdoor paint well to ensure proper mixing of the contents.
- Hold the can of paint about 6-8 inches away from the chairs and apply an even coat of paint. Start with the undersides of the chairs, then move to the top and sides.
- Use smooth, sweeping motions to apply the paint, overlapping each stroke slightly for an even and consistent finish.
- Allow the first coat of paint to dry completely according to the manufacturer’s instructions. This typically takes around 1-2 hours, but it may vary depending on the specific product and environmental conditions.
- Inspect the chairs for any missed spots or areas that require additional paint. Apply a second coat if necessary, following the same application process.
- Allow the final coat of paint to dry completely before moving or using the chairs. This ensures that the paint has cured properly and is ready for use.
Take your time and apply thin, even coats of paint to achieve the best results. Avoid thick layers of paint, as they can lead to drips, uneven drying, and a less professional finish. Allow each coat to dry completely before applying the next one.
Once the chairs are completely dry, you can proceed to the final step of applying a protective finish (optional) to enhance the durability and longevity of the painted surface.
Step 6: Applying a Protective Finish
Applying a protective finish to your newly painted plastic patio chairs is an optional step that can help enhance their durability and protect the paint from fading or chipping. Follow these steps to apply a protective finish:
- Ensure that the chairs are clean and dry.
- Choose a clear, outdoor sealant or topcoat specifically designed for use on painted plastic surfaces.
- Read and follow the manufacturer’s instructions on the sealant or topcoat carefully.
- Using a soft-bristle brush or foam brush, apply a thin, even coat of the protective finish to the chairs.
- Work in small sections, smoothing out any brushstrokes or imperfections as you go.
- Allow the protective finish to dry completely according to the manufacturer’s instructions. This typically takes around 24 hours, but it may vary depending on the specific product and environmental conditions.
- If desired, you can apply a second coat of protective finish for added durability.
The protective finish acts as a barrier between the painted surface and outdoor elements, providing additional protection against UV rays, moisture, and general wear and tear. It helps extend the life of your newly painted chairs and keeps them looking vibrant for longer.
Remember to follow any specific instructions or recommendations provided with the protective finish product you choose. This will ensure that you achieve the best results and maximize the longevity of your painted plastic patio chairs.
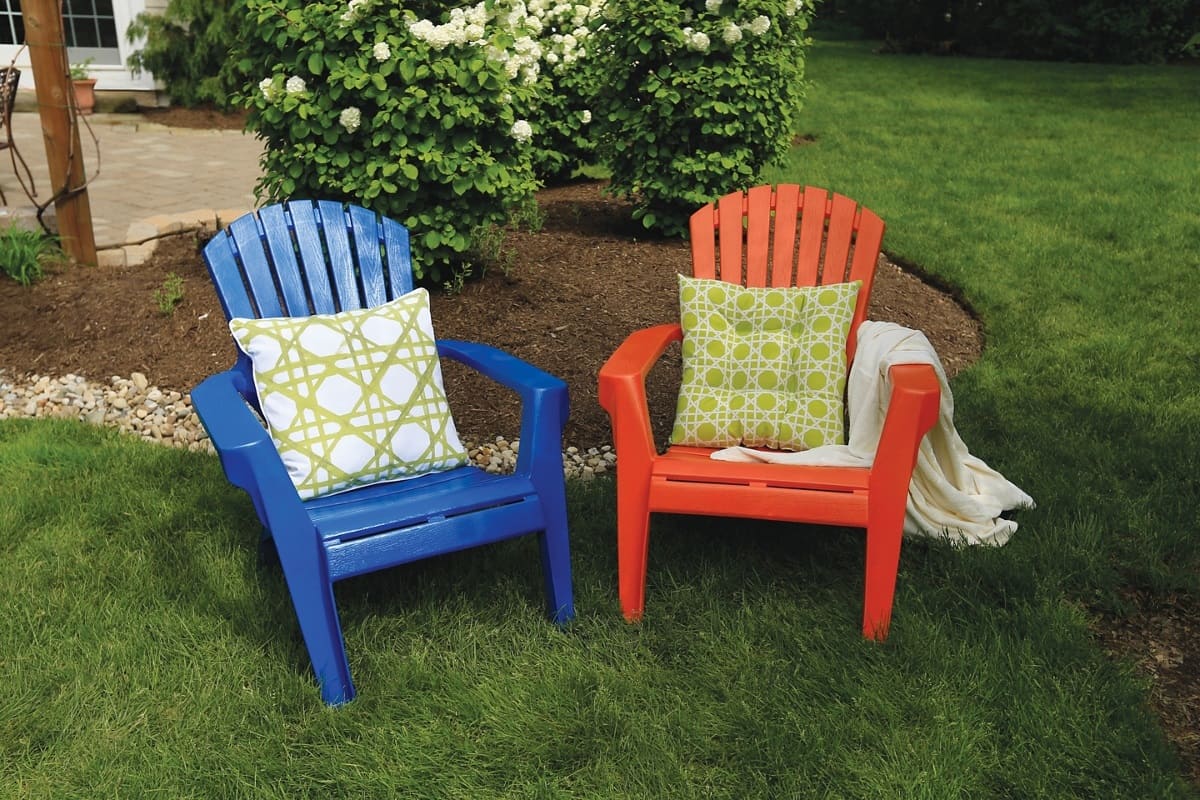
Once the protective finish is dry, you can place the chairs back in their desired location and enjoy your newly refreshed outdoor seating area!
Conclusion
Congratulations! You have successfully learned how to paint plastic patio chairs and have transformed them into a stylish and vibrant addition to your outdoor space. By following the step-by-step process of preparation, cleaning, sanding, priming, painting, and applying a protective finish, you have ensured a durable and long-lasting finish on your chairs.
Painting plastic patio chairs not only revitalizes their appearance but also allows you to customize and match them to your outdoor décor. With the right materials and techniques, you can achieve professional-looking results that will withstand the elements and provide years of enjoyment.
Remember to choose outdoor paint specifically formulated for plastic surfaces and use proper priming techniques for optimal paint adhesion. Sanding the chairs helps create a textured surface, improving paint adhesion and creating a smoother finished look. Additionally, applying a protective finish provides an extra layer of durability and helps prevent fading or chipping of the paint.
Take your time during each step of the process, ensuring that the chairs are clean, dry, and free from any debris. Applying thin, even coats of paint and allowing each layer to dry completely before applying the next will result in a professional-looking finish.
Now, sit back, relax, and enjoy your newly painted plastic patio chairs. Whether you’re hosting a backyard barbecue or enjoying a peaceful evening outdoors, your refreshed chairs will surely add charm and comfort to your outdoor oasis.
Thank you for reading our guide on how to paint plastic patio chairs. We hope it has been helpful in guiding you through the process and inspiring you to transform your outdoor furniture. Happy painting!
Frequently Asked Questions about How To Paint Plastic Patio Chairs
Was this page helpful?
At Storables.com, we guarantee accurate and reliable information. Our content, validated by Expert Board Contributors, is crafted following stringent Editorial Policies. We're committed to providing you with well-researched, expert-backed insights for all your informational needs.





0 thoughts on “How To Paint Plastic Patio Chairs”