Home>Home Maintenance>How To Paint A Wood Cabinet
Home Maintenance
How To Paint A Wood Cabinet
Modified: January 23, 2024
Learn how to paint a wood cabinet and transform your home with this easy home maintenance project.
(Many of the links in this article redirect to a specific reviewed product. Your purchase of these products through affiliate links helps to generate commission for Storables.com, at no extra cost. Learn more)
Introduction
Welcome to our comprehensive guide on how to paint a wood cabinet! If you’re looking to update the look of your cabinets or give them a fresh new color, painting is a cost-effective and rewarding option. Whether you’re a seasoned DIY enthusiast or a beginner, this step-by-step guide will help you achieve professional-looking results.
Painting a wood cabinet not only transforms its appearance but also helps protect the wood from wear and tear. With the right materials, preparation, and techniques, you can easily update your cabinets to match your current home decor.
Before diving into the process, it’s important to gather all the necessary materials to ensure a smooth painting experience. Let’s take a look at what you’ll need:
Key Takeaways:
- Transform your wood cabinet with a professional finish by following our step-by-step guide. From preparation to choosing the right paint, achieve a durable and beautiful update for your home.
- Patience and attention to detail are crucial for painting a wood cabinet. Proper preparation, thin coats, and ample drying time lead to a long-lasting, aesthetically pleasing result.
Read more: How To Paint Wood Siding
Materials Needed
Before you begin painting your wood cabinet, it’s important to gather all the necessary materials. Here’s a list of items you’ll need:
- Wood cabinet
- Screwdriver
- Sandpaper (medium and fine grit)
- Tack cloth or microfiber cloth
- Primer
- Paint (latex or oil-based)
- Paintbrush
- Paint roller
- Paint tray
- Painter’s tape
- Drop cloth or newspaper
- Optional: paint sprayer for a more professional finish
Make sure to choose high-quality materials to ensure the longevity and durability of the painted finish. It’s always better to invest in good-quality paint and tools for a smoother application and better end result.
Preparation
Proper preparation is crucial for a successful cabinet painting project. It ensures that the paint adheres well and gives you a smooth and professional-looking finish. Follow these steps to prepare the cabinet:
- Remove all contents: Empty out the cabinet and remove any shelves or drawers.
- Remove hardware: Unscrew and remove any hardware such as knobs, handles, or hinges from the cabinet. This will make the painting process easier and prevent accidental paint application on the hardware.
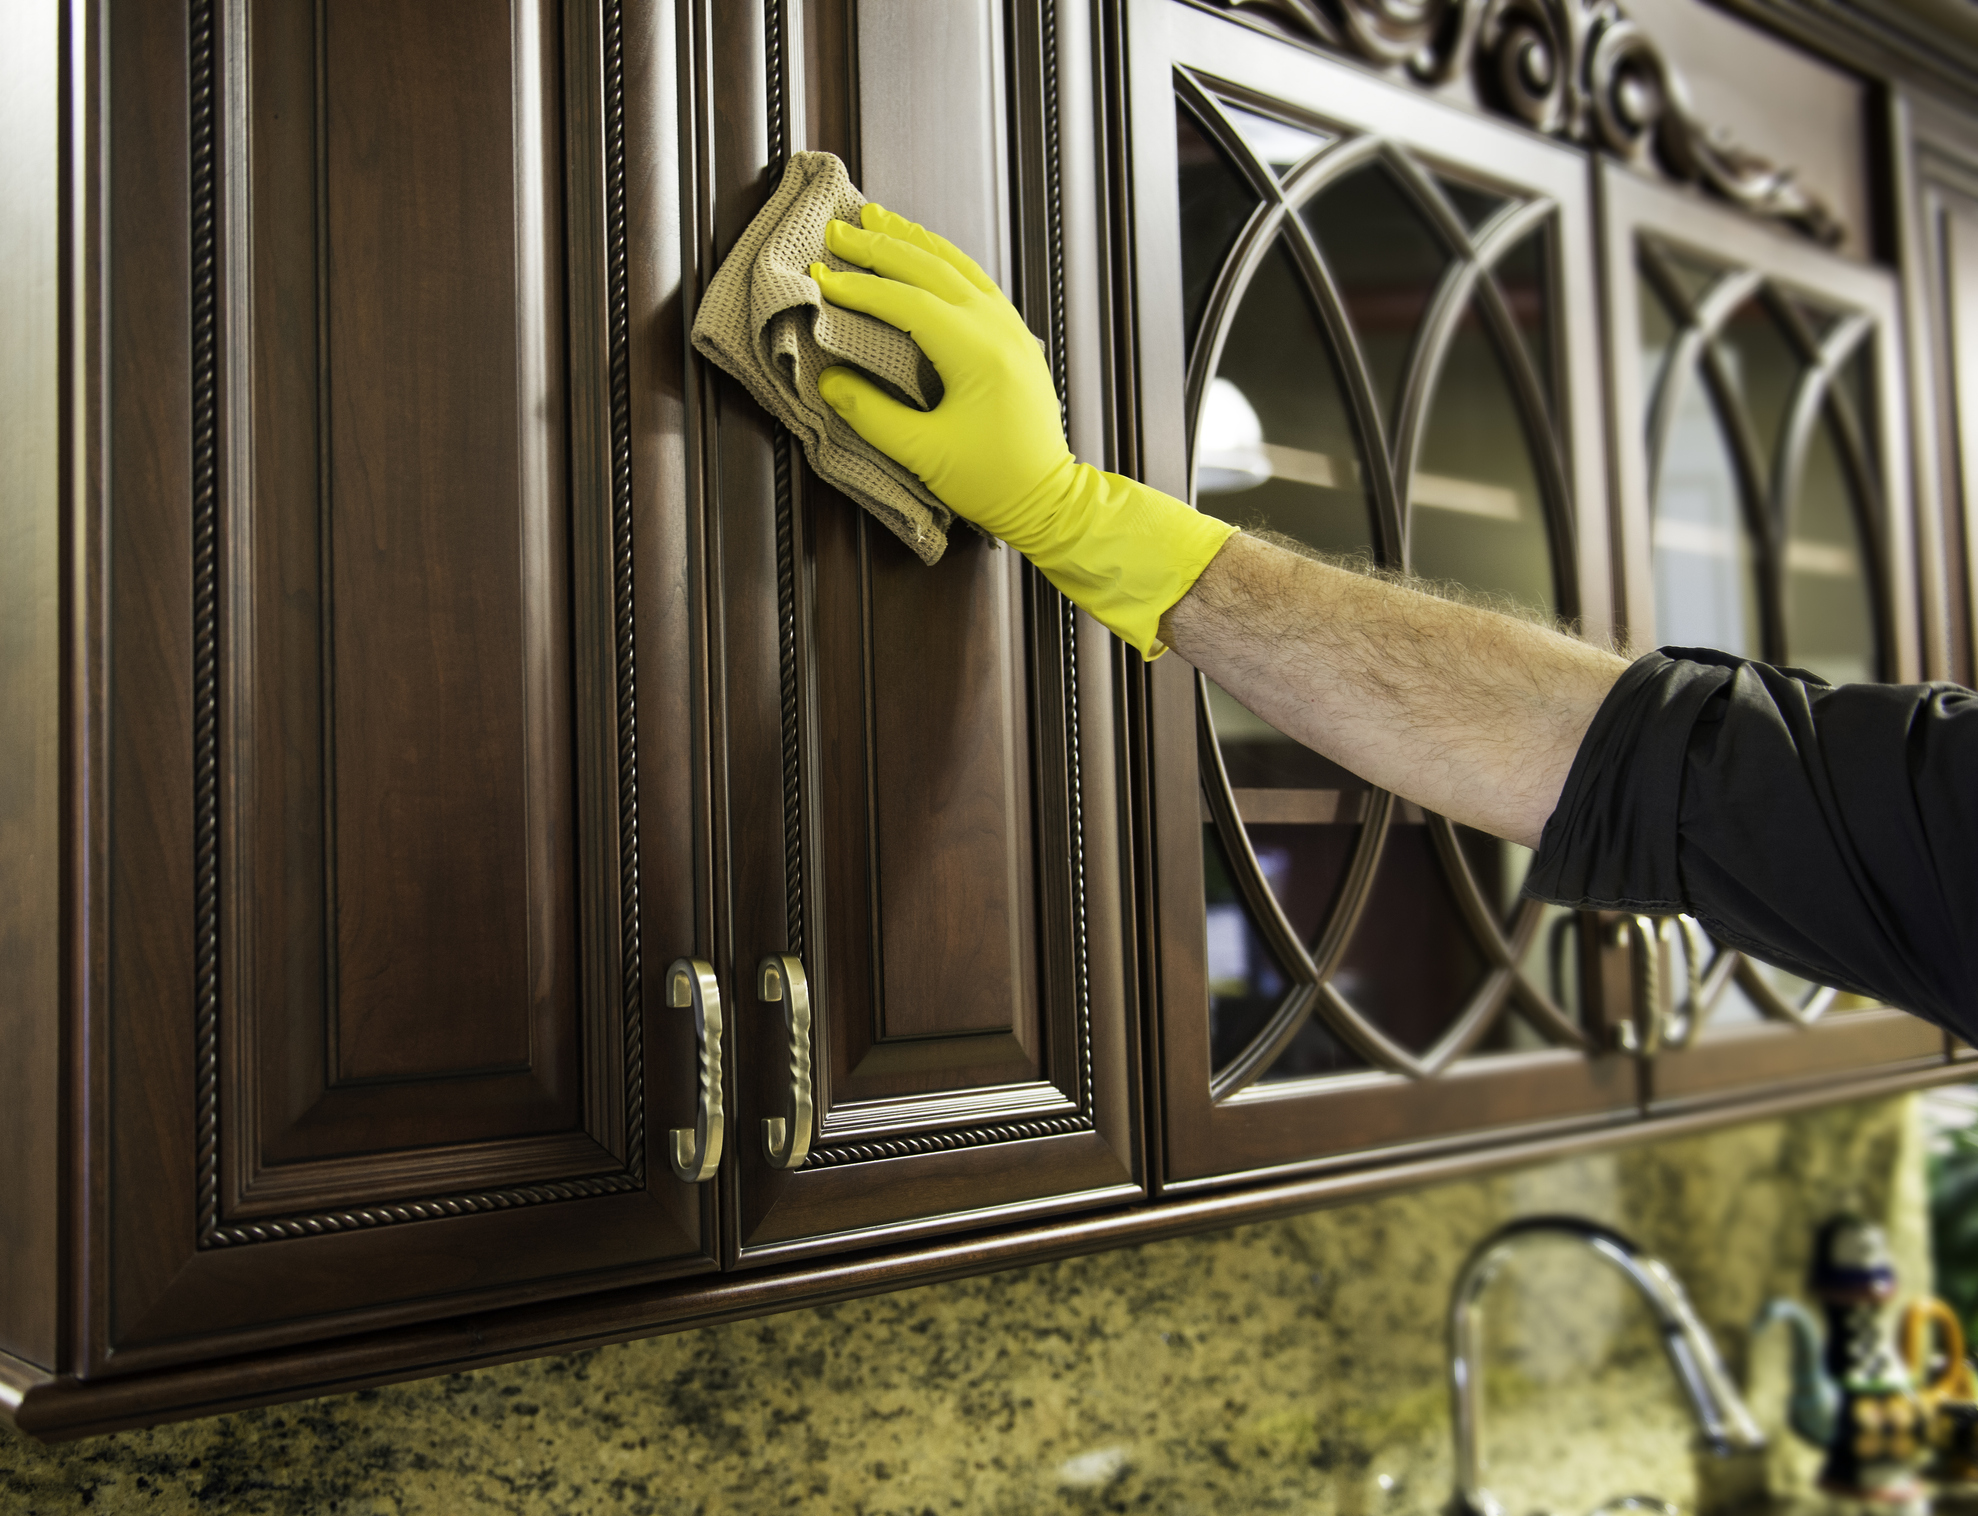
- Clean the cabinet: Use a mild detergent mixed with warm water to clean the cabinet thoroughly. Remove any grease, dirt, or grime, as they can hinder proper paint adhesion. Wipe down the cabinet with a clean cloth to ensure it’s completely dry.
- Protect surrounding areas: Cover the surrounding floor and countertops with a drop cloth or newspaper to protect them from any drips or spills.
- Tape off areas: Use painter’s tape to tape off any areas you don’t want to paint, such as the walls or adjacent cabinets.
By taking the time to properly prepare the cabinet, you’ll create a clean canvas for painting and ensure a more successful and professional-looking result.
Sanding the Cabinet
Sanding the cabinet is an essential step to ensure proper paint adhesion and a smooth finish. Follow these steps to sand your wood cabinet:
- Start with medium-grit sandpaper: Begin by sanding the cabinet with medium-grit sandpaper (around 120-150 grit). Sand in the direction of the wood grain to avoid creating scratches. This step helps remove any existing finish or rough areas on the cabinet surface.
- Smooth the surface with fine-grit sandpaper: After sanding with medium-grit sandpaper, switch to a finer grit (around 220-320 grit) to further smooth the surface. Sand lightly to remove any remaining imperfections and create a smooth and even surface for the paint to adhere to.
- Clean the cabinet: Use a tack cloth or a microfiber cloth to remove any dust or debris created by the sanding process. It’s crucial to have a clean surface to ensure proper paint adhesion.
Sanding not only helps the paint adhere better but also removes any surface imperfections, creating a clean canvas for your paint application. It’s an important step to achieve a professional-looking finish.
Priming the Wood
Priming the wood is an essential step in the cabinet painting process. Priming creates a smooth and uniform surface, allowing the paint to adhere better and providing better coverage. Follow these steps to prime your wood cabinet:
- Select the right primer: Choose a high-quality primer that is specifically designed for wood surfaces. Look for a primer that is compatible with the type of paint you’ll be using.
- Prepare the primer: Stir the primer thoroughly to ensure even consistency. If necessary, thin the primer according to the manufacturer’s instructions.
- Apply the primer: Use a paintbrush or a paint roller to apply an even coat of primer to the cabinet surface. Work in the direction of the wood grain for a smoother finish. Be sure to cover all areas, including the edges and corners.
- Allow the primer to dry: Follow the manufacturer’s instructions regarding the drying time of the primer. Ensure the primer is completely dry before proceeding to the next step.
- Inspect the primer coat: After the primer has dried, inspect the surface for any imperfections. If necessary, lightly sand any rough spots or drips with fine-grit sandpaper and then wipe away any dust with a tack cloth.
Priming the wood not only helps the paint adhere better but also seals the wood, preventing any stains or discoloration from coming through the paint. It creates a solid foundation for a flawless and long-lasting paint finish.
Read more: How To Paint Wood Blinds
Choosing the Right Paint
Choosing the right paint is crucial for achieving a beautiful and durable finish on your wood cabinet. Here are a few factors to consider when selecting the paint:
- Type of paint: Decide whether you want to use latex or oil-based paint. Latex paint is easy to clean up, dries quickly, and has less odor. On the other hand, oil-based paint provides a smooth and durable finish and is more resistant to stains and water damage. Consider the pros and cons of each type before making your decision.
- Finish: Select a paint finish that suits your preference and the style of your kitchen or space. Common paint finishes for cabinets include satin, semi-gloss, and high-gloss. Satin finishes provide a subtle sheen, while semi-gloss and high-gloss finishes offer a more reflective appearance and are generally more durable and easier to clean.
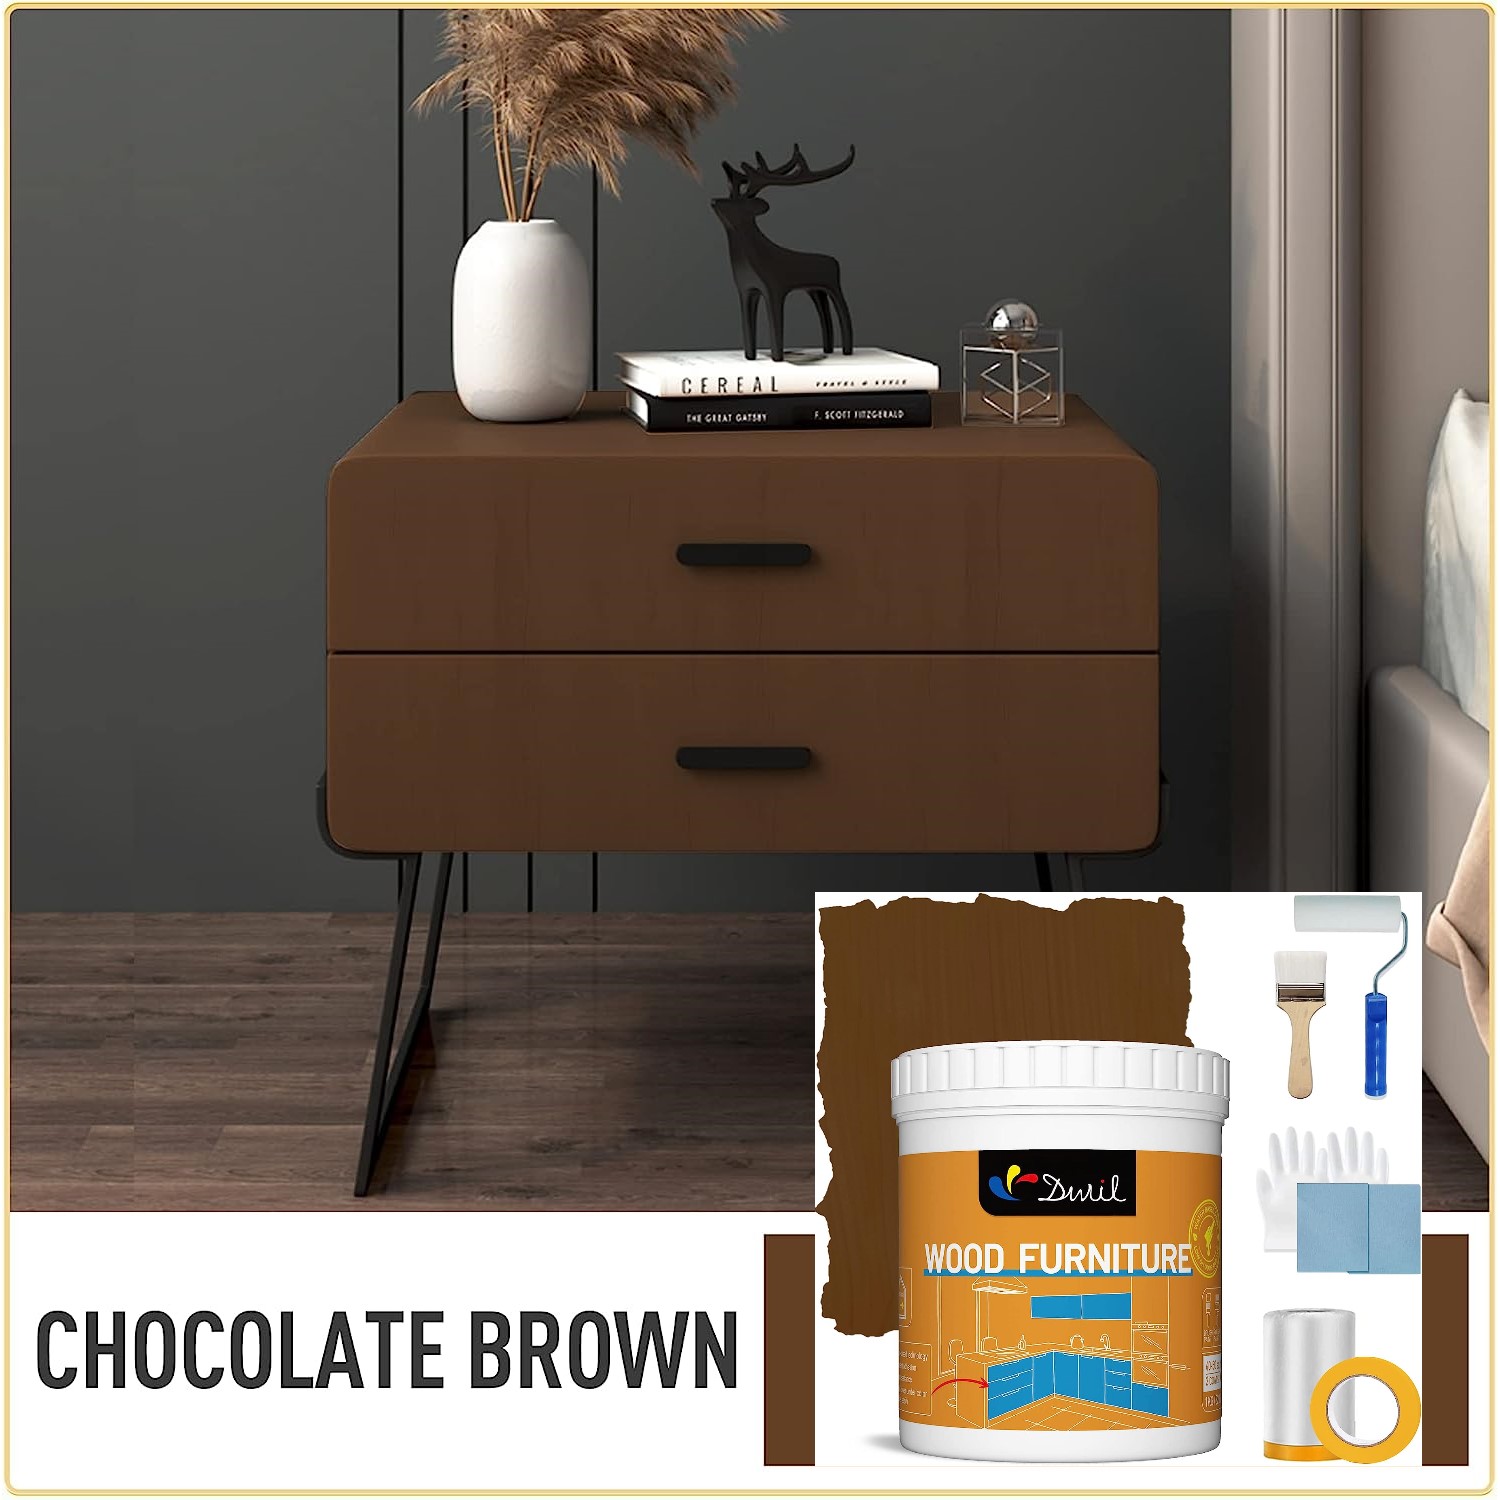
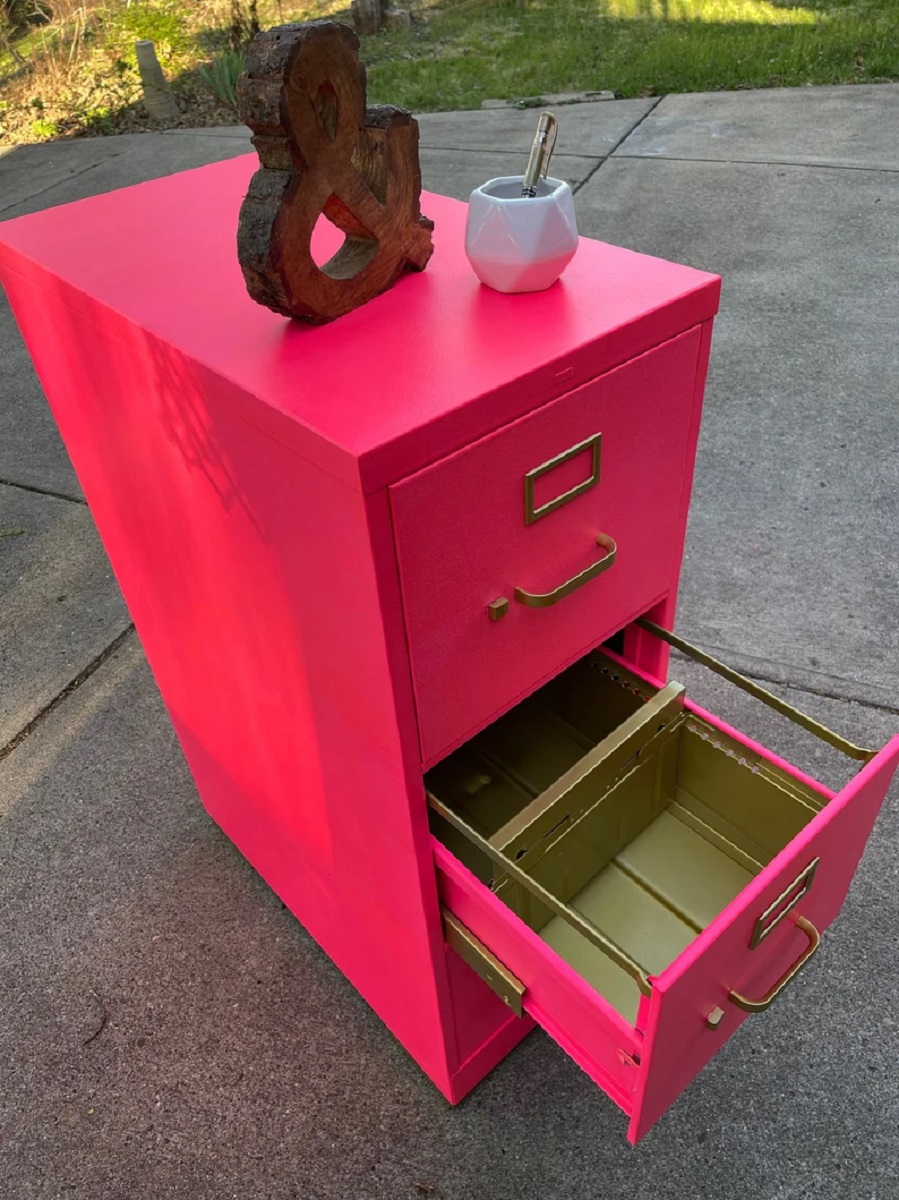
- Color: Choose a color that complements your overall kitchen or room design. Consider the existing color scheme and the desired look you want to achieve. Test a small area or use paint swatches to ensure the color works well in your space.
- Quality of paint: Invest in high-quality paint to ensure better coverage, durability, and ease of application. Cheap paints may result in a lower-quality finish and may wear or chip easily over time.
When selecting the paint, also consider any additional steps or products recommended by the manufacturer, such as a top coat or sealant, to further protect the painted surface and enhance its longevity.
Remember, choosing the right paint is essential for achieving a beautiful and long-lasting finish on your wood cabinet. Take your time to research and select the paint that best suits your needs and style.
Before painting a wood cabinet, make sure to thoroughly clean and sand the surface to ensure proper adhesion of the paint. Use a high-quality primer to prevent the wood from bleeding through the paint.
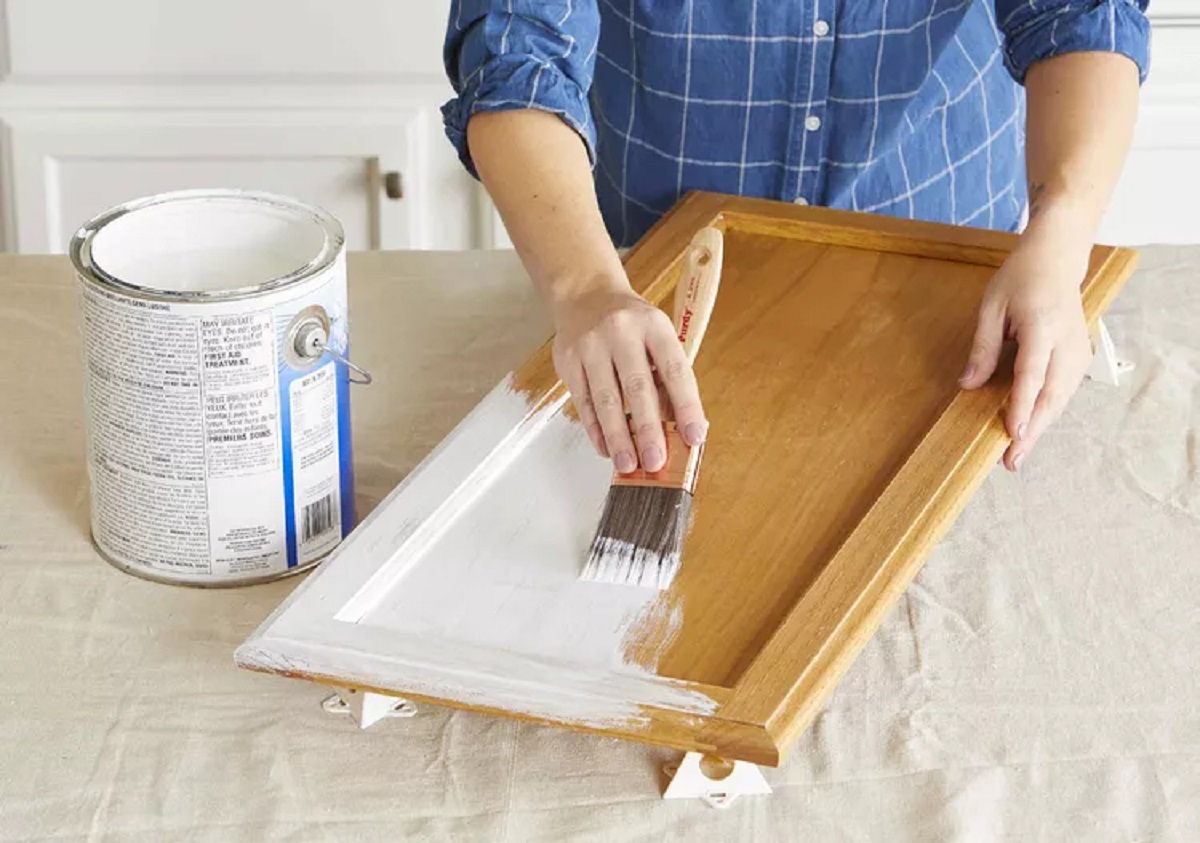
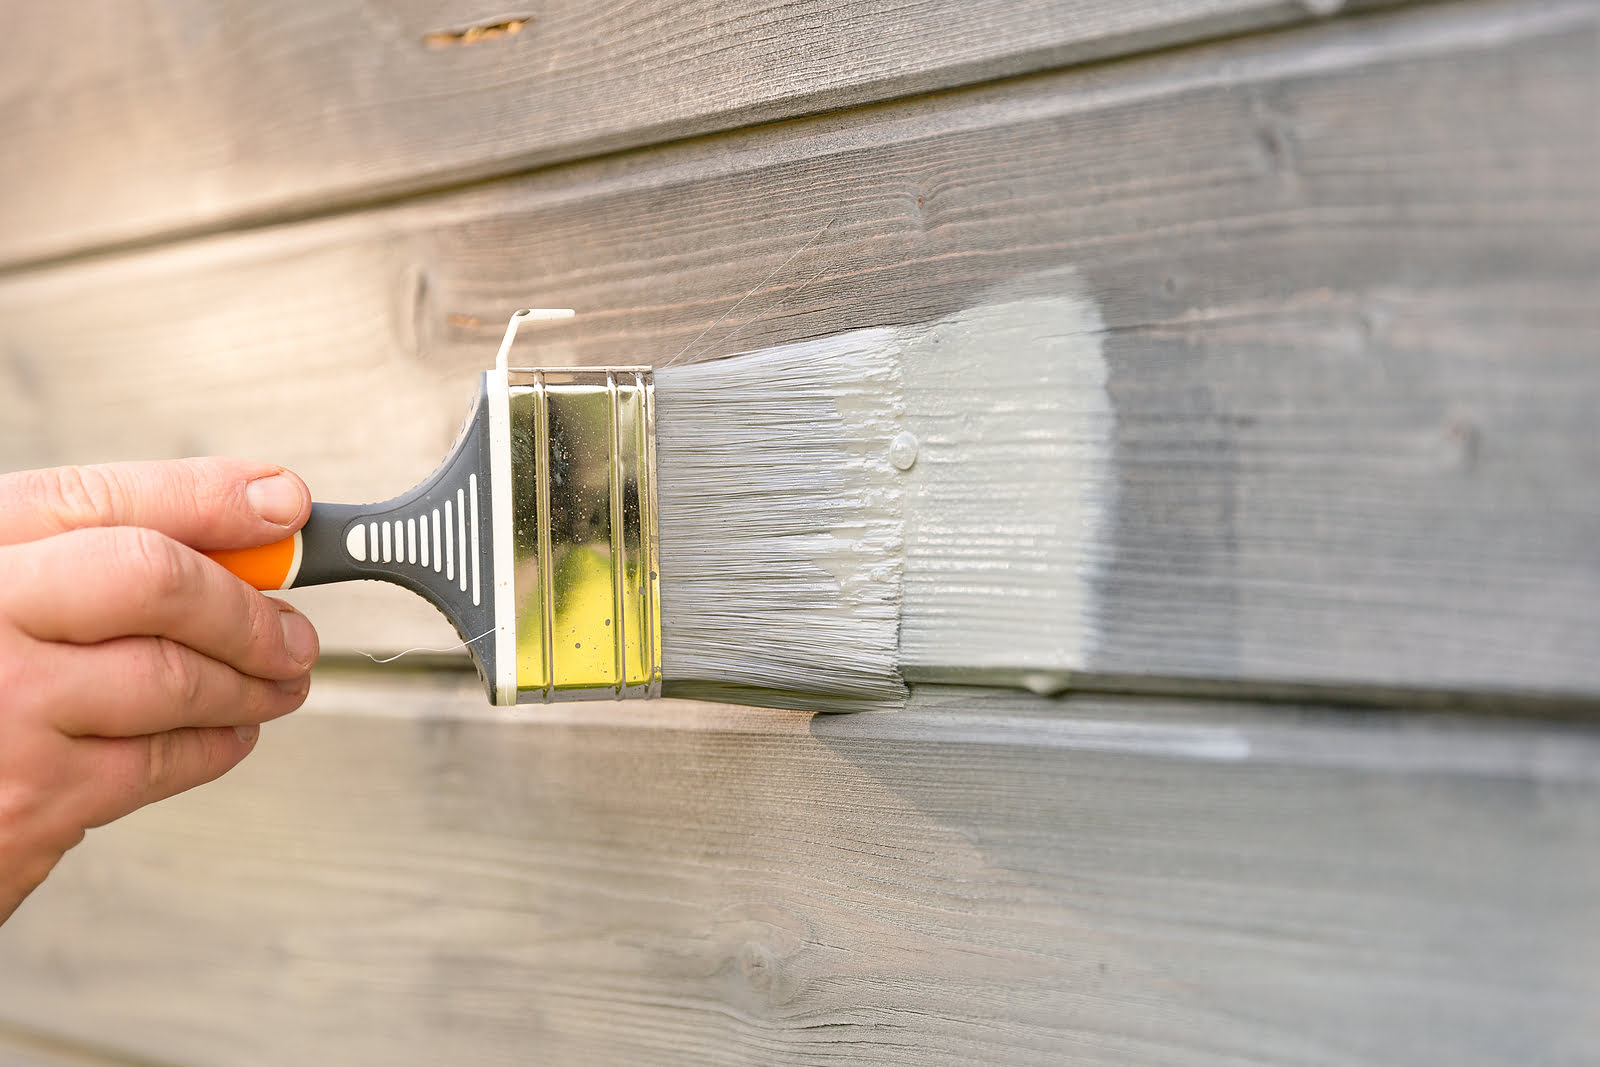
Applying the Paint
Now comes the exciting part – applying the paint to your wood cabinet! Follow these steps for a smooth and professional paint application:
- Stir the paint: Before starting, stir the paint thoroughly to ensure an even consistency. This helps eliminate any settling that may have occurred.
- Start with the brush: Begin by using a high-quality paintbrush to cut in along the edges, corners, and detail areas of the cabinet. This allows for better precision and control.
- Use a roller for larger areas: For larger, flat surfaces of the cabinet, switch to a paint roller. Roll the paint onto the surface using smooth and even strokes in the direction of the wood grain. Be careful not to apply too much pressure, as it can create unevenness or streaks.
- Work in sections: Paint the cabinet in small sections, moving from one side to the other. This helps maintain a wet edge and prevents visible brush strokes or roller marks.
- Apply thin and even coats: It’s better to apply multiple thin coats rather than one thick coat. This allows for better adhesion and a smoother finish. Allow each coat to dry completely before applying the next.
- Keep an eye out for drips: As you paint, be vigilant for any drips or excess paint pooling in corners or crevices. Use a brush or roller to smooth them out immediately for a seamless finish.
Take your time and work systematically to ensure a consistent and flawless paint application. If needed, you can do touch-ups after the first coat has dried. Remember to follow the manufacturer’s instructions regarding drying time between coats.
Once you’ve finished painting, allow the final coat to dry thoroughly before moving on to the next step.
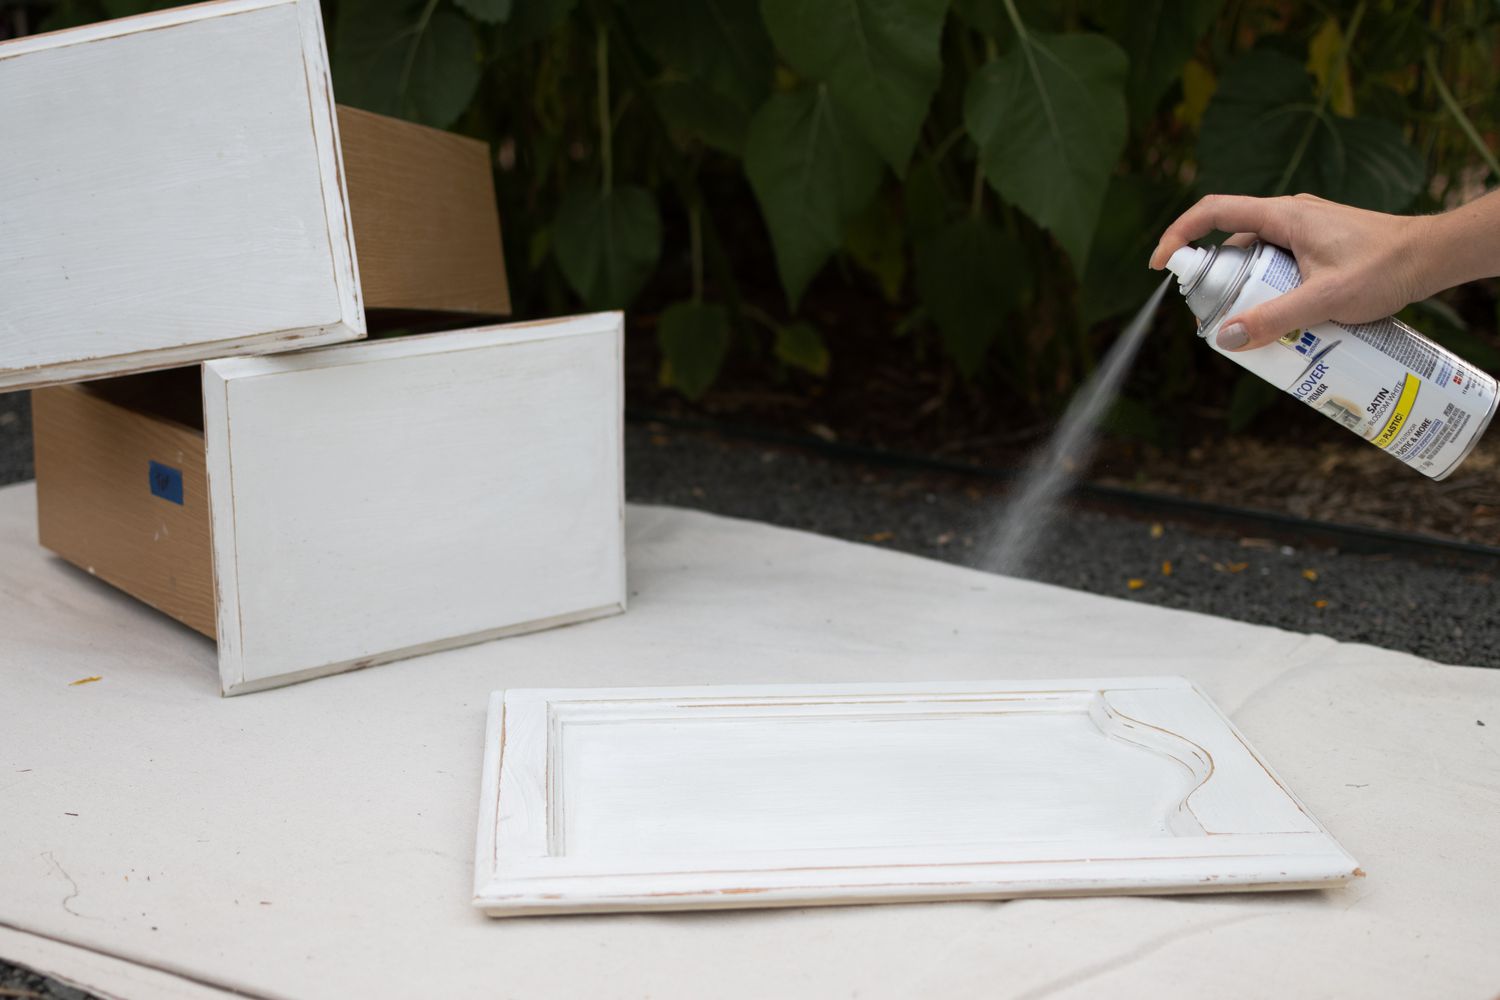
Adding Additional Coats
Adding additional coats of paint is necessary to achieve a solid and even coverage on your wood cabinet. Follow these steps to ensure a beautifully layered finish:
- Assess the coverage: After the first coat of paint has dried, assess the coverage to see if another coat is necessary. Look for any areas that might be showing through or where the color appears uneven.
- Lightly sand between coats: If needed, lightly sand the surface between coats using fine-grit sandpaper. This helps create a smoother surface and promotes better adhesion for the subsequent layers of paint.
- Remove any dust: After sanding, use a tack cloth or microfiber cloth to remove any dust or debris. This ensures a clean surface for the next coat of paint.
- Apply subsequent coats: Apply additional coats of paint following the same techniques as before – using a brush for corners and detail areas and a roller for larger sections. Remember to maintain a wet edge and apply thin, even coats.
- Allow proper drying time: Allow each coat to dry completely before applying the next. Follow the manufacturer’s instructions for the recommended drying time.
- Assess the final result: After applying the final coat, step back and assess the cabinet’s appearance. Look for any areas that might need touch-ups or additional coats for full coverage. Make any necessary adjustments.
Adding additional coats of paint ensures a solid and professional-looking finish on your wood cabinet. Take your time during this step to achieve the desired level of coverage and a flawless end result.
Drying and Curing
After applying the final coat of paint, allowing proper drying and curing time is crucial to achieve a durable finish on your wood cabinet. Here’s what you need to know:
- Drying time: Follow the manufacturer’s instructions for the recommended drying time between coats and after the final coat. This typically ranges from a few hours to overnight.
- Avoid touching or using the cabinet: During the drying process, avoid touching or using the cabinet to prevent any smudges or damage to the freshly painted surface. Keep the cabinet in a well-ventilated area to promote faster drying.
- Full cure time: While the paint may feel dry to the touch after the recommended drying time, it’s important to note that it takes longer for the paint to fully cure. The curing process allows the paint to harden and reach its maximum durability. Follow the manufacturer’s instructions for the recommended cure time, which can vary from a few days to a couple of weeks.
- Handle with care: Even after the paint has dried, handle the cabinet with care to prevent any scratching or marring of the surface. Avoid placing heavy objects on the cabinet until it has fully cured.
Keep in mind that the drying and curing time may be affected by factors such as humidity, temperature, and the type of paint being used. It’s important to be patient and give the paint ample time to dry and cure for the best results.
Read more: How To Paint A China Cabinet
Reassembling the Cabinet
Once the paint has fully dried and cured, it’s time to reassemble your wood cabinet. Follow these steps to put everything back together:
- Clean the hardware: If you removed any knobs, handles, or hinges, take the time to clean them. Remove any dust or residue from the painting process using a mild detergent and water. Dry the hardware thoroughly before reattaching.
- Attach the hardware: Begin by reattaching the knobs, handles, or hinges to the cabinet. Use a screwdriver to securely fasten them in place. Make sure they are aligned properly and in the desired position.
- Reinstall the shelves and drawers: If you removed any shelves or drawers, carefully slide them back into place. Ensure they are aligned correctly and functioning smoothly.
- Check for any touch-ups: After reassembling, inspect the cabinet for any areas that might need touch-ups. If you notice any chips, scratches, or imperfections, use a small brush to carefully apply touch-up paint and blend it with the surrounding area.
- Allow for additional curing time: After reassembling, it’s a good idea to allow for additional curing time to ensure the paint has fully hardened. Avoid excess handling or heavy use of the cabinet until it has fully cured.
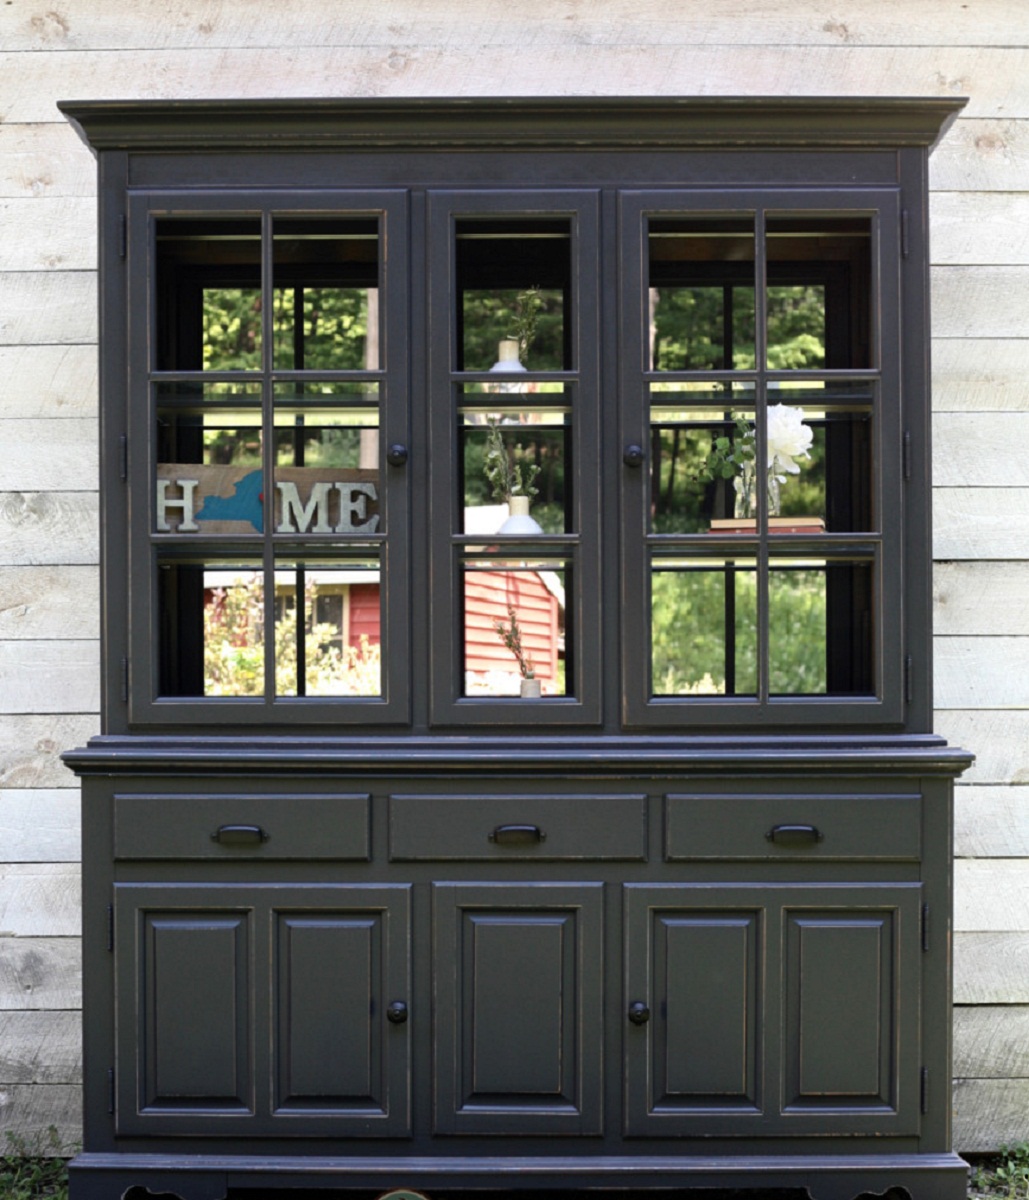
Once you’ve reassembled the cabinet and made any necessary touch-ups, step back and admire your freshly painted wood cabinet. It’s now ready to enhance the aesthetics of your space and provide years of beauty and functionality.
Conclusion
Congratulations! You have successfully learned how to paint a wood cabinet. By following the steps outlined in this comprehensive guide, you have transformed your cabinet into a beautiful and updated piece that perfectly complements your home decor.
Throughout the process, we covered essential steps such as gathering the necessary materials, preparing the cabinet, sanding the wood, priming the surface, choosing the right paint, applying the paint in thin coats, adding additional coats for complete coverage, allowing proper drying and curing time, and finally reassembling the cabinet.
Remember, patience and attention to detail are key when it comes to painting a wood cabinet. Taking the time to properly prepare the cabinet, choose the right paint, and apply it in thin, even coats will ensure a professional-looking finish that withstands the test of time.
Now that you have the knowledge and skills, you can confidently tackle future cabinet painting projects or even explore other home improvement endeavors. Enjoy your newly painted cabinet and the refreshed ambiance it brings to your space!
Frequently Asked Questions about How To Paint A Wood Cabinet
Was this page helpful?
At Storables.com, we guarantee accurate and reliable information. Our content, validated by Expert Board Contributors, is crafted following stringent Editorial Policies. We're committed to providing you with well-researched, expert-backed insights for all your informational needs.

0 thoughts on “How To Paint A Wood Cabinet”