Home>Furniture & Design>Outdoor Furniture>How To Prep Outdoor Wood For Painting
Outdoor Furniture
How To Prep Outdoor Wood For Painting
Modified: August 27, 2024
Learn how to properly prepare outdoor wood for painting to ensure a smooth and long-lasting finish. Get expert tips for prepping outdoor furniture and design projects.
(Many of the links in this article redirect to a specific reviewed product. Your purchase of these products through affiliate links helps to generate commission for Storables.com, at no extra cost. Learn more)
Introduction
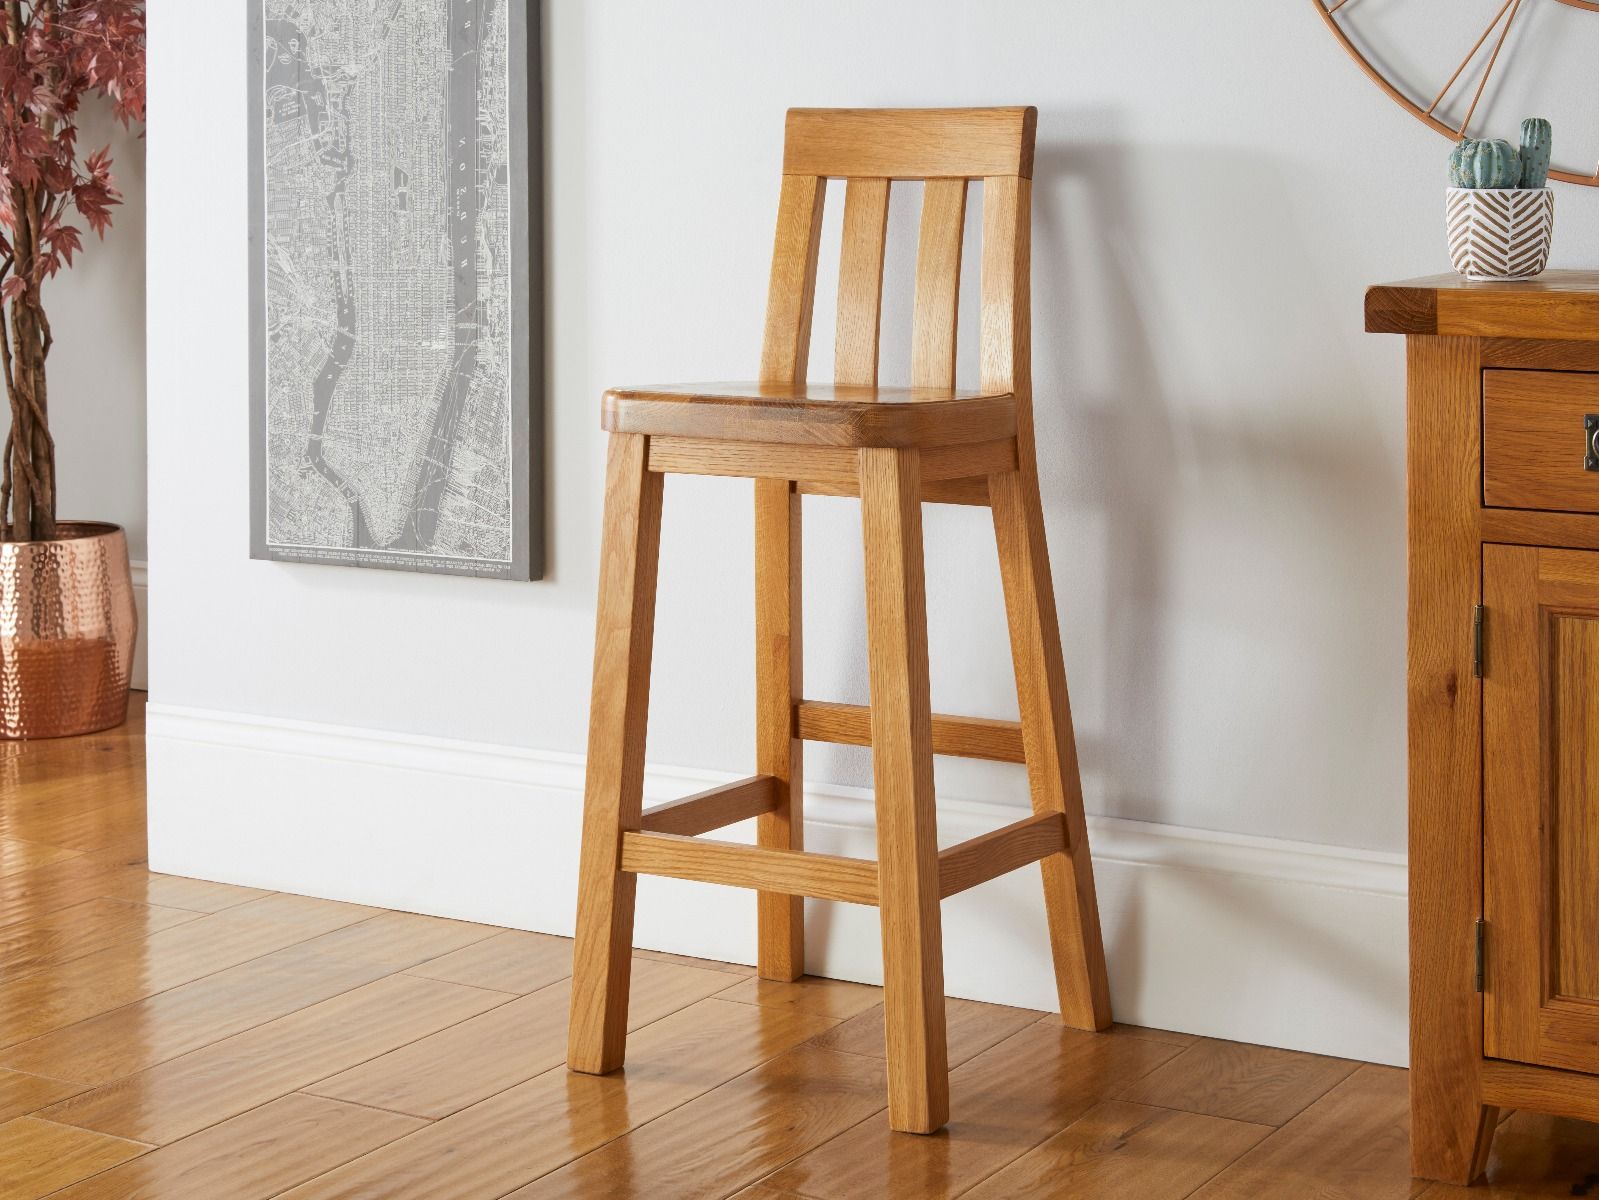
When it comes to outdoor furniture, wood has long been a popular choice due to its natural beauty and durability. However, exposure to the elements can take a toll on wooden furniture, causing it to weather and lose its luster over time. If your outdoor wooden furniture is looking worse for wear, don't despair – a fresh coat of paint can breathe new life into it, transforming your outdoor space into a welcoming oasis once again.
In this comprehensive guide, we'll walk you through the essential steps for prepping outdoor wood for painting, ensuring that your furniture looks stunning and stands the test of time. From assessing the condition of the wood to applying primer, we'll cover everything you need to know to achieve professional-looking results. Whether you're a seasoned DIY enthusiast or a first-time painter, this guide will equip you with the knowledge and confidence to tackle your outdoor furniture restoration project with ease.
So, roll up your sleeves, gather your supplies, and let's dive into the world of outdoor wood painting. With the right preparation and a touch of creativity, you'll soon be enjoying your revitalized outdoor furniture in all its glory.
Key Takeaways:
- Prepping outdoor wood for painting involves assessing, cleaning, sanding, filling, and applying primer. Each step ensures a flawless finish and long-lasting results, transforming your outdoor space with a touch of creativity.
- By carefully evaluating, cleaning, and repairing outdoor wood furniture, you can create a durable and beautiful finish that enhances your outdoor space. With patience and attention to detail, painting wood furniture can breathe new life into your outdoor oasis.
Read more: How To Paint Outdoor Wood Railings
Assessing the Condition of the Wood
Before embarking on any painting project, it’s crucial to assess the condition of the wood to determine the necessary steps for achieving a flawless finish. Start by closely examining the furniture for signs of wear, such as cracks, splinters, or areas of uneven weathering. Take note of any existing paint or finish, as well as any areas where the wood may have become discolored or rotted due to prolonged exposure to moisture.
Next, consider the structural integrity of the furniture. Check for loose joints, wobbly legs, or any other signs of damage that could compromise the stability of the piece. It’s essential to address these issues before proceeding with the painting process to ensure that your furniture not only looks great but also functions safely and effectively.
Additionally, evaluate the type of wood you’re working with. Different wood species have varying characteristics and may require specific treatment methods. Hardwoods like teak and cedar are naturally resistant to decay and may require minimal preparation, while softwoods such as pine or fir may need extra attention to address potential vulnerabilities.
By taking the time to thoroughly assess the condition of the wood, you’ll be better equipped to plan the necessary steps for prepping and painting your outdoor furniture. This careful evaluation will set the stage for a successful restoration project, allowing you to address any underlying issues and achieve a stunning end result that enhances the beauty and longevity of your wooden furniture.
Cleaning the Wood Surface
Before applying a fresh coat of paint, it’s essential to thoroughly clean the wood surface to remove dirt, grime, mold, mildew, and any remnants of old paint or finish. This crucial step not only ensures better paint adhesion but also promotes the overall health of the wood, preventing the growth of mold and preserving its natural beauty.
Begin by using a mild detergent or specialized wood cleaner and warm water to scrub the furniture, paying close attention to crevices, grooves, and intricate details. A soft-bristled brush or sponge can be used to gently agitate the cleaning solution, effectively lifting away embedded dirt and stains. For stubborn areas, a non-abrasive scrubbing pad can provide additional cleaning power without damaging the wood.
After thoroughly scrubbing the wood, rinse it with clean water to remove any residual cleaner and dirt. Take care to avoid oversaturating the wood, as excessive moisture can lead to warping or prolonged drying times. Once rinsed, allow the furniture to dry completely before proceeding to the next step.
In cases where mold or mildew is present, a solution of equal parts water and white vinegar can be an effective natural remedy. Apply the solution to the affected areas, allowing it to sit for a few minutes before gently scrubbing and rinsing. This eco-friendly approach helps eliminate mold and mildew while being safe for the environment and surrounding vegetation.
By diligently cleaning the wood surface, you’ll create a clean, receptive canvas for the upcoming painting process. Not only will this enhance the adhesion and longevity of the paint, but it will also revitalize the appearance of your outdoor furniture, setting the stage for a professional-quality finish that showcases the natural beauty of the wood.
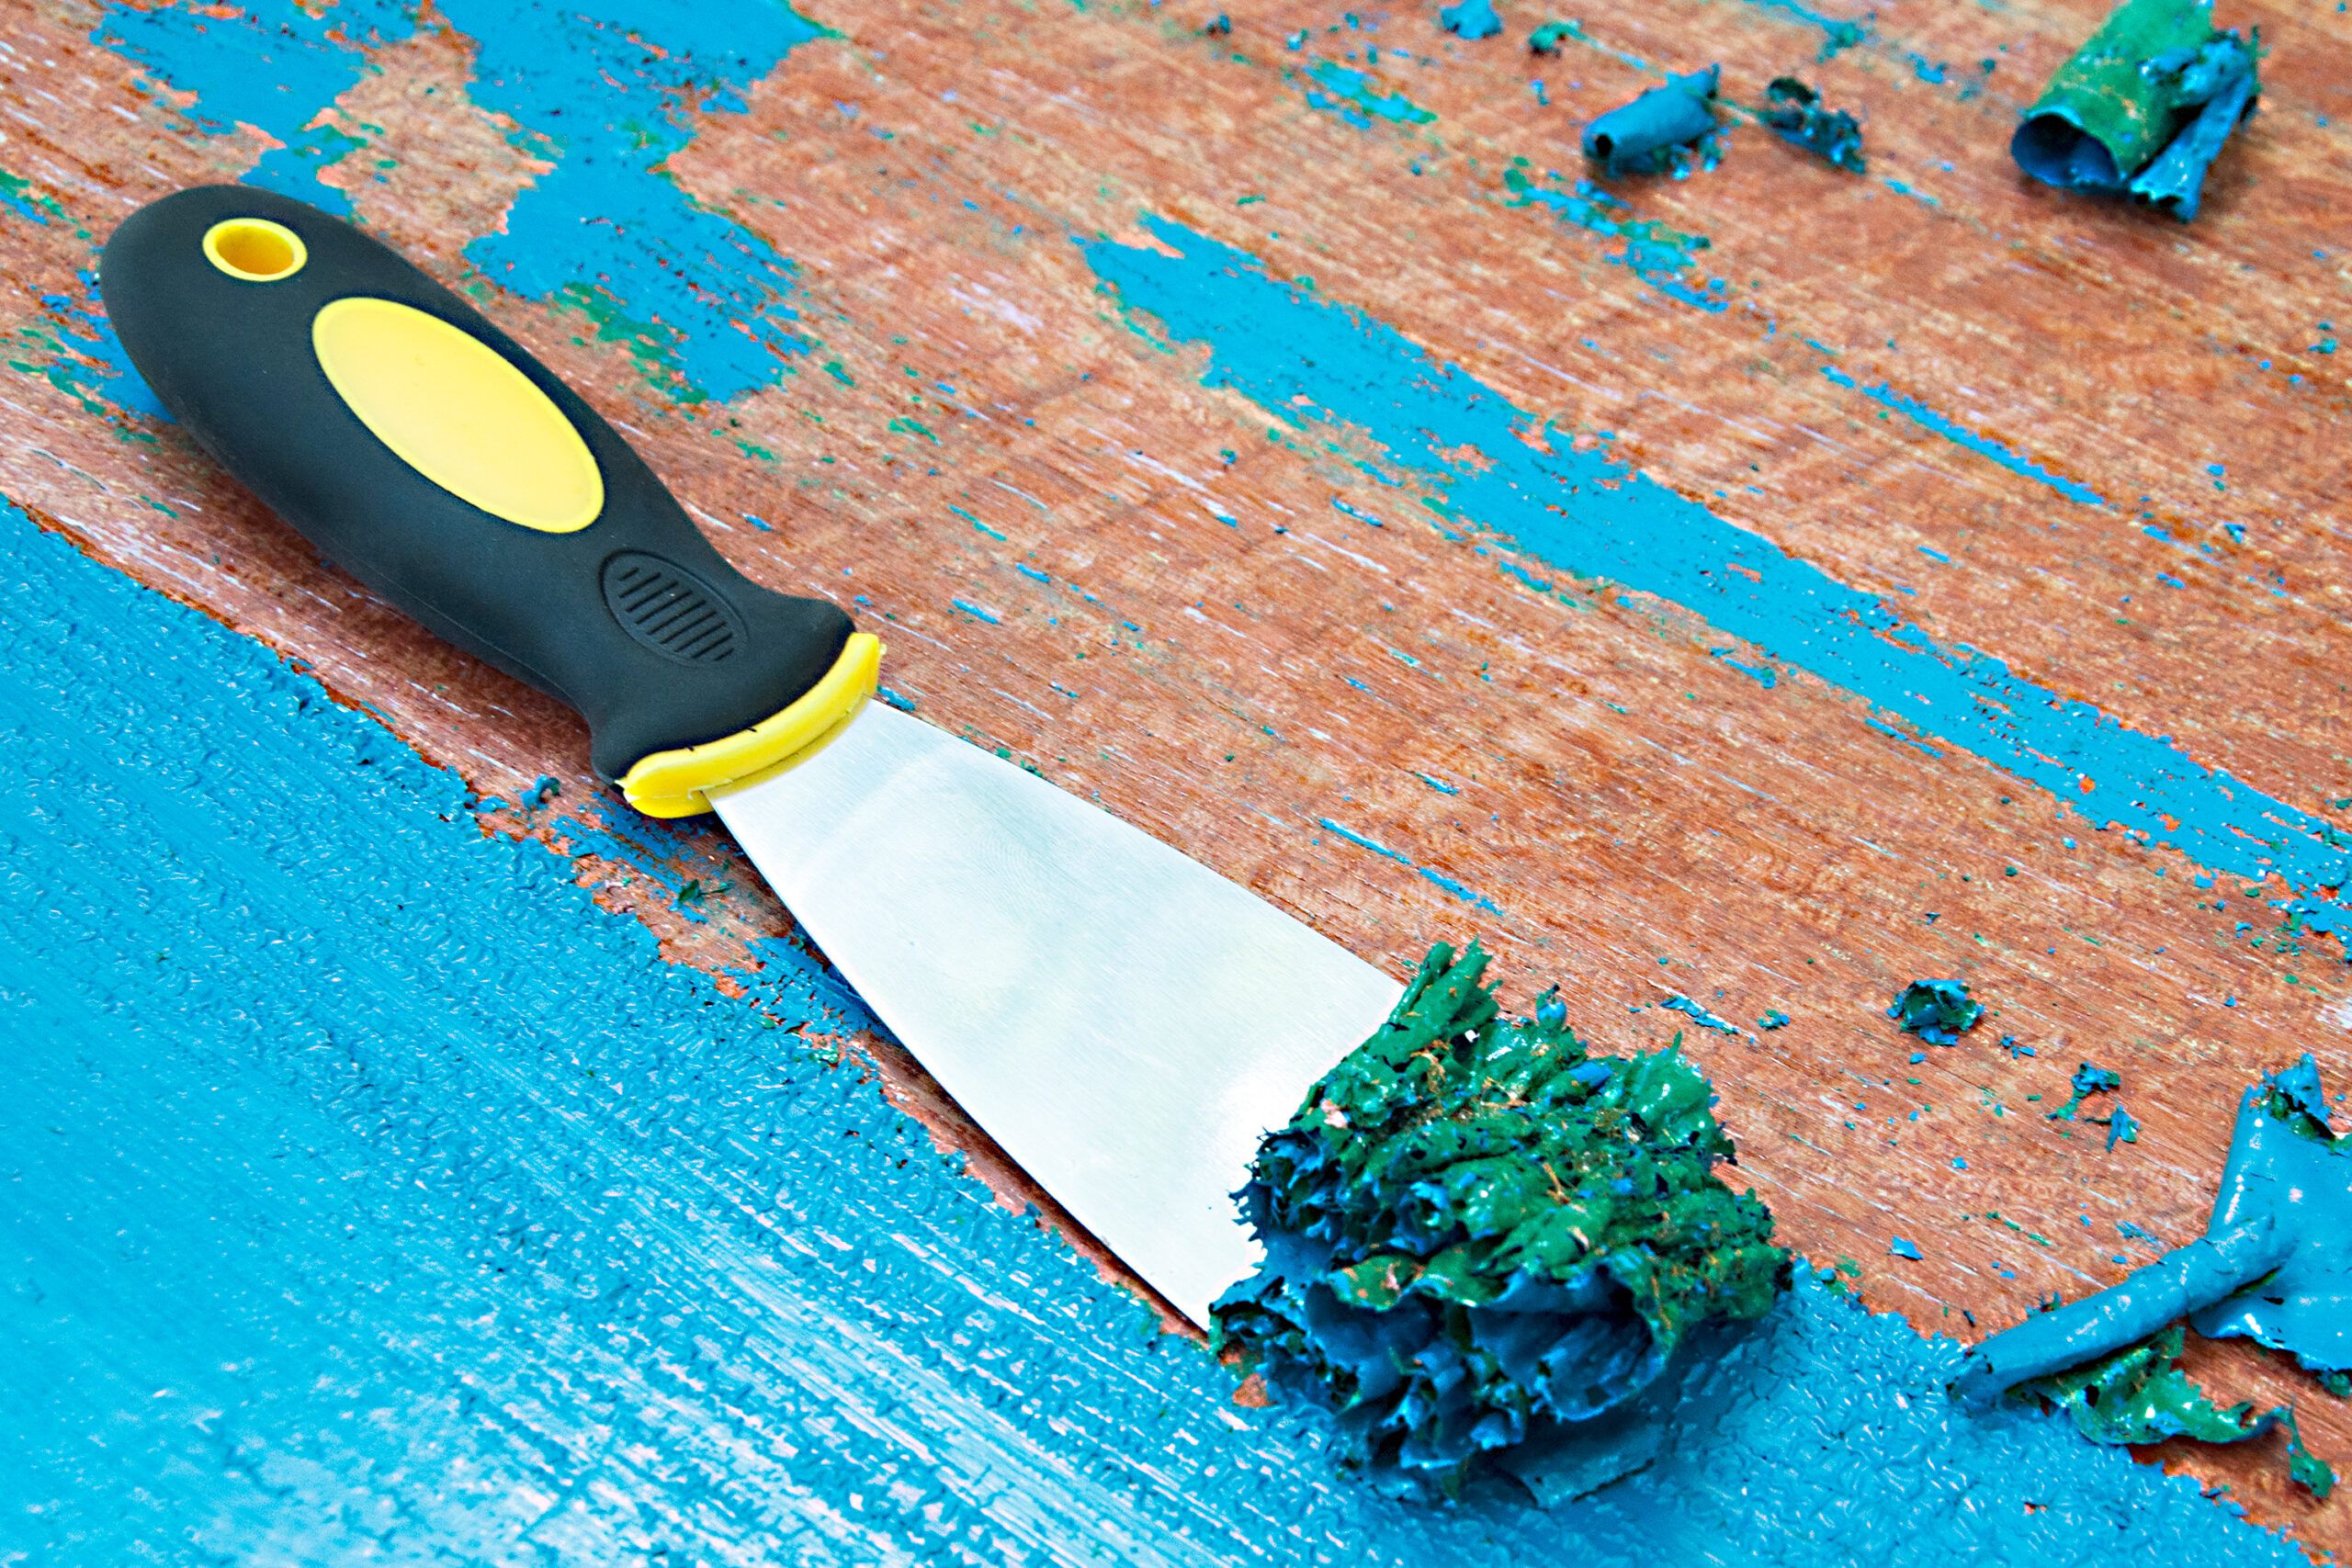
Sanding the Wood
Once the wood is clean and dry, the next crucial step in prepping outdoor wood for painting is sanding. Sanding serves multiple purposes, including smoothing the wood surface, removing any remaining traces of old paint or finish, and creating a slightly rough texture that promotes optimal paint adhesion.
Begin by selecting the appropriate sandpaper grit for the job. For initial sanding and paint removal, coarse-grit sandpaper (around 80-100 grit) is effective at swiftly eliminating old paint and smoothing out any rough patches. As you progress to finer sanding, transitioning to medium-grit (around 120-150 grit) and then fine-grit (around 180-220 grit) sandpaper will gradually refine the wood surface, ensuring a uniform and silky-smooth texture.
When sanding, work in the direction of the wood grain to prevent unsightly scratches and maintain a consistent appearance. Take care to sand all surfaces, including hard-to-reach areas and intricate details, to achieve a thorough and professional result. A sanding block or tool can provide stability and even pressure, facilitating a more controlled and efficient sanding process.
After sanding, remove the resulting dust and debris using a soft-bristled brush, tack cloth, or a vacuum with a brush attachment. It’s crucial to eliminate all sanding residue to ensure a clean surface for the next steps of the painting process.
Additionally, be mindful of any raised grain or rough spots that may persist after sanding. These can be addressed by lightly dampening the wood with a damp cloth, allowing it to dry, and then lightly sanding again to achieve a smooth and uniform surface. This extra step contributes to a flawless finish and enhances the overall aesthetic appeal of the painted wood.
By diligently sanding the wood, you’ll create a receptive and smooth surface that allows the paint to adhere evenly and durably. This meticulous preparation sets the stage for a professional-quality paint job that showcases the natural beauty of the wood while providing long-lasting protection against the elements.
Before painting outdoor wood, make sure to clean the surface thoroughly to remove dirt, debris, and mildew. Sand the wood to smooth out any rough spots and create a good surface for the paint to adhere to. Apply a primer before painting to ensure better adhesion and longer-lasting results.
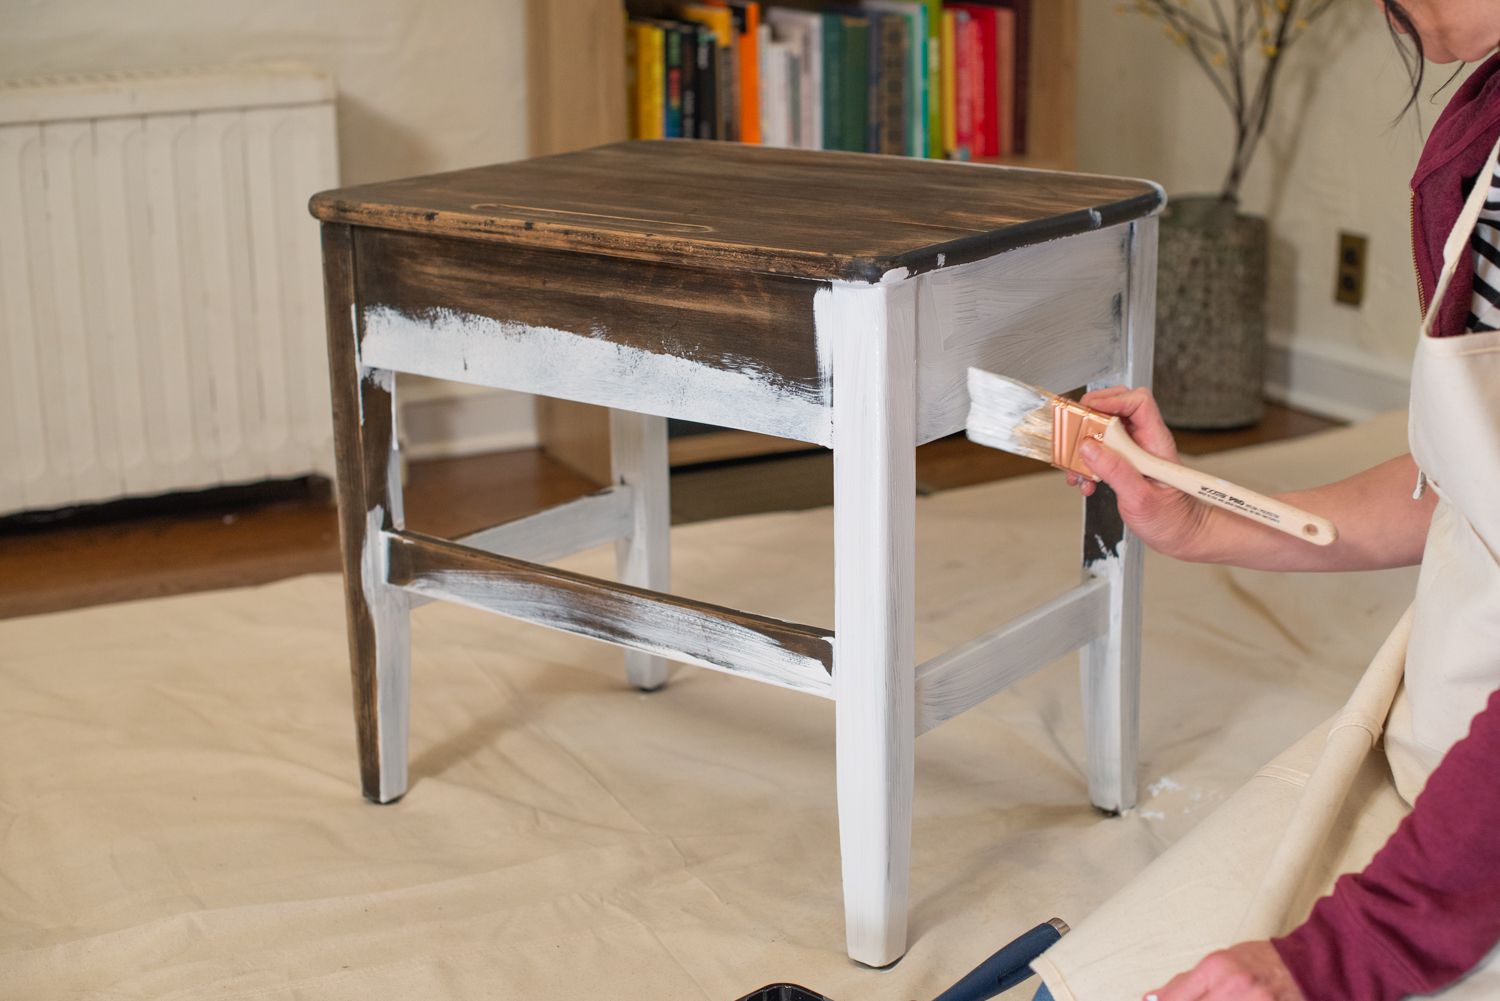
Filling and Repairing
As you prepare to paint your outdoor wood furniture, it’s essential to address any imperfections, cracks, or voids in the wood to ensure a flawless and uniform finish. Filling and repairing these areas not only enhances the visual appeal of the furniture but also contributes to its structural integrity, prolonging its lifespan and functionality.
Begin by carefully inspecting the wood for any visible cracks, holes, or damaged areas. Use a wood filler or epoxy-based filler that matches the color of the wood to fill in these imperfections, ensuring a seamless and natural-looking repair. Apply the filler using a putty knife, pressing it firmly into the damaged areas and smoothing it out to achieve a level surface.
After the filler has dried according to the manufacturer’s instructions, sand the repaired areas to blend them seamlessly with the surrounding wood. This step helps create a uniform and smooth surface, eliminating any visible traces of the repair and preparing the wood for the subsequent painting process.
For larger structural repairs, such as loose joints or damaged sections, consider using wood glue or specialized adhesives to reinforce and stabilize the furniture. Apply the adhesive according to the manufacturer’s recommendations, ensuring a secure and durable bond that restores the furniture’s strength and functionality.
Additionally, if the wood shows signs of rot or decay, it’s crucial to address these issues before proceeding with painting. Depending on the extent of the damage, you may need to replace affected sections of the wood or enlist the expertise of a professional to assess and remedy any structural concerns.
By diligently filling and repairing imperfections in the wood, you’ll ensure that your outdoor furniture not only looks stunning but also remains robust and resilient against the elements. This meticulous attention to detail sets the stage for a successful painting process, allowing you to achieve professional-quality results that enhance the beauty and longevity of your wooden furniture.
Read more: How To Seal Outdoor Painted Wood
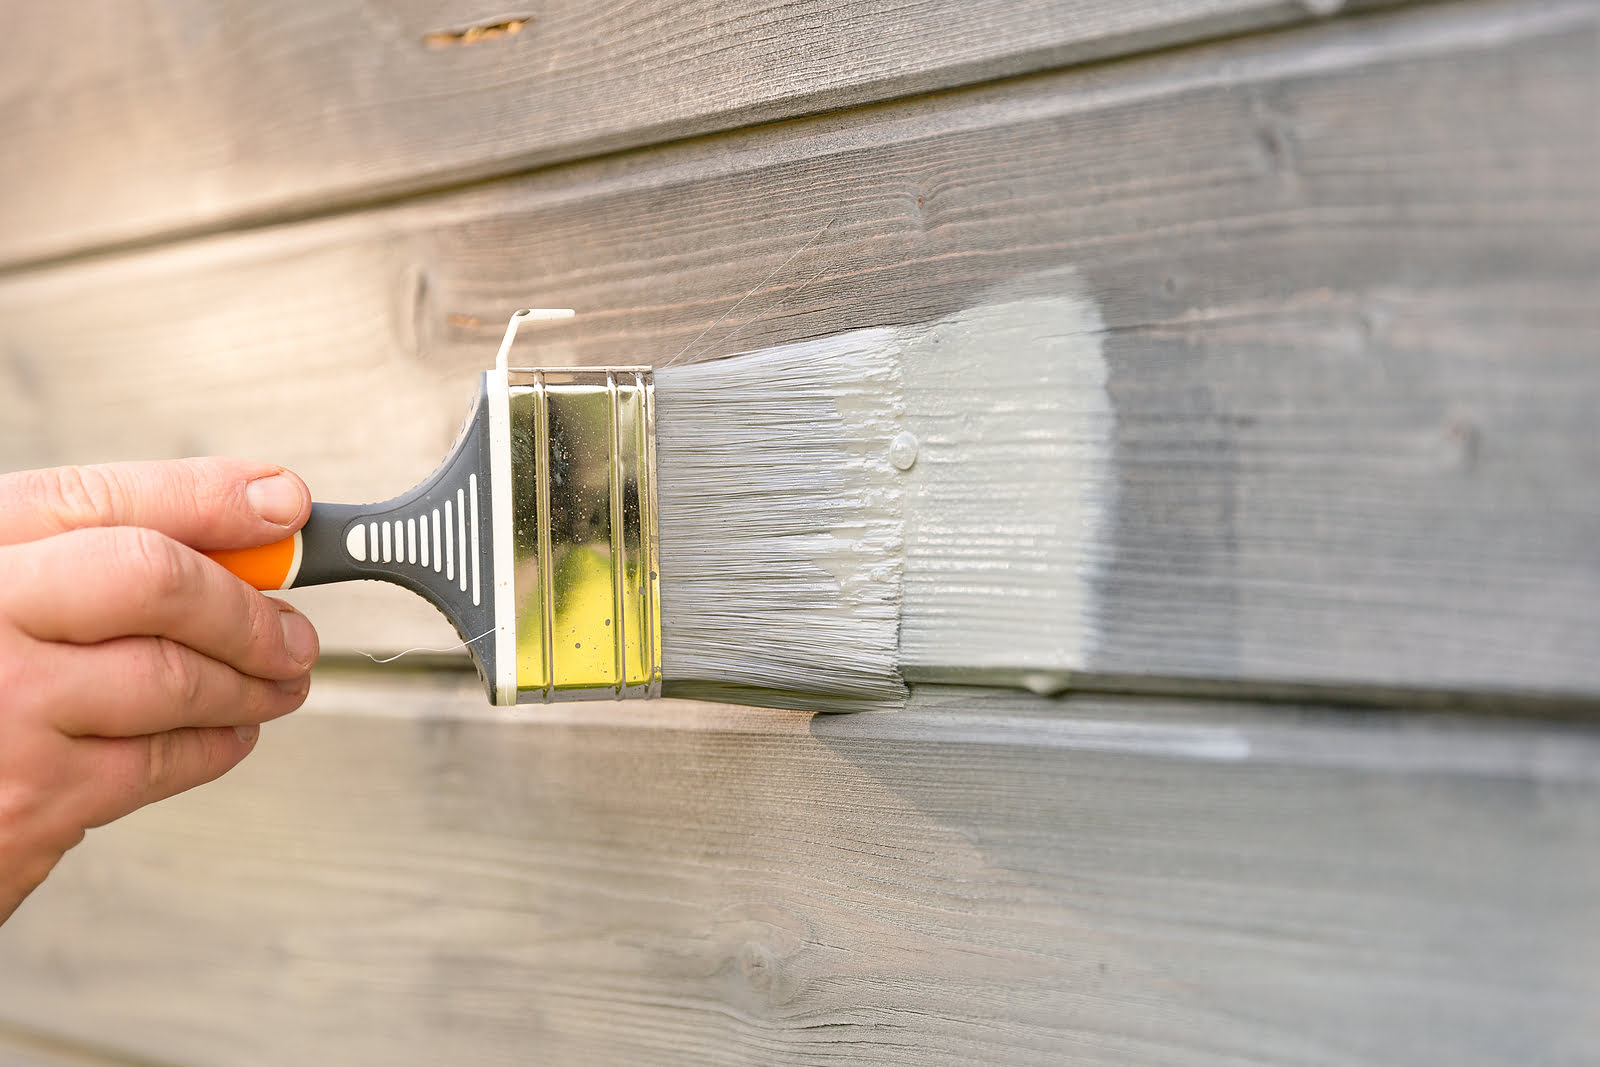
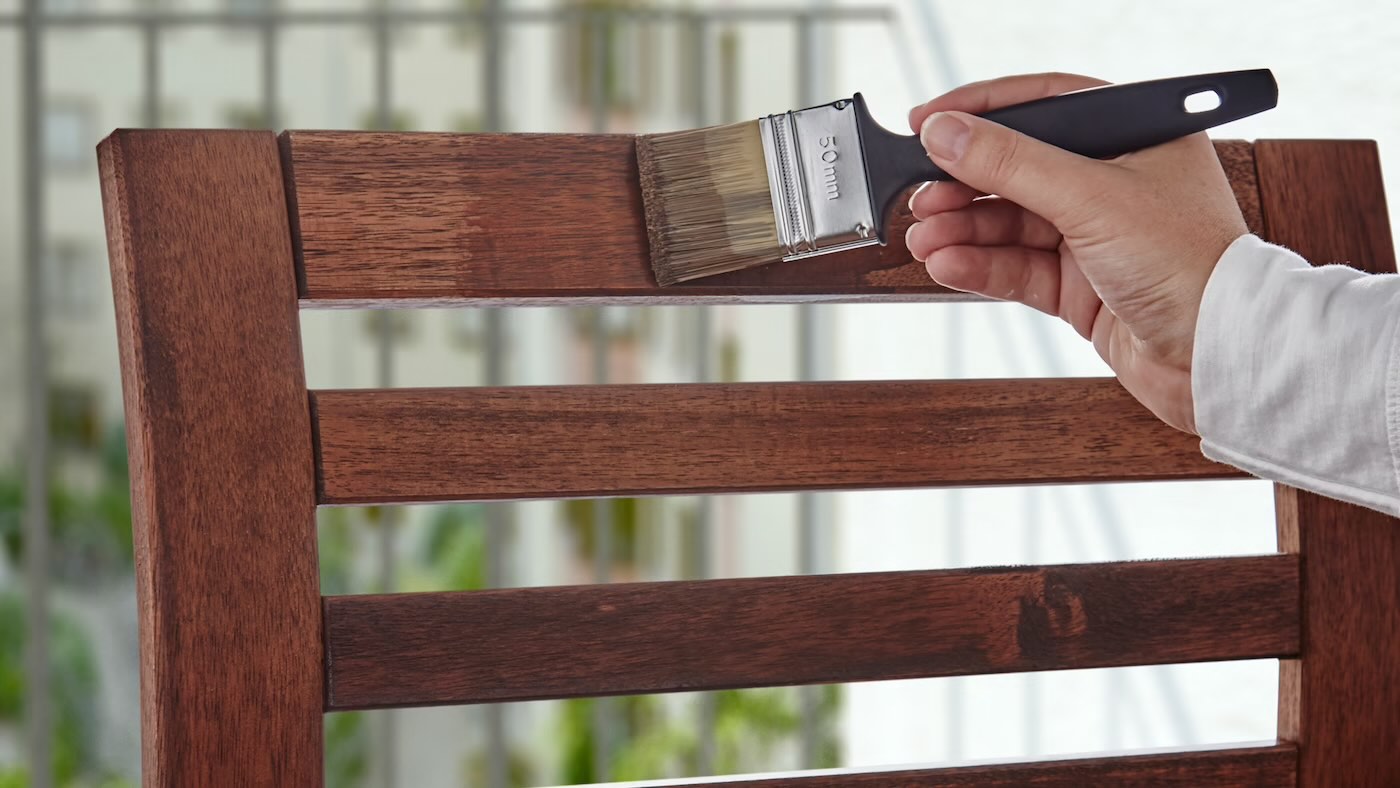
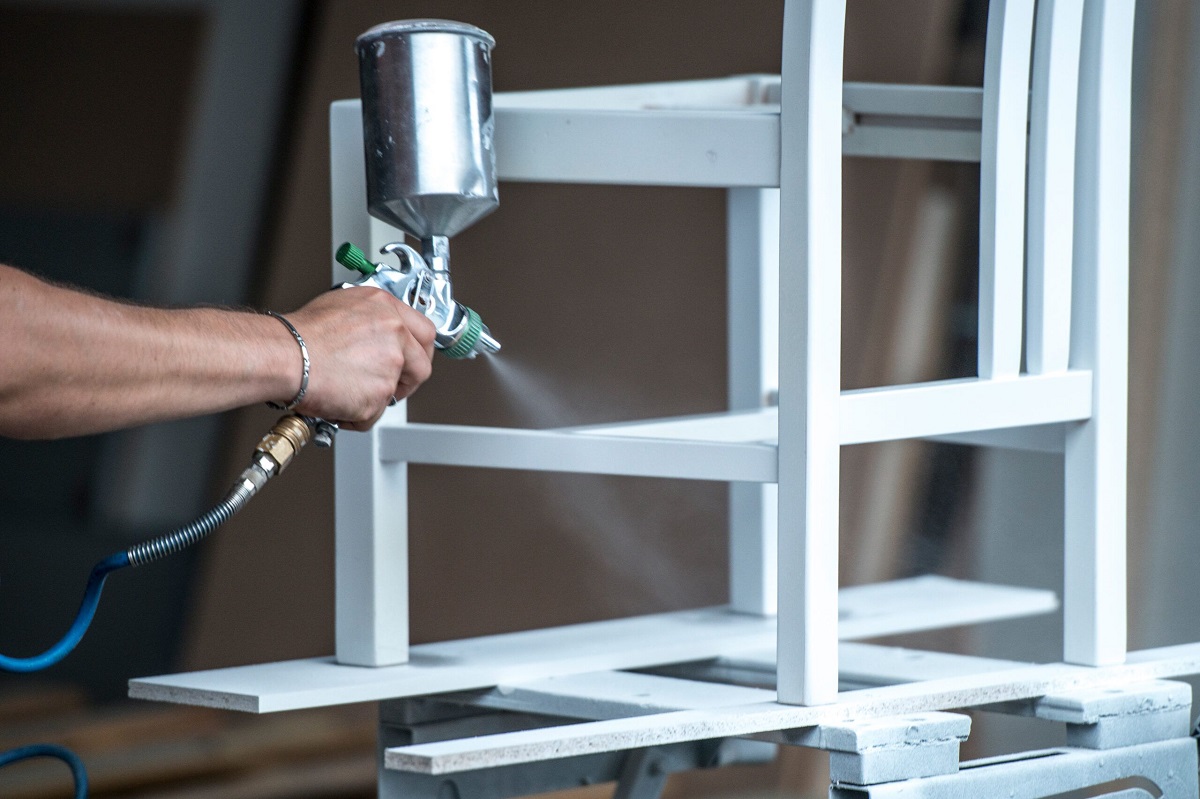
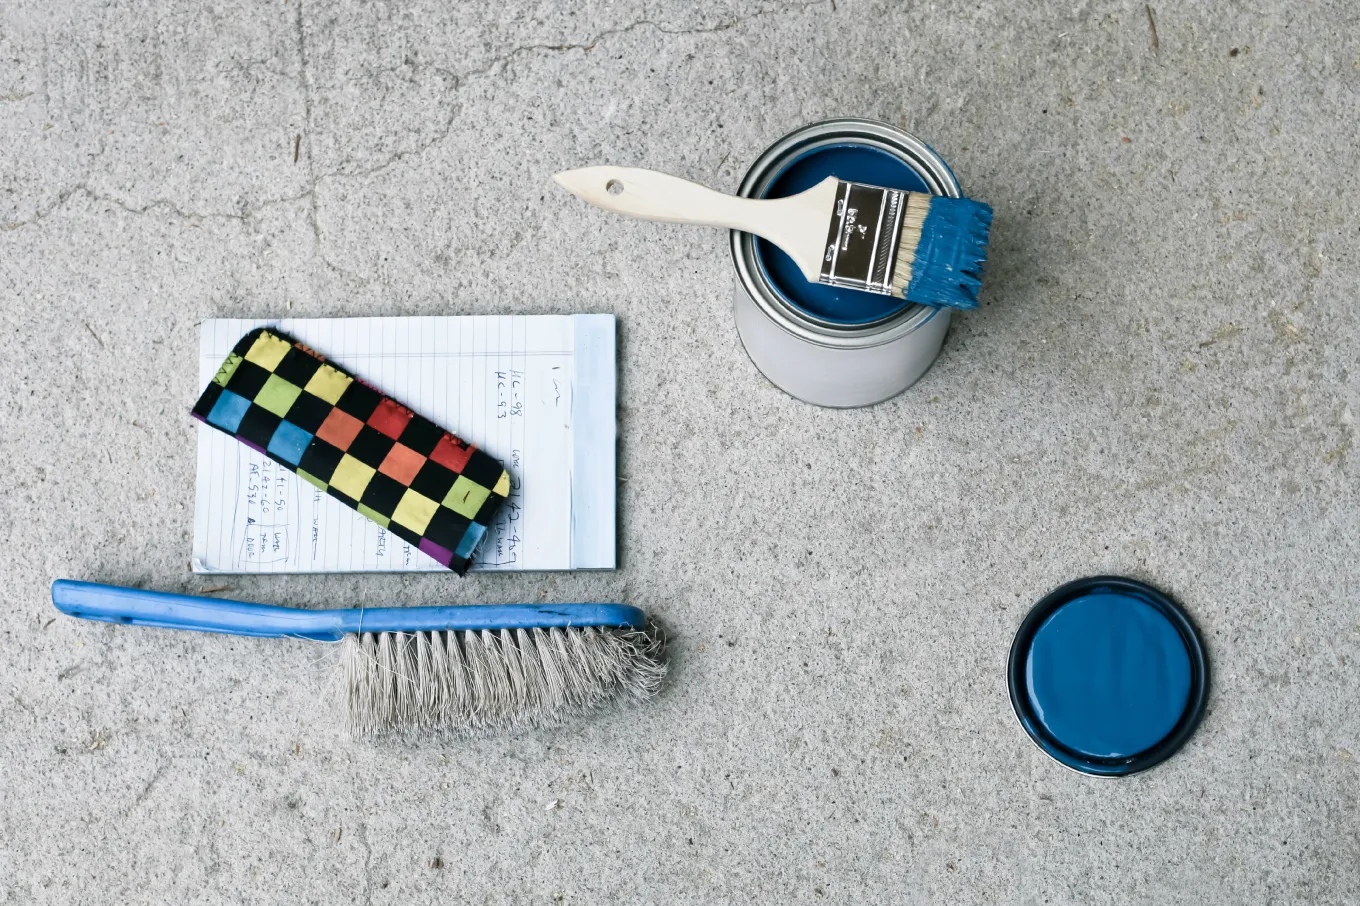
Applying Primer
Before applying the final coat of paint, it’s essential to prime the wood to enhance adhesion, promote durability, and create a uniform surface for the paint to adhere to. Primer acts as a foundation for the paint, sealing the wood and providing an optimal base for the color coat, ultimately contributing to a long-lasting and professional finish.
Choose a high-quality exterior wood primer that is specifically formulated for outdoor use, offering excellent adhesion and weather resistance. Consider the type of paint you intend to use and select a primer that is compatible with it, ensuring compatibility and optimal performance.
Begin by thoroughly stirring the primer to achieve a consistent texture and ensure that any settling or separation is remedied. Apply the primer using a high-quality synthetic brush, roller, or sprayer, working in the direction of the wood grain to achieve an even and smooth application. Take care to cover all surfaces, including intricate details and hard-to-reach areas, to create a uniform base for the paint.
After applying the primer, allow it to dry completely according to the manufacturer’s recommendations. Once dry, lightly sand the primed surface to remove any imperfections and create a smooth texture that promotes optimal paint adhesion. Remove the sanding residue using a soft-bristled brush or tack cloth to prepare the wood for the final coat of paint.
Priming not only enhances the adhesion and durability of the paint but also seals the wood, preventing tannin bleed-through and promoting a consistent color and finish. Additionally, it provides an opportunity to address any remaining imperfections or uneven areas before proceeding with the final paint application.
By diligently applying primer to the prepped wood surface, you’ll create a solid foundation for the paint, ensuring a professional-quality finish that withstands the rigors of outdoor exposure. This essential step sets the stage for a striking and long-lasting transformation of your outdoor wooden furniture, allowing you to enjoy its renewed beauty for years to come.
Conclusion
Revitalizing your outdoor wooden furniture through painting is a rewarding endeavor that can breathe new life into your outdoor space, creating a welcoming and aesthetically pleasing environment for relaxation and entertainment. By following the essential steps for prepping outdoor wood for painting, you can achieve stunning results that enhance the beauty and longevity of your furniture.
Assessing the condition of the wood sets the stage for a successful restoration project, allowing you to identify and address any underlying issues before proceeding with the painting process. Cleaning the wood surface removes dirt, grime, and old paint, creating a clean and receptive canvas for the upcoming transformation.
Sanding the wood ensures a smooth and uniform surface, promoting optimal paint adhesion and creating a flawless foundation for the final coat. Filling and repairing imperfections in the wood not only enhances its visual appeal but also contributes to its structural integrity, prolonging its lifespan and functionality.
Applying primer seals the wood and enhances the adhesion and durability of the paint, creating a solid foundation for a professional-quality finish that withstands the elements. Each step in the process plays a crucial role in achieving exceptional results and ensuring the longevity of your outdoor wooden furniture.
As you embark on your outdoor furniture restoration journey, remember to approach the project with patience, attention to detail, and a touch of creativity. Whether you’re refreshing a beloved heirloom piece or transforming a thrift store find, the process of prepping and painting outdoor wood is an opportunity to express your personal style and breathe new life into your outdoor living space.
So, gather your supplies, embrace the transformative power of paint, and embark on a journey to revitalize your outdoor wooden furniture. With the right preparation and a dash of inspiration, you’ll soon be enjoying the beauty and comfort of your newly painted outdoor oasis.
Now, armed with the knowledge and confidence to tackle your outdoor wood painting project, you’re ready to embark on a creative and transformative journey that will leave your outdoor space looking stunning and inviting for years to come.
Frequently Asked Questions about How To Prep Outdoor Wood For Painting
Was this page helpful?
At Storables.com, we guarantee accurate and reliable information. Our content, validated by Expert Board Contributors, is crafted following stringent Editorial Policies. We're committed to providing you with well-researched, expert-backed insights for all your informational needs.


0 thoughts on “How To Prep Outdoor Wood For Painting”