Articles
How To Patch Rubber Roof
Modified: October 20, 2024
Learn how to patch a rubber roof with our informative articles. Get step-by-step instructions and tips to fix your rubber roof and prevent leaks.
(Many of the links in this article redirect to a specific reviewed product. Your purchase of these products through affiliate links helps to generate commission for Storables.com, at no extra cost. Learn more)
Introduction
Having a rubber roof is a great way to protect your building from the elements. However, over time, your rubber roof may develop cracks, punctures, or other types of damage that can compromise its effectiveness. This is where patching comes into play. Patching a rubber roof is a cost-effective and relatively simple way to repair minor damage and extend the lifespan of your roof.
In this article, we will guide you through the process of patching a rubber roof. We will provide step-by-step instructions and highlight the materials you will need to successfully complete the task. By following these guidelines, you can restore the integrity of your roof and prevent further damage.
Before we begin, it’s important to note that this guide is intended for small-scale rubber roof repairs. If you encounter extensive damage or have any doubts about your ability to patch your roof, we recommend consulting a professional roofing contractor for assistance.
Now, let’s dive into the materials you’ll need to gather before getting started with the patching process.
Key Takeaways:
- Patching a rubber roof is a cost-effective and relatively simple way to repair minor damage and extend the lifespan of your roof. By following the step-by-step process and using the necessary materials, you can effectively patch your rubber roof and restore its integrity.
- Regularly inspecting and maintaining your rubber roof, and promptly patching any minor damage, will help prevent it from worsening and potentially causing more significant problems in the future. Remember, a well-maintained rubber roof provides protection for your building and ensures its longevity.
Read more: How To Patch A Shed Roof
Materials Needed
Before embarking on the task of patching your rubber roof, it’s important to gather all the necessary materials. Having everything you need in advance will save you time and ensure a smoother process. Here’s a list of the materials you will need:
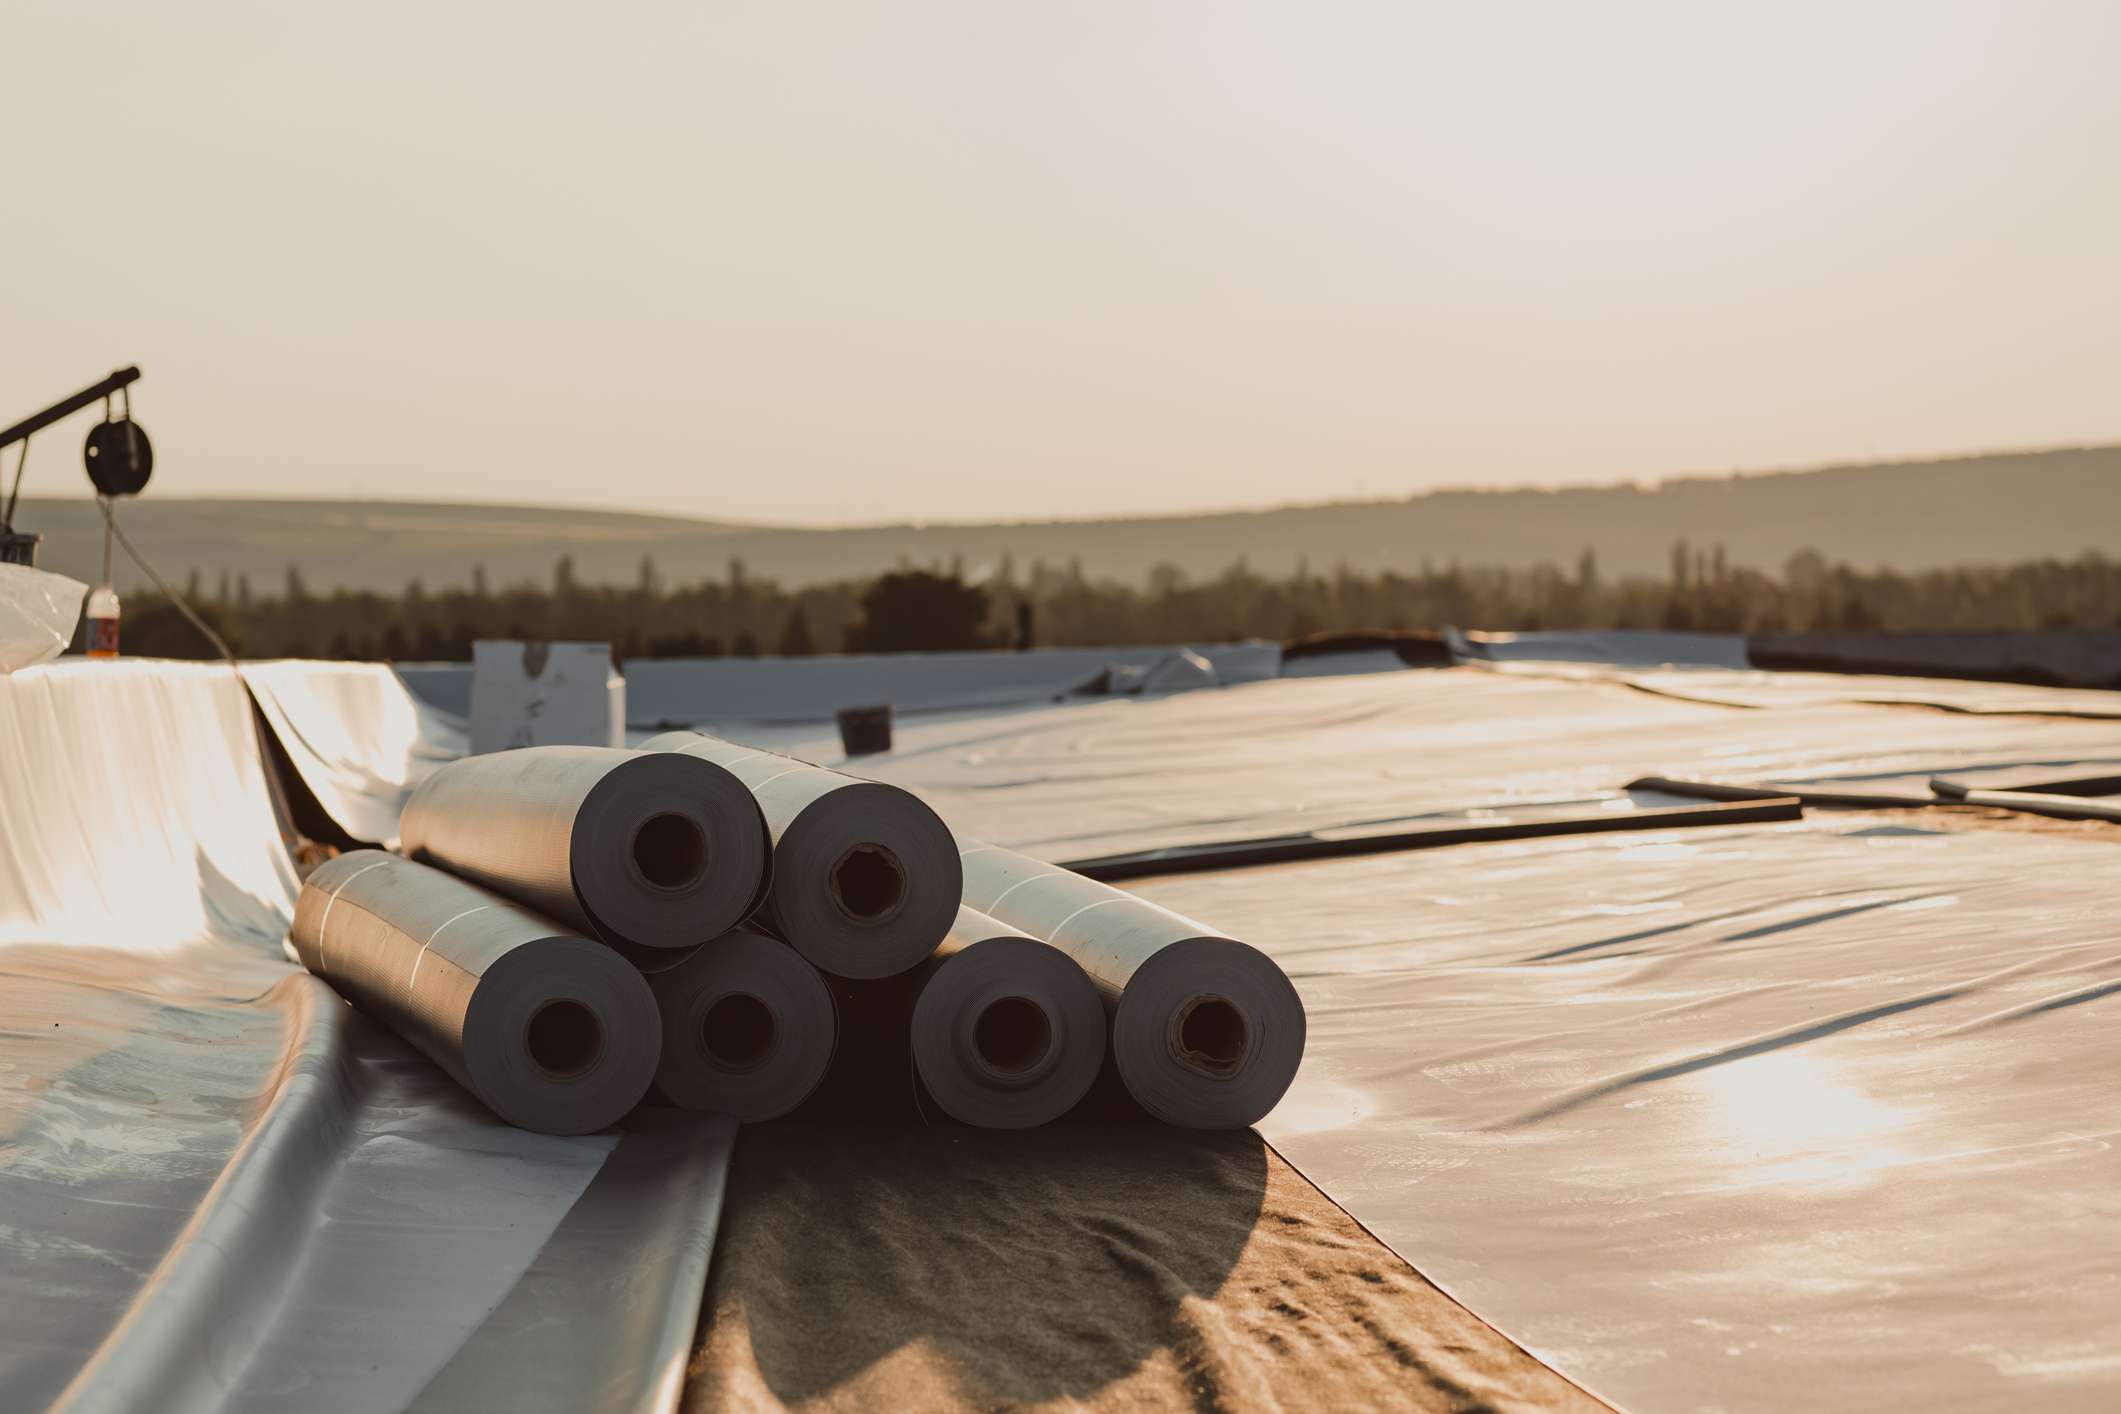
- Rubber roof patch kit: These kits are readily available at most home improvement stores and typically include a patching material, adhesive, and application tools.
- Clean cloth or sponge: You’ll need this to clean the surface of the roof before applying the patch.
- Rubber gloves: These are essential for protecting your hands during the patching process.
- Utility knife or scissors: You’ll use these to cut the patch material to the desired size and shape.
- Wire brush: This will be used to remove any debris or loose material from the damaged area.
- Sandpaper or abrasive pad: These tools will help roughen the surface around the damaged area, ensuring better adhesion of the patch.
- Solvent cleaner: Depending on the specific instructions provided in your patch kit, you may need a solvent cleaner to prepare the surface of the roof.
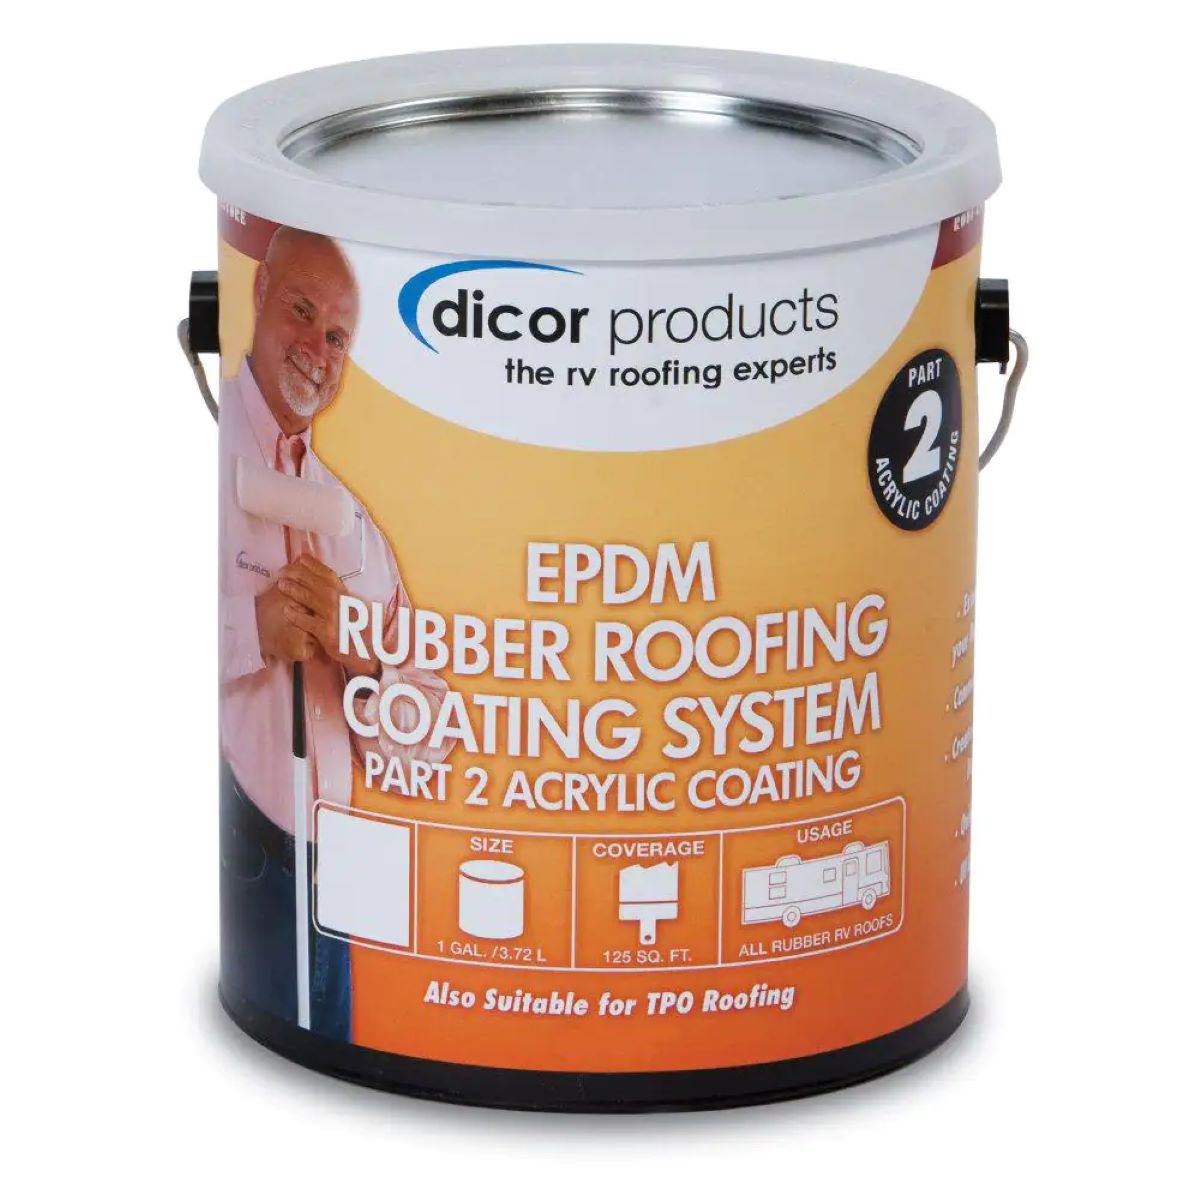
- Roofing cement or sealant: In some cases, you may need to apply a layer of roofing cement or sealant around the edges of the patch for added protection.
It’s important to note that the specific materials needed may vary depending on the type of rubber roof you have and the patch kit you purchase. Always refer to the instructions provided with your patch kit for the most accurate and up-to-date information.
Now that you’ve gathered all the necessary materials, let’s move on to the steps involved in patching your rubber roof.
Step 1: Clean the Roof Surface
Before applying the patch to your rubber roof, it’s crucial to ensure that the surface is clean and free of any dirt, debris, or loose materials. Cleaning the roof surface helps create a strong bond between the patch and the roof, ensuring a long-lasting repair.
Here’s how you can clean the roof surface:
- Start by removing any loose debris or leaves from the roof. Use a broom or a leaf blower to sweep the surface and clear away any obstructions.
- Next, dampen a clean cloth or sponge with water and mild soap. Gently scrub the surface of the roof, paying close attention to the area around the damaged spot.
- If you encounter stubborn stains or dirt, you can use a specialized rubber roof cleaner or a mild solvent cleaner recommended by your patch kit manufacturer. Follow the instructions on the cleaner, and avoid using harsh chemicals or abrasive cleaners that can damage the rubber surface.
- Rinse off the roof surface thoroughly with clean water to remove any soap residue or cleaning solution.
- Allow the roof to dry completely before proceeding to the next step. Ensure that there is no moisture or standing water on the surface, as it can compromise the adhesion of the patch.
By cleaning the roof surface properly, you provide a clean and suitable base for the patch to adhere to. This step is crucial for the success of your repair and ensures that the patch remains securely in place.
Once the roof surface is clean and dry, you can move on to preparing the patching material for the next step of the process.
Step 2: Prepare the Patching Material
After cleaning the roof surface, it’s time to prepare the patching material that will be applied to the damaged area of your rubber roof. The patching material typically comes in the form of a sheet or roll that is specially designed for repairing rubber roofs.
Here’s how you can prepare the patching material:
- Measure the size and shape of the damaged area on your roof. Use a measuring tape to get the accurate dimensions.
- Once you have the measurements, mark the patching material with the appropriate size and shape using a pen or a marker.
- Using a utility knife or a pair of scissors, carefully cut the patching material along the marked lines. Make sure to cut the patch slightly larger than the damaged area to ensure complete coverage.
- Double-check the fit of the patch by placing it over the damaged area. Ensure that it covers the entire damaged portion with a small overlap onto the surrounding undamaged roof surface.
- If necessary, trim the edges of the patch to achieve a proper fit.
It’s important to follow the specific instructions provided with your patch kit. Some kits may require additional preparation steps, such as applying adhesive or activating the patching material before use. Always refer to the manufacturer’s instructions for the best results.
Now that you have the patching material prepared, it’s time to move on to the next step: applying the patch to your rubber roof.
Step 3: Apply the Patch
With the patching material prepared, it’s time to apply it to the damaged area of your rubber roof. This step involves carefully placing the patch over the damaged spot and securing it in place.
Here’s how you can apply the patch:
- Ensure that the damaged area is completely dry and free of any dust or debris.
- If required by your patch kit instructions, apply a thin layer of adhesive or activate the adhesive on the patching material.
- Position the patch over the damaged area, ensuring that it covers the entire damaged portion with a small overlap onto the surrounding undamaged roof surface.
- Press the patch firmly onto the roof, starting from the center and working your way outward to ensure good adhesion.
- Smooth out any wrinkles or air bubbles by gently pressing down on the patch with your hands or a clean cloth.
- Make sure that the edges of the patch are securely adhered to the roof surface.
It’s important to apply the patch with precision and accuracy to ensure a tight seal and prevent any future leaks or damage. Take your time during this step to ensure a proper and secure application.
Once the patch is in place, move on to the next step to ensure a smooth and seamless appearance.
When patching a rubber roof, make sure to clean the area thoroughly before applying the patch. Use a compatible adhesive and follow the manufacturer’s instructions for best results.
Read more: How To Patch A Hole In A Roof
Step 4: Smooth out the Patch
After applying the patch to your rubber roof, it’s important to smooth out the patch to create a seamless and visually appealing finish. This step ensures that the patch blends in with the rest of the roof surface and provides a professional-looking repair.
Here’s how you can smooth out the patch:
- Use a clean cloth or a roller to gently press down on the patch, starting from the center and working your way outward. This helps to remove any air bubbles and ensure a secure bond between the patch and the roof.
- If you notice any excess adhesive or material around the edges of the patch, carefully trim it off using a utility knife or a pair of scissors. This helps create a neater and cleaner appearance.
- Smooth out the edges of the patch by pressing them down firmly with a cloth or roller. This ensures that the patch is securely adhered to the roof and minimizes the risk of water infiltration or damage.
- Check the patch for any visible imperfections or inconsistencies. If necessary, use a heat gun or hairdryer on a low heat setting to gently warm the patch and manipulate it into shape for a smoother finish.
- Inspect the surrounding area of the patch to ensure that it is clean and free of any debris. Remove any loose materials or dirt to maintain the integrity of the repair.
By taking the time to smooth out the patch, you not only improve the appearance of your rubber roof but also enhance its durability and weather-resistance.
Now that you’ve achieved a smooth and seamless patch, it’s time to allow it to cure and perform a final check for any potential leaks.
Step 5: Allow the Patch to Cure
After applying and smoothing out the patch on your rubber roof, it’s crucial to allow it sufficient time to cure and bond with the surface. Curing ensures that the patch forms a strong and durable seal, providing long-lasting protection against the elements.
Here’s what you need to do to allow the patch to cure effectively:
- Check the curing time specified by the manufacturer of your patching material. It may vary depending on the type of material used.
- Avoid walking or placing any objects on the patched area for the duration of the curing time to prevent any disruptions or damage to the bond.
- If possible, cover the patched area with a protective tarp or piece of plywood to shield it from harsh weather conditions, such as heavy rain or direct sunlight, during the curing process.
- Monitor the patch closely during the curing period and inspect it periodically for any signs of damage or deterioration.
It’s important to note that the curing time may vary depending on factors such as temperature, humidity, and the specific patching material used. Factors such as cooler temperatures and higher humidity levels may lengthen the curing time, so be sure to adjust your expectations accordingly.
Once the recommended curing time has passed, it’s time to move on to the final step: checking for potential leaks to ensure the success of your rubber roof patch.
Step 6: Check for Leaks
After allowing the patch on your rubber roof to cure, it’s crucial to perform a thorough check for any potential leaks. This step ensures that your patch is effective in preventing water infiltration and maintaining the integrity of your roof.
Here’s how you can check for leaks:
- Wait for a day with dry weather conditions to conduct the leak test.
- Inspect the patched area visually, looking for any signs of water stains, discoloration, or moisture on the surface.
- Use a garden hose or a spray bottle filled with water to simulate rainfall.
- Carefully spray water over the patched area, focusing on the area around the patch as well as the surrounding roof surface.
- Observe the inside of your building for any signs of water penetration, such as drips, stains, or dampness on the ceiling or walls.
- If you notice any leaks or water intrusion, identify the source and take note of the specific areas that require additional attention.
- If leaks are detected, consult the instructions provided with your patching material to determine the appropriate steps to rectify the issue. This may involve reapplying adhesive, adding more patching material, or seeking professional assistance for more complex repairs.
Checking for leaks is an essential final step to ensure the effectiveness and success of your rubber roof patch. By addressing any leaks promptly, you can protect your building from further damage and maintain the integrity of your roof.
Now that you have completed all the steps and performed the leak test, you have successfully patched your rubber roof. With proper maintenance and regular inspections, you can extend the lifespan of your roof and enjoy its protective benefits for years to come.
Conclusion
Patching a rubber roof is a valuable skill that allows you to repair minor damage and extend the lifespan of your roof. By following the step-by-step process outlined in this article and using the necessary materials, you can effectively patch your rubber roof and restore its integrity.
Remember, it’s crucial to clean the roof surface thoroughly before applying the patching material, ensuring a strong bond. Take the time to prepare the patching material correctly, cutting it to the appropriate size and shape for a seamless repair.
When applying the patch, be sure to press it firmly onto the surface to achieve good adhesion and smooth out any wrinkles or air bubbles. Take extra care to smooth out the edges of the patch for a neat and professional finish.
Allow the patch sufficient time to cure, following the manufacturer’s instructions, and protect it from harsh weather conditions during this period. Once the patch has cured, perform a thorough leak test to ensure its effectiveness in preventing water infiltration.
By regularly inspecting and maintaining your rubber roof, you can identify and address any damage or potential issues quickly. Promptly patching any minor damage will help prevent it from worsening and potentially causing more significant problems in the future.
If you feel unsure about patching your rubber roof or encounter extensive damage, it’s always best to seek professional assistance from a roofing contractor. They have the expertise and specialized tools to handle more complex repairs and ensure a long-lasting and reliable solution.
Remember, a well-maintained rubber roof provides protection for your building and ensures its longevity. By taking the time to patch any damage and stay proactive with maintenance, you can preserve the integrity of your rubber roof for years to come.
Happy patching!
Frequently Asked Questions about How To Patch Rubber Roof
Was this page helpful?
At Storables.com, we guarantee accurate and reliable information. Our content, validated by Expert Board Contributors, is crafted following stringent Editorial Policies. We're committed to providing you with well-researched, expert-backed insights for all your informational needs.
0 thoughts on “How To Patch Rubber Roof”