Home>Gardening & Outdoor>Outdoor Structures>How To Patch A Shed Roof
Outdoor Structures
How To Patch A Shed Roof
Modified: October 20, 2024
Learn how to patch a shed roof with our step-by-step guide. Keep your outdoor structures in top shape with our expert tips.
(Many of the links in this article redirect to a specific reviewed product. Your purchase of these products through affiliate links helps to generate commission for Storables.com, at no extra cost. Learn more)
**
Introduction
**
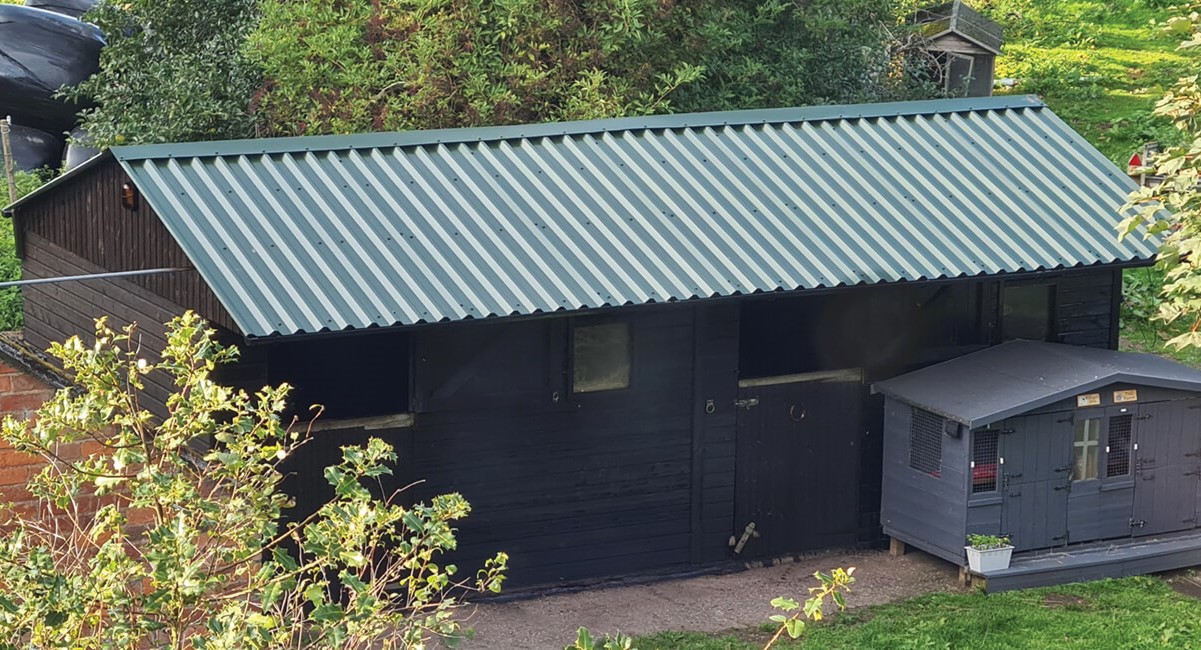
When it comes to maintaining outdoor structures, a sturdy and well-kept shed is essential for safeguarding your tools, equipment, and seasonal items from the elements. However, over time, wear and tear can take a toll on the shed roof, leading to leaks and potential damage to the items inside. The good news is that patching a shed roof is a manageable task that can be accomplished with the right materials, tools, and a bit of know-how.
In this comprehensive guide, we will walk you through the step-by-step process of patching a shed roof, from assessing the damage to applying the patch and carrying out essential maintenance. Whether you’re a seasoned DIY enthusiast or a newcomer to outdoor maintenance, this guide will equip you with the knowledge and confidence to tackle this project effectively. So, gather your materials and let’s dive into the world of shed roof repair.
**
Key Takeaways:
- Patching a shed roof is a manageable DIY task that requires thorough assessment, precise preparation, and careful application of materials to create a durable and watertight seal.
- Ongoing maintenance, proactive inspections, and addressing minor issues promptly are essential for preserving the integrity of the shed roof and ensuring long-term protection for your outdoor belongings.
Read more: How To Patch A Hole In A Roof
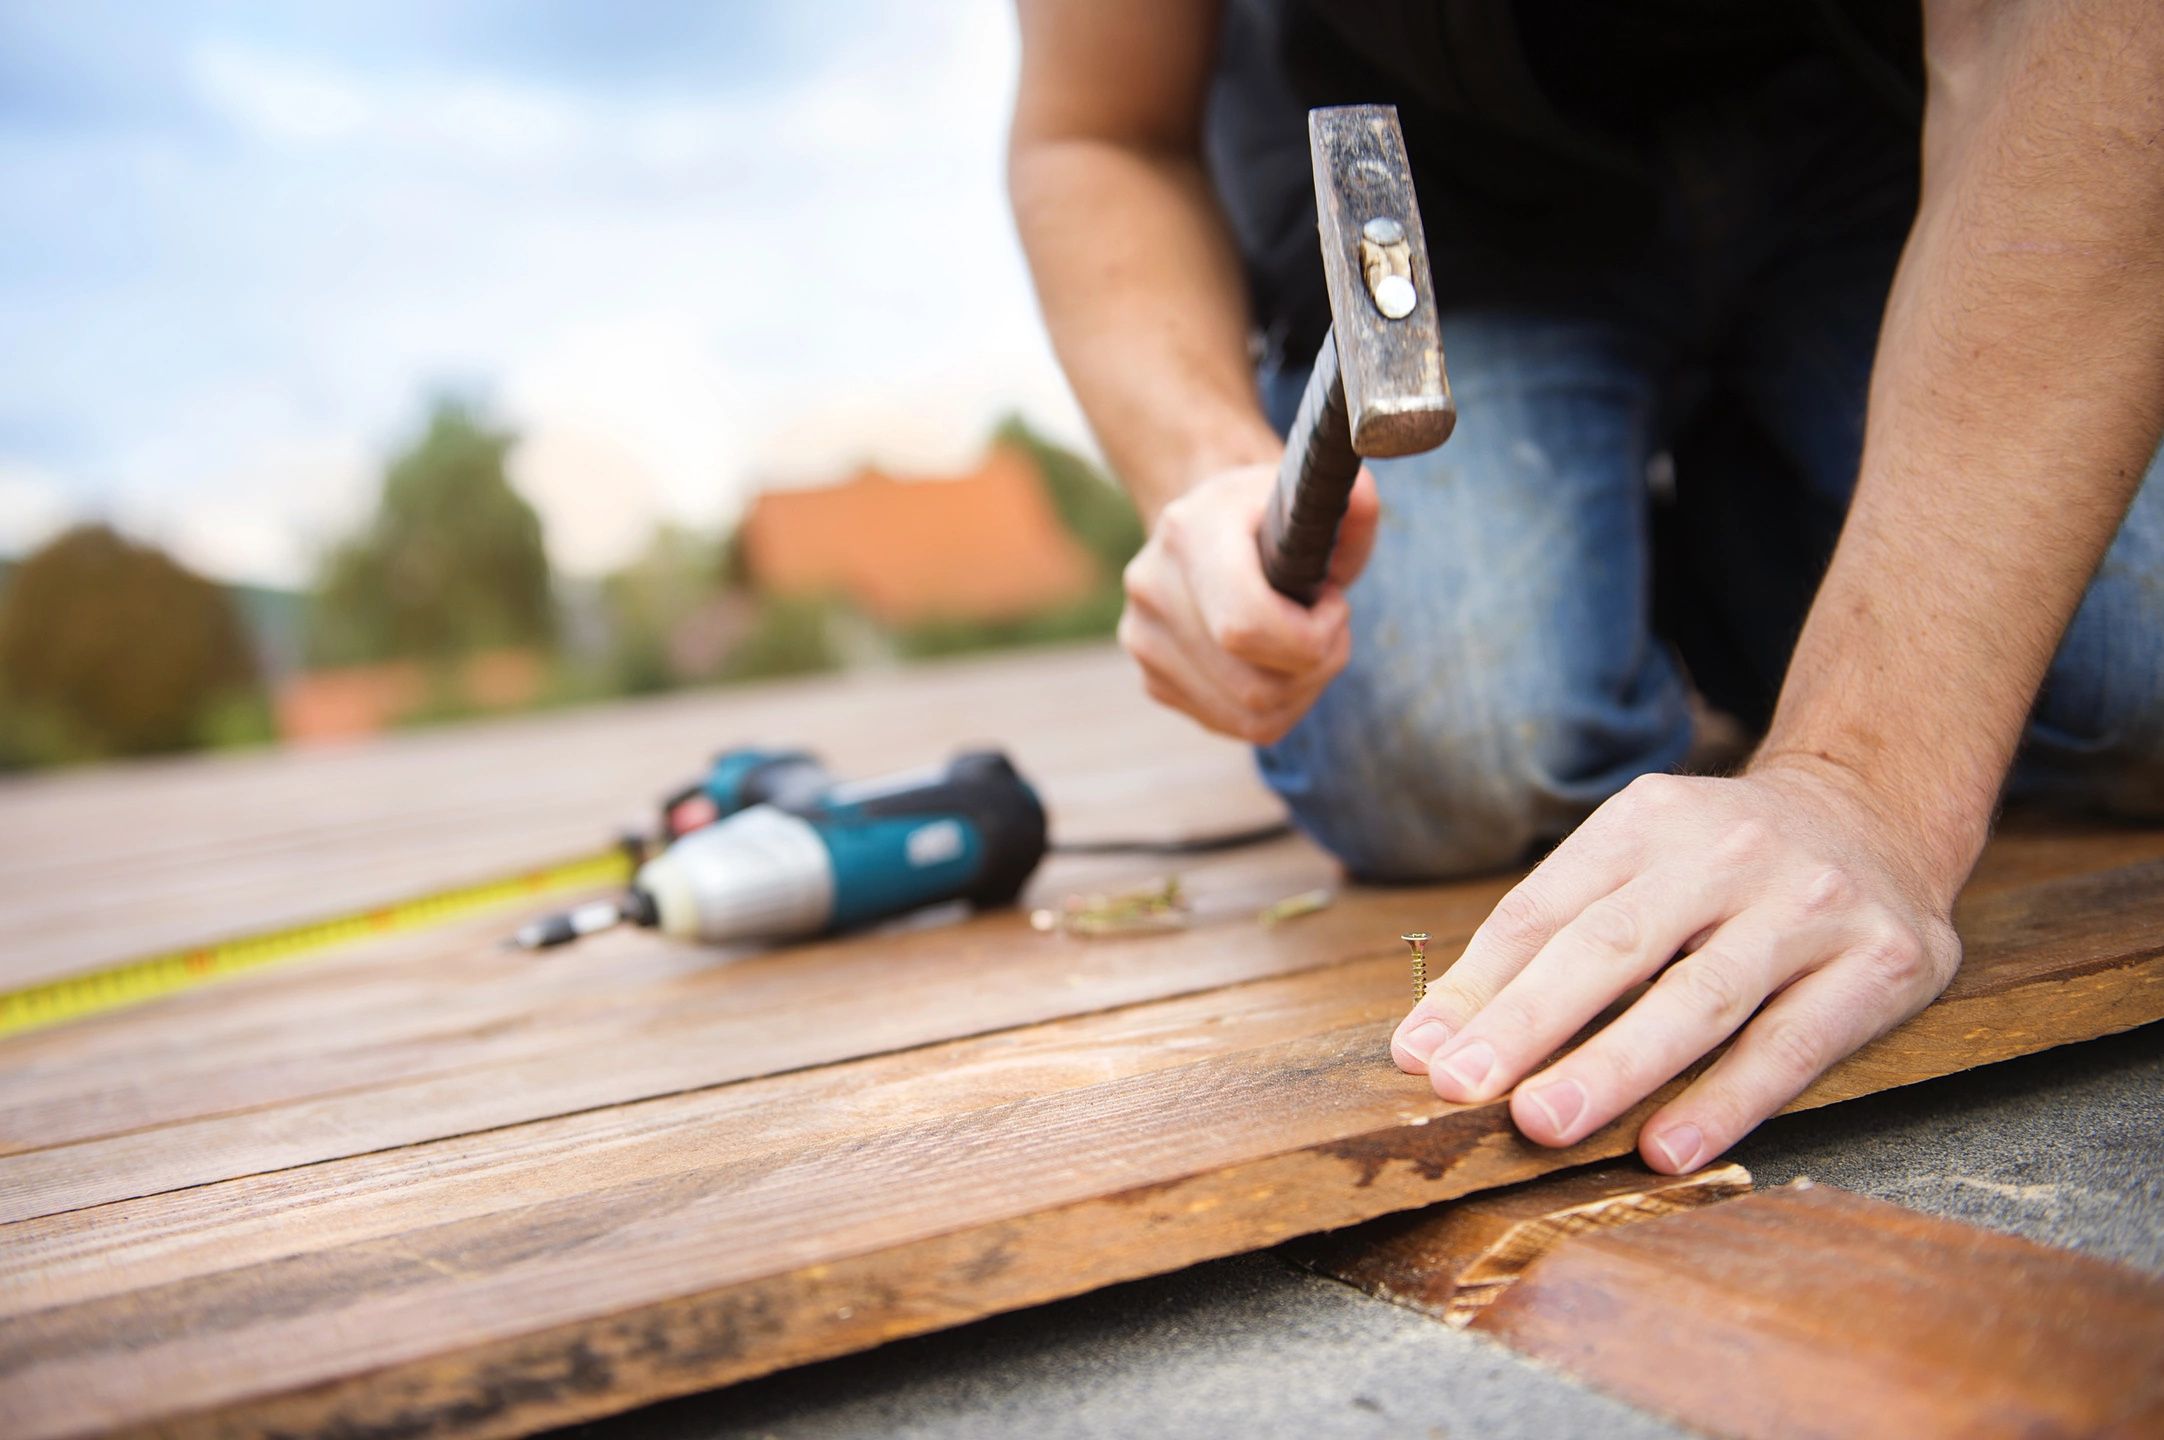
Materials and Tools Needed
**
Before embarking on the shed roof patching journey, it’s crucial to gather the necessary materials and tools. Here’s a comprehensive list to ensure you’re well-equipped for the task:
Materials:
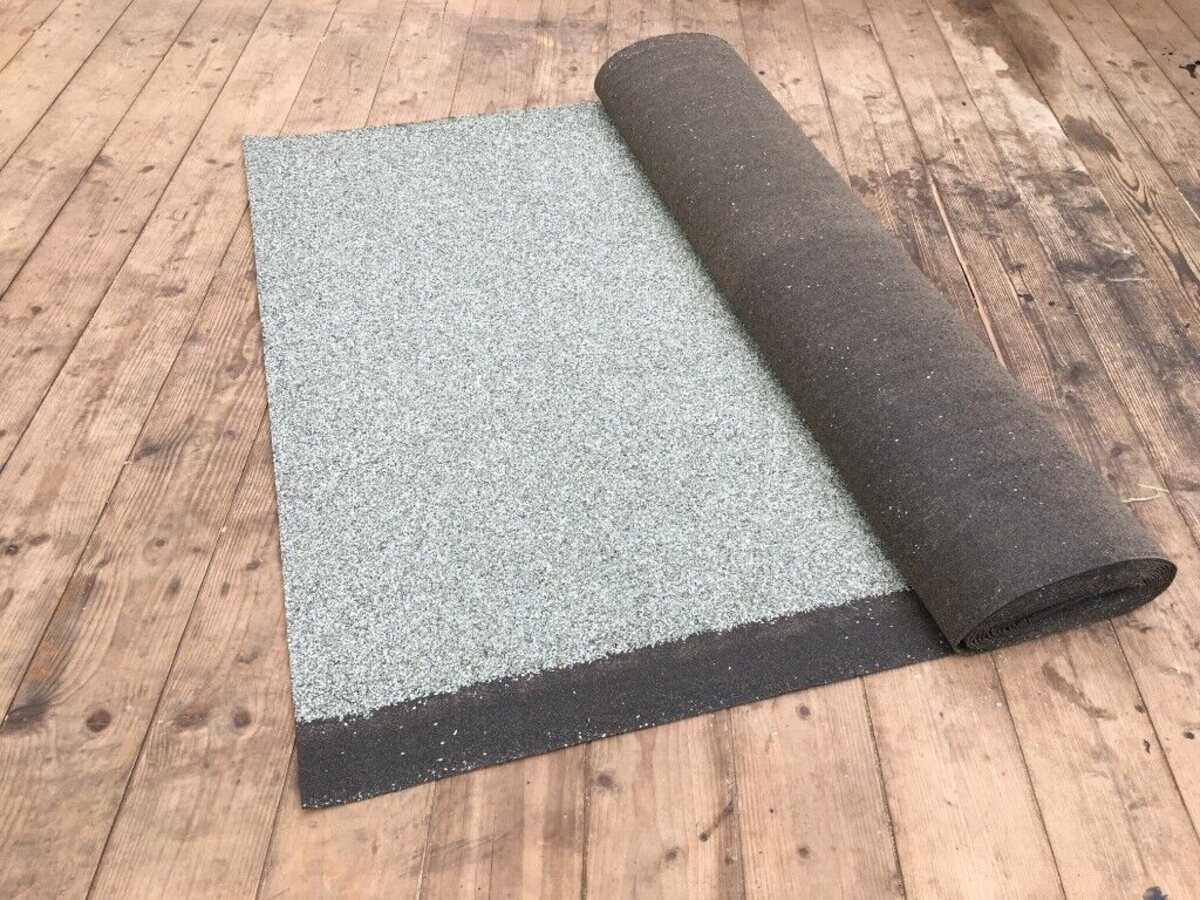
- Patch Material: This can include metal flashing, roofing cement, or a patching kit specifically designed for shed roofs. Ensure the material is suitable for the type of roofing on your shed.
- Roofing Cement: High-quality roofing cement is essential for creating a durable and watertight seal.
- Primer: A suitable primer will help the patch adhere securely to the roof surface.
- Patch Fabric: If using a patching kit, ensure it includes durable and weather-resistant patch fabric.
- Safety Equipment: This includes gloves, safety goggles, and, if working at height, a stable ladder and fall protection gear.
Tools:
- Utility Knife: A sharp utility knife will be indispensable for cutting patch material to the required size and shape.
- Paintbrush or Trowel: Depending on the application method, a paintbrush or trowel will be needed for applying roofing cement and primer.
- Measuring Tape: Accurate measurements are crucial for cutting patch material to fit the damaged area precisely.
- Wire Brush: A wire brush will aid in cleaning the damaged area and ensuring optimal adhesion for the patch.
- Safety Equipment: This includes gloves, safety goggles, and, if working at height, a stable ladder and fall protection gear.
By ensuring you have all the essential materials and tools at your disposal, you can approach the shed roof patching process with confidence, knowing that you’re prepared for a successful repair.
**
Assessing the Damage
**
Before diving into the repair process, it’s crucial to assess the extent of the damage to your shed roof. This initial step will provide valuable insights into the type of repair needed and the materials required. Here’s a systematic approach to assessing the damage:
Visual Inspection: Begin by visually inspecting the roof for any signs of damage. Look for cracks, holes, or areas where the roofing material may have lifted or deteriorated. Additionally, check for water stains inside the shed, as these can indicate areas of water ingress on the roof.
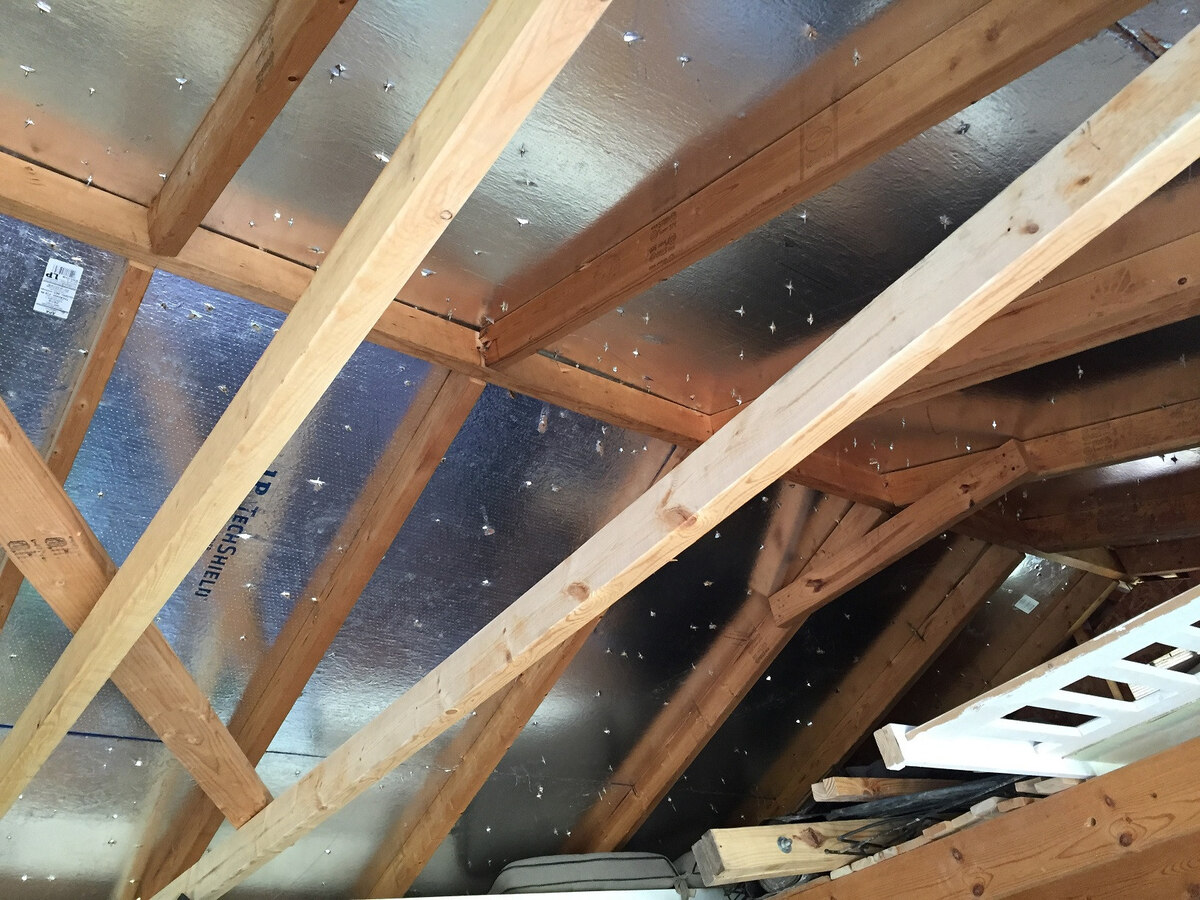
Interior Examination: If possible, inspect the interior of the shed during daylight hours. Look for signs of light entering through the roof, as this can pinpoint the location of the damage. Additionally, check for any dampness or water stains on the underside of the roof.
Weather Conditions: Consider the recent weather conditions and their potential impact on the roof. Heavy rain, strong winds, or snow accumulation can exacerbate existing damage, so factor these elements into your assessment.
Documenting the Damage: Take photographs of the damaged areas from both the interior and exterior. These visuals will be valuable references when discussing the repair with professionals or seeking advice from hardware store staff.
Severity of Damage: Assess the severity of the damage to determine whether a patch will suffice or if a more extensive repair or roof replacement is necessary. Factors such as the age of the roof, the extent of the damage, and the underlying cause (e.g., rust, deterioration) will influence this decision.
By thoroughly assessing the damage, you’ll be equipped with a clear understanding of the repair requirements and can proceed to prepare the roof surface for the patching process.
**
Preparing the Roof Surface
**
Once the damage has been assessed, the next crucial step in patching a shed roof is preparing the damaged area and its surroundings. Proper preparation is essential for ensuring the patch adheres securely and forms a durable seal. Here’s a detailed guide to preparing the roof surface:
Clean the Area: Begin by thoroughly cleaning the damaged area and its immediate surroundings. Use a wire brush to remove debris, dirt, and loose roofing material. Ensure the surface is free from any contaminants that could hinder the adhesion of the patch.
Trim Excess Material: If there are any loose or protruding sections of the existing roofing material, carefully trim them using a utility knife. This will create a smooth and even surface for the patch to adhere to.
Apply Primer: Using a paintbrush or trowel, apply a suitable primer to the cleaned and trimmed area. The primer will promote adhesion and enhance the effectiveness of the patching material.
Measure and Cut the Patch Material: Take precise measurements of the damaged area and cut the patch material to fit. Ensure the patch extends beyond the damaged area to create a secure seal and prevent water ingress.
Position the Patch: Carefully position the cut patch material over the damaged area, ensuring it aligns correctly and covers the entirety of the damage. Take time to adjust the positioning as needed before proceeding to apply the patch.
Secure the Patch Fabric: If using a patching kit with fabric, ensure the fabric is securely positioned over the damaged area before applying the roofing cement. The fabric provides added reinforcement and strength to the patch.
By meticulously preparing the roof surface, you set the stage for a successful patch application. The attention to detail during this phase will contribute to the longevity and effectiveness of the repair, providing peace of mind knowing your shed roof is well-protected.
**
Inspect the roof for any damaged or missing shingles. Use roofing cement to patch any small holes or cracks. For larger damage, consider replacing the damaged shingles.
Applying the Patch
**
With the roof surface meticulously prepared, it’s time to embark on the application of the patch. This critical step involves securing the patch material in place and creating a watertight seal to protect the shed from potential leaks. Here’s a comprehensive guide to applying the patch:
Applying Roofing Cement: Begin by applying a generous amount of roofing cement to the prepared area. Ensure the cement extends beyond the edges of the patch to create a secure bond with the existing roofing material.
Positioning the Patch: Carefully position the cut patch material or patching kit over the area coated with roofing cement. Gently press the patch into place, ensuring it adheres securely and forms a seamless bond with the roofing surface.
Smoothing the Surface: Use a trowel or the back of a paintbrush to smooth the patch and remove any air pockets or excess cement. This step is crucial for creating a uniform and watertight seal.
Applying Additional Cement: To reinforce the patch and ensure optimal sealing, apply an additional layer of roofing cement over the entire patched area. This layer acts as an added barrier against moisture and reinforces the patch’s adhesion.
Allowing for Cure Time: Once the patch is in place and the cement has been applied, allow sufficient time for the cement to cure and form a strong, waterproof seal. Refer to the manufacturer’s guidelines for recommended curing times.
Inspecting the Patch: After the cement has cured, inspect the patched area for any irregularities or areas that may require additional attention. Address any potential issues promptly to ensure the patch is fully secure and effective.
By following these detailed steps, you can confidently apply the patch to your shed roof, knowing that you’ve taken the necessary measures to create a durable and reliable seal. With the patch in place, your shed will be well-protected against the elements, and you can proceed to the final steps and maintenance to complete the repair process.
**
Read more: How To Patch Rubber Roof
Final Steps and Maintenance
**
As the patching process nears completion, it’s essential to carry out the final steps to ensure the longevity and effectiveness of the repair. Additionally, implementing ongoing maintenance practices will help preserve the integrity of the shed roof. Here’s a detailed overview of the final steps and essential maintenance:
Trim Excess Material: Once the patch and roofing cement have fully cured, carefully trim any excess patch material or stray cement using a utility knife. This step will create a neat and streamlined appearance while removing any potential sources of damage.
Inspect the Surrounding Area: Take the time to inspect the entire shed roof and its immediate surroundings for any additional signs of damage or areas that may require attention. Addressing minor issues promptly can prevent them from developing into more significant problems in the future.
Implement Regular Inspections: Schedule periodic inspections of the shed roof to proactively identify and address any emerging issues. This practice allows you to detect and rectify potential vulnerabilities before they escalate, contributing to the long-term durability of the roof.
Maintain Gutters and Drainage: Ensure that gutters and drainage systems are clear of debris and functioning optimally. Proper water drainage plays a crucial role in preserving the shed roof and preventing water-related damage.
Addressing Additional Maintenance Needs: Depending on the roofing material and environmental factors, additional maintenance such as resealing seams, addressing rust on metal roofs, or reapplying protective coatings may be necessary. Stay attuned to the specific maintenance requirements of your shed roof.
Document the Repair: Keep a record of the repair process, including the materials used, the date of the repair, and any relevant observations. This documentation can serve as a valuable reference for future maintenance and repairs.
By completing these final steps and embracing proactive maintenance practices, you can safeguard the integrity of your shed roof and prolong its service life. With a well-executed patch and ongoing care, your shed will continue to provide reliable protection for years to come.
**
Conclusion
**
Embarking on the journey of patching a shed roof is a proactive and rewarding endeavor that safeguards your valuable possessions and ensures the longevity of your outdoor structure. By following the comprehensive steps outlined in this guide, you’ve equipped yourself with the knowledge and skills to effectively assess, prepare, and patch your shed roof, effectively mitigating damage and preventing potential leaks.
As you reflect on the successful completion of the patching process, remember that ongoing maintenance and periodic inspections are key to preserving the integrity of the repair and proactively addressing any emerging issues. By embracing a proactive approach to shed roof maintenance, you’re investing in the long-term protection and functionality of your outdoor space.
Furthermore, the confidence and satisfaction gained from successfully patching your shed roof serve as a testament to your capability as a DIY enthusiast and a responsible guardian of your outdoor assets. The skills and experience acquired through this project will undoubtedly empower you to tackle future maintenance tasks with confidence and efficiency.
As you admire your well-maintained shed and the secure patch adorning its roof, take pride in the dedication and care you’ve invested in preserving this essential outdoor structure. Your proactive approach to maintenance not only protects your belongings but also contributes to the overall aesthetic appeal and functionality of your outdoor space.
With this guide as your companion, you’ve embraced the art of shed roof patching, transforming a potentially daunting task into a manageable and rewarding project. As you continue to nurture and maintain your outdoor haven, may the knowledge and skills gained serve you well, ensuring that your shed remains a steadfast guardian of your cherished possessions for years to come.
Frequently Asked Questions about How To Patch A Shed Roof
Was this page helpful?
At Storables.com, we guarantee accurate and reliable information. Our content, validated by Expert Board Contributors, is crafted following stringent Editorial Policies. We're committed to providing you with well-researched, expert-backed insights for all your informational needs.


0 thoughts on “How To Patch A Shed Roof”