Home>Furniture & Design>Interior Design Trends>How To Photograph Through Glass
Interior Design Trends
How To Photograph Through Glass
Modified: October 19, 2024
Learn how to capture stunning interior design trends through glass with our expert photography tips. Perfect your technique and elevate your photography skills today!
(Many of the links in this article redirect to a specific reviewed product. Your purchase of these products through affiliate links helps to generate commission for Storables.com, at no extra cost. Learn more)
Introduction
Photographing through glass can present a unique set of challenges for photographers. Whether you're capturing the stunning cityscape from a high-rise building, taking photos of animals at the zoo, or shooting images in an aquarium, the presence of glass can significantly impact the quality of your photographs. Understanding how to overcome the obstacles posed by glass is essential for achieving stunning and professional-looking results.
When photographing through glass, you may encounter issues such as reflections, glare, and reduced image clarity. These factors can detract from the overall impact of your images, leading to frustration and disappointment. However, with the right techniques and equipment, you can effectively minimize these challenges and produce exceptional photographs that showcase your subject in all its glory.
In this comprehensive guide, we will delve into the intricacies of photographing through glass, offering valuable insights and practical tips to help you elevate your photography skills. From understanding the challenges posed by glass to implementing effective strategies for reducing reflections and glare, we will cover everything you need to know to capture stunning images through glass surfaces.
Whether you're a seasoned photographer looking to expand your repertoire or an amateur enthusiast eager to improve your photography game, mastering the art of photographing through glass will open up a world of creative possibilities. By the end of this guide, you will be equipped with the knowledge and techniques needed to confidently tackle glass photography and produce captivating images that truly stand out.
So, let's embark on this enlightening journey and unravel the secrets of photographing through glass, empowering you to unleash your creativity and capture mesmerizing moments with precision and finesse.
Key Takeaways:
- Master the art of photographing through glass by using polarizing filters, adjusting shooting angles, and controlling ambient lighting to minimize reflections and glare, resulting in stunning and clear images.
- Choose the right shooting angle and distance to overcome challenges posed by glass, capturing captivating and immersive photographs with unparalleled clarity and visual appeal.
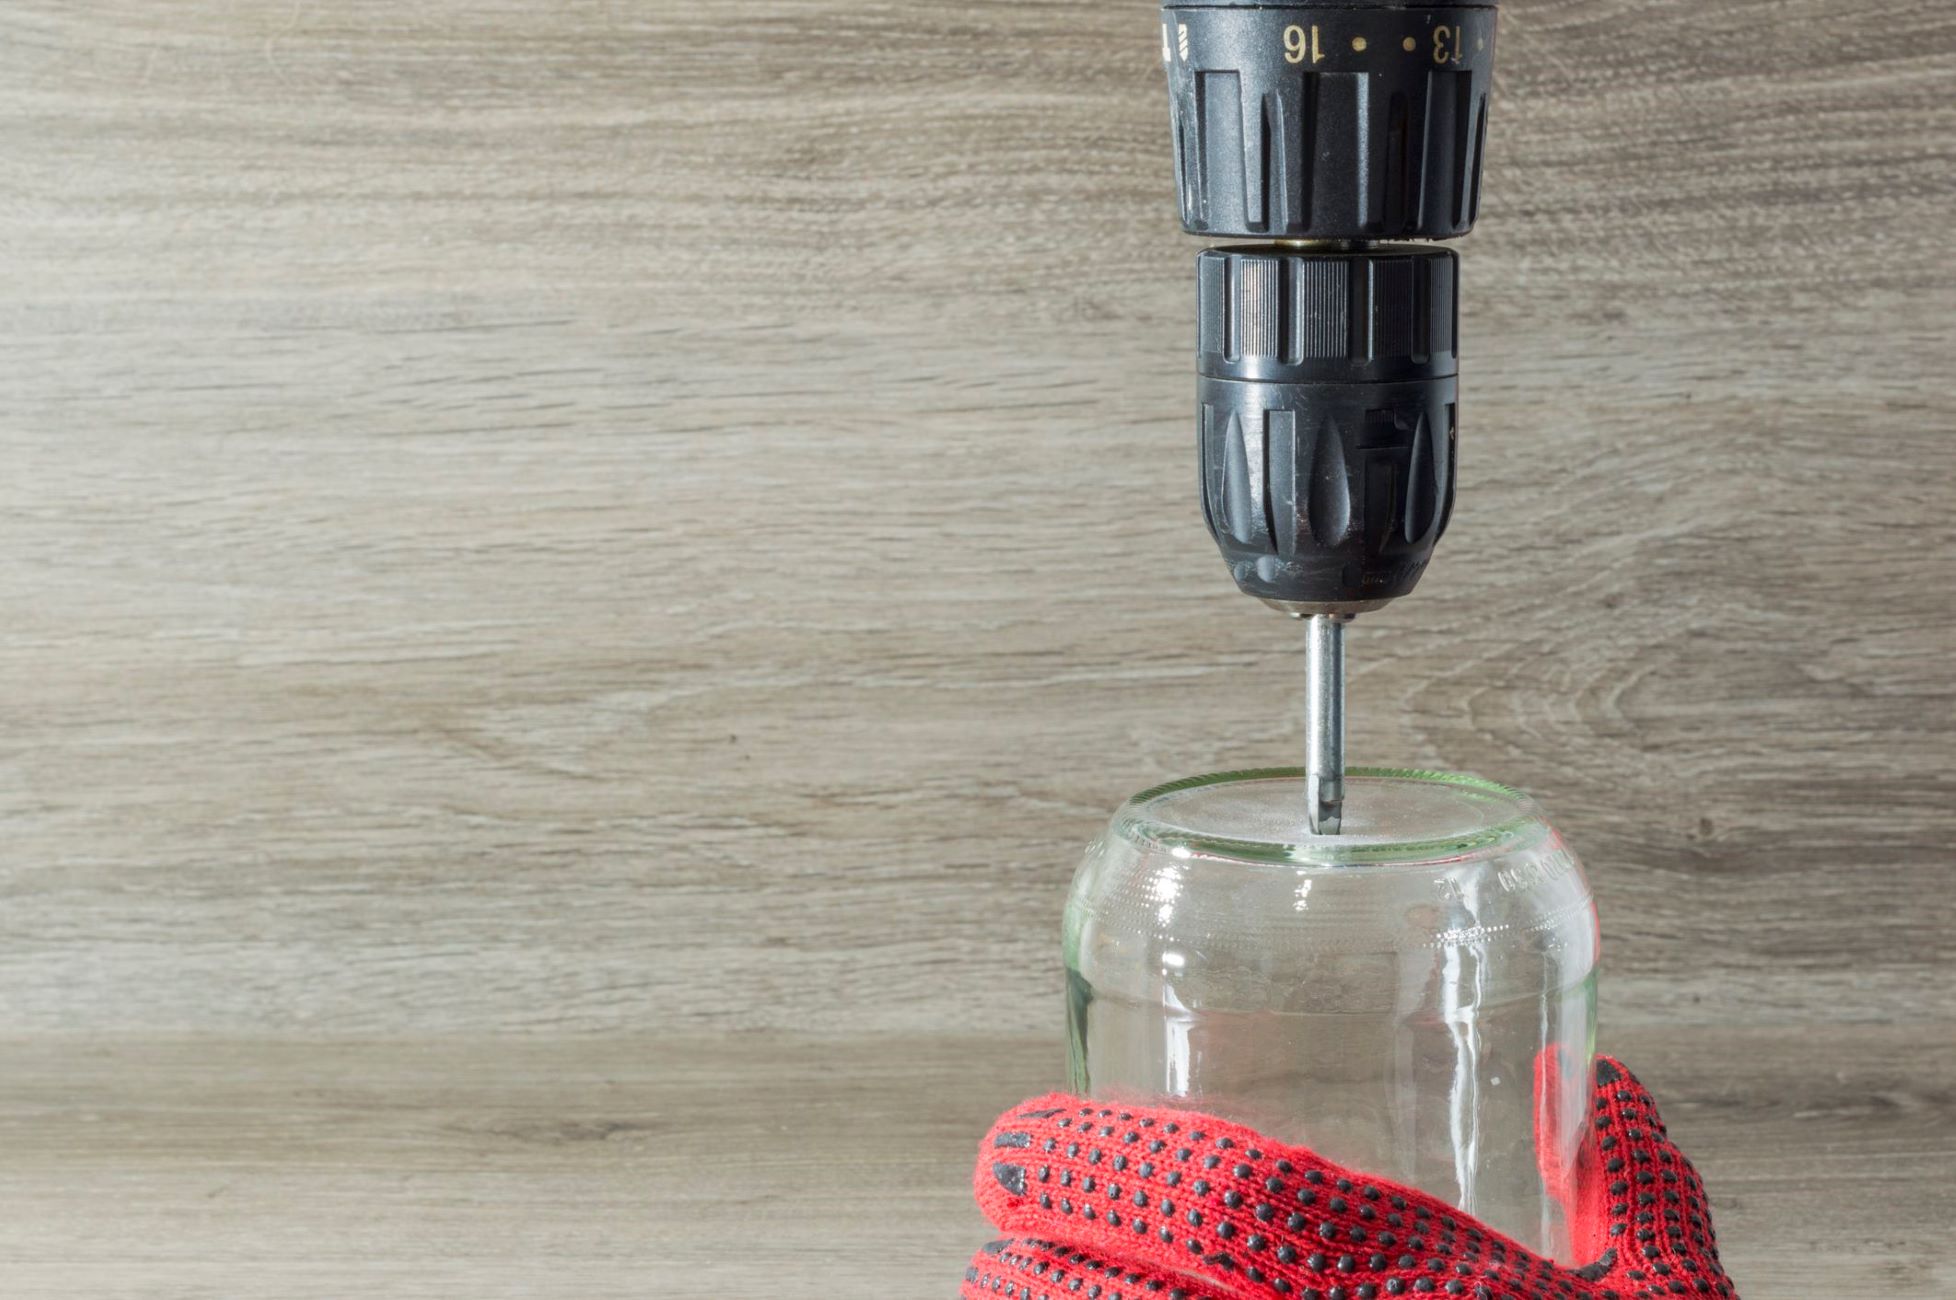
Read more: How To Drill Through Glass
Understanding the challenges of photographing through glass
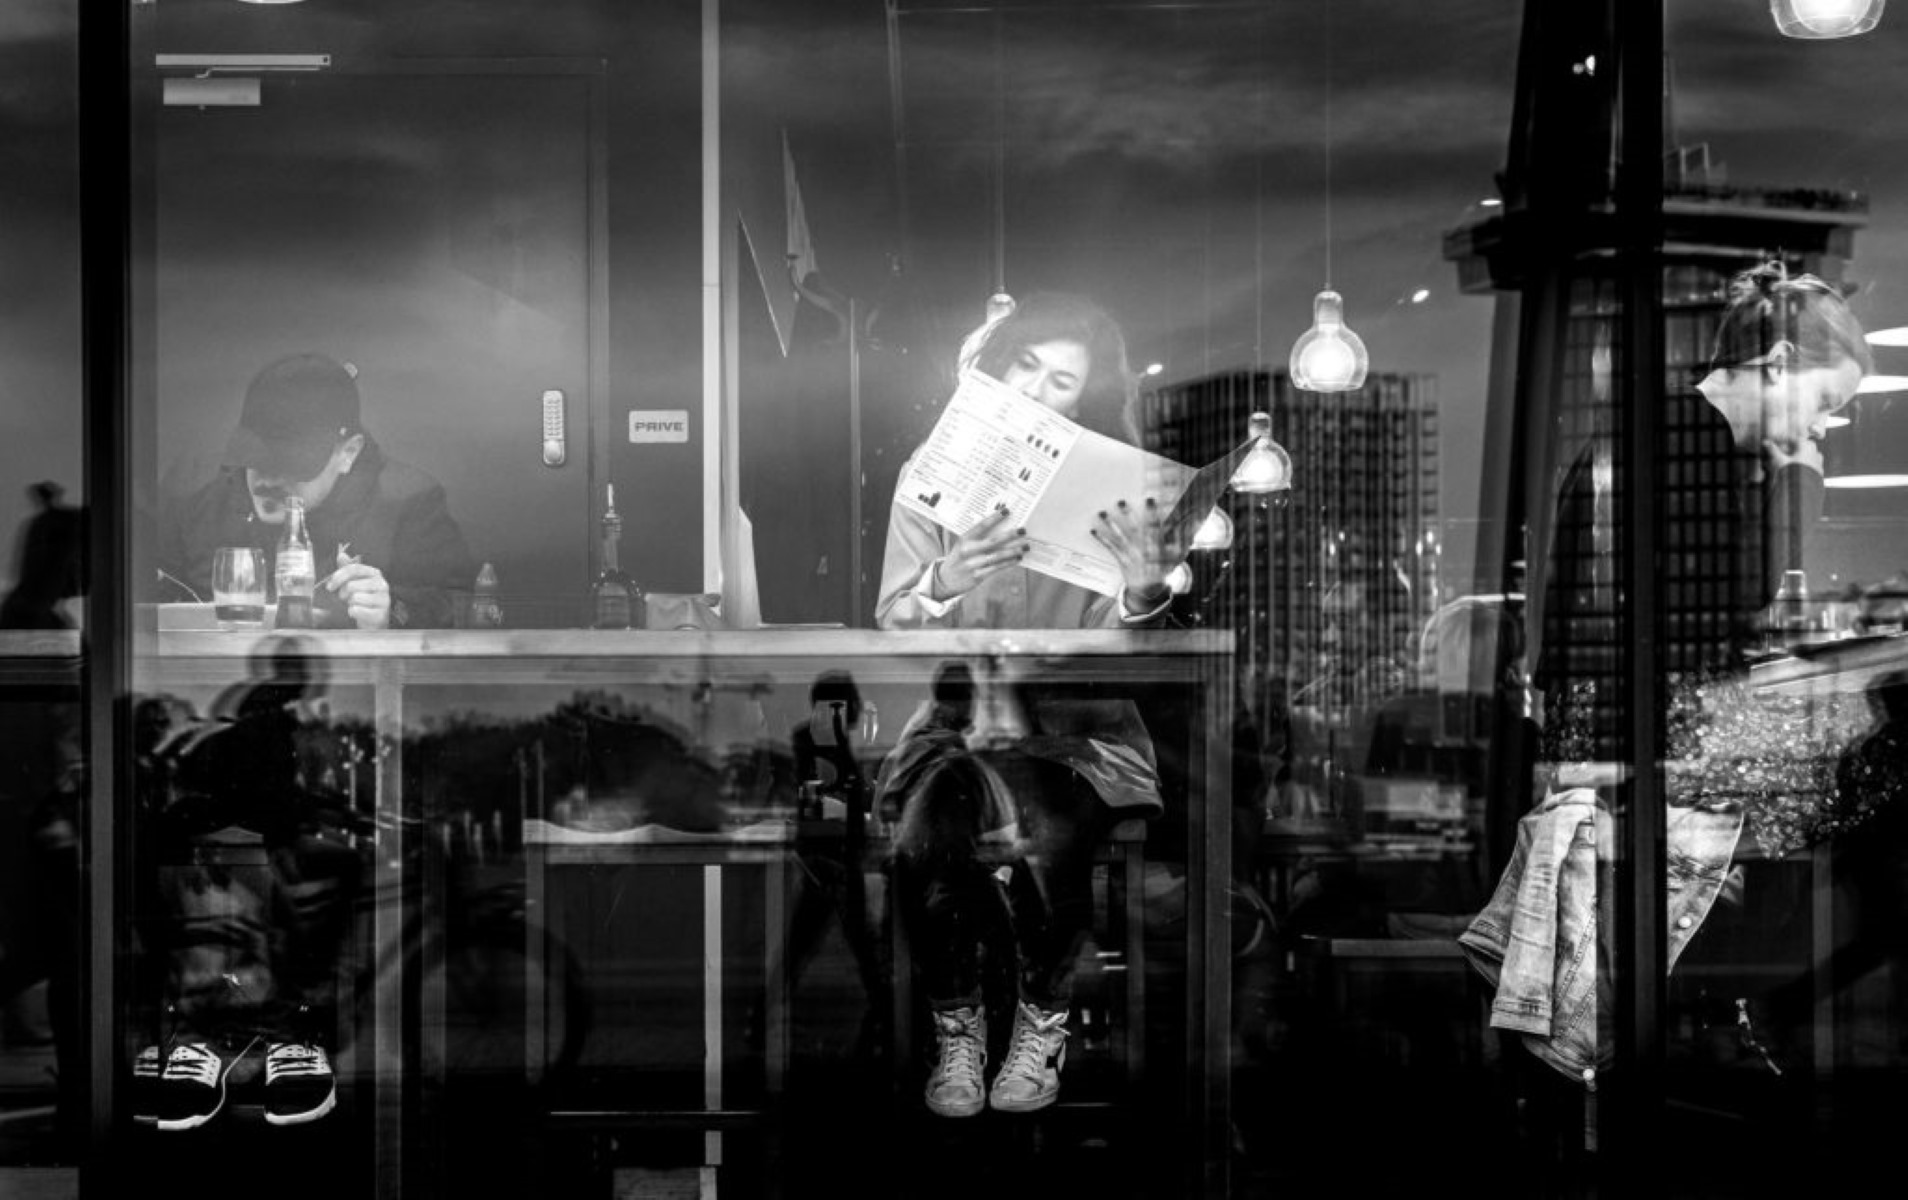
Photographing through glass presents a myriad of challenges that can significantly impact the quality of your images. One of the primary obstacles is the presence of reflections and glare. When light hits the glass surface, it can create unwanted reflections, obscuring the subject and diminishing the overall clarity of the photograph. These reflections can be particularly pronounced when shooting in brightly lit environments or when capturing images near artificial light sources.
Additionally, the refractive properties of glass can distort the subject, leading to visual aberrations and a lack of sharpness in the final image. This distortion becomes more apparent when photographing subjects at oblique angles or when shooting through thick glass panels.
Furthermore, the inherent transparency of glass can pose a challenge in achieving accurate color reproduction. The glass may introduce a subtle tint or color cast to the image, altering the natural hues of the subject and impacting the overall color balance of the photograph.
Moreover, the presence of dirt, smudges, or scratches on the glass surface can further detract from the image quality, necessitating careful consideration and potential post-processing to rectify these imperfections.
Understanding these challenges is crucial for photographers aiming to capture compelling images through glass. By recognizing the potential impediments posed by reflections, glare, distortion, and color inaccuracies, photographers can proactively implement strategies to mitigate these issues and achieve superior results.
In the subsequent sections, we will explore practical tips and techniques to address these challenges, empowering photographers to overcome the inherent difficulties of photographing through glass and produce visually stunning and impactful images.
Tips for reducing reflections and glare
When it comes to photographing through glass, minimizing reflections and glare is paramount in achieving clear, captivating images. Here are several effective tips for reducing these unwanted visual disturbances:
-
Polarizing Filters: Utilizing a polarizing filter is a highly effective method for reducing reflections and glare when shooting through glass. By rotating the filter, photographers can selectively block polarized light, thereby minimizing reflections and enhancing color saturation. This versatile tool is particularly beneficial when capturing outdoor scenes through windows or glass barriers, as it helps to mitigate the impact of ambient light and atmospheric reflections.
-
Adjusting Shooting Angles: Experimenting with different shooting angles can significantly diminish reflections and glare. By positioning the camera at oblique angles to the glass surface, photographers can minimize the direct reflection of light sources, resulting in clearer and more defined images. Additionally, shooting from a closer distance to the glass can help reduce the impact of reflections, allowing for sharper and more detailed photographs.
-
Controlling Ambient Lighting: Managing the ambient lighting conditions is crucial for minimizing reflections and glare. When shooting through glass, it is advisable to dim or reposition artificial light sources to mitigate their reflective impact. Additionally, strategically positioning yourself and the camera to avoid direct light sources can help minimize unwanted reflections, ensuring that the subject remains the focal point of the photograph.
-
Using Lens Hoods: Employing a lens hood can aid in reducing stray light that may cause reflections and glare. By shielding the lens from extraneous light sources, photographers can maintain image clarity and minimize the disruptive effects of reflections. This simple yet effective accessory is particularly valuable when shooting in brightly lit environments or when contending with multiple light sources.
-
Cleaning the Glass Surface: Ensuring that the glass surface is clean and free from smudges or fingerprints is essential for minimizing visual obstructions. Prior to capturing the image, carefully clean the glass to remove any dirt or marks that could contribute to unwanted reflections. This proactive measure can significantly enhance the overall image quality and reduce the impact of glare on the final photograph.
By implementing these practical tips, photographers can effectively reduce reflections and glare when photographing through glass, resulting in visually striking and high-quality images that authentically showcase the intended subject matter. These strategies empower photographers to overcome the challenges posed by glass surfaces, enabling them to capture captivating and immersive photographs with precision and finesse.
Choosing the right angle and distance
When photographing through glass, the choice of angle and distance plays a pivotal role in determining the quality and visual impact of the resulting images. By strategically selecting the optimal shooting position and distance from the glass surface, photographers can effectively minimize reflections, distortions, and visual obstructions, ultimately enhancing the clarity and overall appeal of their photographs.
One of the key considerations when choosing the right angle is to position the camera in such a way that minimizes direct reflections of light sources. Shooting at oblique angles to the glass surface can significantly reduce the impact of reflections, allowing for clearer and more defined images. By avoiding shooting directly perpendicular to the glass, photographers can mitigate the reflective properties of the surface, resulting in images with enhanced clarity and reduced visual disturbances.
Furthermore, experimenting with different shooting distances from the glass can yield varying results in terms of image quality and composition. When shooting through glass, getting closer to the surface can help minimize the impact of reflections and distortions, leading to sharper and more detailed photographs. By reducing the distance between the camera and the glass, photographers can effectively mitigate the visual obstructions caused by the reflective properties of the surface, resulting in images that accurately capture the intended subject matter with heightened clarity and precision.
Additionally, the choice of shooting angle and distance can influence the composition and perspective of the photographs. By strategically adjusting the shooting position and distance, photographers can achieve unique and compelling perspectives that accentuate the visual impact of the subject. Whether capturing architectural details through a window or photographing wildlife behind glass enclosures, the careful consideration of shooting angles and distances empowers photographers to craft visually engaging and immersive images that resonate with viewers.
In essence, choosing the right angle and distance when photographing through glass is instrumental in overcoming the inherent challenges posed by reflections, distortions, and visual obstructions. By strategically positioning the camera at oblique angles and adjusting the shooting distance from the glass surface, photographers can elevate the quality of their images, resulting in captivating photographs that authentically showcase the intended subject matter with unparalleled clarity and visual appeal.
To reduce glare when photographing through glass, use a polarizing filter on your camera lens. This will help minimize reflections and improve the clarity of your shot.
Using a polarizing filter
Utilizing a polarizing filter is a highly effective method for reducing reflections and glare when shooting through glass. This versatile tool empowers photographers to exert precise control over the impact of polarized light, thereby enhancing the overall quality and visual appeal of their images.
The primary function of a polarizing filter is to selectively block polarized light, effectively minimizing reflections and increasing color saturation. By rotating the filter, photographers can manipulate the orientation of the polarizing elements, allowing them to fine-tune the reduction of reflections based on the specific shooting conditions. This level of control is particularly valuable when capturing outdoor scenes through windows or glass barriers, as it enables photographers to mitigate the impact of ambient light and atmospheric reflections, resulting in images with heightened clarity and visual impact.
When shooting through glass, the polarizing filter can effectively diminish the reflective properties of the surface, allowing photographers to capture the intended subject matter with exceptional detail and precision. By attenuating the reflections and glare caused by external light sources, the polarizing filter enables photographers to produce images that authentically showcase the inherent beauty of the subject, free from visual disturbances and obstructions.
Furthermore, the use of a polarizing filter can significantly enhance color saturation and contrast, leading to images with vivid and true-to-life hues. This is particularly beneficial when photographing scenes with vibrant colors or when aiming to capture the natural beauty of landscapes and outdoor environments. By reducing the impact of reflections and atmospheric haze, the polarizing filter elevates the overall color fidelity of the images, resulting in photographs that exude a captivating and immersive visual allure.
In essence, the application of a polarizing filter empowers photographers to overcome the challenges posed by reflections and glare when shooting through glass, enabling them to capture stunning images with unparalleled clarity and visual impact. By harnessing the capabilities of this essential tool, photographers can elevate the quality of their glass photography, producing images that resonate with viewers and authentically convey the intended subject matter with precision and finesse.
Read more: How To Photograph Candles
Adjusting your camera settings
When photographing through glass, adjusting your camera settings is crucial for achieving optimal results and overcoming the inherent challenges posed by reflections, glare, and visual distortions. By carefully configuring the key parameters of your camera, you can effectively mitigate the impact of glass surfaces on image quality and produce compelling photographs that authentically showcase the intended subject matter.
One of the fundamental camera settings to consider when shooting through glass is the aperture. Selecting an appropriate aperture value plays a significant role in controlling the depth of field and maximizing image sharpness. Opting for a narrower aperture, such as f/8 or higher, can enhance the overall depth of field, ensuring that both the subject and the surrounding elements remain in sharp focus. This is particularly beneficial when capturing scenes with intricate details or when aiming to maintain clarity across the entire composition, despite the potential visual obstructions caused by the glass surface.
In addition to aperture, adjusting the shutter speed is essential for managing exposure and minimizing the impact of reflections and glare. When shooting through glass, it is advisable to utilize a faster shutter speed to reduce the likelihood of capturing unwanted reflections or visual disturbances caused by ambient light sources. By employing a faster shutter speed, photographers can effectively freeze motion and minimize the influence of external light, resulting in images with enhanced clarity and reduced visual obstructions.
Furthermore, carefully configuring the ISO setting is crucial for achieving optimal exposure and minimizing digital noise in glass photography. When shooting through glass, maintaining a moderate ISO value can help preserve image quality and minimize the introduction of unwanted noise or artifacts. By selecting an ISO setting within the optimal range for your camera, you can ensure that the resulting images exhibit superior clarity and detail, free from the detrimental effects of excessive digital noise.
Moreover, utilizing manual white balance adjustments can aid in achieving accurate color reproduction and mitigating the subtle color casts introduced by glass surfaces. By fine-tuning the white balance settings to account for the specific lighting conditions and the inherent properties of the glass, photographers can ensure that the colors in their images remain faithful to the original subject matter, resulting in photographs with authentic and natural hues.
In essence, adjusting your camera settings is instrumental in overcoming the challenges of photographing through glass, enabling photographers to capture compelling images with exceptional clarity and visual impact. By carefully configuring the aperture, shutter speed, ISO, and white balance settings, photographers can effectively mitigate the influence of reflections, glare, and visual distortions, resulting in photographs that authentically showcase the intended subject matter with precision and finesse.
Post-processing techniques for improving glass photography
Post-processing plays a pivotal role in refining and enhancing glass photography, allowing photographers to address any residual visual disturbances and elevate the overall quality of their images. By leveraging various post-processing techniques, photographers can effectively mitigate the impact of reflections, glare, and visual obstructions, resulting in captivating photographs that authentically showcase the intended subject matter with unparalleled clarity and visual appeal.
One of the primary post-processing techniques for improving glass photography is the meticulous removal of reflections and glare using specialized editing tools. Software applications such as Adobe Photoshop and Lightroom offer powerful tools for selectively reducing or eliminating unwanted reflections, allowing photographers to meticulously refine the visual clarity of their images. By employing targeted adjustments to specific areas affected by reflections, photographers can restore the intended details and enhance the overall sharpness of the photograph, resulting in images with heightened visual impact and authenticity.
Furthermore, post-processing enables photographers to fine-tune the color balance and contrast of their glass photography, ensuring that the resulting images exhibit accurate and vibrant hues. By employing precise color correction and tonal adjustments, photographers can mitigate any subtle color casts introduced by the glass surface, resulting in images with true-to-life colors and enhanced visual fidelity. Additionally, refining the contrast and tonal range of the photographs can further accentuate the details and textures of the subject, resulting in images with a compelling and immersive visual allure.
Moreover, leveraging advanced sharpening and clarity enhancement techniques in post-processing can significantly improve the overall sharpness and detail rendition of glass photography. By selectively applying sharpening adjustments to specific areas of the image, photographers can enhance the crispness and definition of the subject, resulting in images with exceptional clarity and precision. This meticulous approach to sharpening ensures that the inherent details and textures of the subject are faithfully preserved, allowing for a more immersive and engaging visual experience for viewers.
In essence, post-processing techniques offer photographers the opportunity to refine and elevate the quality of their glass photography, enabling them to produce images that authentically showcase the intended subject matter with unparalleled clarity and visual impact. By leveraging specialized editing tools to address reflections, refine color balance, and enhance sharpness, photographers can achieve compelling and visually striking results, captivating viewers with images that transcend the inherent challenges of photographing through glass.
Frequently Asked Questions about How To Photograph Through Glass
Was this page helpful?
At Storables.com, we guarantee accurate and reliable information. Our content, validated by Expert Board Contributors, is crafted following stringent Editorial Policies. We're committed to providing you with well-researched, expert-backed insights for all your informational needs.


0 thoughts on “How To Photograph Through Glass”