Home>Gardening & Outdoor>Landscaping Ideas>How To Level The Ground For A Garden Bed
Landscaping Ideas
How To Level The Ground For A Garden Bed
Modified: August 27, 2024
Learn effective landscaping ideas and techniques for leveling the ground to create the perfect garden bed. Follow our step-by-step guide for a beautiful and functional outdoor space.
(Many of the links in this article redirect to a specific reviewed product. Your purchase of these products through affiliate links helps to generate commission for Storables.com, at no extra cost. Learn more)
Introduction
Creating a garden bed is an exciting endeavor that allows you to unleash your creativity and cultivate a beautiful outdoor space. Before you can start planting, it's essential to ensure that the ground is level and well-prepared to provide an optimal environment for your plants to thrive. Leveling the ground for a garden bed is a crucial step that sets the foundation for a successful and visually appealing garden.
Properly leveling the ground not only enhances the aesthetic appeal of your garden but also promotes healthy plant growth. A level surface ensures that water is distributed evenly, preventing pooling and promoting efficient drainage. Additionally, a well-leveled garden bed provides a stable base for plant roots to establish themselves and access essential nutrients from the soil.
In this comprehensive guide, we will walk through the step-by-step process of leveling the ground for a garden bed. From clearing the area to adding organic matter, each step plays a vital role in creating an ideal environment for your plants to flourish. By following these guidelines, you can lay the groundwork for a stunning garden bed that will be the envy of your neighborhood.
So, roll up your sleeves, grab your gardening tools, and let's embark on this rewarding journey of leveling the ground for a garden bed. Whether you're a seasoned gardener or a novice enthusiast, this guide will equip you with the knowledge and techniques to transform your outdoor space into a vibrant and thriving garden oasis.
Key Takeaways:
- Leveling the ground for a garden bed is like creating a solid base for a beautiful painting. It ensures plants have a stable home and access to water and nutrients for healthy growth.
- Adding organic matter to the soil is like giving it a nutritious meal. It helps plants thrive by improving soil structure, retaining water, and creating a healthy environment for beneficial organisms.
Read more: How To Level The Ground For A Shed
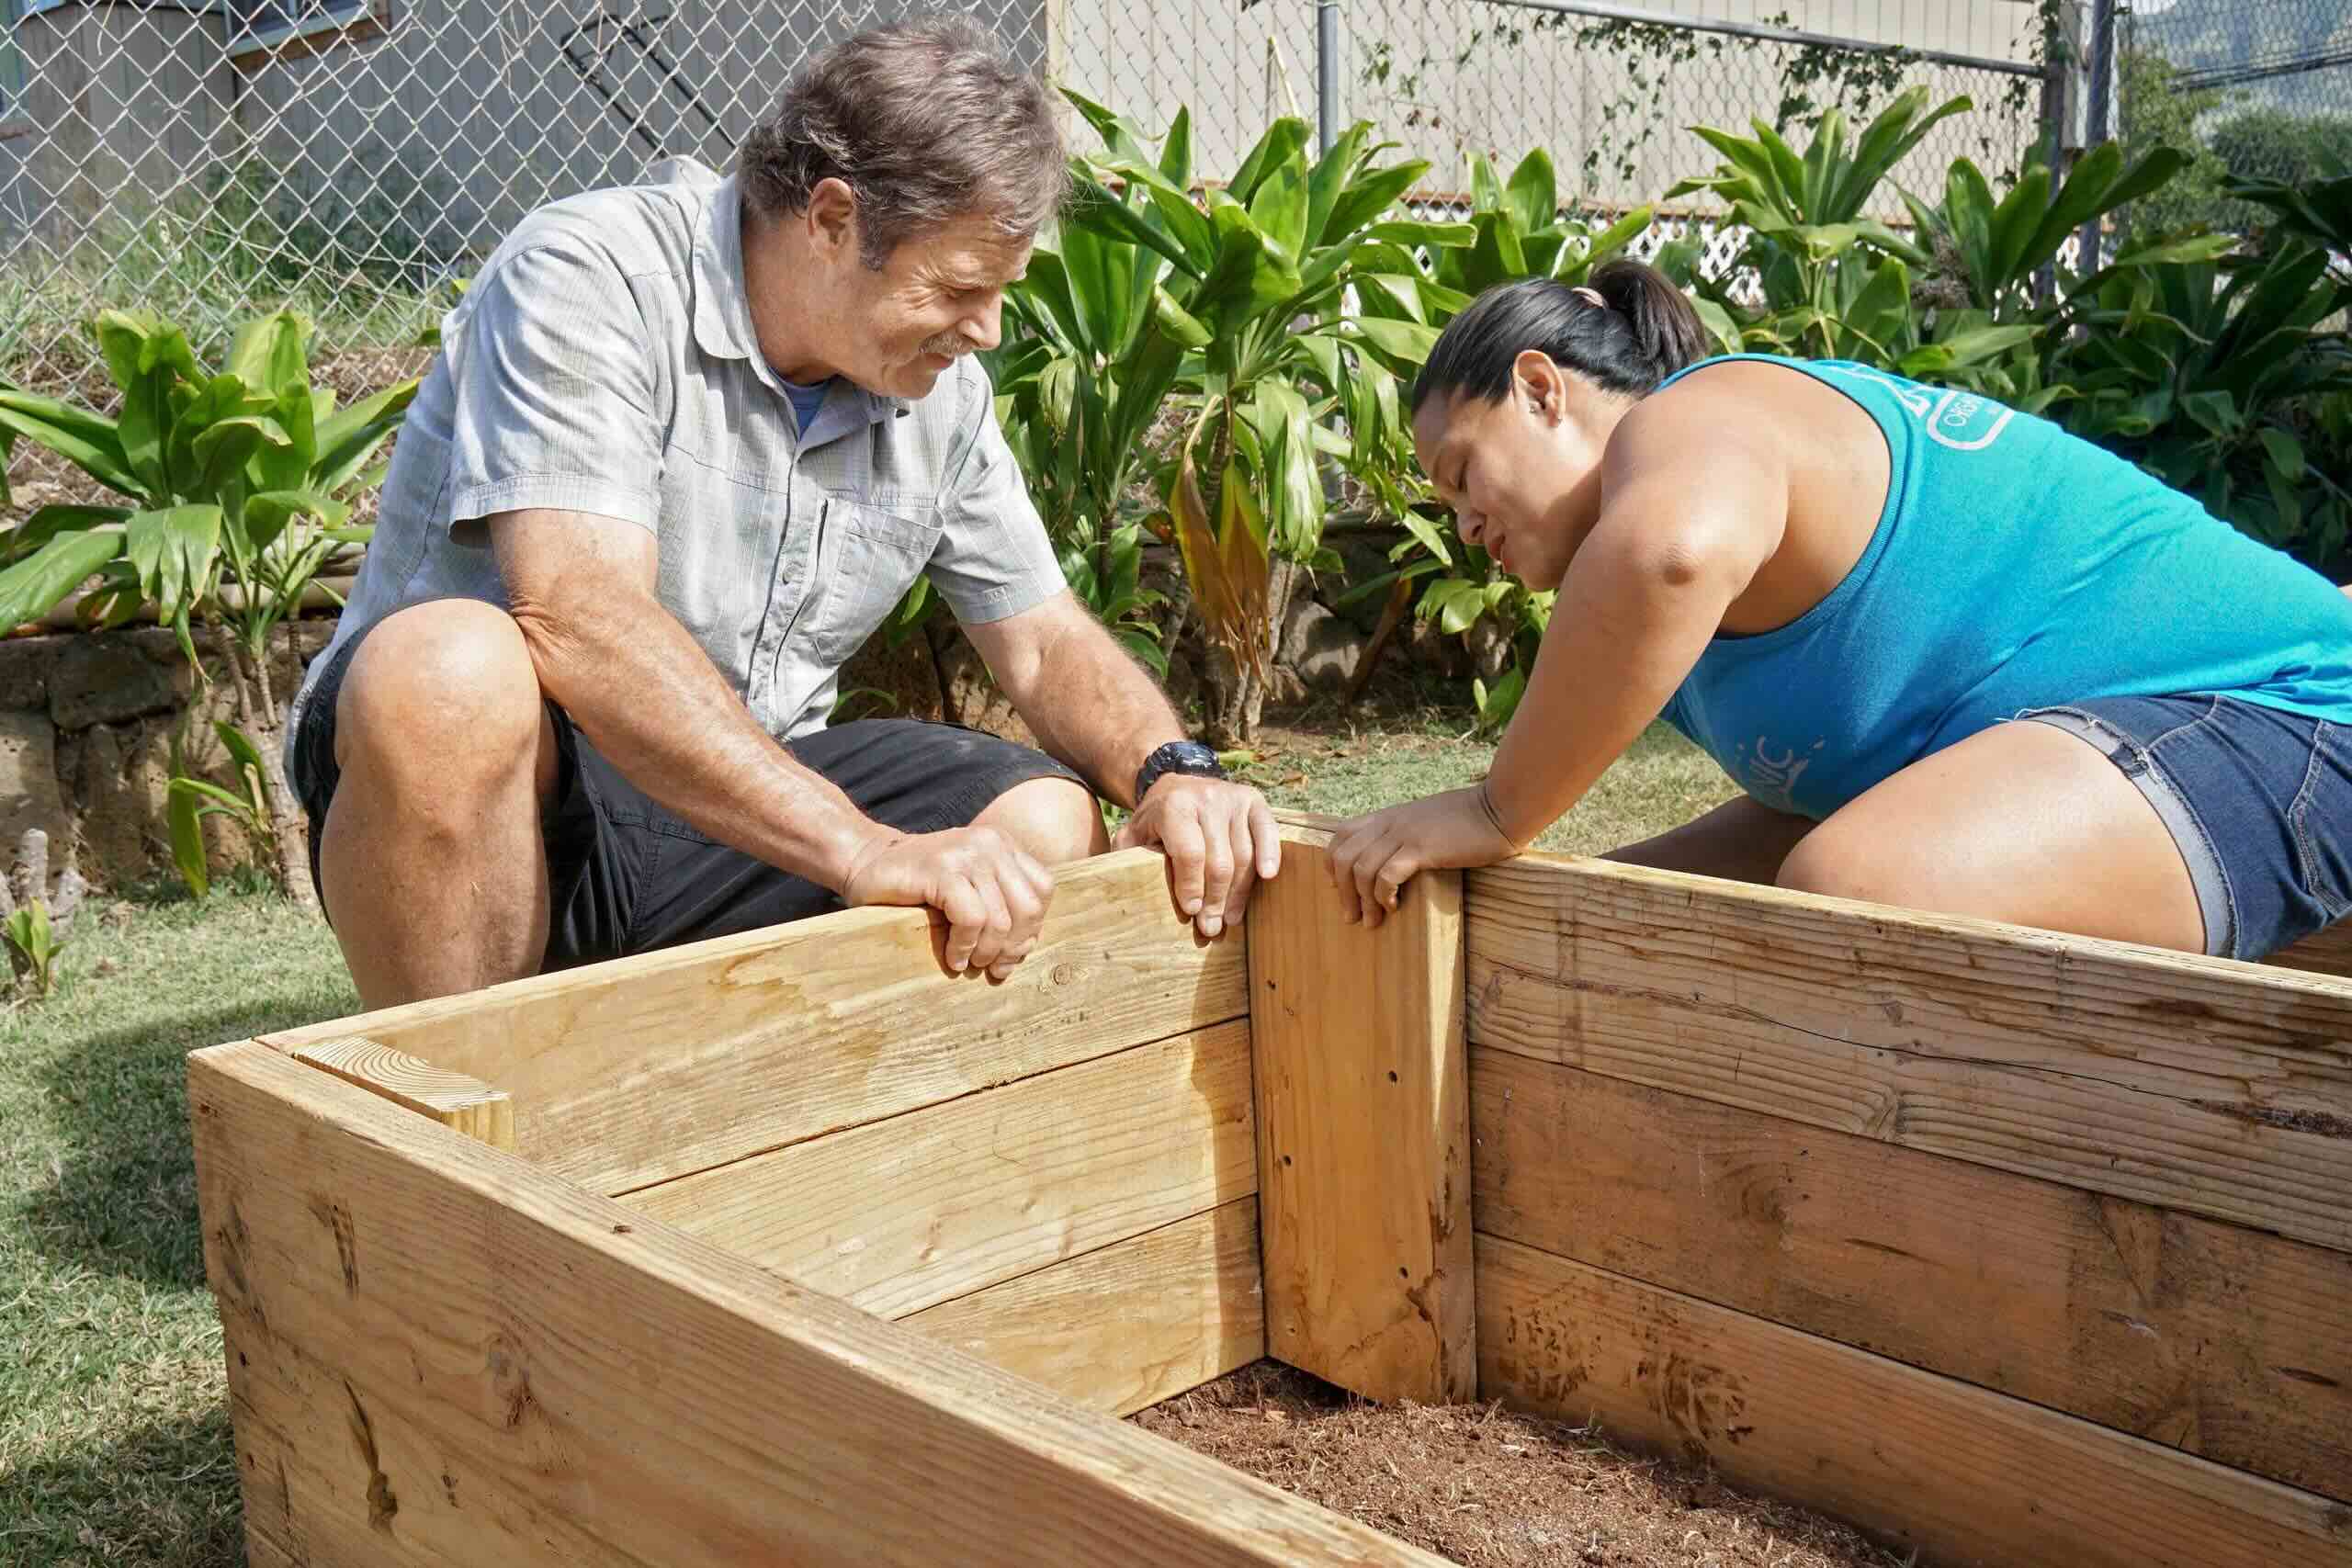
Step 1: Clear the Area
Before embarking on the task of leveling the ground for a garden bed, it's crucial to start with a clean slate. Clearing the area of any debris, rocks, weeds, and existing vegetation is the first step in preparing the ground for your garden bed. This process not only ensures a visually appealing canvas for your garden but also creates a conducive environment for the subsequent leveling and planting activities.
Begin by removing any large rocks, branches, or debris that may be scattered across the designated area for your garden bed. These obstructions can hinder the leveling process and affect the overall aesthetics of the garden bed. Once the larger debris has been cleared, it's time to address any existing vegetation, such as weeds and grass.
To effectively clear the area of vegetation, consider using a shovel or a garden hoe to uproot the weeds and grass. It's important to remove the roots of these plants to prevent regrowth and competition with your garden plants. For larger areas, a sod cutter can be employed to swiftly remove the top layer of grass and roots, providing a clean and uniform surface for the subsequent leveling steps.
In addition to clearing the surface vegetation, it's advisable to assess the soil for any underlying weed seeds or persistent roots. Thoroughly inspect the soil and manually remove any remaining roots or weed seeds to prevent future weed growth in your garden bed.
By meticulously clearing the area of debris and vegetation, you are setting the stage for a well-prepared and visually appealing garden bed. This initial step not only facilitates the leveling process but also establishes a clean and fertile canvas for your future garden oasis. With the area cleared and prepared, you are now ready to move on to the next step in the journey of creating a beautifully leveled garden bed.
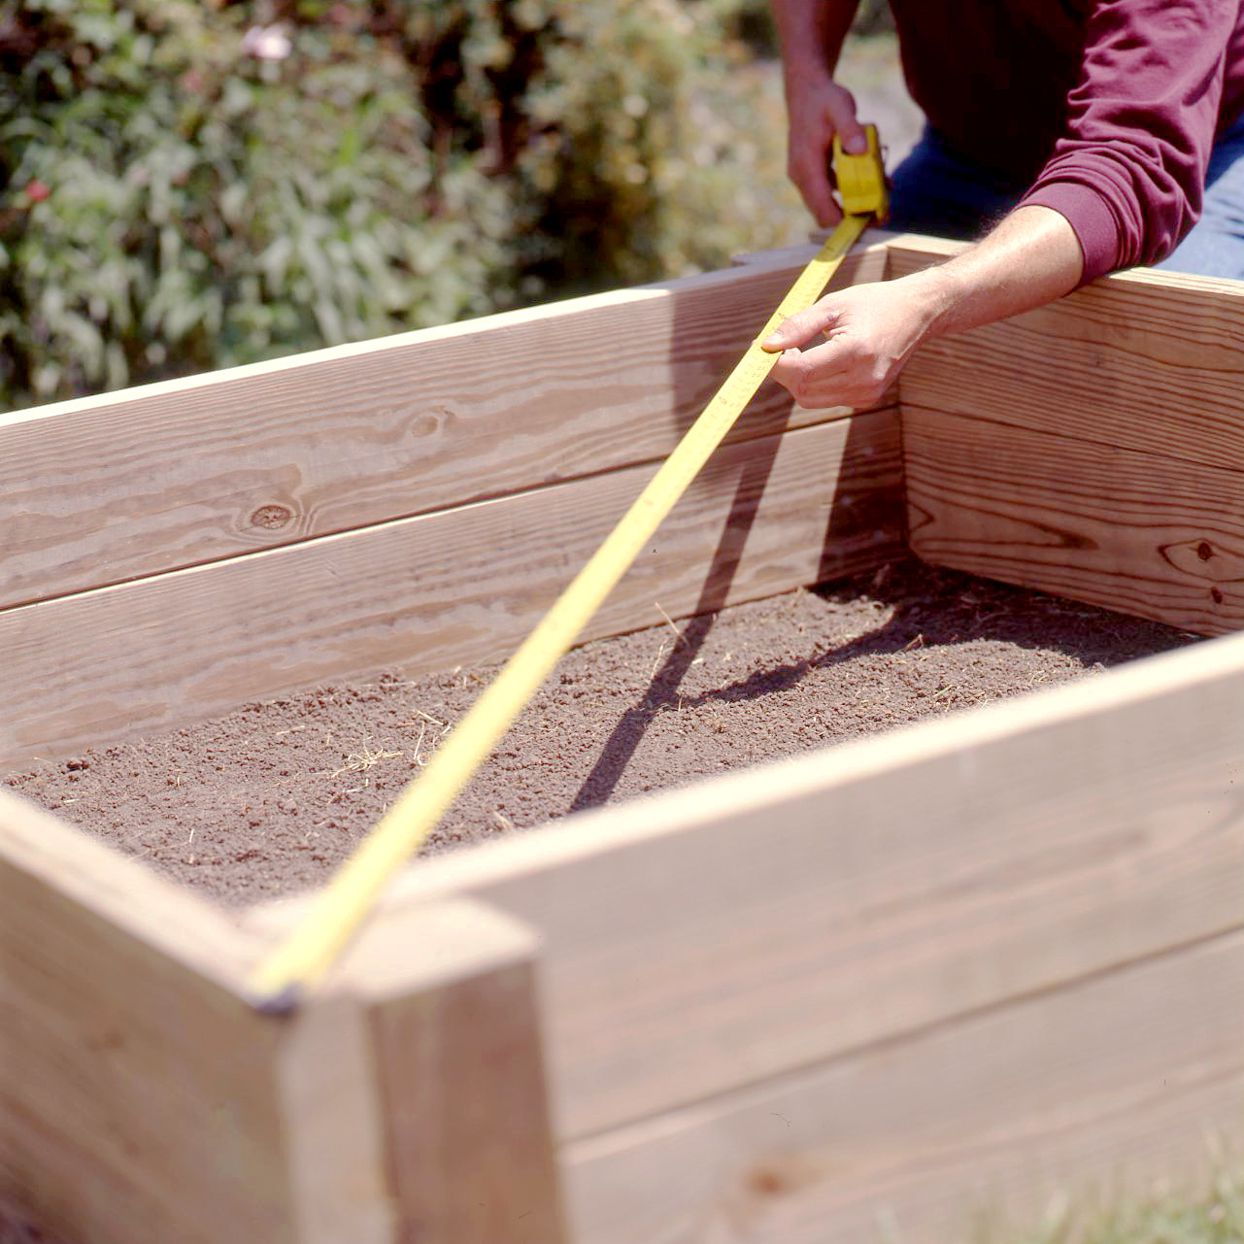
Step 2: Measure and Mark the Area
Once the area is cleared of debris and vegetation, the next crucial step in leveling the ground for a garden bed is to accurately measure and mark the designated space. This step is essential in ensuring that the garden bed is proportionate, visually appealing, and aligned with your landscaping vision.
Begin by using a measuring tape or a measuring wheel to determine the dimensions of the area where the garden bed will be situated. Carefully measure the length and width of the space, ensuring precision and accuracy in your measurements. It's important to visualize the layout of the garden bed within the larger landscape, considering factors such as proximity to other features, sunlight exposure, and accessibility for maintenance.
Once the measurements are obtained, use marking tools such as garden stakes, twine, or spray paint to outline the boundaries of the garden bed. This visual demarcation serves as a guide for the subsequent leveling and soil preparation activities. Pay close attention to the symmetry and alignment of the marked boundaries, as this will contribute to the overall aesthetic appeal of the garden bed.
In addition to marking the outer boundaries, consider delineating any internal divisions within the garden bed, such as pathways, planting zones, or decorative borders. These internal markings can be achieved using additional stakes, twine, or temporary barriers to define the layout and structure of the garden bed.
Furthermore, take into account any slope or gradient within the designated area. If the ground exhibits unevenness or a slope, it's important to factor this into the marking process. Consider using a level or a measuring tool to assess the existing gradient and make adjustments to the marking to accommodate the natural contours of the terrain.
By meticulously measuring and marking the area, you are laying the groundwork for a well-proportioned and visually appealing garden bed. This step sets the stage for the subsequent leveling and soil preparation activities, ensuring that the garden bed is seamlessly integrated into the larger landscape while adhering to your design preferences. With the area accurately measured and marked, you are now poised to progress to the next phase of leveling the ground and bringing your garden bed to life.
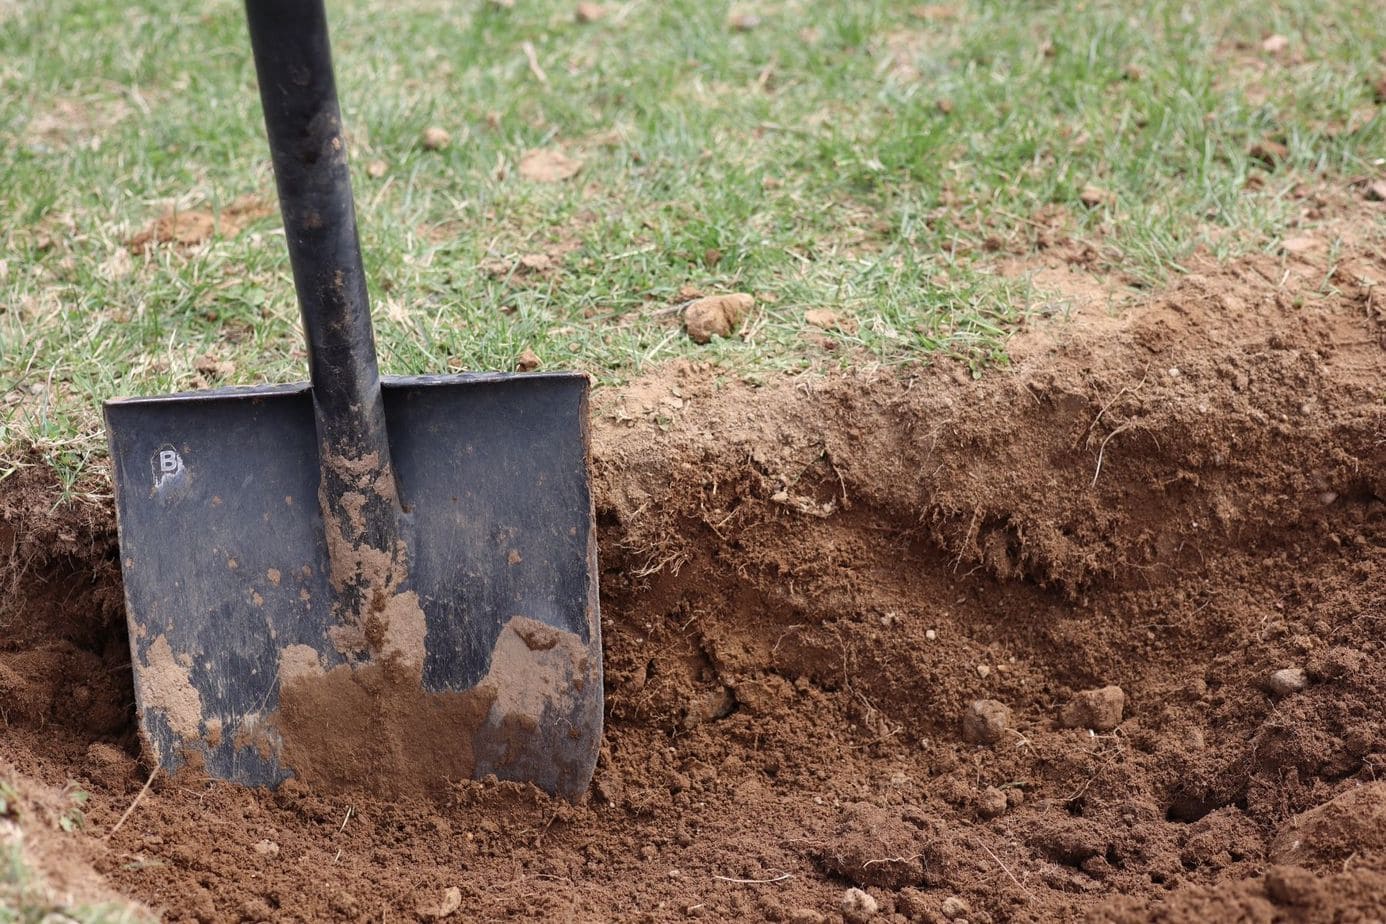
Step 3: Remove High Spots
As you embark on the journey of leveling the ground for your garden bed, addressing high spots within the designated area is a critical step in achieving a uniform and balanced terrain. High spots, characterized by elevated areas or mounds in the soil, can disrupt the intended level surface of the garden bed and impede proper water distribution and plant growth. Therefore, the meticulous removal of these high spots is essential to create an optimal environment for your garden.
To begin the process of removing high spots, carefully inspect the marked boundaries of the garden bed to identify any areas where the soil is noticeably elevated. These high spots may result from natural soil movement, accumulated debris, or previous landscaping activities. Once identified, use a shovel, garden hoe, or a landscaping rake to gently and methodically level the elevated soil.
When addressing high spots, it's important to exercise caution and avoid excessive soil removal, as this can lead to an imbalance in the overall terrain. Instead, focus on gradually redistributing the soil from the high spots to the surrounding areas, aiming to achieve a smooth and consistent surface. Periodically assess the leveled areas using a straight board or a level to ensure uniformity and precision in the soil elevation.
In cases where the high spots are particularly prominent or extensive, consider employing a soil tamper or a roller to compact the soil and reduce the elevation. This process helps to stabilize the soil and minimize unevenness, contributing to a more cohesive and level surface for the garden bed. However, it's important to exercise care and avoid overcompaction, as this can hinder water penetration and root development.
Furthermore, as you remove high spots, take the opportunity to assess the overall composition of the soil. Consider incorporating organic matter or soil amendments to enhance the fertility and structure of the soil, promoting an optimal environment for plant growth. By addressing high spots and enriching the soil, you are not only leveling the ground but also nurturing the foundation for a thriving garden bed.
By meticulously removing high spots and ensuring a uniform soil elevation, you are setting the stage for a well-prepared and visually appealing garden bed. This step plays a pivotal role in creating an optimal environment for your plants to flourish, ensuring that water is distributed evenly and that the roots have access to essential nutrients. With the high spots addressed, you are now ready to proceed to the next phase of leveling the ground and bringing your garden bed to fruition.
Before leveling the ground for a garden bed, remove any rocks, roots, and debris. Use a rake to smooth out the surface and a level to ensure it’s even. This will provide a stable base for your garden.
Step 4: Fill in Low Spots
Addressing low spots within the designated area is a crucial aspect of leveling the ground for a garden bed. Low spots, characterized by depressions or uneven dips in the soil, can impede proper water drainage and create pockets where water may accumulate, potentially causing waterlogging and affecting plant health. Therefore, filling in these low spots is essential to create a balanced and well-drained terrain for your garden bed.
To begin the process of filling in low spots, carefully inspect the marked boundaries of the garden bed to identify areas where the soil is noticeably depressed or uneven. These low spots may result from natural soil settling, erosion, or previous landscaping activities. Once identified, use a shovel, garden hoe, or a landscaping rake to gradually distribute soil from the surrounding areas into the depressions, aiming to achieve a level and consistent surface.
When filling in low spots, it's important to focus on incremental soil redistribution, gradually building up the depressed areas to align with the surrounding terrain. Periodically assess the filled areas using a straight board or a level to ensure uniformity and precision in the soil elevation. This meticulous approach helps to create a seamless and balanced surface, conducive to healthy plant growth and efficient water drainage.
In cases where the low spots are particularly extensive or deep, consider incorporating additional soil or soil amendments to raise the elevation and achieve a level surface. Organic matter such as compost or well-rotted manure can be mixed into the soil to enhance its structure and fertility, promoting an optimal environment for plant roots to establish and thrive.
Furthermore, as you fill in low spots, take the opportunity to assess the overall composition of the soil and make any necessary adjustments to ensure its fertility and structure. By addressing low spots and enriching the soil, you are not only leveling the ground but also nurturing the foundation for a flourishing garden bed.
By meticulously filling in low spots and ensuring a uniform soil elevation, you are laying the groundwork for a well-prepared and visually appealing garden bed. This step plays a pivotal role in creating an optimal environment for your plants to flourish, ensuring that water is distributed evenly and that the roots have access to essential nutrients. With the low spots filled in, you are now ready to progress to the next phase of leveling the ground and bringing your garden bed to fruition.
Read more: How To Level Ground For A Trampoline
Step 5: Compact the Soil
Once the high spots have been addressed and the low spots filled in, the next crucial step in leveling the ground for a garden bed is to compact the soil. Soil compaction is essential for creating a stable and uniform surface that provides a solid foundation for your garden bed. Compacting the soil helps to minimize settling and ensures that the ground remains level over time, promoting the longevity and stability of your garden bed.
To begin the process of compacting the soil, consider using a soil tamper or a roller specifically designed for this purpose. These tools allow you to exert pressure on the soil, effectively compressing it and reducing air gaps and voids within the ground. When using a soil tamper, apply firm and consistent pressure across the entire surface of the designated area, focusing on areas where soil amendments or fillings have been introduced.
It's important to approach soil compaction methodically, working in small sections and gradually covering the entire area of the garden bed. By compacting the soil in incremental stages, you can ensure thorough and uniform compression, resulting in a stable and level surface. Periodically assess the compacted areas using a level or a straight board to confirm the evenness of the soil and make any necessary adjustments.
In addition to using a soil tamper or roller, consider moistening the soil slightly before compaction. Optimal soil moisture facilitates the compaction process, allowing the soil particles to bind together more effectively. However, it's crucial to avoid over-saturation, as excessively wet soil can hinder proper compaction and lead to uneven settling over time.
Furthermore, as you compact the soil, pay attention to any remaining irregularities or unevenness. Address any areas that may require additional soil compaction or leveling to achieve a consistent and stable surface. By meticulously compacting the soil, you are creating an ideal foundation for your garden bed, ensuring that it remains level and resilient in the face of environmental factors and seasonal changes.
By methodically compacting the soil, you are advancing towards the realization of a well-prepared and visually appealing garden bed. This step plays a pivotal role in creating a stable and level environment for your plants to thrive, providing a solid foundation for their growth and development. With the soil compacted and the ground leveled, you are now poised to progress to the subsequent phase of preparing the soil and bringing your garden bed to fruition.
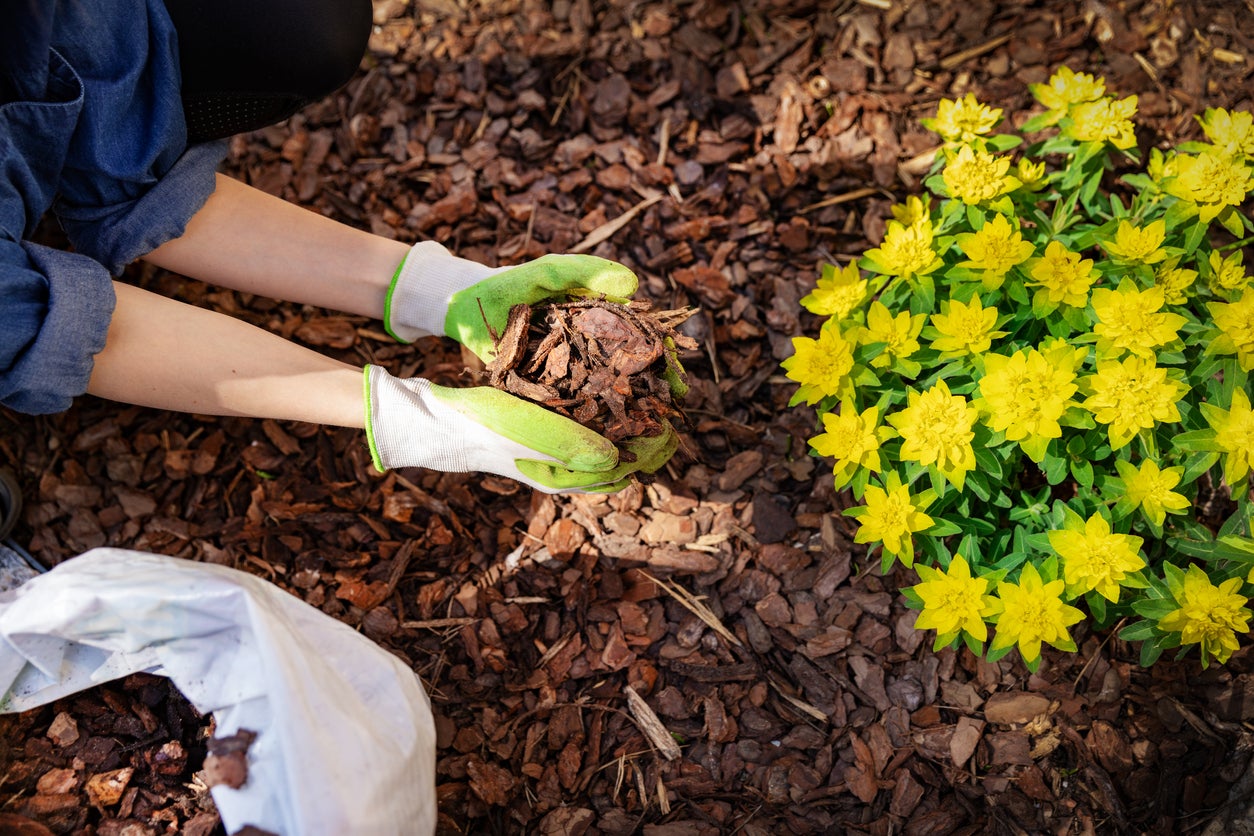
Step 6: Add Organic Matter
In the final step of leveling the ground for a garden bed, the addition of organic matter plays a pivotal role in enriching the soil and creating an optimal environment for plant growth. Organic matter, such as compost, well-rotted manure, or leaf mold, serves as a valuable source of nutrients, improves soil structure, and enhances moisture retention, contributing to the overall fertility and health of the garden bed.
Begin by spreading a generous layer of organic matter across the leveled surface of the designated garden bed area. The organic matter can be applied directly onto the soil and subsequently incorporated into the top layer using a garden fork, rake, or a mechanical soil tiller. This process ensures that the organic matter is evenly distributed and integrated into the soil, promoting uniform nutrient availability and soil composition.
Incorporating organic matter into the soil offers numerous benefits, including improved water retention, enhanced microbial activity, and aeration of the soil. The organic matter acts as a sponge, helping the soil retain moisture and reducing the risk of water runoff, especially in areas with sandy or fast-draining soil. Additionally, the presence of organic matter fosters a thriving ecosystem of beneficial microorganisms, earthworms, and other soil organisms, contributing to the overall health and vitality of the soil.
Furthermore, the addition of organic matter enhances the soil's structure, promoting better root penetration and nutrient uptake by plants. It helps to create a well-aerated and friable soil texture, allowing plant roots to establish themselves more effectively and access essential nutrients and water. This is particularly beneficial for garden beds with heavy or compacted soil, as the organic matter works to loosen the soil and improve its tilth.
In addition to its physical benefits, organic matter serves as a sustainable and environmentally friendly approach to soil enrichment. By recycling organic materials such as kitchen scraps, yard waste, and compostable materials, gardeners can contribute to the reduction of organic waste while simultaneously nurturing the health of their garden beds.
By adding organic matter to the leveled ground, you are not only enriching the soil but also fostering a nurturing environment for your plants to thrive. This final step completes the process of leveling the ground for a garden bed, culminating in a well-prepared and fertile canvas for your gardening endeavors. With the organic matter incorporated into the soil, your garden bed is now primed for planting and poised to become a flourishing oasis of natural beauty and abundance.
Conclusion
In conclusion, the process of leveling the ground for a garden bed is a fundamental undertaking that sets the stage for a flourishing and visually captivating outdoor space. By meticulously following the step-by-step guidelines outlined in this comprehensive guide, you have embarked on a journey that encompasses both the art and science of creating a well-prepared garden bed. From clearing the area and measuring the space to addressing high spots, filling in low spots, compacting the soil, and adding organic matter, each step plays a crucial role in establishing an optimal environment for your plants to thrive.
As you reflect on the meticulous efforts invested in leveling the ground, it's important to recognize the transformative impact of this process. The leveled ground serves as a solid foundation, providing stability and balance for your garden bed. The removal of high spots and filling in of low spots have contributed to the creation of a uniform and well-drained terrain, ensuring that water is distributed evenly and that plant roots have access to essential nutrients. The meticulous compaction of the soil has further fortified the ground, minimizing settling and promoting the longevity of your garden bed.
Furthermore, the addition of organic matter represents a nurturing gesture towards the soil, enriching it with vital nutrients, enhancing its structure, and fostering a thriving ecosystem of beneficial microorganisms. This infusion of organic matter not only promotes the health and vitality of the soil but also reflects a sustainable and environmentally conscious approach to gardening.
As you stand on the threshold of your leveled garden bed, envision the possibilities that lie ahead. The meticulously prepared ground eagerly awaits the introduction of vibrant plants, colorful blooms, and lush foliage. It beckons you to unleash your creativity and bring your gardening vision to life, knowing that the foundation you have laid is steadfast and fertile.
In the coming seasons, as you witness the fruits of your labor take root and flourish, remember the journey of leveling the ground. It is a testament to your dedication to creating a nurturing and harmonious outdoor space, where nature's beauty can thrive. The leveled ground is not merely a canvas for your garden bed; it is a testament to your commitment to cultivating a space where life can bloom and thrive.
So, as you embark on the next phase of planting and tending to your garden bed, may the leveled ground stand as a testament to your passion for gardening and your unwavering dedication to creating a space of natural beauty and abundance. Embrace the journey ahead, knowing that the leveled ground is the solid foundation upon which your garden oasis will flourish and inspire.
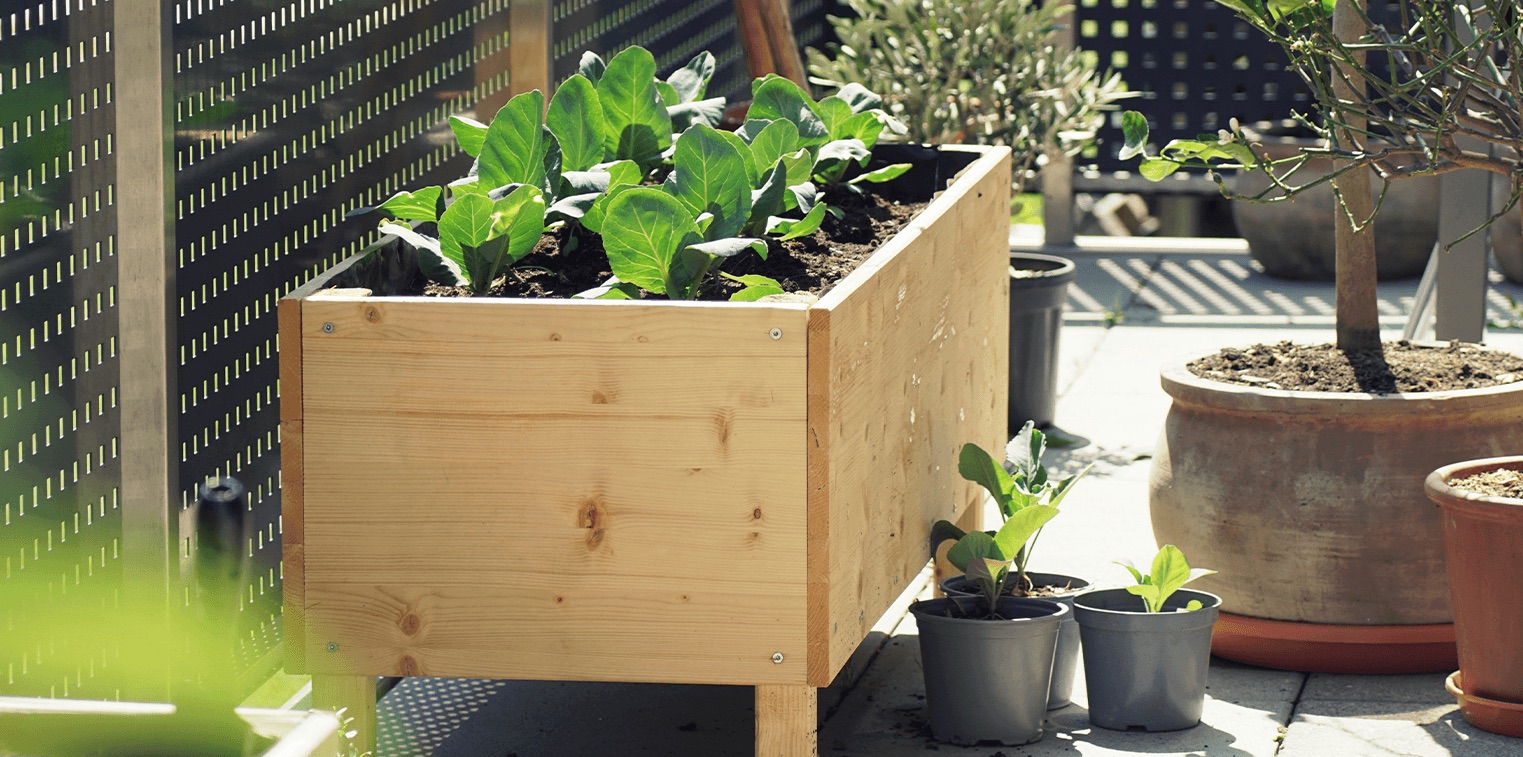
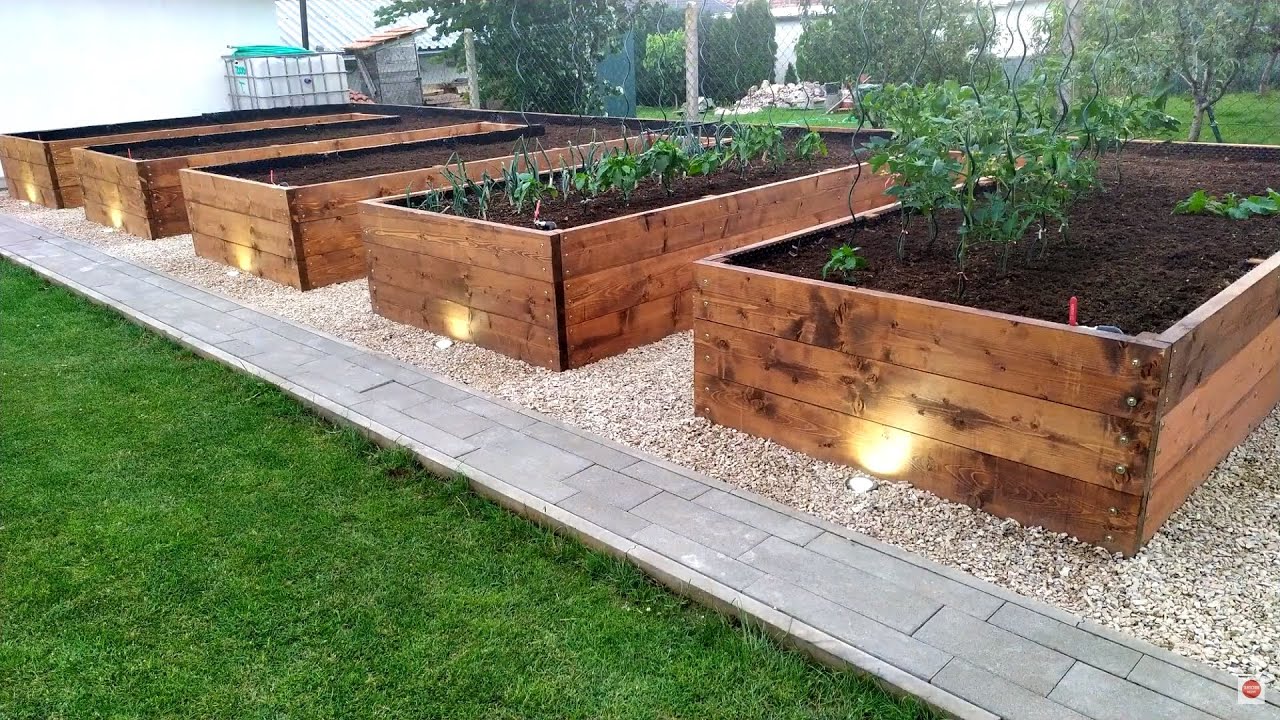
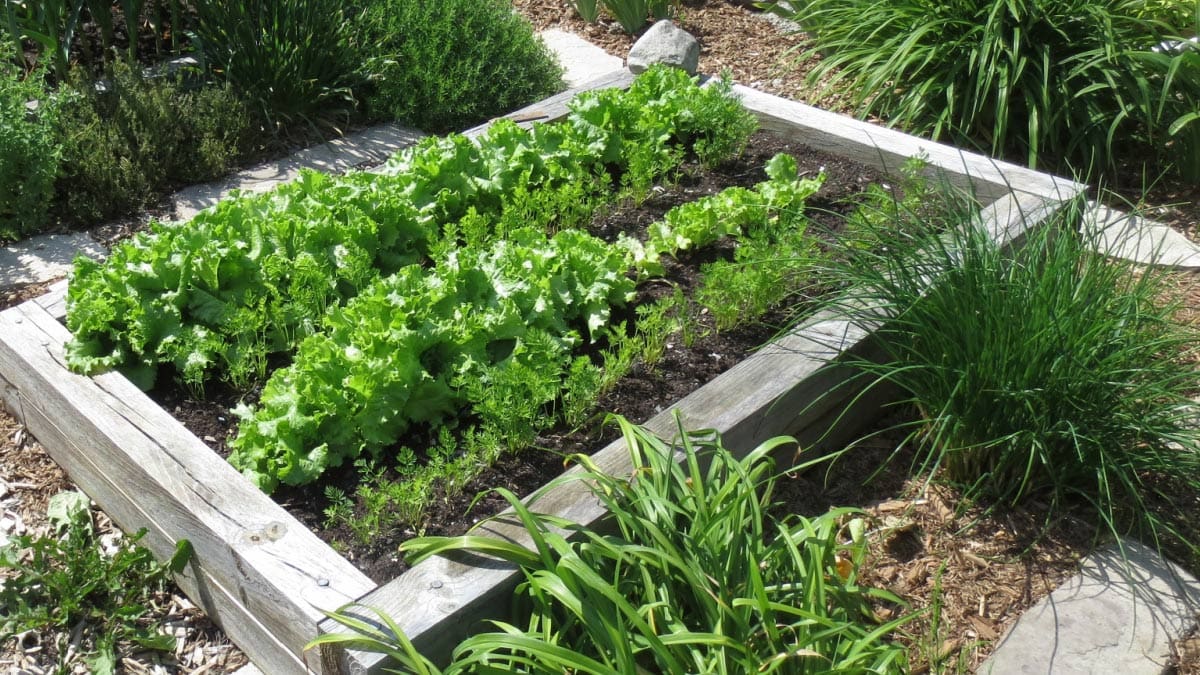
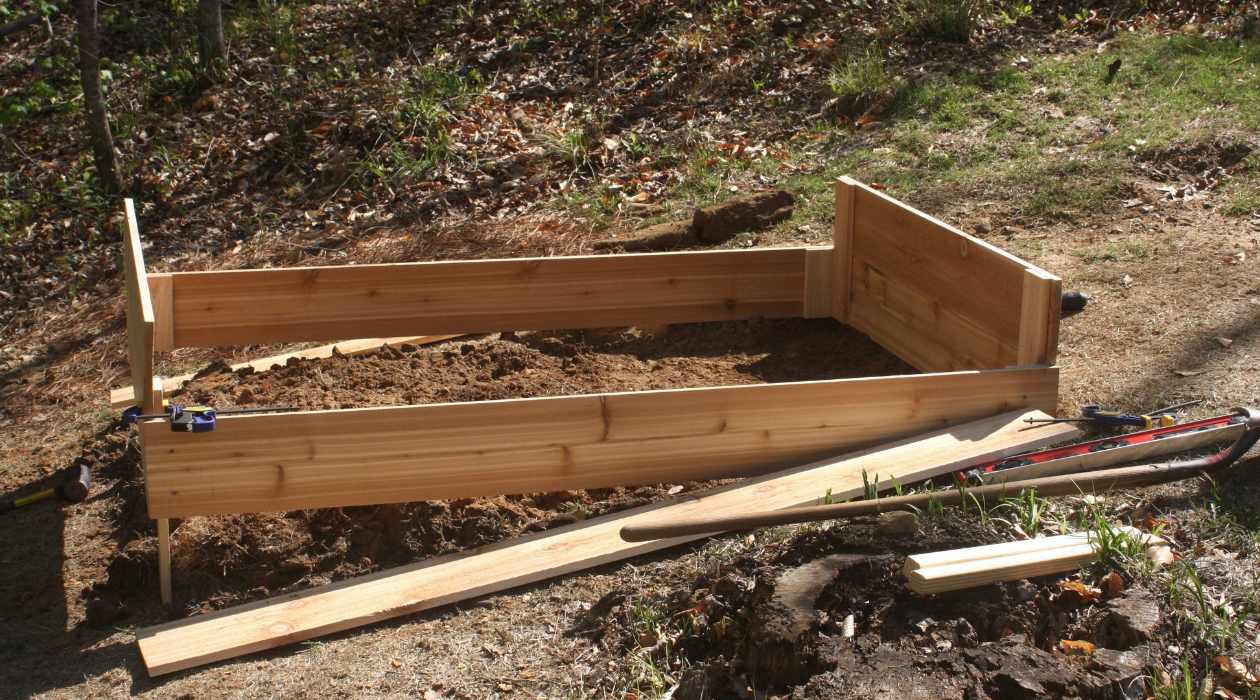
Congratulations on mastering ground leveling for your garden bed! If you're itching to elevate your gardening game further, why not consider constructing raised beds? These structures can significantly boost plant health and ease of access. Also, for those with a taste for fresh produce, diving into vegetable gardening offers a rewarding venture, providing delicious and nutritious benefits right from your backyard.
Frequently Asked Questions about How To Level The Ground For A Garden Bed
Was this page helpful?
At Storables.com, we guarantee accurate and reliable information. Our content, validated by Expert Board Contributors, is crafted following stringent Editorial Policies. We're committed to providing you with well-researched, expert-backed insights for all your informational needs.

0 thoughts on “How To Level The Ground For A Garden Bed”