
Articles
How To Pull A Vacuum On HVAC
Modified: October 20, 2024
Learn how to properly pull a vacuum on HVAC systems with our informative articles. Gain valuable insights and tips to optimize your vacuuming process.
(Many of the links in this article redirect to a specific reviewed product. Your purchase of these products through affiliate links helps to generate commission for Storables.com, at no extra cost. Learn more)
Introduction
When it comes to maintaining and optimizing the performance of your HVAC system, there are various tasks that need to be done. One of the crucial steps in this process is pulling a vacuum on the HVAC system. This process involves removing air and moisture from the system to create a clean and stable environment for efficient operation.
In this article, we will explore what HVAC is and why pulling a vacuum is so important. We’ll also provide a step-by-step guide on how to pull a vacuum on an HVAC system, discuss the equipment and tools you’ll need, and highlight common mistakes to avoid. Lastly, we’ll discuss how to test the vacuum level to ensure a successful operation.
Whether you’re a homeowner looking to maintain your HVAC system or an HVAC professional seeking to enhance your skills, this article will give you valuable insights and practical tips on pulling a vacuum on an HVAC system.
Key Takeaways:
- Pulling a vacuum on your HVAC system is crucial for preventing contamination, avoiding system failure, improving efficiency, and maintaining warranty compliance. It’s a vital step for ensuring the longevity and optimal performance of your HVAC system.
- When pulling a vacuum, ensure you have the right equipment, follow a step-by-step process, and test the vacuum level to verify system integrity. Avoid common mistakes and prioritize safety to achieve a successful vacuuming process.
Read more: What Is The Best Vacuum Pump For HVAC
What is HVAC?
HVAC stands for Heating, Ventilation, and Air Conditioning. It refers to the technology and systems used in buildings and vehicles to regulate indoor temperature, humidity, and air quality. HVAC systems play a crucial role in creating a comfortable and healthy living or working environment.
A typical HVAC system consists of three main components:
- Heating: This component is responsible for providing warmth during cold weather. It can include a furnace, boiler, or heat pump that generates heat and distributes it throughout the space.
- Ventilation: Ventilation involves the exchange of indoor and outdoor air to remove stale air and bring in fresh air. It helps maintain a healthy indoor environment by removing pollutants, odors, and moisture.
- Air Conditioning: Air conditioning is the process of cooling and dehumidifying indoor air. It involves a compressor, condenser, evaporator, and refrigerant to remove heat from the indoor air and release it outside, resulting in a comfortable temperature.
HVAC systems can vary in complexity and size, ranging from small units for individual rooms to large commercial systems that serve entire buildings. These systems require regular maintenance to ensure optimal performance and energy efficiency.
Now that we have a basic understanding of what HVAC is, let’s delve into the importance of pulling a vacuum on the HVAC system.
Why Pulling a Vacuum is Important
Pulling a vacuum on an HVAC system is a crucial step in the installation, maintenance, or repair process. This process involves removing air and moisture from the refrigerant lines and other components of the system. Here are a few reasons why pulling a vacuum is important:
- Preventing Contamination: Air and moisture can be detrimental to the smooth operation of an HVAC system. Air contains moisture, dust particles, and other contaminants that can lead to corrosion, blockages, and reduced efficiency. Pulling a vacuum ensures that the system is free from these contaminants, promoting longevity and optimal performance.
- Avoiding System Failure: Air and moisture in the system can cause refrigerant leaks, which can lead to system failure and costly repairs. By removing these elements through vacuuming, you reduce the risk of leaks and extend the lifespan of your HVAC system.
- Improving Efficiency: Air and moisture in the system can create resistance to the flow of refrigerant, reducing the efficiency of the HVAC system. Pulling a vacuum helps remove these obstructions, allowing the refrigerant to flow freely and improving the overall efficiency of the system. This results in better cooling or heating performance and lower energy consumption.
- Ensuring Warranty Compliance: Many HVAC manufacturers require vacuuming to be performed during installation and maintenance to ensure warranty compliance. By pulling a vacuum, you not only protect your system but also maintain its warranty validity, giving you peace of mind.
Overall, pulling a vacuum on an HVAC system is a critical step to ensure the system’s longevity, efficiency, and performance. It helps prevent contamination, avoid system failure, improve efficiency, and adhere to warranty requirements. Now that we understand the importance of pulling a vacuum, let’s explore the equipment and tools needed to perform this process.
Equipment and Tools Needed
Pulling a vacuum on an HVAC system requires specific equipment and tools to ensure a successful operation. Here are the essential items you’ll need:
- Vacuum Pump: A vacuum pump is the core equipment for pulling a vacuum. It creates a low-pressure environment, allowing the removal of air and moisture from the system. Make sure to choose a reliable and appropriately sized vacuum pump based on the size and capacity of your HVAC system.
- Manifold Gauge Set: A manifold gauge set is used to monitor and control the pressure during the vacuuming process. It consists of two gauges for measuring pressure in the high and low sides of the system and a set of hoses and valves for connecting to the HVAC system.
- Vacuum Gauge: A vacuum gauge is crucial for monitoring the vacuum level during the evacuation process. It helps ensure that the desired vacuum level is achieved and maintained.
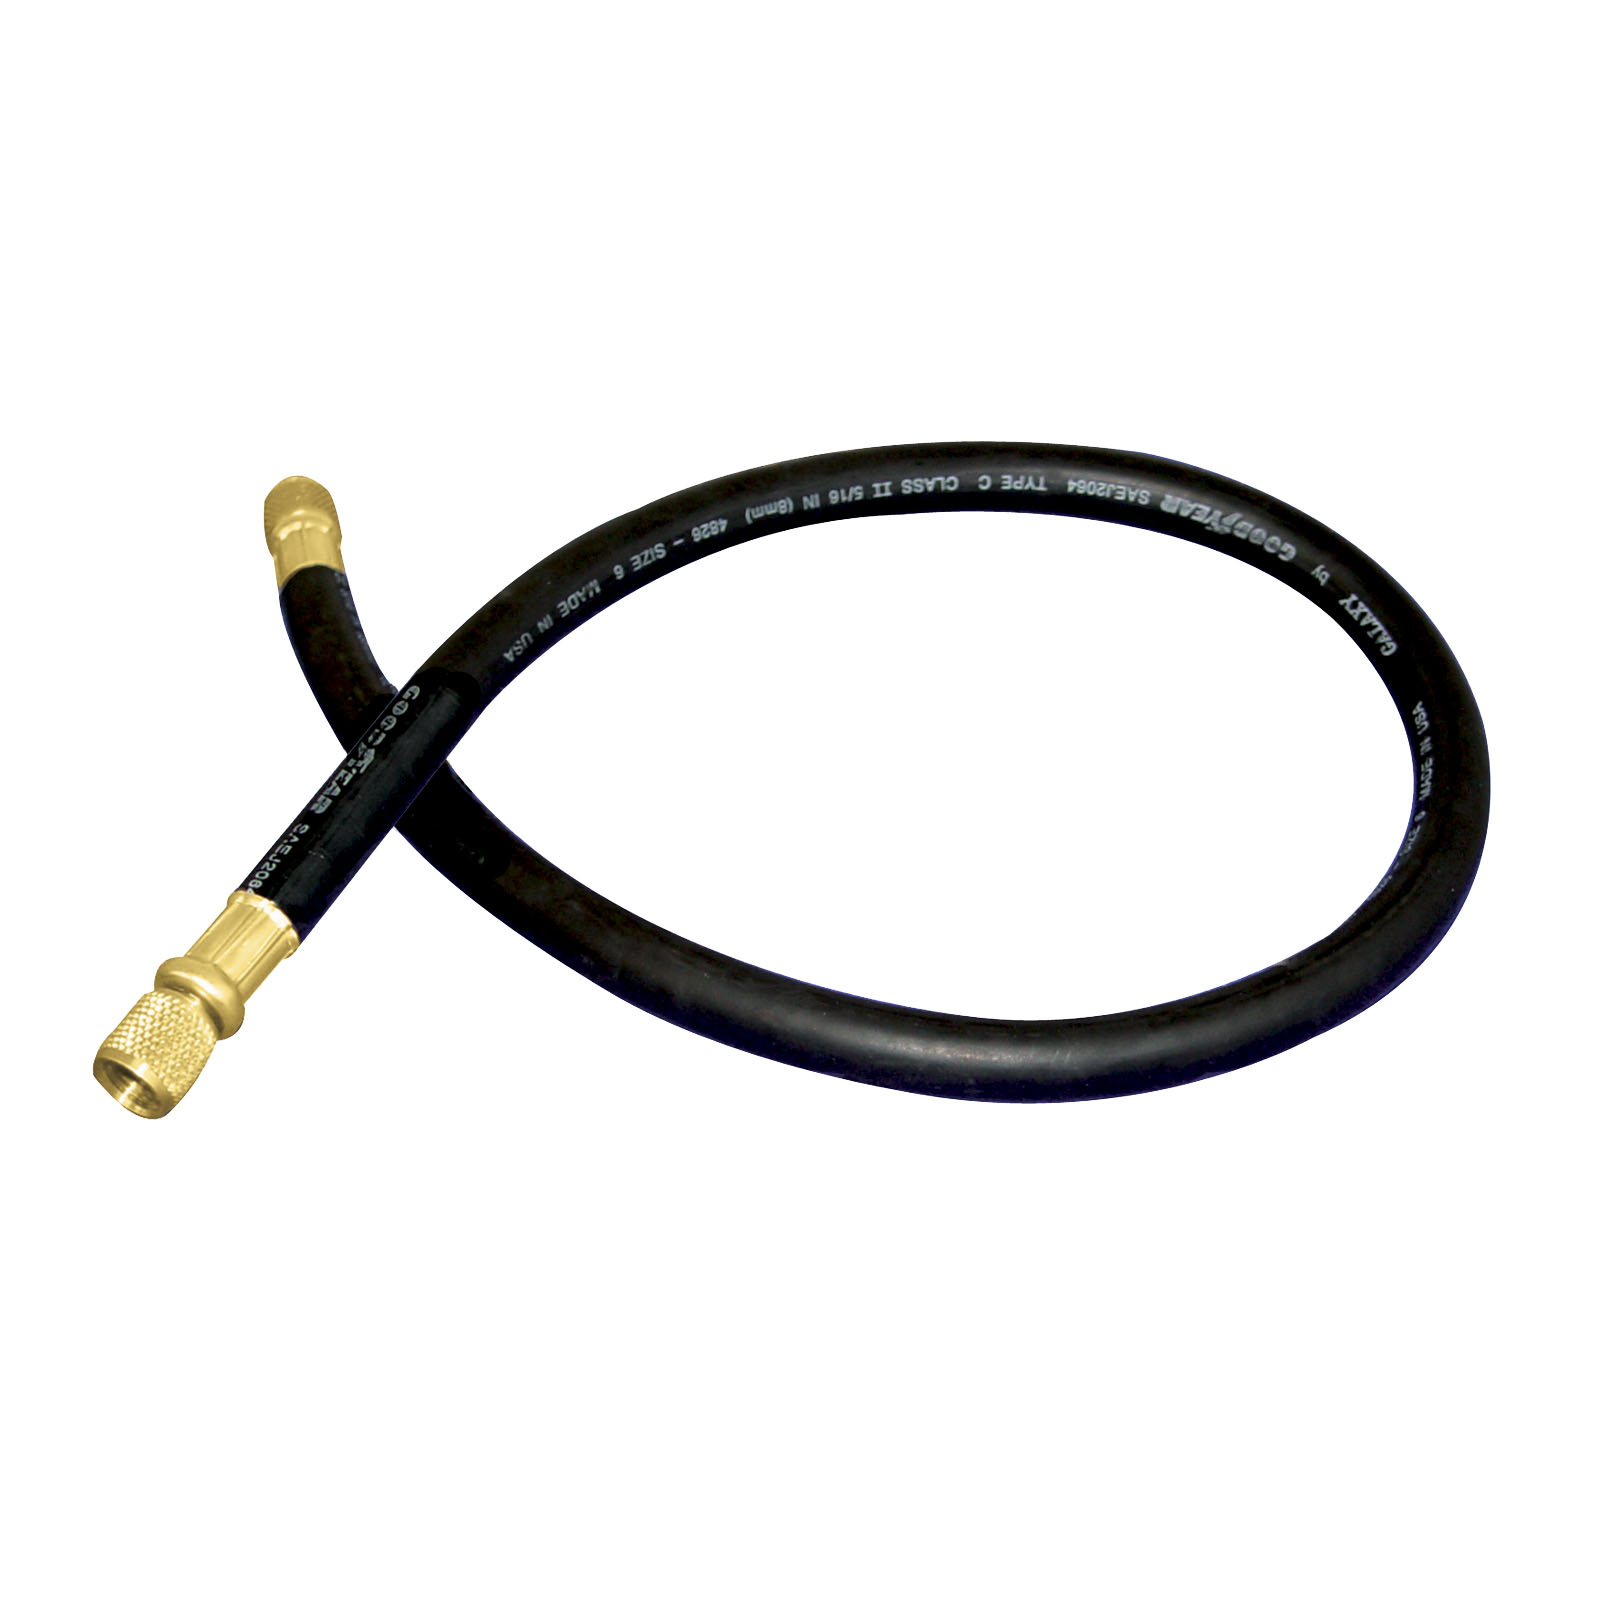
- Hoses and Connections: High-quality hoses and connections are necessary to connect the manifold gauge set, vacuum pump, and HVAC system. It is important to use hoses rated for vacuum and refrigerant handling to prevent leaks or damage.
- Refrigerant Recovery Machine: In certain situations, such as during repairs or system replacements, a refrigerant recovery machine may be needed to recover and properly handle the refrigerant in the system before pulling a vacuum.
- Leak Detector: Before pulling a vacuum, it is essential to ensure that the HVAC system is free from leaks. A reliable leak detector helps identify any leaks in the refrigerant lines or other components.
- Appropriate Safety Equipment: Safety should always be a priority. Make sure to wear protective gloves, safety glasses, and other appropriate safety equipment as per the manufacturer’s recommendations.
Having these equipment and tools readily available will facilitate the vacuuming process and ensure accurate results. Now that we’ve covered the necessary tools, let’s move on to the step-by-step guide on how to pull a vacuum on an HVAC system.
When pulling a vacuum on HVAC systems, always use a high-quality vacuum pump and ensure all connections are tight to prevent leaks. It’s also important to monitor the vacuum level to ensure it reaches the necessary level for proper system operation.
Step-by-Step Guide on How to Pull a Vacuum on HVAC
Now that we have the necessary equipment and tools, let’s walk through the step-by-step process of pulling a vacuum on an HVAC system:
- Prepare the HVAC System: Ensure that the HVAC system is properly shut off and all electrical power is disconnected. This will prevent any accidents and ensure the safety of the process.
- Connect the Manifold Gauge Set: Attach the hoses of the manifold gauge set to the corresponding service ports of the HVAC system. The blue hose connects to the low-pressure or suction side, and the red hose connects to the high-pressure or discharge side. The yellow hose is connected to a vacuum pump or refrigerant recovery machine.
- Check for Leaks: Use a reliable leak detector to check for any leaks in the refrigerant lines, connections, or fittings. If any leaks are detected, they need to be repaired before proceeding with the vacuuming process.
- Evacuate the System: Open both the low and high-side valves on the manifold gauge set. Start the vacuum pump and allow it to run for the recommended duration, usually between 30 minutes to an hour. Monitor the vacuum gauge to ensure that the desired vacuum level, typically 500 microns or lower, is achieved and maintained.
- Monitor for Rise in Vacuum: After reaching the desired vacuum level, close the high and low-side valves on the manifold gauge set. Let the system sit for about 15 minutes and observe the vacuum gauge. If there is a significant rise in vacuum, it indicates a potential leak, and further inspection or repair is necessary.
- Release the Vacuum: Once you are satisfied with the vacuum level and there are no significant changes, close the valve on the vacuum pump and turn it off. Allow the HVAC system to remain sealed under vacuum for a minimum of 15 minutes to ensure stability.
- Disconnect the Manifold Gauge Set: Slowly release any remaining pressure in the system by loosening the service valves. Carefully disconnect the manifold gauge set from the HVAC system, ensuring no refrigerant or oil is released.
Following these steps will help you pull a vacuum on an HVAC system effectively and efficiently. Always refer to your equipment’s manufacturer guidelines and industry best practices for any specific instructions.
Now that you have successfully pulled a vacuum on your HVAC system, let’s discuss some common mistakes to avoid during the process.
Read more: What Does A Vacuum Pump Do In HVAC
Common Mistakes to Avoid When Pulling a Vacuum
While pulling a vacuum on an HVAC system is a straightforward process, there are some common mistakes that should be avoided to ensure a successful operation. Let’s explore these mistakes to help you perform the vacuuming process smoothly:
- Insufficient Evacuation Time: Rushing the evacuation process can result in incomplete removal of air and moisture from the system. Make sure to follow the recommended evacuation time for your specific HVAC system size and configuration. This will ensure that you achieve the desired vacuum level.
- Ignoring Leaks: Failing to detect and address leaks before pulling a vacuum can undermine the effectiveness of the process. Use a reliable leak detector to identify and fix any leaks in the refrigerant lines, connections, or fittings before starting the evacuation process.
- Leaving Valves Open: Forgetting to close the valves on the manifold gauge set after reaching the desired vacuum level can lead to a loss of vacuum. Ensure that the valves are closed once the vacuum level is stable to maintain the integrity of the system.
- Improper Hose Connections: Incorrectly connecting the hoses to the HVAC system or the vacuum pump can result in leaks and compromised vacuuming. Double-check the hose connections to ensure a secure and airtight seal.
- Inadequate Equipment Maintenance: Neglecting proper maintenance of the vacuum pump, manifold gauge set, and other equipment can hinder their performance and accuracy. Regularly clean and inspect the equipment to ensure optimal functionality.
- Not Testing the Vacuum Level: Failing to monitor and test the vacuum level during and after the evacuation process can lead to undetected issues. Use a vacuum gauge to verify the stability and adequacy of the vacuum level before releasing the vacuum.
- Disregarding Safety Precautions: HVAC systems involve potentially hazardous substances and high pressures. Neglecting safety precautions such as wearing protective gear, following proper handling procedures, and disconnecting power can put you at risk. Always prioritize safety when performing any HVAC-related tasks.
Avoiding these common mistakes will help ensure a successful vacuuming process and the optimal performance of your HVAC system. Now that you have pulled a vacuum and tested the vacuum level, let’s move on to the next step in the process: testing the vacuum level.
Testing the Vacuum Level
After pulling a vacuum on your HVAC system, it is essential to test the vacuum level to ensure that it meets the desired standards. Testing the vacuum level helps confirm the system’s integrity and efficiency. Here are the steps to test the vacuum level:
- Close the Valves: Ensure that all valves on the manifold gauge set are closed to prevent any disruption to the vacuum level.
- Monitor the Vacuum Gauge: Observe the vacuum gauge and check if the needle remains stable. We typically aim for a vacuum level of 500 microns or lower, which indicates a well-sealed system.
- Check for Rapid Rise: If the vacuum level rapidly rises on the gauge, it may indicate a potential leak or improper sealing. In such cases, further inspection and troubleshooting are required to identify and address the issue.
- Perform the Decay Test: To ensure the system’s stability, perform a decay test by closing the valve between the manifold gauge set and the HVAC system. Monitor the vacuum gauge for any changes over a specific period, usually 15-30 minutes. If the vacuum level remains stable, it indicates a well-sealed system.
- Document the Vacuum Level: Record the final vacuum level achieved on the HVAC system for future reference and maintenance purposes. This documentation helps track the system’s performance and identify any issues that may arise in the future.
Testing the vacuum level is a crucial step to ensure that your HVAC system is properly sealed and free from leaks. It verifies that the evacuation process was successful and that the system is ready for further maintenance, repairs, or refrigerant charging.
By following these steps, you can confidently assess the vacuum level of your HVAC system and ensure its optimal performance. Finally, let’s conclude our discussion on pulling a vacuum on an HVAC system.
Conclusion
Pulling a vacuum on an HVAC system is an important procedure that should not be overlooked. By removing air and moisture from the system, pulling a vacuum helps prevent contamination, avoid system failure, improve efficiency, and ensure warranty compliance.
In this article, we’ve covered the basics of HVAC, the importance of pulling a vacuum, the equipment and tools needed, and a step-by-step guide on how to perform the vacuuming process. We also highlighted common mistakes to avoid and discussed how to test the vacuum level to ensure a well-sealed system.
Remember, investing the time and effort to pull a proper vacuum will contribute to the longevity and efficiency of your HVAC system. It is important to follow manufacturer guidelines, industry best practices, and safety precautions throughout the process.
Whether you’re a homeowner or an HVAC professional, having a good understanding of how to pull a vacuum on an HVAC system will empower you to properly maintain, optimize, and troubleshoot your HVAC system, leading to a comfortable indoor environment and energy savings.
We hope that this article has provided you with valuable insights and practical guidance on pulling a vacuum on HVAC systems. Remember to refer to this article whenever you need a refresher, or share it with others who may benefit from this knowledge.
Thank you for reading, and happy vacuuming!
Frequently Asked Questions about How To Pull A Vacuum On HVAC
Was this page helpful?
At Storables.com, we guarantee accurate and reliable information. Our content, validated by Expert Board Contributors, is crafted following stringent Editorial Policies. We're committed to providing you with well-researched, expert-backed insights for all your informational needs.






0 thoughts on “How To Pull A Vacuum On HVAC”