Home>Articles>How To Put A Basketball Hoop On Sloped Driveway
Articles
How To Put A Basketball Hoop On Sloped Driveway
Modified: February 27, 2024
Learn how to put a basketball hoop on a sloped driveway with our informative articles. Get expert tips and tricks to ensure a secure installation.
(Many of the links in this article redirect to a specific reviewed product. Your purchase of these products through affiliate links helps to generate commission for Storables.com, at no extra cost. Learn more)
Introduction
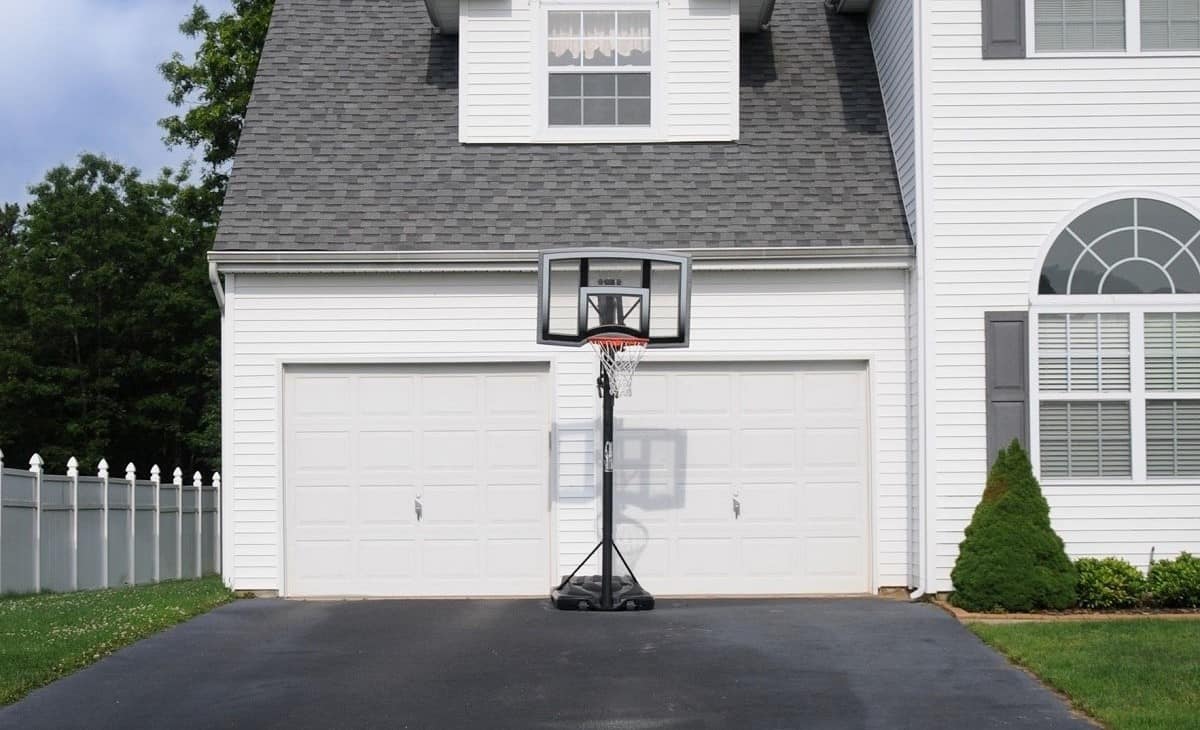
Having a sloped driveway doesn’t have to be a barrier to enjoying a game of basketball right at your own home. In fact, with the right equipment and know-how, you can easily put a basketball hoop on your sloped driveway and make it a fun and functional space for playing basketball with family and friends. Whether you have a slight incline or a steeper slope, this article will guide you through the necessary steps to set up a basketball hoop that is secure and level.
Before getting started, it’s important to note that installing a basketball hoop on a sloped driveway may require some additional effort compared to a flat surface. You might need to make adjustments to ensure the hoop is stable and that the playing surface is level. However, with the right tools and a little bit of patience, you’ll be able to create a safe and enjoyable environment for shooting hoops.
In this article, we’ll walk you through the step-by-step process of putting a basketball hoop on a sloped driveway. From assessing the slope of your driveway to securing the hoop in place, we’ll cover everything you need to know to get started. Let’s dive in!
Key Takeaways:
- Embrace the challenge of installing a basketball hoop on a sloped driveway by assessing the slope, choosing the right hoop, and properly preparing the site for a safe and enjoyable playing experience.
- With the right tools and know-how, you can turn your sloped driveway into a homecourt advantage, creating lasting memories and endless hours of fun and friendly competition with family and friends.
Read more: How To Attach Basketball Hoop To Trampoline
Step 1: Assessing the Slope of Your Driveway
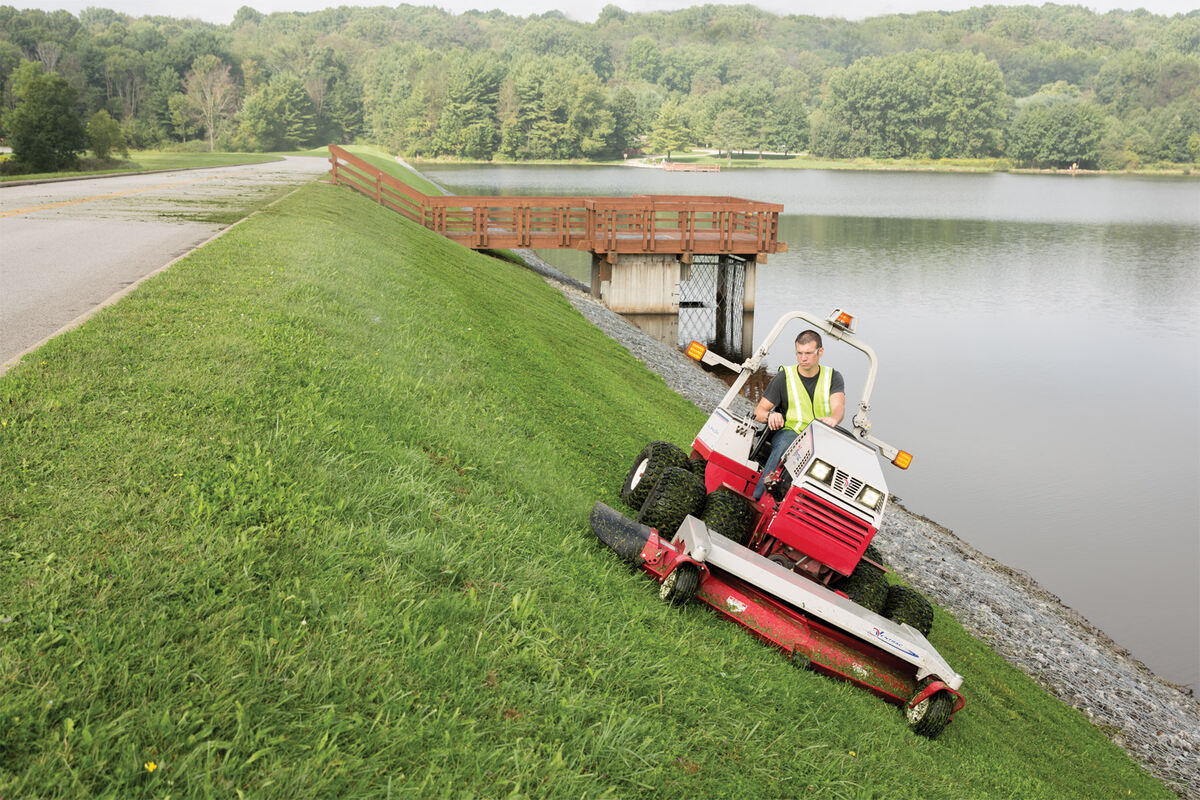
The first step in putting a basketball hoop on a sloped driveway is to assess the degree of slope. This will help you determine the necessary adjustments and preparations needed to create a level playing surface.
To assess the slope of your driveway, you can use a carpenter’s level, a measuring tape, and a string. Start by placing the carpenter’s level horizontally on the surface of the driveway. Use the measuring tape to measure the distance between the ground and the level at two different points.
Next, tie a piece of string tightly across the driveway at a height that indicates the desired playing height for the basketball hoop. Measure the distance between the string and the ground at various points along the string. This will allow you to identify any variations in the slope.
Once you have gathered these measurements, you can determine the slope of your driveway. Generally, a driveway with a slope of less than 3% is considered relatively flat and may only require minor adjustments. If the slope is more dramatic, above 3%, you may need to take additional steps to create a level playing surface.
It’s important to note that the exact specifications and recommendations for dealing with a slope will depend on the specific basketball hoop you choose. Be sure to refer to the manufacturer’s instructions and guidelines for installation to ensure the best results.
Assessing the slope of your driveway is an essential first step in the process, as it will help you determine the specific requirements and adjustments needed to create a stable and level playing surface. By accurately assessing the slope, you can proceed with confidence to the next steps of setting up your basketball hoop on a sloped driveway.
Step 2: Choosing the Right Basketball Hoop
When it comes to putting a basketball hoop on a sloped driveway, selecting the right hoop is crucial. You’ll want to choose a hoop that is specifically designed for installation on uneven surfaces or slopes. Here are a few key considerations to keep in mind when choosing a basketball hoop for your sloped driveway:
- Hoop Type: There are various types of basketball hoops available, including portable, in-ground, and wall-mounted. For a sloped driveway, a portable basketball hoop is often the most practical option. Look for a hoop with an adjustable height feature, as this will allow you to customize the playing height to accommodate the slope of your driveway.
- Stability: It’s important to choose a basketball hoop that offers stability and can withstand the pressure and potential movement caused by the slope. Look for sturdy materials such as heavy-duty steel and a solid base design that can provide stability on uneven surfaces.
- Adjustability: Opt for a basketball hoop with a flexible and adjustable system. This will allow you to easily level the hoop and adjust the playing height to ensure a fair and safe playing experience for everyone.
- Mounting Options: Consider the mounting options available for the basketball hoop. Some hoops may require you to attach a mounting bracket to the surface, while others may utilize a weighted base. Choose the option that best suits your driveway’s characteristics and provides a secure and stable installation.
- Weather Resistance: Since the basketball hoop will be exposed to the elements, it’s important to select a hoop made with weather-resistant materials. Look for features like powder coating or weatherproof paint to ensure durability and longevity.
Take some time to research different brands and models of basketball hoops that are suitable for a sloped driveway. Read customer reviews and consider consulting with professionals or sporting goods store experts to get recommendations. By investing in the right basketball hoop, you’ll ensure a better playing experience and maximize the safety and stability of your setup.
Once you have chosen the right basketball hoop, you’ll be one step closer to enjoying the thrill of shooting hoops on your sloped driveway. In the next step, we’ll guide you through preparing the site for installation.
Step 3: Preparing the Site
Before you can install the basketball hoop on your sloped driveway, it’s essential to properly prepare the site. This step involves clearing the area, making any necessary adjustments, and ensuring a stable foundation for the hoop. Follow these guidelines to prepare the site effectively:
- Clear the Area: Begin by removing any obstacles or debris from the area where you plan to install the basketball hoop. This includes rocks, branches, and any other items that could interfere with the installation or pose a safety hazard during gameplay.
- Mark the Installation Spot: Use a marker or chalk to indicate the exact location where you want to install the basketball hoop. Take into consideration factors such as the desired playing area and clearance from any nearby structures or obstacles.
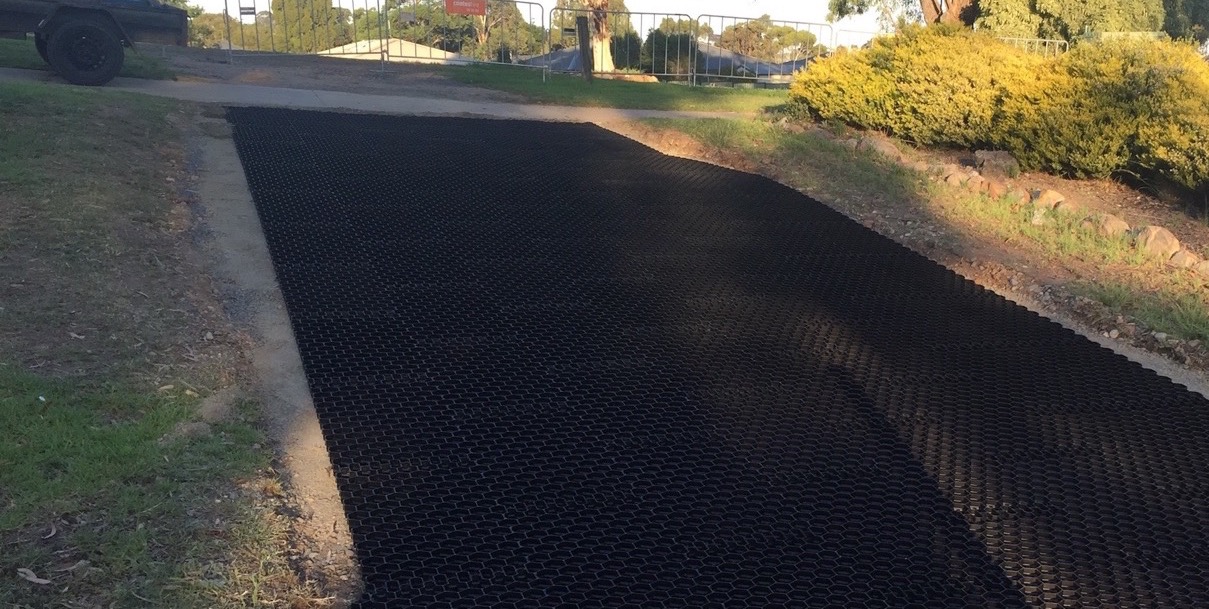
- Leveling: If your driveway has a significant slope, you may need to level the area where the basketball hoop will be installed. This can be done using materials such as compacted gravel or by using a leveling compound to fill in any gaps or uneven surfaces.
- Secure the Surroundings: Consider adding additional support or reinforcements to the surrounding area to ensure the hoop remains stable. This can include digging holes and pouring concrete footings or installing support beams to prevent any movement or shifting.
- Measure and Mark Anchor Points: If your basketball hoop requires anchor points, measure and mark the exact locations where they need to be installed. Be sure to follow the manufacturer’s instructions for the correct spacing and depth of the anchor points.
By properly preparing the site, you’ll create a solid foundation for your basketball hoop installation. This will contribute to the stability and longevity of the hoop and provide a safe and enjoyable playing experience. Once the site is prepared, you can move on to the next step: leveling the area.
Step 4: Leveling the Area
Creating a level playing surface is essential for the proper installation and optimal performance of the basketball hoop on your sloped driveway. Leveling the area will ensure fair gameplay and minimize the risk of accidents or injuries. Follow these steps to level the area effectively:
- Use a Leveling Tool: Start by using a long, sturdy level to determine the high and low points of the slope. Place the level horizontally on the surface and adjust it until the bubble is centered. This will help you identify the areas that require leveling.
- Add Fill Material: If you have identified low spots in the slope, you can add fill material such as compacted gravel or a leveling compound to raise the surface. Fill in the low areas and distribute the material evenly, ensuring it is tightly packed and level with the rest of the surface.
- Check the Level: Once you have added the fill material, use the leveling tool again to check if the surface is now level. Adjust as necessary to achieve a level playing area for the basketball hoop.
- Compact the Surface: After filling and leveling, use a tamper or a compacting tool to compact the fill material and ensure a stable and solid playing surface. This will help prevent shifting or sinking of the hoop over time.
- Recheck the Level: Once the surface has been compacted, recheck the level to ensure that it is still properly balanced. Make any additional adjustments if needed before proceeding to the next step.
Leveling the area may require some time and effort, but it is a crucial step in ensuring a safe and enjoyable playing experience. By taking the time to properly level the surface, you minimize the risk of accidents and create a solid foundation for your basketball hoop on your sloped driveway.
With the area leveled, you are now ready to move on to the next step: assembling the basketball hoop itself!
When installing a basketball hoop on a sloped driveway, use a leveling kit to ensure the hoop is installed straight and level. This will provide a safe and enjoyable playing experience for everyone.
Read also: 14 Best Trampoline Basketball Hoop For 2025
Step 5: Assembling the Basketball Hoop
With the site prepared and the area leveled, it’s time to start assembling the basketball hoop on your sloped driveway. Follow these steps to ensure a smooth and successful assembly:
- Read the Instructions: Before starting the assembly process, carefully read the manufacturer’s instructions provided with your basketball hoop. Familiarize yourself with the components, tools needed, and any specific instructions or precautions.
- Organize the Components: Lay out all the components and hardware in an organized manner. This will make the assembly process easier and prevent any confusion or missing parts along the way.
- Follow the Step-by-Step Instructions: Begin assembling the basketball hoop by following the step-by-step instructions provided. Start with the base or support system and gradually work your way up to attaching the backboard, rim, and other components. Take your time to ensure each step is completed accurately.
- Use the Right Tools: Make sure you have the necessary tools on hand, as specified in the instructions. This may include wrenches, screwdrivers, or other specialized tools. Using the correct tools will ensure a secure and proper assembly.
- Double-Check Connections: As you progress through the assembly process, double-check each connection to ensure everything is tightly secured. Pay close attention to any bolts, screws, or fasteners, and make sure they are tightened securely.
- Refer to the Instructions for Adjustments: Some basketball hoops may require additional adjustments or fine-tuning to accommodate the slope of your driveway. Refer to the manufacturer’s instructions for any specific adjustments needed and make them accordingly.
Remember to take your time and follow the instructions carefully during the assembly process. If you encounter any difficulties or have questions, don’t hesitate to seek assistance from the manufacturer’s customer service or consult with a professional.
Once you have successfully assembled the basketball hoop, you are ready to move on to securing it to the sloped driveway. This will be covered in the next step.
Step 6: Securing the Hoop to the Driveway
Securing the basketball hoop to your sloped driveway is a critical step to ensure stability and safety during gameplay. Follow these steps to securely attach the hoop to the driveway:
- Mark the Anchor Points: Using a marker or chalk, mark the exact locations where the anchor points should be placed. These anchor points will help secure the basketball hoop to the driveway.
- Drill Holes: Carefully drill holes at the marked anchor points, ensuring they are deep enough to securely accommodate the anchor bolts or concrete anchors provided with the basketball hoop.
- Insert Anchor Bolts: Insert the anchor bolts or concrete anchors into the drilled holes. Make sure they are flush with the surface of the driveway.
- Align the Hoop: Align the basketball hoop assembly with the inserted anchor bolts. Make sure it is centered and level before proceeding.
- Secure the Hoop: Using the provided screws or nuts, securely fasten the basketball hoop assembly to the anchor bolts or concrete anchors. Tighten them evenly to ensure a stable and secure connection.
- Double-Check Stability: Once the basketball hoop is securely fastened, give it a gentle shake to check for any signs of loosening. If needed, use a wrench or appropriate tool to tighten the screws or nuts further.
- Test for Stability: After securing the basketball hoop, give it a few tests shots or gentle pushes to assess its stability. If you notice any wobbling or shifting, revisit the previous steps to ensure a proper installation.
Remember, securing the basketball hoop properly is crucial for the safety of players and the longevity of the installation. If you have any doubts or questions during this step, consult the manufacturer’s instructions or seek professional assistance.
With the basketball hoop securely attached to the sloped driveway, you are almost ready to enjoy a game of basketball. However, before you start playing, there is one more important step to consider: testing and adjusting the setup.
Step 7: Testing and Adjusting
After securing the basketball hoop to your sloped driveway, it’s essential to test the setup to ensure everything is functioning properly. Follow these steps to test and make any necessary adjustments:
- Test the Rim: Give the rim a gentle push or hang on it to ensure it can withstand the weight and pressure. Check for any excessive movement or wobbling.
- Check the Backboard: Inspect the backboard for stability and make sure it is securely attached. Give it a light tap to ensure it doesn’t sway or vibrate excessively.
- Adjust the Height: If your basketball hoop has an adjustable height feature, adjust it to the desired playing height. Ensure the height adjustment mechanism works smoothly and securely locks in place.
- Level the Playing Surface: Check the level of the playing surface once more to ensure it hasn’t shifted during the installation process. Make any necessary adjustments using fill material to level the surface.
- Test Ball Bounce: Dribble a basketball on the playing surface to ensure a consistent and predictable bounce. Adjust the level of the surface if needed to achieve the desired ball response.
- Adjust the Angle: If you find that the angle of the slope affects gameplay, consider adjusting the placement of the hoop or the leveling of the playing surface. This will help create a fair and enjoyable playing experience.
- Make Safety Checks: Lastly, conduct a safety check of the entire setup. Ensure that there are no sharp edges or loose parts that could cause injury. Check the stability of the entire structure before inviting others to play.
Testing and adjusting the basketball hoop setup is crucial to ensure a safe and enjoyable playing experience. By taking the time to test and make any necessary adjustments, you’ll be able to fine-tune the setup and optimize its performance on your sloped driveway.
Congratulations! You have successfully put a basketball hoop on your sloped driveway. Now, gather your family and friends, grab a basketball, and enjoy countless hours of fun and friendly competition in the comfort of your own home!
Conclusion
Setting up a basketball hoop on a sloped driveway may require some additional effort and adjustments compared to a flat surface, but it can be done with the right knowledge and tools. By following the steps outlined in this guide, you can successfully install a basketball hoop and create a level playing surface for endless hours of enjoyment.
Throughout the process, it’s important to assess the slope of your driveway, choose a suitable basketball hoop designed for installation on uneven surfaces, and properly prepare the site. Leveling the area and securely attaching the hoop are crucial steps that contribute to stability and safety.
Remember, always refer to the manufacturer’s instructions and guidelines for specific recommendations and adjustments that may be required for your basketball hoop model. Take your time, double-check your work at each step, and seek professional assistance if needed.
With your newly installed basketball hoop, you can now enjoy the convenience of playing basketball right at your own home. Gather your family and friends, engage in friendly competitions, and improve your basketball skills together. Playing sports not only promotes physical activity but also boosts social interaction and bonding.
Remember to prioritize safety at all times. Encourage proper warm-up exercises, use proper protective gear and footwear, and set clear rules for gameplay to ensure a safe and enjoyable experience for everyone involved.
So go ahead, embrace the challenge of a sloped driveway, and turn it into a homecourt advantage. Put your basketball skills to the test, have fun, and create lasting memories on your very own sloped driveway basketball court.
Frequently Asked Questions about How To Put A Basketball Hoop On Sloped Driveway
Was this page helpful?
At Storables.com, we guarantee accurate and reliable information. Our content, validated by Expert Board Contributors, is crafted following stringent Editorial Policies. We're committed to providing you with well-researched, expert-backed insights for all your informational needs.


0 thoughts on “How To Put A Basketball Hoop On Sloped Driveway”