Home>Garden Essentials>How To Hang A DIY Hoop With Greenery
Garden Essentials
How To Hang A DIY Hoop With Greenery
Modified: March 7, 2024
Learn how to hang your own DIY hoop with greenery to create a stunning garden focal point. Get step-by-step instructions and expert tips.
(Many of the links in this article redirect to a specific reviewed product. Your purchase of these products through affiliate links helps to generate commission for Storables.com, at no extra cost. Learn more)
Introduction
Welcome to the wonderful world of hanging DIY hoops with greenery! If you’re looking to add a touch of natural beauty to your space, this project is perfect for you. Hanging hoops with greenery not only bring a refreshing and vibrant atmosphere to any room, but they also provide an excellent way to showcase your creativity and gardening skills.
In this article, we’ll guide you through the step-by-step process of hanging a DIY hoop with greenery. From selecting the right materials to arranging the greenery, we’ll cover everything you need to know to create a stunning and eye-catching display. So, let’s dive in and get started on this exciting project!
But first, let’s quickly go over the basic materials you’ll need to complete this project:
- A hoop – This can be a metal or wooden ring that will serve as the base for your greenery.
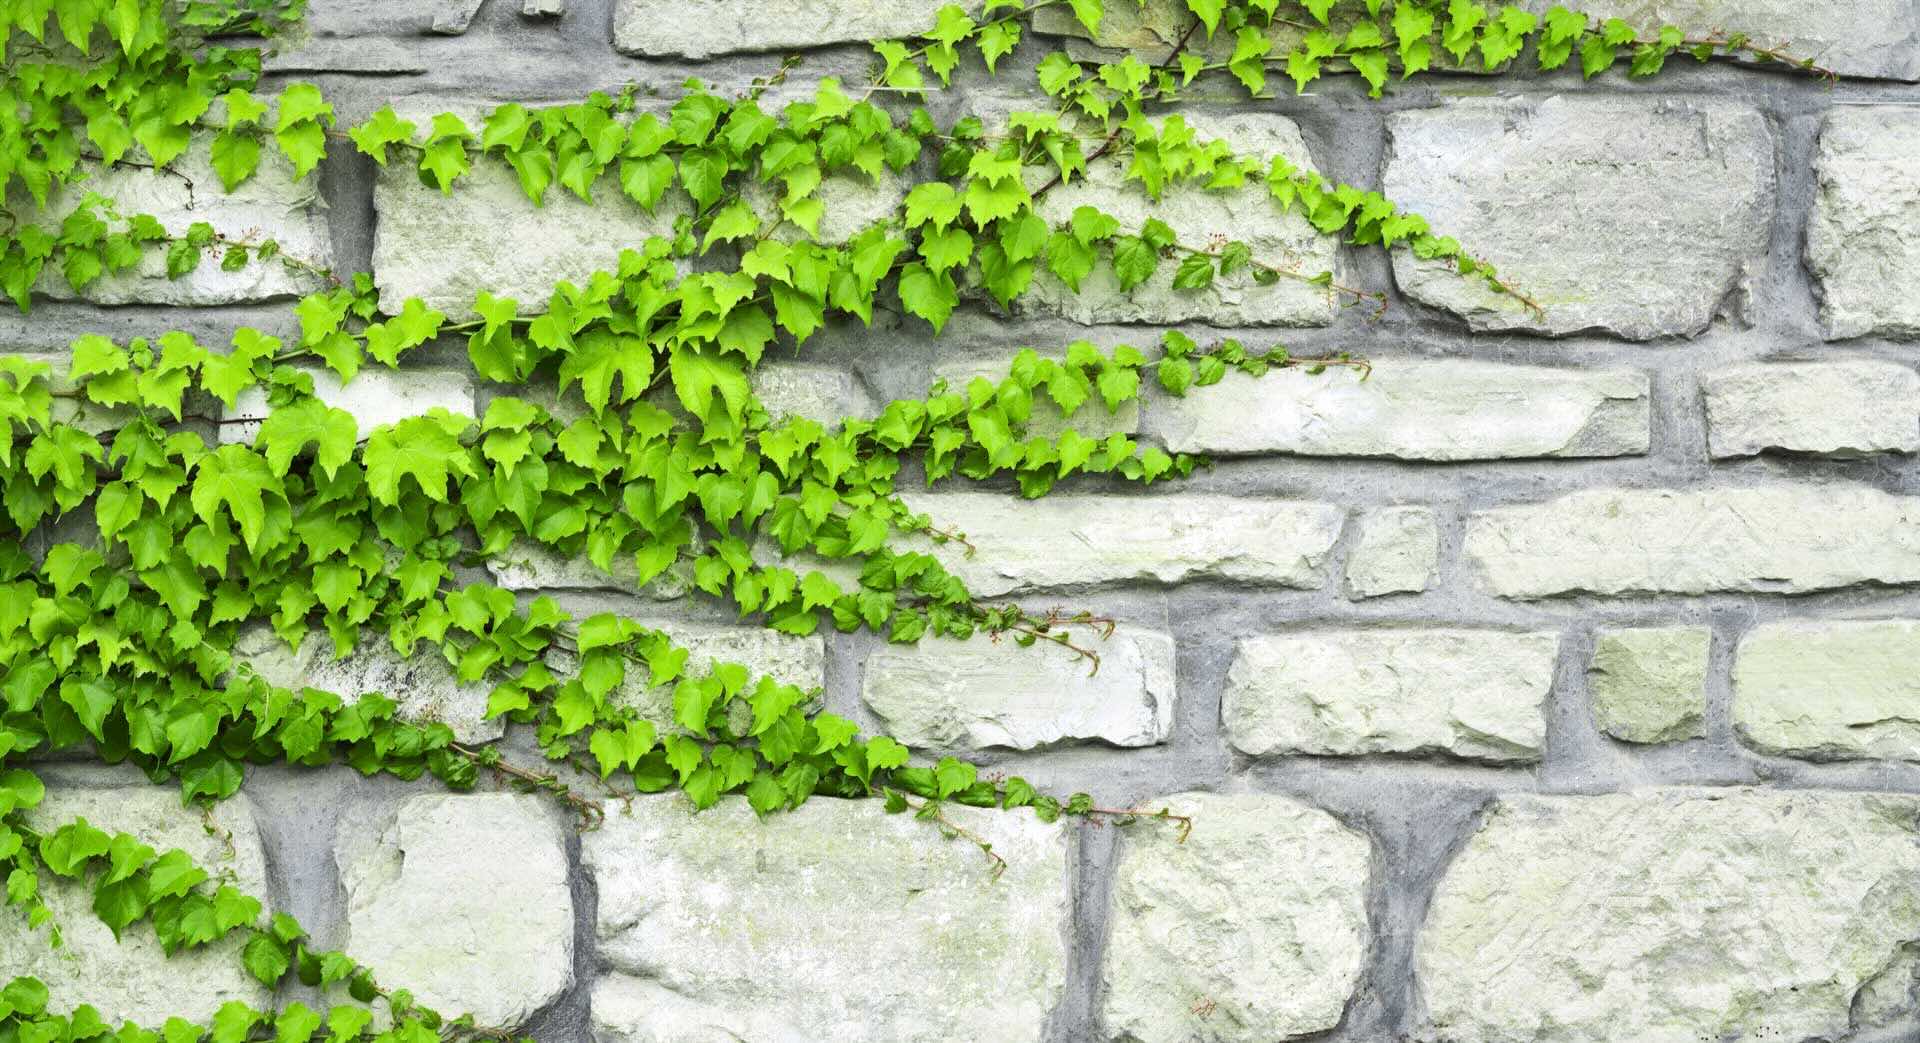
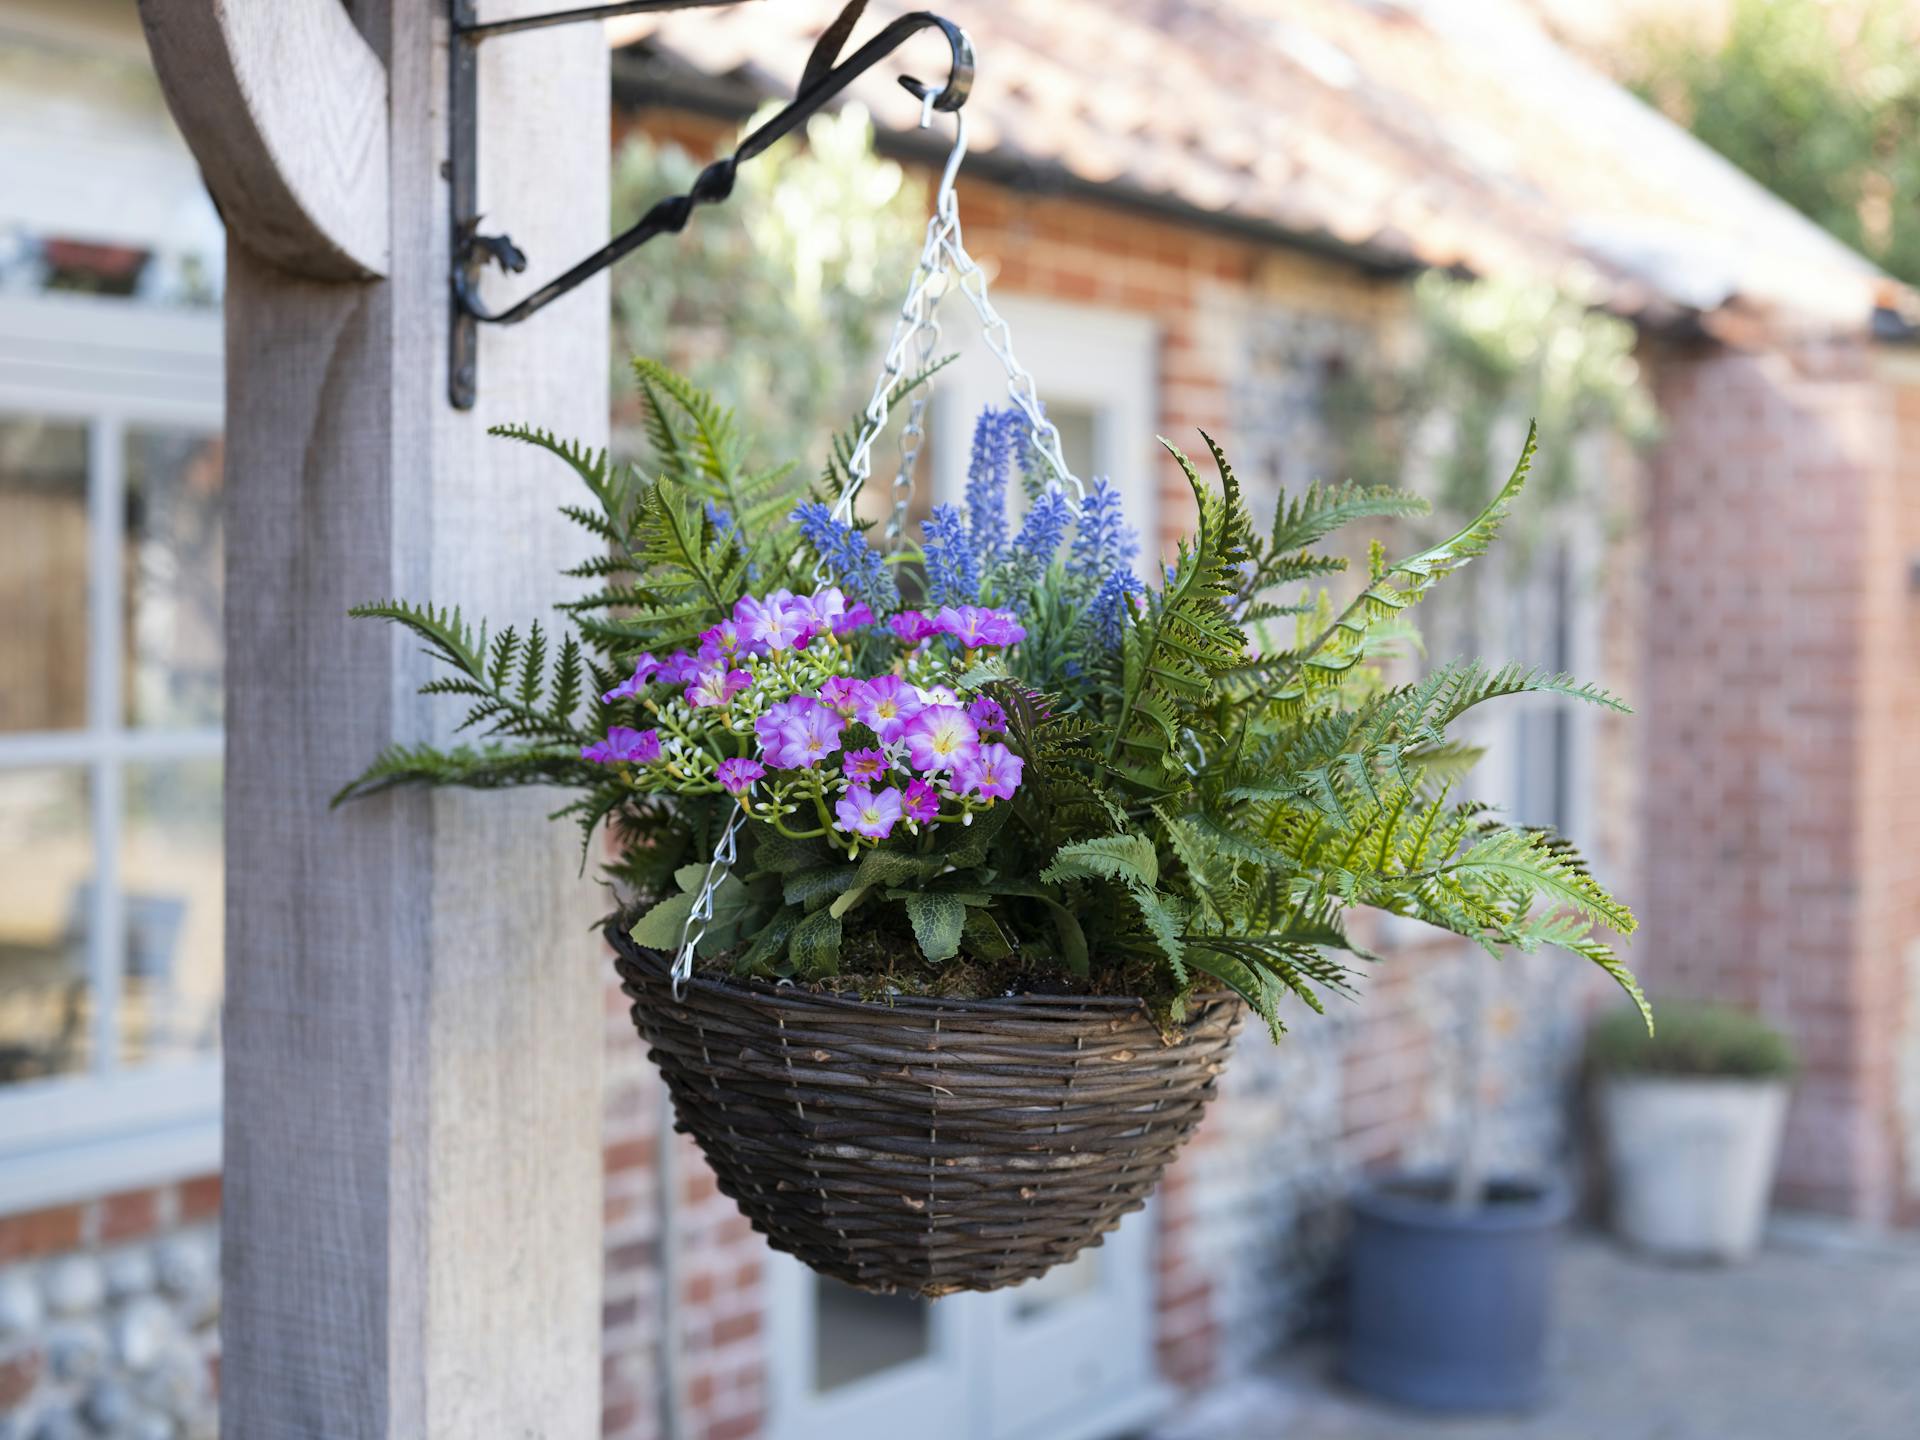
- Greenery – Choose a variety of plants or foliage that suits your style and complements your space. This can include eucalyptus branches, ivy, ferns, or any other green plants that catch your eye.
- Floral wire or fishing line – This will be used to attach and secure the greenery to the hoop.
- Scissors or pruning shears – These will come in handy for cutting and trimming the greenery.
- Hanging mechanism – Depending on where you plan to hang your hoop, you’ll need a hook, nail, or another suitable method to securely mount it.
Now that we’ve got our list of materials, let’s move on to the step-by-step process of creating your DIY hoop with greenery. Get ready to unleash your inner green thumb and create a stunning focal point for your room!
Key Takeaways:
- Hanging a DIY hoop with greenery is a creative and fun project that brings natural beauty and tranquility to any space. By carefully selecting and arranging greenery, you can create a visually stunning and long-lasting display.
- Once your DIY hoop with greenery is hung, it’s important to provide proper care for the plants to maintain their beauty. Regular maintenance, such as watering and occasional adjustments, ensures that your hoop remains a captivating centerpiece in your home.
Materials Needed
Before we dive into the step-by-step process of hanging a DIY hoop with greenery, let’s make sure we have all the necessary materials. Here’s a quick recap of what you’ll need:
- A hoop: You can choose between a metal or wooden hoop, depending on your preference and the overall aesthetic you’re trying to achieve. Both options work well and offer different visual qualities. You can find hoops in various sizes at craft stores or online.
- Greenery: Select a variety of plants or foliage that will add texture and color to your hoop. Consider using eucalyptus branches, ivy, ferns, or other green plants that catch your eye. You can also mix in flowers or dried elements to add extra visual interest.
- Floral wire or fishing line: This will be used to attach and secure the greenery to the hoop. Floral wire works well for heavier plants, while fishing line is ideal for delicate foliage. Choose the option that suits your specific needs.
- Scissors or pruning shears: These tools are essential for cutting and trimming the greenery to the desired length. Make sure they are clean and sharp to achieve neat and precise cuts.
- Hanging mechanism: Depending on where you plan to hang your hoop, you’ll need an appropriate method to mount it securely. This can be a hook, nail, or adhesive hanging strips, depending on the weight of your hoop and the surface you’ll be attaching it to.
- Optional accessories: If you want to add extra flair to your DIY hoop, you can consider incorporating accessories such as small ornaments, fairy lights, ribbons, or decorative elements that align with your personal style.
Once you’ve gathered all the necessary materials, you’re ready to move on to the next steps of creating your stunning DIY hoop with greenery. With everything in place, it’s time to let your creativity shine and transform these simple materials into a captivating and visually pleasing display.
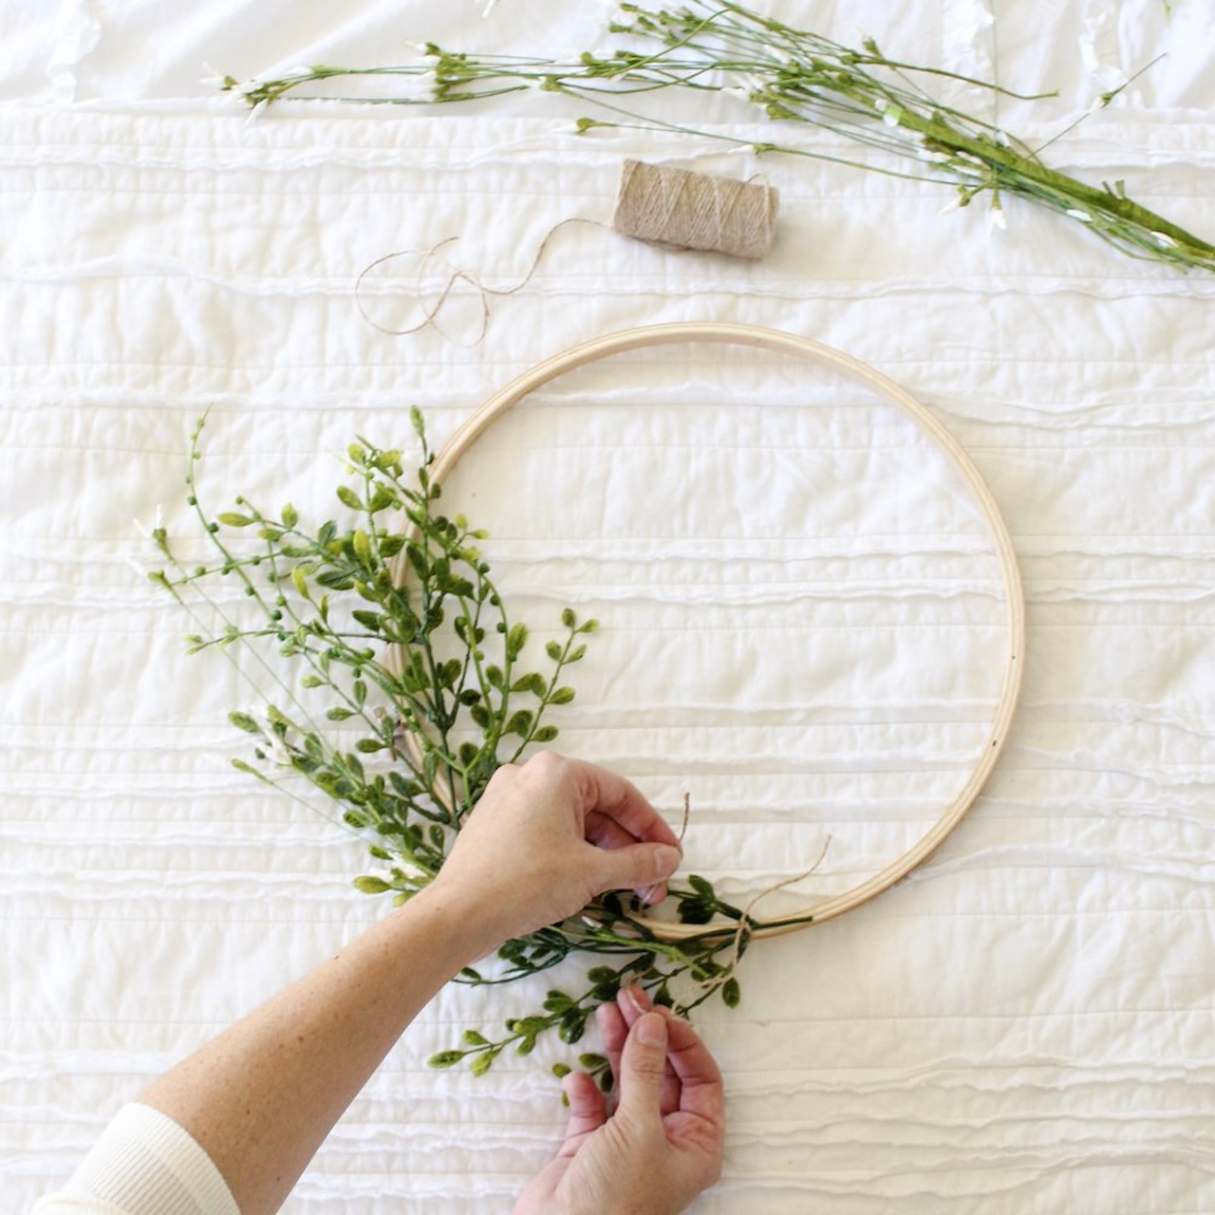
Step 1: Gather the Hoop and Greenery
The first step in hanging a DIY hoop with greenery is to gather the hoop and the greenery you’ve selected for your project. This is an exciting stage where you can unleash your creativity and choose materials that reflect your personal style and the ambiance you want to create.
Start by finding a hoop that suits your preferences and the size you envision for your hanging display. Metal hoops provide a sleek and modern look, while wooden hoops offer a more rustic and natural feel. You can find hoops in different sizes at craft stores or even repurpose items like embroidery hoops or hula hoops for a unique touch.
Next, gather the greenery that you’ll be using to adorn your hoop. Be sure to select a variety of plants or foliage that complement each other and create a harmonious visual appeal. Consider the color palette, texture, and shape of the greenery to ensure a balanced and aesthetically pleasing arrangement.
You can choose from a wide range of greenery options, such as eucalyptus branches, ivy, ferns, or any other plants that catch your eye. Look for plants that have long stems or trailing vines, as they work especially well for hanging hoops. If you want to add some color, you can also incorporate flowers or dried elements to create visual interest and depth.
While gathering your greenery, make sure to consider the maintenance requirements of each plant. Opt for plants that are suited to the lighting conditions and care routine you can provide. This will ensure that your hoop remains fresh and vibrant for longer periods.
Once you have your hoop and greenery ready, the next step is to assemble the hoop and prepare the greenery for hanging. It’s time to get your hands dirty and bring your vision to life!
Step 2: Assemble the Hoop
Now that you have gathered all the necessary materials, it’s time to assemble the hoop for your DIY greenery display. This step is crucial as it sets the foundation for the entire hanging arrangement.
If you are using a metal hoop, make sure it is clean and free from any dust or residue. Wipe it down with a soft cloth to ensure a smooth surface. If you have a wooden hoop, check for any rough edges or splinters and sand them down gently to create a safe and polished finish.
Before attaching the greenery, it’s important to decide how you want to position the hoop. You can choose to hang it horizontally, vertically, or at an angle, depending on your personal preference and the available space. Take some time to visualize the desired placement so that you can position the greenery accordingly.
Once you have decided on the orientation, you can start attaching your greenery to the hoop. Begin by securing one end of the foliage to the hoop using floral wire or fishing line. Wrap the wire or line around the stem or branch a few times and make sure it is firmly attached.
Continue adding the greenery one piece at a time, overlapping the stems or vines as you go along. This will create a dense and lush appearance. You can attach multiple types of foliage to add variety and create an interesting combination of shapes and textures.
As you attach the greenery, periodically step back and assess the overall look. Adjust the position of the foliage and ensure that it covers the hoop evenly. Pay attention to any gaps or areas where the hoop is still visible, and add extra greenery to fill in those spaces.
Remember to leave a section of the hoop bare if you plan to hang the hoop against a wall. This will ensure that it sits flush and doesn’t tilt when mounted. Leave some extra length on the stems or vines as well, as you’ll have the opportunity to trim and refine them in the later steps.
Once you’re satisfied with the arrangement, take a moment to admire your assembled hoop. You’ve successfully created the foundation for your DIY greenery display. In the next step, we’ll dive into preparing the greenery for hanging and ensuring it stays securely in place.
Step 3: Prepare the Greenery
With the hoop assembled, it’s time to prepare the greenery for hanging. This step involves trimming, pruning, and ensuring that each piece of foliage is in perfect condition before attaching it to the hoop.
Start by examining each stem or vine to check for any damaged or brown leaves. Remove these using scissors or pruning shears, making clean cuts to maintain the overall appearance of the greenery. Trimming away any unwanted foliage will not only improve the aesthetic appeal but also allow the remaining leaves to thrive.
As you prepare the greenery, think about the desired length and shape you want to achieve. Trim the stems or vines accordingly, keeping in mind the size of your hoop and the overall balance of the arrangement. It’s a good idea to vary the length of the greenery for added visual interest.
Consider the direction in which each stem or vine will be attached to the hoop. Trim the ends at an angle to create a smooth and neat point of attachment. This will make it easier to secure the greenery to the hoop and prevent any jagged edges from being visible.
While trimming, take into account the growth patterns of the greenery. Some plants naturally have a trailing or cascading growth habit, while others have a more upright or bushy appearance. Plan your arrangement accordingly to highlight and enhance these unique characteristics.
Another important aspect of preparing the greenery is to ensure that it is well hydrated. Before attaching the foliage to the hoop, give the stems a quick rinse under water to rejuvenate them. If any of the stems have woody ends, consider cutting a small diagonal slit at the bottom to allow better water absorption.
After rinsing, it’s important to let the greenery dry for a few minutes. Excess moisture can make it difficult for the wire or fishing line to securely hold the stems in place. Ensure the greenery is slightly damp but not soaking wet before proceeding with attaching it to the hoop.
By taking the time to properly prepare the greenery, you are setting the stage for a visually stunning and long-lasting DIY hoop with greenery. The next step will guide you through the process of hanging the hoop and arranging the greenery to achieve the desired look.
When hanging a DIY hoop with greenery, make sure to use strong, sturdy hooks or nails to support the weight of the hoop and greenery. It’s also important to regularly check and maintain the hooks or nails to ensure the hoop stays securely in place.
Read more: How To Hang Greenery At A Wedding
Step 4: Hang the Hoop
Now that you’ve prepared the greenery, it’s time to hang the hoop and bring your DIY project to life. Properly mounting the hoop will ensure that it stays securely in place and provides a beautiful display for your greenery.
Start by selecting the location where you want to hang your hoop. Consider the size of the hoop, the weight of the greenery, and the available wall space. Choose a spot that allows the hoop to become a focal point and adds visual interest to the room.
Once you’ve chosen the perfect spot, grab the appropriate hanging mechanism for your specific situation. This can be a hook, nail, or adhesive hanging strips, depending on the weight of the hoop and the surface you’ll be attaching it to. Make sure the hanging mechanism is secure and suitable for supporting the weight of the hoop and greenery.
Hold the hoop up against the wall at the desired height and mark the spot where you’ll be attaching the hanging mechanism. Use a level to ensure the hoop is straight and aligned before proceeding.
If you’re using a hook or nail, carefully insert it into the marked spot on the wall. For adhesive hanging strips, follow the manufacturer’s instructions to apply them securely. Double-check that the hanging mechanism is firmly in place before proceeding.
Now, it’s time to hang the hoop. Gently place the hoop onto the hanging mechanism, making sure it is securely balanced. If the hoop is slightly tilted, adjust it until it is level and centered on the wall.
Take a step back and assess the positioning of the hoop. Ensure that it is at the desired height and that it provides a visually pleasing arrangement. Make any necessary adjustments before moving on to the next step.
By correctly hanging the hoop, you’re setting the stage for a captivating display of greenery in your space. Now that the hoop is in place, it’s time to move on to the final steps of adjusting and securing the greenery to create a visually stunning hanging arrangement.
Step 5: Adjust and Secure the Greenery
With the hoop securely hung, it’s time to focus on adjusting and securing the greenery to create the perfect hanging arrangement. This step allows you to fine-tune the placement of the foliage to achieve the desired look and ensure that it stays in place.
Start by stepping back and taking a good look at the overall arrangement. Observe how the greenery drapes and cascades around the hoop. Take note of any areas that need adjustment or additional foliage to create a balanced and visually appealing display.
When making adjustments, consider the shape and direction of the greenery. Gently guide the stems or vines to flow in the desired direction, creating an elegant and natural appearance. Twisting or intertwining certain sections of the greenery can add depth and dimension to the arrangement.
Pay attention to any gaps or areas where the hoop is still visible. Use additional greenery to fill in these spaces, creating a lush and full look. Experiment with different placement options until you achieve the desired coverage and density.
Once you are satisfied with the arrangement and coverage, it’s time to secure the greenery in place. Take your floral wire or fishing line and carefully wrap it around the stems or vines, making sure it is hidden within the foliage. Secure the greenery to the hoop by twisting the wire or tying the fishing line tightly.
Be mindful not to wrap the wire too tightly, as it may damage the foliage. Aim for a firm but gentle grip to hold the greenery in place. If you notice any loose sections, secure them with additional wire or line as needed.
As you work with the greenery, take breaks to step back and assess the overall appearance. Look for any areas that need further adjustment or any sections that may require additional support. Make necessary tweaks until you are satisfied with the final arrangement.
Take the opportunity to trim any excess stems or vines that may be protruding or obstructing the desired shape. Use your scissors or pruning shears to refine the overall look and create clean lines.
By adjusting and securely fastening the greenery, you are ensuring that your DIY hoop with greenery remains intact and visually stunning. Take a moment to admire your hanging masterpiece, as we move on to the final step of enjoying your DIY hoop with greenery.
Step 6: Enjoy Your DIY Hoop with Greenery
Congratulations! You have successfully completed your DIY hoop with greenery. Now it’s time to sit back, relax, and enjoy the beauty and freshness it brings to your space.
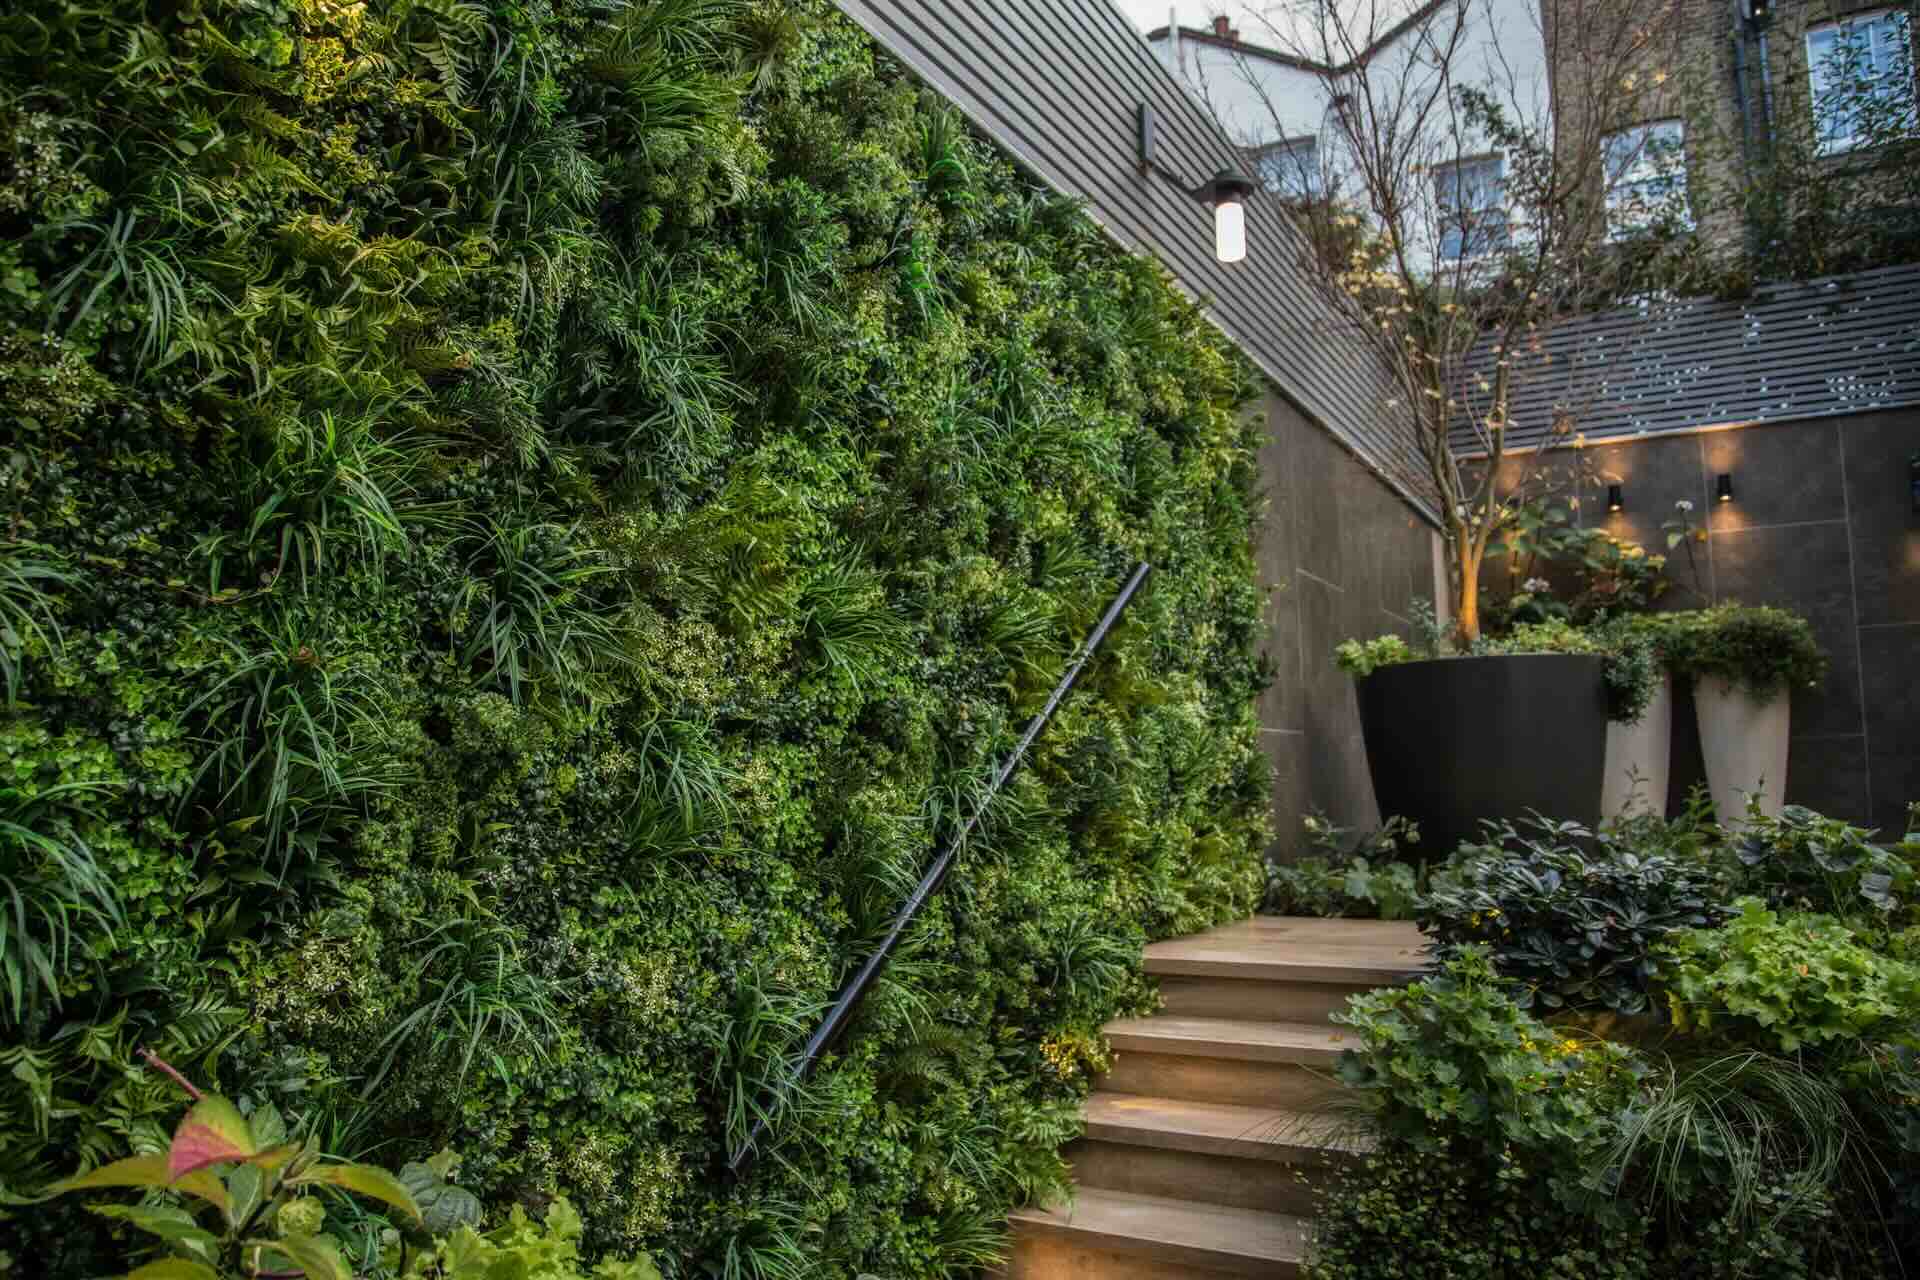
Take a moment to appreciate the final result of your hard work and creativity. Admire how the greenery gracefully hangs from the hoop, adding a touch of nature and elegance to your room. The combination of textures, shapes, and colors creates a visually captivating display that can uplift the ambiance of any space.
Step back and observe the hoop from different angles. Notice how the greenery interacts with the light in the room, casting beautiful shadows and creating a dynamic atmosphere. The subtle fragrance of certain plants, such as eucalyptus, can also enhance the sensory experience.
Your DIY hoop with greenery is not only a decorative piece but also a living display that requires care to maintain its beauty. Keep an eye on the greenery and make adjustments as needed. As plants grow, you may need to trim or reposition them to ensure the hoop maintains its desired shape and appearance.
Remember to provide proper care for the greenery, such as watering as needed and ensuring it gets adequate light. Each type of plant may have specific care requirements, so familiarize yourself with their needs to keep them healthy and thriving.
To extend the lifespan of your DIY hoop with greenery, consider misting the foliage with water regularly. This helps create a humid environment and prevents the greenery from drying out. Be cautious not to overspray or soak the greenery, as it can lead to rot or damage.
Your hoop with greenery can also serve as a backdrop for occasional seasonal changes. Consider adding small ornaments, flowers, or other decorative elements to celebrate holidays or special occasions. This allows you the opportunity to refresh the look of your hoop and keep it versatile throughout the year.
Finally, don’t forget to share your creation with others. Your DIY hoop with greenery is a beautiful conversation starter and can inspire others to try their hand at incorporating more natural elements into their decor.
So, sit back, relax, and revel in the beauty and tranquility that your DIY hoop with greenery brings to your space. Enjoy the fresh, natural atmosphere it provides and take pride in the fact that you created such a stunning display with your own hands.
Happy hanging and greenery-adorned bliss!
Conclusion
Creating a DIY hoop with greenery is not only a fun and creative project but also a fantastic way to bring the beauty and freshness of nature into your living space. By following the step-by-step process outlined in this article, you can successfully hang a hoop with greenery that adds a touch of elegance and serenity to any room.
Throughout this journey, you’ve learned how to gather the necessary materials, assemble the hoop, prepare the greenery, hang the hoop securely, adjust and secure the greenery, and ultimately enjoy the final result. Each step plays a crucial role in creating a visually stunning and long-lasting display.
As you embarked on this project, you allowed your creativity to flourish, selecting a hoop that aligns with your personal style and choosing greenery that complements your aesthetic vision. You skillfully arranged the foliage, ensuring that it gracefully cascades around the hoop, creating a mesmerizing display.
Remember, caring for your hoop with greenery is essential for maintaining its beauty. Be attentive to the needs of the plants, providing them with the proper care and attention they require to thrive. Regularly check the greenery for any adjustments or trimmings needed to preserve the desired shape and appearance.
Take time to appreciate the natural beauty and ambiance your DIY hoop with greenery brings to your space. Let it serve as a reminder of your creativity and gardening skills, and take pride in knowing that you have created a unique and captivating centerpiece that reflects your style and love for nature.
Enjoy the tranquility and freshness your DIY hoop with greenery infuses into your living space. Share your creation with others, inspiring them to embark on their own gardening and creative endeavors. Let this project be a constant reminder of the beauty and serenity that nature can bring into our daily lives.
So, go ahead, unleash your creativity, and start creating your DIY hoop with greenery today. Happy hanging and may your space be forever transformed by the natural elegance of this stunning display!
Frequently Asked Questions about How To Hang A DIY Hoop With Greenery
Was this page helpful?
At Storables.com, we guarantee accurate and reliable information. Our content, validated by Expert Board Contributors, is crafted following stringent Editorial Policies. We're committed to providing you with well-researched, expert-backed insights for all your informational needs.

0 thoughts on “How To Hang A DIY Hoop With Greenery”