Home>Gardening & Outdoor>Outdoor Structures>How To Stain Front Porch
Outdoor Structures
How To Stain Front Porch
Modified: February 28, 2024
Learn how to stain your front porch and enhance its appearance with our outdoor structures expertise. Follow our step-by-step guide for a flawless finish.
(Many of the links in this article redirect to a specific reviewed product. Your purchase of these products through affiliate links helps to generate commission for Storables.com, at no extra cost. Learn more)
Introduction
Welcome to the ultimate guide on how to stain your front porch! Your front porch is the gateway to your home, and keeping it well-maintained not only enhances your home's curb appeal but also provides a warm and inviting space for relaxation and socializing. Staining your front porch is a fantastic way to protect the wood from the elements while adding a touch of elegance to your home's exterior.
In this comprehensive guide, we'll walk you through the step-by-step process of staining your front porch, from gathering the necessary materials to applying the stain and adding those finishing touches that will make your porch truly stand out. Whether you're a seasoned DIY enthusiast or a first-time homeowner looking to take on a new project, this guide is designed to equip you with the knowledge and confidence to tackle this rewarding endeavor.
By the end of this article, you'll have a clear understanding of the materials needed, the preparation required for your porch, the application of the stain, and those final details that will make your front porch the envy of the neighborhood. So, roll up your sleeves, grab your supplies, and let's transform your front porch into a stunning outdoor space that you can enjoy for years to come!
Key Takeaways:
- Staining your front porch not only boosts your home’s curb appeal but also protects the wood from the elements, creating a warm and inviting space for relaxation and socializing.
- Proper preparation, including cleaning, inspecting, and smoothing the porch surface, is crucial for a successful staining project that enhances the beauty and longevity of your front porch.
Read more: How To Stain A Front Porch
Materials Needed
Before embarking on your front porch staining project, it’s essential to gather all the necessary materials. Here’s a list of items you’ll need to ensure a successful and efficient staining process:
- Stain: Choose a high-quality, weather-resistant stain specifically formulated for outdoor use. Consider the color and opacity that best complements your home’s exterior.
- Wood Cleaner: A reliable wood cleaner will help prepare the surface by removing dirt, grime, and any previous coatings.
- Pressure Washer or Hose: To thoroughly clean the porch before staining, a pressure washer or a hose with a high-pressure nozzle is essential.
- Sandpaper or Sander: Smooth out any rough spots or imperfections on the wood surface using sandpaper or a sander.
- Paintbrushes or Rollers: Select high-quality brushes or rollers suitable for applying the stain evenly.
- Drop Cloths or Tarps: Protect the surrounding area from drips and spills by laying down drop cloths or tarps.
- Protective Gear: Wear gloves, safety goggles, and a mask to safeguard yourself from the cleaning and staining chemicals.
- Stir Stick: Ensure thorough mixing of the stain by having a stir stick on hand.
- Sealant (Optional): If desired, consider applying a sealant to provide an extra layer of protection and enhance the durability of the stain.
By gathering these materials, you’ll be well-prepared to begin the front porch staining process with confidence and efficiency. With the right tools at your disposal, you can achieve professional-looking results that will elevate the appearance and longevity of your front porch.
Preparing the Porch
Proper preparation is the key to a successful front porch staining project. Before applying the stain, it’s crucial to ensure that the porch surface is clean, smooth, and free of any debris or previous coatings. Follow these steps to prepare your porch for the staining process:
- Clean the Surface: Begin by thoroughly cleaning the porch surface using a wood cleaner and a pressure washer or hose. This step removes dirt, mildew, and any existing stain or sealant, allowing the new stain to adhere effectively.
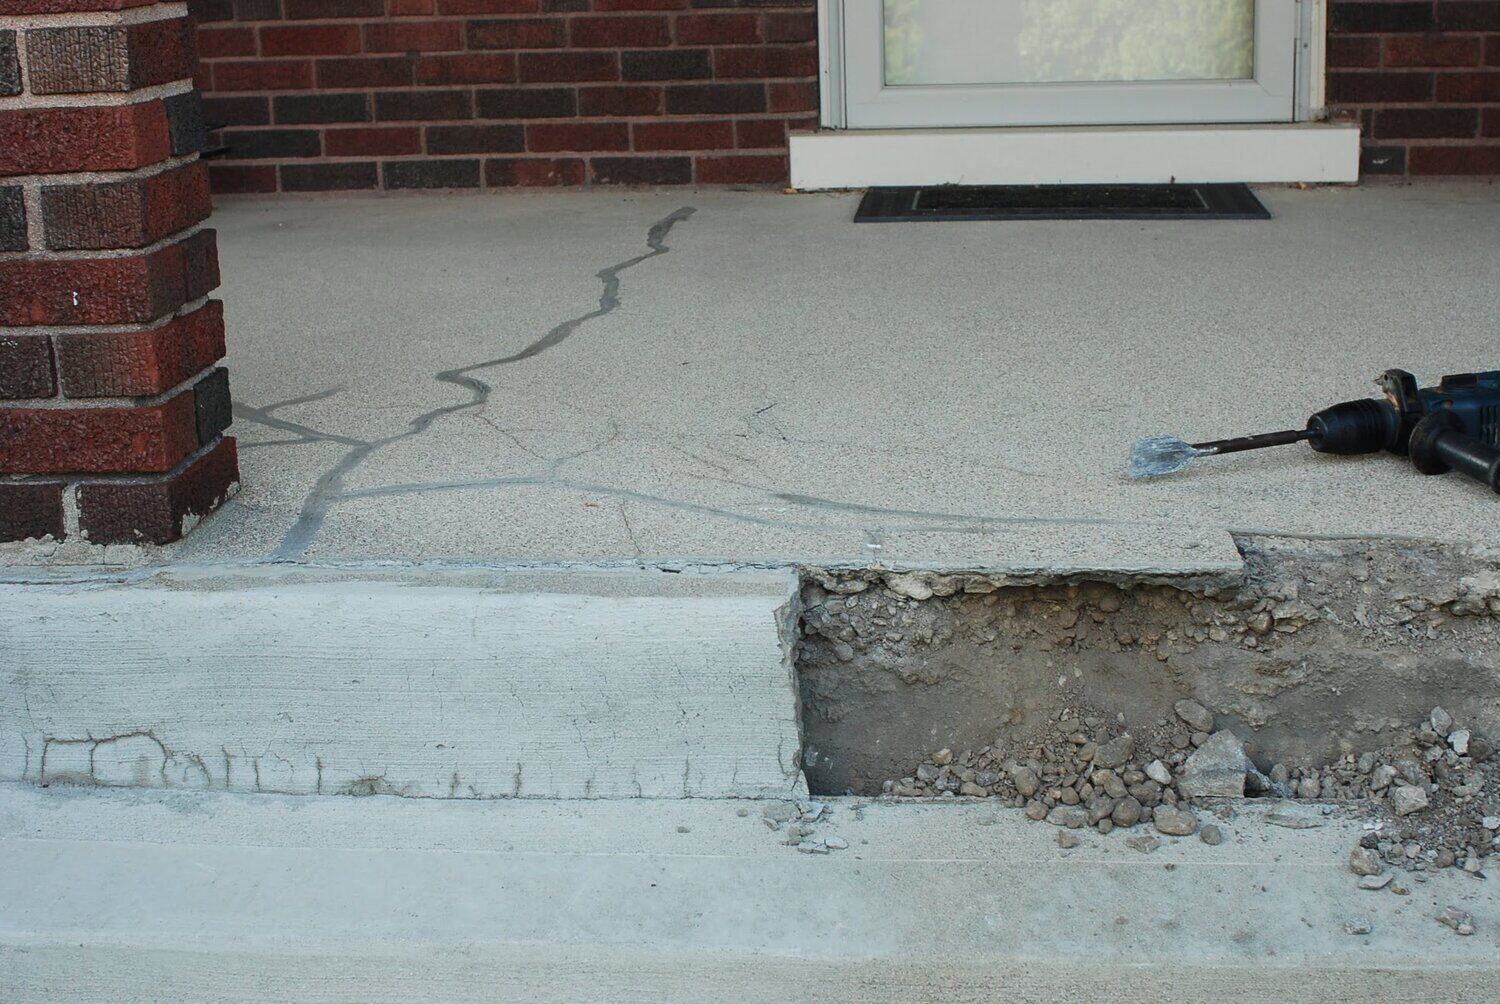
- Inspect for Damage: Carefully inspect the porch for any signs of damage, such as cracks, rot, or loose boards. Address any issues by repairing or replacing damaged wood to ensure a solid and even surface for staining.
- Sand the Wood: Use sandpaper or a sander to smooth out the wood surface, removing any rough spots, imperfections, or old stain remnants. This step promotes optimal stain penetration and a uniform finish.
- Protect Surrounding Areas: Cover any adjacent surfaces, such as siding, steps, or landscaping, with drop cloths or tarps to safeguard them from accidental drips or spills during the staining process.
- Allow for Drying Time: After cleaning and sanding, allow the porch surface to dry completely before proceeding with the application of the stain. Adequate drying time ensures that the wood is ready to absorb the stain effectively.
By diligently preparing your porch, you set the stage for a seamless and professional-looking staining process. Taking the time to clean, inspect, and smooth the surface will not only enhance the final result but also contribute to the longevity of the stain, ensuring that your front porch remains a beautiful focal point of your home for years to come.
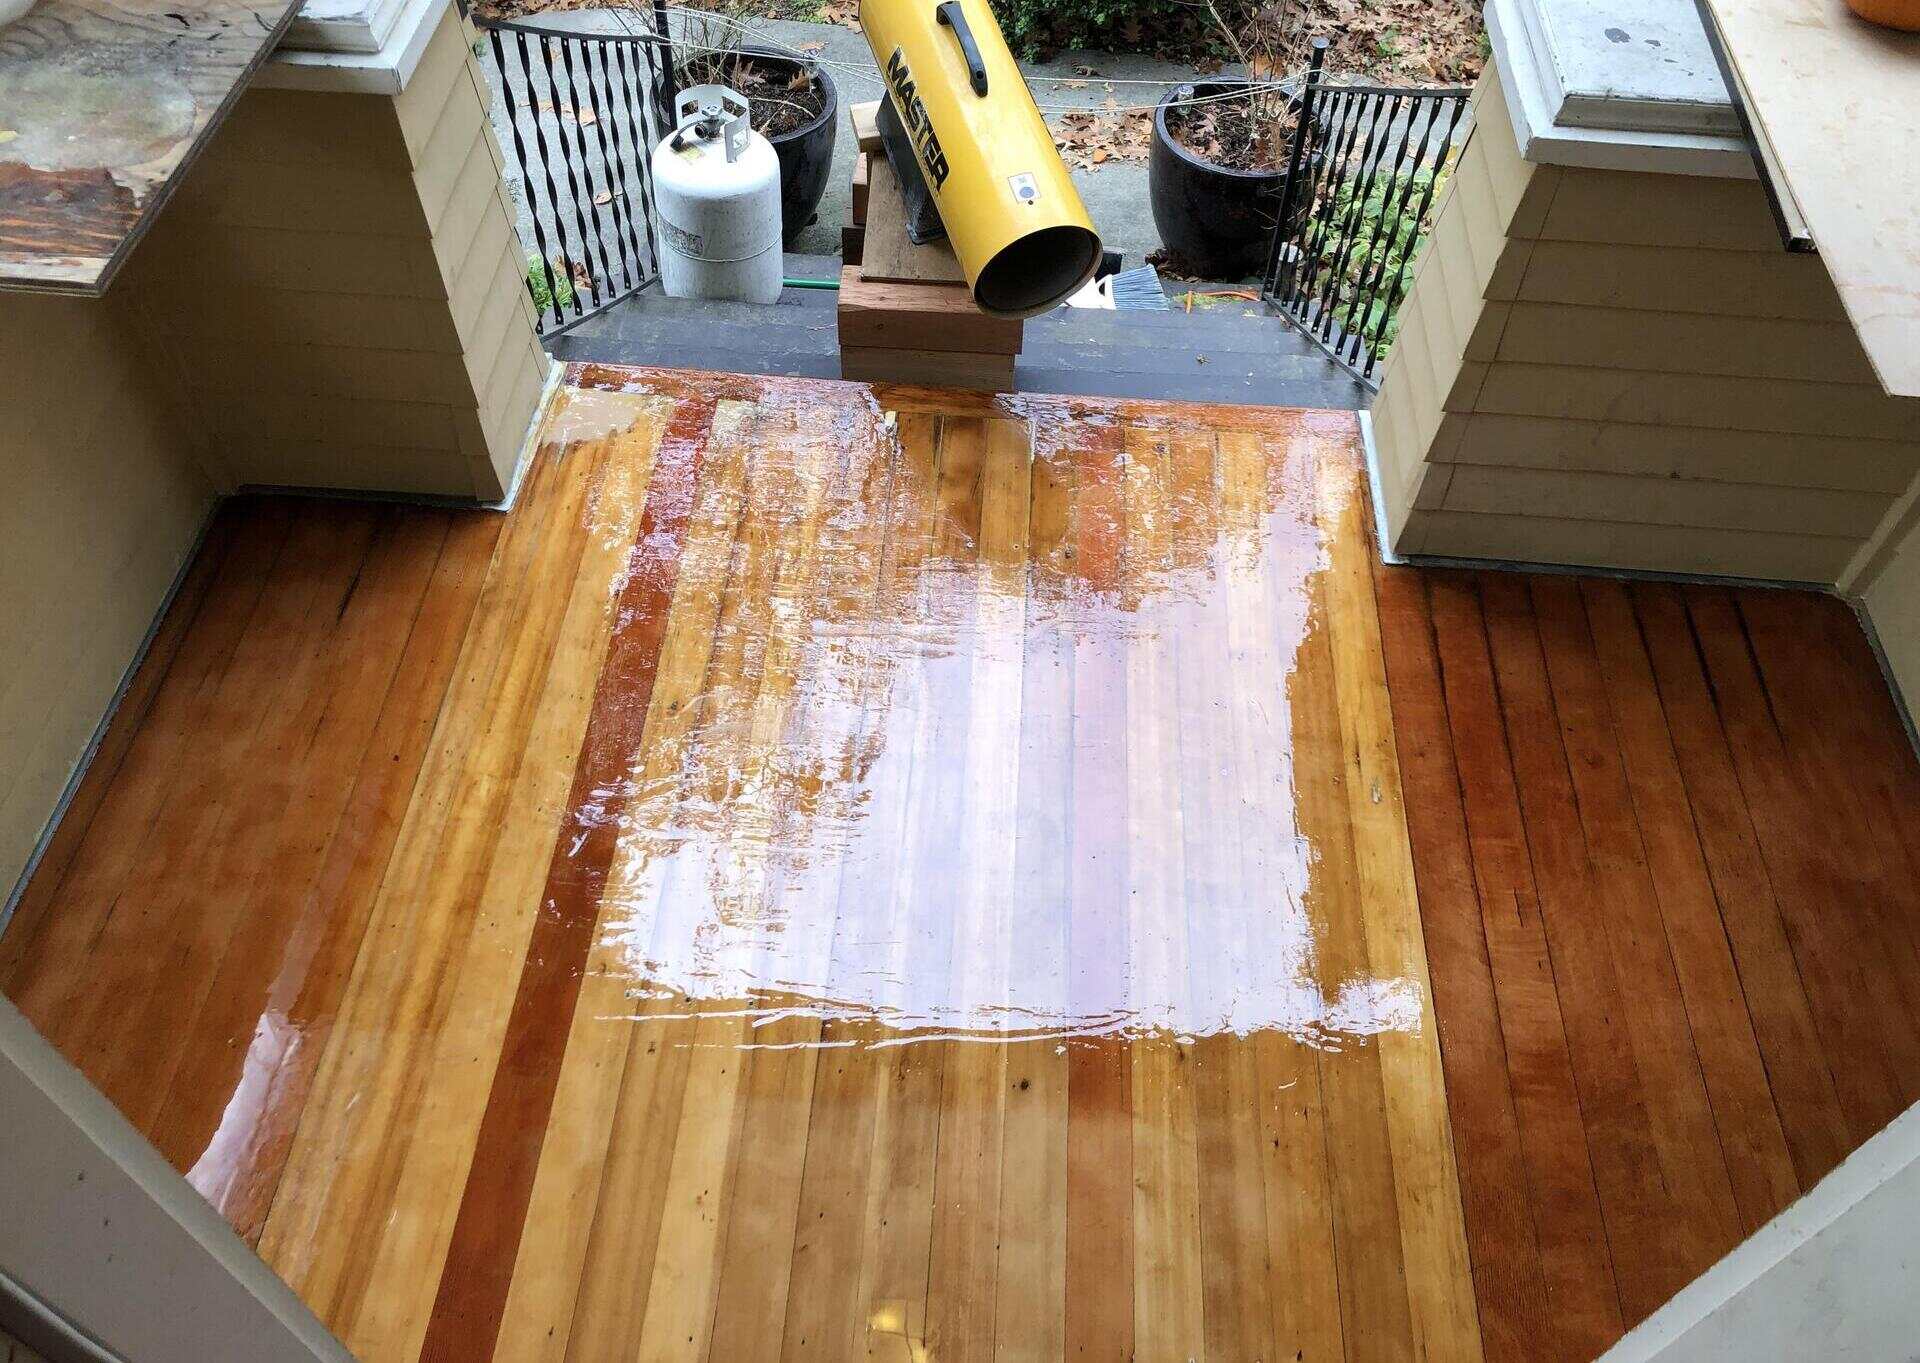
Before staining your front porch, make sure to thoroughly clean and sand the surface to remove any dirt or old finish. Apply the stain evenly with a brush or roller, following the wood grain for a professional look.
Applying the Stain
With your porch properly prepared, it’s time to apply the stain and bring out the natural beauty of the wood. Follow these steps to ensure a smooth and effective staining process:
- Choose the Right Conditions: Select a day with mild weather and low humidity for staining. Avoid staining in direct sunlight to prevent the stain from drying too quickly.
- Stir the Stain: Thoroughly stir the stain using a stir stick to achieve a consistent color and ensure that any settling pigments are evenly distributed.
- Apply the First Coat: Using a high-quality paintbrush or roller, apply the first coat of stain to the porch surface, working with the grain of the wood. Ensure even coverage and pay attention to any drips or pooling of the stain.
- Allow for Absorption: Let the first coat of stain penetrate the wood for the recommended time specified by the manufacturer. This allows the wood to absorb the stain, enhancing its color and providing protection.
- Apply Additional Coats (If Needed): Depending on the desired depth of color and level of protection, consider applying additional coats of stain. Follow the manufacturer’s instructions regarding drying times between coats.
- Inspect for Uniformity: After applying the final coat, inspect the porch surface to ensure that the stain has been applied uniformly without any streaks or missed spots.
- Allow for Drying Time: Once the staining process is complete, allow the porch to dry thoroughly before resuming regular use. This drying period ensures that the stain fully cures and provides lasting protection.
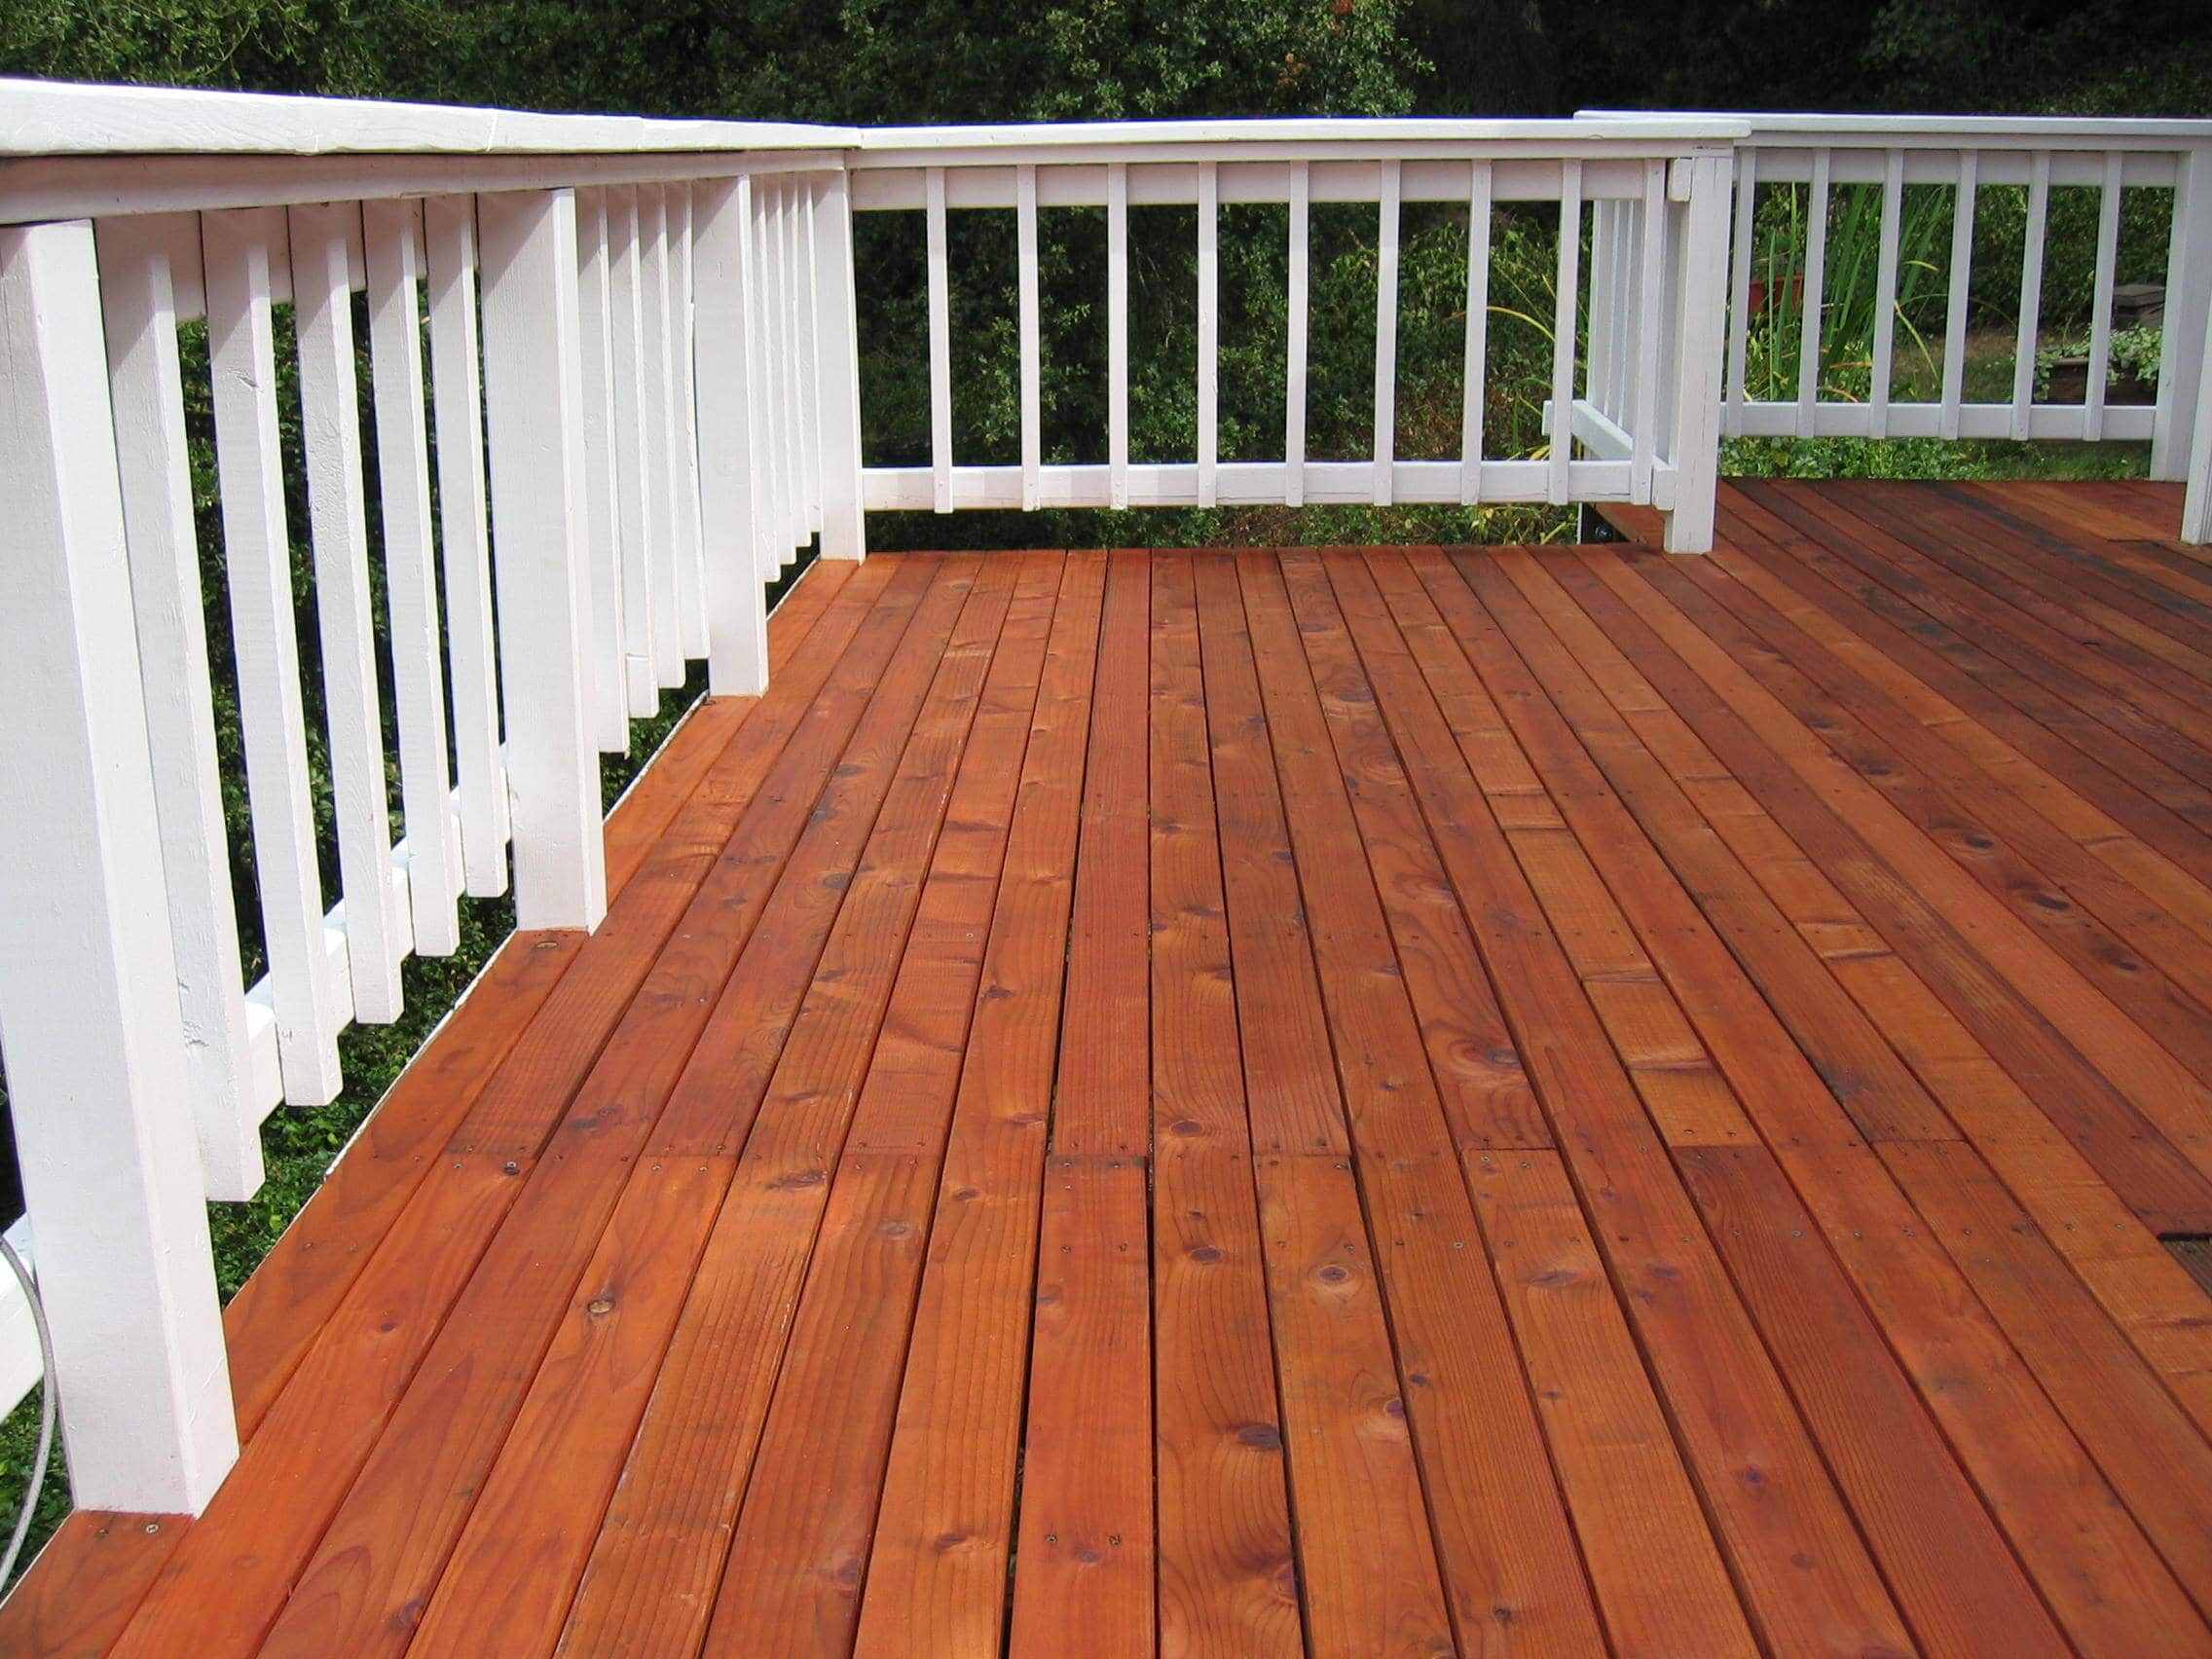
By following these steps, you can achieve a beautifully stained front porch that enhances the aesthetic appeal of your home while providing long-lasting protection against the elements. The application of the stain is a transformative process that showcases the natural grain and character of the wood, elevating the overall charm of your front porch.
Finishing Touches
Completing the staining process for your front porch involves adding those final touches that will enhance the overall appearance and durability of the stained wood. Consider the following steps to put the finishing touches on your newly stained porch:
- Apply a Sealant (Optional): For added protection and longevity, consider applying a clear sealant over the dried stain. This extra layer shields the wood from UV rays, moisture, and foot traffic, prolonging the life of the stain.
- Inspect for Touch-Ups: After the stain has dried completely, inspect the porch surface for any areas that may require touch-ups or additional stain. Address any inconsistencies to ensure a uniform and polished appearance.
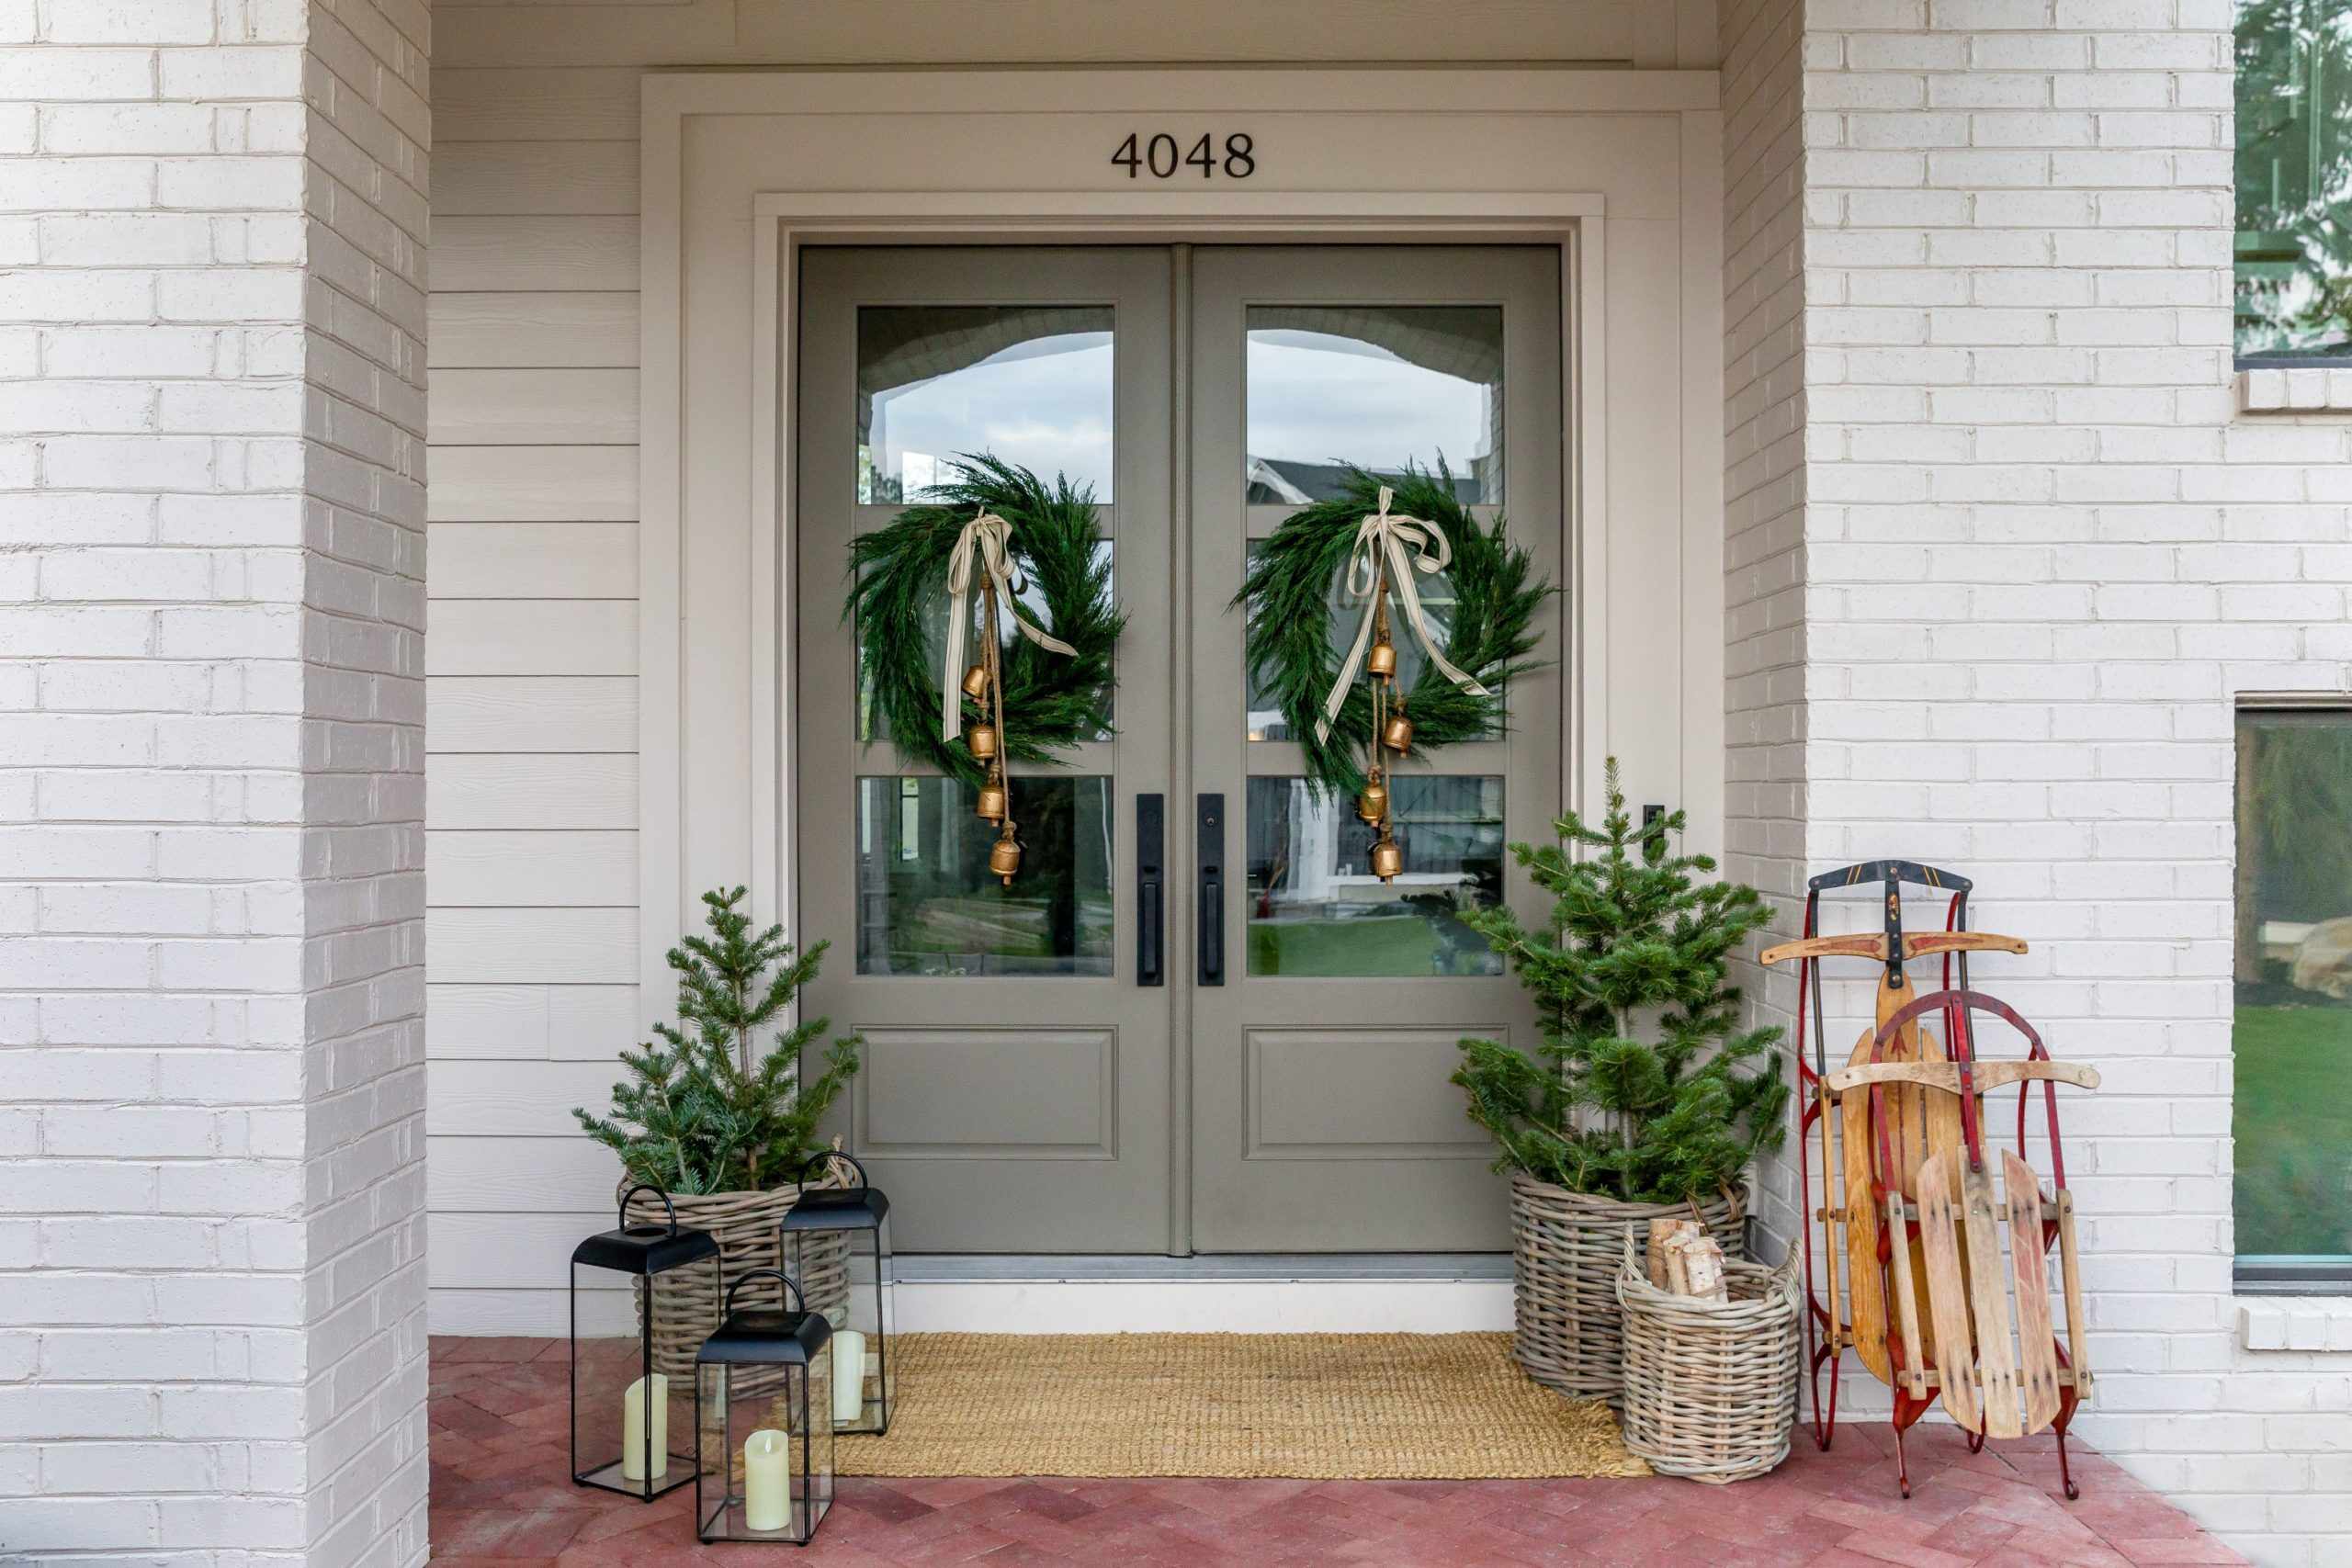
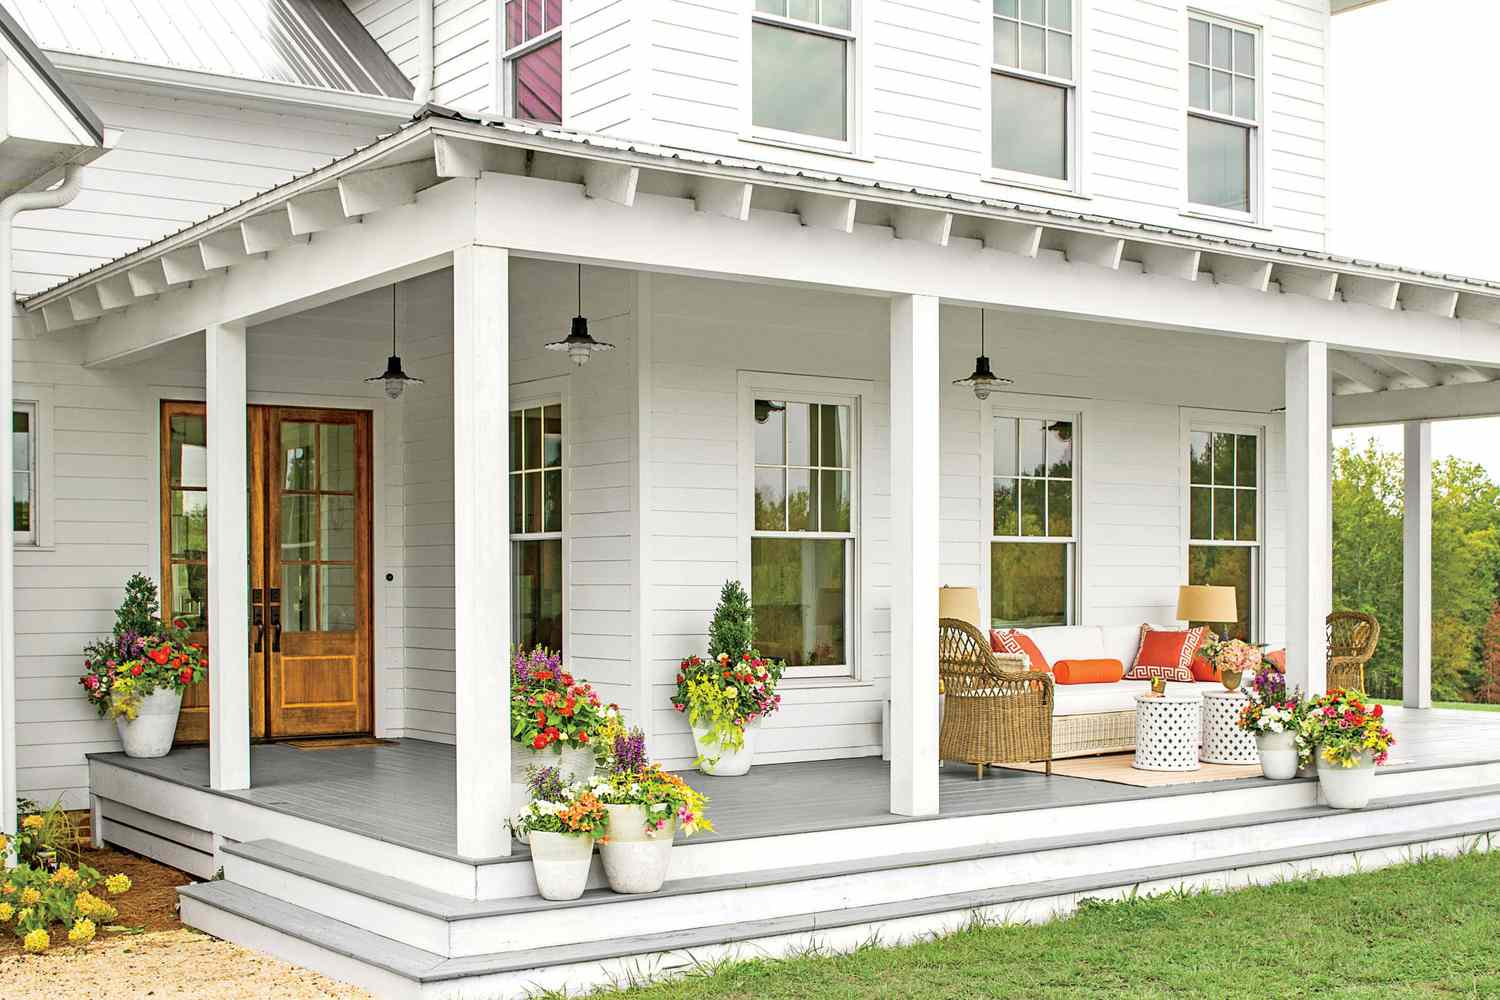
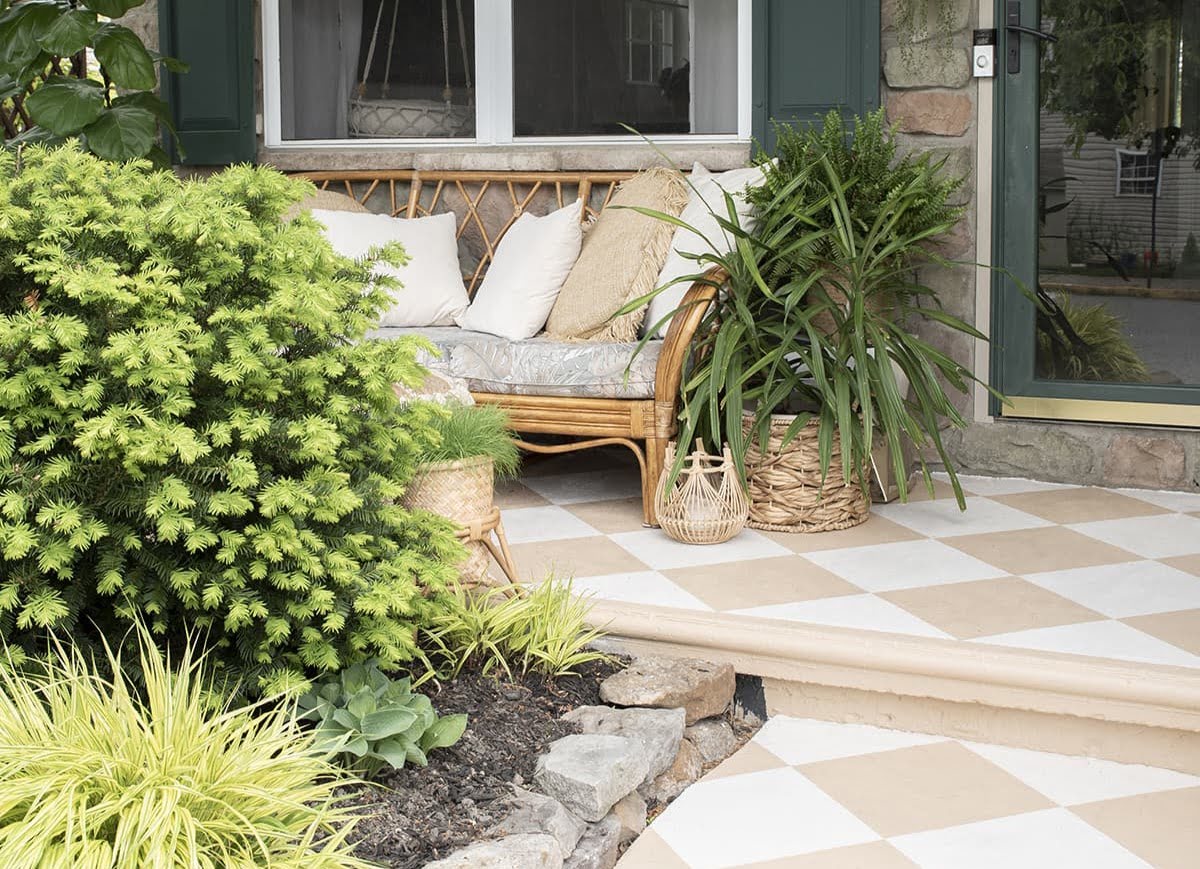
- Enhance with Decor and Furniture: Elevate the visual appeal of your front porch by adding decorative elements, such as potted plants, outdoor furniture, and welcoming accents that complement the newly stained wood.
- Maintain Regular Cleaning and Maintenance: Preserve the beauty of your stained front porch by establishing a routine for cleaning and maintenance. Regularly sweep away debris, clean up spills, and consider reapplying a protective sealant as needed to uphold the integrity of the stain.
By attending to these finishing touches, you can ensure that your front porch remains a striking and inviting feature of your home. The combination of a well-applied stain, optional sealant, and thoughtful enhancements will transform your porch into a welcoming space that reflects your personal style and adds value to your property.
Read more: How To Stain A Concrete Porch
Conclusion
Congratulations on successfully completing the front porch staining process! By taking the time to prepare, apply, and add those final touches, you’ve not only enhanced the beauty of your home’s exterior but also fortified the porch against the elements. Your newly stained front porch is now a welcoming and resilient space that sets the stage for relaxation, social gatherings, and everyday enjoyment.
As you admire the transformation of your front porch, remember that regular maintenance is key to preserving the integrity and allure of the stain. By incorporating a cleaning and maintenance routine, along with periodic inspections for touch-ups and sealant reapplication, you can ensure that your porch remains a stunning focal point of your home for years to come.
Whether you undertook this project as a DIY enthusiast or a homeowner seeking to revitalize your outdoor space, the effort and attention to detail you’ve invested in staining your front porch have undoubtedly paid off. Your home now boasts a beautifully stained porch that not only adds curb appeal but also reflects your dedication to maintaining a welcoming and well-cared-for property.
So, take a moment to savor the satisfaction of a job well done, and embrace the newfound charm and durability of your front porch. With the knowledge and skills gained from this guide, you’ve successfully elevated your home’s exterior and created a space that beckons both residents and guests to linger and enjoy the beauty of outdoor living.
Now, go ahead and revel in the inviting ambiance of your freshly stained front porch – a testament to your commitment to enhancing and preserving the heart of your home.
Frequently Asked Questions about How To Stain Front Porch
Was this page helpful?
At Storables.com, we guarantee accurate and reliable information. Our content, validated by Expert Board Contributors, is crafted following stringent Editorial Policies. We're committed to providing you with well-researched, expert-backed insights for all your informational needs.


0 thoughts on “How To Stain Front Porch”