
Articles
How To Seal Up A Fireplace
Modified: October 18, 2024
Learn how to properly seal up a fireplace with our informative articles. Seal cracks and prevent drafts for improved energy efficiency.
(Many of the links in this article redirect to a specific reviewed product. Your purchase of these products through affiliate links helps to generate commission for Storables.com, at no extra cost. Learn more)
Introduction
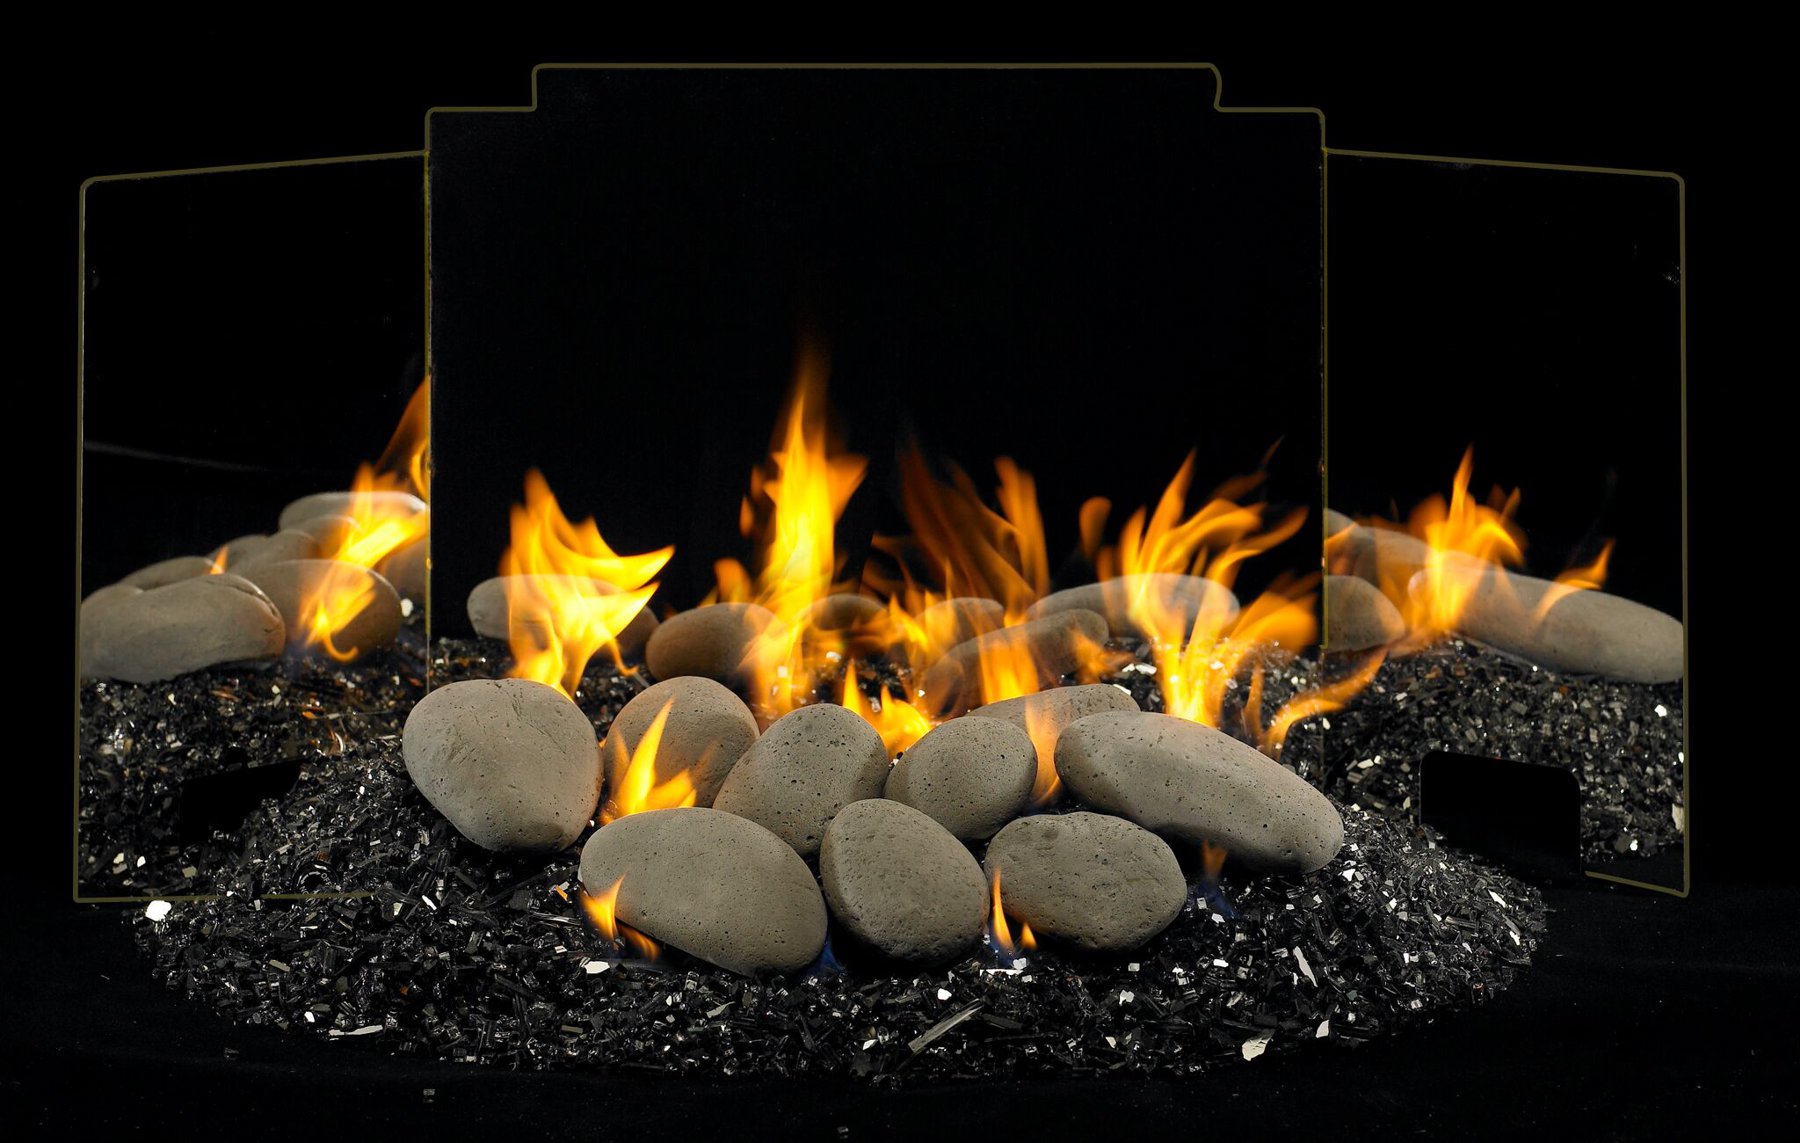
A fireplace can be a charming and cozy feature in any home, providing warmth and a focal point for gatherings. However, when not in use, a fireplace can also be a major source of energy loss and drafts. To combat this issue and improve energy efficiency, sealing up a fireplace is essential. By properly sealing your fireplace, you can prevent cold air from entering your home during the winter months and keep warm air from escaping. In addition to the energy-saving benefits, sealing a fireplace can also help to keep out pests, reduce noise, and improve indoor air quality.
In this article, we will guide you through the step-by-step process of sealing up a fireplace. Whether you have a traditional masonry fireplace or a more modern gas or electric fireplace, these methods can be applied with slight variations to fit your specific setup. So, let’s get started and learn how to seal up a fireplace effectively.
Key Takeaways:
- Sealing your fireplace not only saves energy but also keeps out pests, reduces noise, and improves indoor air quality. It’s a practical and effective way to enhance the comfort and ambiance of your home.
- Regular monitoring and maintenance of the fireplace seal are essential to ensure long-term effectiveness. By taking proactive steps, you can enjoy a more energy-efficient and comfortable living space.
Read more: How To Seal A Fireplace Insert
Step 1: Gather the necessary tools and materials
Before you begin sealing up your fireplace, it’s essential to gather all the necessary tools and materials. Having everything on hand will save you time and ensure that the process goes smoothly. Here are the items you will need:
- Protective gear: Gloves, safety goggles, and a dust mask
- Caulk gun
- High-temperature caulk or sealant
- Putty knife or scraper
- Wire brush or chimney sweep brush
- Vacuum cleaner or brush attachment
- Fireplace draft stopper or chimney balloon
- Flue damper or chimney cap (if necessary)
Once you have gathered all the necessary tools and materials, you’re ready to move on to the next step. It’s important to ensure that you have the correct type of caulk or sealant suitable for fireplace use. High-temperature caulk is designed to withstand the extreme heat generated by the fireplace. Make sure to check the label or consult with a professional to select the appropriate product for your fireplace.
Additionally, if you plan to install a fireplace draft stopper or chimney balloon, make sure to measure the dimensions of your fireplace opening and chimney before purchasing the appropriate size. This will ensure a proper fit and effective sealing.
With your tools and materials in hand, you’re now prepared to start the process of sealing up your fireplace. Let’s move on to the next step: cleaning the fireplace thoroughly.
Step 2: Clean the fireplace thoroughly
Before you can effectively seal your fireplace, it’s crucial to clean it thoroughly. Over time, soot, debris, and creosote can accumulate in the fireplace and chimney, which can affect the adhesion of the sealant and hinder the sealing process. Follow these steps to clean your fireplace:
- Put on your protective gear, including gloves, safety goggles, and a dust mask, to protect yourself from soot and dust.
- Use a wire brush or chimney sweep brush to scrub the interior walls of the fireplace. This will remove any loose soot and debris. Start from the top and work your way down to prevent debris from falling into the hearth.
- Next, use a vacuum cleaner or a brush attachment to remove the loose debris and soot that you dislodged from the walls. Pay special attention to the nooks and crannies of the fireplace and the chimney.
- If you notice any stubborn residue or creosote buildup, use a putty knife or scraper to gently scrape it off. Be careful not to damage the fireplace surface.
- Finally, wipe down the interior of the fireplace with a damp cloth to remove any remaining dust or debris.
Once you have thoroughly cleaned your fireplace, allow it to dry completely before proceeding to the next step. This will ensure that the sealant adheres properly and effectively seals any cracks or gaps. Cleaning your fireplace not only improves the sealing process but also enhances the overall safety and performance of your fireplace.
Now that your fireplace is clean and ready, it’s time to move on to the next step: inspecting the fireplace and identifying any potential openings.
Step 3: Inspect the fireplace and identify any potential openings
Inspecting your fireplace is an important step in the sealing process. It allows you to identify any cracks, gaps, or openings that need to be sealed to ensure maximum energy efficiency and draft prevention. Here’s how to inspect your fireplace:
- Using a flashlight, carefully examine the interior and exterior of the fireplace, including the hearth, walls, and chimney. Look for any visible cracks, gaps, or crevices.
- Pay close attention to areas where the fireplace meets the walls, the chimney flue, and the damper mechanism. These areas are common culprits for energy loss and drafts.
- If you have a gas or electric fireplace, inspect the surrounding area and check for any openings or gaps in the venting system.
- Take note of any areas that require sealing. It’s essential to address both small and large openings, as even minor cracks can contribute to significant energy loss.
During the inspection process, it’s helpful to have a notepad or a digital device to document the locations and sizes of any openings you find. This will guide you during the sealing process and help ensure that no area is overlooked.
Inspecting your fireplace enables you to understand the scope of the sealing project and gives you a clear roadmap for the next steps. Now that you’ve identified areas that require attention, it’s time to move on to step 4: applying caulk or sealant to the cracks and gaps.
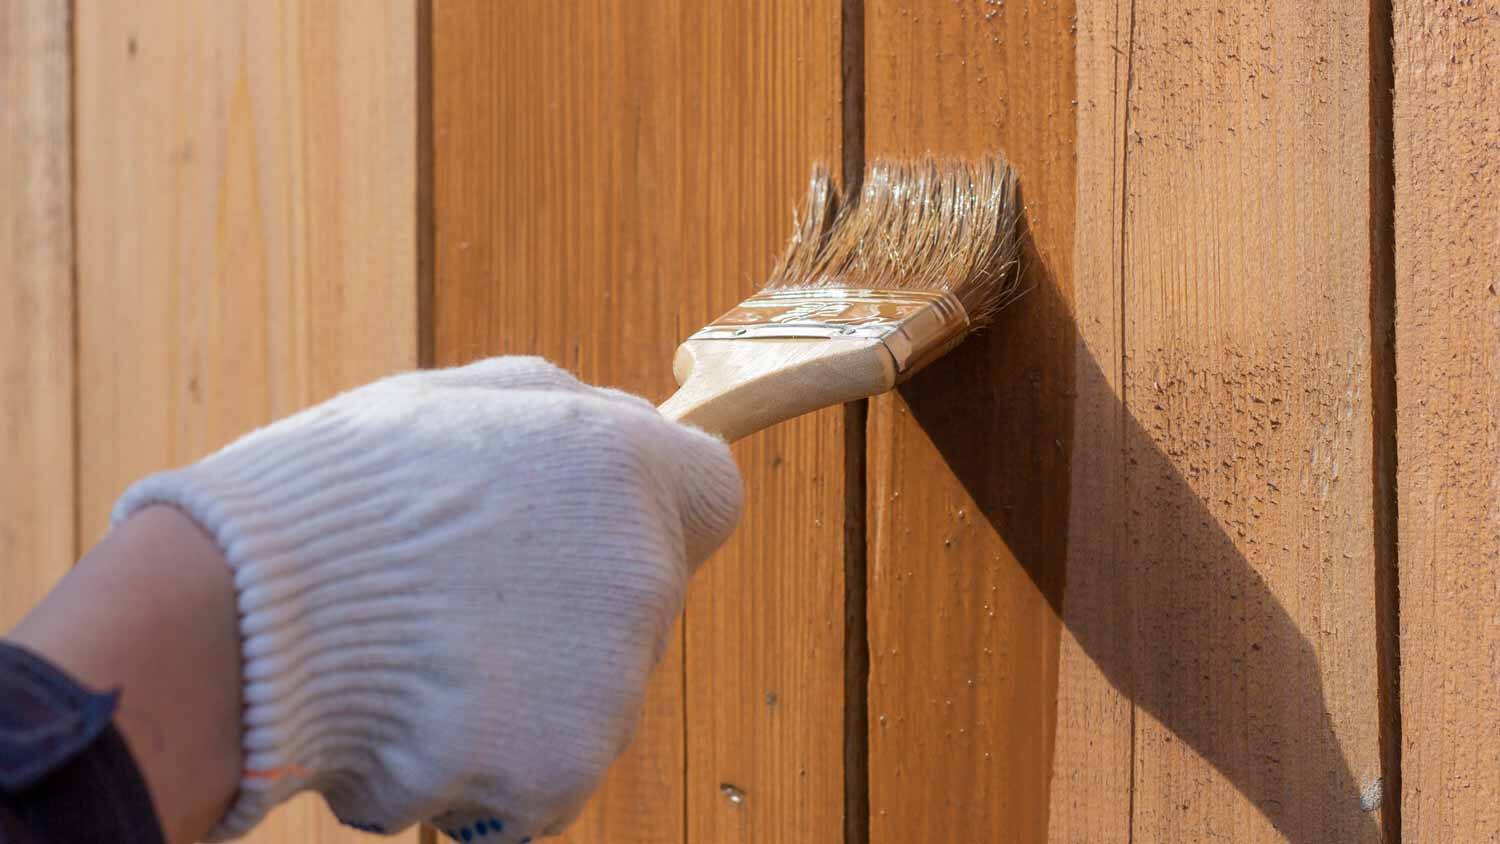
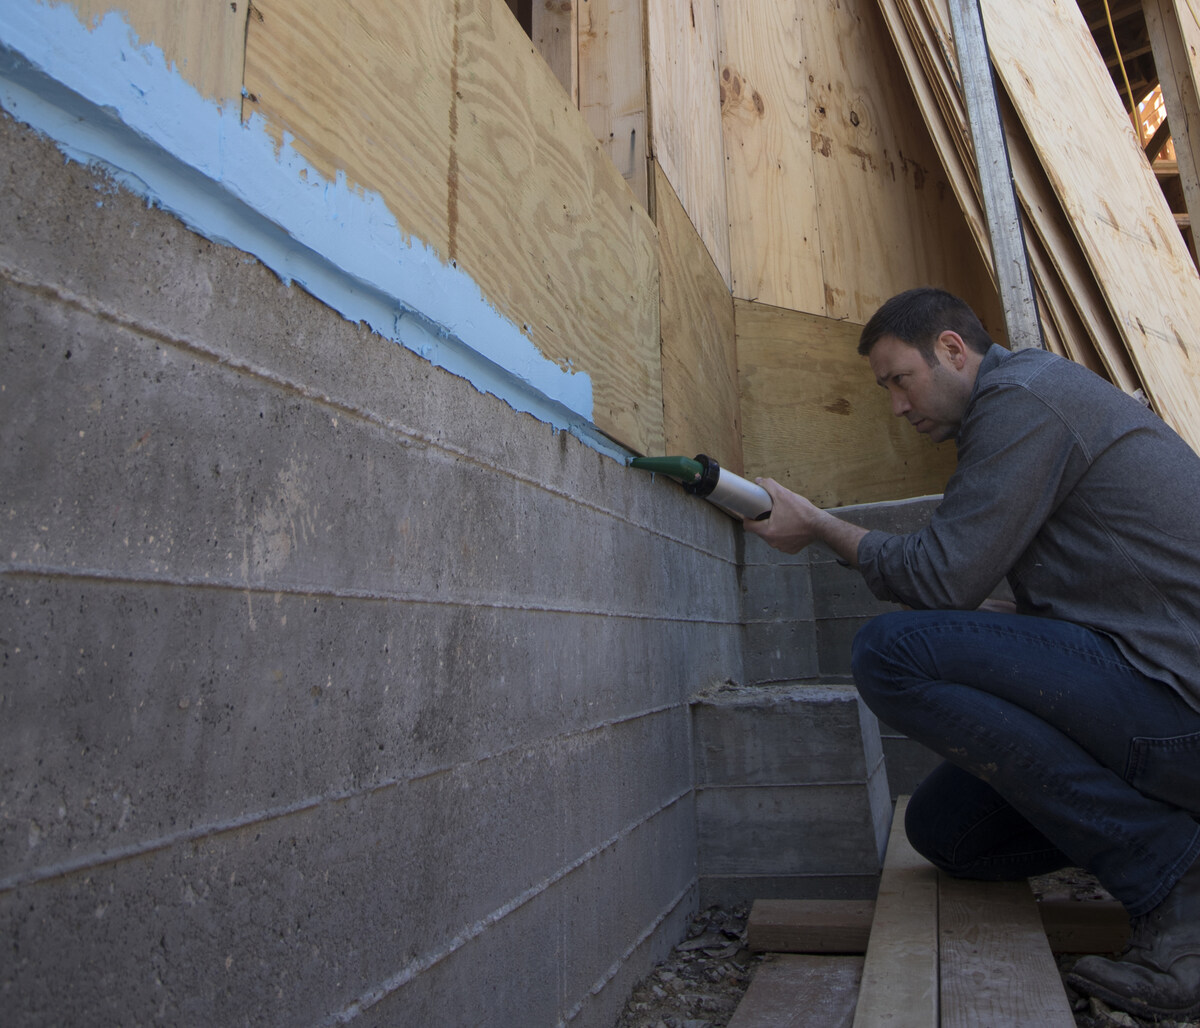
Step 4: Apply caulk or sealant to cracks and gaps
Once you have identified the cracks and gaps in your fireplace, it’s time to seal them up using caulk or sealant. This step is crucial for preventing drafts, improving energy efficiency, and ensuring a tight seal. Follow these steps to apply caulk or sealant:
- Ensure that the surface is clean and free from any debris or dust. Use a putty knife or scraper to remove any loose materials.
- Load a tube of high-temperature caulk into a caulk gun. Cut the tip of the tube at a 45-degree angle to create an opening.
- Starting from one end, carefully apply a thin bead of caulk along the cracks and gaps in your fireplace. Use a steady and even pressure on the caulk gun to ensure a smooth application.
- Use a putty knife or your finger to smooth and spread the caulk to create a uniform seal. This will help the caulk adhere to the surface and fill any crevices.
- Continue this process until all the identified cracks and gaps are sealed. Take your time to ensure thorough coverage.
- Allow the caulk to dry according to the manufacturer’s instructions. This typically takes a few hours, but it’s best to wait overnight to ensure complete curing.
It’s important to note that not all cracks and gaps may be suitable for caulk. In some cases, you may need to use a different type of sealant, such as a high-temperature sealant or fireplace mortar, depending on the location and severity of the openings. Consult with a professional or refer to the product labels for specific guidance.
By applying caulk or sealant, you are taking a significant step towards sealing your fireplace and minimizing energy loss. Once the caulk is dry, you can move on to step 5: installing a fireplace draft stopper or chimney balloon.
Before sealing up a fireplace, make sure to clean the chimney thoroughly to remove any soot and debris. This will ensure a proper seal and prevent any potential fire hazards.
Read more: How To Seal A Brick Fireplace
Step 5: Install fireplace draft stopper or chimney balloon
Installing a fireplace draft stopper or chimney balloon is an effective way to further seal your fireplace and prevent drafts from entering your home. These devices are designed to block the airflow through the chimney and create an airtight seal. Follow these steps to install a fireplace draft stopper or chimney balloon:
- Measure the dimensions of your fireplace opening and chimney to determine the appropriate size of the draft stopper or chimney balloon to purchase.
- Ensure that the fireplace is completely clean and free from any debris or obstructions.
- For a fireplace draft stopper:
- Insert the draft stopper into the fireplace opening, positioning it securely against the surround walls.
- Adjust the draft stopper to ensure a snug fit and an airtight seal. Follow the manufacturer’s instructions for any additional adjustments or features.
- Some draft stoppers may require anchoring or securing with screws for added stability. Refer to the product instructions for specific guidance.
- For a chimney balloon:
- Inflate the chimney balloon using a hand pump or inflator, following the manufacturer’s instructions.
- Carefully insert the inflated chimney balloon into the chimney, positioning it several inches above the fireplace opening.
- Release air from the chimney balloon until it fits snugly within the chimney. The balloon should expand to form an airtight seal.
- Trim any excess balloon material if necessary, leaving a small portion above the chimney opening for easy removal.
- Test the draft stopper or chimney balloon by paying attention to any drafts or air movement around the fireplace. Make any necessary adjustments to ensure a proper seal.
A fireplace draft stopper or chimney balloon is an effective addition to your fireplace sealing efforts. It blocks the airflow from entering your home, improves insulation, and enhances energy efficiency.
With the draft stopper or chimney balloon installed, you have effectively sealed off the primary openings of your fireplace. However, there is one more step to complete the sealing process. Move on to step 6: sealing off the flue.
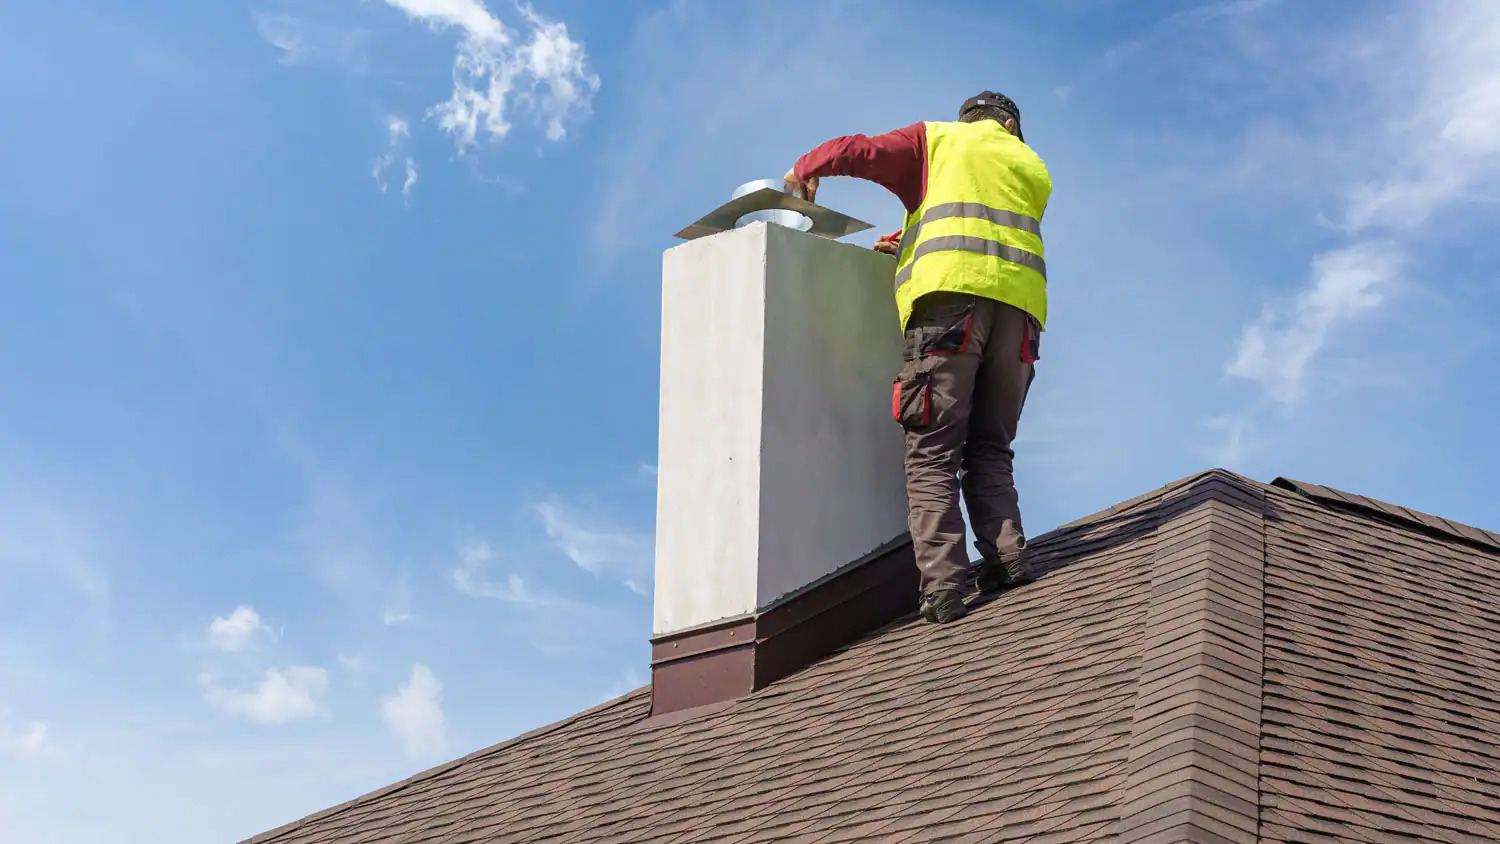
Step 6: Seal off the flue
Sealing off the flue is an essential step in effectively sealing your fireplace. The flue is the passage that allows air to flow in and out of the fireplace, and if left unsealed, it can be a significant source of drafts. Follow these steps to seal off the flue:
- Ensure that the fireplace is cool and there are no embers or debris present.
- Locate the flue opening, which is typically located at the top of the fireplace or in the chimney.
- If you have a damper, close it securely to block the flue opening. This is often done using a handle or lever located inside the fireplace.
- If your fireplace does not have a damper or the damper is damaged, you can use a chimney cap or flue sealer to seal off the flue. These can be purchased at a hardware store or online.
- For a chimney cap, position it over the flue opening and secure it according to the manufacturer’s instructions. This will create a barrier to prevent air from entering or leaving the fireplace.
- If using a flue sealer, apply it around the edges of the flue opening to create a tight seal. Follow the product instructions for proper application and drying time.
- Test the seal by feeling for any drafts or air movement around the flue opening. Make any necessary adjustments to ensure a complete seal.
Sealing off the flue is crucial for blocking drafts and preventing outside air from entering your home through the fireplace. By creating a tight seal at the top of your fireplace, you can further enhance the energy efficiency and insulation of your home.
Now that you’ve sealed off the flue, you’re almost done with the sealing process. However, before concluding, it’s important to test for any remaining drafts or leaks. Move on to step 7: testing for any remaining drafts or leaks.
Step 7: Test for any remaining drafts or leaks
After completing the sealing process, it’s essential to test for any remaining drafts or leaks in your fireplace. This step will help ensure that you have effectively sealed off any potential openings. Here’s how to test for drafts or leaks:
- Close all doors and windows in the room to minimize airflow.
- Light a stick of incense or a candle.
- Hold the incense or candle near the edges of the fireplace, focusing on areas where you applied caulk or sealant, the draft stopper or chimney balloon, and the flue.
- Observe the smoke or flame from the incense or candle. Pay attention to any movements or changes in the smoke or flame, as this indicates the presence of a draft or leak.
- If you notice smoke or flame wavering or being drawn towards a specific area, it indicates a draft or leak. Take note of these areas for further sealing.
- Use additional caulk or sealant to address any identified drafts or leaks. Apply the caulk or sealant as necessary and test again to ensure that the issue has been resolved.
Testing for drafts and leaks helps to identify any remaining areas that may require additional sealing. By addressing these issues, you can achieve a more airtight seal and maximize the energy efficiency of your fireplace.
After performing the necessary sealing and testing, you can now enjoy the benefits of a well-sealed fireplace. However, it’s important to periodically monitor and maintain the seal to ensure its effectiveness. This leads us to our final step: step 8: monitor and maintain the seal periodically.
Step 8: Monitor and maintain the seal periodically
Once you have sealed your fireplace, it’s important to monitor and maintain the seal periodically to ensure its effectiveness over time. Regular maintenance will help to prolong the lifespan of the seal and keep your fireplace operating efficiently. Here are a few tips for monitoring and maintaining the seal:
- Check for any signs of wear or damage to the seal. Inspect the caulk or sealant, draft stopper or chimney balloon, and the flue regularly for cracks, gaps, or deterioration.
- If you notice any issues, repair or replace the seal as needed. Use the same process outlined in the previous steps to address any gaps or leaks that may have developed over time.
- Keep the fireplace clean. Remove any debris, ashes, or soot buildup regularly to maintain a clean and efficient fireplace.
- Consider professional inspections and maintenance. It’s beneficial to have a professional chimney sweep inspect and clean your fireplace and chimney at least once a year to ensure optimal performance and safety.
- During the winter months, when the fireplace is not in use, keep the damper or flue closed to prevent drafts and energy loss.
- Monitor your energy bills. If you notice a significant increase in energy usage or costs, it may indicate a problem with the seal. Take action to address any issues promptly.
By regularly monitoring and maintaining the seal of your fireplace, you can ensure its long-term effectiveness and enjoy the energy-saving benefits it provides. Taking proactive steps to maintain the seal will not only enhance the performance of your fireplace but also contribute to a more comfortable and energy-efficient home.
Congratulations! You have successfully sealed your fireplace and taken the necessary steps to improve energy efficiency, prevent drafts, and enhance the overall performance of your fireplace. Enjoy the warmth and comfort of your well-sealed fireplace with confidence.
Remember, if you have any concerns or are unsure about any aspect of the sealing process, it’s always best to consult with a professional for guidance and assistance. Stay warm and cozy!
Read more: How To Seal Your Fireplace Opening
Conclusion
Sealing up a fireplace is a practical and effective way to improve energy efficiency, prevent drafts, and enhance the overall performance of your fireplace. By following the step-by-step process outlined in this article, you can successfully seal your fireplace and enjoy the benefits it offers. From gathering the necessary tools and materials to monitoring and maintaining the seal periodically, each step plays a crucial role in creating an airtight and energy-efficient fireplace.
By sealing cracks and gaps, cleaning the fireplace thoroughly, installing a fireplace draft stopper or chimney balloon, and sealing off the flue, you can significantly reduce energy loss, keep out pests, reduce noise, and improve indoor air quality. Sealing your fireplace not only helps you save on energy costs but also enhances the comfort and ambiance of your home.
Remember to periodically monitor the condition of the seal and address any issues promptly. Regular maintenance, including cleaning the fireplace, inspecting for damage, and seeking professional chimney sweep services, will ensure that your seal remains effective and your fireplace operates efficiently year after year.
Now that you have the knowledge and tools to seal your fireplace, take the necessary steps to improve its energy efficiency and performance. With a well-sealed fireplace, you can enjoy cozy nights, lower energy bills, and a more comfortable living space.
Sealing up a fireplace is a worthwhile investment that not only benefits your home but also contributes to reducing your carbon footprint. So, get started and seal up your fireplace today for a more sustainable and energy-efficient living environment.
Remember, if you have any concerns or questions along the way, don’t hesitate to seek professional assistance. Stay warm, cozy, and environmentally conscious!
Frequently Asked Questions about How To Seal Up A Fireplace
Was this page helpful?
At Storables.com, we guarantee accurate and reliable information. Our content, validated by Expert Board Contributors, is crafted following stringent Editorial Policies. We're committed to providing you with well-researched, expert-backed insights for all your informational needs.


0 thoughts on “How To Seal Up A Fireplace”