Articles
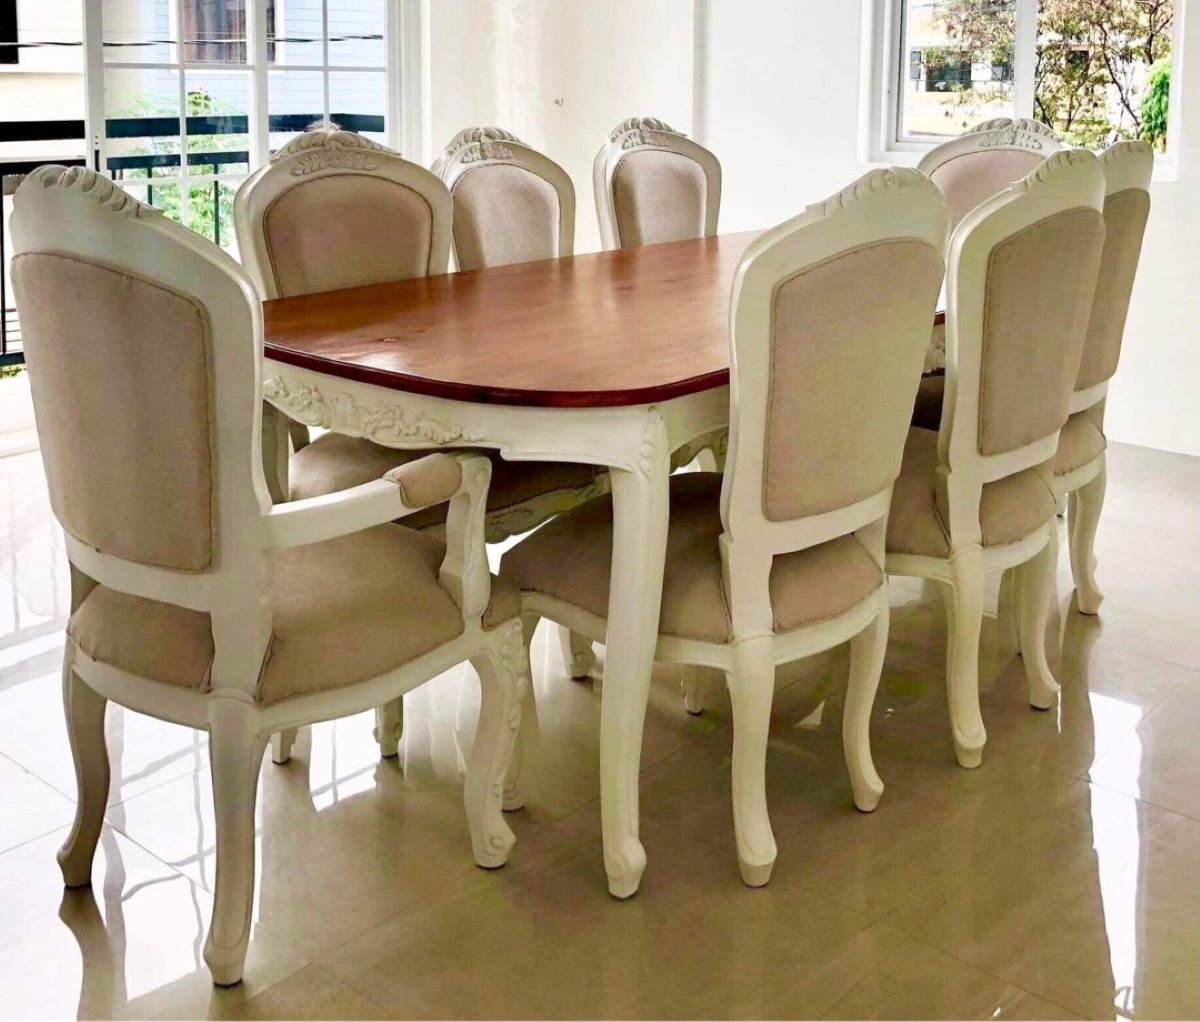
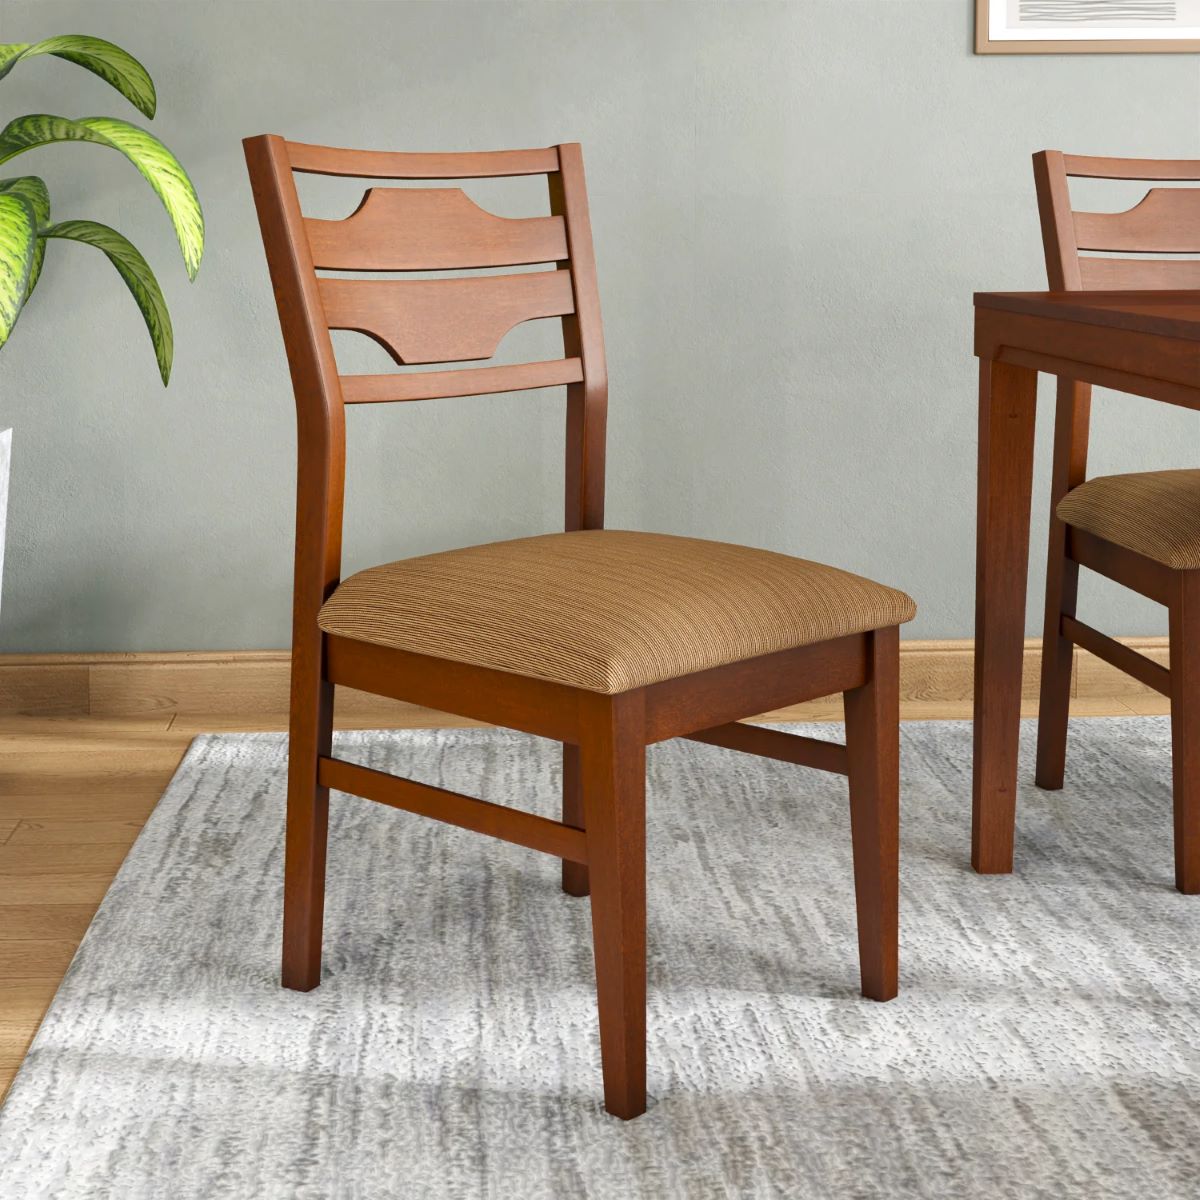
How To Re-Cover Seats On Dining Room Chairs
Modified: August 25, 2024
Discover the best articles on how to recover seats on dining room chairs, and give your dining area a fresh and stylish makeover. Step-by-step instructions and expert tips await!
(Many of the links in this article redirect to a specific reviewed product. Your purchase of these products through affiliate links helps to generate commission for Storables.com, at no extra cost. Learn more)
Introduction
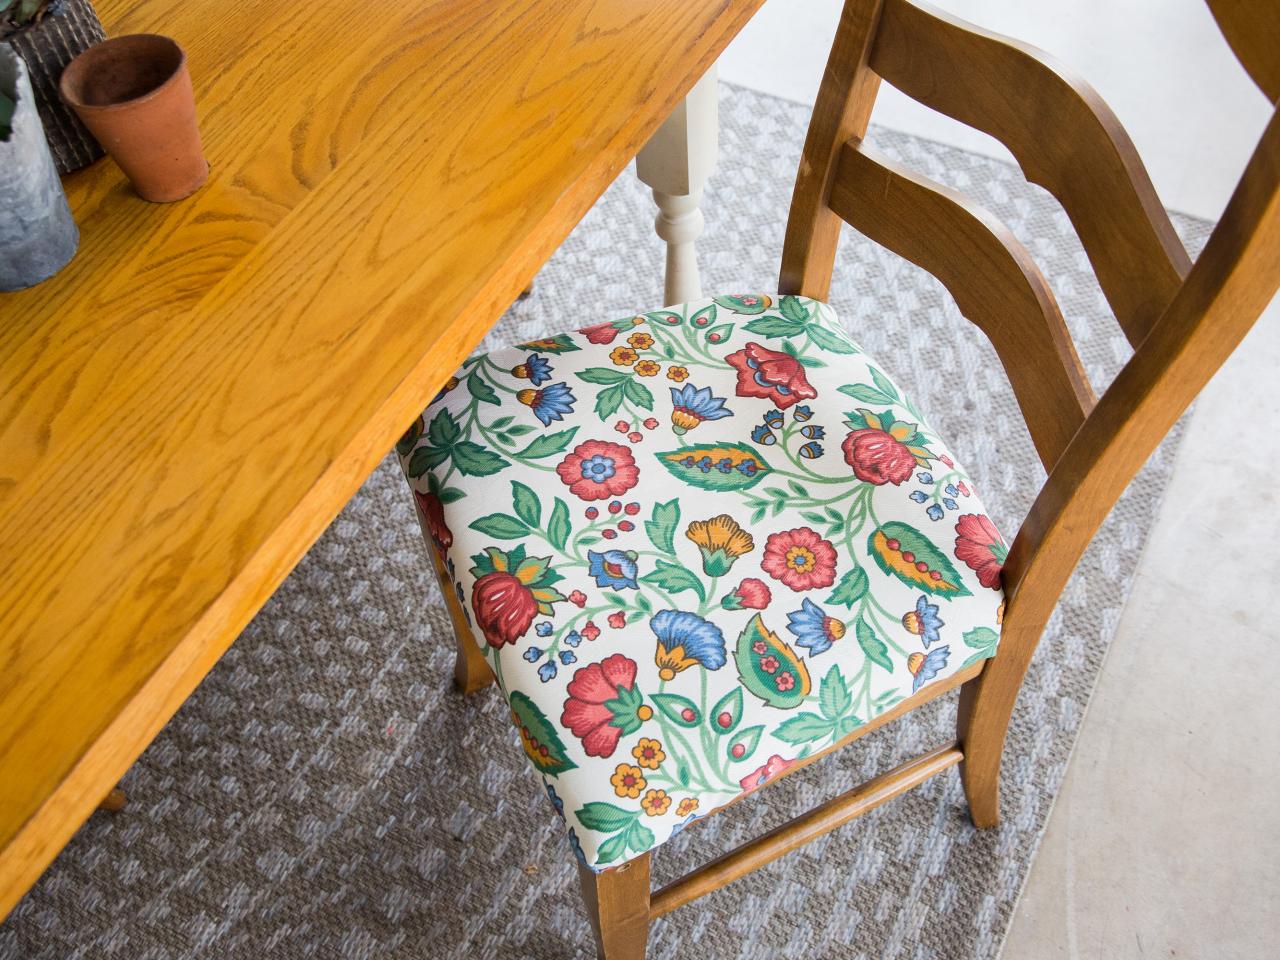
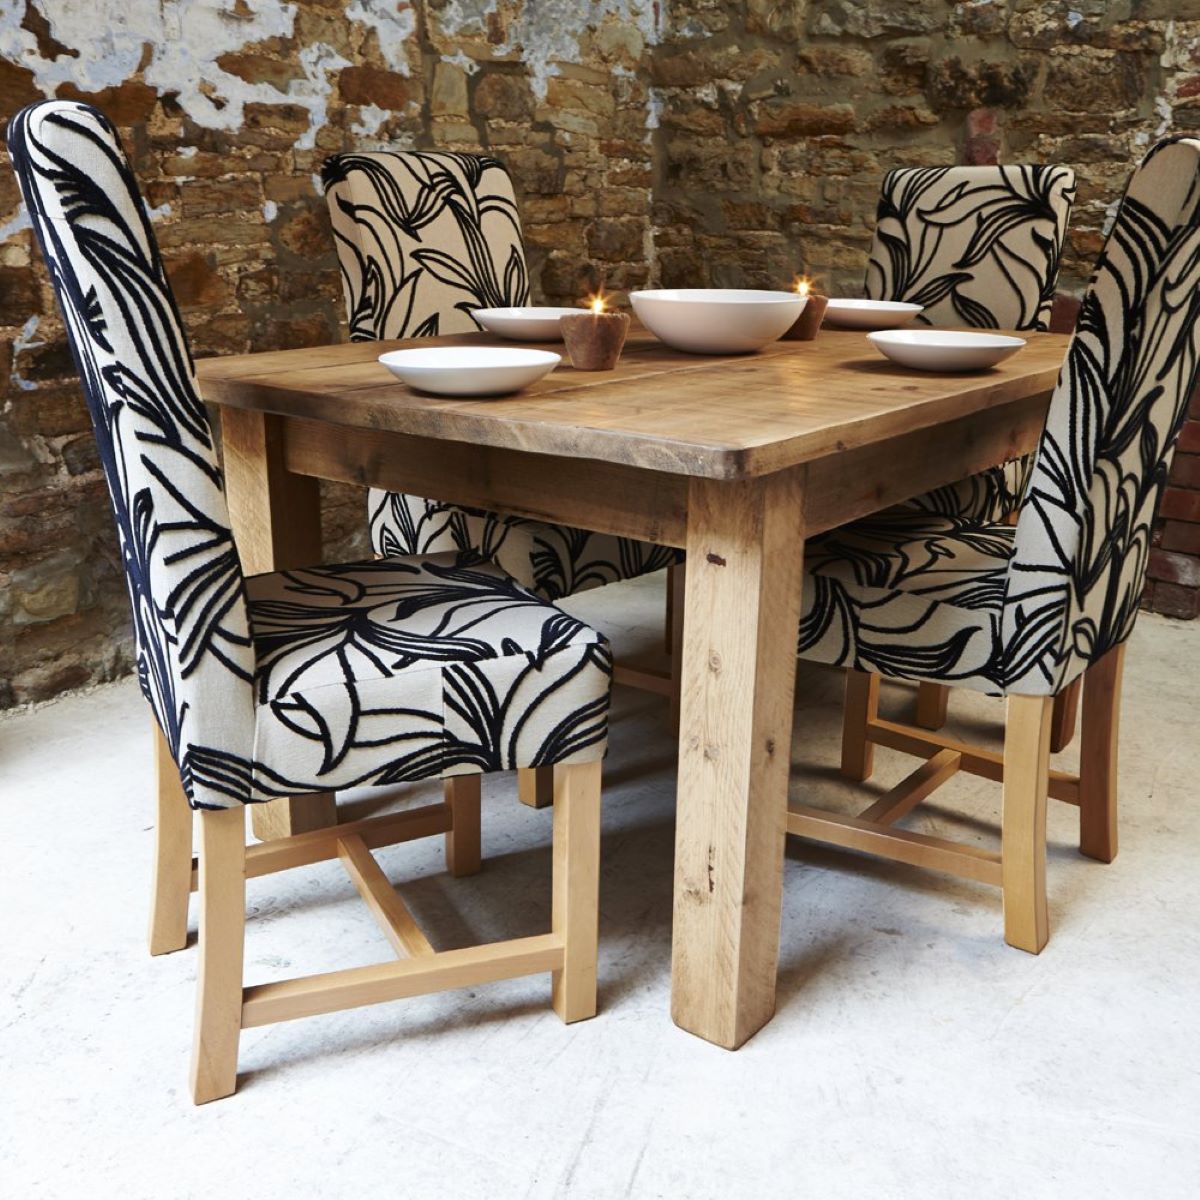
Welcome to our guide on how to recover seats on dining room chairs. Over time, dining room chair seats can become worn, stained, or dated, detracting from the overall appearance of your dining space. Instead of replacing the chairs altogether, recovering the seats can be a cost-effective and creative solution. This DIY project allows you to refresh the look of your dining room chairs and even customize them to match your personal style. Plus, it’s a great way to unleash your creativity and indulge in a fun and fulfilling craft project.
In this article, we will walk you through the step-by-step process of recovering dining room chair seats. We will provide you with a detailed list of the tools and materials you’ll need, explain each step clearly, and offer helpful tips along the way. By following these instructions, you’ll be able to transform your worn-out dining room chairs into stylish and comfortable seating options once again.
Before we begin, it’s important to note that this guide assumes you’re working with dining room chairs that have removable seat cushions. If your chairs have fixed cushions, the process will be slightly different, and you may need to consult a professional for reupholstering assistance. However, if you’re working with removable seat cushions, let’s dive right in and discover how to recover seats on dining room chairs.
Key Takeaways:
- Revive worn-out dining room chairs by recovering the seats with a fabric of your choice. This cost-effective DIY project allows for personalization and creativity, transforming your dining space with style and comfort.
- With the right tools and step-by-step instructions, recovering dining room chair seats is a fulfilling and empowering DIY project. Choose a durable fabric, follow the process carefully, and enjoy the satisfaction of reviving your dining space.
Tools and Materials Needed
Before you start recovering the seats on your dining room chairs, make sure you have the following tools and materials on hand:
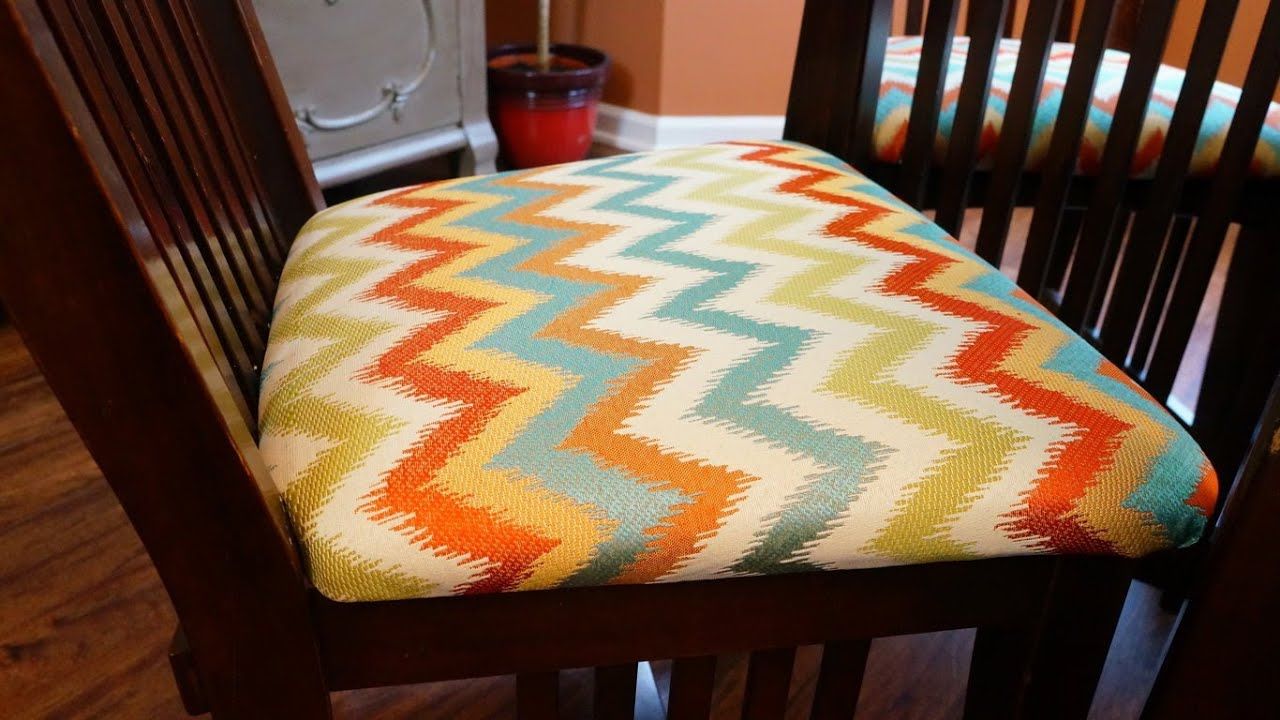
- Fabric of your choice: Select a durable fabric that complements your dining room décor. Consider the color, pattern, and texture that will best suit your style.
- Scissors: A pair of sharp fabric scissors will be needed to cut the fabric to size.
- Screwdriver: Depending on the type of chair, you may need a screwdriver to remove the seat cushion from the chair frame.
- Staple gun: A staple gun is essential for securing the fabric to the seat cushion and chair frame. Make sure it is in good working condition and loaded with staples.
- Staples: Get a supply of staples that are compatible with your staple gun. Choose the appropriate length for a secure hold without penetrating the cushion.
- Measuring tape: Use a measuring tape to accurately determine the dimensions of your seat cushion and fabric, ensuring a proper fit.
- Pliers: Pliers can be handy for removing old staples or tacks from the seat cushion and chair frame.
- Iron and ironing board: You may need to iron the fabric before attaching it to the seat cushion to eliminate wrinkles and create a smooth surface.
- Trimming tool: A trimming tool, such as an X-acto knife or utility blade, will help you trim any excess fabric neatly.
Having these tools and materials readily available will make the process of recovering the seats on your dining room chairs smoother and more efficient. Take the time to gather everything you need before you begin, ensuring a hassle-free experience.
Step 1: Remove the Old Seat Cushion
The first step in recovering the seats on your dining room chairs is to remove the old seat cushion. Follow these instructions:
- Flip the chair upside down or on its side to access the screws or fasteners holding the seat cushion in place. Use a screwdriver to carefully remove the screws or undo the fasteners.
- Once the screws or fasteners are removed, gently lift the seat cushion off the chair frame. Set it aside in a safe place.
- Inspect the chair frame for any dust, dirt, or loose staples. Wipe or vacuum away any debris, and remove any loose staples with pliers.
Removing the old seat cushion allows you to work with a clean canvas and ensures that the new fabric will be properly attached. Take your time during this step to avoid damaging the chair frame or the existing cushion.
Note: If the seat cushion is attached with staples instead of screws or fasteners, use pliers to carefully pull out the staples, taking care not to rip or tear the fabric.
Step 2: Prepare the New Seat Cushion
Once you have removed the old seat cushion, it’s time to prepare the new one. Follow these steps:
- Lay your chosen fabric on a flat surface with the pattern or design facing down.
- Place the old seat cushion on top of the fabric and use a measuring tape to measure around the cushion, leaving several inches of excess fabric on all sides.
- Using fabric scissors, carefully cut the fabric along your measured lines. Take your time to ensure clean and even cuts.
- If the fabric has any wrinkles or creases, iron it on a low heat setting to smooth it out. Be cautious not to scorch or damage the fabric.
Preparing the new seat cushion involves cutting the fabric to size and ensuring it is wrinkle-free. Taking accurate measurements and using sharp scissors will help you achieve a professional-looking result. Make sure to handle the fabric with care to avoid tearing or fraying the edges.
Note: If you’re using a thick fabric or if your seat cushion has rounded edges, you may need to make small cuts or notches along the fabric to facilitate a smooth and wrinkle-free fit.
Step 3: Attach the New Seat Cushion to the Chair Frame
Now that you have the new seat cushion prepared, it’s time to attach it to the chair frame. Follow these steps:
- Position the new seat cushion on top of the chair frame, aligning it properly. Make sure it is centered and situated evenly.
- Hold the seat cushion in place with one hand while using the other to flip the chair over or tilt it to access the underside.
- Use a staple gun to fasten the fabric to the chair frame. Start by securing one side of the fabric with a staple. Then, move to the opposite side and pull the fabric taut before placing another staple. Repeat this process for the remaining two sides, ensuring that the fabric is smooth and tightly stretched.
- Check if the fabric is still aligned and positioned correctly. Make any adjustments as needed before proceeding.
Attaching the new seat cushion to the chair frame is a critical step in ensuring a secure and professional-looking result. Take your time to ensure that the fabric is evenly stretched and tightly secured. Avoid using too many staples in one area, as this can create a bumpy or uneven appearance. Instead, distribute the staples evenly along the sides of the cushion for a clean and seamless finish.
Note: If you prefer a more temporary option or want the flexibility to change the fabric in the future, you can use hook-and-loop tape or fabric ties instead of staples to attach the cushion to the frame. This allows for easy removal and replacement of the fabric.
When recovering seats on dining room chairs, make sure to measure the fabric carefully and use a staple gun to secure it tightly to the seat. This will ensure a professional and durable finish.
Read more: How To Cover A Dining Chair Seat
Step 4: Secure the Seat Cushion with Staples or Screws
Once you have attached the new seat cushion to the chair frame, it is important to secure it properly. Depending on your chair design, you can choose to use staples or screws for this step. Follow these instructions:
- If you removed screws during Step 1, use a screwdriver to reattach the seat cushion to the chair frame. Align the screw holes on the cushion with those on the frame, and carefully insert and tighten the screws until the cushion is securely fastened.
- If your chair does not have pre-existing screw holes, or if you prefer to use staples, you can reinforce the attachment by adding staples along the edges of the seat cushion. Place the staples approximately 1-2 inches apart, ensuring they are securely fastened into the chair frame.
- Check the seat cushion for any looseness or wobbling. If necessary, tighten the screws further or add additional staples until the cushion is firmly secured.
Securing the seat cushion ensures that it remains firmly attached to the chair frame, providing stability and support. Using screws or staples (or a combination of both) will depend on your chair’s design and your personal preference. Whichever method you choose, make sure the attachment is secure and tight to prevent any movement or instability while sitting.
Note: If you opted to use hook-and-loop tape or fabric ties in Step 3, this step may not be necessary as the cushion will be held in place by the alternative fasteners.
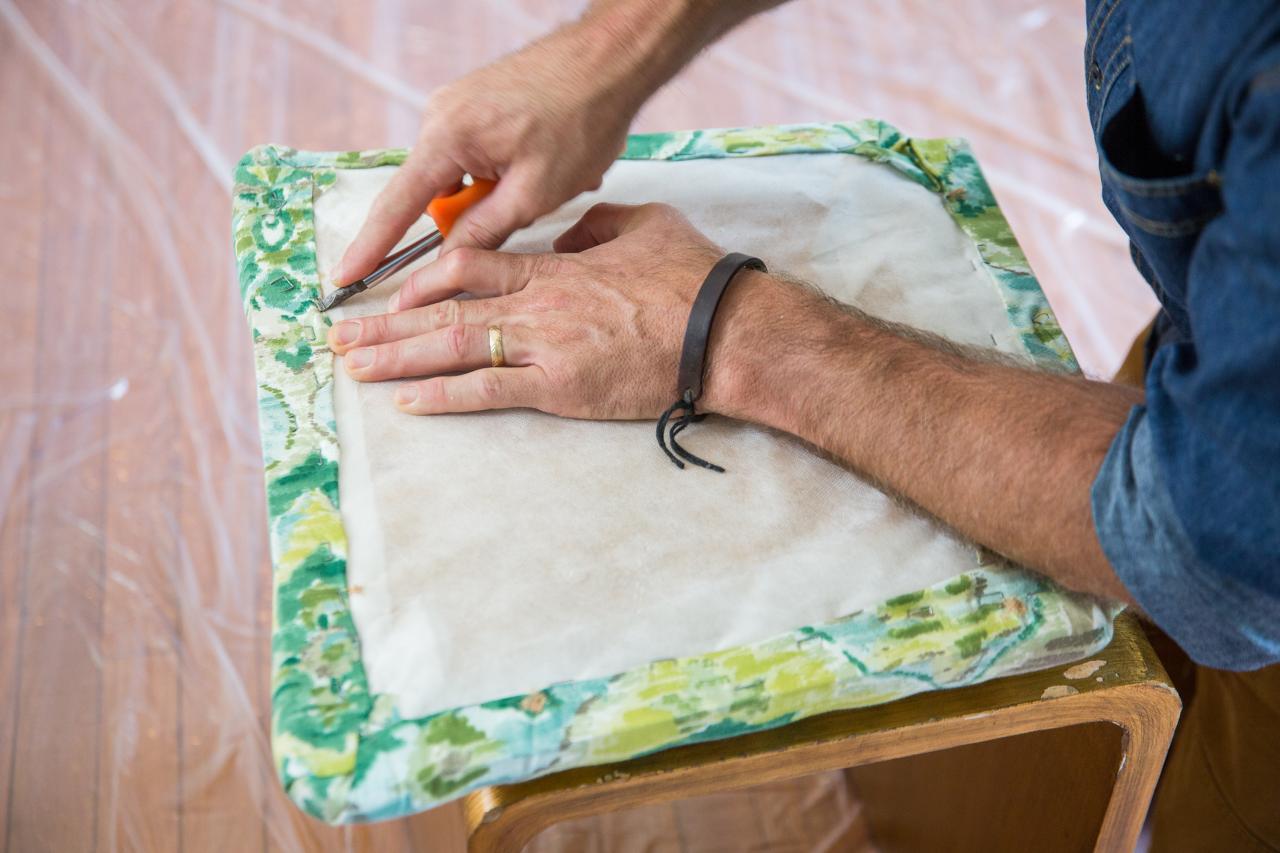
Step 5: Trim any Excess Fabric
After securing the seat cushion to the chair frame, you may notice that there is some excess fabric around the edges. Trimming this excess fabric will give your recovered dining room chair a clean and finished look. Follow these steps to trim any excess fabric:
- Flip the chair over or tilt it to access the underside.
- Inspect the edges of the seat cushion and identify any areas where there is excess fabric.
- Using a trimming tool such as an X-acto knife or utility blade, carefully trim away the excess fabric, following the shape and contours of the seat cushion. Take your time and make precise cuts to create clean, straight lines.
- Once you have trimmed the excess fabric, check the edges to ensure a neat and even appearance. Trim any additional stray threads or uneven edges, if necessary.
Trimming the excess fabric is an important step in achieving a polished and professional finish. By removing any loose or hanging fabric, you’ll create clean lines and prevent the fabric from fraying over time. Be cautious when trimming to avoid damaging the fabric or cutting too close to the cushion’s edge.
Note: If you prefer a more decorative look, you can leave a small amount of excess fabric and fold it over the edges before securing with staples or other fasteners. This creates a border or piping effect, adding a touch of sophistication to your recovered dining room chair.
Step 6: Reattach the Dining Room Chair to the Frame
The final step in recovering seats on dining room chairs is to reattach the chair to the frame. Follow these instructions to complete the process:
- Ensure that the seat cushion is securely fastened to the chair frame and that there is no excess fabric or loose edges.
- Flip the chair over or position it upright, depending on the orientation that allows for easy access to the screws or fasteners.
- Align the screw holes on the chair frame with those on the seat cushion. If using screws, insert them into the pre-existing or newly drilled holes, and use a screwdriver to tighten them until the chair is securely attached.
- If your chair uses fasteners instead of screws, make sure they are properly aligned, and fasten them according to their specific mechanism (e.g., turning knobs, sliding clips, etc.) until the chair is securely attached.
- Gently test the stability of the chair by applying pressure or sitting on it. Ensure that the seat cushion feels secure and there is no wobbling or movement.
Reattaching the dining room chair to the frame is the final step in the recovery process. Double-check that the seat cushion is properly aligned and securely fastened to ensure a stable and comfortable seating experience. Taking the time to ensure a secure attachment will prevent any issues or accidents while using the chair.
Note: If you encounter any difficulties during the reattachment process, such as misaligned holes or loose screws, refer to the chair’s manual (if available) or consult a professional for assistance. Safety should always be a priority when working with furniture.
Conclusion
Congratulations! You have successfully learned how to recover seats on dining room chairs. By following the step-by-step instructions in this guide and using the necessary tools and materials, you have transformed your worn-out chairs into fresh and stylish seating options. Not only is recovering dining room chair seats a cost-effective solution, but it also allows you to showcase your creativity and personalize your dining space.
Remember to choose a fabric that complements your dining room décor and reflects your personal style. Take your time during the process, ensuring that the fabric is cut accurately, stretched taut, and securely attached to the chair frame. Trimming any excess fabric and reattaching the chair to the frame will provide a polished and finished look.
Recovering the seats on your dining room chairs not only extends their lifespan but also enhances the overall appearance of your dining area. You can now enjoy comfortable seating that perfectly matches your personal style and design preferences.
We hope this guide has been helpful and empowering. Embark on this DIY project with confidence, and enjoy the satisfaction of reviving your dining room chairs through your own creativity and craftsmanship. So, gather your tools, choose your fabric, and get ready to transform your dining space one chair at a time!
Frequently Asked Questions about How To Re-Cover Seats On Dining Room Chairs
Was this page helpful?
At Storables.com, we guarantee accurate and reliable information. Our content, validated by Expert Board Contributors, is crafted following stringent Editorial Policies. We're committed to providing you with well-researched, expert-backed insights for all your informational needs.


0 thoughts on “How To Re-Cover Seats On Dining Room Chairs”