Home>Articles>How To Reinstall A Toilet Paper Holder In Drywall
Articles
How To Reinstall A Toilet Paper Holder In Drywall
Modified: August 27, 2024
Learn how to easily reinstall a toilet paper holder in drywall with this helpful guide. Read articles and tips from experts to ensure a secure installation.
(Many of the links in this article redirect to a specific reviewed product. Your purchase of these products through affiliate links helps to generate commission for Storables.com, at no extra cost. Learn more)
Introduction
Reinstalling a toilet paper holder in drywall is a relatively simple and straightforward task that can be easily accomplished with a few basic tools and materials. Whether you’re replacing a worn-out toilet paper holder or upgrading to a new one, this article will guide you through the step-by-step process of reinstalling it securely in your drywall.
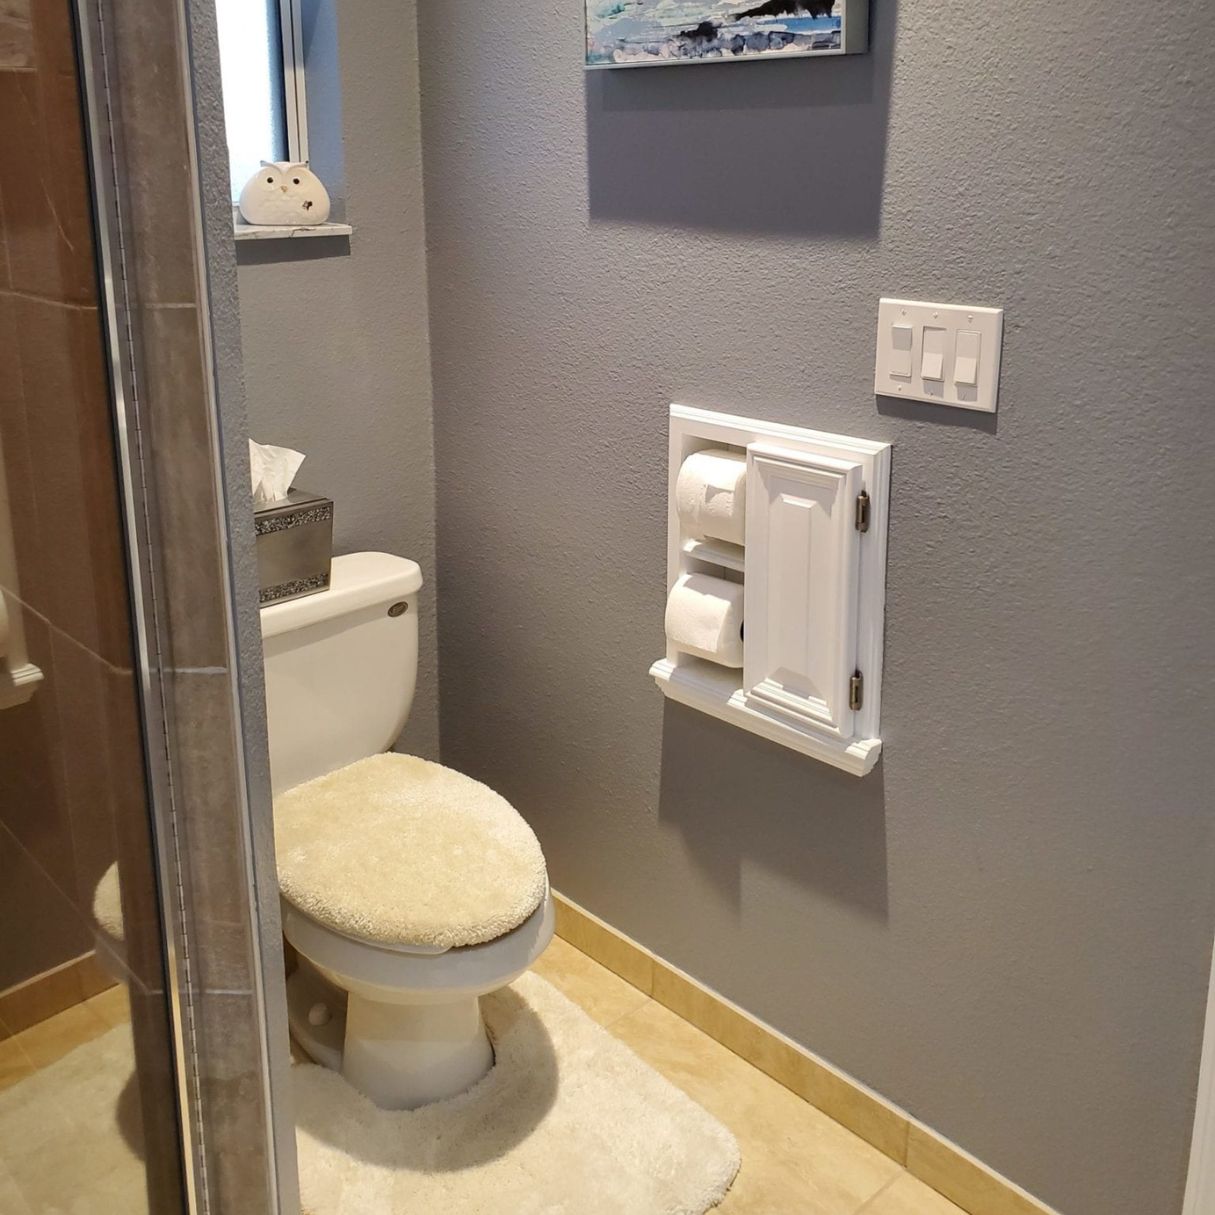
A toilet paper holder is an essential accessory in any bathroom, providing a convenient and hygienic way to store and dispense toilet paper. Over time, these holders can become loose or damaged, requiring them to be removed and reinstalled. By following the steps outlined in this article, you can ensure a sturdy and durable installation that will securely hold your toilet paper for years to come.
Before you begin, make sure you have all the necessary tools and materials on hand. This will save you time and make the installation process smoother. Let’s take a look at the tools and materials you will need:
Key Takeaways:
- Reinstalling a toilet paper holder in drywall is a straightforward DIY task that requires basic tools and careful attention to detail. By following the step-by-step process, you can ensure a secure and durable installation for years to come.
- From removing the old holder to testing the stability of the new installation, each step is essential in achieving a properly installed and functional toilet paper holder. With the right tools and guidance, you can confidently tackle this DIY project and enhance the convenience of your bathroom.
Tools and Materials needed
Before you start reinstalling a toilet paper holder in drywall, gather the following tools and materials:
- Phillips screwdriver
- Drill
- 1/8-inch drill bit
- Tape measure
- Pencil
- Level
- Drywall anchors
- Screws
- Toilet paper holder (new or existing)
- Masking tape
- Painter’s tape
- Putty knife
- Spackle
- Sanding block or sandpaper
- Paint and paintbrush (optional)
Having these tools and materials handy will ensure that you have everything you need to complete the installation without any unnecessary delays. If you don’t already have these items, you can find them at your local hardware store or online.
Now that you have everything ready, let’s dive into the step-by-step process of reinstalling a toilet paper holder in drywall.
Step 1: Remove the old toilet paper holder
The first step in reinstalling a toilet paper holder in drywall is to remove the old one. This is necessary to ensure a clean and stable foundation for the new installation. Follow these steps to remove the old toilet paper holder:
- Use a Phillips screwdriver to remove any screws or mounting hardware that are holding the toilet paper holder in place. Set the screws aside as they may be reusable.
- Gently pull the toilet paper holder away from the wall. Be careful not to apply too much force as this can damage the drywall.
- If the toilet paper holder is attached with adhesive instead of screws, use a putty knife to carefully pry it away from the wall. Start at one corner and work your way along the edges to loosen the adhesive.
- Once the toilet paper holder is detached, inspect the area for any remaining adhesive or residue. Use a mild adhesive remover if necessary to clean off any sticky residue.
With the old toilet paper holder removed, you now have a blank canvas to work with. Take a moment to inspect the drywall for any damage or imperfections that may need to be addressed before proceeding with the installation.
Now that you’ve removed the old toilet paper holder, it’s time to move on to the next step: repairing any damage to the drywall.
Step 2: Repair any damage to the drywall
Before reinstalling a toilet paper holder in drywall, it’s important to ensure that the surface is in good condition. Any existing damage, such as holes or cracks, should be repaired to provide a solid foundation for the new installation. Follow these steps to repair any damage to the drywall:
- Start by using a putty knife to scrape away any loose or flaking paint around the damaged area. This will help create a smooth surface for the repair.
- If there are any holes in the drywall, use a spackle or joint compound to fill them. Apply the compound using a putty knife and smooth it out evenly. Allow the compound to dry completely according to the manufacturer’s instructions.
- Once the compound is dry, use a sanding block or sandpaper to carefully sand down the repaired area until it is smooth and level with the surrounding wall. Wipe away any dust with a damp cloth.
- If there are any cracks in the drywall, use a putty knife to apply joint compound along the crack. Smooth it out and feather the edges to blend with the surrounding wall. Allow the compound to dry completely and then sand it down as before.
- Inspect the repaired area to ensure a smooth and seamless surface. If necessary, repeat the spackling and sanding process until the damaged area is fully repaired.
Once you’ve successfully repaired any damage to the drywall, you’re ready to move on to the next step: measuring and marking the placement of the new toilet paper holder.
Step 3: Measure and mark the placement of the new toilet paper holder
Now that the damaged drywall has been repaired, it’s time to measure and mark the precise placement of the new toilet paper holder. This step is crucial to ensure that the holder is installed at the desired height and in a location that is convenient for use. Follow these steps:
- Place the new or existing toilet paper holder against the wall in the desired location. Make sure it is at a comfortable height for easy access.
- Use a level to ensure that the holder is straight and aligned correctly. Adjust as necessary to achieve a level position.
- Using a pencil, mark the mounting holes of the toilet paper holder on the wall. This will serve as a guide for the installation.
- Consider the roll’s rotation preference (over or under) and ensure that the mounting holes are positioned accordingly.
- Double-check your measurements and markings to ensure accuracy before proceeding to the next step.
By measuring and marking the placement of the new toilet paper holder, you can ensure that it is installed in the optimal location for functionality and aesthetic appeal. With the marking complete, it’s time to prepare the drywall for installation in the next step.
Use a stud finder to locate a wall stud for a secure installation. If no stud is available, use wall anchors for added support in drywall. Always use a level to ensure the holder is straight.
Step 4: Preparing the drywall for installation
With the precise placement of the new toilet paper holder marked on the wall, it’s time to prepare the drywall for installation. This step involves creating pilot holes and ensuring that the area is ready to receive the mounting hardware. Follow these steps:
- Using a drill with a 1/8-inch drill bit, carefully create pilot holes at the marked locations on the wall. Be sure to drill straight and avoid applying excessive pressure to prevent damage to the drywall.
- If you are using drywall anchors, insert them into the pilot holes until they are flush with the surface of the drywall. This will provide extra support for the mounting screws.
- If your toilet paper holder includes mounting brackets, attach them to the wall by inserting screws through the pilot holes or into the drywall anchors. Use a screwdriver or drill to securely tighten the screws.
- Double-check the levelness of the mounting brackets using a level. Adjust as necessary to ensure that they are straight and aligned correctly.
- If your toilet paper holder does not require brackets, skip this step and proceed to the next.
Preparing the drywall for installation is an important step to ensure that the mounting hardware is securely attached. By creating pilot holes and adding drywall anchors if needed, you’ll provide a stable foundation for the toilet paper holder. Now that the drywall is prepared, it’s time to move on to the next step: installing the mounting bracket.
Step 5: Install the mounting bracket
After preparing the drywall, it’s time to install the mounting bracket for the toilet paper holder. The mounting bracket serves as the support structure for the holder, ensuring it stays securely in place. Follow these steps to install the mounting bracket:
- Align the mounting bracket with the pilot holes or drywall anchors on the wall.
- Insert screws through the bracket and into the pilot holes or drywall anchors.
- Using a screwdriver or drill, tighten the screws until the bracket is firmly attached to the wall. Be careful not to overtighten, as this can damage the drywall.
- Ensure that the bracket is level and aligned correctly by using a level. Adjust as necessary.
- Double-check the stability and tightness of the mounting bracket to ensure it is secure on the wall.
By installing the mounting bracket properly, you’re ensuring a strong and stable foundation for the toilet paper holder. The mounting bracket will provide the necessary support to securely hold the holder in place. With the mounting bracket installed, it’s time to move on to the next step: attaching the toilet paper holder itself.
Step 6: Attach the toilet paper holder
Now that the mounting bracket is securely installed, it’s time to attach the toilet paper holder itself. This step will involve attaching the holder to the mounting bracket, ensuring it is level and properly aligned. Follow these steps to attach the toilet paper holder:
- Slide the toilet paper holder onto the mounting bracket, aligning the holes or slots on the holder with the corresponding tabs or hooks on the bracket.
- If necessary, tighten any screws or locking mechanisms on the holder to secure it in place.
- Once the holder is attached, ensure that it is level and straight using a level. Make any adjustments as needed.
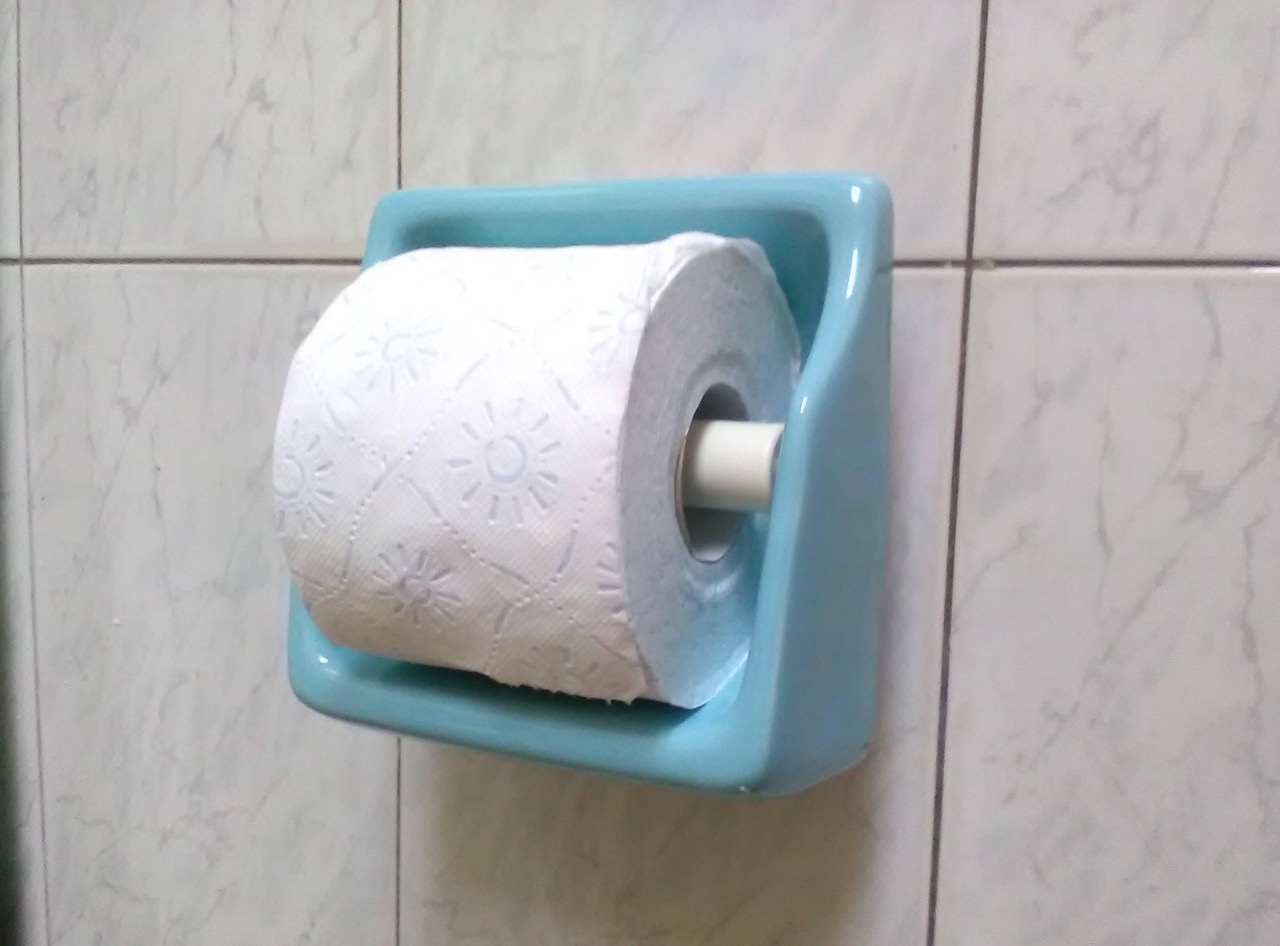
- Test the functionality of the holder by placing a roll of toilet paper on it and ensuring that it is secure and easy to use.
- If the holder is not level or requires further adjustments, loosen the screws on the mounting bracket and make the necessary adjustments. Tighten the screws again once the holder is aligned correctly.
Attaching the toilet paper holder is the final step in the installation process. It’s essential to ensure that the holder is securely attached and properly aligned for optimal functionality and aesthetics. With the holder attached, it’s time to move on to the final step: testing the installation and making any necessary adjustments.
Step 7: Test the installation and make any necessary adjustments
Once the toilet paper holder is securely attached, it’s important to test the installation to ensure that it is functioning properly. This step will involve checking the stability of the holder, its ease of use, and making any necessary adjustments. Follow these steps to test the installation and make adjustments:
- Gently pull on the toilet paper roll to test the stability of the holder. Ensure that it remains securely in place without any wobbling or shifting.
- Check the holder for any potential alignment issues. Make sure it is level and properly aligned with the rest of the bathroom fixtures.
- Make any necessary adjustments by loosening the screws on the mounting bracket or holder and repositioning them as needed.
- Use a level to ensure that the holder is straight and aligned correctly. Make adjustments until it is level.
- Retest the stability and functionality of the toilet paper holder. Continue making adjustments until you are satisfied with the installation.
Testing the installation and making any necessary adjustments is a crucial step to ensure that the toilet paper holder is securely installed and fully functional. By taking the time to test and adjust the installation as needed, you can enjoy a sturdy and reliable holder for your bathroom. With the installation complete, you can now sit back and enjoy the convenience of a properly installed toilet paper holder.
Read more: How To Screw On Toilet Paper Holder
Conclusion
Reinstalling a toilet paper holder in drywall is a relatively simple task that can be accomplished with just a few tools and materials. By following the step-by-step process outlined in this article, you can ensure a secure and functional installation that will hold your toilet paper securely for years to come.
Starting with the removal of the old toilet paper holder, you learned how to carefully detach it from the wall and repair any damage to the drywall. Then, by measuring and marking the placement of the new holder, you ensured that it would be positioned at the desired height and location.
Next, you prepared the drywall by creating pilot holes and installing drywall anchors if necessary. This provided a stable foundation for the mounting bracket, which you installed securely on the wall. With the mounting bracket in place, you attached the toilet paper holder and made sure it was level and properly aligned.
Finally, you tested the installation to ensure the stability and functionality of the holder. Any necessary adjustments were made, such as repositioning the holder or tightening screws, until you were satisfied with the installation.
Remember, a properly installed and functional toilet paper holder enhances the convenience and organization of your bathroom. By following the steps in this article, you can confidently reinstall a toilet paper holder in drywall and enjoy its benefits in your daily routine.
Now that you have the knowledge and guidance to reinstall a toilet paper holder, go ahead and tackle this DIY project with confidence. Your bathroom will thank you!
Frequently Asked Questions about How To Reinstall A Toilet Paper Holder In Drywall
Was this page helpful?
At Storables.com, we guarantee accurate and reliable information. Our content, validated by Expert Board Contributors, is crafted following stringent Editorial Policies. We're committed to providing you with well-researched, expert-backed insights for all your informational needs.


0 thoughts on “How To Reinstall A Toilet Paper Holder In Drywall”