
Articles
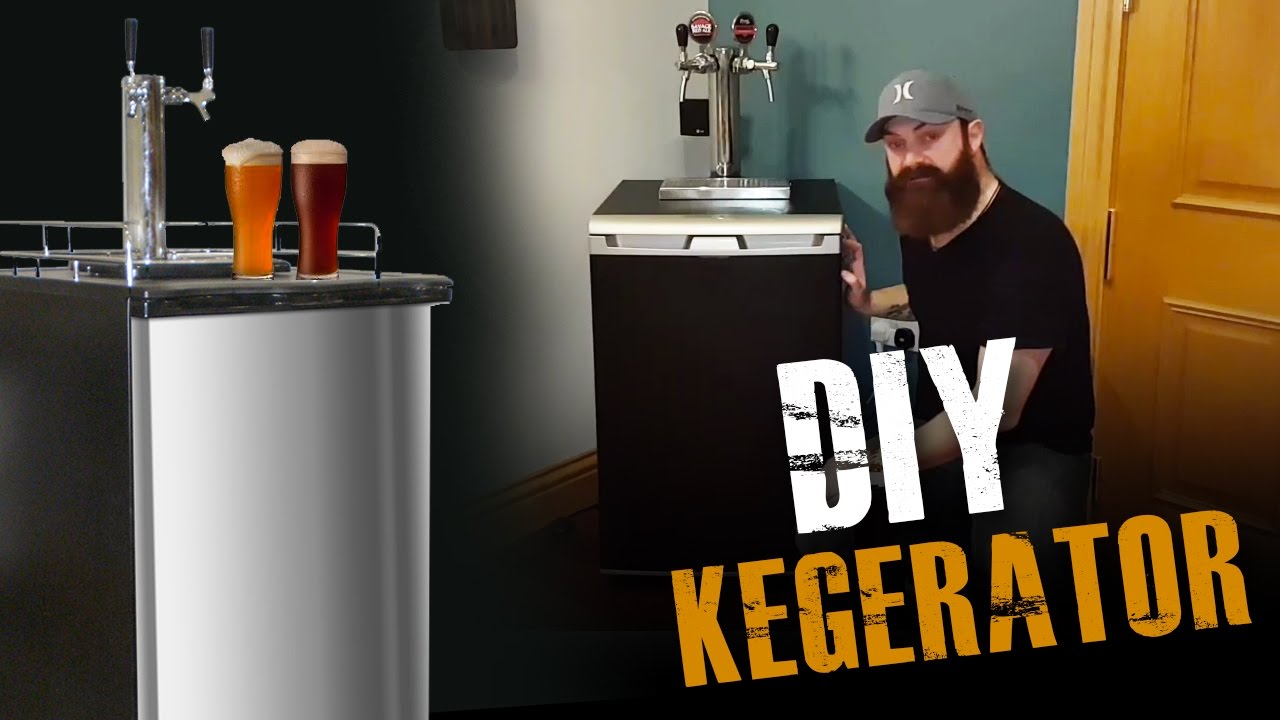
How To Release A Kegco Kegerator
Modified: August 30, 2024
Learn how to release a Kegco kegerator with our informative articles. Find step-by-step instructions and tips for a successful keg release.
(Many of the links in this article redirect to a specific reviewed product. Your purchase of these products through affiliate links helps to generate commission for Storables.com, at no extra cost. Learn more)
Introduction
Releasing a Kegco Kegerator can be an exciting yet daunting task. Whether you’re upgrading to a new keg, cleaning out the lines, or preparing for a party, properly releasing the keg is crucial. In this article, we will guide you through the necessary steps to ensure a smooth and successful keg release.
Before we dive into the process, it’s important to note that safety should always be a top priority. Make sure to follow all manufacturer instructions and take necessary precautions to protect yourself and others.
Now, let’s get started with gathering the necessary equipment.
Key Takeaways:
- Proper preparation is key. Gather all necessary equipment, clean the kegerator, and disconnect the CO2 and beer lines before releasing a Kegco Kegerator. This ensures a smooth and safe keg release process.
- After releasing the keg, ensure the kegerator is properly stored by cleaning and sanitizing the lines, securing and covering the kegerator. This maintenance will keep your Kegco Kegerator in optimal condition for future use.
Read more: When Was Corelle Wildflower Released
Step 1: Gathering the necessary equipment – Items needed for releasing a Kegco Kegerator
Before you begin releasing a Kegco Kegerator, it’s important to gather all the necessary equipment. Having everything on hand will save you time and help you complete the process smoothly. Here are the items you’ll need:
- Wrench or adjustable wrench: You’ll need this to loosen and tighten connections.
- Bucket or container: It’s essential to have a bucket or container to catch any spills or excess liquid during the keg release process.
- Clean cloth or towels: Keep some clean cloth or towels nearby to wipe up any spills or clean the kegerator afterwards.
- Cleaning solution: If you’re planning to clean the kegerator, ensure you have a suitable cleaning solution recommended by the manufacturer.
- Sanitizing solution: To maintain the hygiene of your kegerator and beer lines, you’ll need a sanitizing solution to properly sanitize them.
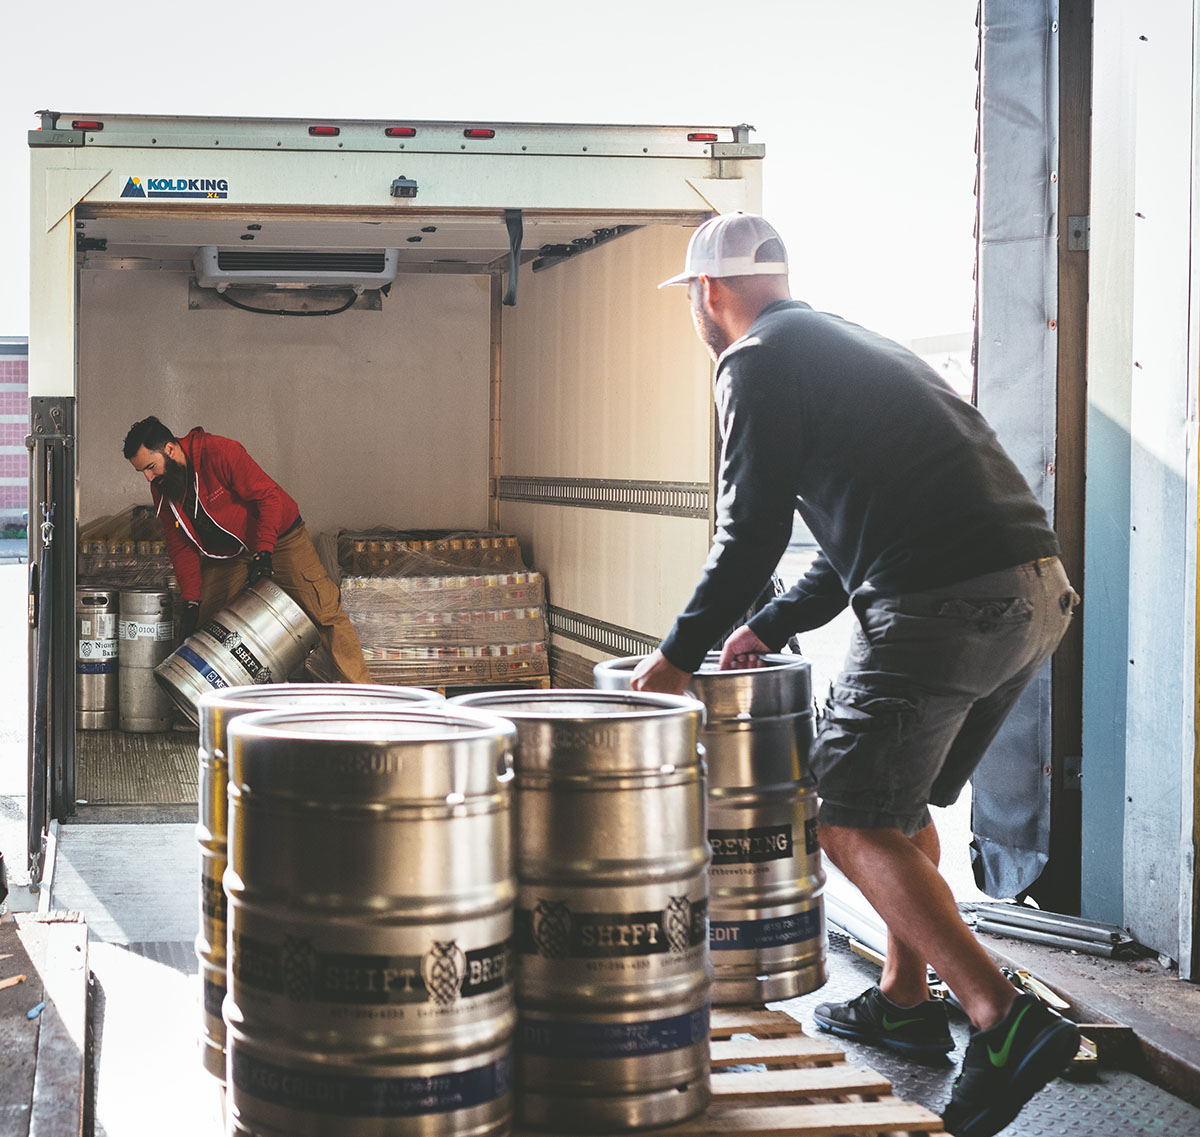
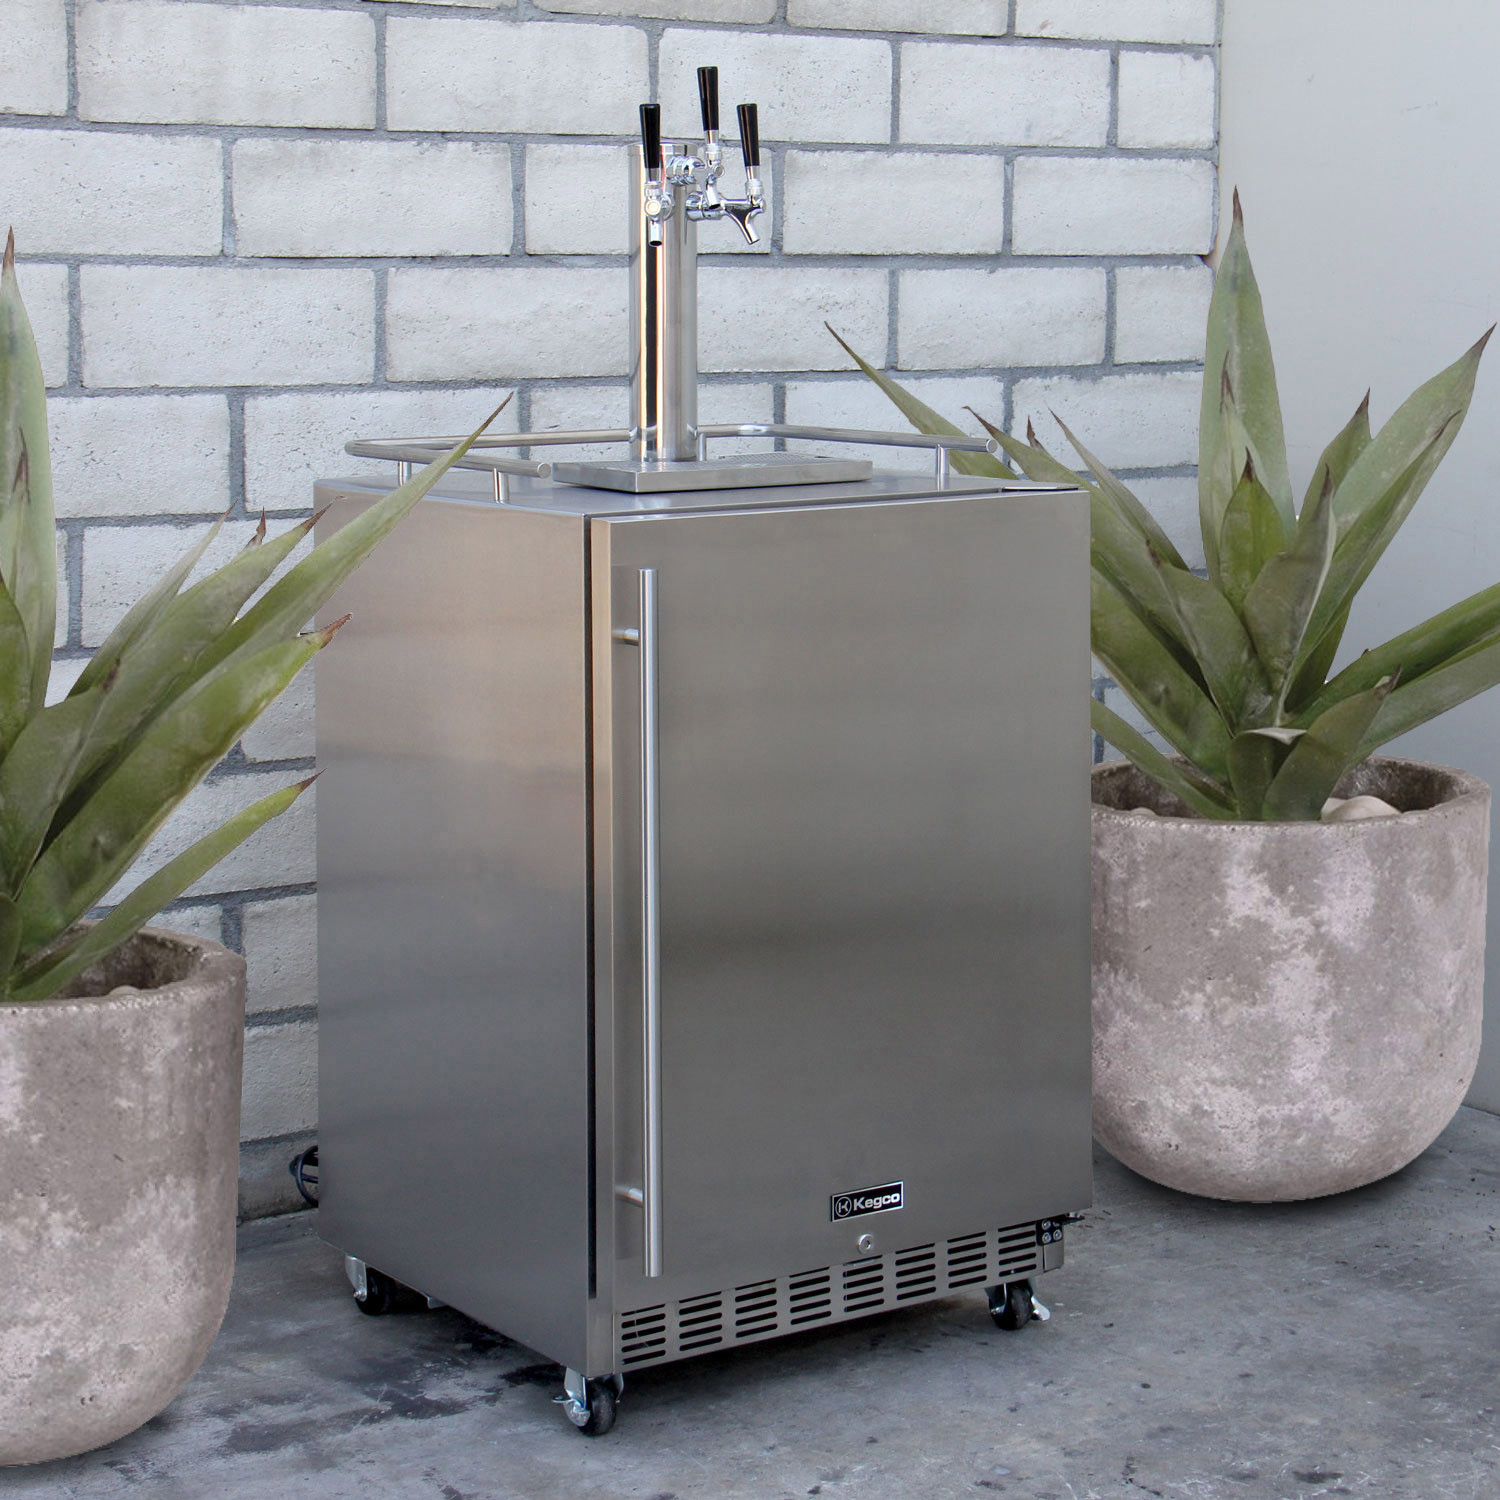
- CO2 tank: This is needed to provide pressure for dispensing the beer from the keg. Ensure the CO2 tank is filled and properly connected to the kegerator.
- Beer line cleaning kit (optional): If you’re planning to clean the beer lines, a beer line cleaning kit will come in handy. This kit typically includes a cleaning pump, cleaning solution, and brushes.
Once you have all the necessary equipment gathered and ready, you can proceed to the next step: preparing the kegerator.
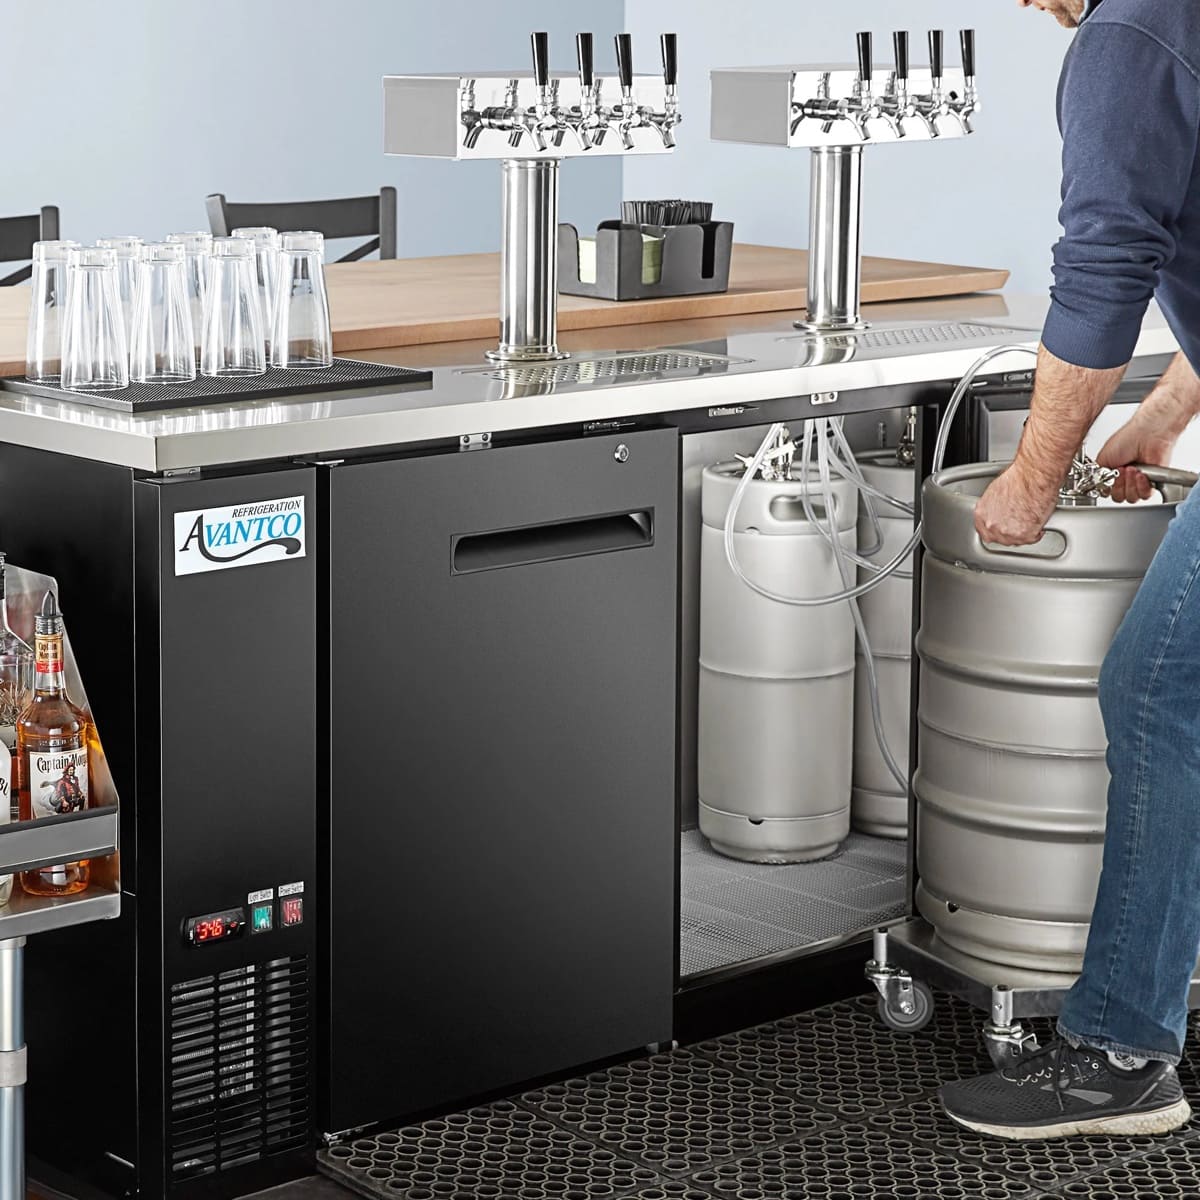
Step 2: Preparing the kegerator – Cleaning the kegerator – Disconnecting the CO2 and beer lines
Before releasing the keg, it’s crucial to ensure that your kegerator is clean and properly prepared. This will help maintain the quality of your beer and prevent any contamination. Here are the steps to clean and prepare your kegerator:
- Cleaning the kegerator: Start by unplugging the kegerator and removing any remaining beer kegs or bottles. Use a mild cleaning solution recommended by the manufacturer to clean the interior of the kegerator. Pay special attention to removing any beer residue or sticky substances. Once cleaned, rinse the interior thoroughly with water and wipe it dry with a clean cloth or towel.
- Disconnecting the CO2 and beer lines: Locate the CO2 tank and turn the valve off by twisting it clockwise. This will prevent any unwanted pressure during the keg release. Next, using a wrench or adjustable wrench, loosen the nut connecting the CO2 line to the regulator. Carefully remove the CO2 line from the kegerator. Similarly, locate the beer lines connected to the keg coupler. Use a wrench or adjustable wrench to loosen the beer line nuts and disconnect them from the keg coupler.
By cleaning the kegerator and disconnecting the CO2 and beer lines, you ensure a clean and well-prepared environment for releasing the keg. With these steps completed, you’re now ready to move on to the next step: releasing the keg.
Before releasing a Kegco kegerator, make sure to disconnect the CO2 tank and remove any kegs or other items inside. This will ensure a safe and smooth release process.
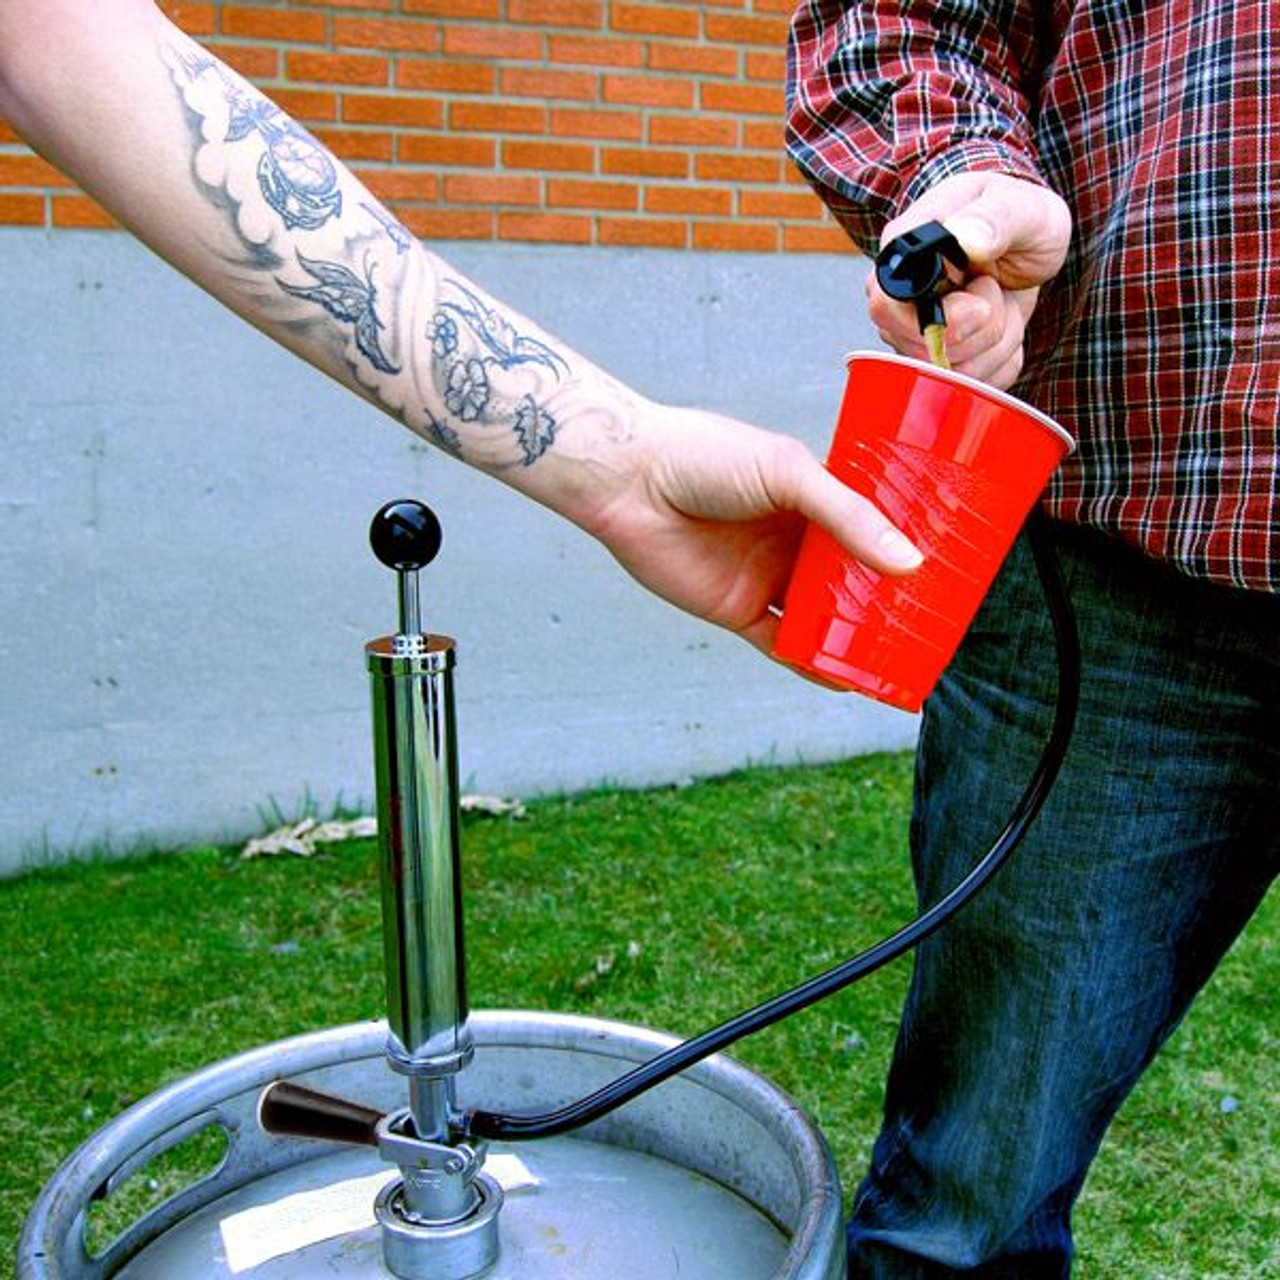
Step 3: Releasing the keg – Removing the tap handle – Depressurizing the keg – Disconnecting the coupler
Releasing the keg involves a series of important steps to ensure a smooth and controlled process. Follow the steps below to properly release the keg from your Kegco Kegerator:
- Removing the tap handle: The first step is to remove the tap handle from the keg coupler. Firmly grasp the tap handle and twist it counterclockwise until it loosens. Once loose, pull the tap handle straight out to detach it from the keg coupler. Set the tap handle aside in a safe place.
- Depressurizing the keg: Before disconnecting the keg coupler, it’s important to release the pressure from the keg. Locate the pressure relief valve on top of the keg coupler. Using a flathead screwdriver, gently pry up the pressure relief valve. This will release any excess pressure built up in the keg. You may hear a hissing sound as the pressure is released. Allow the pressure to fully dissipate before proceeding to the next step.
- Disconnecting the coupler: With the keg depressurized, you can now safely disconnect the keg coupler from the keg. Place one hand on the keg coupler and the other hand on the keg itself for support. Twist the keg coupler counterclockwise until it loosens, then pull it straight out to detach it from the keg. Be cautious as there may still be a small amount of pressure and liquid left in the lines. Place the keg coupler aside for cleaning or storage.
By following these steps, you have successfully released the keg from your Kegco Kegerator. The next step is to properly store the kegerator for future use.
Step 4: Properly storing the kegerator – Cleaning and sanitizing the lines – Securing and covering the kegerator
After releasing the keg, it’s essential to properly store your Kegco Kegerator to maintain its performance and ensure its longevity. Follow these steps to effectively store your kegerator:
- Cleaning and sanitizing the lines: Start by cleaning and sanitizing the beer lines. Use a beer line cleaning kit if you have one, following the manufacturer’s instructions. Run the cleaning solution through the lines to remove any residue or buildup. Rinse the lines thoroughly with water to remove any traces of cleaning solution. Once rinsed, sanitize the lines with a suitable sanitizing solution to prevent any bacterial growth. Allow the lines to air dry.
- Securing and covering the kegerator: Before storing the kegerator, make sure it is properly secured and covered to protect it from dust and damage. Ensure that all the connections, such as the CO2 and beer lines, are tightly closed. Use straps or bungee cords to secure any loose components. Consider using a cover specifically designed for kegerators to shield it from dust and other external elements. This will help maintain its cleanliness and prevent any potential damage during storage.
By cleaning and sanitizing the lines and securely covering the kegerator, you are taking the necessary precautions to keep your Kegco Kegerator in optimal condition until its next use.
Remember, periodic maintenance and cleaning are important to prevent any issues and ensure your kegerator continues to deliver fresh and delicious beer. Consult the manufacturer’s instructions for any specific storage recommendations or maintenance schedules.
With these steps completed, you have successfully released and stored your Kegco Kegerator. Properly maintaining and storing your kegerator will help ensure that it continues to provide you and your guests with refreshing and high-quality draft beer.
Now you can look forward to your next keg release and enjoy the convenience and delight of having a Kegco Kegerator at your disposal.
Read more: What Is Quick Release Toilet Seat
Conclusion
Releasing a Kegco Kegerator may seem like a daunting task, but by following the steps outlined in this article, you can successfully and confidently release your keg. Remember to always prioritize safety and take the necessary precautions when working with your kegerator.
We began by highlighting the importance of gathering the necessary equipment, which includes a wrench, bucket, cleaning and sanitizing solutions, CO2 tank, and beer line cleaning kit. Having these items on hand will ensure a smooth keg release process.
Next, we discussed the importance of preparing the kegerator by cleaning it and disconnecting the CO2 and beer lines. Cleaning the kegerator ensures the quality and taste of your beer, while disconnecting the lines prevents any mishaps during the release.
Our step-by-step guide to releasing the keg provided you with clear instructions on removing the tap handle, depressurizing the keg, and disconnecting the coupler. These steps are vital to safely and efficiently release the keg without causing any damage or spills.
Finally, we covered the crucial step of properly storing the kegerator. Cleaning and sanitizing the lines ensures that your next batch of beer will flow smoothly, while securing and covering the kegerator protects it from dust and potential damage.
By following these steps, you can confidently release, clean, and store your Kegco Kegerator, ensuring its longevity and the continued enjoyment of fresh and delicious draft beer.
Remember to consult the manufacturer’s instructions for any specific guidelines or maintenance schedules related to your kegerator. With proper care and maintenance, your kegerator will continue to be a valuable addition to your home and provide a delightful beer-drinking experience.
So go ahead, release that keg, and enjoy the festivities and the refreshing taste of perfectly poured draft beer!
Frequently Asked Questions about How To Release A Kegco Kegerator
Was this page helpful?
At Storables.com, we guarantee accurate and reliable information. Our content, validated by Expert Board Contributors, is crafted following stringent Editorial Policies. We're committed to providing you with well-researched, expert-backed insights for all your informational needs.


0 thoughts on “How To Release A Kegco Kegerator”