
Articles
How To Make A Portable Sink
Modified: August 28, 2024
Discover step-by-step articles on creating a portable sink for your convenience. Get expert tips and tricks to build a functional and portable solution.
(Many of the links in this article redirect to a specific reviewed product. Your purchase of these products through affiliate links helps to generate commission for Storables.com, at no extra cost. Learn more)
Introduction
Having access to a portable sink can be incredibly convenient, whether you’re camping, hosting an outdoor event, or simply need an extra handwashing station. Portable sinks provide a hygienic and practical solution for maintaining cleanliness on-the-go, and the best part is, you can easily make one yourself! In this guide, we will walk you through the step-by-step process of building your very own portable sink.
Before we dive into the details, it’s important to highlight the benefits of having a portable sink. Firstly, a portable sink allows you to have a clean and accessible water source wherever you need it. This is especially useful when traditional plumbing infrastructure is not readily available. Secondly, portable sinks make it easy to maintain proper hygiene, as you can conveniently wash your hands or utensils no matter where you are. Whether you’re camping in the wilderness or hosting an outdoor cooking event, a portable sink will ensure that cleanliness is never compromised.
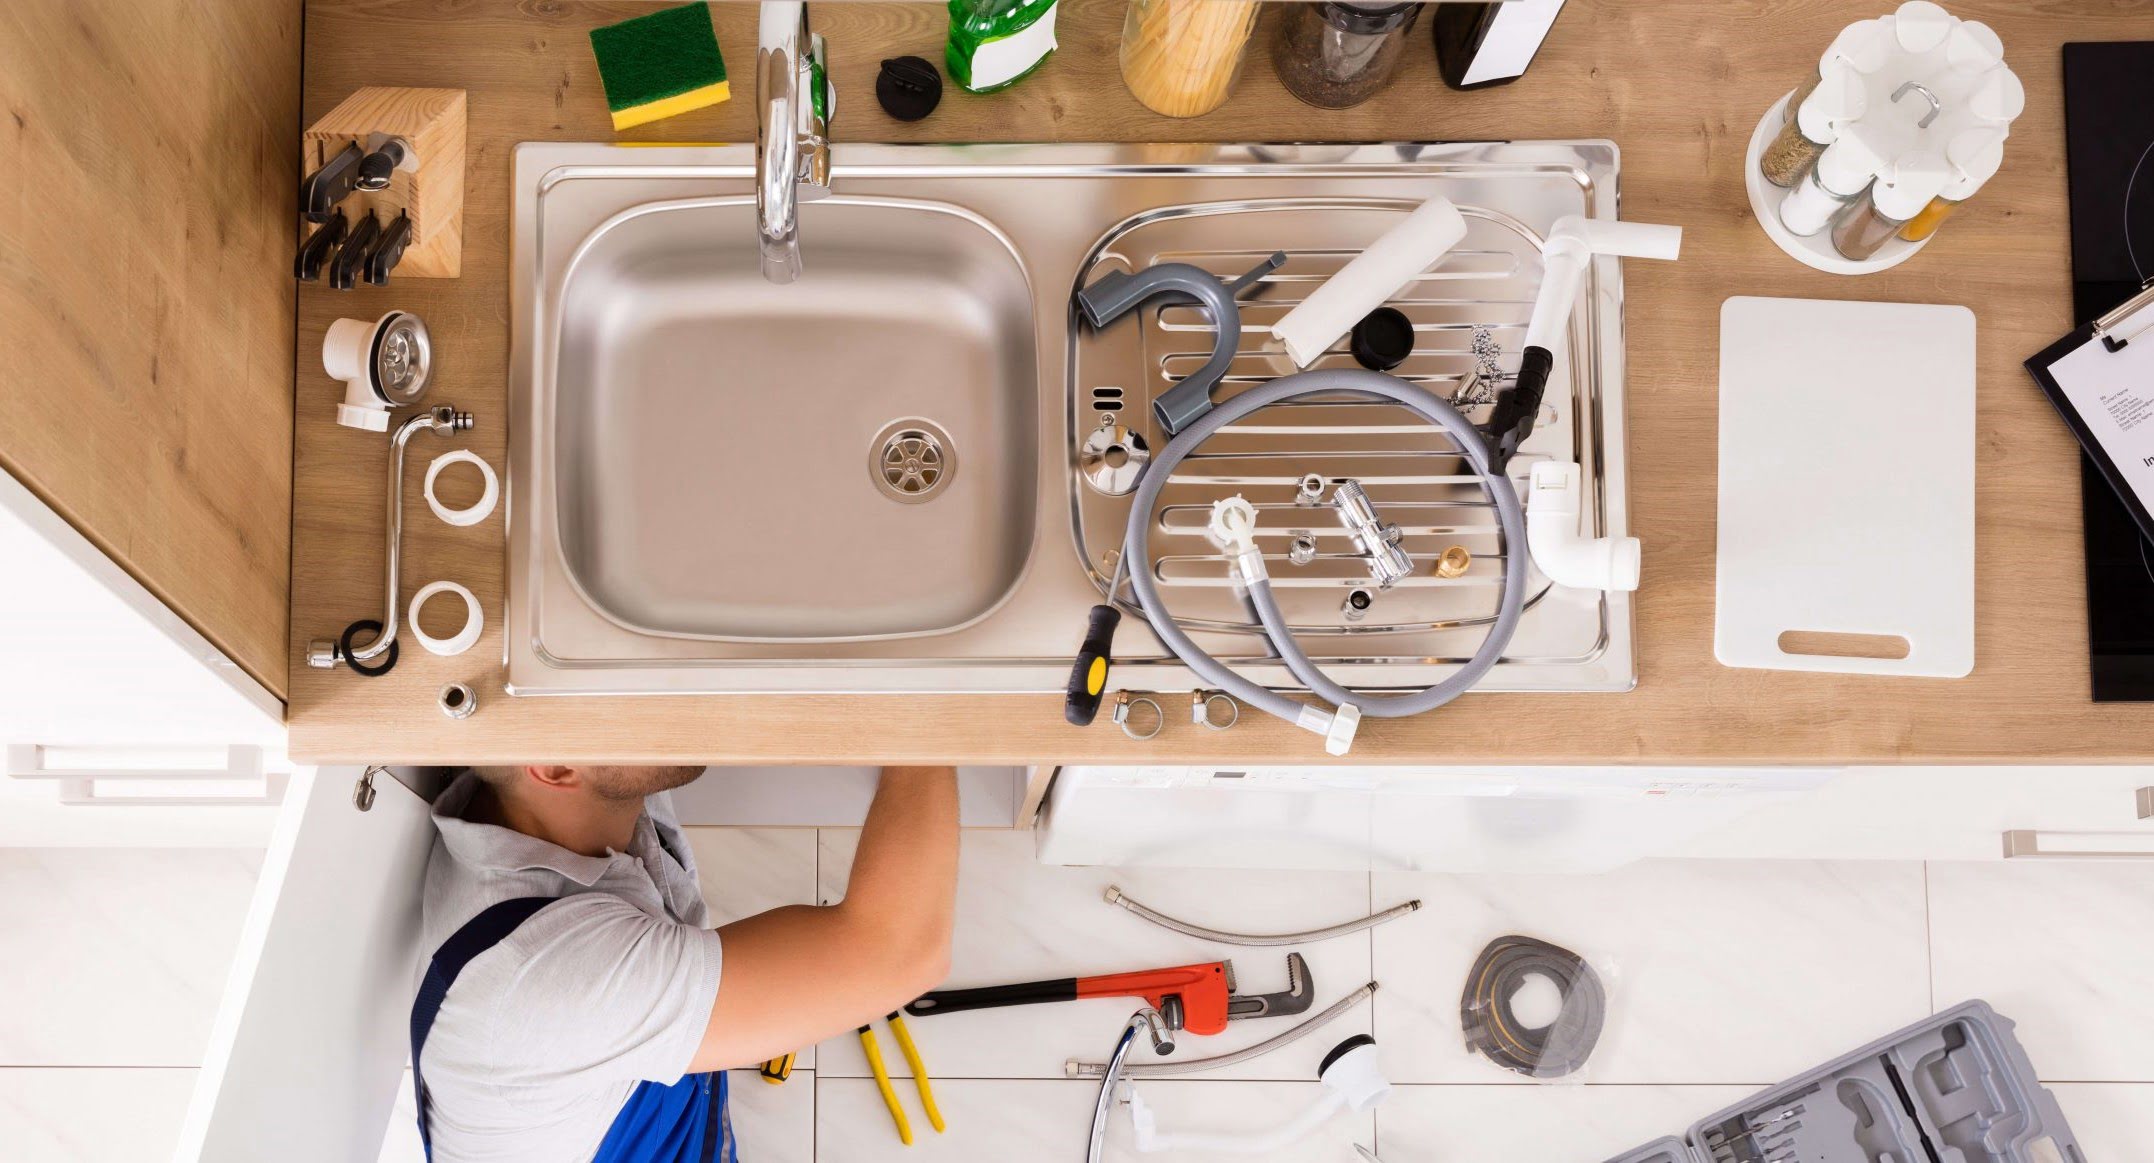
To get started on this DIY project, let’s take a look at the materials you’ll need to gather and have on-hand.
Key Takeaways:
- Building a portable sink is a practical and rewarding DIY project that provides a convenient and hygienic handwashing solution for outdoor activities, camping, and events, offering flexibility and peace of mind.
- Customizable and adaptable to individual needs, a portable sink ensures proper hygiene and saves the hassle of relying on traditional plumbing infrastructure, making it a versatile and essential addition to any outdoor setting.
Read more: How To Make A Sink
Materials Needed
To successfully build a portable sink, you will need the following materials:
- A sturdy frame (such as PVC pipes or wood)
- A sink basin or container (preferably with a drainage hole)
- Plumbing fittings (pipes, connectors, valves, etc.)
- A faucet or water dispenser
- A water container or source (such as a water jug or hose)
- A drainage system (a bucket or portable waste tank)
- Sealant or plumber’s tape
- Tools (pipe cutters, wrench, drill, screws, etc.)
- Waterproof material (optional, for added durability)
These materials are essential for constructing a basic portable sink, but feel free to modify and adapt based on your personal preferences and available resources. Additionally, it’s a good idea to have a tape measure, a pencil, and some rags or paper towels on hand to assist with the installation process.
Now that you’ve gathered all the necessary materials, it’s time to dive into the step-by-step process of assembling the portable sink. Let’s get started with Step 1: Gathering Supplies.
Step 1: Gathering Supplies
The first step in building a portable sink is to gather all the necessary supplies. Once you have them all on hand, you’ll be ready to start constructing your sink. Here’s a breakdown of what you’ll need:
1. Sturdy Frame: Choose a strong and durable material for the frame of your sink. PVC pipes and wood are commonly used options. Measure and cut the pieces according to your desired sink size.
2. Sink Basin: Select a suitable sink basin or container that is large enough to hold water comfortably. You may repurpose an existing container or purchase a new one with a built-in drainage hole.
3. Plumbing Fittings: Acquire the necessary plumbing fittings such as pipes, connectors, valves, and adapters. These will be used to create the water supply and drainage system for your portable sink.
4. Faucet or Water Dispenser: Choose a faucet or water dispenser that can be easily attached to the sink basin. This will serve as the water source for your portable sink.
5. Water Container or Source: Determine the type of water container or source that best suits your needs. This can be a water jug with a spout or a hose connected to a nearby water supply.
6. Drainage System: Consider using a portable waste tank or a bucket with a drain hole as the drainage system for your sink. This will allow for easy disposal of used water.
7. Sealant or Plumber’s Tape: To ensure watertight connections, have some sealant or plumber’s tape on hand. This will help prevent leaks in your plumbing system.
8. Tools: Gather the necessary tools to assemble your portable sink, including a pipe cutter, wrench, drill, screws, and any other tools specific to your chosen materials.
9. Waterproof Material (Optional): If you want to add an extra layer of durability, you can consider using a waterproof material to wrap around the frame and sink basin. This will help protect the sink from water damage and extend its lifespan.
Take the time to gather all these supplies before moving on to the next step. Having everything prepared will make the construction process much smoother. Once you’re ready, proceed to Step 2: Assembling the Frame.
Step 2: Assembling the Frame
Now that you have all the necessary supplies, it’s time to begin assembling the frame for your portable sink. The frame will provide support and stability to the sink basin, ensuring it stays securely in place. Follow these steps to assemble the frame:
- Measure and cut the PVC pipes or wood pieces according to the desired dimensions of your sink. Take into account the length, width, and height that would work best for your specific needs.
- Using connectors, join the cut pieces of PVC pipes or wood to create the frame. Make sure to securely attach them together to form a stable structure. You can use screws, glue, or other suitable fastening methods based on the material you’re working with.
- Double-check the stability of the frame by giving it a gentle shake. If it feels wobbly or unstable, reinforce the connections or consider using additional support elements like braces.
- If you’re using wood for the frame, sand down any rough edges or surfaces to prevent splinters and ensure a smooth finish.
- Lastly, consider applying a waterproof material or coating to the frame. This will help protect it from water damage and increase its longevity.
By following these steps, you’ll have a solid and sturdy frame ready to hold the sink basin in place. Once the frame is securely assembled, you can move on to Step 3: Constructing the Sink Basin.
Step 3: Constructing the Sink Basin
Now that the frame is assembled, it’s time to focus on constructing the sink basin. This is where the water will be held for washing hands, utensils, or any other cleaning purposes. Follow these steps to construct the sink basin:
- Take the selected sink basin or container and ensure it is clean and free of any debris. Rinse it thoroughly to remove any residue.
- If your chosen sink basin doesn’t already have a drainage hole, you can create one using a drill. Make sure to choose an appropriate size and location for the drain hole.
- If necessary, measure and mark the position of the faucet or water dispenser on the sink basin. This is where the water will flow from.
- Using a drill or appropriate tools, create the necessary holes for the faucet or water dispenser installation. Make sure the holes are the right size to securely fit the chosen fixtures.
- Attach the faucet or water dispenser to the sink basin, following the manufacturer’s instructions. Use sealing materials such as plumber’s tape or sealant to ensure a watertight connection.
- Double-check all connections and fittings to ensure they are secure and leak-free.
- If desired, you can also add additional features to the sink basin, such as soap dispensers or towel holders, to enhance its functionality.
Once you’ve completed these steps, your sink basin will be ready to be installed onto the frame. In the next step, we will focus on installing the plumbing system for your portable sink. Proceed to Step 4: Installing Plumbing.
Read more: How To Make Air Cooler
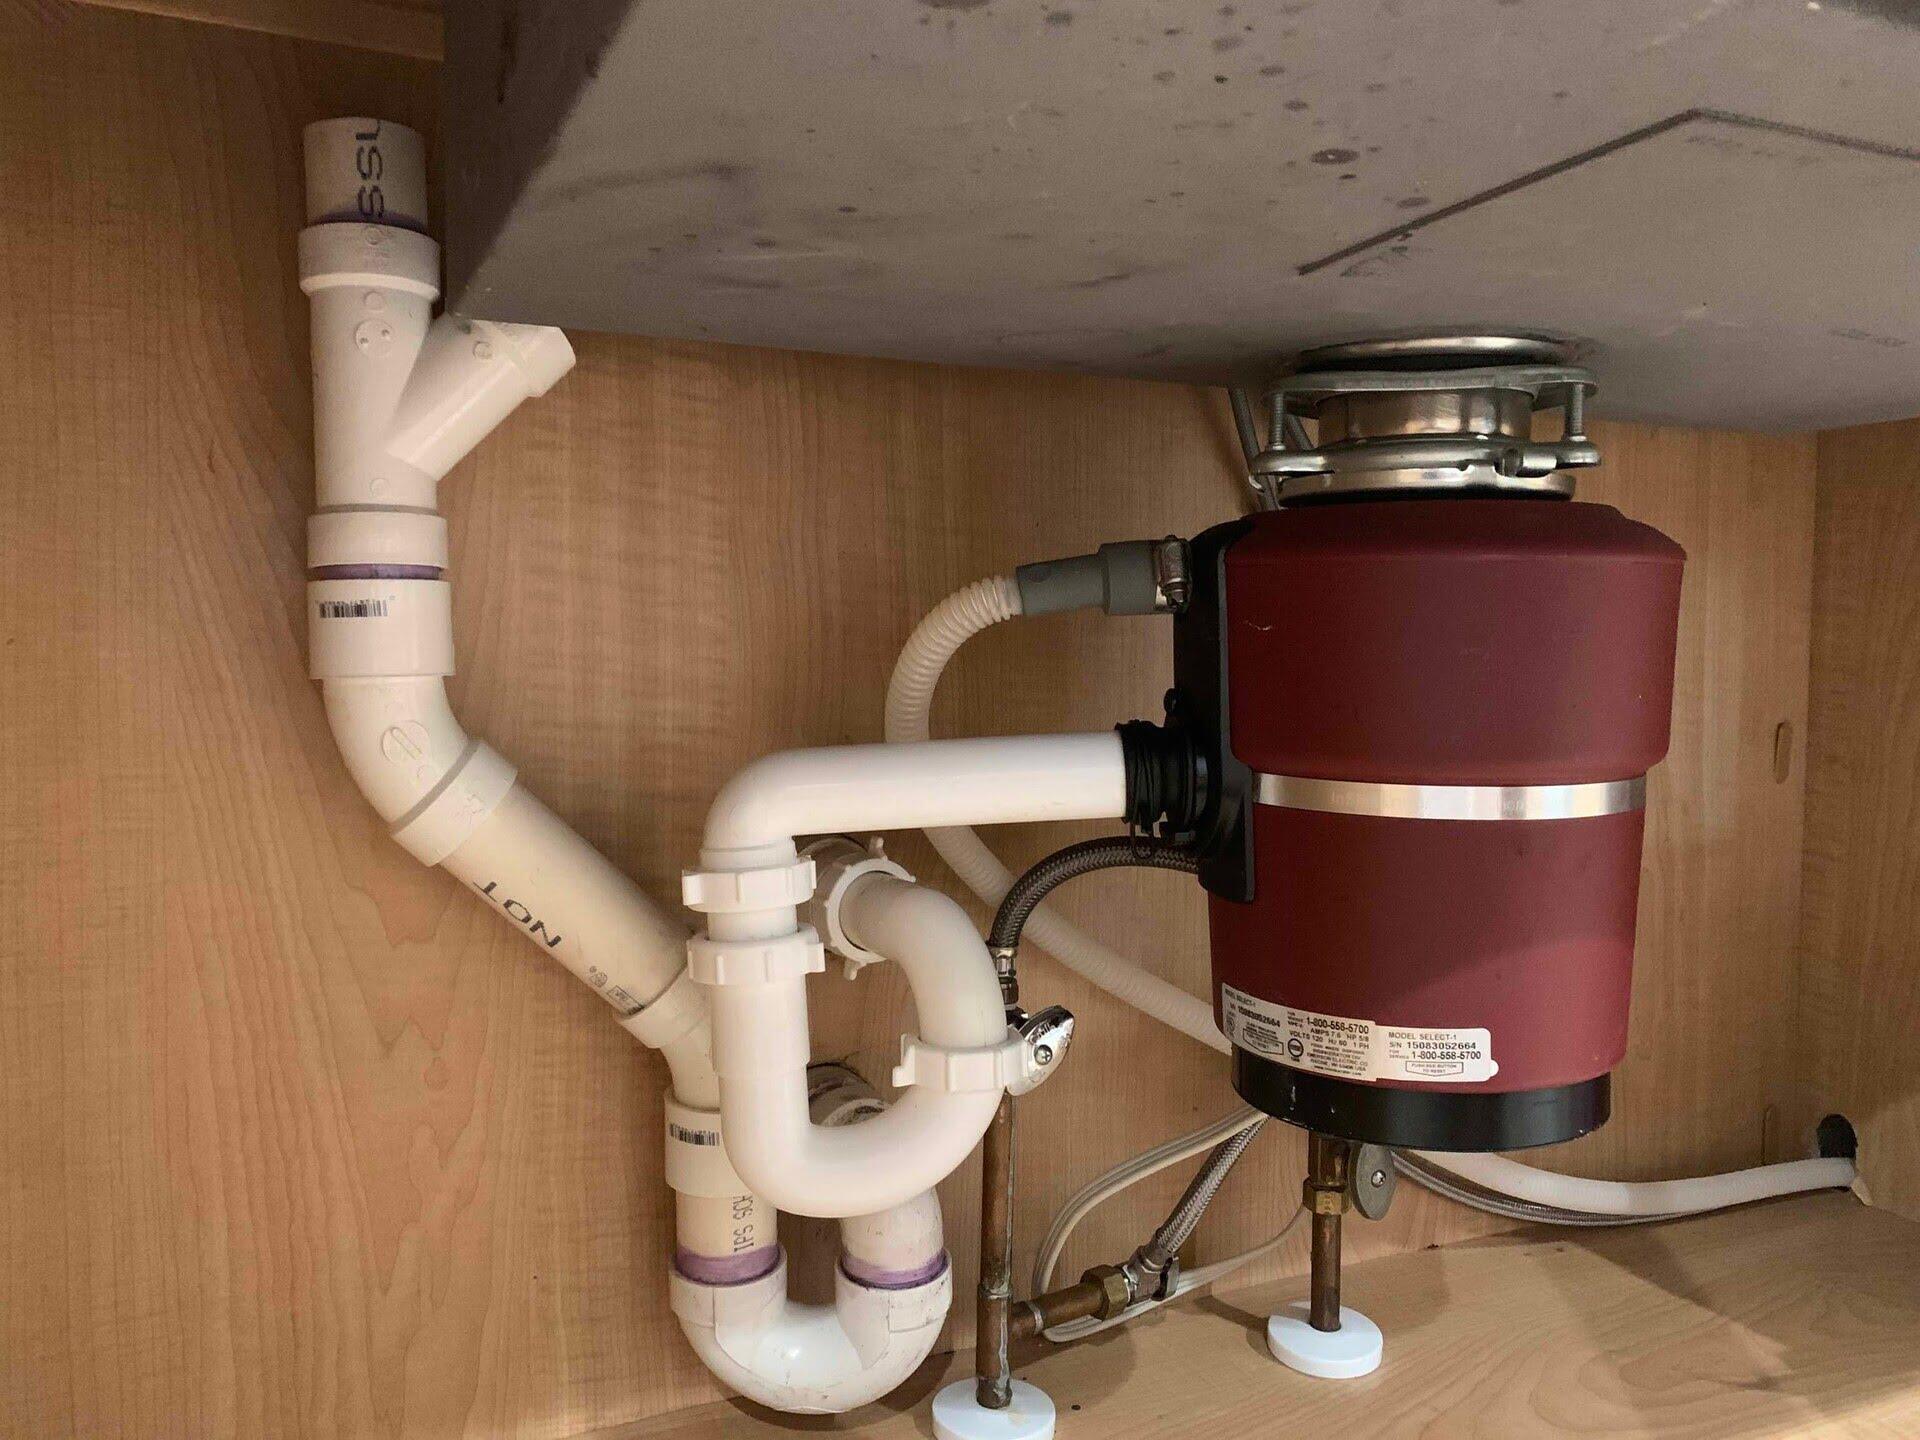
Step 4: Installing Plumbing
Now that you have a solid frame and a constructed sink basin, it’s time to install the plumbing system for your portable sink. This system will allow water to flow into the sink and provide a means for drainage. Follow these steps to install the plumbing:
- Start by determining the placement of the water source and the drainage system. Ideally, the water source should be close to the sink, while the drainage system should be positioned to allow easy disposal of wastewater.
- Measure and cut the necessary pipes and connectors to create the plumbing system. The exact configuration will depend on your specific setup and the location of the water source and drainage system.
- Attach the pipes and connectors to create the water supply lines. Use appropriate fittings and connectors to ensure a secure and leak-free connection.
- Connect one end of the water supply line to the water source, such as a water jug or hose.
- Attach the other end of the water supply line to the faucet or water dispenser on the sink basin. Use seals or plumber’s tape to prevent any leaks.
- If needed, install shut-off valves or control mechanisms to control the flow of water.
- Next, focus on creating the drainage system. Connect the necessary pipes and fittings to allow the wastewater to flow out of the sink basin.
- Position the drainage system in a suitable location, such as a bucket or portable waste tank, to collect the wastewater.
- Ensure all connections in the plumbing system are secure and leak-free. Tighten any fittings or connectors if necessary.
By following these steps, you will have successfully installed the plumbing system for your portable sink. In the next step, we will move on to adding a water source to ensure a steady flow of water. Proceed to Step 5: Adding a Water Source.
Consider using a large plastic container with a spigot as the base for your portable sink. This will make it easy to fill and dispense water, and the container can be easily transported.
Step 5: Adding a Water Source
With the plumbing system in place, it’s time to add a water source to ensure a steady supply of water for your portable sink. Depending on your setup and preferences, there are a few options for adding a water source. Follow these steps to add a water source to your portable sink:
- If you’re using a water jug as your water source, start by filling it with clean water. Make sure the jug is tightly sealed to prevent any spills or leaks.
- Position the water jug near the sink and secure it in place. You can use straps or bungee cords to keep it stable and prevent it from tipping over.
- If you’re using a hose connected to an external water supply, ensure that the water source is turned on and functioning properly.
- Connect the water supply line from the plumbing system to the water source. Use the appropriate fittings and connectors to establish a secure connection.
- Once the water source is connected, turn on the water supply and check for any visible leaks or issues with water flow. Adjust the flow rate as needed using control mechanisms on the plumbing system.
- Test the faucet or water dispenser on the sink basin to ensure that water is flowing smoothly and controllably.
- Monitor the water source periodically to ensure a steady supply of water and refill the water jug as needed.
By following these steps, you will have successfully added a water source to your portable sink. In the next step, we will focus on adding a drainage system to effectively dispose of wastewater. Proceed to Step 6: Adding a Drainage System.
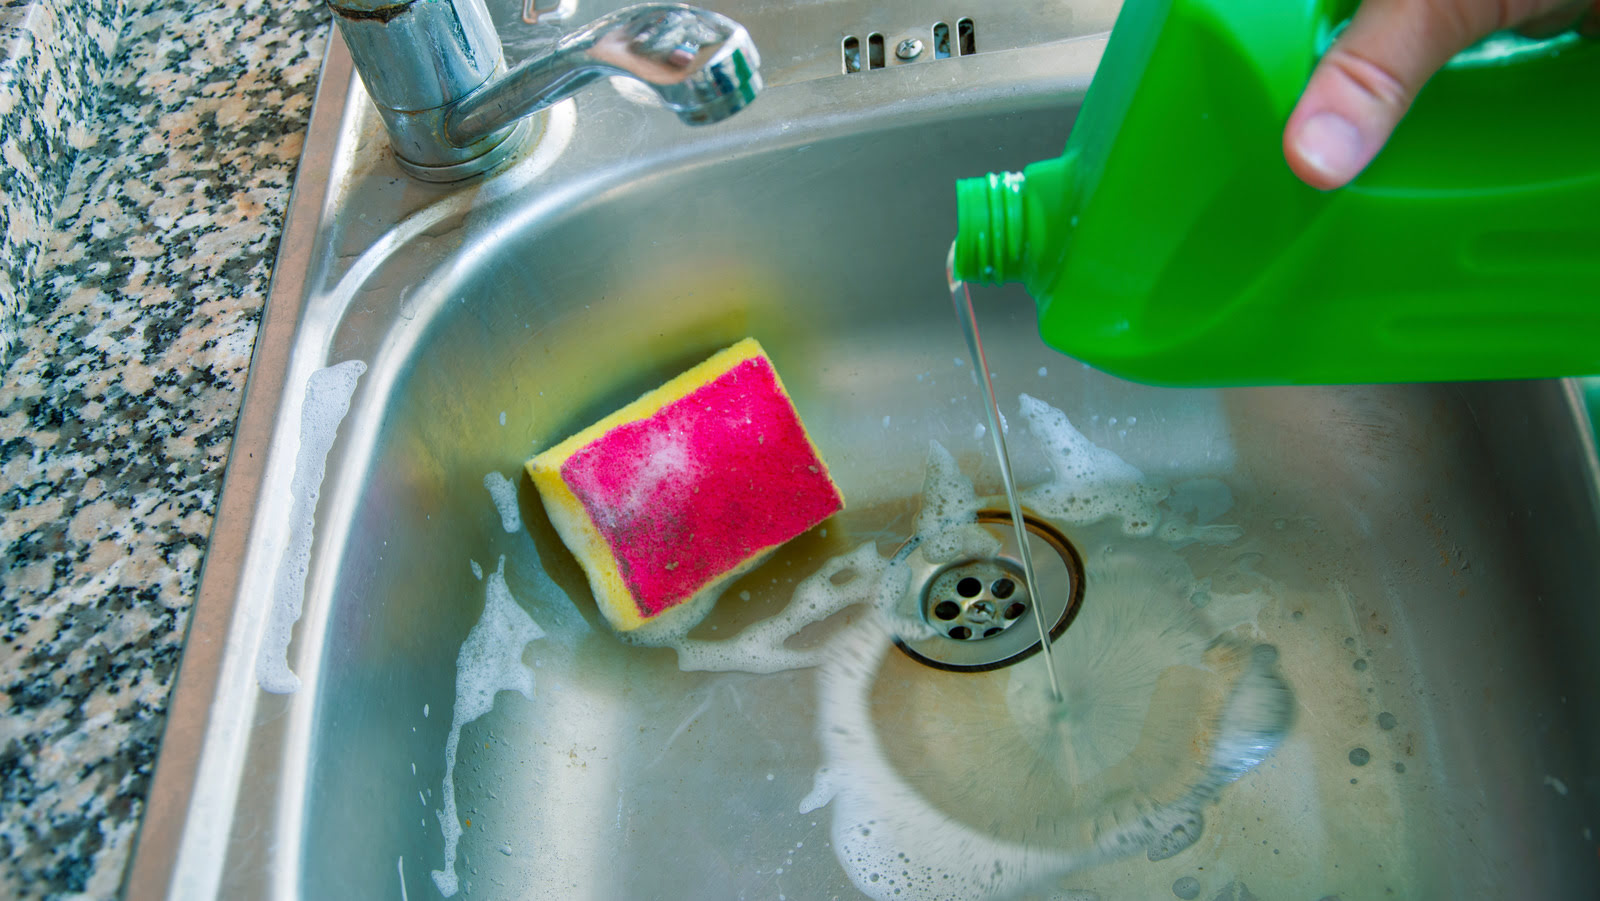
Step 6: Adding a Drainage System
Now that the water source is set up, it’s important to add a drainage system to effectively dispose of wastewater from your portable sink. Follow these steps to add a drainage system:
- Position a bucket or a portable waste tank underneath the sink basin to collect the wastewater. Make sure it is securely placed and can hold an adequate amount of water.
- If your sink basin has a built-in drainage hole, ensure that it aligns with the opening of the bucket or waste tank.
- If your sink basin does not have a built-in drainage hole, you can create one using a drill or appropriate tools. Choose a suitable size for the hole to allow proper drainage.
- Attach a pipe or tubing to the drainage hole of the sink basin. Ensure the connection is tight and secure to prevent any leaks.
- Position the other end of the pipe or tubing into the bucket or waste tank, allowing the wastewater to flow directly into it.
- Check the drainage system for any leaks or issues. Make sure the bucket or waste tank is positioned correctly and can collect the wastewater effectively.
- If desired, you can add a mesh or filter to the drainage system to prevent any debris from entering and potentially causing clogs.
- Regularly empty and clean the bucket or waste tank to maintain proper hygiene and prevent odors.
By following these steps, you will have successfully added a drainage system to your portable sink. In the next step, we will focus on securing the sink basin to the frame to ensure stability. Proceed to Step 7: Securing the Sink Basin to the Frame.
Step 7: Securing the Sink Basin to the Frame
With the plumbing and drainage systems in place, it’s time to secure the sink basin to the frame of your portable sink. This step is crucial to ensure stability and prevent any movement or shifting during use. Follow these steps to secure the sink basin:
- Position the sink basin onto the frame, aligning it with the opening or designated area.
- Attach the sink basin to the frame using appropriate fastening methods. For wood frames, you can use screws to secure the basin from underneath. For PVC frames, you can use straps or zip ties to hold the basin in place.
- Ensure that the sink basin is centered and level on the frame. Use a level or measuring tool to make any necessary adjustments.
- Double-check that the sink basin is securely attached and does not wobble or move when pressure is applied.
- Tighten any screws or straps to further secure the sink basin to the frame.
- Gently test the stability of the sink basin by applying light pressure and moving it from side to side. If there is any movement, reinforce the attachment points.
- Inspect the overall setup to ensure there are no visible gaps or loose connections that may compromise the stability of the sink basin.
- Once you’re satisfied with the stability of the sink basin, proceed to the next step to test the functionality of your portable sink. Proceed to Step 8: Testing the Portable Sink.
By following these steps, you will have successfully secured the sink basin to the frame of your portable sink. In the final step, we will test the functionality of the sink to ensure everything is working as intended. Proceed to Step 8: Testing the Portable Sink.
Read more: How To Make A Vanity Around A Pedestal Sink
Step 8: Testing the Portable Sink
Now that your portable sink is fully assembled, it’s important to test its functionality and ensure that everything is working as intended. Follow these steps to test your portable sink:
- Turn on the water supply and check if there are any leaks or issues with water flow. Make sure the faucet or water dispenser is working properly.
- Wash your hands or utensils in the sink basin, paying attention to the water flow and cleanliness. Ensure that the sink provides enough water pressure for effective washing.
- Observe the drainage system to ensure that the wastewater is flowing freely and being collected in the bucket or waste tank.
- Check the stability of the entire structure by applying gentle pressure and verifying that it remains secure and stable.
- Test the functionality of any additional features or accessories you added to the portable sink, such as soap dispensers or towel holders.
- Evaluate the overall performance and functionality of the portable sink. Consider any adjustments or improvements that may be necessary.
- Make note of any issues or areas that require further attention, such as leaks, inadequate water flow, or instability. Address these issues before using the portable sink for extended periods or in public settings.
- Ensure that the portable sink is properly cleaned and sanitized before regular use.
By following these steps and conducting a thorough testing process, you can ensure that your portable sink is functional, reliable, and meets your needs. Congratulations on building your own portable sink! With proper maintenance and care, it will provide you with a convenient and hygienic solution wherever you go.
Remember to regularly monitor and maintain your portable sink to ensure its longevity and optimal performance. Enjoy the convenience and cleanliness that your portable sink brings!
That concludes our step-by-step guide on how to make a portable sink. We hope you find this information helpful and are able to successfully build your own portable sink for various outdoor activities or events. Happy washing!
Conclusion
Building your own portable sink can be a rewarding and practical DIY project. By following the steps outlined in this guide, you can create a convenient and hygienic handwashing station for outdoor activities, camping trips, or any situation where access to running water is limited. Not only does a portable sink provide the necessary means for proper hygiene, but it also saves you the hassle of relying on existing plumbing infrastructure.
Throughout this guide, we discussed the materials needed, the step-by-step process of assembling the frame, constructing the sink basin, installing the plumbing system, adding a water source, implementing a drainage system, securing the sink basin to the frame, and testing the functionality of the portable sink. Each step plays a crucial role in creating a reliable and efficient portable sink.
When constructing your portable sink, it’s important to consider your specific needs and preferences. You can customize the size, design, and additional features to suit your requirements. Additionally, proper maintenance and regular cleaning will ensure the longevity and optimal performance of your portable sink.
Having a portable sink on hand offers numerous benefits, including convenience, hygiene, and flexibility. Whether you’re camping, hosting an outdoor event, or simply needing an extra handwashing station, your portable sink will provide a reliable and sanitary solution.
We hope that this guide has equipped you with the knowledge and confidence to build your own portable sink. Enjoy the convenience and peace of mind that comes with having a readily accessible water source wherever you go!
Now that you've mastered constructing a portable sink, why not enhance its functionality with superb water quality? Our next feature sheds light on the best water filtration options available for the coming year. Ensuring your DIY sink delivers not only convenience but also clean, safe water is a smart move. Dive into our comprehensive guide on water filtration systems to find the perfect match for your new portable sink.
Frequently Asked Questions about How To Make A Portable Sink
Was this page helpful?
At Storables.com, we guarantee accurate and reliable information. Our content, validated by Expert Board Contributors, is crafted following stringent Editorial Policies. We're committed to providing you with well-researched, expert-backed insights for all your informational needs.


0 thoughts on “How To Make A Portable Sink”