Home>Articles>How To Remove Maytag Neptune Front Panel From Stacked Washer Dryer

Articles
How To Remove Maytag Neptune Front Panel From Stacked Washer Dryer
Modified: February 28, 2024
Learn how to remove the front panel from your stacked Maytag Neptune washer dryer with this helpful article. Keep your laundry area organized and efficient by following these step-by-step instructions.
(Many of the links in this article redirect to a specific reviewed product. Your purchase of these products through affiliate links helps to generate commission for Storables.com, at no extra cost. Learn more)
Introduction
The Maytag Neptune front panel can be easily removed from a stacked washer dryer to access and perform maintenance or repairs. This step-by-step guide will walk you through the process of safely removing the front panel of your Maytag Neptune stacked washer dryer.
Before beginning, it is important to gather the necessary tools to complete the task. Additionally, ensure that you have a safe working environment and have disconnected the power supply to avoid any potential accidents.
Removing the front panel of a Maytag Neptune stacked washer dryer allows for easy access to various components such as the motor, control board, and drum. Whether you need to replace a faulty part or clean the inside of the machine, understanding how to remove the front panel is essential.
Keep in mind that this guide is specific to the Maytag Neptune model and may not be applicable to other washer dryer sets. If you are unsure, consult the user manual or contact Maytag customer support for assistance.
Now, let’s get started by gathering the necessary tools and preparing to remove the front panel of your Maytag Neptune stacked washer dryer.
Key Takeaways:
- Safely and effectively remove the front panel of your Maytag Neptune stacked washer dryer by following a step-by-step guide. Prioritize safety, gather necessary tools, and disconnect the power supply before beginning the process.
- Gain confidence in performing maintenance or repairs on your washer dryer by learning how to reassemble the front panel. Follow the outlined steps, prioritize safety, and consult the user manual for specific model guidance.
Read more: How To Remove A Stacked Washer And Dryer
Step 1: Gather the necessary tools
Before you begin the process of removing the front panel of your Maytag Neptune stacked washer dryer, it’s important to gather the necessary tools. Having these tools on hand will make the task much easier and more efficient.
Here are the tools you will need:
- Screwdriver – A Phillips head screwdriver is typically required to remove the screws holding the front panel in place. Make sure you have a suitable screwdriver size to fit the screws on your specific washer dryer model.
- Protective gloves – It’s always a good idea to protect your hands while working with machinery. Disposable gloves or work gloves can protect your hands from sharp edges or any potential debris.
- Flashlight – A flashlight can come in handy to provide additional lighting when working in tight spaces or to better see the screws and components.
- Pliers – Pliers may be needed to disconnect any wires or connectors that are attached to the front panel.
- Cleaning supplies – Depending on your specific maintenance needs, you may also want to have some cleaning supplies on hand to clean the inside of the machine while the front panel is removed.
Once you have gathered these tools, you will be well-prepared to proceed with the front panel removal process. It’s always a good idea to have everything you need in one place to avoid interruptions or delays during the process.
Now that you have your tools ready, it’s time to move on to the next step: disconnecting the power supply.
Step 2: Disconnect the power supply
Prior to removing the front panel of your Maytag Neptune stacked washer dryer, it is crucial to ensure your safety by disconnecting the power supply. This step will protect you from any potential electrical accidents and allow you to work on the machine with peace of mind.
Follow these steps to disconnect the power supply:
- Locate the power cord – The power cord is typically located at the back of the machine. It is connected either directly to an electrical outlet or to a power strip.
- Unplug the power cord – Firmly grip the plug and pull it out of the electrical outlet or power strip. Make sure to exert even pressure on the plug and avoid pulling on the cord itself, as this may damage the cord.
- Confirm power disconnection – Once the power cord has been unplugged, double-check that the machine is no longer receiving power. You can do this by attempting to turn on the washer dryer or by checking if any lights are still illuminated on the control panel.
By disconnecting the power supply, you eliminate the risk of electrical shock while working on the front panel. Always prioritize your safety and never attempt to remove the front panel of a machine that is still connected to the power supply.
Now that the power supply is disconnected, you are ready to proceed to the next step: removing the dryer from the washer. This step is essential to access the screws holding the front panel in place.
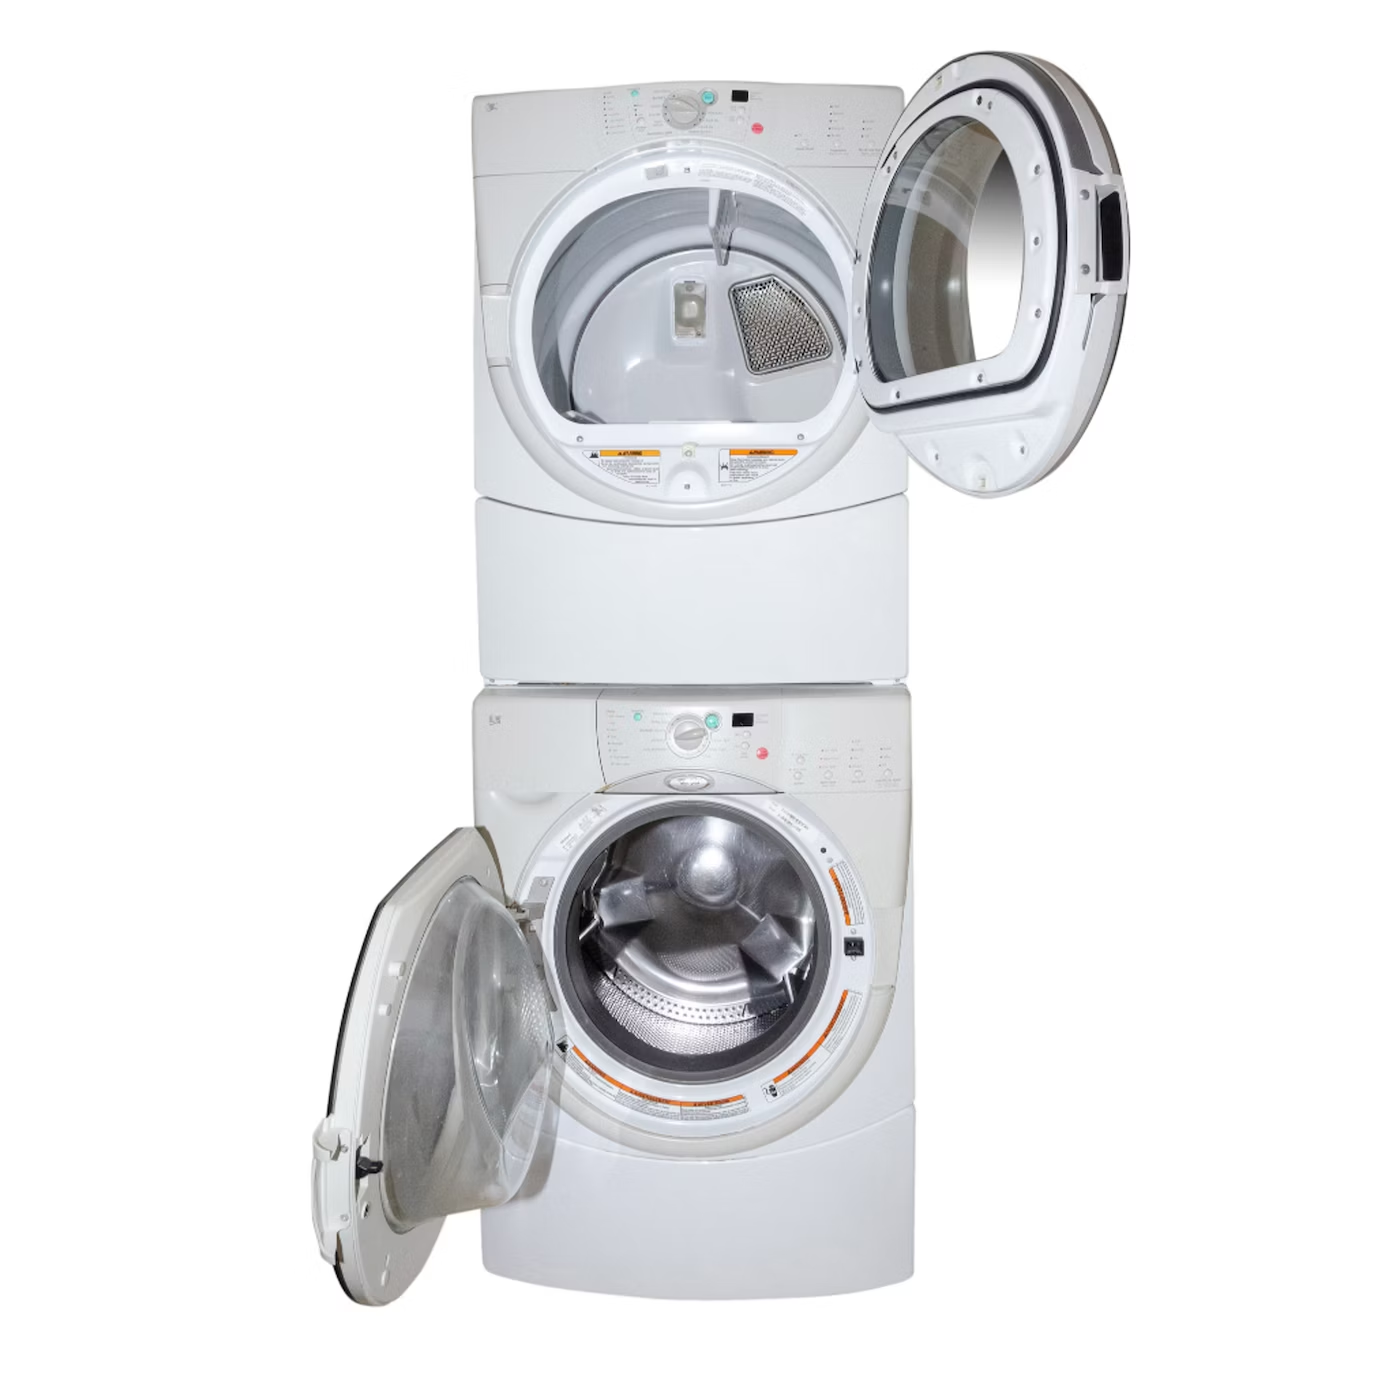
Step 3: Remove the dryer from the washer
In order to access the screws that hold the front panel of your Maytag Neptune stacked washer dryer in place, you will need to separate the dryer from the washer unit. This step will allow you to have better access to the front panel and ensure a smooth removal process.
Follow these steps to remove the dryer from the washer:
- Ensure the power supply is disconnected – Before proceeding, double-check that the power supply to the washer dryer unit is disconnected. This step is essential to prevent any electrical accidents.
- Top dryer removal – If the dryer is situated on top of the washer, start by removing any items that may be placed on top of the dryer. This will create a clear working space and prevent any obstructions during the removal process.
- Unscrew any attachments – Look for any screws or brackets attaching the dryer to the washer. Use a screwdriver or appropriate tool to remove these attachments. Depending on your specific model, there may also be latches or clips that need to be disengaged.
- Safety precautions – As you separate the dryer from the washer, be mindful of any electrical or plumbing connections that may be present. Make sure to disconnect these connections carefully to prevent damage or interruption to other components.
- Remove the dryer – Once all attachments and connections have been detached, you can carefully lift and remove the dryer from the top of the washer. It may be helpful to have a second person assist you with this step to ensure a smooth and safe removal.
- Set the dryer aside – Find a safe and secure spot to place the removed dryer. Make sure it is stable and will not interfere with your workspace or pose any safety hazards.
By removing the dryer from the washer, you create the space needed to access and remove the front panel. Taking the time to properly separate the two units will make the entire process easier and more efficient.
Now that the dryer has been removed, you are ready to move on to the next step: locating the screws holding the front panel in place.
Step 4: Locate the screws holding the front panel in place
Now that you have successfully removed the dryer from your Maytag Neptune stacked washer dryer, it’s time to locate the screws that are holding the front panel in place. These screws secure the front panel to the body of the machine and need to be removed in order to detach the front panel.
Follow these steps to locate the screws:
- Inspect the front panel – Take a close look at the front panel of the washer. Look for any visible screws or fasteners that may be holding it in place. Depending on the model, the screws may be located on the top, bottom, or sides of the front panel.
- Refer to the user manual – If you are having trouble locating the screws, consult the user manual that came with your Maytag Neptune stacked washer dryer. The manual should provide specific instructions and diagrams to help you find the screws.
- Inspect the edges – Run your fingers along the edges of the front panel. Sometimes, the screws may be hidden or partially obscured along the edges. Applying gentle pressure or lightly tapping along the edges may help you identify the screws.
- Use a flashlight – If the screws are difficult to see, use a flashlight to shine light into the crevices and corners of the front panel. The increased visibility will help you locate the screws with ease.
Once you have located the screws holding the front panel in place, you are ready to proceed with the next step: removing the screws to release the front panel. Remember, these screws may vary in number and position depending on your specific model of the Maytag Neptune stacked washer dryer.
Now that you know where the screws are located, it’s time to move on to the next step: removing the screws to release the front panel.
To remove the front panel of a Maytag Neptune stacked washer dryer, first unplug the unit and remove the screws holding the panel in place. Then, carefully lift and remove the panel to access the internal components.
Step 5: Remove the screws securing the front panel
Now that you have located the screws holding the front panel in place, it’s time to remove them to release the front panel from your Maytag Neptune stacked washer dryer. By carefully removing these screws, you will be able to detach the front panel and gain access to the inner components of the machine.
Follow these steps to remove the screws securing the front panel:
- Prepare your tools – Before starting, ensure that you have your screwdriver handy. Make sure the screwdriver is the appropriate size and type to fit the screws on your specific model of the Maytag Neptune stacked washer dryer.
- Begin unscrewing – Using the screwdriver, carefully loosen and unscrew each of the screws that are securing the front panel. Start with one corner of the panel and work your way around, removing all screws holding the panel in place.
- Place screws in a safe location – As you remove each screw, place them in a secure spot such as a small container or a magnetic tray. Keeping the screws organized and in one place will make reassembly easier later on.
- Set aside the screws – Once all of the screws have been removed, set them aside in a safe location. Be sure to keep them separate from other items to avoid misplacing or losing them.
By carefully removing the screws that secure the front panel, you are one step closer to fully detaching the panel from your Maytag Neptune stacked washer dryer. With the screws out of the way, you can now move on to the next step: lifting and removing the front panel.
Now that the screws are removed, you are ready to proceed to the next step: lifting and removing the front panel.
Step 6: Lift and remove the front panel
With the screws securing the front panel of your Maytag Neptune stacked washer dryer removed, it’s time to lift and remove the panel. By carefully following these steps, you’ll be able to detach the front panel and gain access to the inner components of the machine.
Follow these steps to lift and remove the front panel:
- Position yourself – Stand in front of the washer dryer unit and position yourself at a comfortable height to access the front panel.
- Grasp the front panel – Place your hands on either side of the front panel, near the top. Ensure that your grip is secure but gentle, allowing you to maintain control while lifting.
- Lift the front panel – Slowly and steadily, lift the front panel upwards. Be cautious as you lift to ensure that no other components or wires become tangled or damaged in the process.
- Set aside the front panel – Once the front panel is lifted, carefully set it aside in a safe and stable location. Make sure it won’t obstruct your workspace or pose any safety hazards.
Congratulations! You have successfully lifted and removed the front panel from your Maytag Neptune stacked washer dryer. This allows for easy access to the inner workings of the machine, making it convenient for maintenance and repairs.
Now that the front panel is removed, proceed to the next step: reassembling the washer dryer after performing the necessary tasks.
Step 7: Reassemble the washer dryer
After completing the necessary maintenance or repairs on your Maytag Neptune stacked washer dryer, it’s time to reassemble the machine. Reassembling the washer dryer will involve putting the front panel back in place and securing it with the screws that were previously removed.
Follow these steps to reassemble the washer dryer:
- Retrieve the front panel – Take the front panel that you had set aside and position it in front of the machine.
- Align the front panel – Carefully align the front panel with the corresponding slots or openings on the body of the washer dryer. Ensure it fits securely and snugly into place.
- Insert the screws – Take the screws that were removed earlier and insert them back into their respective holes. Use the screwdriver to tighten them, but be careful not to overtighten and damage the panel or the machine.
- Double-check alignment – Once all the screws are inserted and tightened, double-check that the front panel is properly aligned and flush with the rest of the machine.
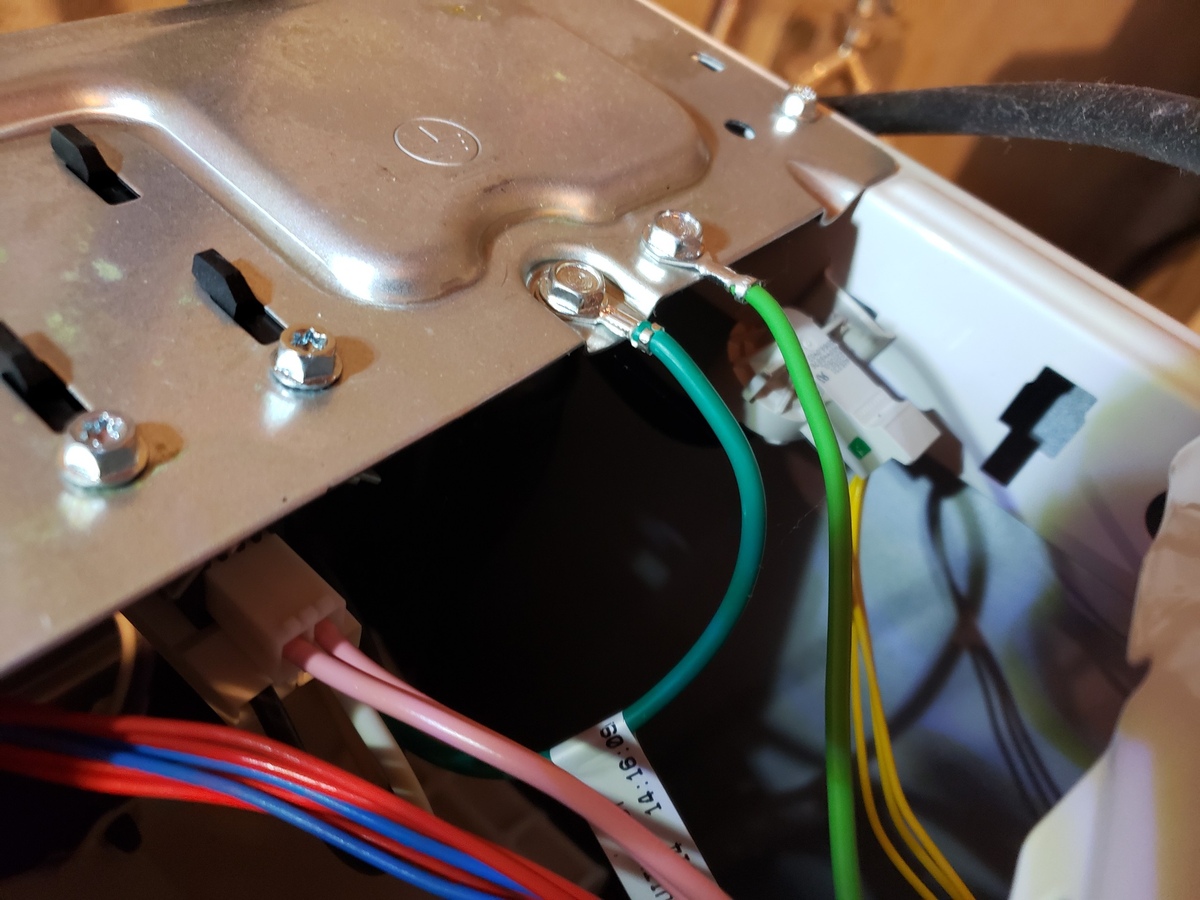
- Reconnect any wires or connectors – If any wires or connectors were disconnected during the process, now is the time to reconnect them. Make sure each connection is secure and properly fitted.
By following these steps, you will successfully reassemble your Maytag Neptune stacked washer dryer. Take the time to ensure that everything is securely in place and properly aligned before proceeding to power up the machine.
Now that you have reassembled the washer dryer, you can safely reconnect the power supply and test the machine to ensure that it is functioning correctly.
Congratulations! You have successfully completed the process of removing and reassembling the front panel of your Maytag Neptune stacked washer dryer. By following these steps, you have gained the knowledge and confidence to perform necessary maintenance or repairs in the future.
Remember, if you encounter any difficulties or have specific questions about your model, consult the user manual or contact Maytag customer support for assistance.
Happy washing and drying!
Conclusion
Removing the front panel of your Maytag Neptune stacked washer dryer may seem like a daunting task, but with the right tools and following the step-by-step guide, it can be done smoothly and effectively. By understanding how to remove and reassemble the front panel, you gain the ability to perform maintenance or repairs, ultimately extending the lifespan and performance of your machine.
We started by gathering the necessary tools, including a screwdriver, protective gloves, flashlight, pliers, and cleaning supplies. These tools ensure you are well-prepared for the task ahead. Remember to always prioritize your safety and disconnect the power supply before starting any work on the machine.
We then proceeded to disconnect the power supply, a crucial step to avoid any electrical accidents. By unplugging the power cord and confirming the absence of power, you create a safe working environment. Safety should always be the top priority when working with any electrical appliance.
Next, we removed the dryer from the washer unit, allowing for better access to the front panel. Taking the necessary precautions and unscrewing any attachments or disconnecting electrical or plumbing connections ensures a smooth separation of the dryer and washer.
We then located and removed the screws securing the front panel. By inspecting the front panel, referring to the user manual if needed, and using a flashlight for better visibility, we successfully located and removed the screws.
With the screws out of the way, we proceed to lift and remove the front panel. By positioning ourselves properly, grasping the panel firmly but gently, and lifting with care, we detached the front panel and set it aside safely.
Lastly, we reassembled the washer dryer by aligning the front panel, inserting and tightening the screws, and reconnecting any wires or connectors that were previously detached. Double-checking alignment and securing all connections ensures a proper reassembly of the machine.
By following these steps, you have gained the confidence and knowledge to perform necessary maintenance or repairs on your Maytag Neptune stacked washer dryer. Remember to always consult the user manual or seek professional assistance if you encounter difficulties or have specific questions about your model.
Now, you can power up the machine and enjoy the benefits of a properly functioning washer dryer. Whether you are cleaning clothes, bedding, or any other laundry, your machine is now ready to serve you efficiently.
Happy laundering!
Frequently Asked Questions about How To Remove Maytag Neptune Front Panel From Stacked Washer Dryer
Was this page helpful?
At Storables.com, we guarantee accurate and reliable information. Our content, validated by Expert Board Contributors, is crafted following stringent Editorial Policies. We're committed to providing you with well-researched, expert-backed insights for all your informational needs.


0 thoughts on “How To Remove Maytag Neptune Front Panel From Stacked Washer Dryer”