Home>Interior Design>How To Remove Wall Tiles In Five Easy Steps
Interior Design
How To Remove Wall Tiles In Five Easy Steps
Modified: August 19, 2024
Learn how to remove wall tiles in just five simple steps with this handy interior design guide. Say goodbye to old tiles and hello to a fresh new look for your space.
(Many of the links in this article redirect to a specific reviewed product. Your purchase of these products through affiliate links helps to generate commission for Storables.com, at no extra cost. Learn more)
Introduction
Removing wall tiles can be a daunting task, but with the right tools and techniques, it can be a manageable DIY project. Whether you want to update the look of your bathroom, kitchen, or any other tiled area, knowing how to remove wall tiles properly is crucial to ensure a smooth and successful renovation process.
In this article, we will guide you through the process of removing wall tiles in five easy steps. From gathering the necessary tools to preparing the area and protecting surrounding surfaces, we will cover every aspect of this task to help you achieve professional-looking results.
Before we dive into the steps, it’s important to understand why proper tile removal is essential. Removing tiles improperly can lead to damage to the underlying wall, potentially requiring costly repairs. It’s also crucial to ensure your safety during the removal process, as loose tiles can be sharp and pose a risk of injury. By following these steps, you can ensure a smooth and efficient tile removal process while minimizing the risk of damage or injury.
So, if you’re ready to revamp your space and remove those outdated or damaged tiles, let’s get started on this adventure of tile removal!
Key Takeaways:
- Safely and efficiently remove wall tiles by gathering the right tools, preparing the area, and following a step-by-step process. Patience and attention to detail are key for a successful DIY tile removal project.
- Properly clean and prepare the wall for new tiles to ensure a professional-looking finish. Take the time to inspect, repair, and prime the surface for a smooth and durable tile installation.
Read more: How To Grout Tiles: Step-by-step
Step 1: Gather the necessary tools and materials
Before you begin removing wall tiles, it’s essential to gather all the necessary tools and materials. Having everything prepared in advance will save you time and ensure a smooth workflow during the tile removal process. Here are the tools and materials you will need:
- Safety gear: Start by prioritizing your safety. Wear protective gloves, safety goggles, and a respirator mask to protect your hands, eyes, and lungs from dust and debris.
- Chisel or scraper: A chisel or scraper is an essential tool for removing tiles. Choose one that is sturdy and has a sharp edge to help you pry the tiles off the wall with ease.
- Hammer: A hammer will be used in conjunction with the chisel or scraper to apply controlled force and gently tap the tiles to loosen them from the adhesive.
- Grout removal tool: To remove the grout between the tiles, you will need a grout removal tool. This can be a manual grout saw or an electric grout removal tool, depending on your preference and the size of the project.
- Putty knife: A putty knife will come in handy for scraping off any residual adhesive or grout after removing the tiles.
- Dust sheet or tarp: To protect the surrounding surfaces from dust and debris, lay down a dust sheet or tarp over the floor and any nearby furniture or fixtures.
- Plastic bags or containers: As you remove the tiles, you will need a place to collect and dispose of them. Keep plastic bags or containers nearby to store and transport the discarded tiles.
- Tile adhesive remover: Depending on the type of adhesive used to install the tiles, you may need a tile adhesive remover. Consult the manufacturer’s instructions or seek advice from a specialist to determine the best adhesive remover for your specific situation.
- Clean cloth and cleaning solution: Once the tiles are removed, you will need a clean cloth and a suitable cleaning solution to wipe down the walls and remove any remaining dust, adhesive, or grout residue.
- Wall repair kit (optional): If you anticipate any damage to the walls during the tile removal process, consider having a wall repair kit handy. This may include spackle or filler, sandpaper, and a putty knife for repairing any surface imperfections.
Make sure to gather all these tools and materials before you begin the tile removal process. Having everything within reach will help streamline the project and minimize any delays or interruptions.
Step 2: Prepare the area and protect surrounding surfaces
Before you start removing wall tiles, it’s crucial to prepare the area and take precautions to protect the surrounding surfaces. Proper preparation will not only prevent damage to adjacent walls, floors, and fixtures but also make the tile removal process more efficient. Follow these steps to ensure a smooth and hassle-free experience:
- Cover and protect: Begin by covering the floor and any furniture or fixtures in the room with a dust sheet or tarp. This will protect them from debris, dust, and potential damage during the tile removal process.
- Turn off power: If you’re working in a space with electrical outlets or switches near the tiled area, turn off the power to avoid any accidents or electrical hazards.
- Remove any loose tiles: Inspect the tiled area and check for any loose tiles. Carefully remove them and set them aside for disposal. This step will ensure that you don’t accidentally dislodge any loose tiles during the removal process.
- Seal off adjacent areas: If you’re removing tiles in a bathroom or kitchen, consider sealing off adjacent areas with plastic sheets or tape to prevent the spread of dust and debris. This will minimize the cleanup required once the tile removal is complete.
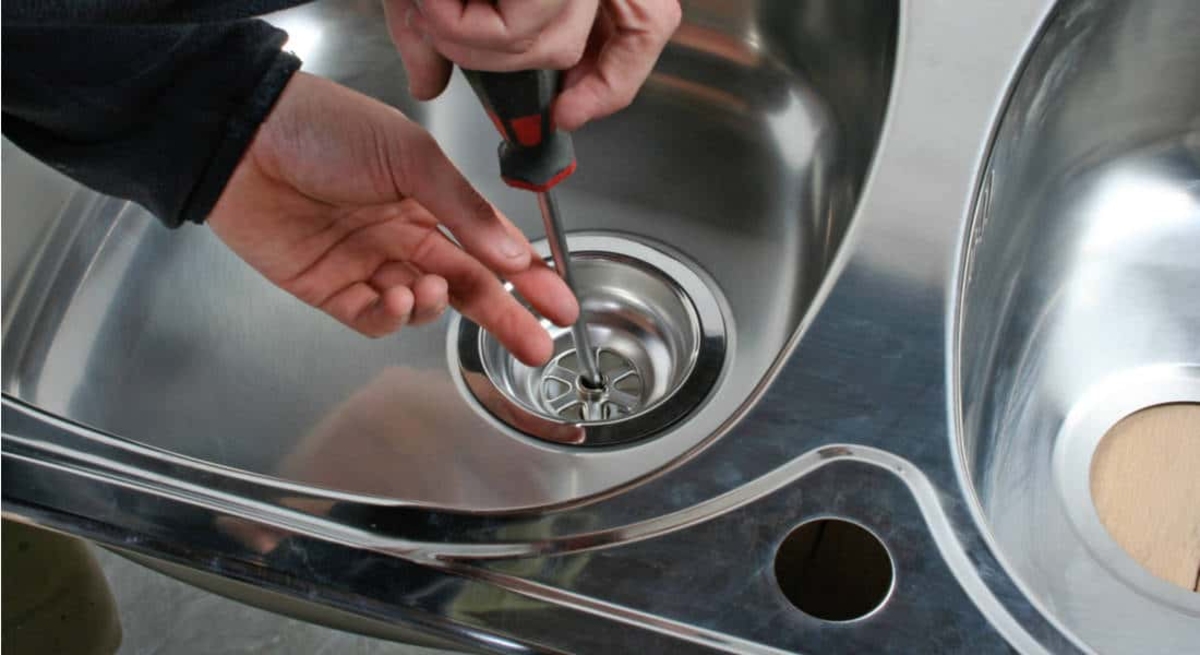
- Disconnect fixtures (if applicable): In some cases, tiles may be installed around fixtures such as sinks, toilets, or showerheads. If possible, disconnect and remove these fixtures to make the tile removal process easier and to protect them from potential damage.
- Turn off water supply (if applicable): If you need to remove tiles around plumbing fixtures, it’s essential to turn off the water supply to avoid any leaks or water damage during the removal process.
- Apply protective tape: Use painter’s tape or masking tape to protect adjacent walls, countertops, or other surfaces that are not being tiled. Apply the tape along the edges of these surfaces to create a barrier that will prevent damage from the chisel or scraper during tile removal.
- Create a workspace: Set up a designated area near the tile removal site where you can organize your tools and materials. This will keep you organized and prevent any unnecessary searching or disruptions during the project.
Taking the time to properly prepare the area and protect surrounding surfaces will make the tile removal process much smoother. By following these steps, you can ensure that the task is completed efficiently and without any unnecessary damage or mess.
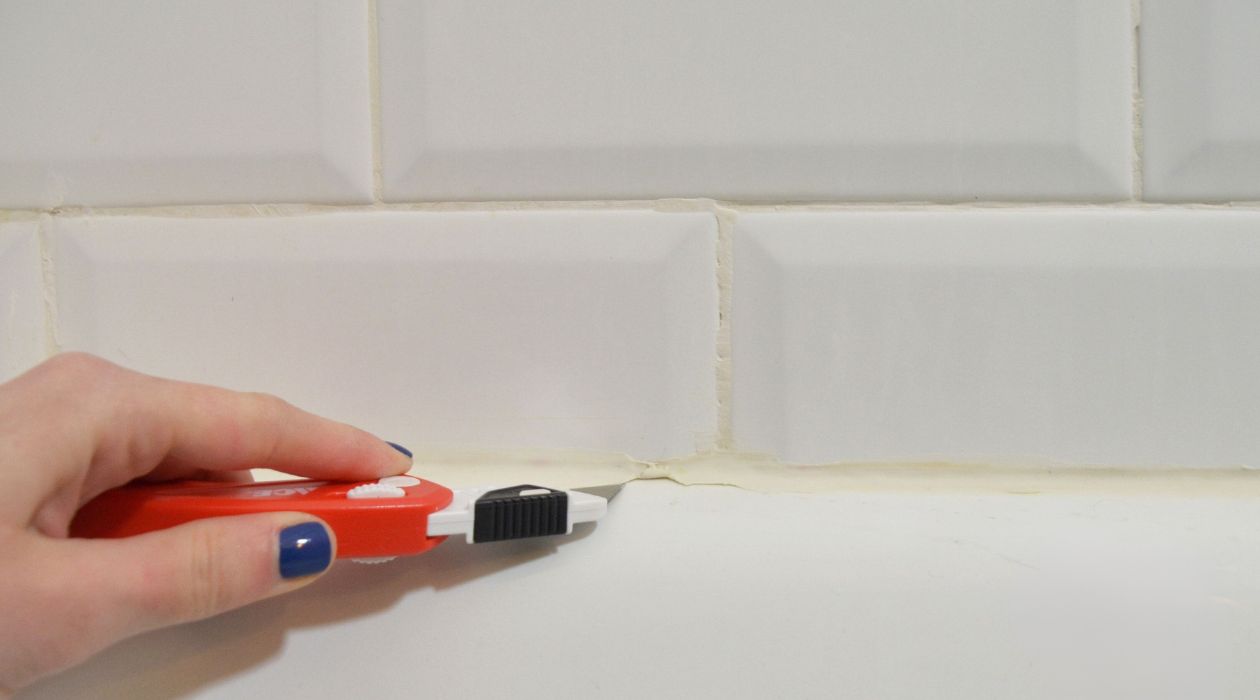
Step 3: Start removing the grout
Once you have gathered the necessary tools and prepared the area, it’s time to start removing the grout between the tiles. Removing the grout is an important step in order to loosen the tiles and make them easier to remove from the wall. Follow these steps to effectively remove the grout:
- Put on safety gear: Before you begin, put on your safety goggles and gloves to protect your eyes and hands from any flying debris.
- Choose your grout removal tool: There are several options for removing grout, including a manual grout saw, an electric grout removal tool, or a rotary tool with a grout removal attachment. Select the tool that you feel most comfortable using and that will work best for the size and depth of your grout lines.
- Start removing the grout: Place the grout removal tool at a slight angle and begin scraping along the grout lines. Apply gentle pressure and work your way along the entire length of each grout line. Be careful not to apply too much pressure, as this can damage the adjacent tiles.
- Clear out the debris: As you remove the grout, use a vacuum cleaner or a brush to clear away the debris. This will help you see the grout lines clearly and avoid any potential damage to the tiles.
- Repeat the process: Continue removing the grout from each grout line until the entire tiled area is free of grout. Take breaks as needed to rest your hand and to avoid any strain or fatigue.
- Inspect for remaining grout: Once you have removed the majority of the grout, closely inspect the tiled area for any remaining grout. Use a small brush or toothbrush to remove any stubborn grout that may be lingering in the joints.
- Clean the area: After removing the grout, it’s important to clean the area thoroughly. Use a damp cloth or sponge to wipe down the tiles and remove any residual grout dust. This will ensure that the walls are ready for tile removal in the next step.
Removing the grout is a crucial step in the tile removal process, as it reduces the adhesion between the tiles and the wall. By following these steps, you can effectively remove the grout and prepare the tiles for removal in the next step. Remember to work carefully and take breaks as needed to avoid any unnecessary strain or injury.
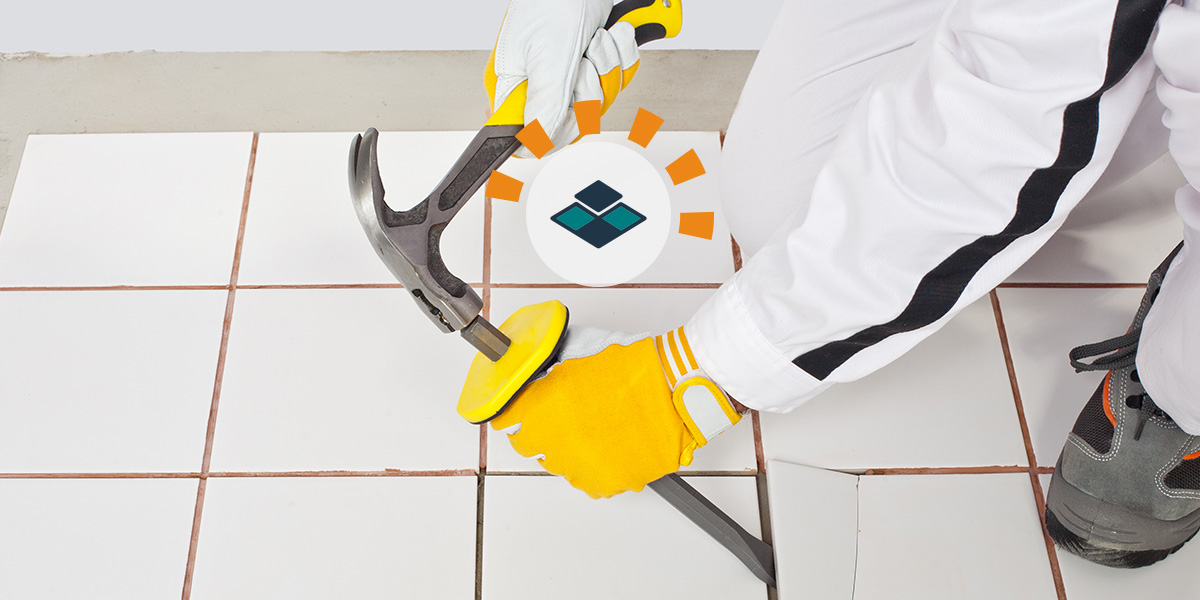
Before starting to remove wall tiles, make sure to protect yourself with safety goggles, gloves, and a dust mask to avoid any injuries or inhalation of dust particles.
Step 4: Remove the tiles from the wall
With the grout removed, it’s time to start removing the tiles from the wall. This step requires some patience and attention to detail to ensure that the tiles are safely and efficiently removed without causing any damage. Follow these steps to remove the tiles from the wall:
- Start at an edge: Begin by identifying a corner or edge tile that you will start with. This will make it easier to pry the tiles off the wall.
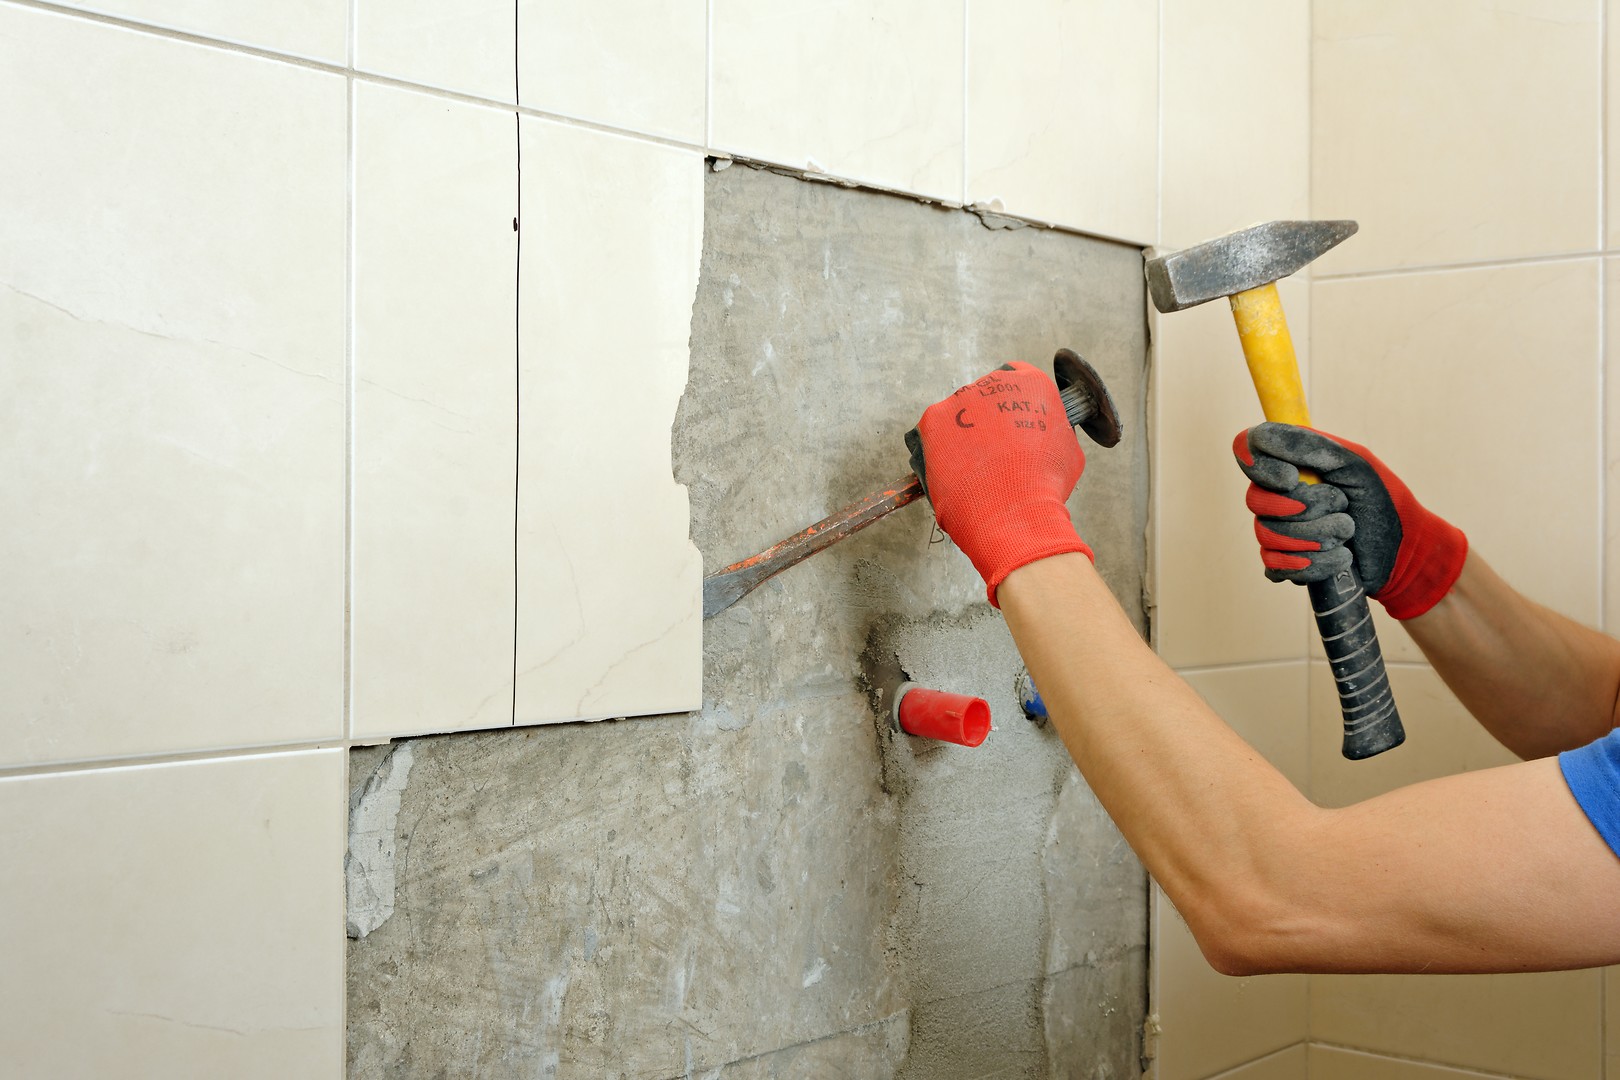
- Apply gentle pressure: Use a chisel or scraper to apply gentle pressure to the edge of the tile. Insert the tool between the tile and the wall, being careful not to damage the adjacent tiles.
- Tap with a hammer: Once the tool is inserted, gently tap it with a hammer. This will help loosen the tile from the adhesive or mortar holding it in place. Be careful not to tap too forcefully, as this can cause the tile to break.
- Pry the tile off: Slowly and carefully pry the tile off the wall, applying even pressure to avoid any sudden movements or damage. Use the chisel or scraper as a lever, gently lifting the tile away from the wall.
- Continue with adjacent tiles: Once the first tile is removed, move on to the adjacent tiles. Repeat the process of applying pressure, tapping, and prying until all the tiles in the desired area are removed.
- Store the removed tiles: As you remove the tiles, store them in plastic bags or containers for disposal. Be cautious with any broken tiles, as they can be sharp and pose a safety risk.
- Inspect for remaining adhesive: After removing the tiles, inspect the wall for any remaining adhesive or mortar. Use a putty knife to scrape off any residual material, being careful not to damage the wall surface.
- Clean the area: Once the tiles and adhesive are removed, take the time to clean the area. Use a damp cloth or sponge to wipe down the wall, removing any dust or debris. This will ensure a clean surface for the next step in the renovation process.
Removing the tiles from the wall can be a time-consuming task, but with patience and care, it can be accomplished smoothly. By following these steps, you can safely remove the tiles and prepare the wall for the next phase of your renovation project.
Read more: How To Tile A Backsplash: Step By Step
Step 5: Clean and prepare the wall for new tiles
Once the old tiles have been removed, it’s important to clean and prepare the wall for the installation of new tiles. This step ensures a smooth and proper surface for the new tiles to adhere to, resulting in a professional-looking finish. Follow these steps to clean and prepare the wall:
- Inspect the wall: Before proceeding, carefully inspect the wall for any damage or imperfections. Look for cracks, holes, or uneven surfaces that may need to be addressed before installing the new tiles.
- Repair and patch: If you find any damage, use a wall repair kit to patch and repair the surface. Fill in cracks and holes with spackle or filler, and use a putty knife to smooth out the surface. Allow the repair material to dry and sand it down if necessary to create a flush and even surface.
- Clean the wall: Thoroughly clean the wall using a suitable cleaning solution. This will remove any dust, debris, or residue from the tile removal process. Use a clean cloth or sponge to wipe down the wall, ensuring it is free of any contaminants that could interfere with the bonding of the new tiles.
- Prime the wall (if necessary): Depending on the type of tiles you will be installing and the condition of the wall, you may need to apply a primer. A primer helps create a better bond between the wall and the tiles, especially if you are working with porous surfaces or in high-moisture areas such as bathrooms or kitchens. Follow the manufacturer’s instructions for the specific primer you are using.
- Measure and mark: Before proceeding with the tile installation, measure the wall area and mark the layout of the new tiles. This will help ensure accurate and precise placement of the tiles, avoiding any uneven or crooked lines. Use a level or a straight edge to guide your markings.
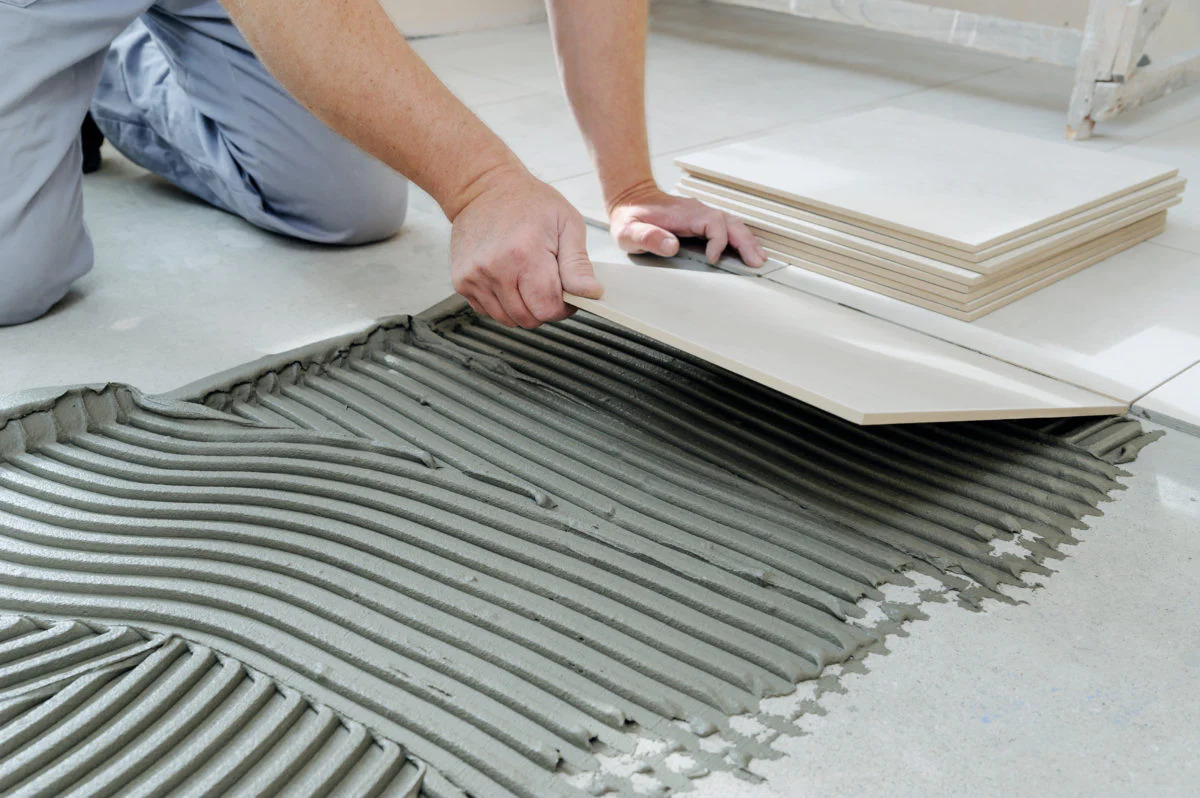
- Prepare the adhesive: Mix the tile adhesive according to the manufacturer’s instructions. Use a trowel to apply the adhesive to the wall, creating a consistent layer. Ensure the adhesive is evenly spread and has a sufficient thickness to hold the tiles securely.
- Install the new tiles: Finally, begin installing the new tiles on the prepared wall. Press each tile firmly into the adhesive, using spacers if necessary to maintain even grout lines. Work in small sections, ensuring each tile is level and properly aligned before moving on to the next.
- Allow for curing time: Once the tiles are in place, allow the adhesive to cure for the recommended time. This will ensure that the tiles adhere properly and provide a strong and durable bond in the long run.
Properly cleaning and preparing the wall is essential for a successful tile installation. By following these steps, you can create a clean and suitable surface for the new tiles, ensuring a beautiful and long-lasting result.
Conclusion
Removing wall tiles may seem like a challenging task, but with the right knowledge and tools, it can be accomplished successfully. By following the five steps outlined in this article, you can confidently tackle the tile removal process and prepare your space for a fresh and updated look.
In Step 1, we emphasized the importance of gathering all the necessary tools and materials before starting the tile removal. This will ensure that you have everything you need within reach, saving time and minimizing interruptions during the project.
Step 2 focused on the preparation and protection of the surrounding surfaces. By covering and sealing off adjacent areas, disconnecting fixtures, and turning off power and water supplies, you can prevent damage and keep the workspace clean and organized.
Step 3 discussed the process of removing the grout between the tiles. By carefully using the right tools and gradually scraping away the grout, you can loosen the tiles and make them easier to remove without causing any damage.
Step 4 guided you through the process of removing the tiles from the wall. With a combination of gentle pressure, tapping, and careful prying, you can safely remove the tiles while minimizing the risk of breakage.
Finally, Step 5 highlighted the importance of cleaning and preparing the wall for the installation of new tiles. By repairing any damage, cleaning the surface, and applying primers or adhesive, you can create a smooth and suitable base for the new tiles to adhere to.
In conclusion, removing wall tiles is a manageable DIY project that can greatly enhance the look and feel of any space. By following these steps and taking the time to do the job properly, you can achieve professional-looking results while minimizing the risk of damage or injury.
Remember, patience and attention to detail are key when removing wall tiles. Take your time, follow the steps carefully, and don’t hesitate to seek professional help if needed. With a little effort and the right approach, you can transform your space and create a fresh and stylish environment.
Frequently Asked Questions about How To Remove Wall Tiles In Five Easy Steps
Was this page helpful?
At Storables.com, we guarantee accurate and reliable information. Our content, validated by Expert Board Contributors, is crafted following stringent Editorial Policies. We're committed to providing you with well-researched, expert-backed insights for all your informational needs.


0 thoughts on “How To Remove Wall Tiles In Five Easy Steps”