Articles
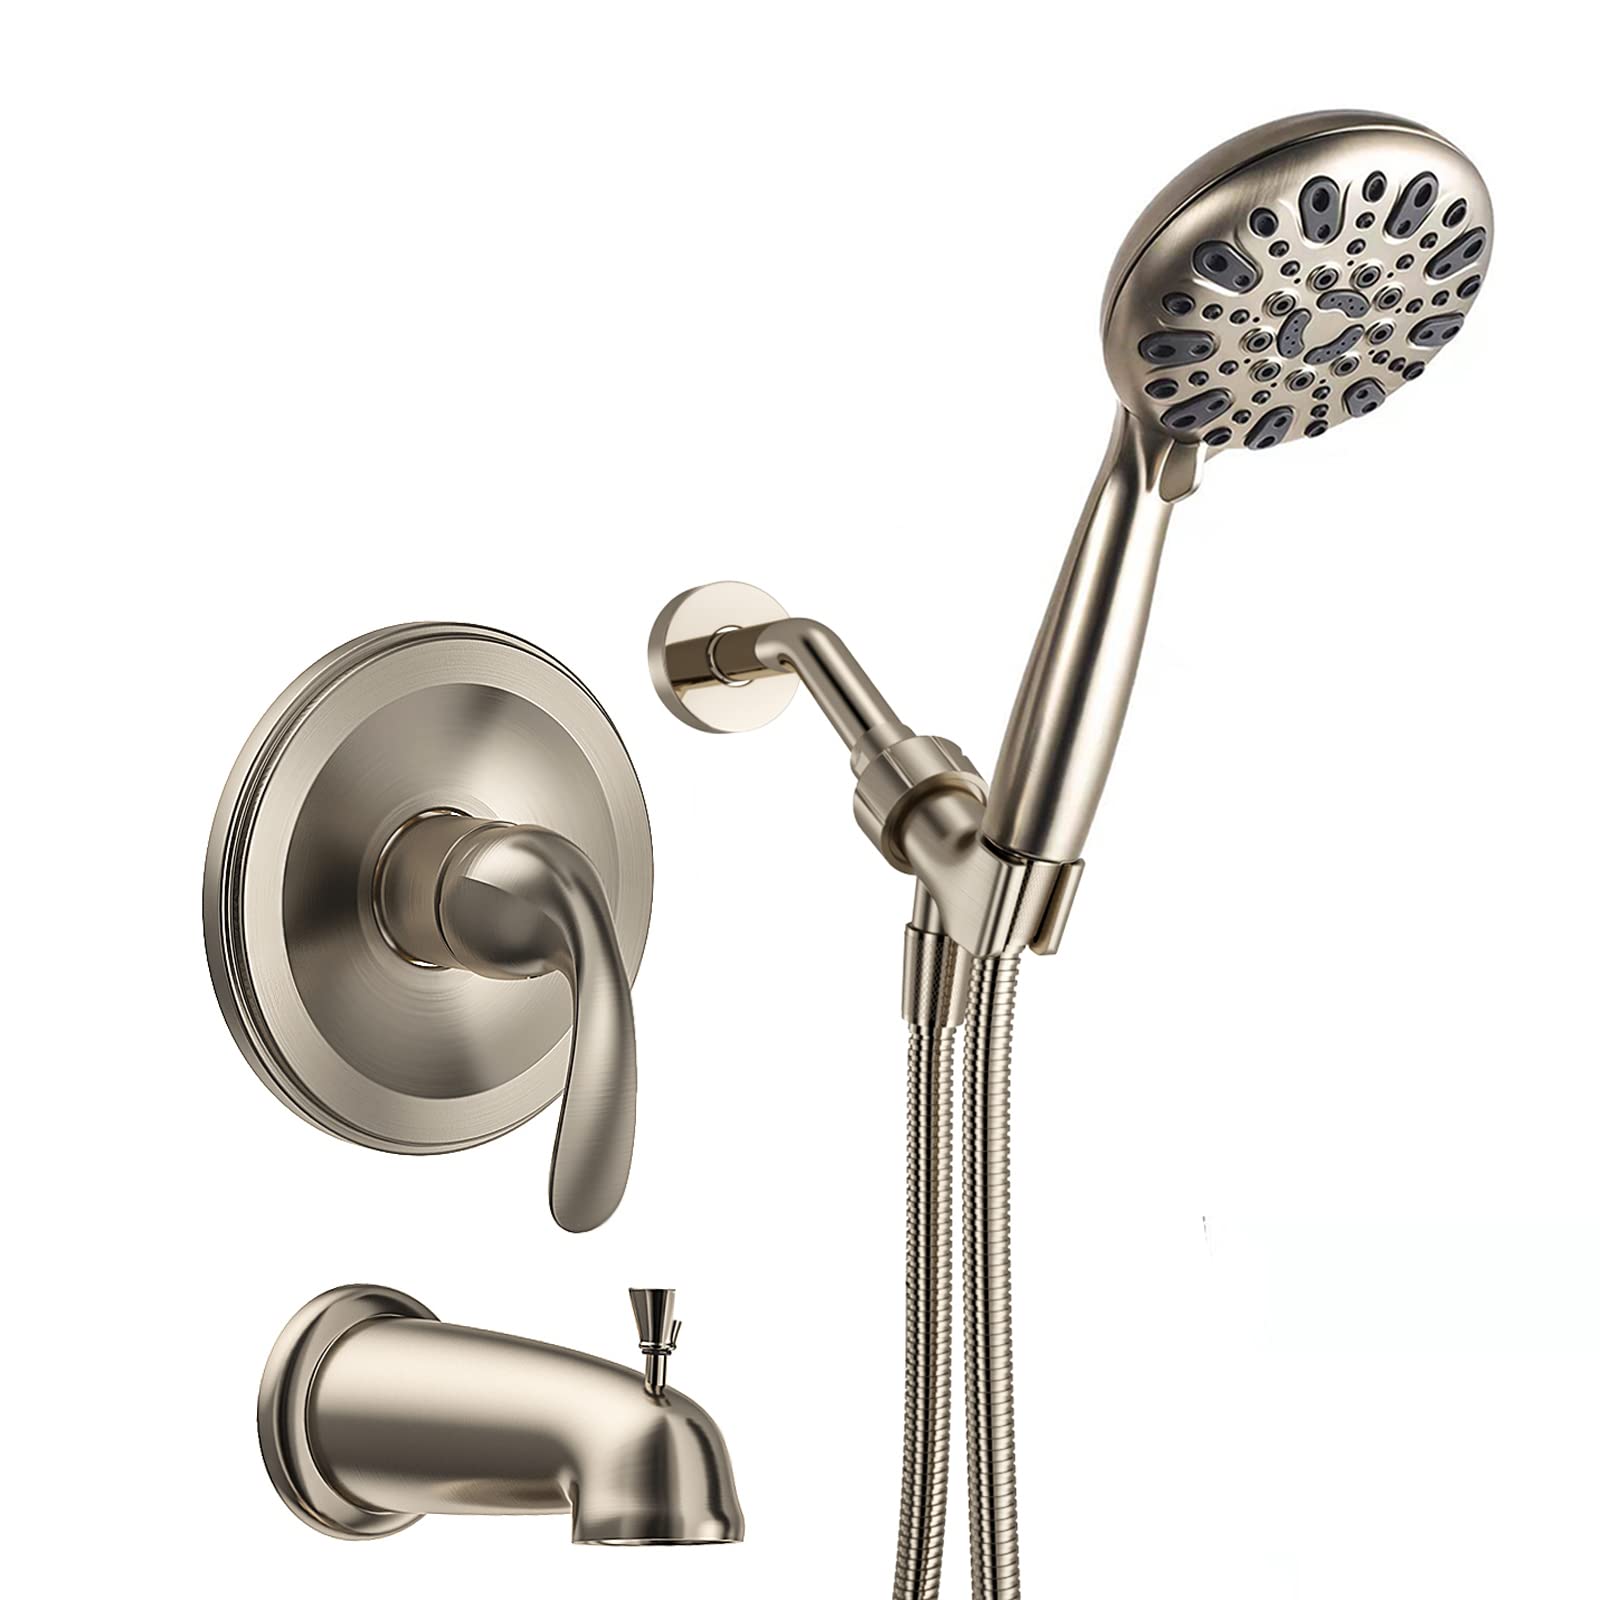
How To Remove Delta Shower Faucet
Modified: October 20, 2024
Learn how to remove a Delta shower faucet easily with our step-by-step guide. Discover helpful articles and tips for a smooth DIY experience.
(Many of the links in this article redirect to a specific reviewed product. Your purchase of these products through affiliate links helps to generate commission for Storables.com, at no extra cost. Learn more)
Introduction
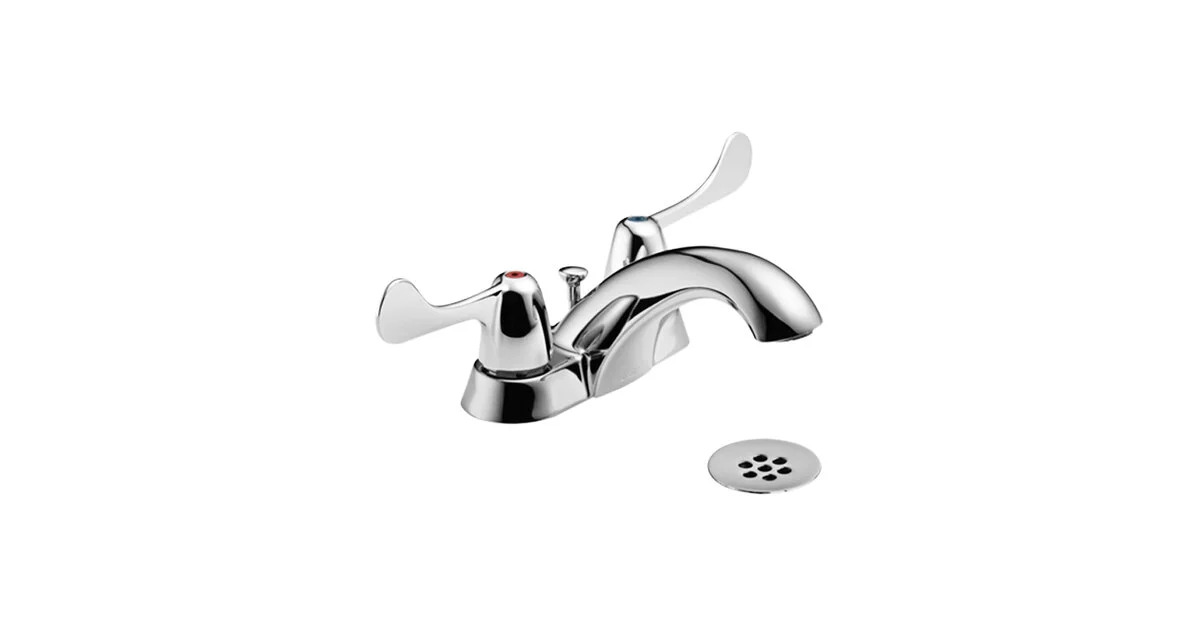
In this article, we will guide you on how to remove a Delta shower faucet. Whether you’re experiencing a leak or simply want to replace your old faucet with a new one, removing the existing faucet is the first step. Delta shower faucets are known for their durability and functionality, but over time, even the best faucets can begin to show signs of wear and tear.
Before you begin the process, it’s important to gather the necessary tools and materials. This will ensure a smooth and hassle-free removal process. Once you have everything you need, we can dive into the step-by-step guide on how to remove your Delta shower faucet.
Key Takeaways:
- Proper tools and a systematic approach are essential for removing a Delta shower faucet. Turning off the water supply, handling components with care, and checking for leaks are crucial steps in the process.
- Replacing a Delta shower faucet requires attention to detail and following manufacturer’s instructions. Installing a new cartridge, reassembling components, and checking for leaks ensure a successful removal and replacement process.
Read more: How To Install Delta Shower Faucet
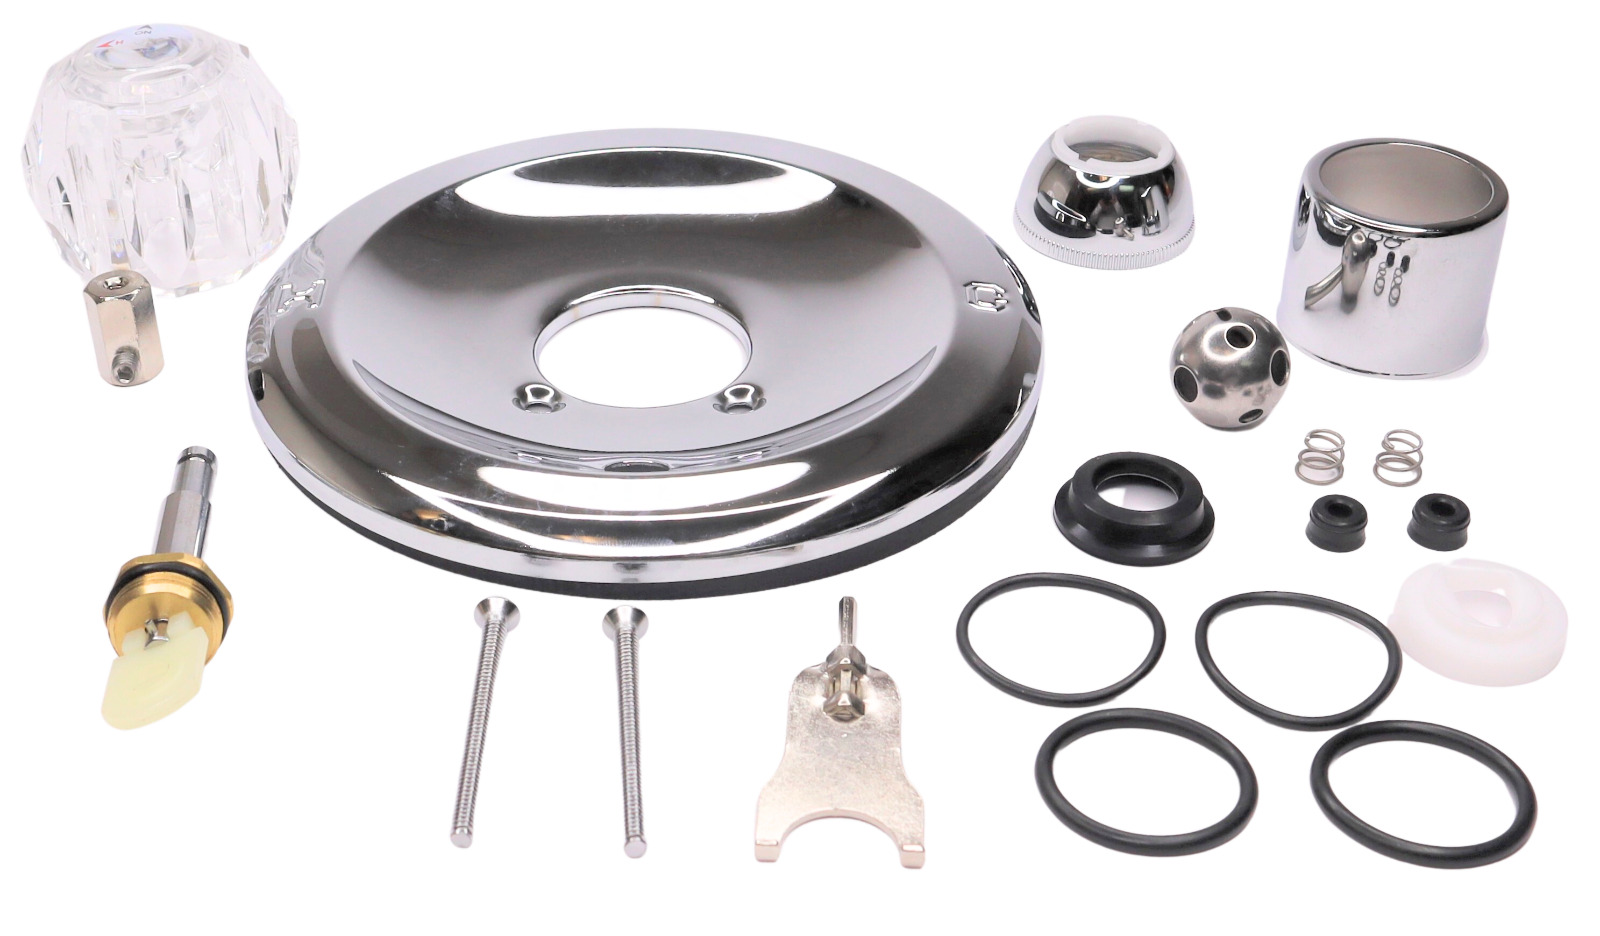
Tools and Materials Needed
Before starting the removal process of a Delta shower faucet, gather the following tools and materials:
- Adjustable wrench
- Screwdriver (Phillips or flathead, depending on the faucet model)
- Allen wrench (if applicable)
- Plumber’s tape
- Bucket or container
Having these tools on hand will make the removal process easier and more efficient. Now that you have everything you need, let’s move on to the next step.
Step 1: Turn off Water Supply
The first step in removing a Delta shower faucet is to turn off the water supply. This is crucial to prevent any water leakage or damage during the removal process.
Locate the water shut-off valve for your shower. It is usually located near the shower or in the basement. Turn the valve clockwise to shut off the water supply. Once you have successfully turned off the water, turn on the shower to release any water remaining in the pipes.
It’s a good idea to place a bucket or container beneath the showerhead to catch any residual water that may be present. This will prevent any water from damaging the surrounding area while you work on removing the faucet.
With the water supply turned off and any remaining water drained, you can proceed to the next step of removing the Delta shower faucet. Now let’s move on to step 2.
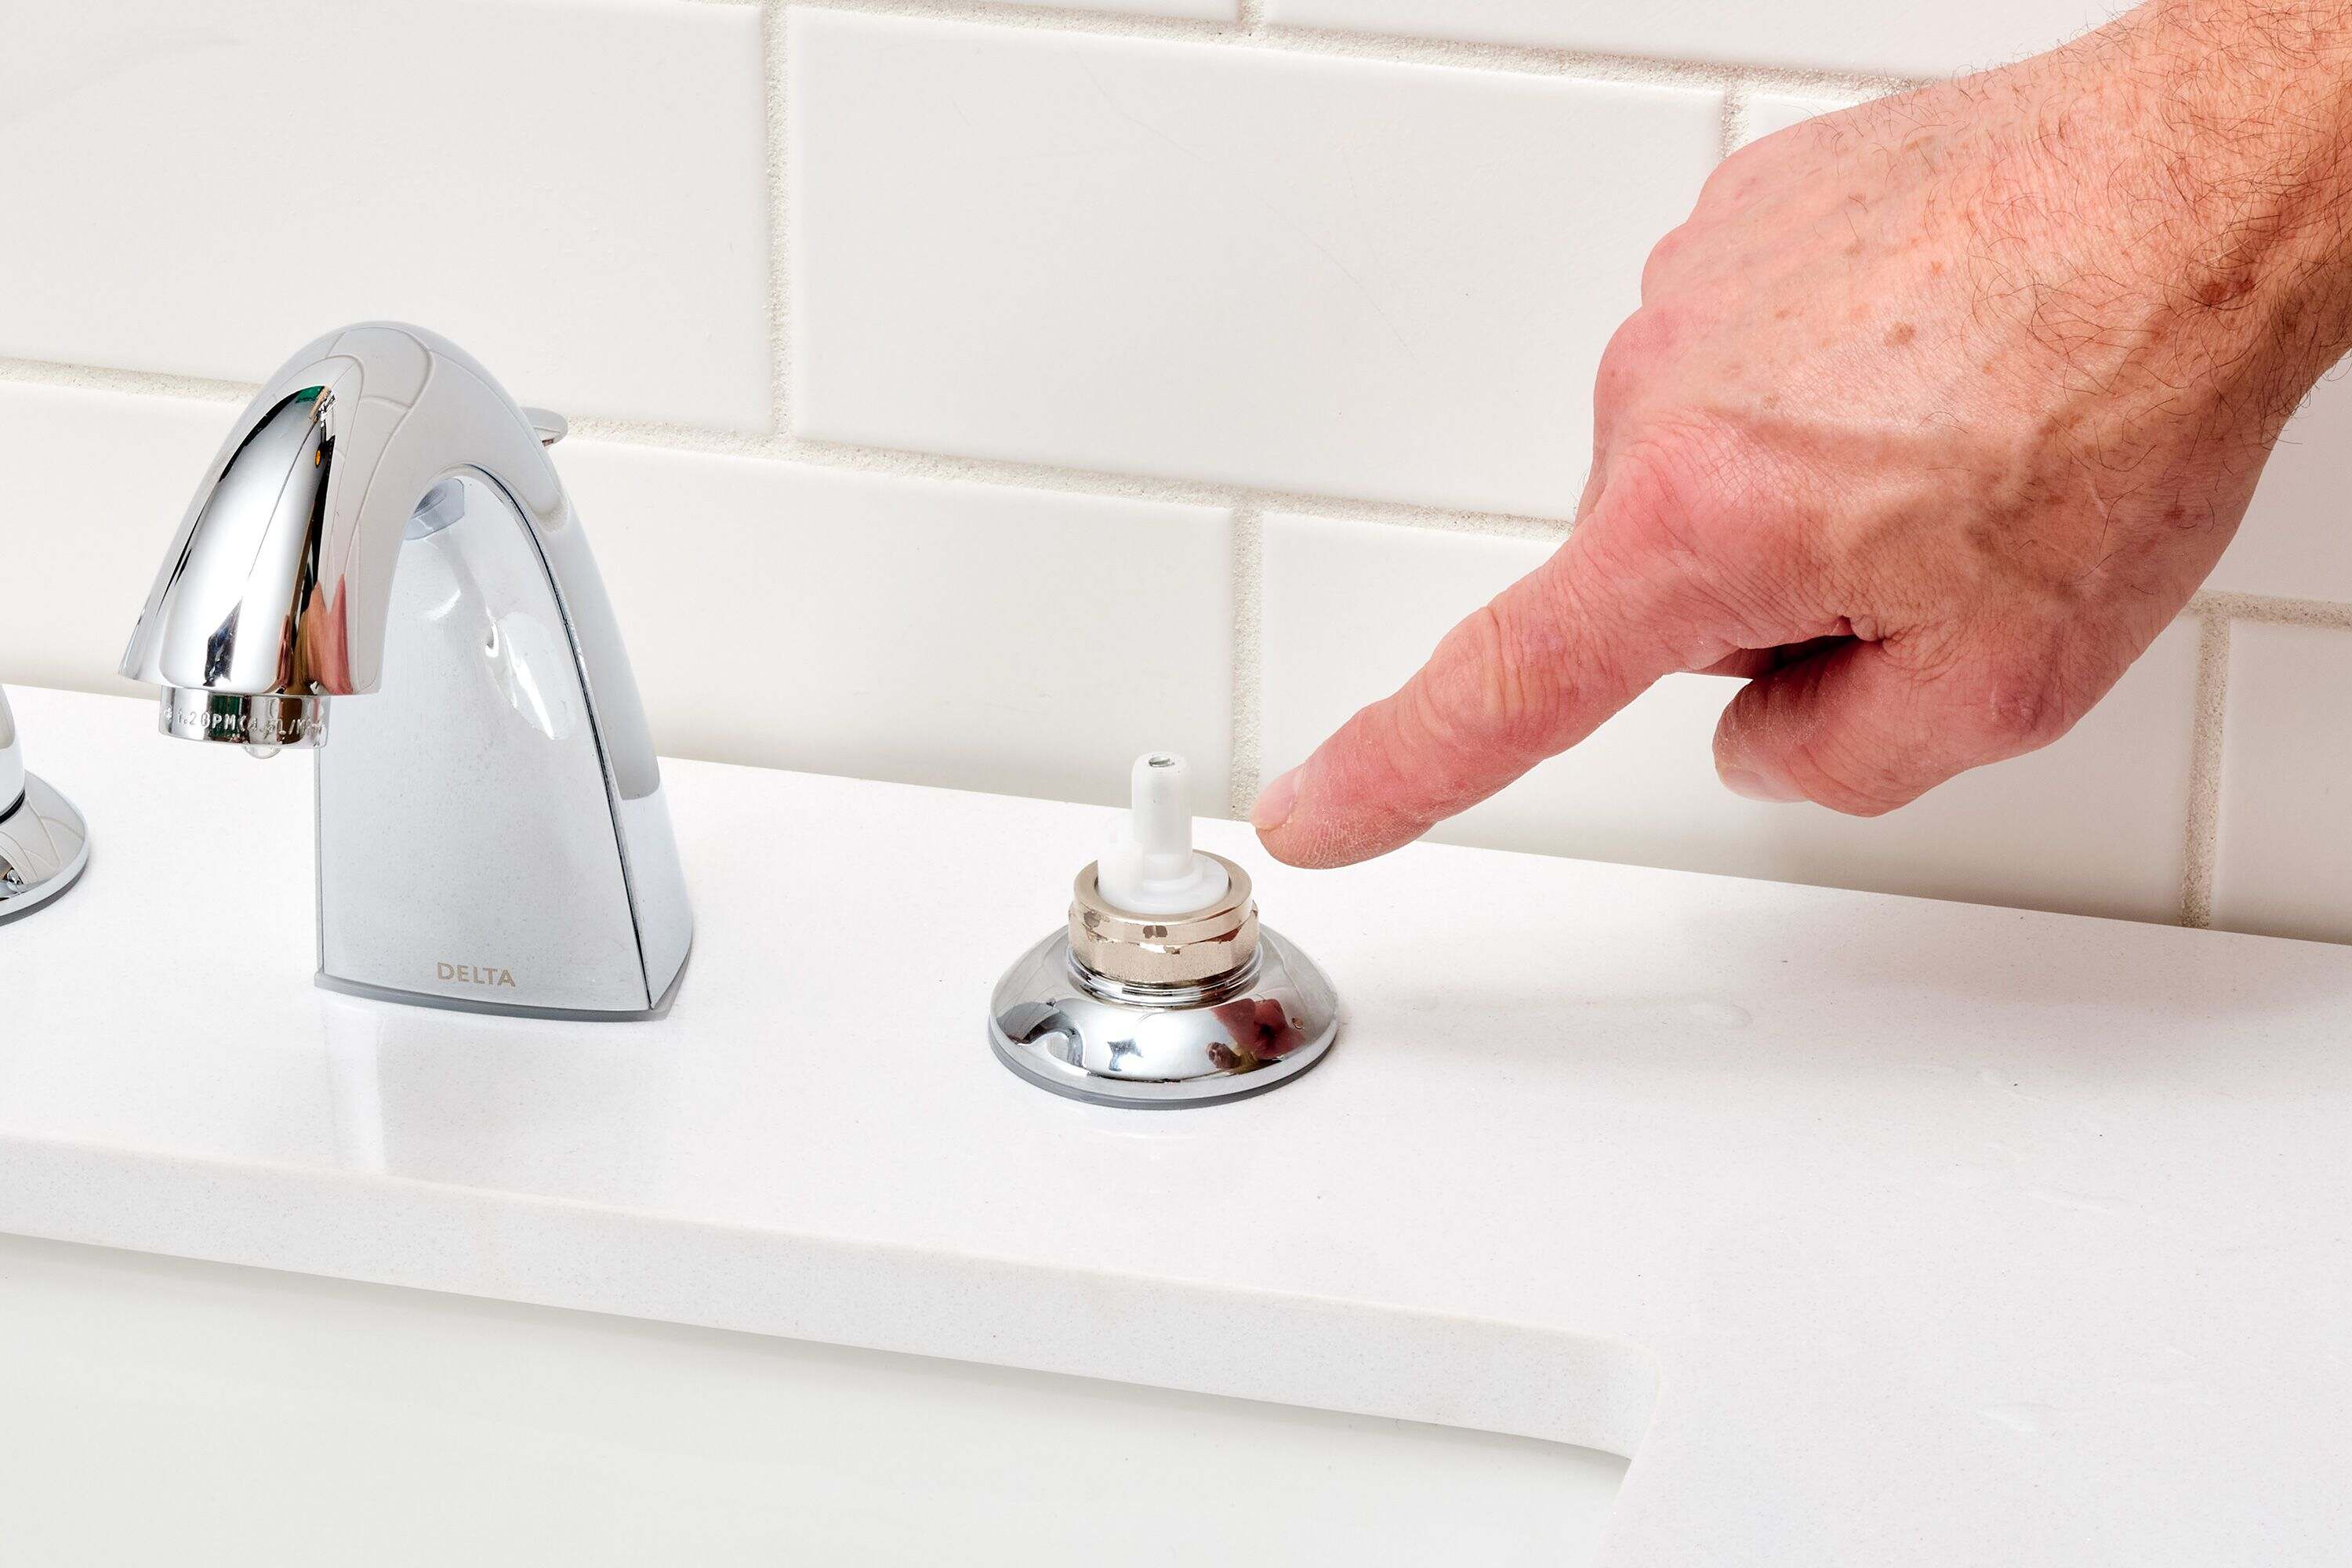
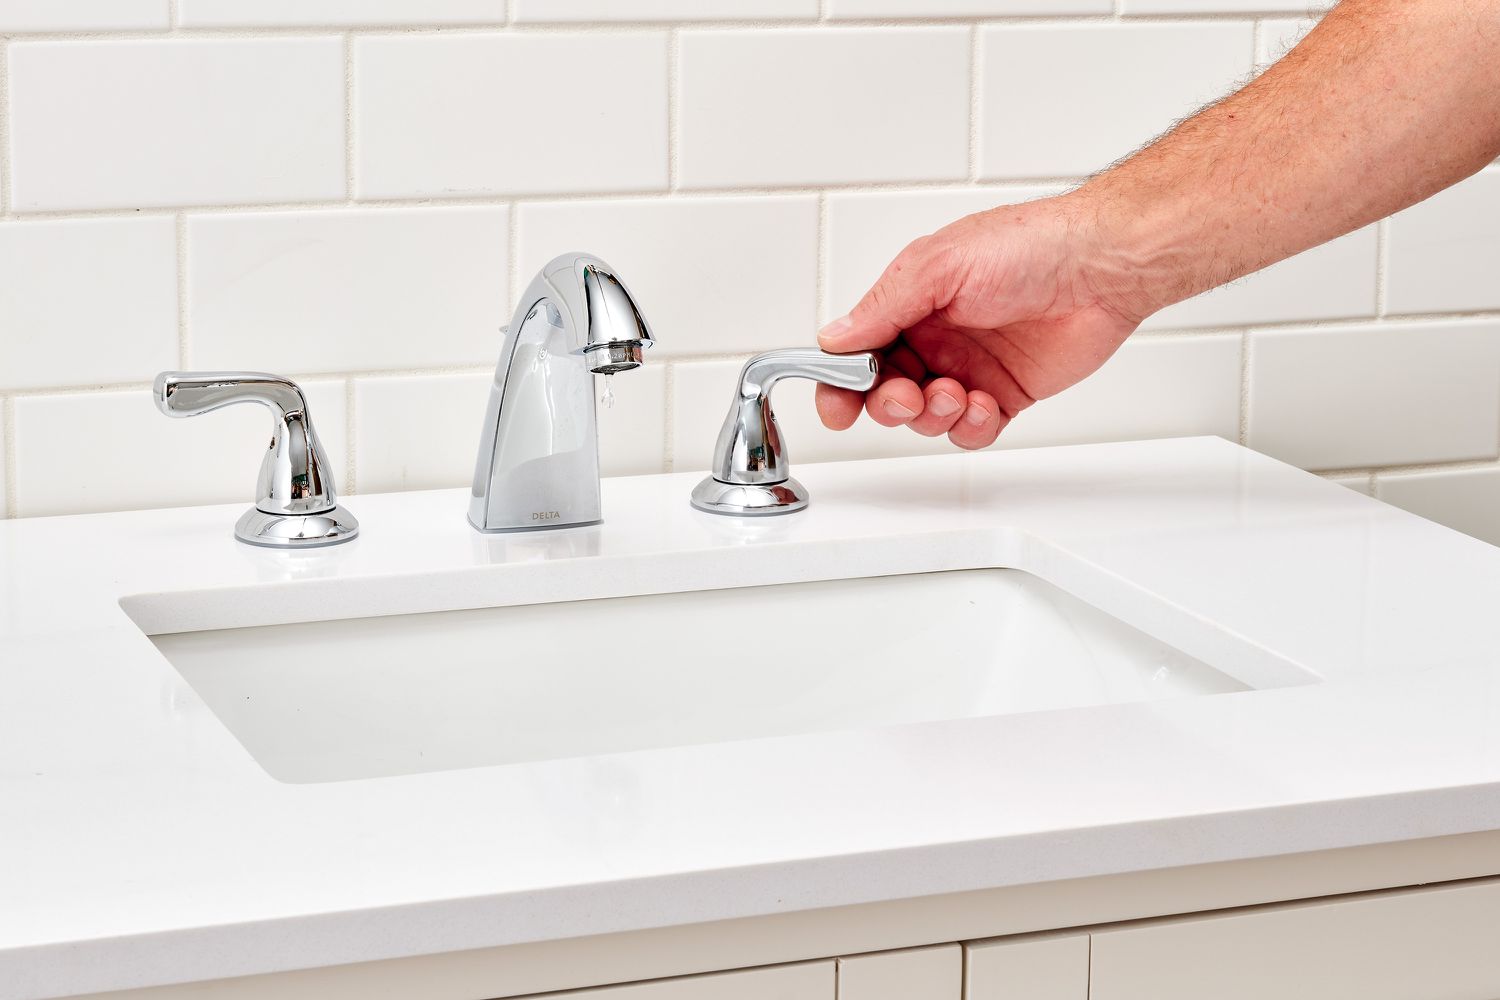
Step 2: Remove Handle
Now that the water supply is turned off, it’s time to remove the handle of the Delta shower faucet. The handle is usually held in place by a screw or a small set screw located either on the top or underneath the handle.
Using the appropriate screwdriver or Allen wrench, loosen and remove the screw or set screw. Once it is loosened, you should be able to easily lift off the handle from the faucet.
If the handle is stubborn or difficult to remove, try gently wiggling it back and forth or use a pair of pliers with a cloth or towel wrapped around the handle to protect it from scratches or damage. Be mindful not to use excessive force, as this could cause the handle to break.
With the handle successfully removed, set it aside in a safe place. Now, you can move on to the next step, which is removing the escutcheon plate. Let’s continue to step 3.
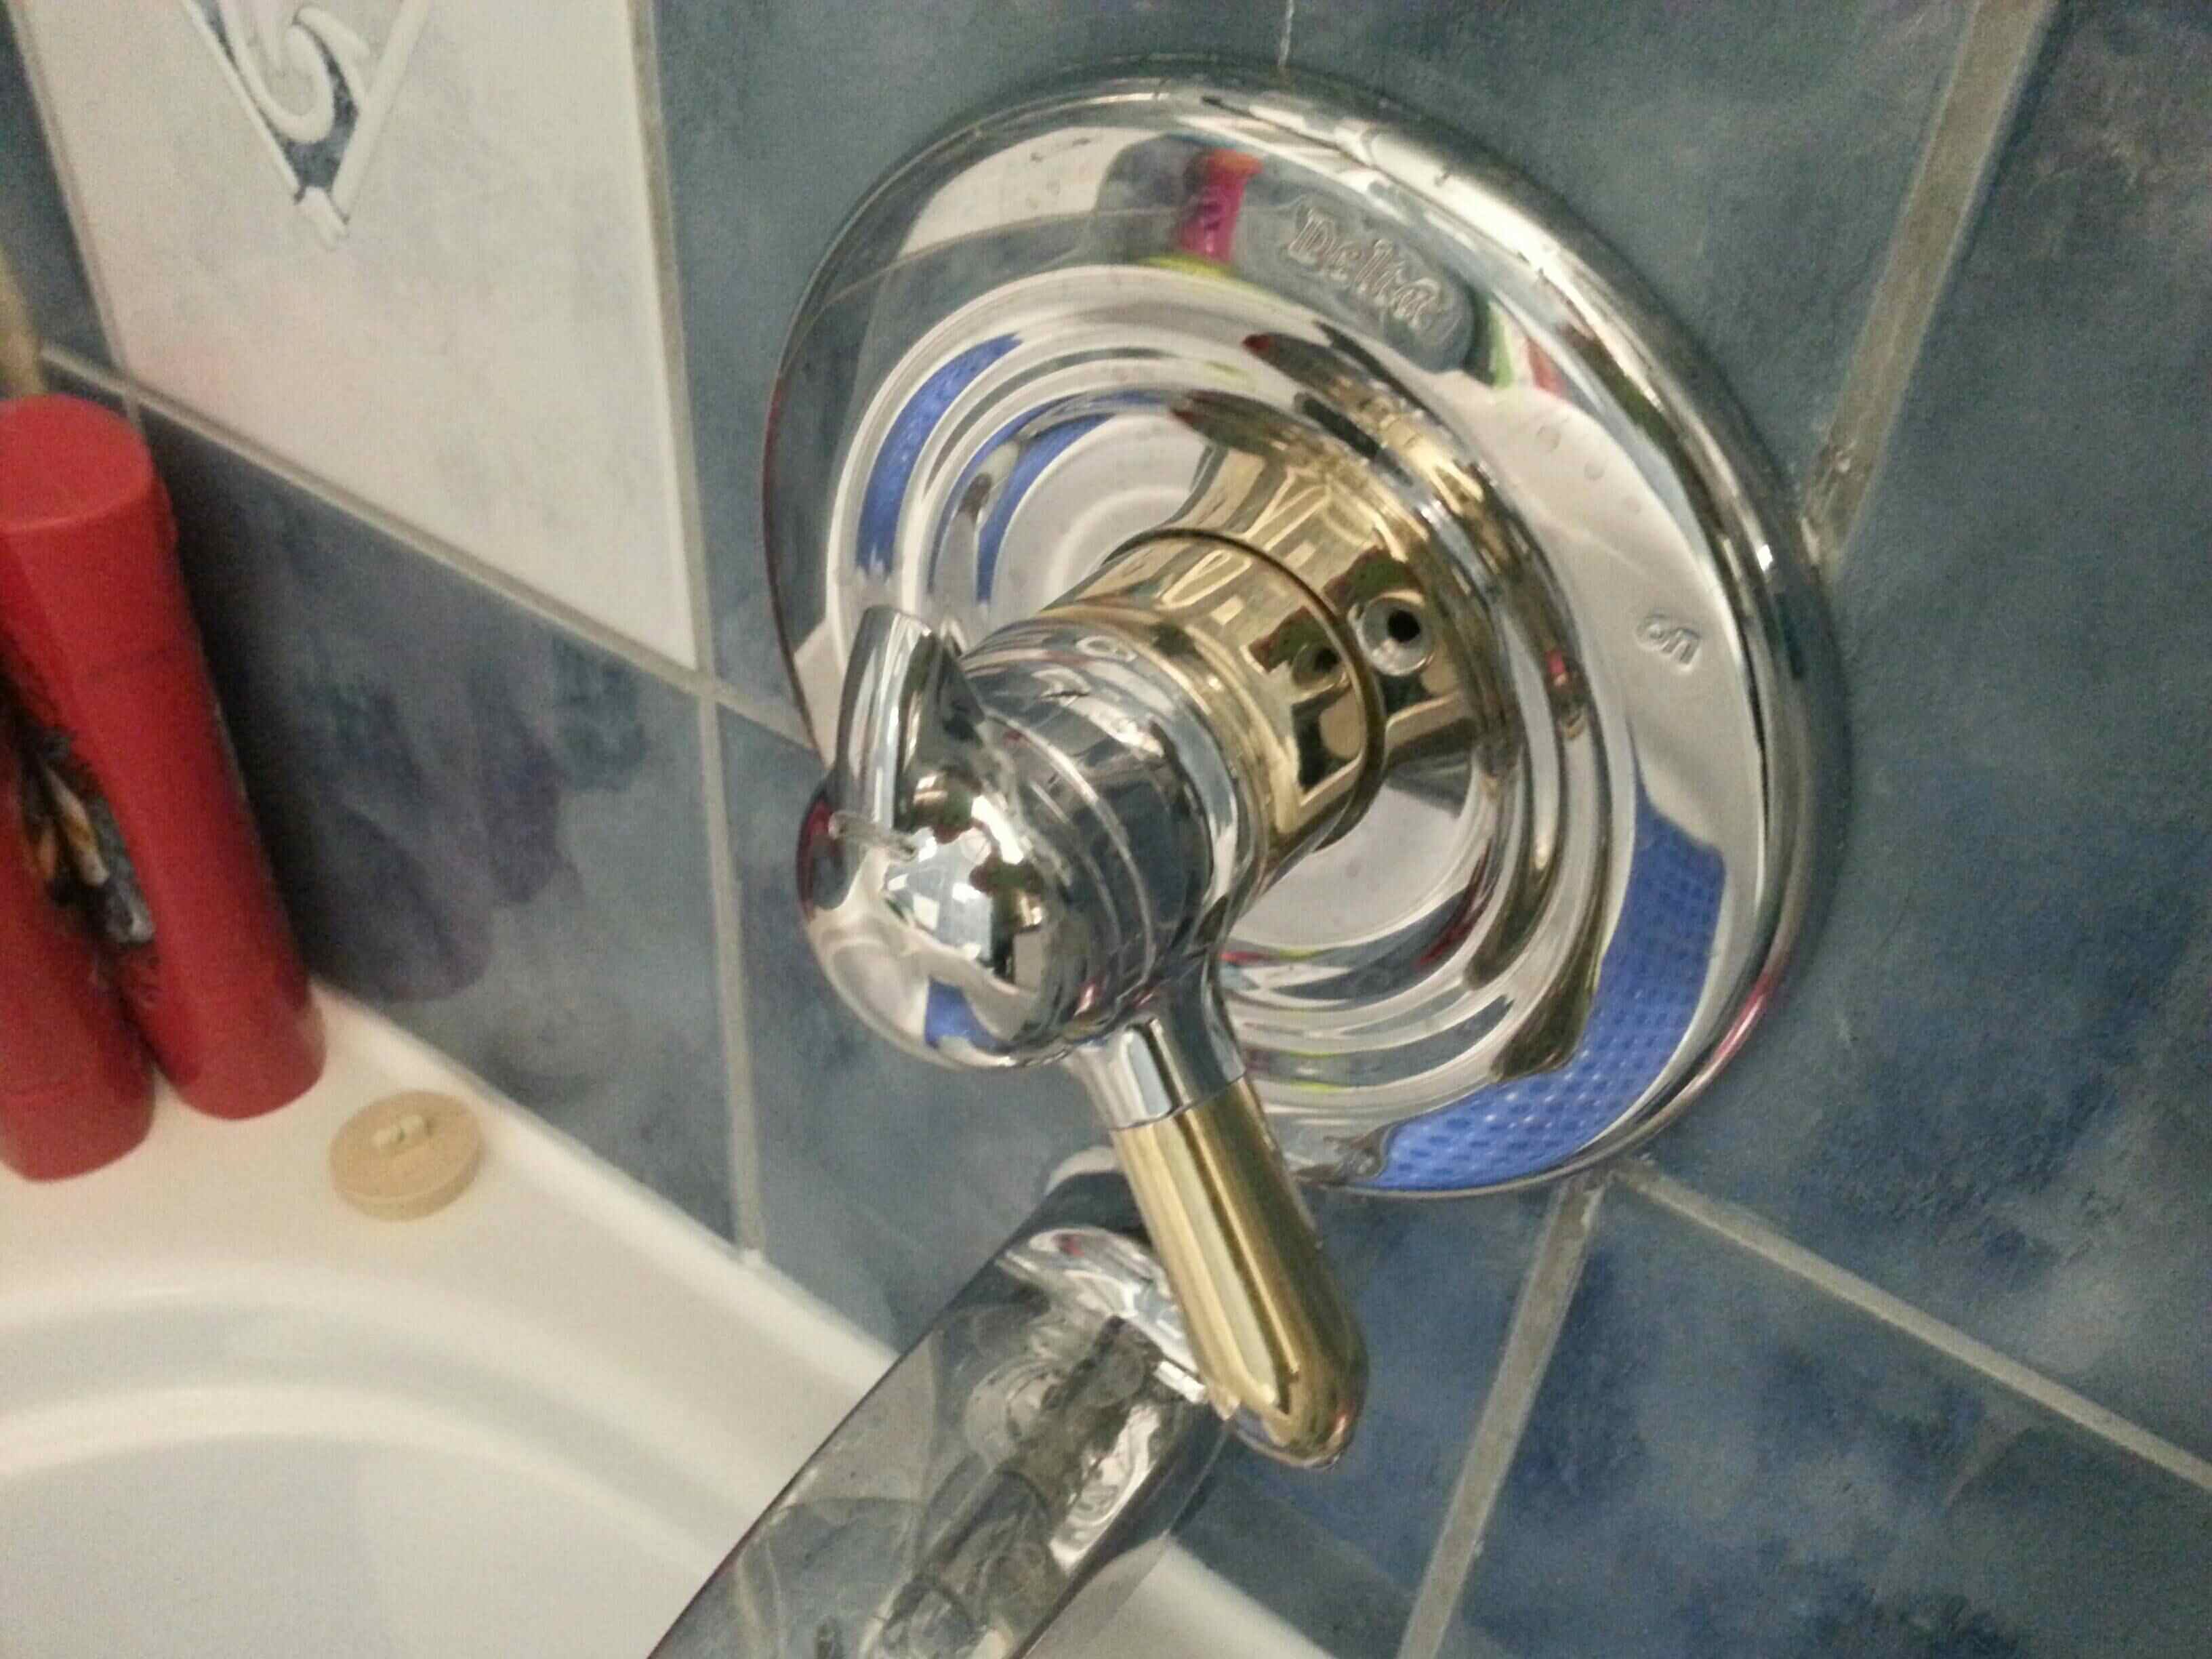
Step 3: Remove Escutcheon Plate
After removing the handle, the next step in removing a Delta shower faucet is to remove the escutcheon plate. The escutcheon plate is the decorative cover that surrounds the base of the faucet.
Inspect the escutcheon plate for any visible screws or mounting brackets. If you find any, use the appropriate screwdriver or wrench to remove them. In some cases, the escutcheon plate may simply be held in place by friction. In this case, you can carefully pry it off using a flathead screwdriver or a putty knife.
Be cautious when prying off the escutcheon plate to avoid scratching or damaging the surrounding surface. If the escutcheon plate seems to be stuck, you can try heating it gently with a hairdryer to soften any adhesive that might be holding it in place.
Once the escutcheon plate is removed, set it aside with the handle. Now you’re ready to move on to step 4, which is removing the cartridge of the Delta shower faucet.
To remove a Delta shower faucet, start by turning off the water supply. Then, use a screwdriver to remove the handle and trim plate. Next, use a wrench to loosen and remove the bonnet nut. Finally, pull out the cartridge and replace it if necessary.
Read more: How To Identify Delta Shower Faucet Model
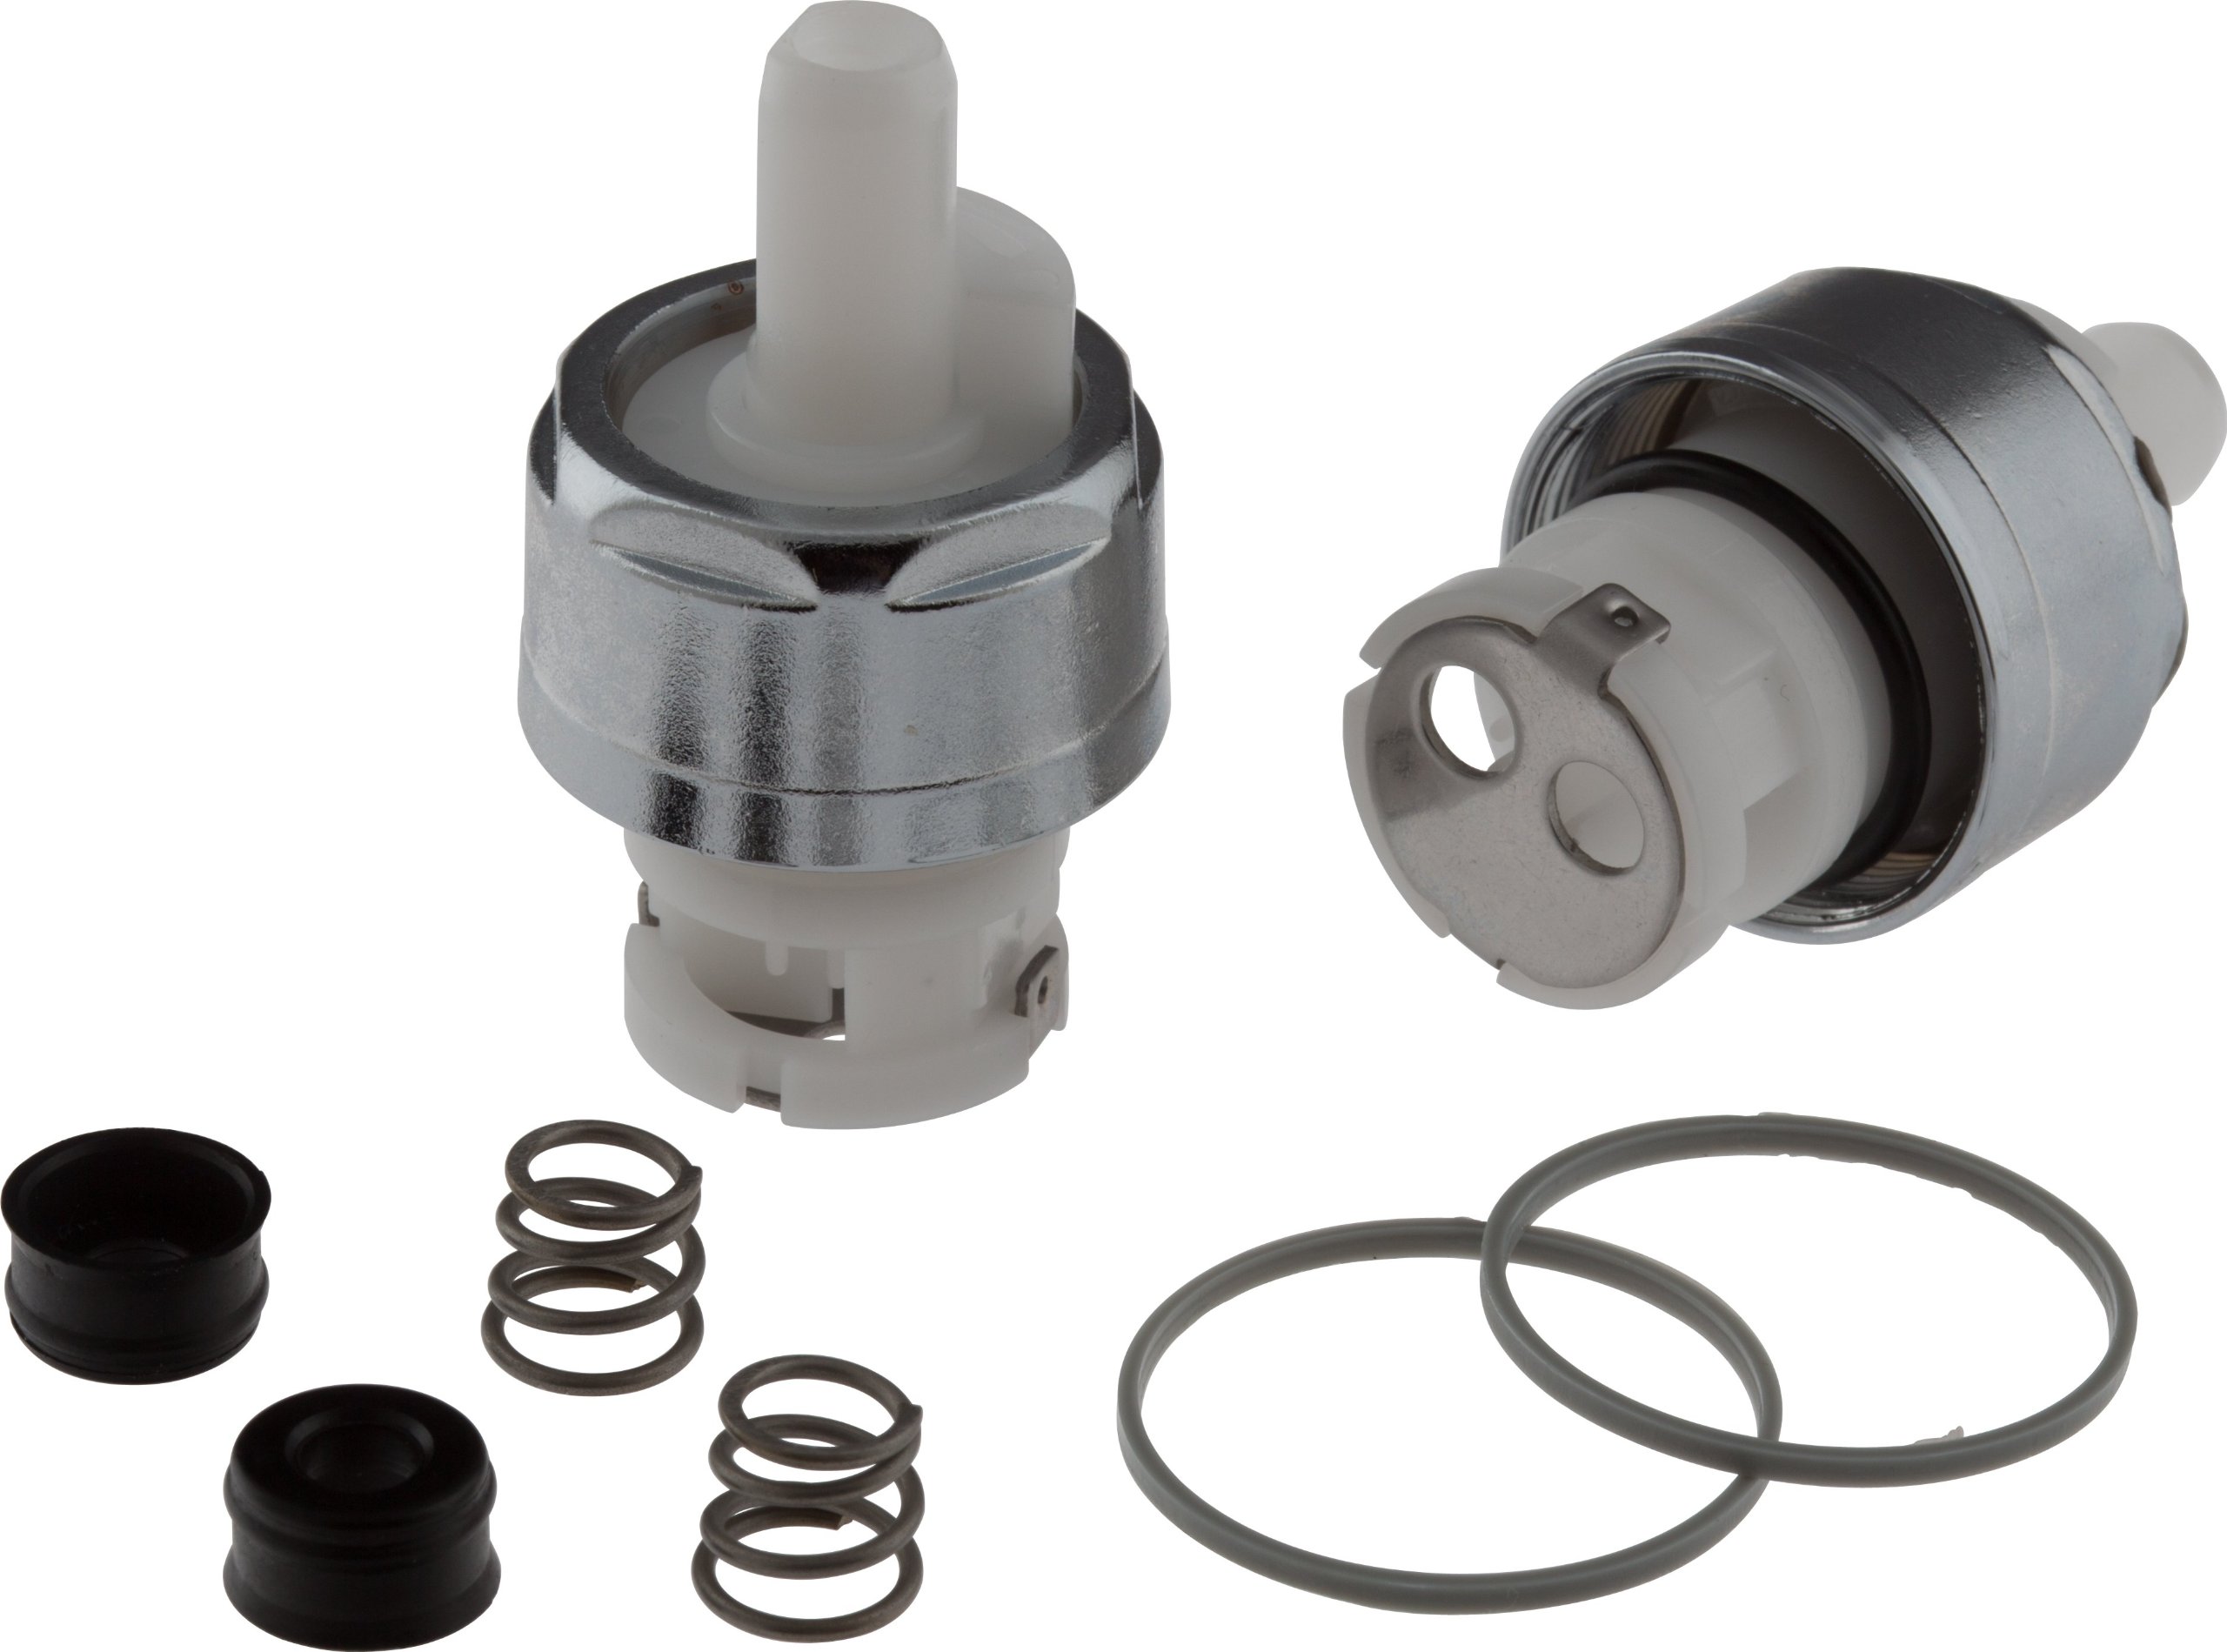
Step 4: Remove Cartridge
With the escutcheon plate removed, it’s time to remove the cartridge of the Delta shower faucet. The cartridge is the component responsible for controlling the flow of water.
First, locate the cartridge housing. This is typically a cylindrical-shaped component located behind the escutcheon plate. Use a wrench or pliers to grip the housing firmly.
Next, carefully turn the cartridge housing counterclockwise to loosen and remove it. Be mindful not to apply excessive force, as this could damage the housing or the surrounding pipes.
In some cases, the cartridge may be secured with a retaining nut instead of a housing. If this is the case, use pliers or a wrench to loosen and remove the retaining nut.
Once the cartridge housing or retaining nut is removed, you should be able to gently pull out the cartridge from the faucet body. If the cartridge seems stubborn or does not come out easily, you can try gently wiggling it back and forth while pulling.
Set the removed cartridge aside. If you are replacing the faucet with a new one, you can now install the new cartridge according to the manufacturer’s instructions. If you are not replacing the faucet, skip to the next step.
Now that the cartridge has been removed, we can move on to step 5, which covers the installation of a new cartridge (if applicable). Let’s continue with the next step.
Step 5: Install New Cartridge (if applicable)
If you are replacing your Delta shower faucet with a new one, this step guide will show you how to install a new cartridge. However, if you are not replacing the faucet and just removed the cartridge for maintenance or inspection purposes, you can skip this step.
Before installing the new cartridge, make sure to read the manufacturer’s instructions carefully. Different Delta shower faucet models may have slightly different installation methods.
Start by aligning the new cartridge with the faucet body, ensuring that any keyways or grooves line up correctly. Gently push the cartridge into the faucet body until it is fully seated.
Next, reattach the cartridge housing or retaining nut. Use pliers or a wrench to tighten it securely, but be cautious not to overtighten, as this could damage the cartridge or faucet body.
Verify that the cartridge is properly installed by manually turning the handle to check for smooth operation and proper water flow control. Make any necessary adjustments or alignments if needed.
Once the new cartridge is installed and checked for functionality, you can proceed to the next step, which involves reassembling the faucet components. Let’s continue with step 6.
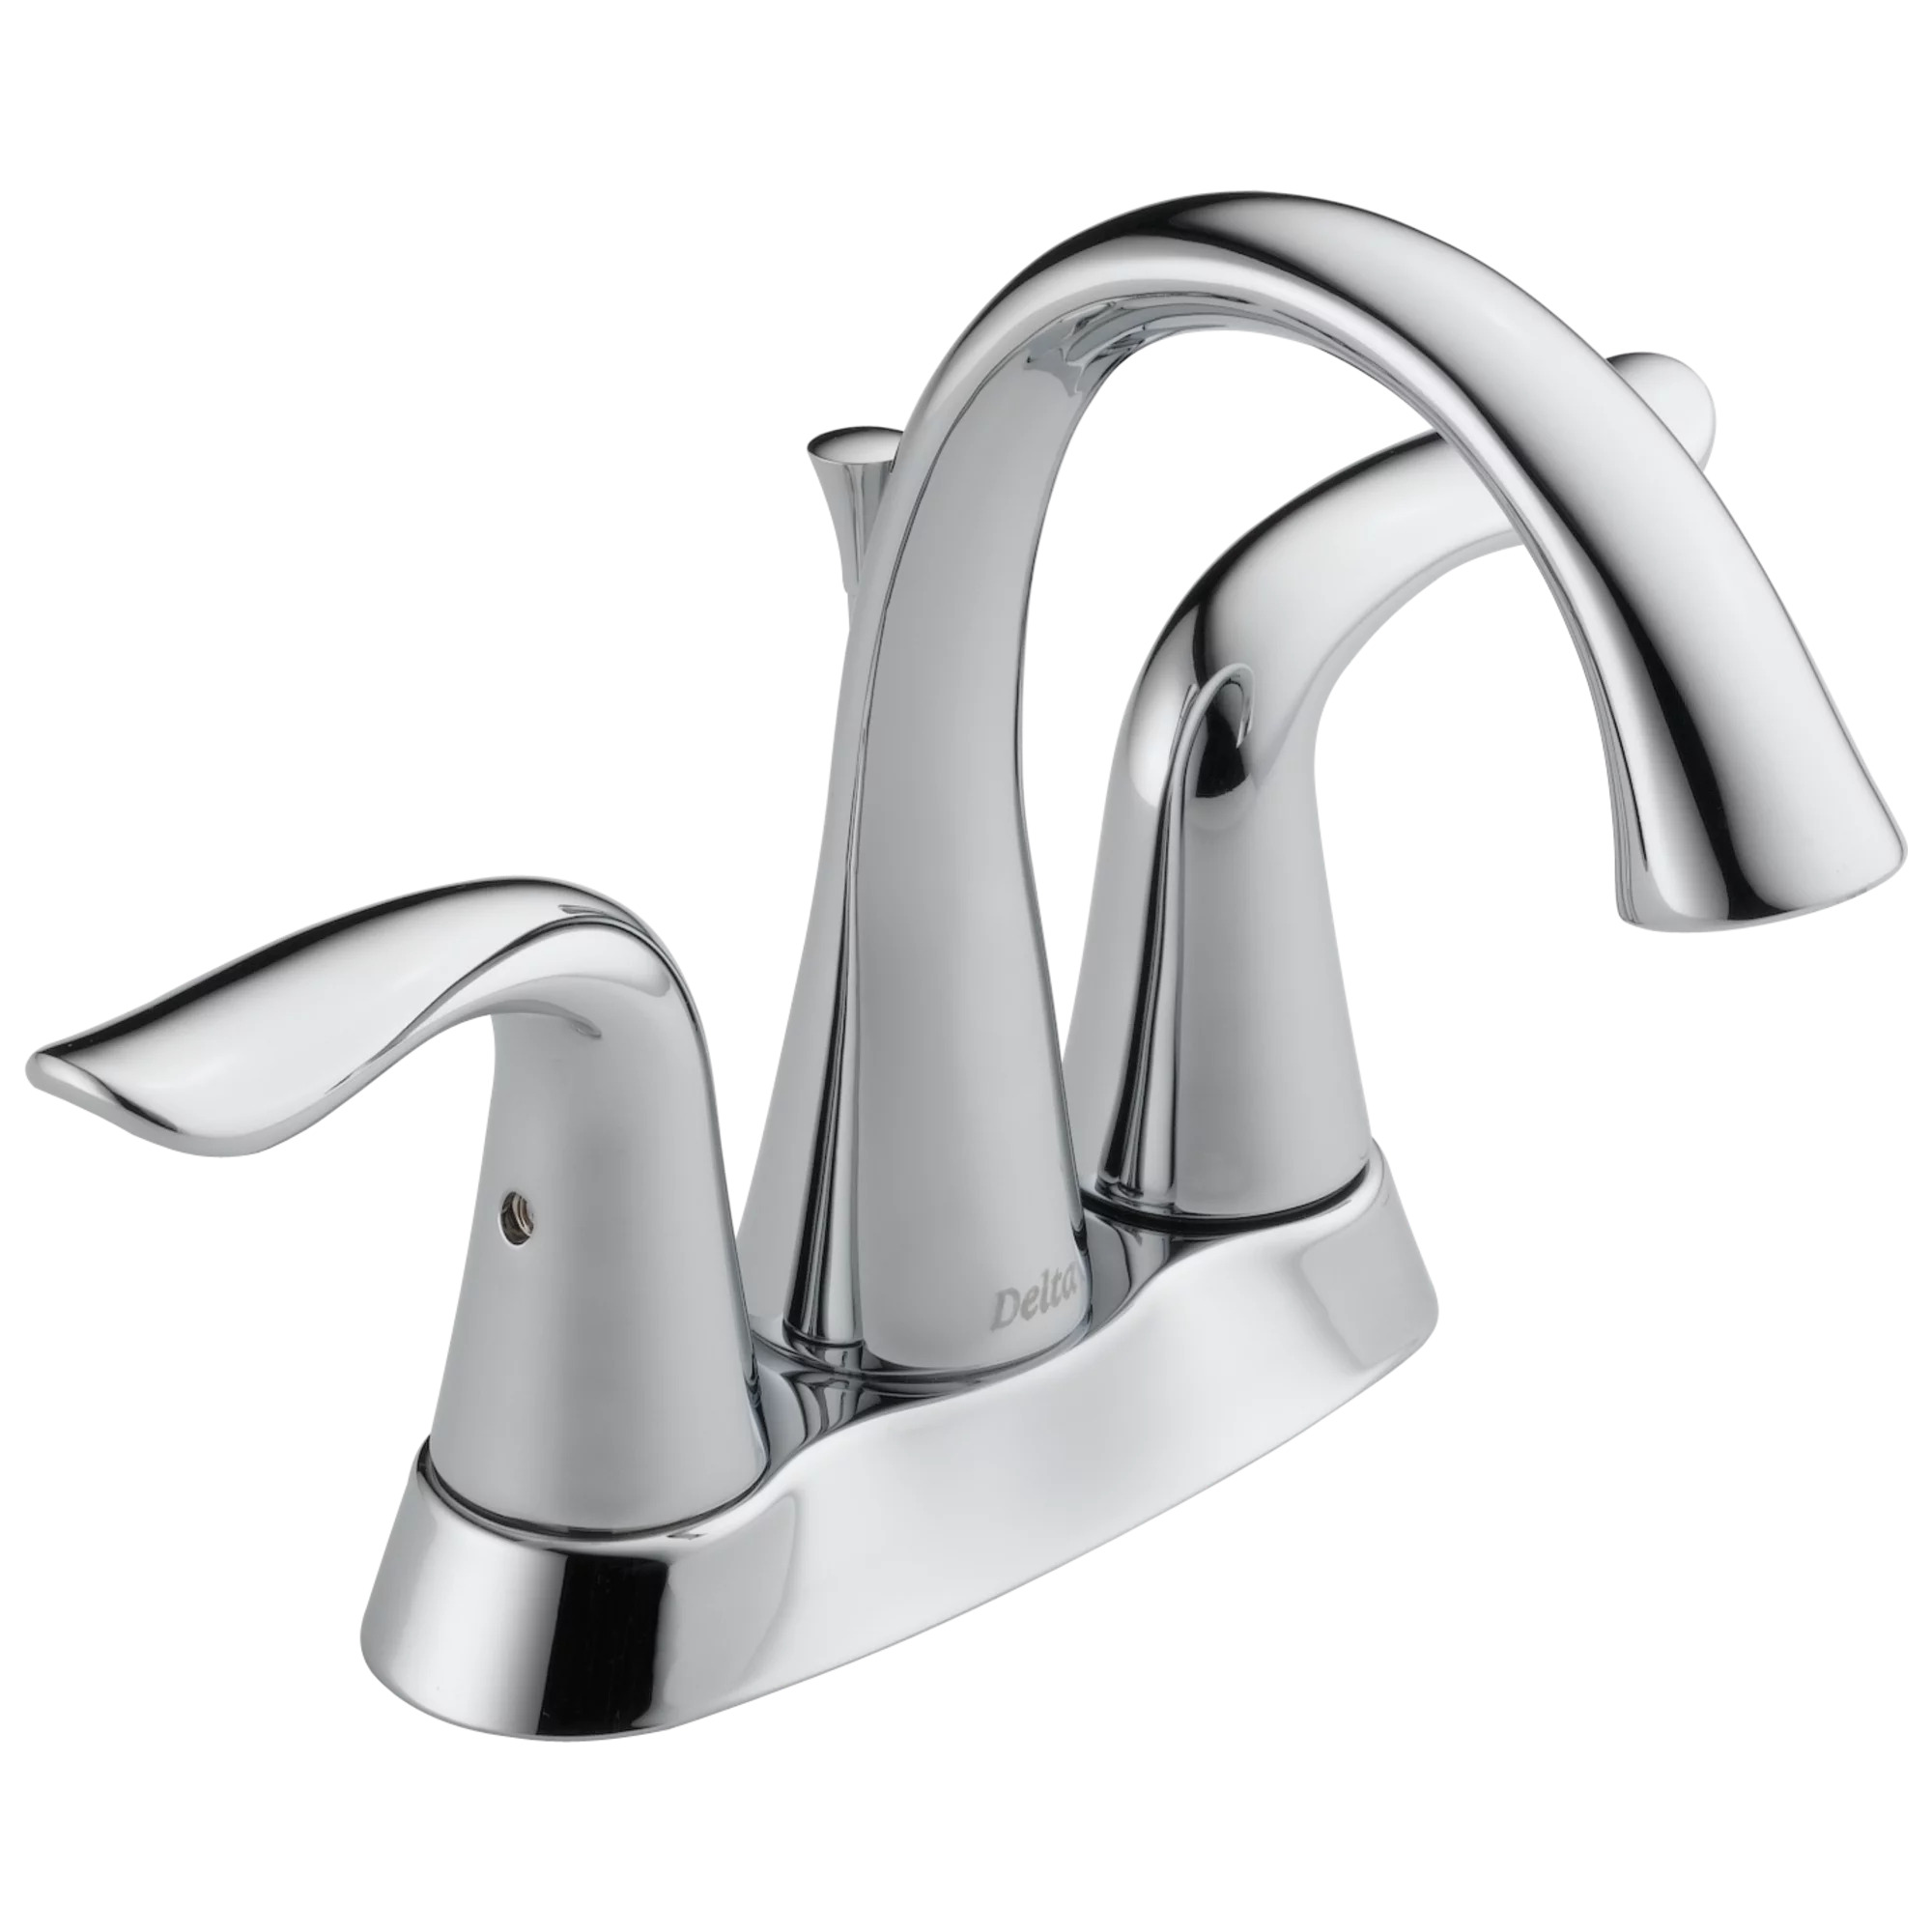
Step 6: Reassemble Faucet Components
Now that you have removed the old cartridge or installed a new one (if applicable), it’s time to reassemble the other faucet components.
Start by placing the escutcheon plate back onto the faucet. Align it properly and make sure it sits securely in place. If there were any screws or mounting brackets that you removed earlier, reattach them to secure the escutcheon plate.
Next, take the handle and place it back onto the faucet. Align it with the valve stem and push it down until it fits snugly. If there was a screw or set screw that you removed earlier, tighten it back into place to secure the handle.
Ensure that the handle is properly secured and functions smoothly by turning it on and off. Check for any looseness or wobbling and make any necessary adjustments.
Double-check all the connections and components to ensure they are properly reassembled. Inspect for any leaks or damage before moving on to the final step.
With the faucet components reassembled, you’re almost done. The final step is to turn on the water supply and check for any leaks. Let’s proceed to step 7.
Step 7: Turn on Water Supply
Now that you have reassembled all the faucet components, it’s time to turn the water supply back on and check for any leaks.
Locate the water shut-off valve that you previously turned off in step 1. Rotate the valve counterclockwise to open the water supply. Slowly turn on the water and observe the faucet for any signs of leakage.
Check around the handle, escutcheon plate, and cartridge area for any dripping or water seepage. If you notice any leaks, turn off the water supply and inspect the connections. Ensure that all components are tightly secured and properly aligned.
If necessary, apply plumber’s tape to the threads of any fittings or connections to create a watertight seal. Re-tighten any loose connections and make any adjustments as needed.
Once you have resolved any leaks and verified that the faucet is functioning properly, congratulations! You have successfully removed and reinstalled your Delta shower faucet.
Remember to clean up any mess or debris that may have accumulated during the removal and reassembly process. Dispose of any old cartridges or components properly.
Now you can enjoy using your Delta shower faucet with confidence, knowing that you have successfully completed the removal process and resolved any issues you may have had. If you have any further questions or concerns, it’s always good to consult a professional plumber.
Thank you for following this step-by-step guide on how to remove a Delta shower faucet. We hope this article has been helpful to you.
Read also: 12 Amazing Delta Shower Faucet for 2025
Conclusion
Removing a Delta shower faucet may seem like a daunting task, but with the right tools and guidance, it can be a straightforward and manageable process. By following the step-by-step instructions in this article, you can successfully remove your Delta shower faucet and address any issues or concerns you may have.
Remember to always start by turning off the water supply and allowing any remaining water to drain. Take your time and be careful when removing the handle, escutcheon plate, and cartridge to avoid causing any damage.
If you are replacing the faucet, make sure to install the new cartridge properly and test it for functionality. Reassembling the faucet components is the next step, ensuring that they are securely attached and aligned correctly.
Lastly, turn on the water supply and check for any leaks. If you encounter any issues, take the necessary steps to address them before enjoying your newly removed or replaced Delta shower faucet.
While the process of removing a Delta shower faucet can be done by a homeowner with some basic DIY skills, it’s important to note that more complex issues or installations may require the expertise of a professional plumber.
We hope this article has provided you with the guidance needed to remove your Delta shower faucet successfully. By following these steps, you can upgrade or repair your shower area while ensuring a smooth water flow and a leak-free experience.
Thank you for reading, and we wish you success in your Delta shower faucet removal project!
Now that you've mastered removing your Delta shower faucet, why not tackle a bigger project? If you're curious about the time commitment involved in upgrading your bathroom, our comprehensive guide on bathroom renovations is a must-read. It breaks down each phase of the process, helping you plan effectively and avoid surprises. Don't miss out on this essential resource for turning your bathroom into a haven.
Frequently Asked Questions about How To Remove Delta Shower Faucet
Was this page helpful?
At Storables.com, we guarantee accurate and reliable information. Our content, validated by Expert Board Contributors, is crafted following stringent Editorial Policies. We're committed to providing you with well-researched, expert-backed insights for all your informational needs.


0 thoughts on “How To Remove Delta Shower Faucet”