Articles
How To Remove Refrigerator Doors
Modified: February 27, 2024
Learn how to remove refrigerator doors with these informative articles.
(Many of the links in this article redirect to a specific reviewed product. Your purchase of these products through affiliate links helps to generate commission for Storables.com, at no extra cost. Learn more)
Introduction
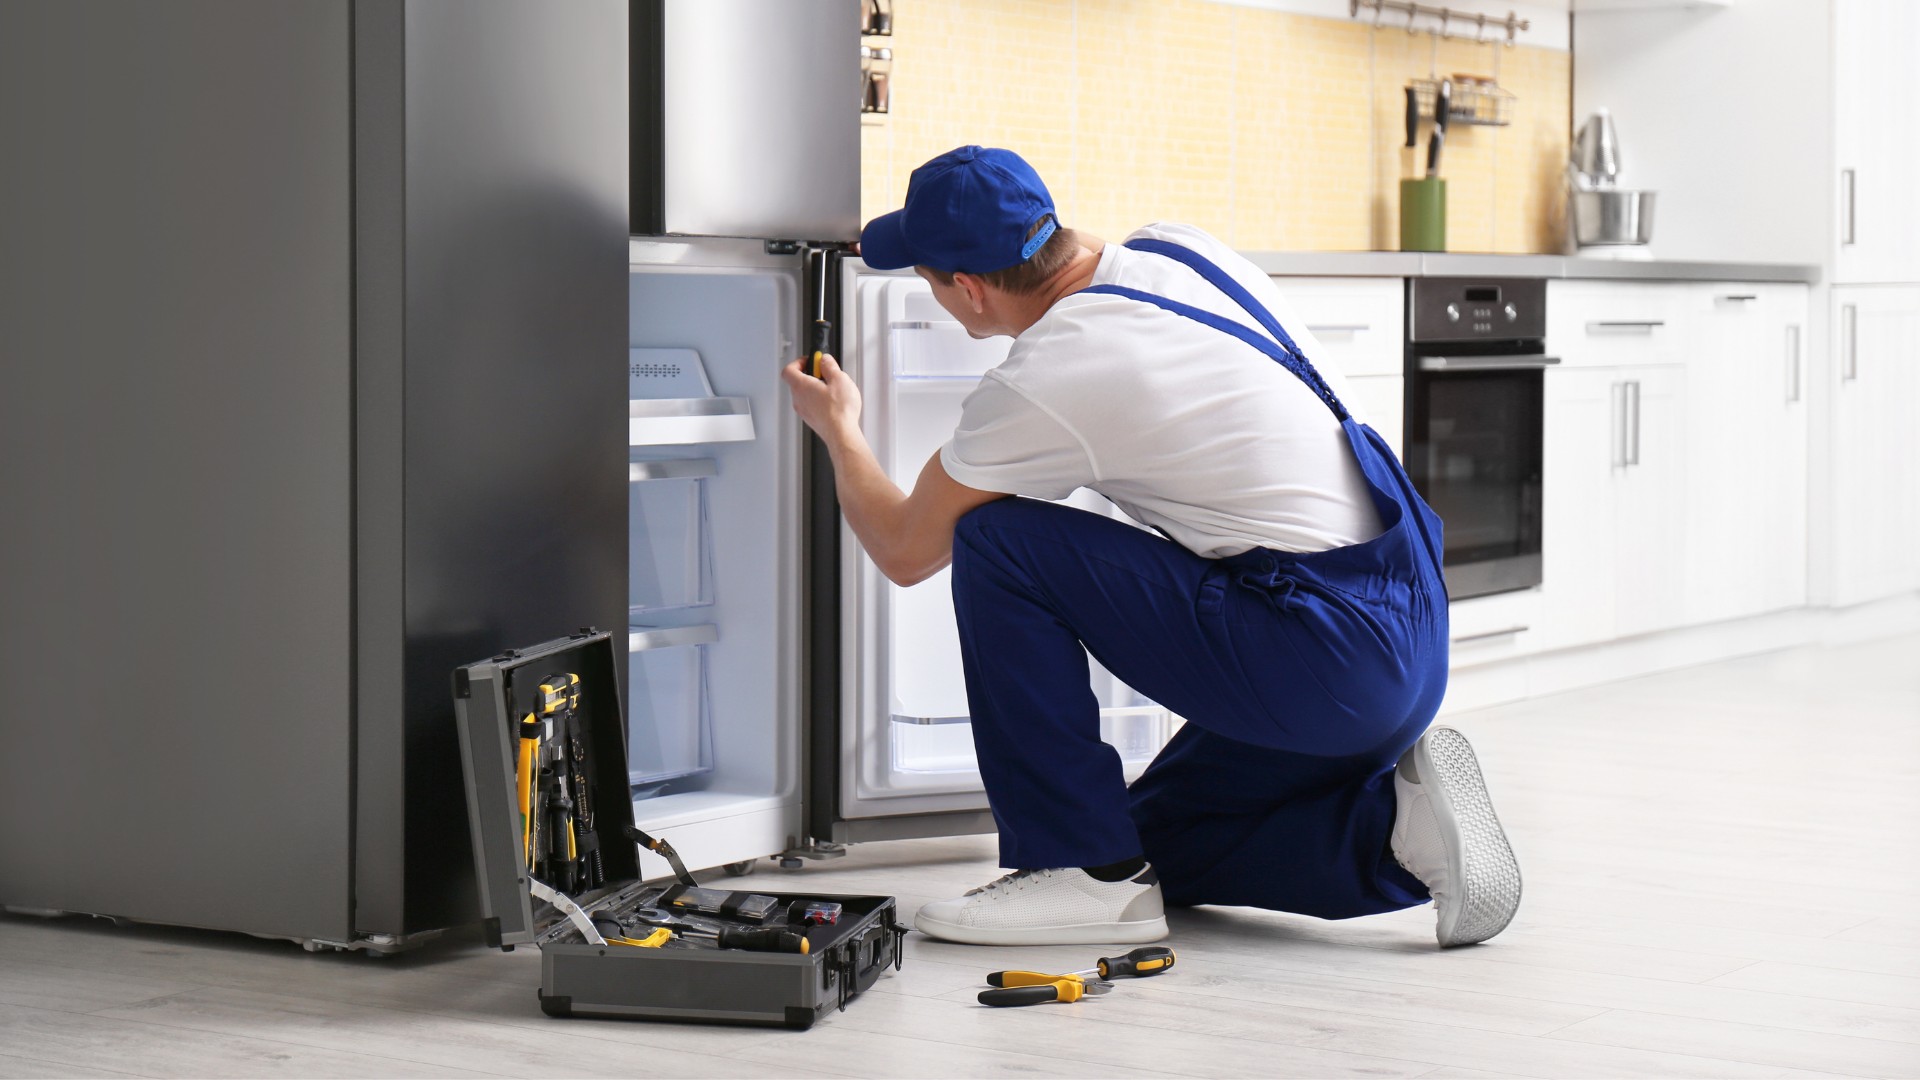
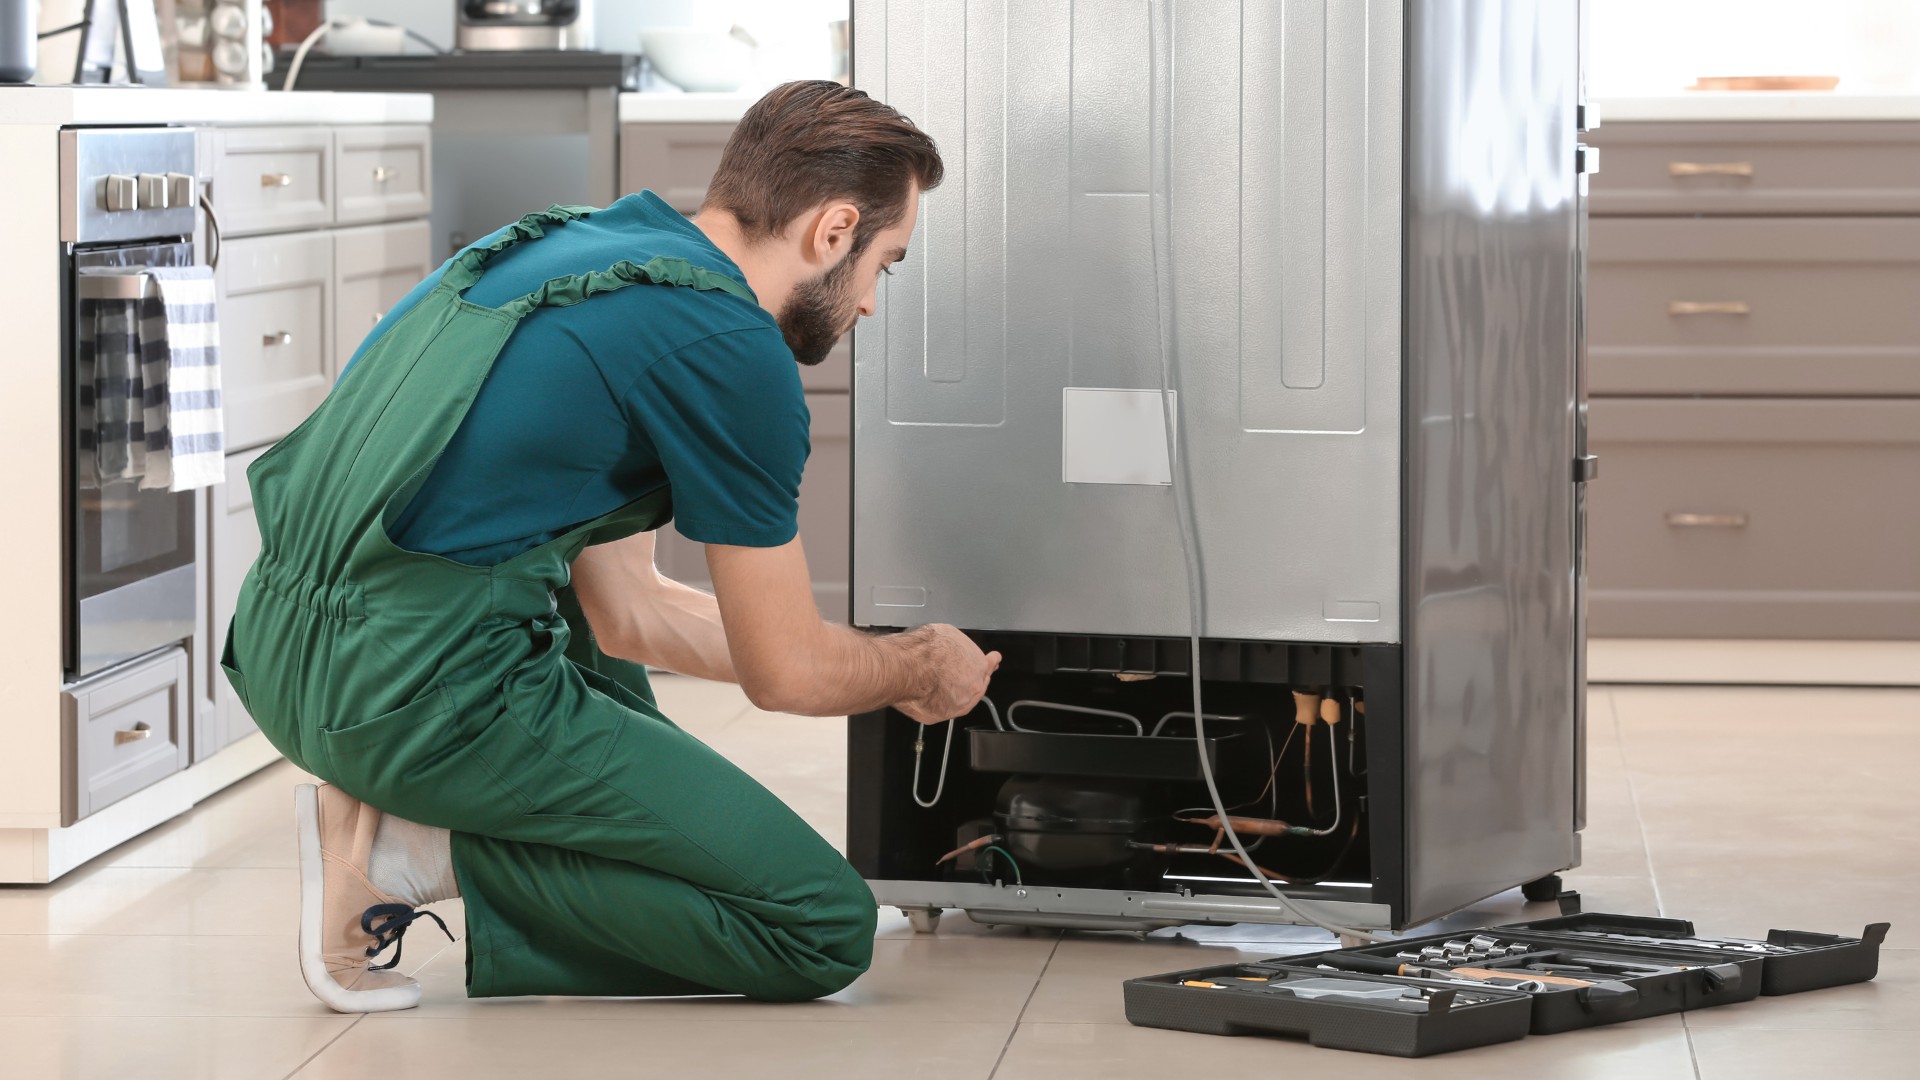
Removing the doors of a refrigerator may seem like a daunting task, but it is actually a relatively straightforward process. Whether you need to remove the doors for cleaning, moving, or any other reason, this article will guide you through the step-by-step process. By following the instructions carefully and taking the necessary safety precautions, you’ll be able to remove the doors without any hassle.
Before we proceed with the steps, it’s important to note that not all refrigerators are designed the same way. Therefore, it’s always a good idea to consult your refrigerator’s user manual for specific instructions. The information in this article serves as a general guide that can be applied to most refrigerator models.
Safety should always be a top priority when working with appliances. Ensure you have a safe working environment and take necessary precautions to avoid any injuries. In case of any doubt or uncertainty, it’s advisable to seek professional assistance.
Now let’s dive into the step-by-step process of removing the doors of a refrigerator.
Key Takeaways:
- Safely removing refrigerator doors requires careful preparation, including unplugging the appliance, removing food and shelves, and handling hinge pins with caution. Proper storage and reinstallation ensure a smooth process.
- Prioritize safety and follow step-by-step instructions to safely remove refrigerator doors. Proper tools, careful handling, and thorough cleaning and storage are essential for a successful process.
Read more: How To Remove Lg Refrigerator Door
Safety Precautions
Before you begin the process of removing refrigerator doors, it’s important to take the necessary safety precautions. Follow these guidelines to ensure a safe and accident-free experience:
- Turn off the power: Start by unplugging the refrigerator from the power outlet. This will prevent any electrical accidents while working on the doors.
- Protect your hands and eyes: Wear protective gloves and safety goggles to avoid any injuries or contact with sharp edges.
- Secure the area: Make sure the area around the refrigerator is clear and free from any obstacles. This will provide you with enough space to safely remove the doors.
- Ask for assistance if needed: Removing refrigerator doors can be a two-person job, especially if they are heavy. Enlist the help of a friend or family member to ensure a safe and smooth process.
- Be cautious with hinges and pins: The hinges and pins that hold the doors in place can be sharp. Handle them with care to avoid any cuts or injuries.
- Store doors in a safe place: Once the doors are removed, place them in a secure location to avoid any accidental damage or breakage.
- Follow manufacturer’s instructions: While this article provides general guidelines, it’s always a good idea to consult your refrigerator’s user manual for specific safety instructions tailored to your model.
By adhering to these safety precautions, you can ensure a smooth and injury-free process of removing refrigerator doors. Now let’s move on to the tools and materials you’ll need for the task.
Tools and Materials Needed
Before you begin removing the doors of your refrigerator, gather the following tools and materials:
- Phillips screwdriver or hex wrench (depending on the type of hinge screws)
- Adjustable wrench (if necessary)
- Tape measure
- Protective gloves
- Safety goggles
- Clean cloth or sponge
- Mild detergent and warm water for cleaning (optional)
Make sure you have these tools and materials easily accessible before starting the door removal process.
It’s important to note that the specific tools and materials required may vary depending on your refrigerator model. Consult your refrigerator’s user manual for any additional tools or special instructions.
Once you have gathered the necessary tools and materials, you are ready to begin the process of removing the refrigerator doors. Follow the step-by-step instructions carefully for a successful door removal.
Step 1: Unplug the Refrigerator
The first and most crucial step in removing refrigerator doors is to unplug the appliance from the power outlet. This step ensures your safety and prevents any electrical accidents during the process.
To unplug the refrigerator, simply locate the power cord at the back of the appliance. Follow the cord until you reach the plug, and gently pull it out of the outlet. Make sure the cord is fully removed from the socket to avoid any accidental connection to electricity.
Once the refrigerator is unplugged, you can proceed with confidence knowing that there is no risk of electric shock while working on the doors.
Note: If your refrigerator has an ice maker or water dispenser, it is recommended to turn off the water supply before unplugging the appliance. This will prevent any leaks or water damage during the door removal process.
Now that the refrigerator is safely disconnected from the power source, you can proceed to the next step: removing any food and shelves from inside the refrigerator.
Step 2: Remove Any Food and Shelves
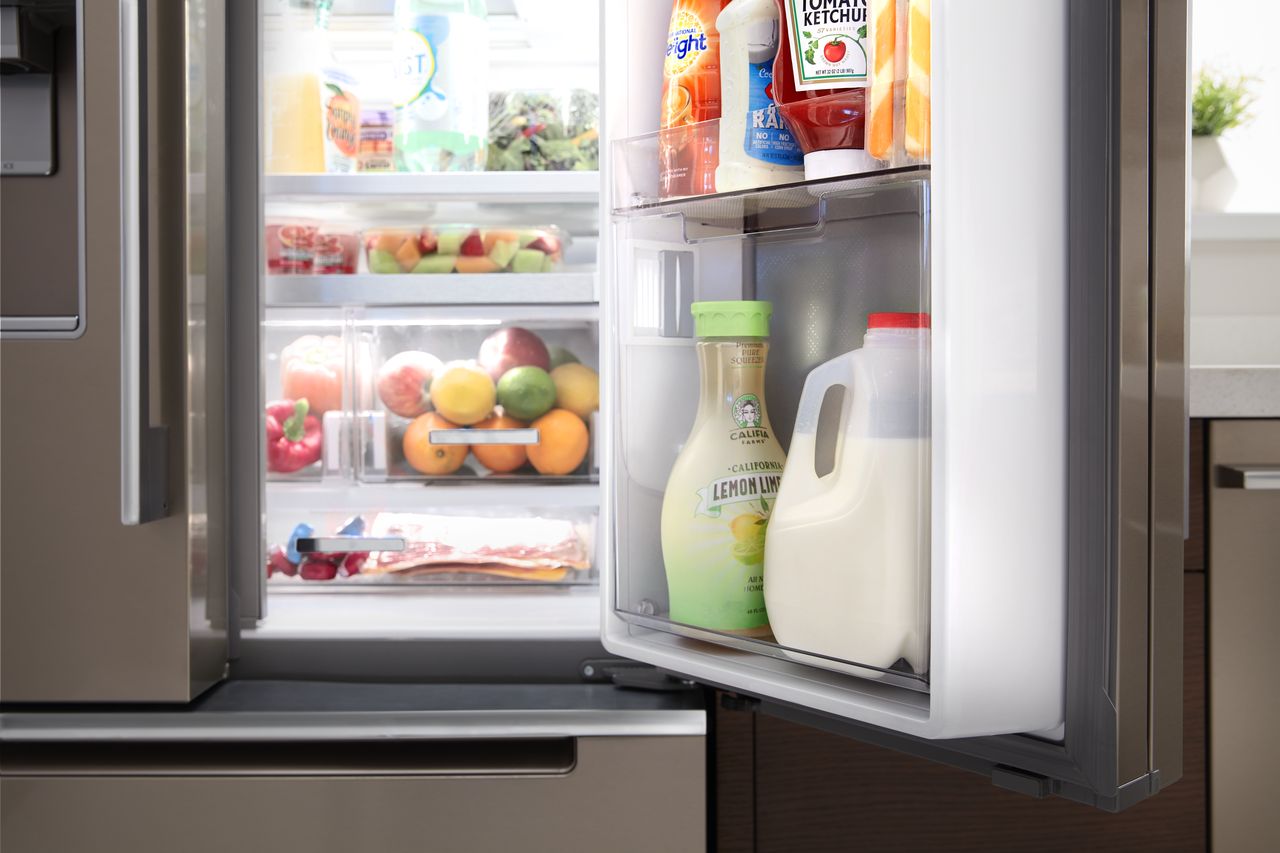
Before removing the refrigerator doors, it’s important to ensure that the interior of the appliance is emptied of any food or perishables. This step will make the door removal process easier and prevent any potential damage to the items inside.
Start by taking out all the food items stored in the refrigerator. Check all the shelves, drawers, and compartments to ensure that nothing is left behind. Dispose of any expired or spoiled items and place the remaining food in a cool place to prevent it from spoiling.
Next, remove the shelves, drawers, and other removable components from inside the refrigerator. Carefully lift them up or tilt them slightly to disconnect them from the supports or tracks. Set them aside in a safe place, making sure not to stack them on top of each other to avoid any damage.
If your refrigerator has any glass shelves, handle them with extra caution. Place them on a soft surface, such as a towel or cushioned area, to prevent them from breaking.
Once all the food and shelves have been removed, inspect the interior of the refrigerator for any spills or stains. Use a clean cloth or sponge and a mild detergent diluted in warm water to wipe down the surfaces and remove any residue. Rinse the cloth or sponge thoroughly and wring out any excess water to avoid dripping inside the refrigerator.
Allow the refrigerator interior to dry completely before proceeding to the next step. This will prevent any moisture from interfering with the door removal process.
With the food removed and the interior cleaned, you are now ready to move on to the next step: locating the hinge pins.
Step 3: Locate the Hinge Pins
Before you can remove the refrigerator doors, you need to locate the hinge pins. The hinge pins are the metal rods that hold the doors in place and allow them to pivot when opened or closed.
To find the hinge pins, open the refrigerator door fully and examine the top and bottom edges of the door near the hinges. You’ll notice small metal pins or screws protruding from the door and fitting into corresponding holes or slots on the hinges.
Identifying the hinge pins is crucial because they need to be removed to separate the doors from the refrigerator body. Take note of their location and make sure you have clear access to the pins on both the upper and lower hinges.
In some refrigerators, the hinge pins may be covered by plastic caps or covers. If that’s the case, gently pry off the plastic covers using a flathead screwdriver to expose the hinge pins.
Once you have located the hinge pins and ensured clear access to them, you can proceed to the next steps of removing the refrigerator doors.
Keep in mind that the specific location and design of the hinge pins may vary depending on your refrigerator model. Refer to your refrigerator’s user manual for any specific instructions or diagrams related to the hinge pins.
Now that you have located the hinge pins, you are ready to move on to the next step: removing the upper hinge pin.
Step 4: Remove the Upper Hinge Pin
Now that you have located the hinge pins, it’s time to remove the upper hinge pin. Removing the hinge pins will allow you to detach the refrigerator door from the appliance.
To remove the upper hinge pin, follow these steps:
- Ensure that the refrigerator door is fully open and stable. You may place one hand on the door to keep it steady.
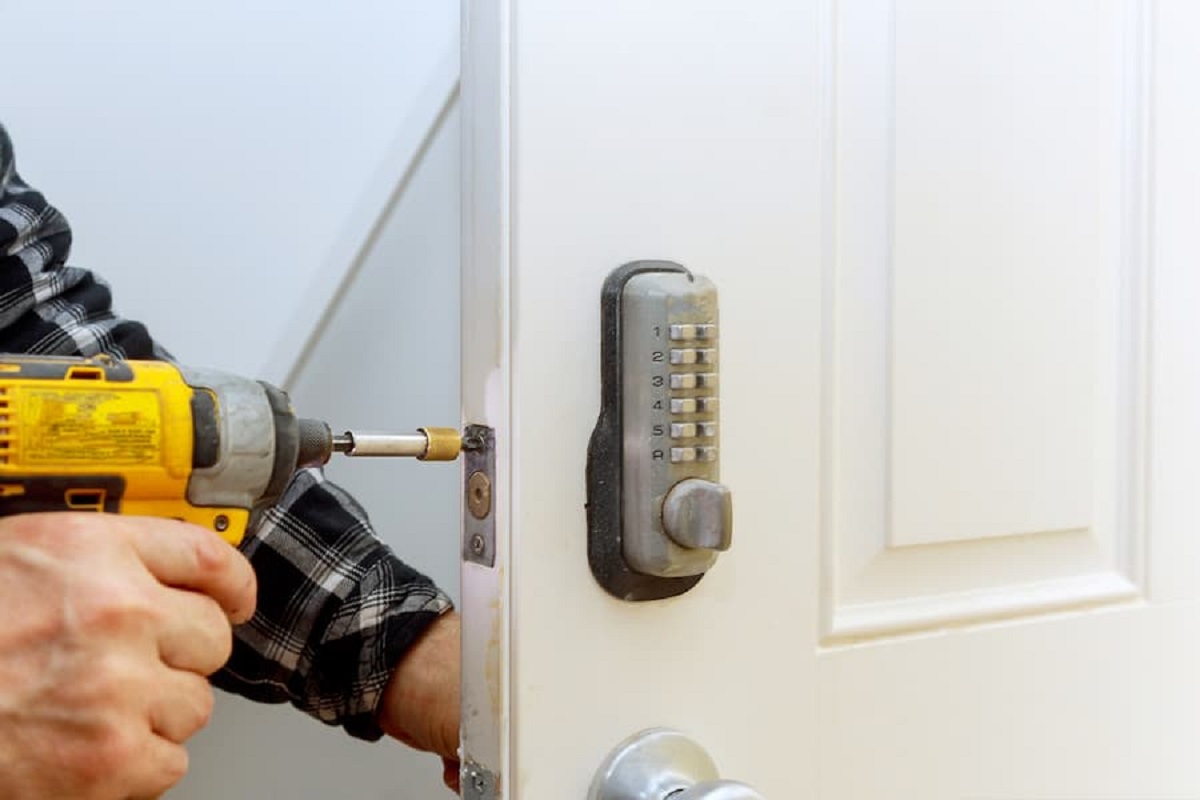
- Using a screwdriver or the appropriate tool, carefully unscrew or remove any fasteners or screws that secure the upper hinge in place. Set aside these screws in a safe location.
- Once the fasteners are removed, hold the upper door with one hand while using your other hand to lift and support the weight of the door. Slowly and carefully lift the door until the hinge pin is fully disengaged from the hinge slot.
- With the upper hinge pin removed, set it aside in a safe place. You may want to wrap it in a cloth or place it in a small bag to prevent it from getting misplaced.
- Take a moment to inspect the hinge slot and clean it if necessary. Removing any dust or debris from the slot will make the door removal process smoother.
After removing the upper hinge pin, the upper refrigerator door should be completely detached from the appliance. It’s important to handle the door with care to avoid any damage or accidents.
With the upper door removed, you are now ready to proceed to the next step: removing the lower hinge pin and the lower refrigerator door.
Before removing refrigerator doors, unplug the appliance and remove any items from the door shelves. Use a screwdriver to loosen the hinge screws and lift the doors off carefully. Keep track of the screws and store them in a safe place.
Step 5: Lift and Remove the Upper Door
With the upper hinge pin removed, it’s time to lift and remove the upper refrigerator door. Follow these steps to safely complete this process:
- Hold the upper door securely with both hands, one hand on each side near the middle of the door.
- Slightly tilt the door towards you, ensuring that it remains balanced.
- Lift the door straight up, away from the appliance, while maintaining a steady grip.
- As you lift the door, take note of any electrical or wiring connections between the door and the refrigerator. If there are any connections, gently unplug or disconnect them.
- Once the door is fully lifted and separated from the appliance, set it aside in a safe and secure location.
- Take a moment to clean and inspect the area where the upper door was attached, removing any debris or dust to ensure optimal performance.
Remember to handle the door with care to prevent any damage or accidents. If the door is heavy, it’s recommended to have a second person assist you in lifting and removing it.
Now that the upper door has been successfully removed, you can proceed to the next step: removing the lower hinge pin and the lower refrigerator door.
Step 6: Remove the Lower Hinge Pin
After successfully removing the upper door, it’s time to remove the lower hinge pin to detach the lower refrigerator door. Follow these steps to complete this process:
- Ensure that the upper refrigerator door has been safely set aside in a secure location.
- Locate the lower hinge pin, which is usually located near the bottom of the refrigerator door.
- Using a screwdriver or the appropriate tool, carefully unscrew or remove any fasteners or screws that secure the lower hinge in place. Set aside these screws in a safe location.
- Hold the lower door with one hand while using your other hand to lift and support the weight of the door. Slowly and carefully lift the door until the hinge pin is fully disengaged from the hinge slot.
- With the lower hinge pin removed, set it aside in a safe place, taking care not to misplace it.
- Inspect the hinge slot and clean it if necessary to ensure a smooth door removal process.
By following these steps, you will successfully remove the lower hinge pin and separate the lower refrigerator door from the appliance.
Remember to handle the door with care during the removal process to prevent any damage or accidents.
With both doors removed, you can now proceed to the next step: safely storing the doors until they are ready to be reinstalled.
Read more: How To Adjust Refrigerator Door
Step 7: Lift and Remove the Lower Door
Now that the lower hinge pin has been removed, it’s time to lift and remove the lower refrigerator door. Follow these steps to safely complete this process:
- Hold the lower door firmly with both hands, placing one hand on each side near the middle of the door.
- Slightly tilt the door towards you while ensuring it remains balanced.
- Lift the door straight up, away from the appliance, while maintaining a steady grip.
- As you lift the door, be cautious of any electrical or wiring connections between the door and the refrigerator. If there are any connections, gently unplug or disconnect them.
- Once the door is fully lifted and separated from the appliance, set it aside in a safe and secure location.
- Take a moment to clean and inspect the area where the lower door was attached, removing any debris or dust to ensure optimal performance.
Just like with the upper door, it’s important to handle the lower door with care to prevent any damage or accidents. If the door is heavy, enlisting the help of a second person is advisable.
With both doors successfully removed, you can move on to the next step: safely storing the doors until they are ready to be reinstalled.
Step 8: Store the Doors Safely
After removing the refrigerator doors, it’s crucial to store them properly to prevent any damage or accidents. Follow these steps to safely store the doors:
- Find a clean and secure area where you can store the doors without them being in the way or at risk of being knocked over.
- Place the doors in an upright position if possible, with the handle side facing up. This will help protect the handles and prevent them from getting damaged.
- If space is limited, you can lay the doors flat on a soft surface, such as a thick blanket or foam padding. Make sure to separate the doors with a barrier, such as a cloth or towel, to prevent them from scratching against each other.
- If you need to stack the doors, place a soft material, such as a towel or cardboard, between each door to protect the surfaces from potential scratches or damage.
- Keep the doors in a secure location where they won’t be at risk of falling, or where they won’t be exposed to extreme temperatures or moisture.
- Label the doors or note their location, especially if you have multiple doors or are storing them for an extended period. This will help you identify and reinstall them correctly when the time comes.
By following these steps, you can ensure that the refrigerator doors are stored safely and protected from any harm.
Now that the doors are safely stored, we can move on to the next step: cleaning and reinstalling the shelves inside the refrigerator.
Step 9: Clean and Reinstall the Shelves
With the refrigerator doors safely stored, it’s time to clean and reinstall the shelves inside the appliance. Follow these steps to complete this process:
- Inspect the shelves, drawers, and other removable components you removed earlier. Clean them thoroughly using a mild detergent and warm water solution. Rinse them well and dry them completely before reinstalling.
- Clean the interior of the refrigerator using a clean cloth or sponge and a mild detergent diluted in warm water. Pay attention to areas that may have collected spills or stains.
- Rinse the cloth or sponge thoroughly and wipe down the surfaces again to remove any residue from the cleaning solution. Make sure to dry the interior of the refrigerator completely before proceeding.
- Once the shelves and refrigerator interior are clean and dry, carefully place the shelves back into their designated positions. Ensure that they are properly aligned and securely positioned on their supports or tracks.
- If there are any adjustable shelves in your refrigerator, adjust them to your preferred height or configuration before fully reinstalling them.
- Double-check that all shelves and drawers are properly inserted and secured. Give them a gentle shake to ensure they are stable and won’t shift when the refrigerator is in use.
By following these steps, you’ll not only have a clean and organized interior for your refrigerator, but also ensure that the shelves are securely installed for optimal functionality.
Now that the shelves are reinstalled, we can move on to the final step: plugging the refrigerator back in.
Step 10: Plug the Refrigerator Back In
After completing the previous steps, it’s time to plug the refrigerator back in and power it up. Follow these steps to safely reconnect the power:
- Double-check that all the refrigerator doors are securely closed and the shelves are properly installed.
- Locate the power cord at the back of the refrigerator and ensure it is free from any tangles or obstructions.
- Plug the power cord back into a functioning electrical outlet.
- Make sure the power cord is fully inserted into the outlet and confirm that you have a secure connection.
- Once the refrigerator is plugged in, switch on the power or press the power button to turn on the appliance.
- Listen for the hum of the refrigerator’s motor, indicating that it is running again.
- Allow the refrigerator a few minutes to reach its desired temperature before placing any food back inside.
- Once the refrigerator is powered up and functioning properly, you can rest assured that the door removal process has been successfully completed.
By following these steps, you have safely removed and stored the refrigerator doors and reinstalled the shelves. Your refrigerator is now ready for normal use.
Remember to periodically check the doors, hinges, and seals, ensuring that everything is in good condition and functioning as it should. Regular maintenance will help prolong the life of your refrigerator and keep it running efficiently.
Thank you for following this step-by-step guide on how to remove refrigerator doors. We hope it has been helpful and that you have successfully completed the process. If you have any further questions or need assistance, consult your refrigerator’s user manual or seek professional help.
Stay cool and enjoy the convenience of your refrigerator!
Read more: How To Remove A Garage Door
Conclusion
Removing refrigerator doors may initially seem like a daunting task, but by following the step-by-step guide in this article, you can safely and successfully complete the process. From unplugging the refrigerator to storing the doors and reinstalling the shelves, each step has been outlined to help you complete the task with ease.
Remember to prioritize safety throughout the process, taking necessary precautions and consulting your refrigerator’s user manual for specific instructions. Safety measures like unplugging the refrigerator, wearing protective gloves and safety goggles, and enlisting a second person for assistance when needed are crucial to avoid accidents.
The tools and materials needed for the job are relatively simple, including a screwdriver or hex wrench, adjustable wrench, tape measure, protective gloves, safety goggles, clean cloth or sponge, mild detergent, and warm water. Gathering these tools beforehand ensures a smooth and efficient process.
The step-by-step instructions guide you from unplugging the refrigerator and removing any food and shelves to locating the hinge pins, removing the upper and lower hinge pins, and finally, lifting and removing the doors. Each step provides detailed guidance, emphasizing the importance of handling the doors with care to prevent damage.
Once the doors are safely removed, storing them in a clean and secure location is essential to protect them from damage. Properly cleaning the shelves and interior of the refrigerator ensures a fresh and hygienic environment for your food. Reinstalling the shelves securely and plugging the refrigerator back in complete the process, and you can enjoy using your refrigerator again.
By following these steps, you have successfully removed and stored the refrigerator doors, cleaned and reinstalled the shelves, and ensured the safe operation of your appliance. Regular maintenance and care will further extend the lifespan of your refrigerator, providing you with many years of reliable use.
We hope this comprehensive guide has been informative and helpful to you. If you have any further questions or need assistance, do not hesitate to consult your refrigerator’s user manual or seek professional help. Enjoy the convenience and functionality of your refrigerator!
Frequently Asked Questions about How To Remove Refrigerator Doors
Was this page helpful?
At Storables.com, we guarantee accurate and reliable information. Our content, validated by Expert Board Contributors, is crafted following stringent Editorial Policies. We're committed to providing you with well-researched, expert-backed insights for all your informational needs.


0 thoughts on “How To Remove Refrigerator Doors”