Articles
How To Remove Doors From Samsung Refrigerator
Modified: October 20, 2024
Learn how to remove doors from your Samsung refrigerator with our informative articles. Ensure a hassle-free process with step-by-step instructions and expert tips.
(Many of the links in this article redirect to a specific reviewed product. Your purchase of these products through affiliate links helps to generate commission for Storables.com, at no extra cost. Learn more)
Introduction
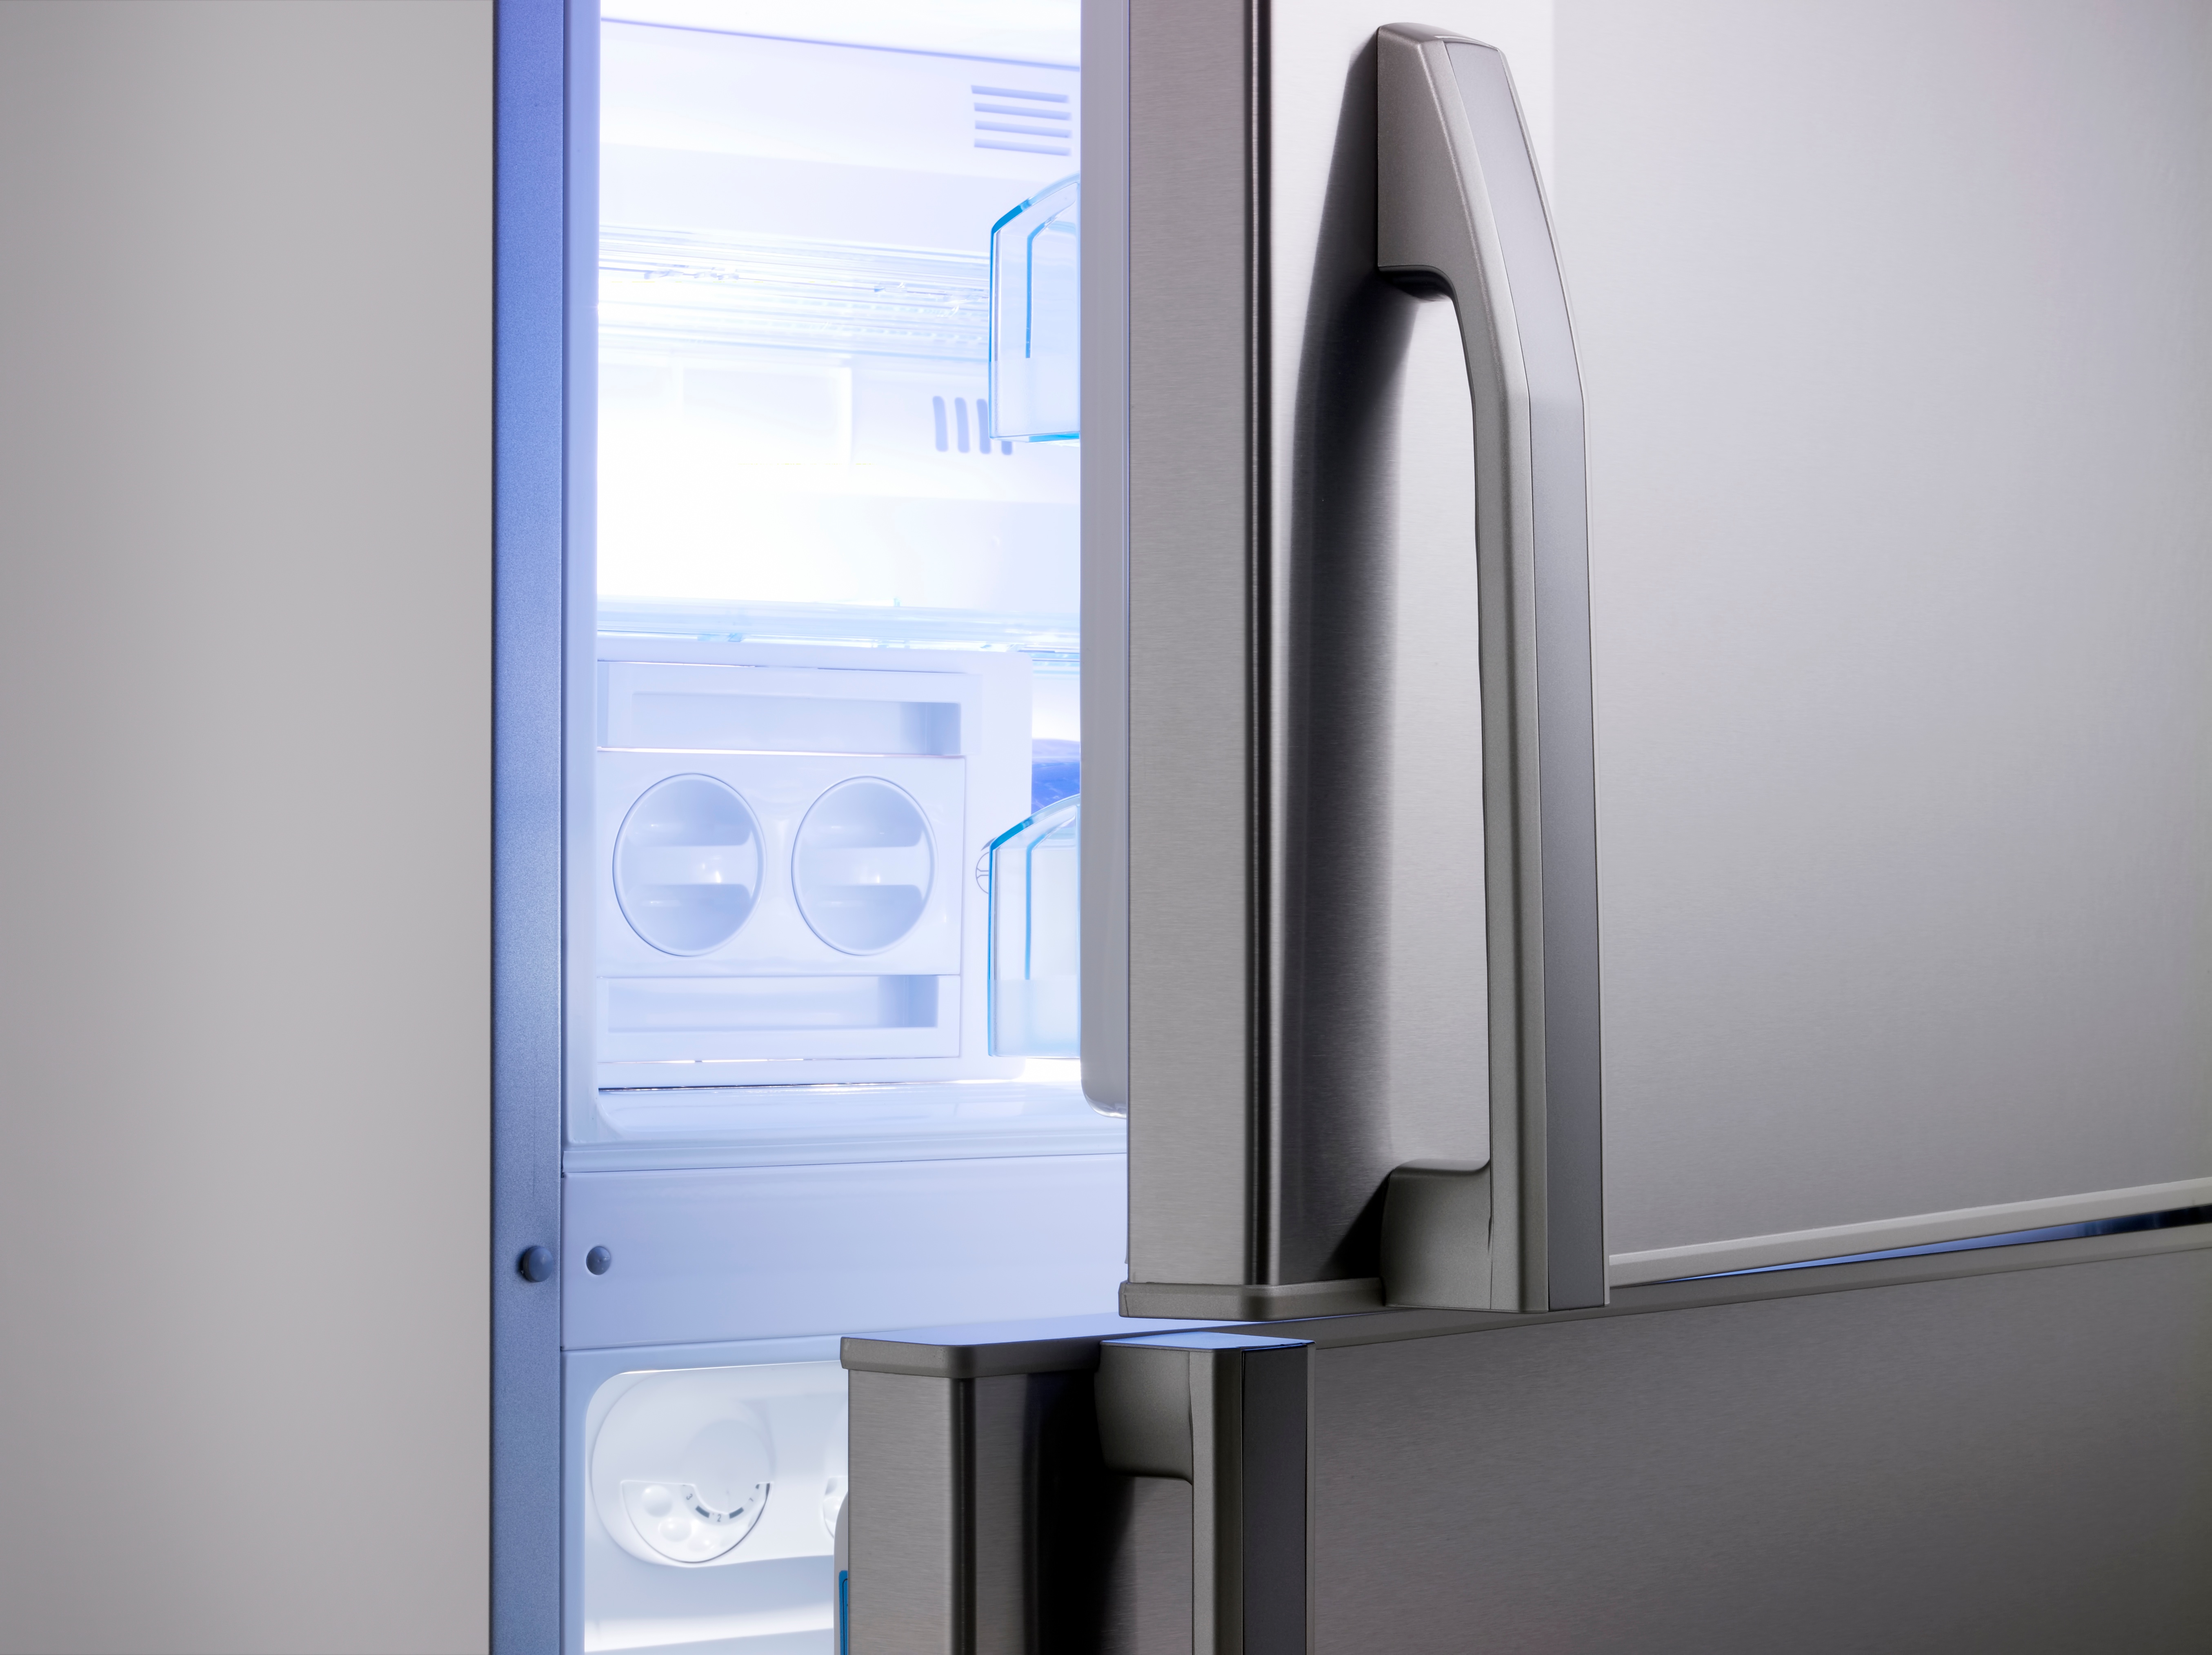
Removing the doors from your Samsung refrigerator can be necessary for various reasons. Whether you are moving the refrigerator to a new location, replacing a damaged door, or simply need easier access to clean the interior, knowing how to remove the doors properly is essential.
This article will guide you through the step-by-step process of removing the doors from your Samsung refrigerator. With the right tools, materials, and careful execution, you’ll be able to successfully remove the doors without any hassle.
Before starting the process, it’s important to ensure the refrigerator is unplugged to avoid any electrical hazards. Additionally, take note of any food items that need to be properly stored or transferred during the door removal process.
Read on to learn the tools and materials you will need, as well as the step-by-step instructions for removing and reinstalling the doors on your Samsung refrigerator.
Key Takeaways:
- Safely and efficiently remove the doors from your Samsung refrigerator by gathering the necessary tools, unplugging the appliance, and carefully following the step-by-step process outlined in this article.
- Reinstalling the doors of your Samsung refrigerator is a straightforward task that, when done correctly, ensures smooth operation and a refreshed appearance for your appliance. Follow the provided steps for a successful reinstallation.
Tools and Materials Needed
Before beginning the door removal process, gather the following tools and materials:
- Screwdriver or power drill with screwdriver bit
- Hex key or Allen wrench (if applicable to your refrigerator)
- Protective gloves
- Soft cloth or towel
- Plastic zip-top bags or containers to store screws or small parts
It’s important to have the appropriate tools and materials readily available to ensure a smooth and efficient door removal process.
The screwdriver or power drill with a screwdriver bit will be used to loosen and remove the screws that hold the doors in place. The type of screwdriver or bit required may vary depending on the specific model of your Samsung refrigerator, so be sure to check the manufacturer’s instructions or consult the user manual.
In some cases, a hex key or Allen wrench may be needed instead of a screwdriver. This tool is typically used for securing and removing specific types of screws or bolts. Again, refer to the manufacturer’s instructions or user manual to determine if a hex key or Allen wrench is necessary for your refrigerator.
Wearing protective gloves is always a good idea when working with appliances to avoid any injuries or damage to your hands. A soft cloth or towel can be used to wipe down the doors or protect the floor during the removal process.
Lastly, plastic zip-top bags or containers are useful for storing the screws or small parts removed during the door removal process. This ensures that all pieces are kept together and can be easily retrieved when needed to reinstall the doors.
Now that you have all the necessary tools and materials, you’re ready to proceed with removing the doors from your Samsung refrigerator.
Step 1: Gather necessary supplies
Before diving into the door removal process, it’s important to gather all the necessary supplies. Having everything on hand will make the process much smoother and more efficient.
First, locate a screwdriver or power drill with a screwdriver bit. The type of screwdriver or bit required may vary depending on your specific Samsung refrigerator model, so refer to the manufacturer’s instructions or user manual to determine the appropriate tool.
Next, find a hex key or Allen wrench if your refrigerator requires it for screw removal. Check the user manual or manufacturer’s instructions to determine if this tool is necessary for your specific model.
Don’t forget to put on a pair of protective gloves before starting the door removal process. This will help protect your hands from any potential injuries or accidents.
Having a soft cloth or towel nearby is also a good idea. You can use it to wipe down the doors or protect the floor from any scratches or damages during the removal process.
Last but not least, grab some plastic zip-top bags or containers to store the screws and small parts that you will be removing. This will ensure that everything stays organized and easily accessible when it’s time to reinstall the doors.
By gathering all these necessary supplies beforehand, you’ll be well-prepared to tackle the door removal process. Remember to consult your Samsung refrigerator’s user manual or manufacturer’s instructions for any specific requirements or recommendations for your particular model.
Step 2: Unplug the Refrigerator
Before proceeding with the door removal, always prioritize safety by unplugging the refrigerator. This step ensures that there is no electrical power running through the appliance, reducing the risk of electrical shock or injury.
To unplug the refrigerator, locate the power cord at the back of the appliance. Follow the cord until you reach the wall outlet or power strip it is plugged into. Firmly grasp the plug and carefully pull it out of the outlet.
Double-check that the refrigerator is no longer receiving power by ensuring that the lights and any other electrical components are turned off.
Unplugging the refrigerator not only protects your safety but also prevents any accidental activation of the cooling system during the door removal process. This can help avoid potential damage to the appliance.
It is important to note that the refrigerator should remain unplugged until the doors are reinstalled and properly secured. This ensures that the appliance remains in a safe state throughout the process.
By taking the time to unplug the refrigerator, you prioritize safety and create a secure working environment for removing the doors. Once the appliance is safely unplugged, you can proceed to the next steps with peace of mind.
Step 3: Locate the Hinge Covers
After unplugging the refrigerator, it’s time to locate the hinge covers. These covers are typically located on the top and bottom of the doors, near the hinges. They conceal the screws that hold the doors in place.
Take a close look at the top and bottom of the refrigerator doors to identify the hinge covers. They may be small plastic caps or plates that can be easily removed.
Note that not all refrigerators have hinge covers, so if you don’t see any on your Samsung model, you can skip this step and move on to the next one.
If you see hinge covers, they can usually be removed by prying them gently with your fingers or by using a small flathead screwdriver. Apply downward pressure on the cover and carefully lift it away from the door.
Set the removed hinge covers aside in a safe place, as you’ll need to reinstall them once you’re done removing and reattaching the doors.
By locating the hinge covers, you’ll be able to access the screws that hold the doors in place. This is an essential step in the door removal process and ensures that you have clear access to all the necessary components.
Now that you’ve located the hinge covers, you’re ready to proceed to the next step: removing the covers to access the screws holding the doors in place.
Read more: How To Remove Freon From A Refrigerator
Step 4: Remove the Hinge Covers
With the hinge covers located, it’s time to remove them to access the screws that hold the refrigerator doors in place. Removing the hinge covers allows you to proceed with the door removal process.
Using your fingers or a small flathead screwdriver, gently pry the hinge covers upward and away from the doors. Take care not to apply excessive force or damage the covers or the surrounding area.
Once the covers are loosened, you can simply lift them off the doors. Set them aside in a safe place where they won’t get lost or damaged during the rest of the door removal process.
Removing the hinge covers provides you with clear visibility of the screws that hold the doors in place. This will allow for easier access and removal of the doors in the following steps.
Take a moment to inspect the hinge covers for any dirt or debris. If needed, wipe them clean with a soft cloth or towel before storing them for later use.
By removing the hinge covers, you’re one step closer to successfully removing the doors from your Samsung refrigerator. This step ensures that the screws holding the doors in place are exposed and ready for removal.
Now that the hinge covers are removed, you can move on to the next step: loosening the hinge screws to release the doors.
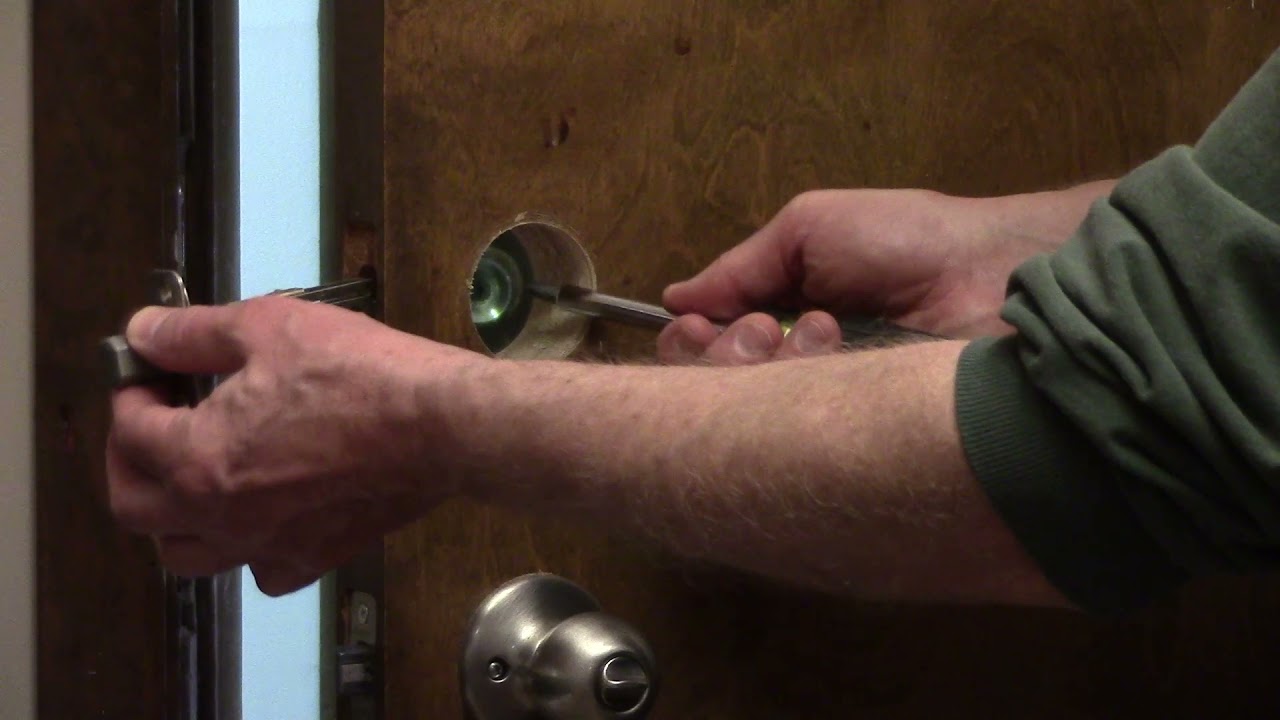
Before removing the doors from your Samsung refrigerator, be sure to unplug the appliance and remove any items from the door shelves. Use a screwdriver to loosen the hinge screws and lift the doors off carefully. Keep track of any small parts or screws for reassembly.
Step 5: Loosen the Hinge Screws
With the hinge covers removed, it’s time to loosen the hinge screws to release the doors from the refrigerator. Loosening these screws will allow the doors to be lifted off the hinges.
Locate the screws on the top and bottom hinges of each door. These screws are typically visible once the hinge covers are removed. Use a screwdriver or power drill with a screwdriver bit that matches the screw heads.
Insert the screwdriver or screwdriver bit into the screw heads and begin loosening them by turning counterclockwise. Ensure you have a firm grip on the tool to apply steady pressure without stripping or damaging the screws.
Do not fully remove the screws at this point. Instead, loosen them just enough to create some space between the hinges and the doors. This will allow for easy removal of the doors in the next step.
If you encounter any resistance while loosening the screws, avoid using excessive force as this may cause damage to the screws or the door. Instead, double-check that you are using the correct screwdriver or bit and try again.
Repeat this process for the screws on the top and bottom hinges of each door. Take your time and ensure that all the screws are loosened evenly to prevent any imbalance or misalignment when removing the doors.
By loosening the hinge screws, you are preparing the doors for removal. This step creates the necessary space between the hinges and the doors, allowing for a smooth and hassle-free removal process.
Now that the hinge screws are loosened, you’re ready to proceed to the next step: lifting the doors off the hinges.
Step 6: Lift the Door off the Hinge
Now that the hinge screws are loosened, it’s time to lift the refrigerator door off the hinges. This step requires careful handling and may require assistance if the doors are heavy.
Start with the top hinge and, using a firm grip, lift the door upwards until it is clear of the bottom hinge. Remember to lift straight up and avoid tilting or twisting the door to prevent any damage.
If the door feels too heavy or difficult to lift on your own, consider asking for help from a friend or family member to ensure a safe and successful removal.
Once the door is lifted off the bottom hinge, set it aside in a safe and clean area where it won’t get damaged. You can place it on a soft cloth or towel to prevent scratches or dents.
Repeat this process for any additional doors you need to remove from your Samsung refrigerator. Keep in mind that French door models typically have two separate doors, while side-by-side models have one large door for the refrigerator section and one for the freezer section.
Be cautious when handling the doors, as they can be heavy and bulky. Take your time and ensure you have a clear path to place the doors without any obstructions or potential hazards.
By lifting the doors off the hinges, you have successfully removed them from your Samsung refrigerator. This step paves the way for any further maintenance or repairs that may be needed, such as replacing a damaged door or accessing the interior of the refrigerator more easily.
Now that the doors are removed, you can proceed to the next step if you need to remove the bottom hinge or move on to reinstalling the doors.
Step 7: Remove the Bottom Hinge (If Applicable)
In some cases, you may need to remove the bottom hinge of your Samsung refrigerator as part of the door removal process. This step is only necessary if the bottom hinge needs to be detached for any reason, such as replacing a damaged hinge or accessing the interior of the refrigerator.
If your particular refrigerator model requires the removal of the bottom hinge, follow these steps:
- Locate the screws that secure the bottom hinge to the refrigerator. These screws are typically found on the bottom of the hinge assembly.
- Using a screwdriver or power drill with the appropriate bit, begin loosening the screws by turning them counterclockwise. Make sure to grip the tool firmly to avoid stripping or damaging the screws.
- Once the screws are sufficiently loosened, carefully lift the bottom hinge assembly away from the refrigerator. Set it aside in a safe place where it won’t get lost or damaged during the rest of the door removal process.
Removing the bottom hinge, if applicable, provides additional access and flexibility during the door removal process. However, not all refrigerator models have a removable bottom hinge, so this step may not be necessary for your specific Samsung refrigerator.
If your refrigerator does not have a removable bottom hinge, you can skip this step and proceed to the next one.
By removing the bottom hinge, if applicable, you have successfully prepared the refrigerator for the door removal process. This step allows for a more thorough maintenance or repair task if needed.
Now that the bottom hinge, if applicable, is removed, you can move on to the next step: repeating the previous steps for any additional doors that need to be removed, or, if you’re done with the removal process, proceed to reinstalling the doors.
Read more: How To Remove Glass From Samsung Fridge
Step 8: Repeat Steps for Other Doors (If Necessary)
If you have multiple doors on your Samsung refrigerator that need to be removed, it’s important to repeat the previous steps for each door individually. This will ensure that all doors are properly detached and ready for maintenance, repairs, or any other required tasks.
Start by following steps 3 to 7 for each additional door. Locate the hinge covers, remove them to access the screws, loosen the hinge screws, lift the door off the hinge, and, if applicable, remove the bottom hinge.
Take your time and be thorough in repeating these steps for each door. It’s important to maintain consistency in the process to avoid any imbalance or issues when reinstalling the doors later on.
Keep in mind that different refrigerator models may have varying door configurations. For example, French door models typically have two separate doors, while side-by-side models have one large door for the refrigerator section and one for the freezer section.
Ensure that you are well aware of the number of doors on your specific refrigerator model and repeat the steps accordingly for each door that needs to be removed.
By repeating the steps for other doors, if necessary, you are ensuring that all the doors are detached and ready for any required maintenance or repairs. This comprehensive approach will also make it easier to reinstall the doors later on.
Now that you’ve successfully completed this step, you can move on to the next step: reinstalling the doors if desired, or conclude the door removal process if you’ve completed all necessary tasks.
Step 9: Reinstall the Doors (If Desired)
If you have completed the necessary maintenance, repairs, or other tasks and are ready to put the doors back on your Samsung refrigerator, follow these steps to reinstall them:
- Starting with the top hinge, align the door with the hinge socket on the refrigerator. Hold the door in place, making sure it is properly aligned and level with the other doors and the refrigerator.
- With the door in position, insert the hinge pins into the hinge sockets. The hinge pins should slide easily into place if the door is properly aligned.
- Once the hinge pins are inserted, ensure they are securely in place and holding the door firmly. This step is crucial for maintaining the stability and proper functioning of the door.
- If applicable, reattach the bottom hinge using the screws previously removed. Make sure to tighten the screws securely, but be careful not to overtighten and strip the screws or damage the hinge or refrigerator.
- Repeat these steps for any additional doors that need to be reinstalled, following the same process of aligning the door, inserting the hinge pins, and tightening the screws for the bottom hinge.
- After reinstalling all the doors, ensure they open and close smoothly without any obstructions or misalignments. Check that they are properly aligned with each other and the refrigerator.
- If you removed hinge covers earlier, clean them if necessary and snap them back into place over the hinges. This will provide a finished, streamlined look to your refrigerator doors.
By carefully reinstalling the doors, you are restoring the functionality and appearance of your Samsung refrigerator. Proper alignment and secure installation ensure that the doors operate smoothly and maintain the integrity of the appliance.
Now that you’ve successfully reinstalled the doors, take a moment to enjoy the satisfaction of a job well done. Your Samsung refrigerator is now fully equipped with its doors securely in place.
Remember to plug in the refrigerator and double-check that it is functioning properly after the door reinstallation. Ensure that all electrical components are working as expected before resuming normal use of the appliance.
Congratulations! You have completed the door removal and reinstallation process on your Samsung refrigerator. You can now enjoy the convenience and functionality of your appliance with the doors securely affixed.
Conclusion
Removing and reinstalling the doors of your Samsung refrigerator is a straightforward process that can be accomplished with the right tools, materials, and careful execution. Whether you need to remove the doors for maintenance, repairs, or simply to access the interior for cleaning, following the steps outlined in this article will ensure a successful door removal and reinstallation.
Starting with gathering the necessary supplies, such as a screwdriver or power drill, protective gloves, and a soft cloth, you’ll be prepared for the door removal process. Unplugging the refrigerator is an important safety precaution, ensuring that there is no electrical power running through the appliance during the procedure.
Locating and removing the hinge covers provides access to the screws that hold the doors in place, which can be loosened to create space for lifting the doors off the hinges. If necessary, the bottom hinge can also be removed to allow for additional access or repairs.
Repeating the steps for each door, if applicable, ensures that all doors are properly detached. When you are ready to reinstall the doors, follow the steps in reverse order, aligning the doors with the hinges, inserting the hinge pins, and tightening the screws.
With the doors securely back in place, enjoy the renewed functionality and appearance of your Samsung refrigerator. Take a moment to appreciate the effort you put into safely and successfully removing and reinstalling the doors.
Remember, if you ever need to remove the doors again in the future, you can refer back to this article as a helpful guide. With the right tools and knowledge, you can confidently tackle any door-related tasks that may arise.
Thank you for following along with this guide on how to remove doors from a Samsung refrigerator. Your ability to confidently perform this process will empower you to maintain and care for your appliance effectively.
Frequently Asked Questions about How To Remove Doors From Samsung Refrigerator
Was this page helpful?
At Storables.com, we guarantee accurate and reliable information. Our content, validated by Expert Board Contributors, is crafted following stringent Editorial Policies. We're committed to providing you with well-researched, expert-backed insights for all your informational needs.


0 thoughts on “How To Remove Doors From Samsung Refrigerator”