Articles
How To Remove Lg Refrigerator Door
Modified: May 6, 2024
Learn how to easily and safely remove the door of your LG refrigerator with our helpful articles and step-by-step instructions. Upgrade your knowledge today!
(Many of the links in this article redirect to a specific reviewed product. Your purchase of these products through affiliate links helps to generate commission for Storables.com, at no extra cost. Learn more)
Introduction
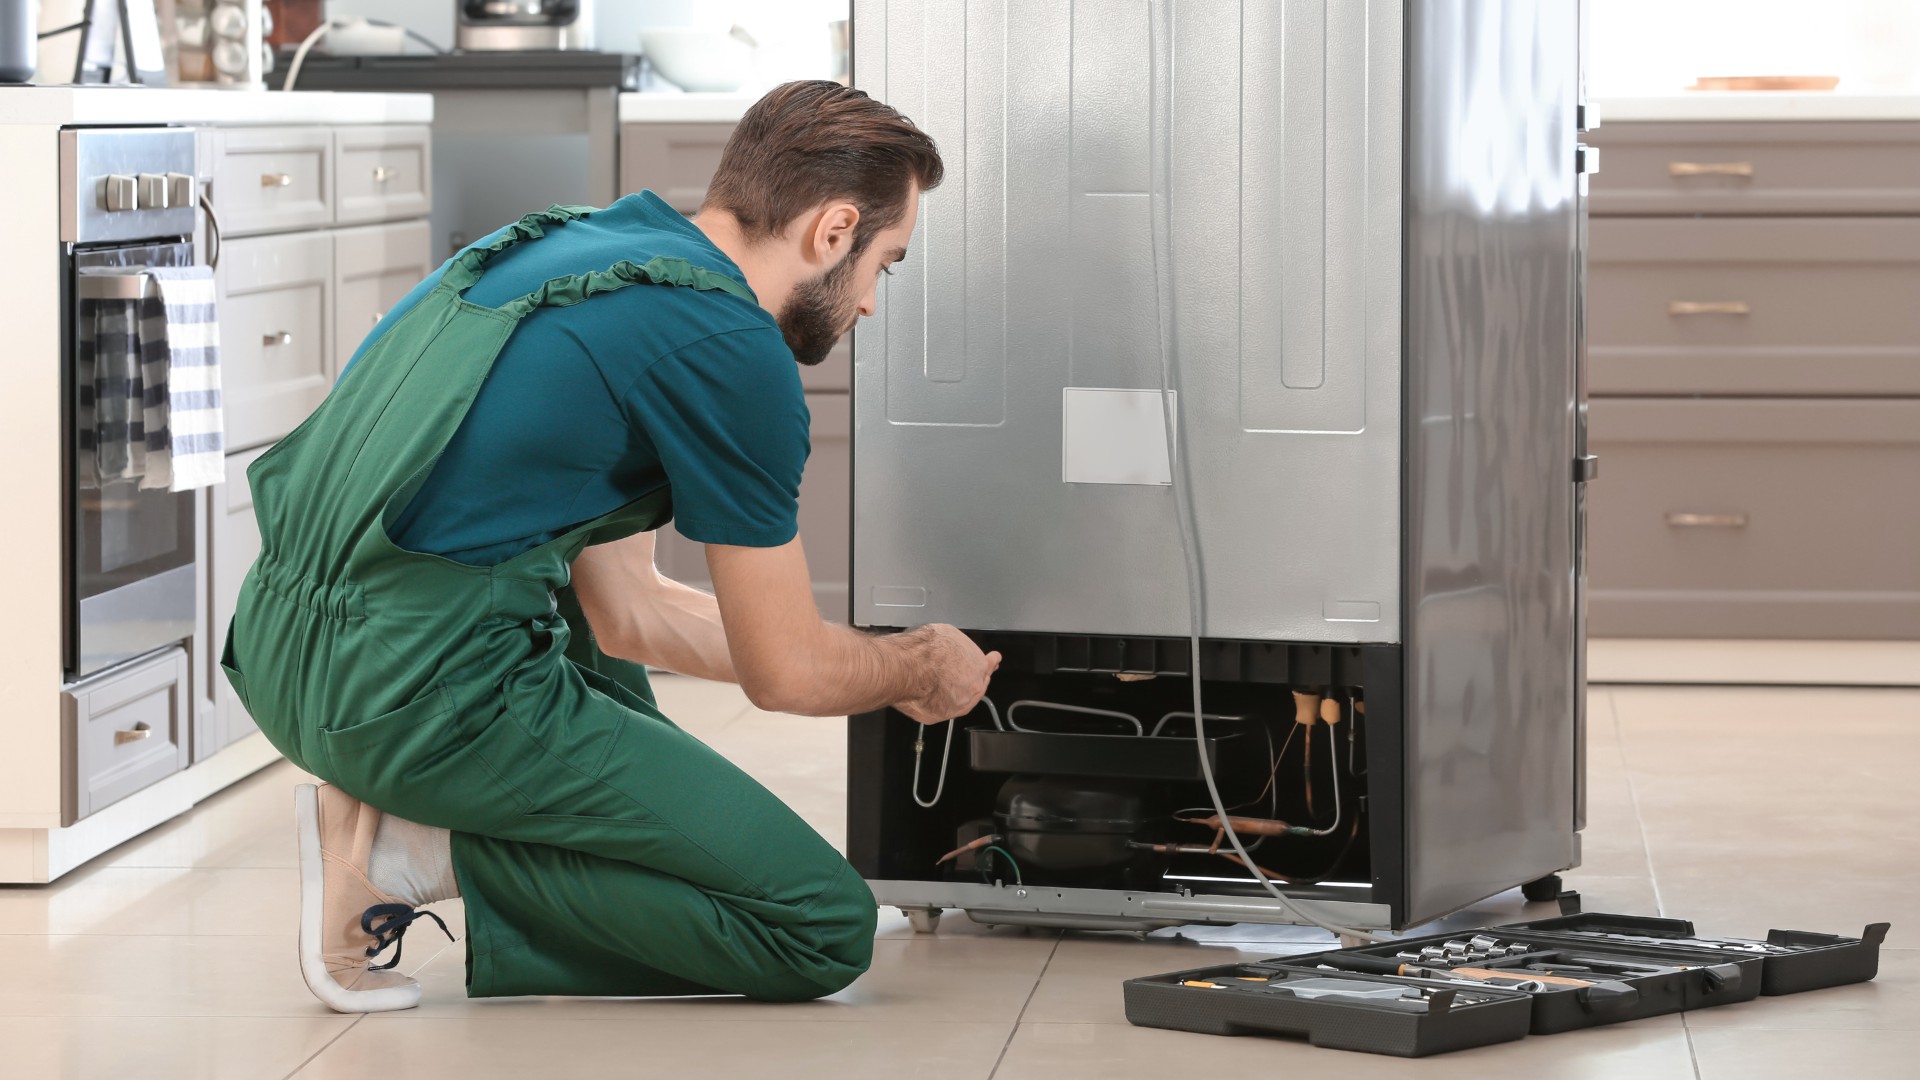
Removing the door of your LG refrigerator may be necessary for various reasons. Whether you need to clean the door thoroughly, access the interior for repairs or upgrades, or simply rearrange the fridge layout, knowing how to remove the door properly is essential. However, it’s important to follow the correct steps to prevent any damage to the door or hinges.
In this article, we will guide you through a step-by-step process on how to remove the door of an LG refrigerator. We’ll provide you with all the necessary information and tips to ensure a smooth and hassle-free experience. So, let’s get started!
Key Takeaways:
- Easily and safely remove and reattach the door of your LG refrigerator by following a step-by-step process, ensuring a clean and fresh environment for your food and maintaining the appliance’s optimal performance.
- Gather the necessary tools and supplies, unplug the refrigerator, locate and remove the hinge cover, unscrew the top hinge, lift and remove the door from the bottom hinge, clean the door and refrigerator, reattach the door using the bottom hinge, screw the top hinge back into place, reinstall the hinge cover, and plug the refrigerator back in.
Read more: How To Remove Refrigerator Doors
Step 1: Gather the necessary tools and supplies
Before you begin the process of removing the door from your LG refrigerator, it’s important to gather all the necessary tools and supplies. Having everything you need on hand will make the process smoother and more efficient.
Here are the tools and supplies you will need:
- Screwdriver (Phillips or flathead, depending on the type of screws used)
- Work gloves (to protect your hands)
- Clean cloth or sponge
- Mild detergent or cleaning solution
By gathering these tools and supplies beforehand, you’ll be prepared for each step of the process.
Step 2: Unplug the refrigerator and remove any items inside
Before you begin removing the door of your LG refrigerator, it is crucial to ensure the safety of both the appliance and its contents. Start by unplugging the refrigerator from the power source to avoid any electrical accidents or damage.
Once you have unplugged the refrigerator, it is time to empty the contents from both the refrigerator and the door compartments. Remove all food items, shelves, and bins from the door to prevent any damage or mess during the removal process.
Remember to discard any perishable items or transfer them to a temporary storage space to keep them fresh. You can also take this opportunity to clean and organize the items you remove from the refrigerator.
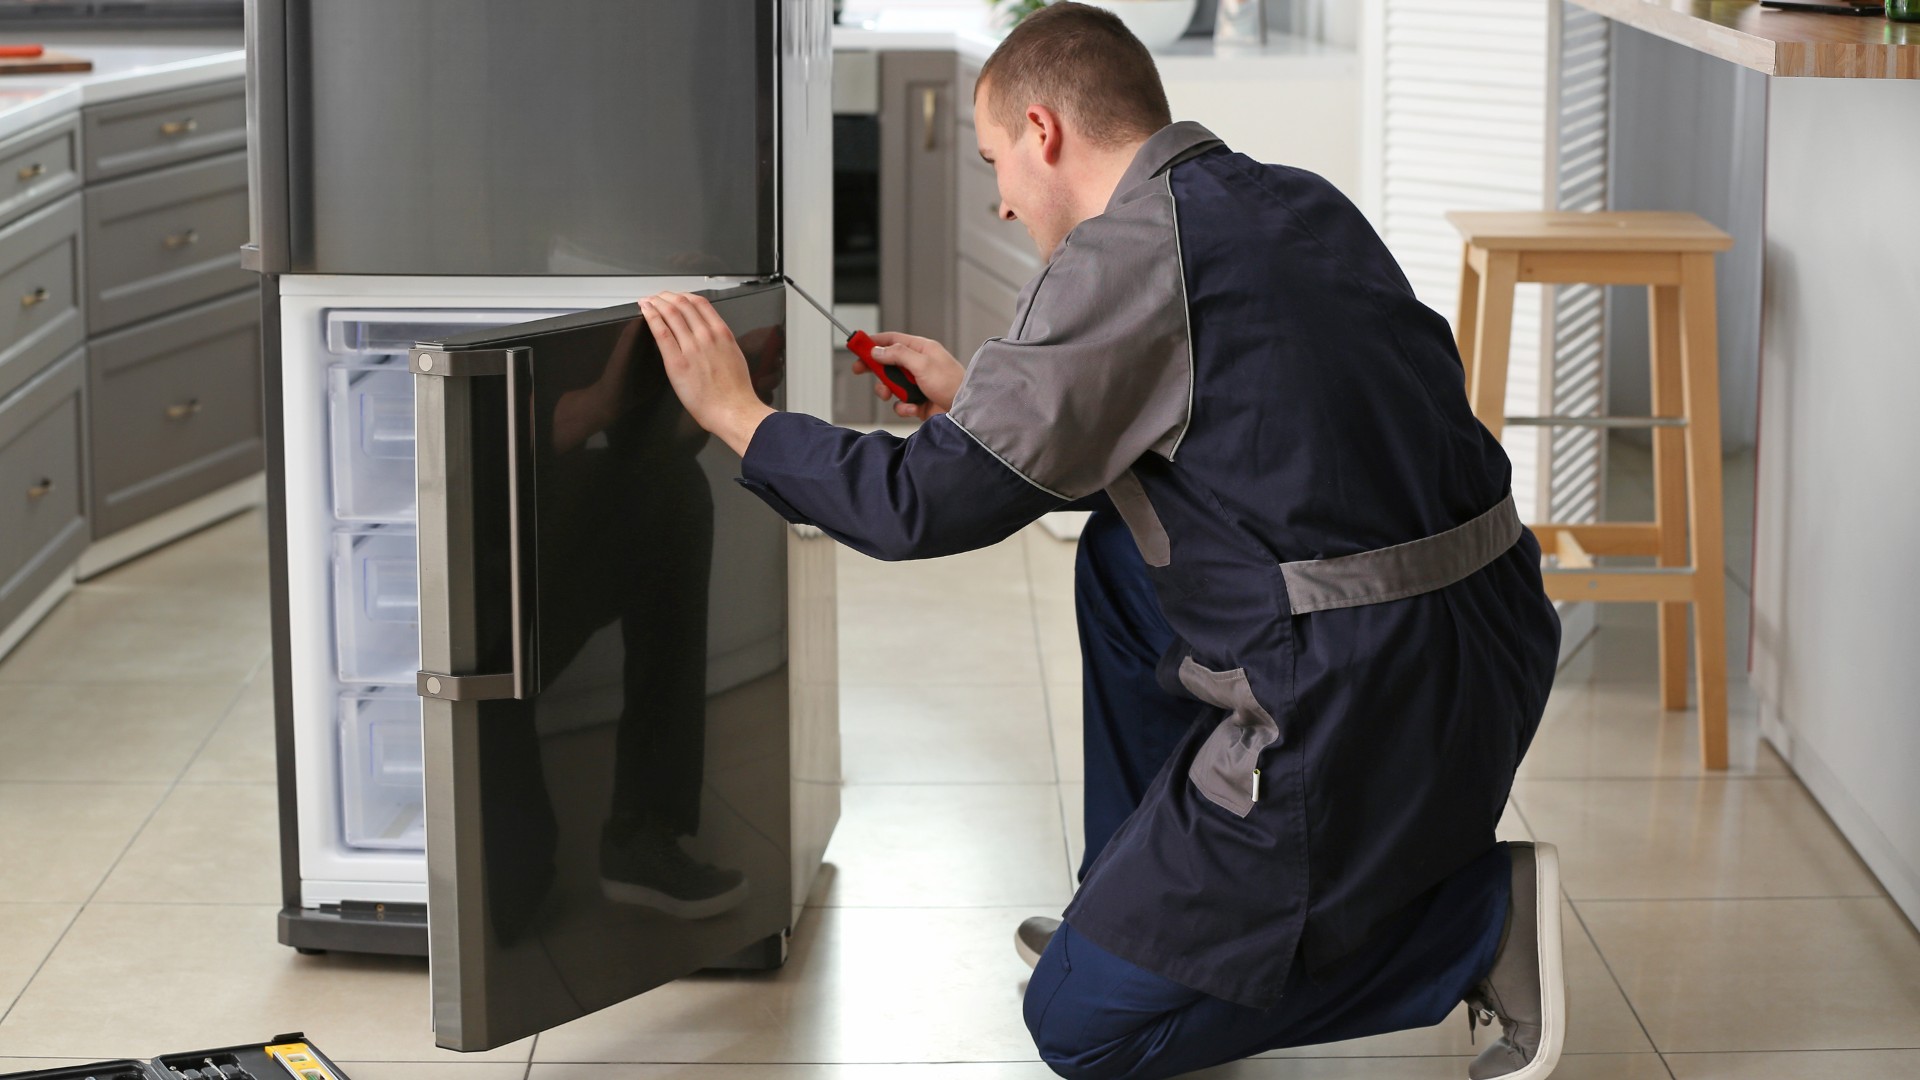
Step 3: Locate the hinge cover and remove it
In order to access the hinges and detach the door from your LG refrigerator, you’ll need to locate and remove the hinge cover. The hinge cover is typically a plastic or decorative panel that covers the hinge mechanism.
Begin by carefully examining the top of the refrigerator door. Look for any screws, clips, or tabs that are holding the hinge cover in place. These may vary depending on the model of your LG refrigerator.
Once you’ve identified the fastening mechanism, use a screwdriver or your fingers to remove it. Gently slide or pry the hinge cover away from the door, being careful not to apply too much force or damage the cover.
Set the hinge cover aside in a safe place as you will need it for reinstallation later.
Removing the hinge cover will expose the hinges and allow you to proceed with removing the door from the refrigerator.
Step 4: Unscrew the top hinge to release the door
With the hinge cover removed, you can now proceed to unscrew the top hinge to release the door from your LG refrigerator. This step requires the use of a screwdriver along with some caution to avoid any mishaps.
Here’s how to unscrew the top hinge:
- Locate the screws that are securing the top hinge in place. They are usually positioned on the interior side of the refrigerator door.
- Using a screwdriver, carefully loosen and remove the screws. Keep your hand steady to prevent any accidental dropping of the door.
- Once the screws are removed, gently lift the top hinge away from the refrigerator. Be cautious as the door may become loose and unstable.
- Set the top hinge aside in a safe location, making sure to keep track of any screws or other fastening components.
By unscrewing the top hinge, you will effectively release the door from the refrigerator, allowing you to proceed with the removal process.
Step 5: Lift and remove the door from the bottom hinge
Now that the top hinge has been unscrewed and removed, it’s time to lift and remove the door from the bottom hinge. This step requires some caution and strength, as the door may be heavy.
Follow these steps to lift and remove the door from the bottom hinge:
- Position yourself in front of the refrigerator and firmly grasp both sides of the door near the bottom.
- Lift the door upwards while simultaneously pulling it towards you. Use your legs to provide support and minimize strain on your back.
- As you lift the door, keep a steady grip and ensure that it clears the bottom hinge smoothly.
- Set the door aside in a safe and flat location to prevent any damage.
Remember to handle the door with care, as it may be bulky and fragile. Take your time and enlist the help of another person if needed.
Now that you have successfully removed the door from the bottom hinge, you can proceed with cleaning and any necessary repairs or adjustments before reattaching it.
Before removing the LG refrigerator door, unplug the refrigerator and remove any items from the door shelves. Then, locate the hinge cover and remove it to access the hinge screws. Use a screwdriver to loosen the screws and lift the door off the hinge.
Step 6: Clean the door and refrigerator before reattaching
Before reattaching the door to your LG refrigerator, it’s important to take the opportunity to clean both the door and the interior of the refrigerator. This will ensure a fresh and hygienic environment for your food and improve the overall appearance of your appliance.
Follow these steps to clean the door and refrigerator:
- Start by preparing a mild detergent or cleaning solution. Mix it with water according to the manufacturer’s instructions.
- Dampen a clean cloth or sponge in the cleaning solution and gently wipe down the door. Pay attention to any spills, stains, or sticky residue. For stubborn stains, you may need to apply a bit more pressure or use a specialized cleaner.
- Next, remove any shelves, bins, or drawers from the refrigerator and clean them separately using the same cleaning solution. Rinse them thoroughly and allow them to air dry before reinstalling.
- Use a clean, damp cloth to wipe down the interior of the refrigerator, including the walls, shelves, and any other surfaces. Pay special attention to any areas that may have collected dirt or grime.
- Lastly, thoroughly dry the door and the interior of the refrigerator using a clean towel or cloth. This will help prevent any moisture from causing damage or odors.
By cleaning the door and refrigerator before reattaching the door, you’ll ensure a clean and fresh environment for your food and a more pleasant overall experience with your LG refrigerator.
Step 7: Reattach the door using the bottom hinge
Now that the door and refrigerator are clean, it’s time to reattach the door using the bottom hinge. This process requires precision and careful alignment to ensure a secure fit.
Follow these steps to reattach the door using the bottom hinge:
- Position yourself in front of the refrigerator with the door in hand.
- Align the bottom of the door with the bottom hinge, ensuring that the hinge pin aligns with the corresponding hole in the door.
- Gently lower the door onto the bottom hinge, making sure it rests securely and evenly.
- Once the door is aligned with the bottom hinge, you can proceed to the next step of reattaching the top hinge.
It’s important to note that some models may have additional steps or mechanisms for securing the door to the hinge. You may need to refer to your LG refrigerator’s user manual for specific instructions.
By carefully aligning and reattaching the door using the bottom hinge, you will ensure a stable and secure connection between the door and the refrigerator.
Step 8: Screw the top hinge back into place
With the door reattached to the bottom hinge, it’s time to secure the top hinge back into place. This step is essential to ensure the stability and proper functioning of the door on your LG refrigerator.
Follow these steps to screw the top hinge back into place:
- Retrieve the top hinge that was set aside earlier.
- Align the top hinge with the holes on the refrigerator door.
- Using a screwdriver, insert the screws into the holes and tighten them securely. Ensure that the top hinge is stable and aligned properly.
- Double-check that all screws are tightened to prevent any movement or imbalance in the door.
Take care not to overtighten the screws, as this may cause damage to the door or hinge mechanism. Use just enough force to secure the hinge in place.
Once the top hinge is securely fastened, you have successfully reattached the door to your LG refrigerator. Now, it’s time to move on to the final step of the reinstallation process.
Read more: How To Adjust Refrigerator Door
Step 9: Reinstall the hinge cover
Now that the door is securely attached to the top and bottom hinges, it’s time to reinstall the hinge cover. The hinge cover not only provides a neat and finished look to your LG refrigerator but also helps to protect the hinge mechanism.
Follow these steps to reinstall the hinge cover:
- Retrieve the hinge cover that was set aside earlier.
- Align the hinge cover with the hinge mechanism and the screw holes on the refrigerator door.
- Using your fingers or a screwdriver, carefully attach the hinge cover in place. Make sure it is snug and secure.
Take care not to overtighten or force the hinge cover during installation, as this may cause damage to the cover or the surrounding area of the refrigerator door.
Once the hinge cover is reinstalled, step back and admire your handiwork. The cover adds a sleek and cohesive finishing touch to the door, making it appear seamless with the rest of the refrigerator.
Now, it’s time to move on to the final step to complete the process of removing and reattaching the door of your LG refrigerator.
Step 10: Plug the refrigerator back in and return the items inside
Now that you’ve successfully reattached the door of your LG refrigerator, it’s time to complete the process by plugging the refrigerator back in and returning the items inside.
Follow these steps to finish the process:
- Locate the power cord of your LG refrigerator and plug it back into the electrical outlet.
- Ensure that the refrigerator is receiving power by checking if the lights turn on and the compressor starts running.
- Once the refrigerator is powered on, carefully transfer the food items, shelves, and bins back into the refrigerator door. Organize them as desired.
- Take a moment to appreciate your clean and refreshed refrigerator, now with a properly reattached door.
It’s important to note that after plugging in the refrigerator, it may take some time for it to reach the desired temperature. Be patient and allow the refrigerator to cool down before storing perishable items.
Congratulations! You have successfully completed the process of removing and reattaching the door of your LG refrigerator. By following these steps, you’ve not only gained the knowledge of how to perform this task, but also ensured the proper functioning and appearance of your refrigerator.
Remember to consult the user manual specific to your LG refrigerator model for any additional instructions or recommendations.
Conclusion
Removing the door of your LG refrigerator may seem like a daunting task, but by following the step-by-step process outlined in this article, you can easily and safely take on the challenge. Whether you need to clean the door, make repairs, or simply rearrange the layout, knowing how to remove and reattach the door properly is essential.
We began by gathering the necessary tools and supplies, ensuring that we had everything we needed for a smooth process. Then, we proceeded to unplug the refrigerator and remove any items inside, taking care to create a safe working environment.
Next, we located and removed the hinge cover, allowing us access to the hinge mechanism. We then unscrewed the top hinge to release the door, followed by lifting and removing the door from the bottom hinge.
With the door removed, we took the opportunity to clean both the door and the interior of the refrigerator, ensuring a fresh and sanitary environment for our food. Afterward, we reattached the door using the bottom hinge and secured the top hinge back into place.
Lastly, we reinstalled the hinge cover for a polished and finished appearance. The final step was to plug the refrigerator back in and return the items inside, taking care to organize them as desired.
By following these steps and exercising caution throughout the process, you can confidently remove and reattach the door of your LG refrigerator. Remember to consult your specific LG refrigerator model’s user manual for any additional instructions or specifications.
Now that you have the knowledge and know-how, you can easily tackle any future tasks that require removing the door of your LG refrigerator, ensuring its longevity and optimal performance.
Now that you've mastered removing an LG refrigerator door, why not keep up the good work with your appliance? For those looking to ensure their fridge remains in top condition, checking out our guide on maintaining your ice maker is a must. And if your LG unit needs a bit more TLC, replacing the air filter could boost its efficiency and freshness. Both tasks are simpler than you think and can make a big difference in how well your refrigerator runs.
Frequently Asked Questions about How To Remove Lg Refrigerator Door
Was this page helpful?
At Storables.com, we guarantee accurate and reliable information. Our content, validated by Expert Board Contributors, is crafted following stringent Editorial Policies. We're committed to providing you with well-researched, expert-backed insights for all your informational needs.


0 thoughts on “How To Remove Lg Refrigerator Door”