Articles
How To Repair A Concrete Porch
Modified: December 7, 2023
Learn how to repair a concrete porch with our informative articles. Get expert tips and guidance for fixing cracks, uneven surfaces, and more.
(Many of the links in this article redirect to a specific reviewed product. Your purchase of these products through affiliate links helps to generate commission for Storables.com, at no extra cost. Learn more)
Introduction
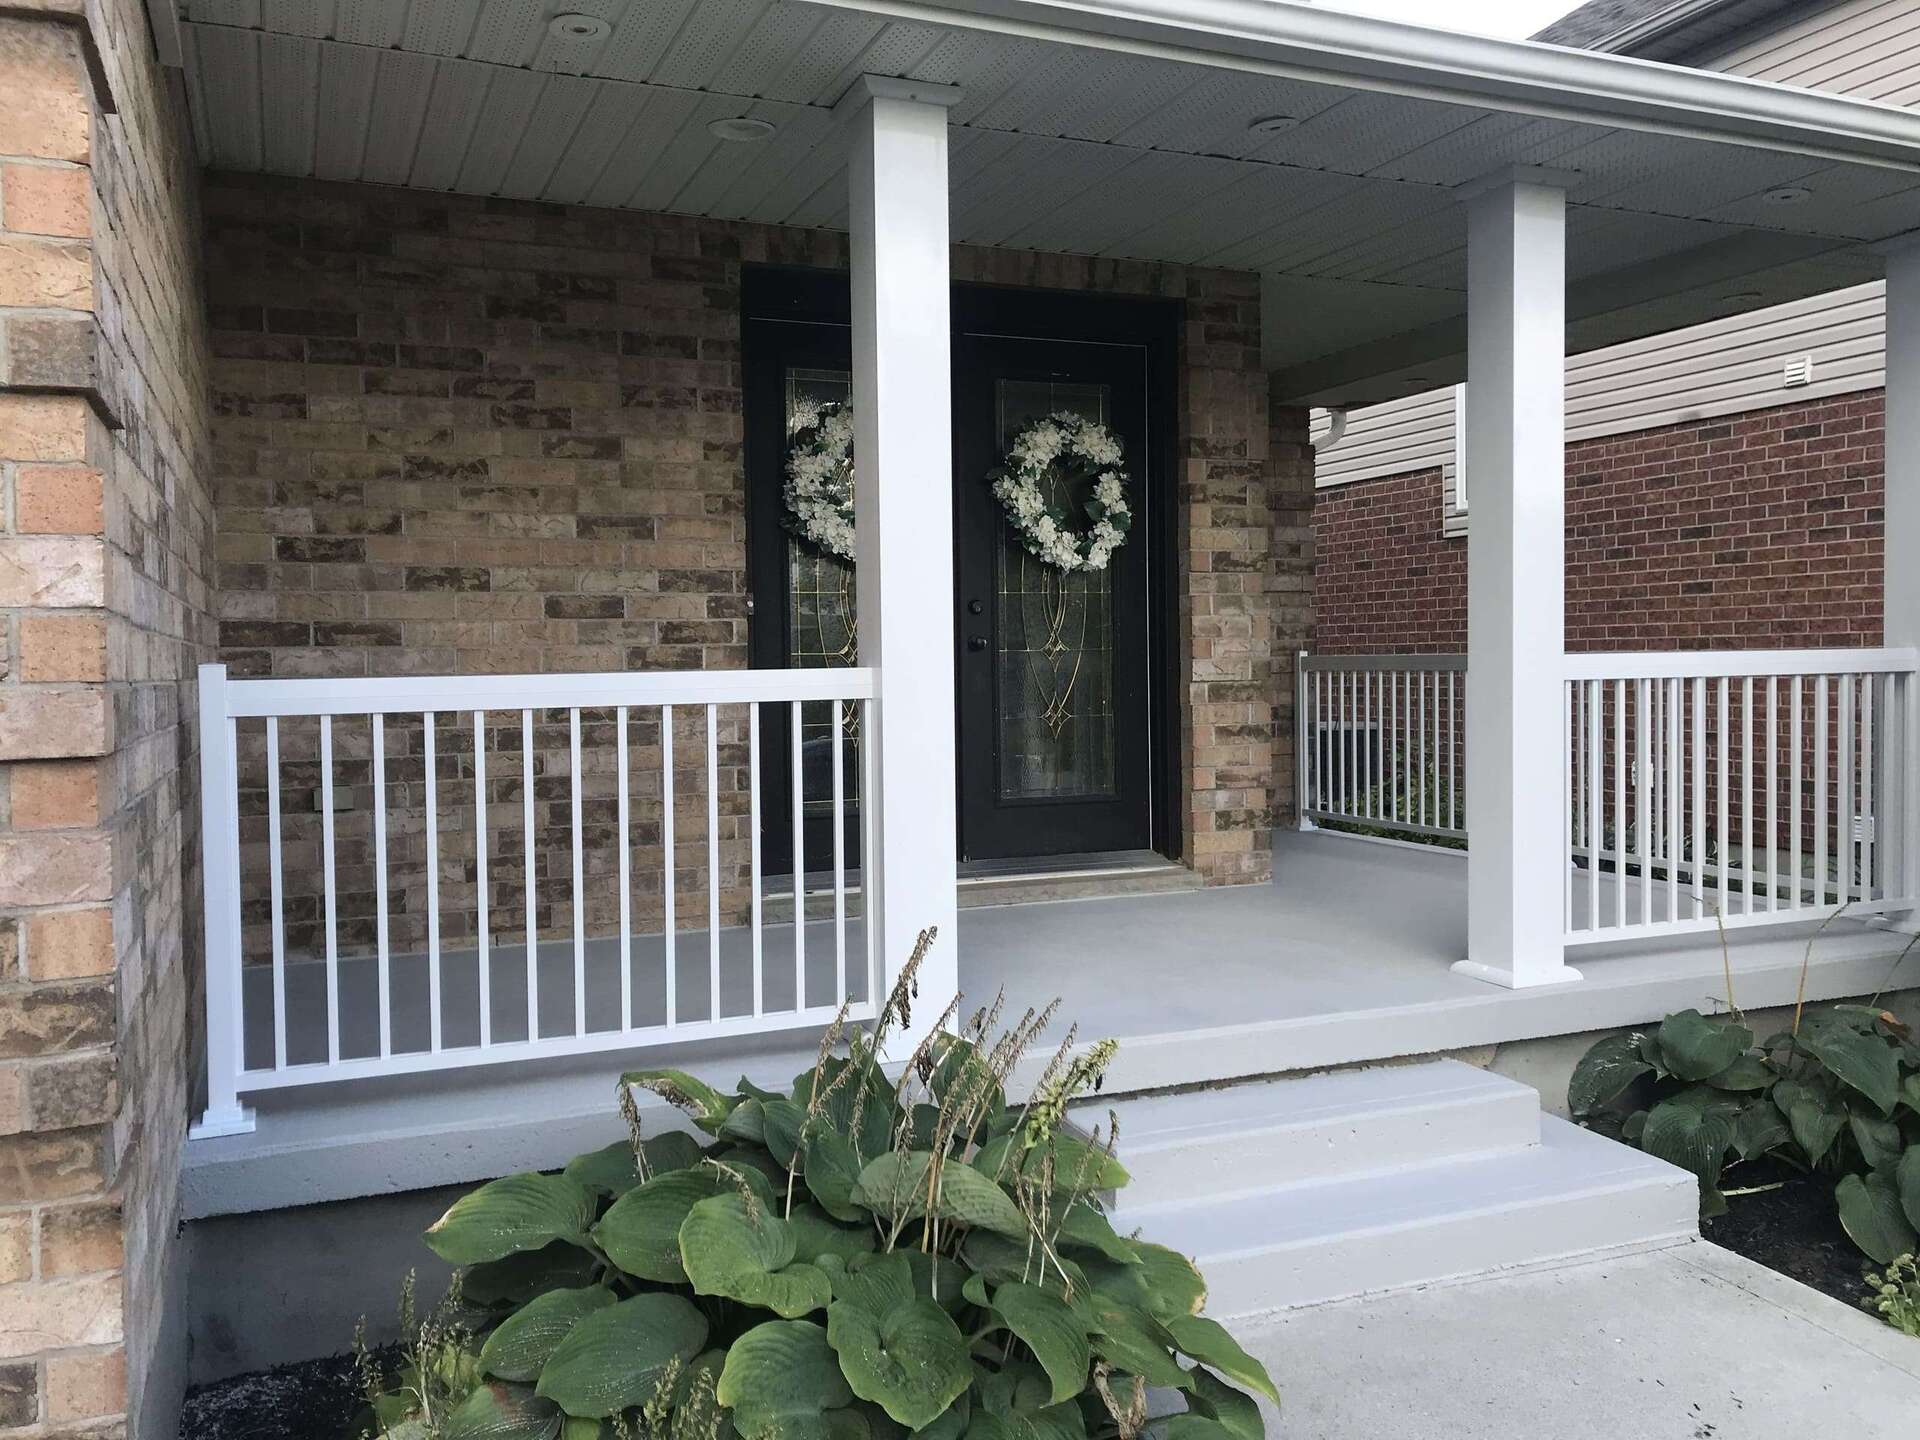
A concrete porch is a wonderful addition to any home, providing a durable and aesthetically pleasing entryway. However, over time, it can become cracked, chipped, or damaged due to various factors such as weather conditions, wear and tear, or improper installation. When your concrete porch starts to show signs of damage, it’s essential to take immediate action to prevent further deterioration and maintain its structural integrity.
In this article, we will guide you through the process of repairing a concrete porch. Whether you’re dealing with minor cracks or significant damage, following these steps will help you restore your porch to its former glory. So let’s roll up our sleeves, gather our tools, and get to work!
Key Takeaways:
- Assess the extent of damage to your concrete porch, from cracks to erosion, to determine the appropriate repair method and materials needed for a successful restoration.
- Follow the step-by-step process of cleaning, preparing, and applying the patching compound to ensure a seamless and durable repair, enhancing the longevity and appearance of your concrete porch.
Read more: How To Stain A Concrete Porch
Step 1: Assess the Damage
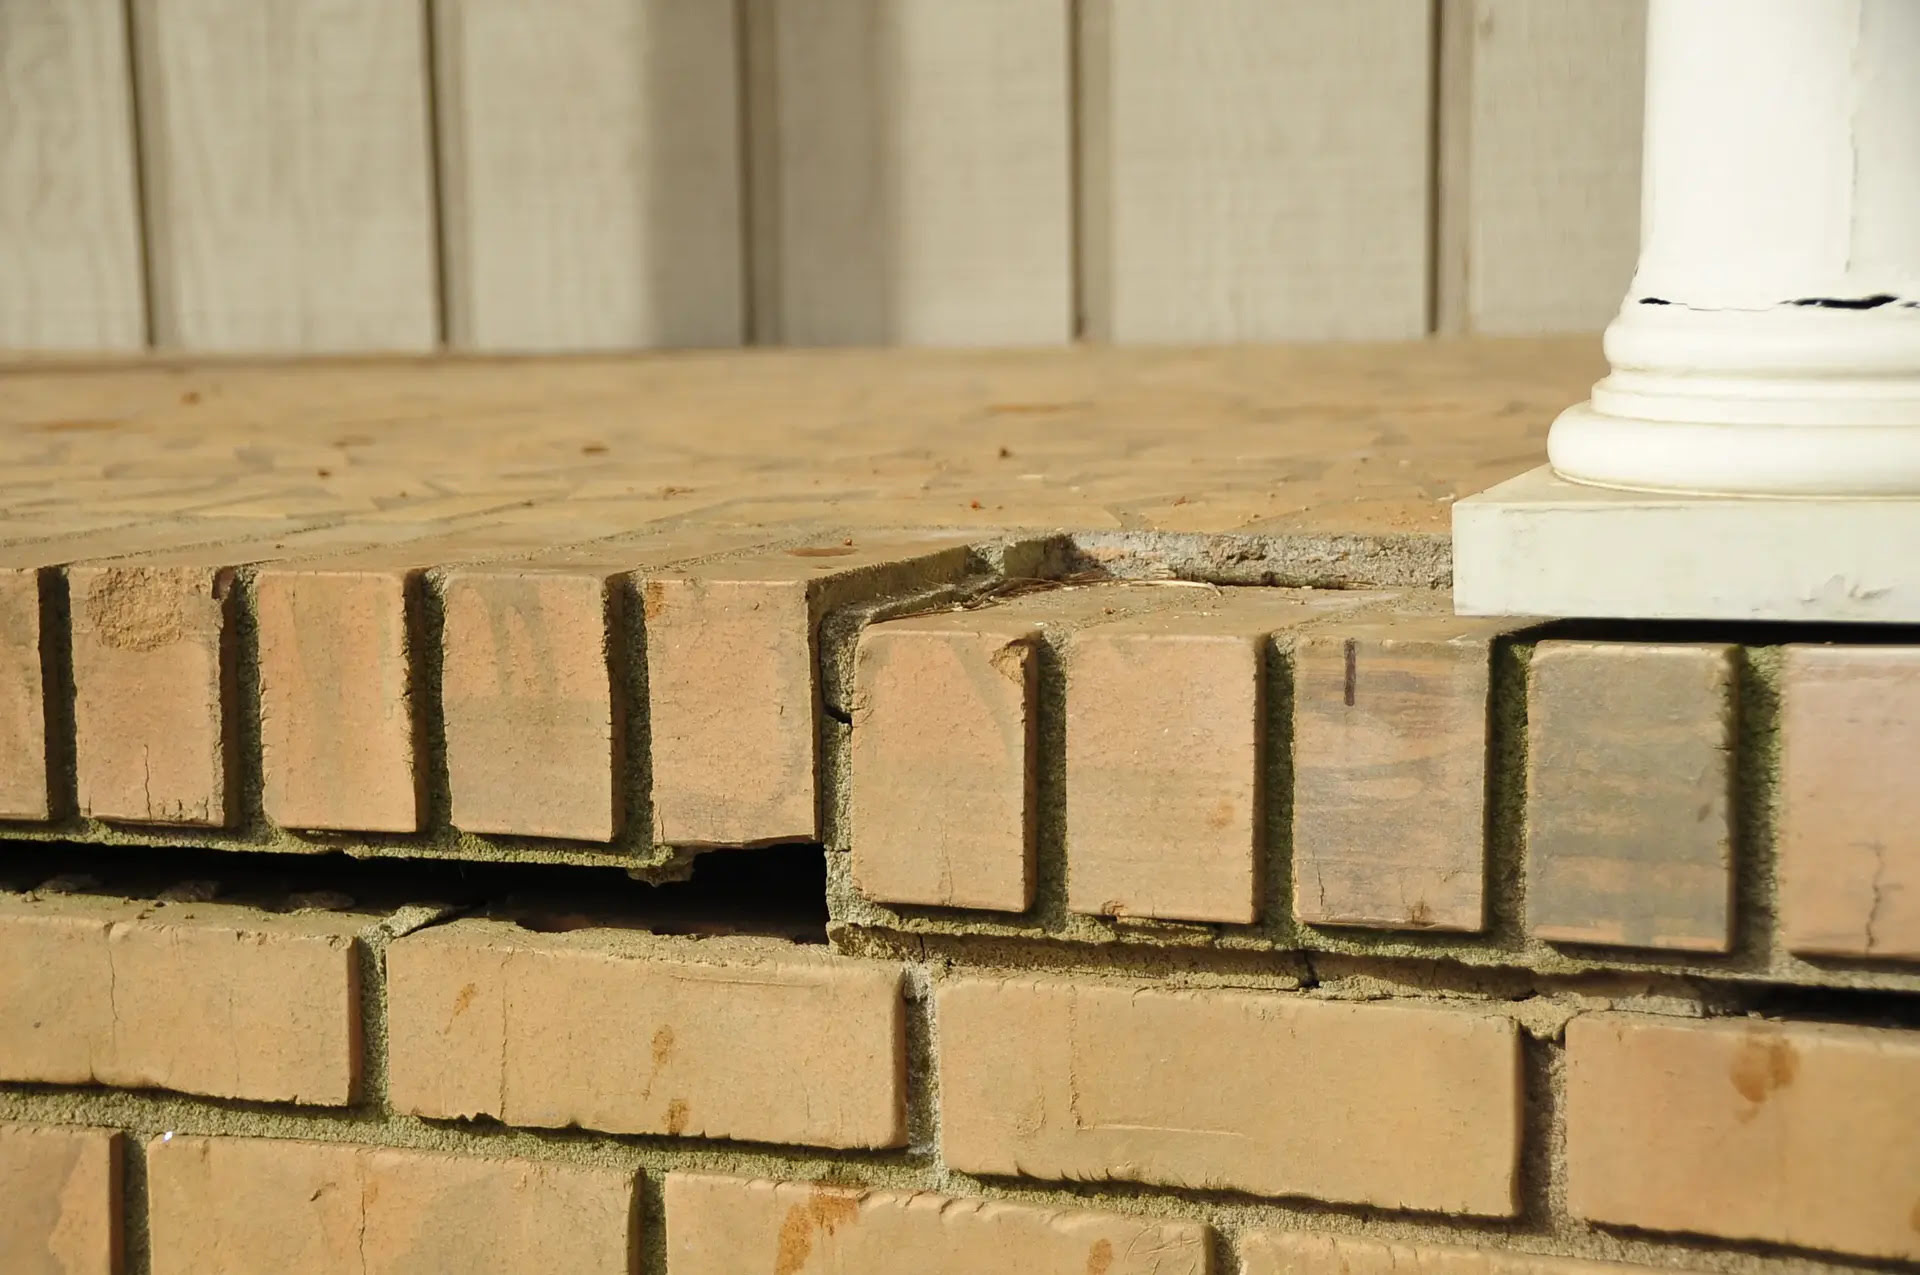
The first step in repairing a concrete porch is to assess the extent of the damage. Inspect the surface thoroughly to identify any cracks, chips, or areas that have eroded. It’s important to determine the severity of the damage to understand the appropriate repair method and materials required.
Here are a few common types of damage you may encounter:
- Cracks: Cracks can vary in size and depth, ranging from hairline cracks to larger, more significant fractures. It’s crucial to evaluate whether the cracks are cosmetic or affecting the structural integrity of the porch. Hairline cracks may only require simple cosmetic repairs, while wider cracks could indicate underlying issues.
- Chips and Surface Damage: Chips and surface damage can occur due to heavy impacts or constant foot traffic. Assess the depth and size of the chips to determine the appropriate repair method.
- Erosion: Erosion is commonly caused by water or chemical exposure over time. Assess any areas of erosion and determine if they require patching or more extensive repairs.
Take note of the location and size of each damaged area, as this will help you plan and estimate the materials needed for the repair process. If you’re unsure about the severity of the damage or the appropriate repair technique, it may be helpful to consult with a professional concrete contractor who can provide expert advice.
Once you’ve thoroughly assessed the damage, you’re ready to move on to the next step: gathering the necessary tools and materials.
Step 2: Gather the Necessary Tools and Materials
Before you begin repairing your concrete porch, it’s important to gather all the necessary tools and materials to ensure a smooth and efficient process. Having everything prepared in advance will save you time and make the repair process much more manageable.
Here’s a list of the essential tools and materials you’ll need:
- Safety Gear: Ensure you have appropriate safety gear, including gloves, safety goggles, and a dust mask, to protect yourself during the repair process.
- Wire Brush: A wire brush is essential for cleaning the surface of the concrete and removing any loose debris or old patching materials.
- Hammer and Chisel: You’ll need a hammer and chisel to chip away any loose or damaged concrete before applying the patching compound.
- Concrete Patching Compound: Choose a high-quality concrete patching compound that matches the color and texture of your existing porch. Make sure to read the manufacturer’s instructions to ensure proper mixing and application.
- Trowel: A trowel is necessary for applying and smoothing the patching compound onto the surface of the porch.
- Concrete Sealant: After completing the repairs, you’ll want to apply a concrete sealant to protect the surface from future damage and enhance its longevity.
- Broom or Brush: A broom or brush will be useful for cleaning the porch surface and ensuring it’s free of dust and debris before applying the patching compound.
- Plastic Sheeting or Tarps: Use plastic sheeting or tarps to protect surrounding areas and prevent any accidental spills or stains.
It’s important to note that the tools and materials required can vary depending on the specific repair needs of your porch. Assess the damage carefully and make a list of any additional tools or materials you may need before beginning the repair process.
Now that you have all the necessary tools and materials, you’re ready to move on to the next step: cleaning the porch surface.
Step 3: Clean the Porch Surface
Before you can start repairing your concrete porch, it’s crucial to clean the surface thoroughly. Cleaning the porch will remove any dirt, debris, or loose particles, allowing the patching compound to adhere properly and ensuring a long-lasting repair.
Follow these steps to clean the porch surface:
- Sweep or Use a Broom: Start by sweeping the porch surface with a broom to remove loose dirt, leaves, or debris. Pay extra attention to the areas with cracks or damage.
- Scrub with a Wire Brush: Next, use a wire brush to scrub the surface of the porch to remove any stubborn dirt, stains, or old patching materials. Apply pressure and scrub in a circular motion to ensure a thorough clean.
- Rinse the Surface: Once you have scrubbed the porch, rinse the surface with water to remove any remaining debris or cleaning residue. You can use a hose with a high-pressure nozzle for more efficient rinsing.
- Allow the Surface to Dry: After rinsing, give the porch surface ample time to dry completely. Depending on the weather conditions, this may take a few hours or even a whole day. It’s crucial that the surface is completely dry before moving on to the next step.
By cleaning the porch surface thoroughly, you ensure a clean and stable base for the patching compound. This will help the repair adhere properly and increase the lifespan of the repaired area.
Once the porch surface is dry and clean, you’re ready to move on to the next step: preparing the concrete patching compound.
Step 4: Prepare the Concrete Patching Compound
Now that your porch surface is clean and dry, it’s time to prepare the concrete patching compound. The patching compound is a crucial component of the repair process, as it will fill in the cracks and damaged areas, restoring the integrity of your porch.
Here’s how to prepare the concrete patching compound:
- Read the Instructions: Carefully read the manufacturer’s instructions on the patching compound packaging. Each product may have specific instructions regarding mixing ratios and application techniques.
- Mix the Compound: Using a mixing container or bucket, follow the manufacturer’s instructions to mix the patching compound. Typically, you’ll add water to the compound and stir until it reaches a smooth and workable consistency. Use a trowel or mixing tool to ensure proper mixing.
- Consistency Check: Once mixed, check the consistency of the patching compound. It should have a thick, paste-like consistency that is easy to spread but not overly runny. Adjust the mixture by adding more patching compound or water, if necessary.
- Color Matching: If your porch has a specific color or texture, you may need to add a tint or colorant to match the existing concrete. Follow the manufacturer’s instructions for adding colorant and ensure it blends well with the patching compound.
It’s essential to mix the patching compound according to the manufacturer’s instructions to achieve the best results. You want a reliable and durable repair, so take your time to get the mixture right.
Once the patching compound is mixed and ready, you’re now prepared to move on to the next step: applying the patch to the damaged areas of the porch.
Before starting the repair, thoroughly clean the concrete surface to remove any dirt, debris, or loose material. This will ensure better adhesion for the repair material.
Read more: How To Level Concrete Porch
Step 5: Apply the Patching Compound
With the prepared patching compound in hand, it’s time to apply it to the damaged areas of your concrete porch. This step is crucial as it will fill in cracks, chips, and other imperfections, restoring the structural integrity of the surface.
Follow these steps to apply the patching compound:
- Prime the Surface: Prior to applying the patching compound, it is recommended to dampen the damaged area with water. This will help create a better bond between the concrete and the patching compound.
- Using a Putty Knife or Trowel: Use a putty knife or a trowel to apply the patching compound onto the damaged areas. Scoop a small amount of the compound onto the tool and apply it to the crack or chip, pressing firmly to ensure proper adhesion.
- Smooth and Level: Once the compound is applied, use the putty knife or trowel to smooth and level the surface of the patch. Ensure it is flush with the surrounding concrete, creating a seamless finish.
- For Larger Repairs: If you’re dealing with larger areas of damage, such as deep cracks or significant chips, you may need to build up the patching compound in layers. Apply a layer, allow it to dry, then repeat the process until the desired thickness is achieved.
Make sure to work efficiently but carefully as the patching compound may dry quickly. If needed, work in small sections to ensure a proper application and seamless blending with the existing concrete.
Remember to follow the manufacturer’s instructions regarding application thickness and drying time. Different products may have varying requirements, so it’s important to be aware of these details as you work.
Now that you’ve applied the patching compound, you’re ready to move on to the next step: smoothing and leveling the patch.
Step 6: Smooth and Level the Patch
After applying the patching compound to the damaged areas of your concrete porch, it’s time to smooth and level the patch. This step will ensure a seamless and professional-looking repair that blends well with the surrounding concrete.
Here’s how to smooth and level the patch:
- Wait for Partial Setting: Allow the patching compound to partially set for a certain period of time, as recommended by the manufacturer. This will make the surface firm enough for smoothing and leveling but still pliable for easy shaping.
- Use a Float or Trowel: Take a float or a trowel and gently press it against the patching compound. Move it in a back-and-forth motion to flatten the surface and create a smooth finish. Ensure that the float or trowel is clean to avoid any unwanted marks or inconsistency.
- Feather the Edges: Blend the edges of the patch with the surrounding concrete by feathering them. Use a sweeping motion with the float or trowel to create a gradual transition from the patch to the existing surface. This will help the repair blend seamlessly and prevent any noticeable edges.
- Check the Levelness: Use a level or straight edge to ensure that the patch is level and even with the rest of the porch surface. Adjust as needed by adding or removing patching compound in certain areas.
Take your time during this step to achieve a smooth and level patch. If necessary, you can lightly mist the surface with water to help with the smoothing process. Remember, the goal is to create a repair that is visually appealing and does not stand out from the rest of the porch.
Once you are satisfied with the smoothness and levelness of the patch, it’s time to allow it to cure. This takes us to the next step in the process: allowing the patch to cure.
Step 7: Allow the Patch to Cure
After smoothing and leveling the patch on your concrete porch, it’s crucial to allow the patching compound to cure properly. Curing is the process by which the compound hardens and reaches its maximum strength. This step is essential for ensuring the longevity and durability of your repair.
Follow these guidelines to allow the patch to cure effectively:
- Read the Instructions: Consult the manufacturer’s instructions to determine the recommended curing time for the specific patching compound you used. Different products may require varying amounts of time to fully cure.
- Protect the Patch: During the curing process, it’s important to protect the patch from any excessive moisture, foot traffic, or other stressors. Covering the repaired area with plastic sheeting or placing barricades around it can help prevent unwanted disturbances.
- Avoid Premature Use: It’s important to resist the temptation to use or walk on the patched area until it has fully cured. Premature use can compromise the integrity of the repair and may lead to further damage.
- Monitor Drying Time: Keep an eye on the weather conditions during the curing process. Extreme heat or cold can affect the drying time and may require additional precautions or adjustments.
- Patiently Wait: Depending on the patching compound and the ambient conditions, the curing process may take anywhere from a few hours to several days. Be patient and allow ample time for the patch to cure completely before moving on to the next step.
Remember, proper curing is essential for achieving a strong and durable repair. Rushing this step can lead to subpar results and may necessitate additional repairs in the future.
Once the patch is fully cured, it’s time to move on to the final step: applying a concrete sealer to protect your porch.
Step 8: Apply a Concrete Sealer
After the patch on your concrete porch has fully cured, it’s important to apply a concrete sealer to protect the surface from future damage and enhance its longevity. A sealer acts as a barrier, preventing moisture penetration, resisting stains, and increasing the overall durability of the porch.
Follow these steps to apply a concrete sealer:
- Clean the Surface: Before applying the sealer, ensure that the porch surface is clean and free from any dust, debris, or residue. Sweep or use a brush to remove any loose particles.
- Choose the Right Sealer: There are different types of concrete sealers available, including penetrating sealers and film-forming sealers. Consider the specific needs of your porch, such as the level of traffic, exposure to the elements, and desired finish, to select the appropriate sealer.
- Read the Instructions: Familiarize yourself with the manufacturer’s instructions on the chosen sealer’s packaging. Follow the guidelines regarding application techniques, coverage rates, and drying time.
- Apply the Sealer: Use a roller, brush, or sprayer to apply an even coat of sealer on the porch surface. Work in small sections, ensuring thorough coverage without leaving any puddles or overlapping marks. Follow a systematic pattern to avoid missing any areas.
- Allow Drying Time: Let the first coat of sealer dry completely, as per the manufacturer’s instructions. This usually takes a few hours. Apply a second coat if recommended for optimal protection.
- Additional Tips: Avoid applying the sealer in direct sunlight or on a hot surface, as it can cause the sealer to dry too quickly and potentially lead to a subpar finish. Also, be cautious of any wet or rainy weather conditions during the sealing process, as moisture can interfere with the sealer’s effectiveness.
Applying a sealer not only protects your porch from damage but also enhances its appearance, giving it a sleek and finished look. Regularly maintaining the sealer by reapplying it as recommended will help prolong the life and beauty of your concrete porch.
With the sealer successfully applied, you have completed the final step in repairing your concrete porch. Now you can enjoy a refreshed and sturdy entryway for years to come!
Read more: How To Clean A Concrete Porch
Conclusion
Repairing a concrete porch may seem like a daunting task, but with the right knowledge and guidance, it can be a manageable and rewarding project. By following the steps outlined in this article, you can successfully restore your porch’s structural integrity and improve its appearance.
Remember, assessing the damage, gathering the necessary tools and materials, cleaning the porch surface, preparing the concrete patching compound, applying the patch, smoothing and leveling, allowing the patch to cure, and applying a concrete sealer are all essential steps in the repair process. Each step plays a vital role in ensuring a thorough and long-lasting repair.
It’s important to pay attention to details, follow the manufacturer’s instructions, and take your time throughout the repair process. Proper preparation and execution will yield the best results, leaving you with a porch that is both visually appealing and durable.
Don’t hesitate to seek professional assistance if you’re unsure about any step or encounter major challenges during the repair. A professional concrete contractor can provide expert guidance and ensure a successful outcome.
By investing the time and effort into repairing your concrete porch, you’re not only enhancing the curb appeal of your home but also increasing its value and longevity. Take pride in your repaired porch and enjoy the benefits of a beautiful and functional entrance for years to come.
Frequently Asked Questions about How To Repair A Concrete Porch
Was this page helpful?
At Storables.com, we guarantee accurate and reliable information. Our content, validated by Expert Board Contributors, is crafted following stringent Editorial Policies. We're committed to providing you with well-researched, expert-backed insights for all your informational needs.


0 thoughts on “How To Repair A Concrete Porch”