Articles
How To Cut Concrete Floor
Modified: January 9, 2024
Learn the step-by-step process of cutting concrete floors in this informative articles guide. Expert tips and techniques for a precise and efficient task.
(Many of the links in this article redirect to a specific reviewed product. Your purchase of these products through affiliate links helps to generate commission for Storables.com, at no extra cost. Learn more)
Introduction
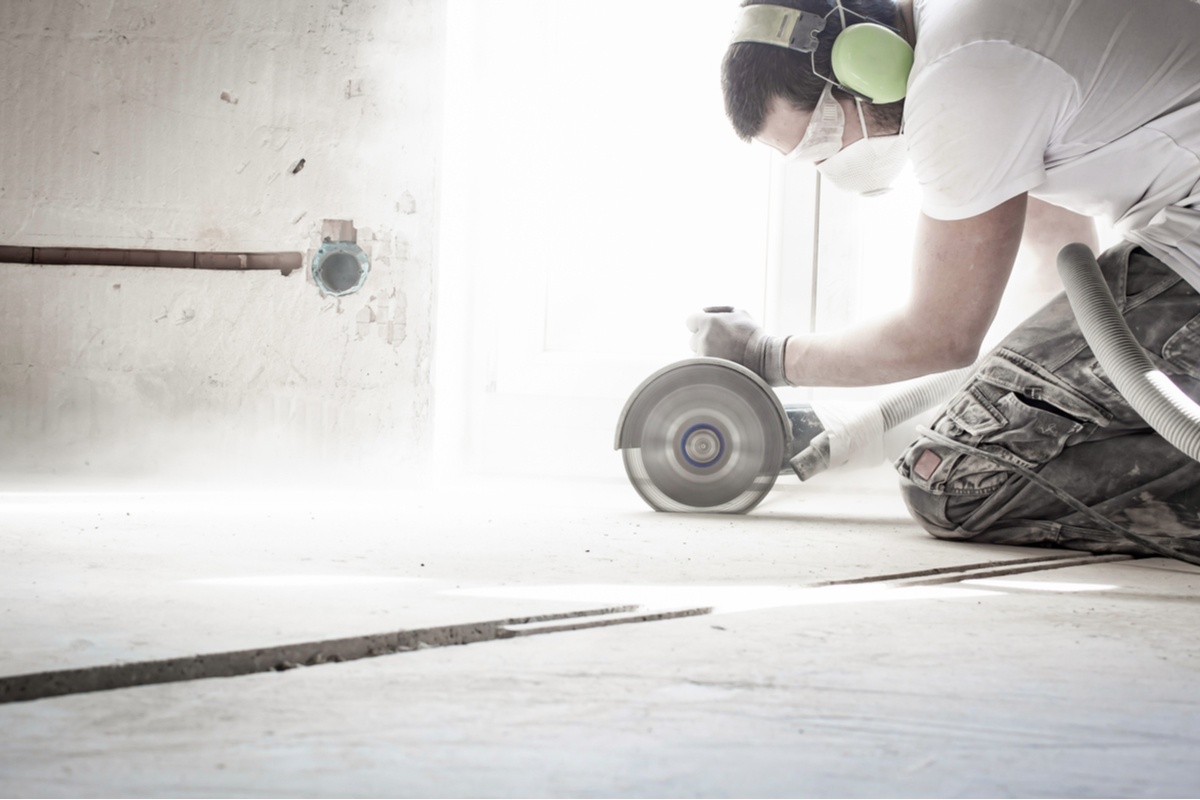
Cutting through a concrete floor can be a daunting task, but with the right tools and techniques, it’s a project that you can tackle with confidence. Whether you’re looking to create an access point for plumbing or electrical work, or you simply want to modify your space, knowing how to cut a concrete floor is essential. This guide will walk you through the necessary steps to safely and effectively cut a concrete floor.
Before you dive into the process, it’s important to understand that working with concrete poses certain risks. Concrete can be heavy, and the tools used to cut through it can be powerful. It’s crucial to prioritize safety by wearing protective gear, following proper procedures, and taking necessary precautions.
In this article, we’ll discuss the tools and materials you’ll need, the step-by-step process to cut a concrete floor, and essential tips for minimizing dust and debris. By the end, you’ll have all the knowledge you need to successfully complete this project.
Key Takeaways:
- Safety is paramount when cutting a concrete floor. Prioritize protective gear, proper equipment setup, and dust control to ensure a safe and successful cutting experience.
- Mastering the art of cutting concrete floors opens up endless possibilities for home improvement. With the right tools, techniques, and safety measures, you can confidently tackle any concrete cutting project.
Read more: How To Cut A Concrete Floor For New Plumbing
Safety Precautions
Before you begin cutting a concrete floor, it’s important to prioritize safety. Follow these precautions to ensure a safe working environment:
- Wear protective gear: Before starting the project, make sure to equip yourself with the right protective gear. This includes safety glasses or goggles, ear protection, gloves, a dust mask, and steel-toed boots. This gear will help protect you from potential hazards such as flying debris, loud noise, and dust inhalation.
- Prepare the work area: Clear the area of any obstacles or debris that could obstruct your movement or pose a tripping hazard. Ensure the work area is well-lit to clearly see what you’re doing.
- Locate utilities: Before cutting, it’s crucial to identify and mark the locations of any utility lines, such as electrical, plumbing, or gas. Contact your local utility companies to help determine the safe areas for cutting.
- Use proper tools: Select the right tools for the job and ensure they are in good working condition. This includes a concrete saw or diamond blade, which should be sharp and properly attached to the equipment.
- Follow manufacturer’s instructions: Read and understand the operating instructions and safety guidelines provided by the manufacturer of the tools and equipment you’re using. Adhere to their recommendations for safe usage and maintenance.
- Implement proper technique: Learn and practice the correct cutting technique to minimize the risk of accidents. Always start the cut slowly and maintain a firm grip on the equipment. Avoid excessive force or aggressive movements, as this can lead to kickback or loss of control.
- Control dust and debris: Take measures to control the dust and debris generated during the cutting process. Use a vacuum or a dust collection system to minimize airborne particles. It’s also advisable to dampen the work area to further suppress dust.
- Monitor respiratory health: Working with concrete can result in the inhalation of harmful dust. Be aware of any respiratory symptoms and seek medical attention if necessary. Clean your work clothes separately from your personal clothing to avoid spreading dust.
- Work with a partner: If possible, have a partner assist you during the cutting process. They can help with equipment handling, provide additional support, and act as a safety observer.
Remember, safety should always be the top priority when working with concrete. By following these precautions, you can minimize the risks and ensure a safe and successful cutting experience.
Tools and Materials Needed
Before you embark on cutting a concrete floor, gather the following tools and materials:
Tools:
- Concrete saw or diamond blade
- Safety glasses or goggles
- Ear protection (earplugs or earmuffs)
- Gloves
- Dust mask or respirator
- Steel-toed boots
- Measuring tape
- Chalk or marking pen
- Level
- Hammer or mallet
- Drill with masonry bit (for anchor holes, if needed)
- Vacuum or dust collection system
- Broom or brush
- Water source (for dampening the work area)
Materials:
- Concrete slab
- Plastic sheeting or drop cloth (to cover adjacent areas)
- Anchors or screws (if securing new flooring)
When selecting a concrete saw, consider the size and depth of the cut you need to make. Some saws are handheld, while others are walk-behind models. Choose a saw that is suitable for your specific project. Additionally, ensure that the diamond blade is designed for cutting concrete and is compatible with your saw.
The safety gear mentioned is essential for protecting yourself from potential hazards, including flying debris, loud noise, and dust. Choose safety glasses or goggles that provide both impact resistance and eye protection. Opt for ear protection that meets the required noise reduction rating.
For measuring and marking the cutting lines, a measuring tape and chalk or marking pen will come in handy. Use a level to ensure that the lines are straight and level, especially if you are cutting across a large area.
A vacuum or dust collection system is crucial for controlling airborne dust particles during the cutting process. Consider using a wet/dry vacuum or a specialized dust extractor that attaches to the saw for maximum dust collection efficiency.
Lastly, if you plan to secure new flooring or fixtures after cutting the concrete, you may need anchors or screws. Choose the appropriate type and size based on the weight and nature of the item you’re installing.
Having these tools and materials readily available will ensure you’re well-prepared to cut through the concrete floor effectively and safely.
Read more: How To Waterproof A Concrete Floor
Step 1: Prepare the Work Area
Before you start cutting the concrete floor, it’s essential to properly prepare the work area. This step will help ensure a safe and efficient cutting process. Follow the steps below to prepare the work area:
- Clear the area: Remove any furniture, objects, or debris from the area where you’ll be cutting. Clearing the space will give you room to work and prevent any potential obstacles that could impede your progress.
- Cover adjacent areas: Use plastic sheeting or drop cloths to cover any adjacent areas, walls, or surfaces. This will help protect them from dust and debris generated during the cutting process.
- Locate utilities: Identify and mark the locations of any utility lines, such as electrical, plumbing, or gas. This step is crucial to avoid accidentally damaging these lines during the cutting process. Contact your local utility companies to assist in locating the lines if needed.
- Dampen the work area: To minimize airborne dust, dampen the concrete floor with water before starting the cutting process. Use a hose or a spray bottle to evenly moisten the surface. Avoid over-saturating the floor, as excessive water can affect the cutting performance.
- Secure the work area: If necessary, use barricades or caution tape to cordon off the work area. This will help prevent unauthorized access and ensure the safety of yourself and others.
- Set up ventilation and lighting: Ensure that the work area is well-ventilated. Open windows or use fans to improve air circulation and ventilation. Additionally, make sure the area is adequately lit to allow for clear visibility during the cutting process.
By thoroughly preparing the work area, you’ll create a safe and organized space in which to cut the concrete floor. Taking these precautions will help protect the surrounding areas, prevent accidents, and ensure a smooth cutting process.
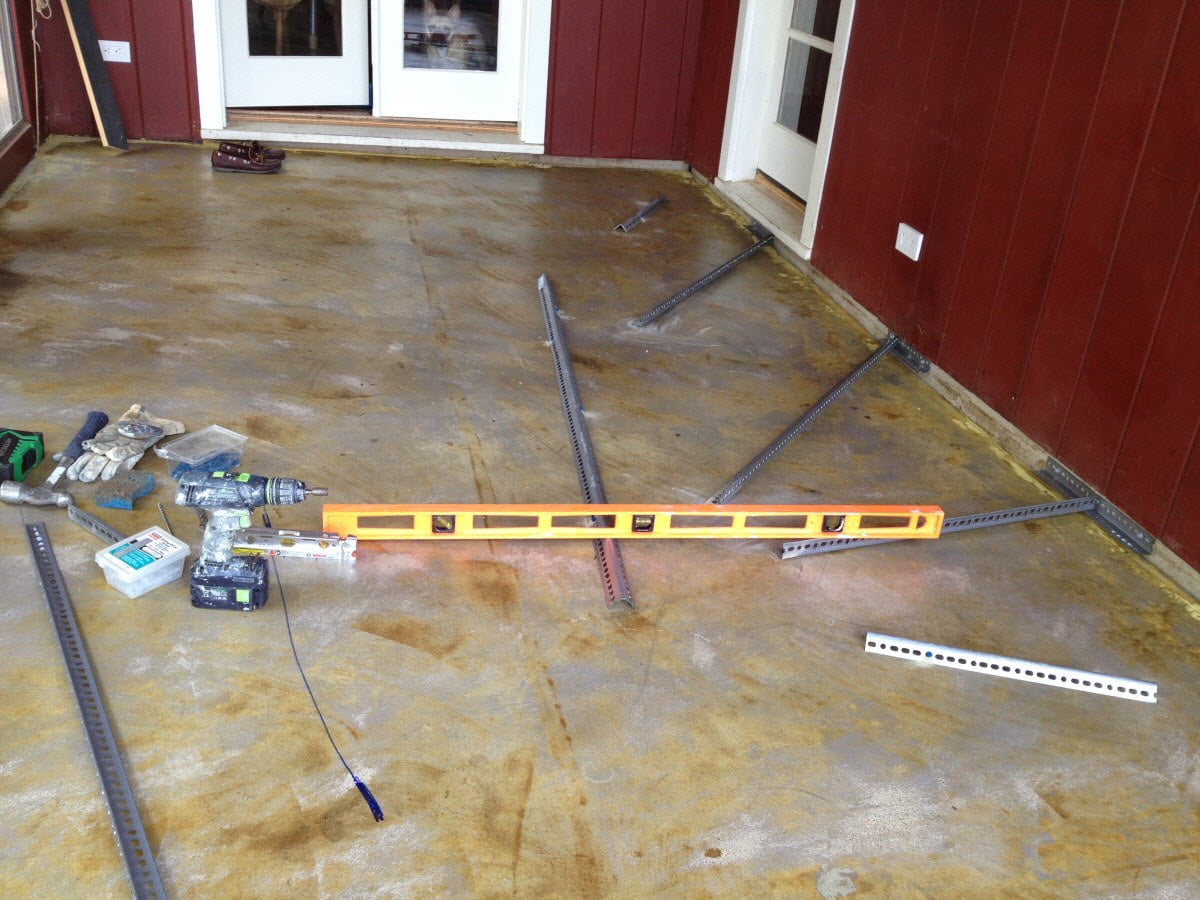
Step 2: Mark the Cutting Lines
Once the work area is prepared, the next step is to mark the cutting lines on the concrete floor. Accurately marking the lines will guide you during the cutting process and ensure precise cuts. Follow these steps to mark the cutting lines:
- Measure and plan: Determine the dimensions and shape of the area you want to cut. Use a measuring tape to measure and mark the desired length and width of the cut.
- Use a chalk line: For long straight cuts, use a chalk line to create a guide. Attach the end of a chalk line to one end of the marked line, then stretch it to the other end. Snap the line against the surface, leaving a straight chalk mark. Repeat this process for any additional straight lines.
- Mark curved lines: If you need to make curved or irregular cuts, use a marking pen or pencil to draw the lines directly on the concrete. Use a steady hand and follow the desired curve or shape.
- Double-check measurements: Before proceeding, take a moment to double-check your measurements and lines. Ensure that they align with your intended design or purpose. This step will help prevent any mistakes or inaccuracies during the cutting process.
- Make reference marks: Along the cutting lines, make reference marks at regular intervals. These marks will help guide the blade as you begin cutting, ensuring smoother and more controlled movements.
- Confirm the lines: Once you’re satisfied with the placement and accuracy of the cutting lines, visually inspect them to ensure they are clear and well-defined. It’s important to have the lines clearly visible during the cutting process for precise cuts.
By carefully marking the cutting lines, you’ll have a clear guide for the next step of cutting the concrete floor. Take the time to measure accurately and double-check your lines to ensure the desired outcome of your project.
Step 3: Set Up the Equipment
Before you proceed with cutting the concrete floor, it’s important to properly set up the equipment. This step will ensure that the tools are in good working condition and ready to use. Follow these steps to set up the equipment:
- Inspect the concrete saw: Thoroughly inspect the concrete saw or the equipment you’ll be using for cutting. Check for any visible damage or signs of wear and tear. Ensure that the blade is securely attached and in good condition.
- Check the blade: Examine the diamond blade to ensure it is appropriate for cutting concrete. Check for any cracks or chips in the blade. A damaged or worn-out blade should be replaced before starting the cutting process.
- Install the blade: If the blade needs to be installed or replaced, follow the manufacturer’s instructions to securely attach it to the saw. Make sure it is properly centered and tightened according to the manufacturer’s specifications.
- Connect the power source: If using a powered concrete saw, ensure that it is connected to a suitable power source. Follow electrical safety guidelines, including using a ground fault circuit interrupter (GFCI) if necessary, to prevent electrical hazards.
- Position the saw: Place the concrete saw in the designated starting position, aligning it with the marked cutting lines. Ensure that you have enough room to maneuver the saw comfortably.
- Adjust depth and angle: If applicable, adjust the cutting depth and angle settings on the saw according to your project requirements. Consult the saw’s manual for specific instructions on adjusting these settings.
- Secure the workpiece (if needed): If you’re cutting a larger section of concrete that needs stability, consider securing it with clamps or anchors to prevent unintentional movement during the cutting process.
- Double-check safety gear: Before starting the equipment, ensure that you and anyone else involved in the process are wearing the appropriate safety gear, including safety glasses, gloves, ear protection, dust masks, and steel-toed boots.
Taking the time to properly set up the equipment ensures a safe and efficient cutting process. Inspecting the saw and blade, connecting the power source, and adjusting the settings will help you achieve precise and controlled cuts in the concrete floor.
When cutting a concrete floor, be sure to use a diamond blade designed for cutting concrete. This will ensure a clean and precise cut without damaging the blade.
Step 4: Start Cutting
With the equipment set up and ready to go, it’s time to start cutting the concrete floor. Follow these steps to ensure a smooth and successful cutting process:
- Start the saw: If using a powered concrete saw, follow the manufacturer’s instructions to start the saw. Hold it with a firm grip, ensuring that your fingers are away from the blade.
- Position the blade: Carefully lower the blade onto the concrete surface, positioning it at the starting point where the cutting line begins. Take a moment to align the blade with the cutting line.
- Apply light pressure: Gradually apply pressure to the saw, allowing the diamond blade to slowly penetrate the concrete. Start with a light pressure to establish a groove along the cutting line.
- Maintain a steady pace: Keep a steady and controlled pace as you guide the saw along the cutting line. Let the blade do the work, avoiding excessive force or pushing.
- Follow the cutting line: Keep your eyes focused on the cutting line as you guide the saw. Use the marked reference marks as a visual guide to ensure a straight and accurate cut.
- Use proper technique: Maintain a firm grip on the saw with both hands, using a two-handed grip for better control. Keep your body in a stable position and move smoothly along the cutting line.
- Be aware of kickback: Be cautious of potential kickback, which can occur if the blade gets pinched or bound in the concrete. When kickback happens, the saw may jerk or lift suddenly. If you experience kickback, release the trigger, stop the saw, and reassess the situation before continuing.
- Take breaks if needed: If the cutting process is lengthy or physically demanding, take short breaks to rest and recharge. Cutting through concrete requires concentration, so it’s important to maintain focus throughout the project.
- Monitor the cutting depth: Periodically check the depth of the cut to ensure that it matches your desired measurements. Adjust if necessary by adjusting the cutting depth setting on the saw.
Remember to prioritize safety by wearing protective gear, maintaining a steady and controlled pace, and continuously observing the cutting line. By following these steps and practicing proper technique, you’ll achieve clean and precise cuts in the concrete floor.
Read more: How To Seal A Concrete Floor
Step 5: Control Dust and Debris
During the concrete cutting process, dust and debris can be generated, which can be harmful to your health and create a messy work area. It’s important to take measures to control and minimize dust and debris. Follow these steps to effectively control dust and debris:
- Use a vacuum or dust collection system: Attach a vacuum or dust collection system to the concrete saw or nearby to capture the airborne dust particles. This will help minimize dust exposure and maintain a cleaner work environment.
- Dampen the work area: Wet the concrete surface before cutting to help suppress dust. Use a spray bottle or hose to dampen the surface, focusing on the cutting area. Avoid over-saturating, as excessive water can affect the cutting performance.
- Position the vacuum near the cutting area: Place the vacuum or dust collection system as close to the cutting area as possible to capture dust effectively. Ensure that the suction is directed towards the source of dust generation.
- Monitor the dust collection: Regularly check the vacuum or dust collection system to ensure it is functioning properly and collecting the majority of the dust. Empty or replace the dust collection bag as needed to maintain its efficiency.
- Wear a dust mask or respirator: Protect yourself from inhaling dust by wearing a properly fitted dust mask or respirator. Use a mask with a high-efficiency particulate air (HEPA) filter to effectively filter out small particles.
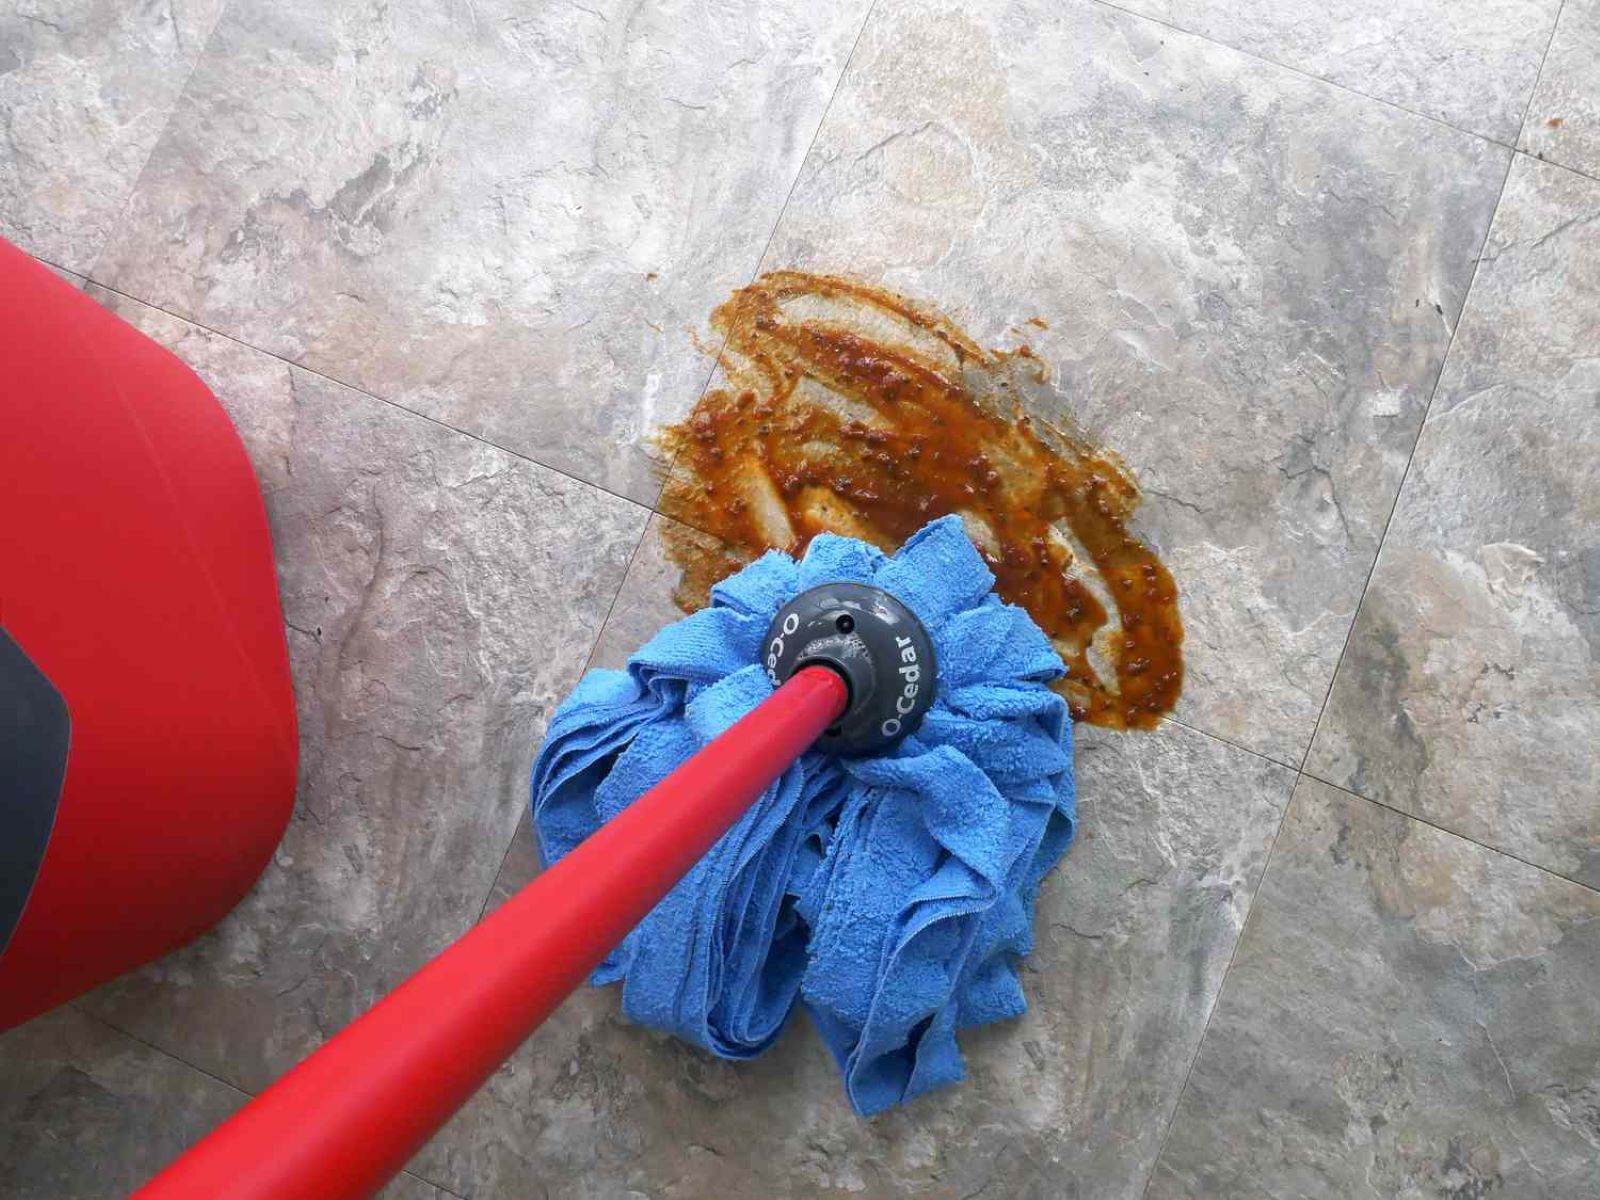
- Clean up regularly: Pause periodically to clean up the work area and remove accumulated dust and debris. Use a broom, brush, or vacuum to collect dust from the floor and surrounding areas.
- Dispose of dust and debris safely: Properly dispose of collected dust and debris according to local regulations. Place it in a sealed bag or container to prevent the spread of dust and release it in a designated waste disposal area.
- Protect nearby areas: If adjacent areas are not covered, consider using plastic sheeting or drop cloths to protect them from dust and debris. This will help maintain cleanliness in the surrounding environment.
By taking the necessary precautions to control dust and debris, you’ll create a safer and cleaner work environment. This will not only enhance the overall cutting experience but also minimize potential health risks associated with airborne particles.
Step 6: Finishing touches and Cleanup
After completing the concrete cutting process, it’s time to focus on the finishing touches and cleanup. These final steps will help ensure a professional-looking outcome and a tidy work area. Follow these steps for the finishing touches and cleanup:
- Inspect the cut: Carefully inspect the cut to ensure that it meets your desired specifications. Check for any rough edges or uneven sections that may require additional smoothing or touch-ups.
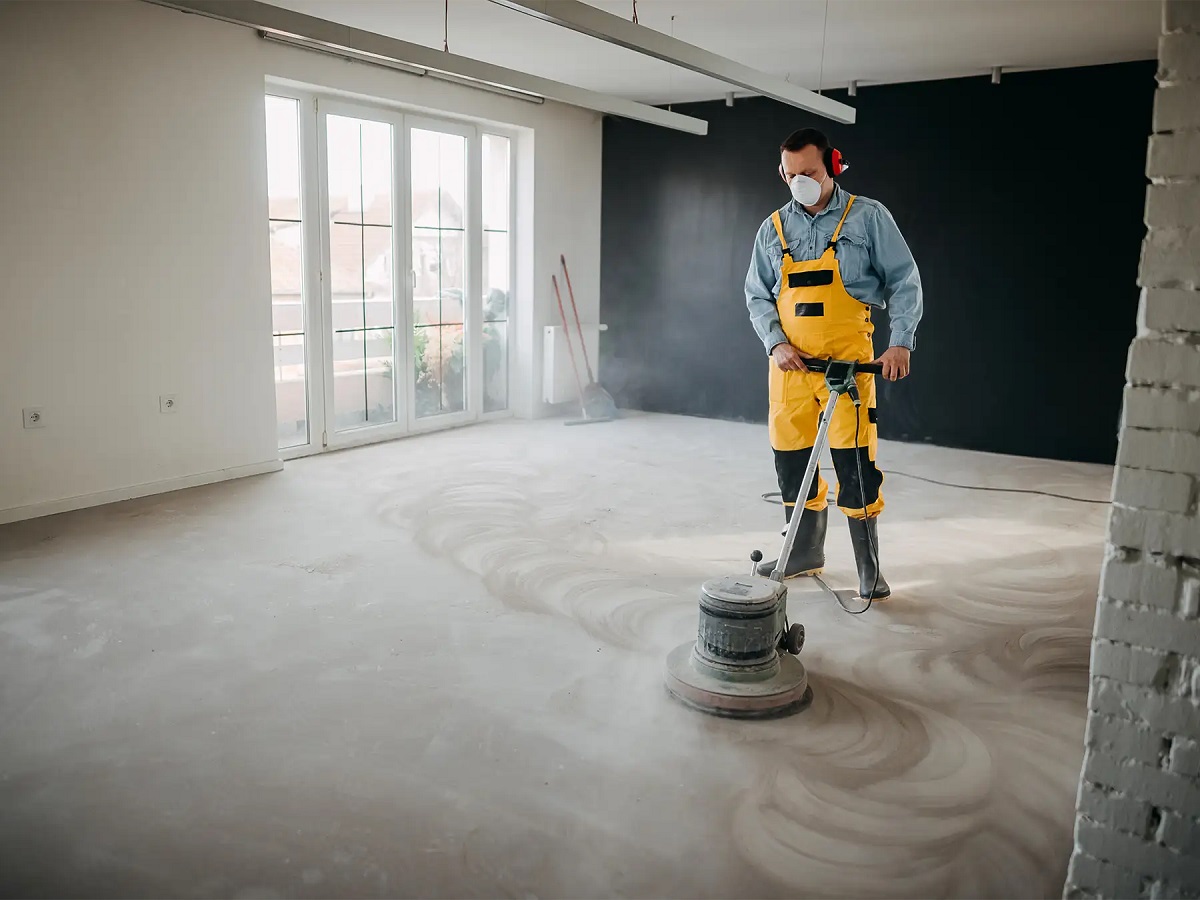
- Smooth rough edges: If you notice any rough edges or uneven areas, use a concrete grinder or hand tools to smooth them out. Take your time and work in small, controlled motions until the surface is even and polished.
- Clean up excess dust and debris: Use a broom, brush, or vacuum to thoroughly clean up any remaining dust and debris in the work area. Pay attention to corners, cracks, and crevices to ensure a thorough cleanup.
- Dispose of waste: Properly dispose of the collected dust, debris, and waste according to local regulations. Place them in sealed bags or containers and dispose of them in designated waste disposal areas.
- Remove temporary coverings: If you placed plastic sheeting or drop cloths to protect adjacent areas, now is the time to remove them carefully. Fold or roll them up to contain any dust or debris and dispose of them properly.
- Inspect and clean the equipment: Thoroughly clean and inspect the concrete saw and any other tools or equipment used during the cutting process. Remove any dirt, dust, or residue to keep them in good working condition for future use.
- Store equipment properly: Safely store the equipment in a dry and secure location, away from any potential damage or unauthorized access. Ensure that the cables and cords are properly coiled and stored to prevent tripping hazards.
- Conduct a final inspection: Take a moment to conduct a final inspection of the work area. Ensure that it is clean, organized, and free from any hazards. Double-check that all tools and materials are properly put away.
By completing these finishing touches and cleanup steps, you’ll achieve a polished and professional-looking result. Additionally, maintaining a clean work area promotes safety and ensures that your tools and equipment are ready for future projects.
Conclusion
Learning how to cut a concrete floor is a valuable skill that can open up a world of possibilities for home improvement or renovation projects. By following the steps outlined in this guide, you can successfully and safely cut through a concrete floor to create access points, modify your space, or install new fixtures.
Throughout the process, it’s crucial to prioritize safety by wearing protective gear, observing safety precautions, and using the appropriate tools. Remember to inspect and maintain your equipment, follow manufacturer instructions, and take necessary breaks to prevent fatigue.
Controlling dust and debris is important not only for maintaining a clean work area but also for protecting your health. Utilize dust collection systems, dampen the work area, and properly dispose of collected dust and waste following local regulations.
Once the cutting is complete, pay attention to the finishing touches. Smooth out any rough edges, thoroughly clean up the work area, and store your equipment properly for future use.
By mastering the art of cutting concrete floors, you can take on a variety of projects with confidence and achieve professional-quality results. Remember that practice makes perfect, so don’t be discouraged if you don’t achieve perfection on your first attempt.
Now armed with the knowledge and understanding of the step-by-step process, as well as the necessary tools and safety precautions, you’re ready to tackle your next concrete cutting project. So go ahead, plan out your project, and take that concrete floor from ordinary to extraordinary.
Frequently Asked Questions about How To Cut Concrete Floor
Was this page helpful?
At Storables.com, we guarantee accurate and reliable information. Our content, validated by Expert Board Contributors, is crafted following stringent Editorial Policies. We're committed to providing you with well-researched, expert-backed insights for all your informational needs.


0 thoughts on “How To Cut Concrete Floor”