
Articles
How To Replace A Porch Railing
Modified: February 23, 2024
Learn the step-by-step process of replacing a porch railing with our informative articles. Enhance the safety and aesthetic appeal of your porch with our expert guide.
(Many of the links in this article redirect to a specific reviewed product. Your purchase of these products through affiliate links helps to generate commission for Storables.com, at no extra cost. Learn more)
Introduction
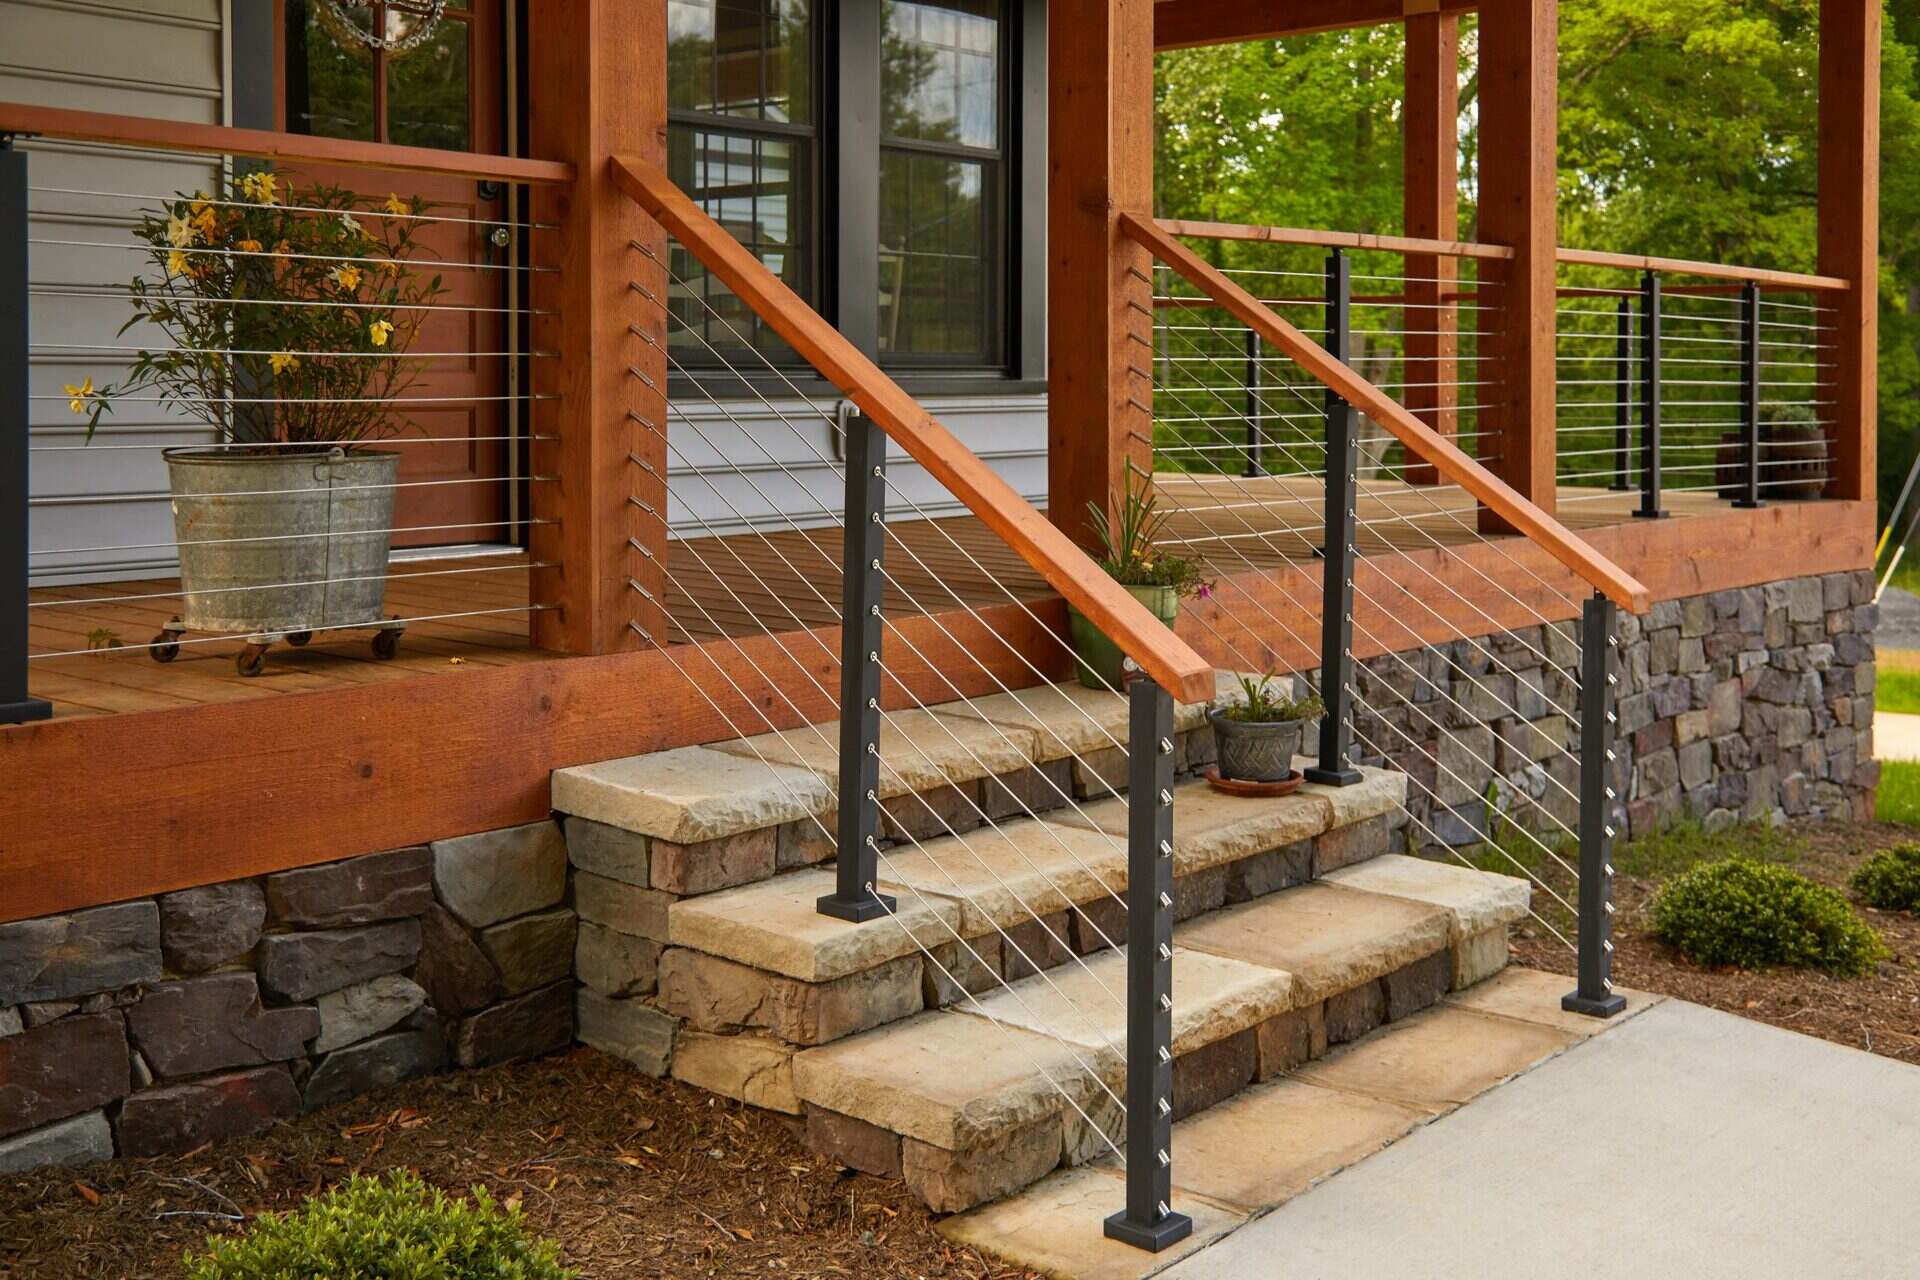
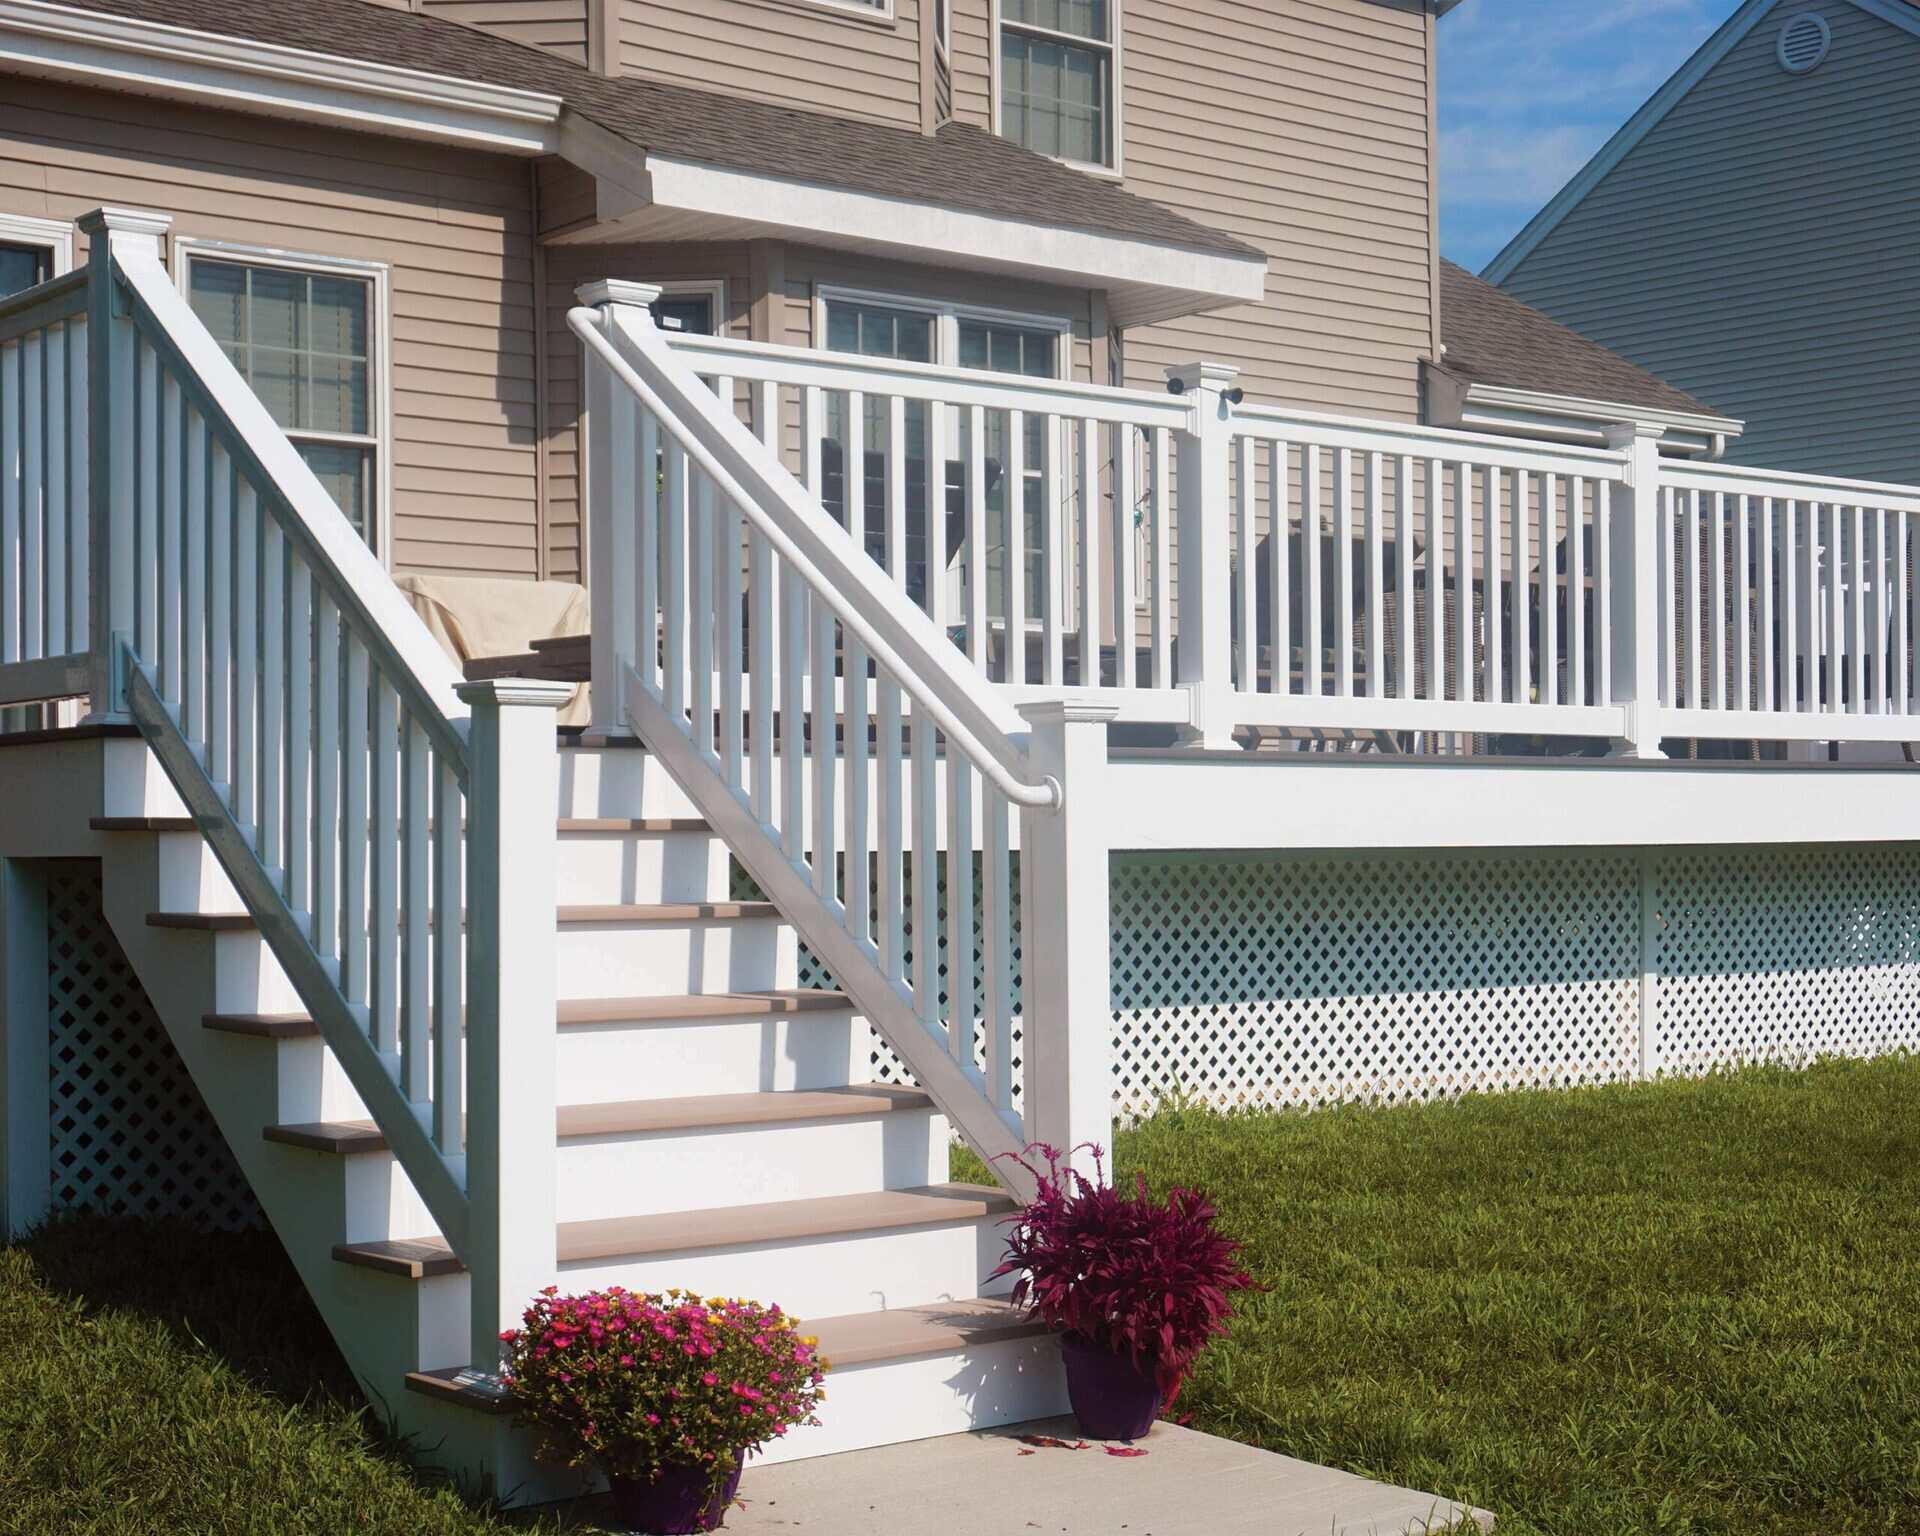
Welcome to this step-by-step guide on how to replace a porch railing. A porch railing not only adds beauty and character to your home’s exterior but also provides safety and support for those using the porch. Over time, porch railings can deteriorate due to weather exposure or general wear and tear, necessitating replacement to maintain the functionality and aesthetics of your porch.
In this article, we will walk you through the process of replacing a porch railing, from removing the old railing to installing the new one. We will also provide tips and tricks to ensure a successful and professional-looking installation. Rest assured, with proper tools and materials, as well as a bit of patience and effort, you can easily replace your porch railing and enhance the overall appearance of your home.
Before we dive into the process, let’s take a moment to go over the tools and materials you will need for this project.
Key Takeaways:
- Replacing a porch railing is a manageable and rewarding project that enhances the appearance and safety of your home’s exterior. Prioritize accurate measurements, proper preparation, and attention to detail for a seamless outcome.
- With the right tools, materials, and guidance, you can successfully replace your porch railing. Embrace the satisfaction of accomplishing this project and enjoy a revamped porch that adds beauty and support to your home.
Read more: How To Replace Rotted Porch Railing
Tools and Materials Needed
Before you begin replacing your porch railing, gather the following tools and materials:
- Measuring tape
- Level
- Screwdriver
- Hammer
- Chisel
- Power drill
- Saw
- Paintbrush
- Paint or stain (if desired)
- Safety goggles
- Gloves
- Work gloves
- New porch railing kit
- Fasteners
- Wood filler
- Sanding block or sandpaper
- Paint scraper (if removing old paint)
Having these tools and materials readily available will help streamline the replacement process and ensure you have everything you need to complete the project successfully.
Now that you have gathered all the necessary tools and materials, let’s move on to the next step: removing the old porch railing.
Removing the Old Porch Railing
Before you can install your new porch railing, you need to remove the old one. Follow the steps below to safely and efficiently remove the old porch railing:
- Start by examining the existing railing and identifying any screws, nails, or fasteners that are holding it in place. Use a screwdriver or power drill to remove these fasteners, taking care not to damage the surrounding structure.
- If your old railing is secured with nails, use a hammer and chisel to gently pry it away from the porch posts or balusters. Work your way along the railing, removing nails as you go.
- Once the fasteners are removed, give the railing a gentle tug to see if it comes loose. If it’s still firmly attached, inspect the underside for any additional screws or nails that may be holding it in place.
- If your old railing is painted, you may need to use a paint scraper to remove any layers of old paint. This will make it easier to detach the railing from the porch.
- If the railing is secured with adhesive or caulking, use a chisel to carefully separate it from the porch posts or balusters. Take your time to avoid causing any damage to the porch surface.
- Once the old railing is completely removed, inspect the porch for any damages or repairs that may be needed. This is also a good time to clean the porch surface and remove any debris or loose material.
With the old porch railing successfully removed, you are now ready to move on to the next step: measuring and purchasing the new porch railing.
Measuring and Purchasing the New Porch Railing
Now that the old porch railing has been removed, it’s time to measure the space and choose the right railing for your porch. Follow these steps to ensure an accurate measurement and a successful purchase:
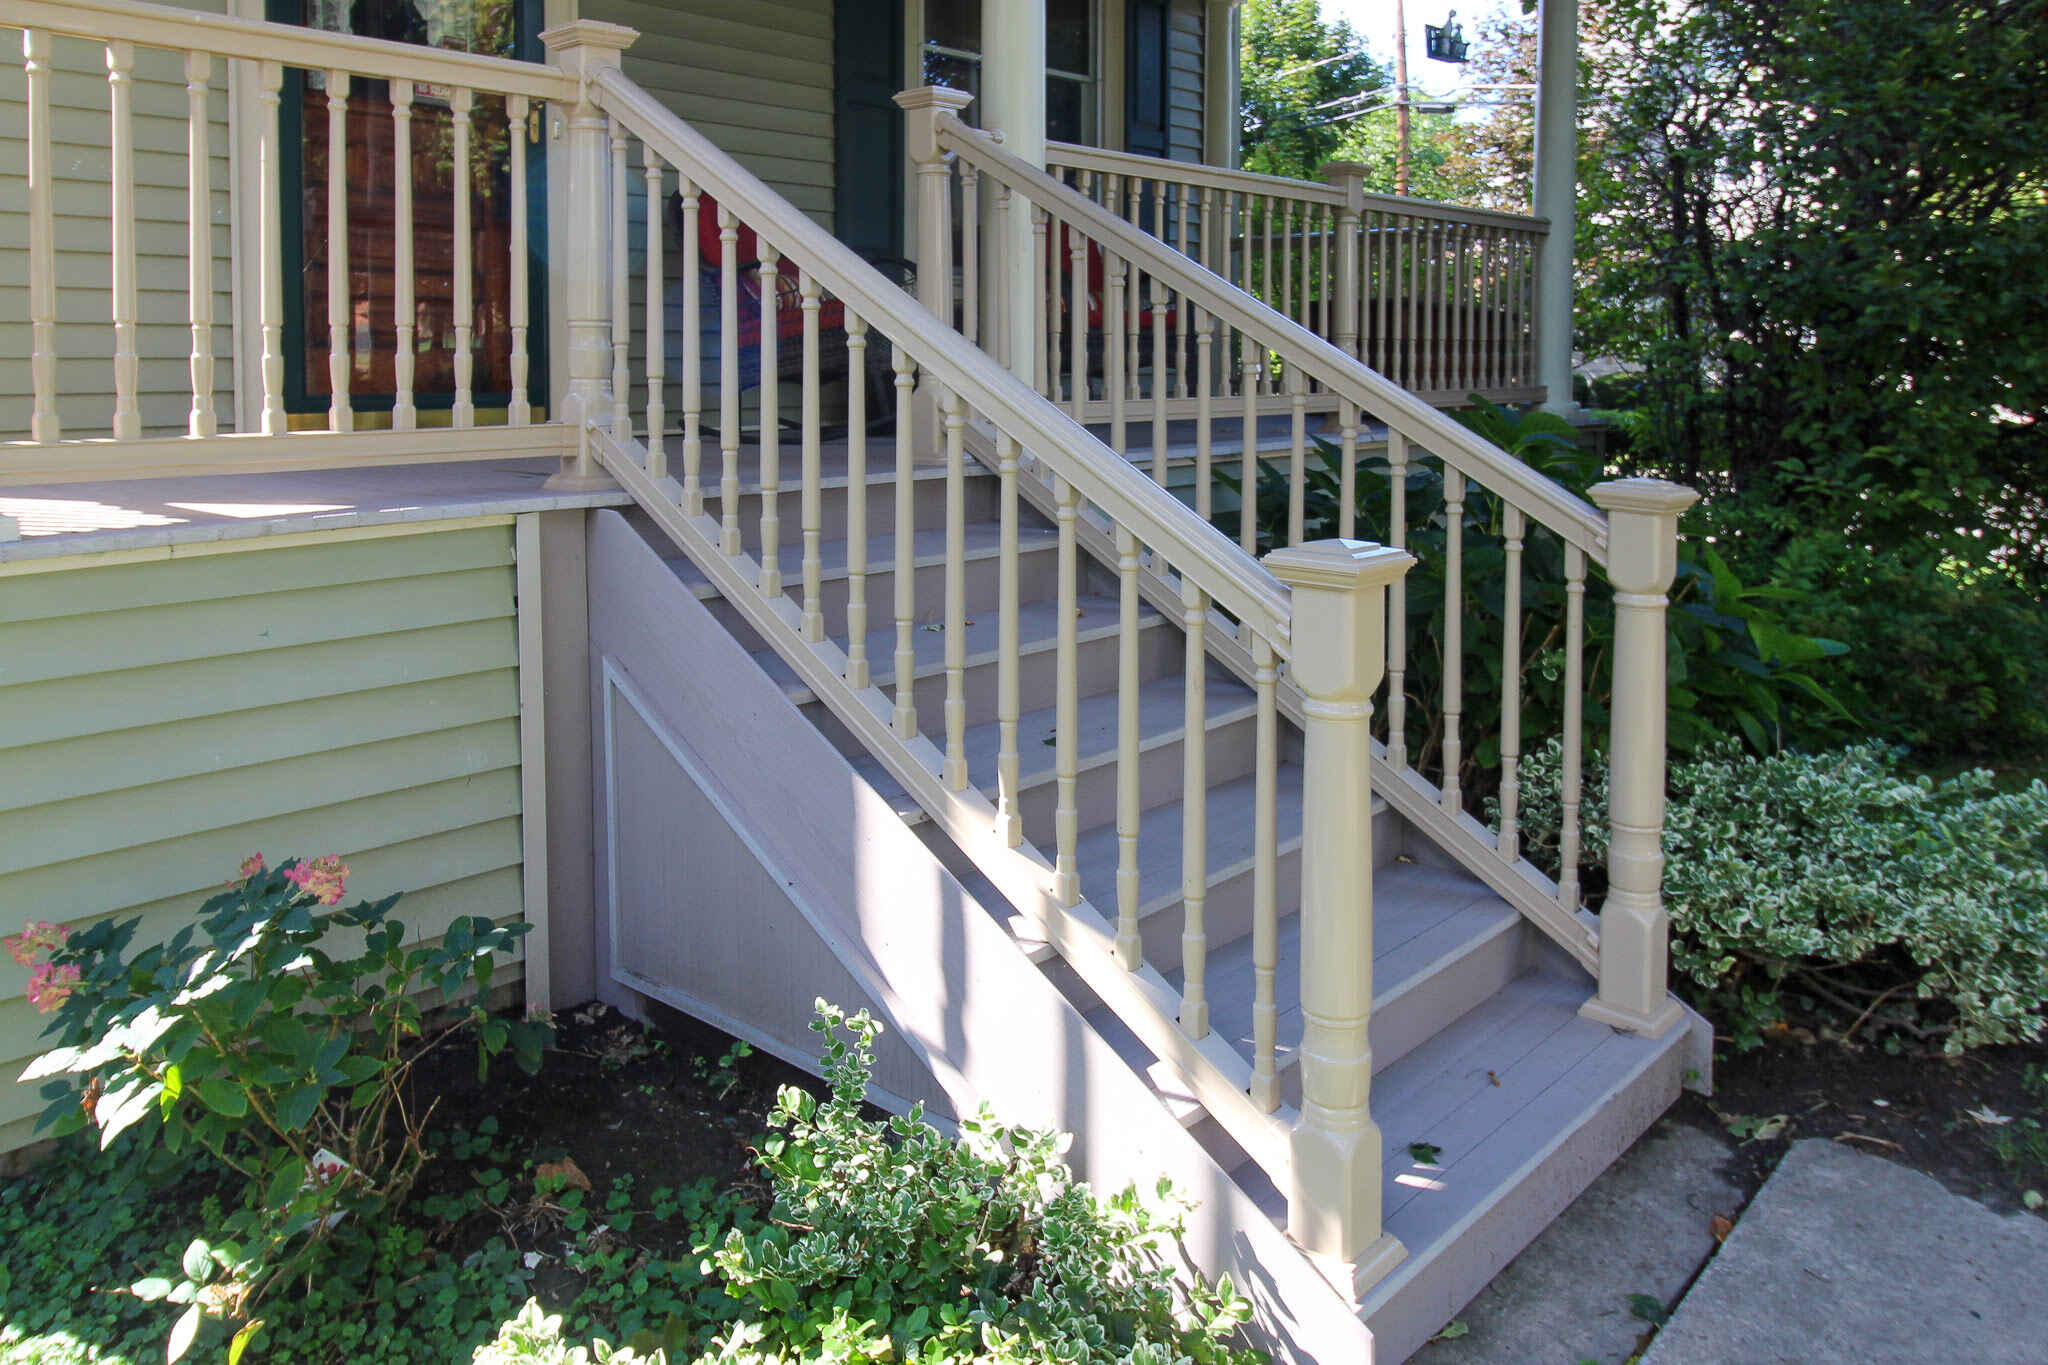
- Measure the length of your porch to determine the size of the railing needed. Start at one end and measure to the other, taking note of any obstacles or corners that may require additional railing sections or special configurations.
- Measure the height of your porch railing. Most porch railings have a standard height of around 36 inches, but be sure to check your local building codes to ensure compliance.
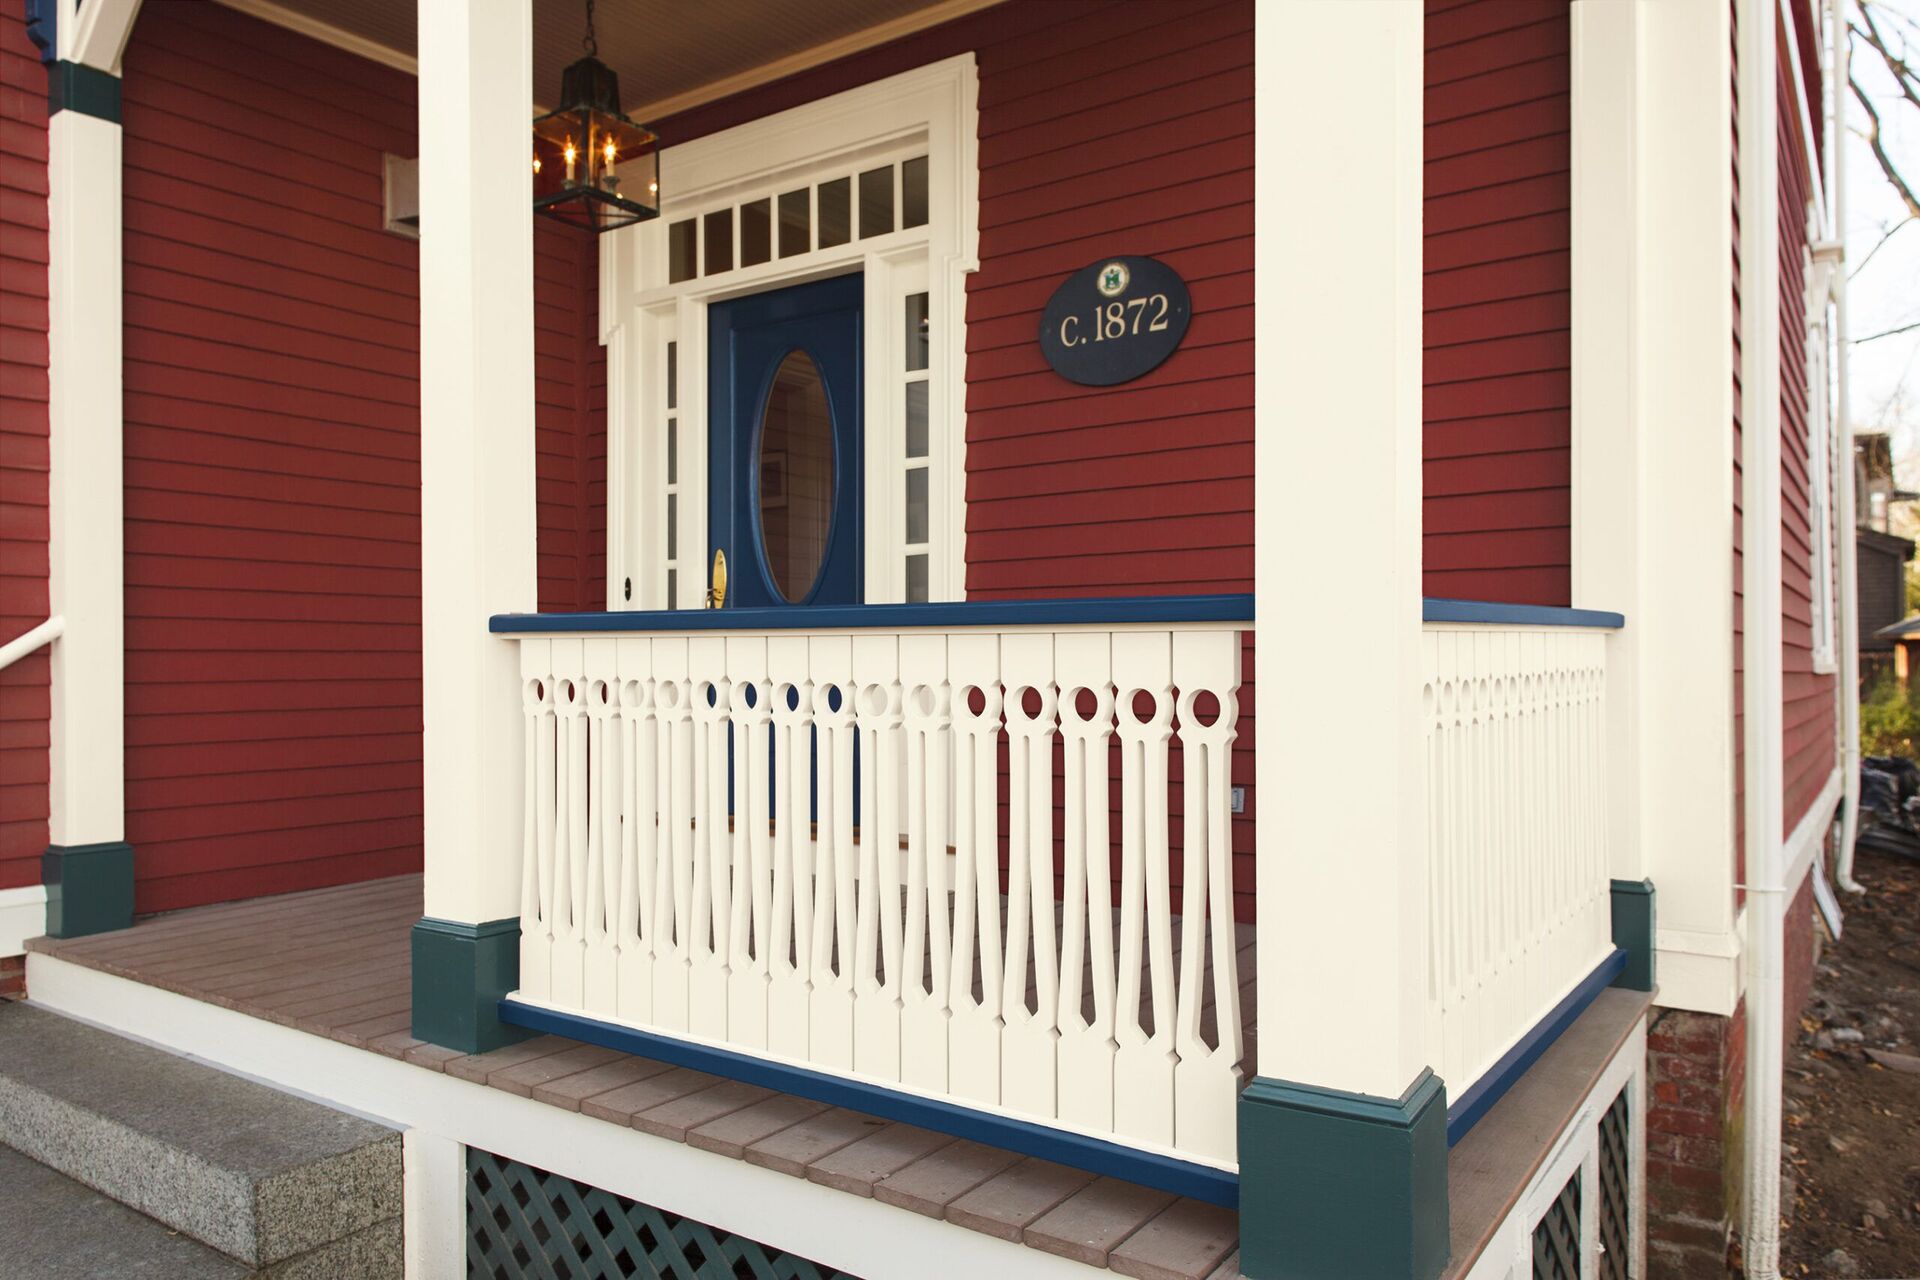
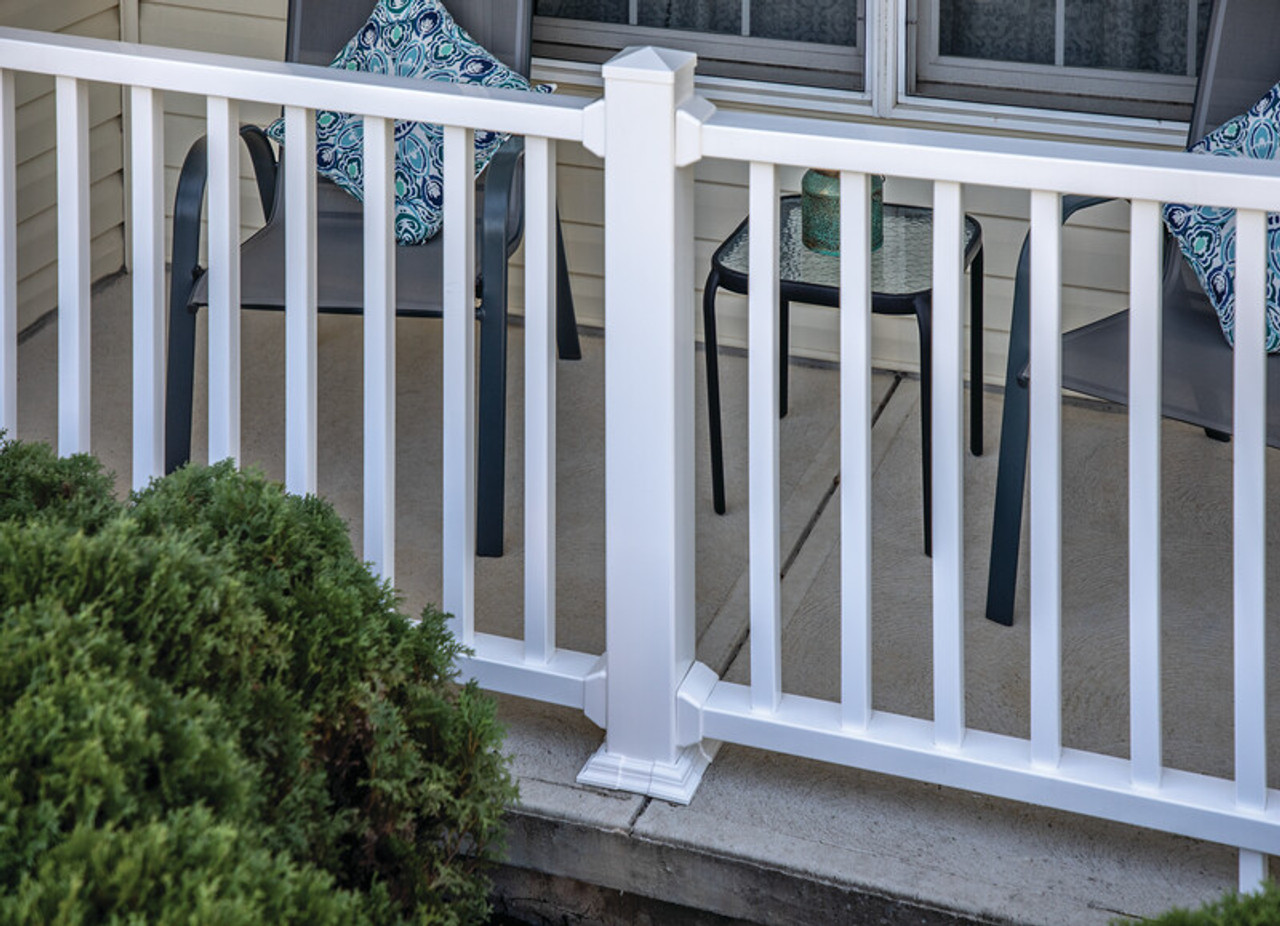
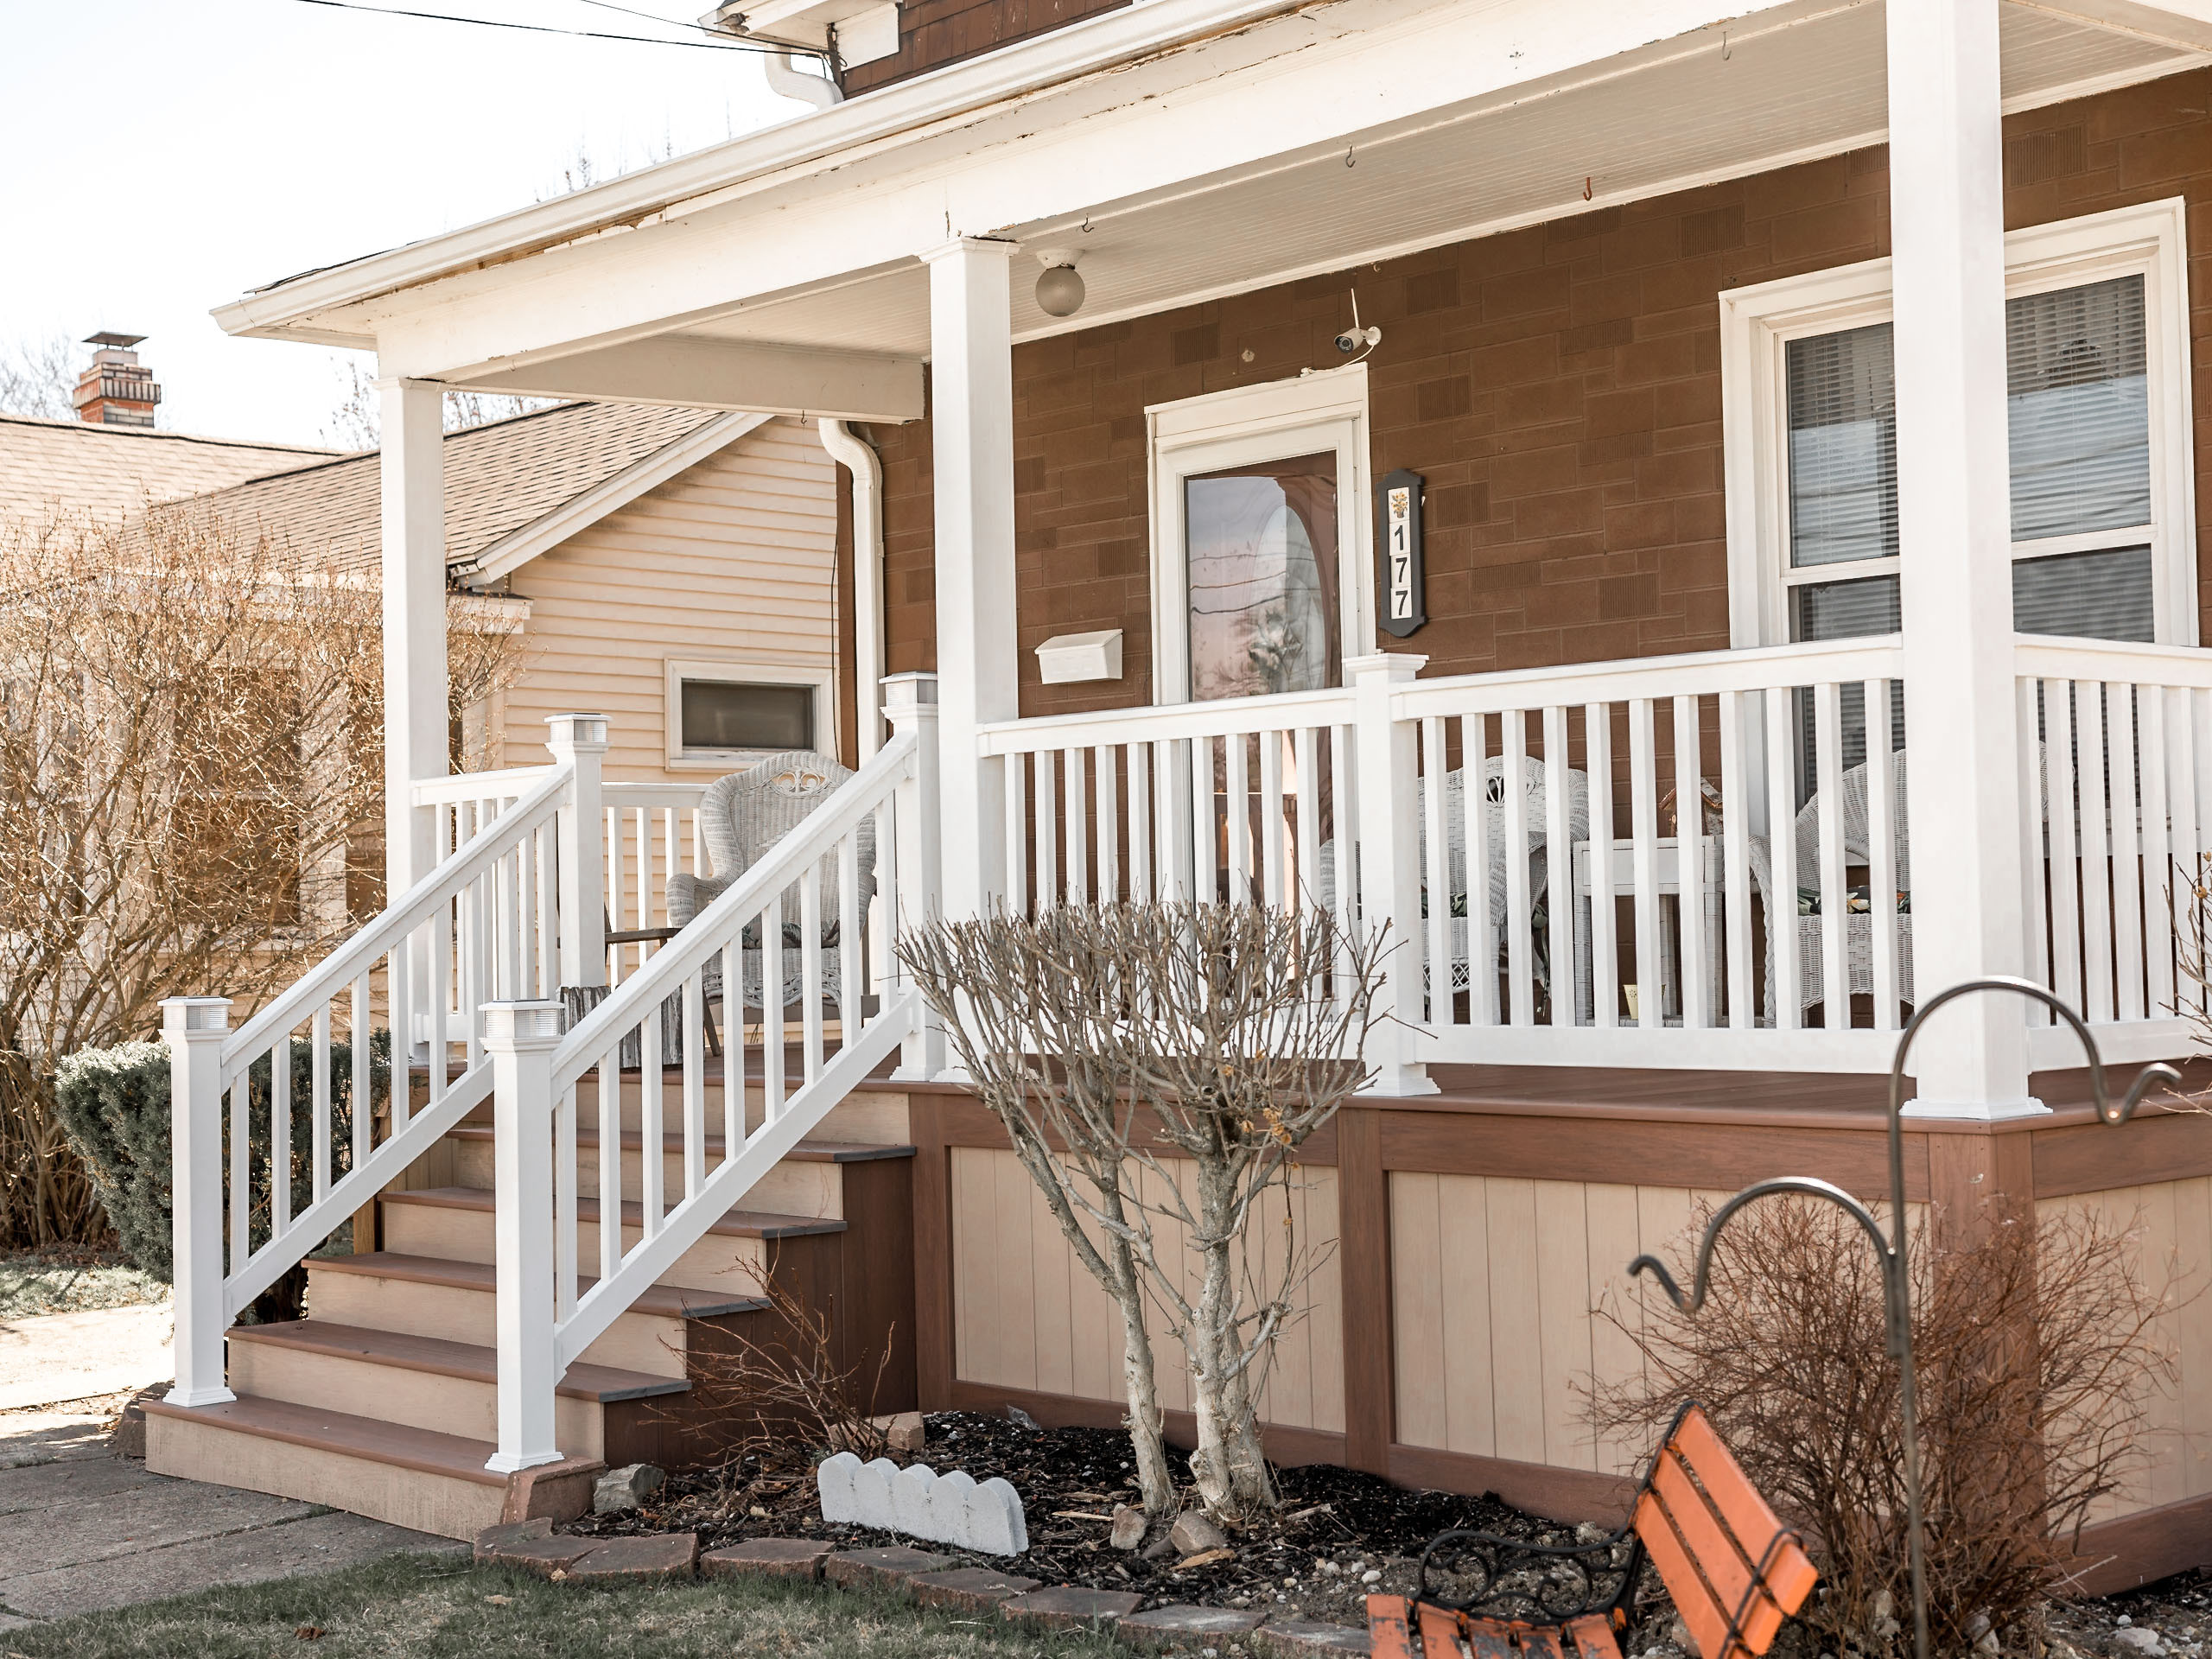
- Consider the style and design of your porch when choosing a new railing. There are various materials and styles available, including wood, metal, vinyl, and composite. Select one that complements the overall aesthetic of your home.
- Visit your local home improvement store or browse online to explore different porch railing options. Compare prices, materials, and designs to find the best fit for your porch.
- If you’re unsure about the selection, consult with a professional contractor or salesperson who can provide guidance and recommend suitable options based on your specific needs and budget.
- Purchase the necessary railing sections, posts, and any additional accessories or hardware required for installation. It’s always a good idea to buy slightly more materials than you think you’ll need, as it’s easier to return unused items than to realize you’re short in the middle of the installation process.
By taking accurate measurements and carefully selecting the right porch railing, you are one step closer to completing your porch railing replacement project. Next, we’ll move on to preparing the area for installation.
When replacing a porch railing, make sure to measure the existing railing carefully before purchasing new materials to ensure a proper fit.
Preparing the Area for Installation
Before you can install your new porch railing, it’s essential to properly prepare the area to ensure a smooth and successful installation process. Follow these steps to get the area ready:
- Clean the porch surface: Clear away any dirt, dust, or debris from the porch to provide a clean and stable base for the new railing. Use a broom or a power washer to thoroughly clean the surface.
- Inspect the porch structure: Check the porch posts and balusters for any signs of damage or rot. If you notice any issues, make necessary repairs or replacements before proceeding with the installation.
- Prepare the posts: If you are using new posts for your railing, you may need to measure and cut them to the appropriate height. Use a saw to trim the posts if needed. It’s also a good idea to sand down any rough edges or corners.
- Plan the placement: Mark the exact location where the new porch railing will be installed. Use a level to ensure the markings are perfectly straight and even.
- Drill pilot holes: If necessary, drill pilot holes into the porch posts or balusters to make it easier to attach the railing later on. Use a power drill and an appropriate drill bit size for the fasteners you will be using.
- Apply wood filler (if needed): Fill any holes or imperfections in the porch posts or balusters with wood filler. Allow the filler to dry completely, and then sand it down for a smooth finish.
- If you plan to paint or stain the railing, do it at this stage. Apply the paint or stain according to the manufacturer’s instructions and allow it to dry completely before proceeding with the installation.
With the area properly prepared, you are now ready to move on to the exciting part of the process: installing the new porch railing!
Read more: How To Replace Wrought Iron Porch Railing
Installing the New Porch Railing
Now comes the exciting part—installing the new porch railing. Follow these steps to ensure a smooth and secure installation:
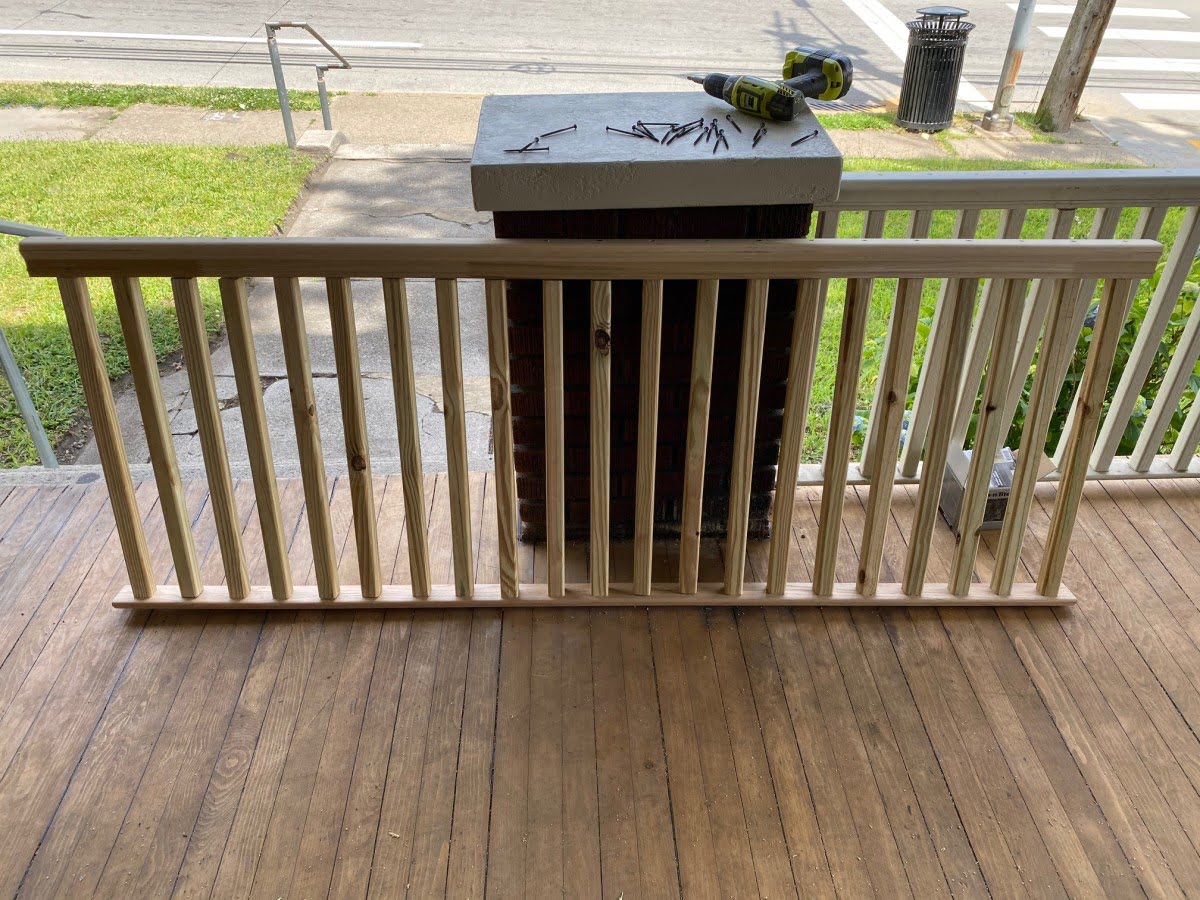
- Start by attaching the bottom rail: Depending on the type of railing kit you purchased, you may have a bottom rail that needs to be installed first. Use the appropriate fasteners and secure the bottom rail to the porch posts or balusters according to the manufacturer’s instructions.
- Insert the balusters or pickets: Slide the balusters or pickets into the pre-drilled holes in the bottom rail. Ensure they are evenly spaced and aligned.
- Attach the top rail: Place the top rail over the balusters or pickets, making sure it sits securely on the porch posts. Use the provided fasteners to securely attach the top rail to the posts.
- Check for level and plumb: Use a level to ensure that both the bottom and top rails are level horizontally, and a plumb level to ensure they are perfectly vertical. Make any necessary adjustments to ensure they are aligned properly.
- Secure the railing: Once the rails are level and plumb, secure the railing to the porch posts or balusters using the appropriate fasteners. Make sure they are tightly fastened to provide stability and strength.
- Repeat the steps for additional sections: If your porch requires multiple sections of railing, repeat the installation process for each section, ensuring proper alignment and secure attachment.
- Test the stability: Once all sections are installed, give the railing a gentle shake to test its stability. It should feel secure and rigid. Make any adjustments or reinforcement if necessary.
With the new porch railing successfully installed, it’s time to move on to the final steps: securing the railing and adding finishing touches.
Securing the Railing and Finishing Touches
Now that the new porch railing is installed, it’s important to ensure it is secure and add the finishing touches to complete the project. Follow these steps to finalize the railing installation:
- Tighten all fasteners: Go back and double-check all the fasteners to ensure they are securely tightened. This will help prevent any movement or looseness in the future.
- Inspect the railing: Take a step back and inspect the railing for any imperfections or gaps. If there are any areas that need adjustment, make the necessary corrections before proceeding.
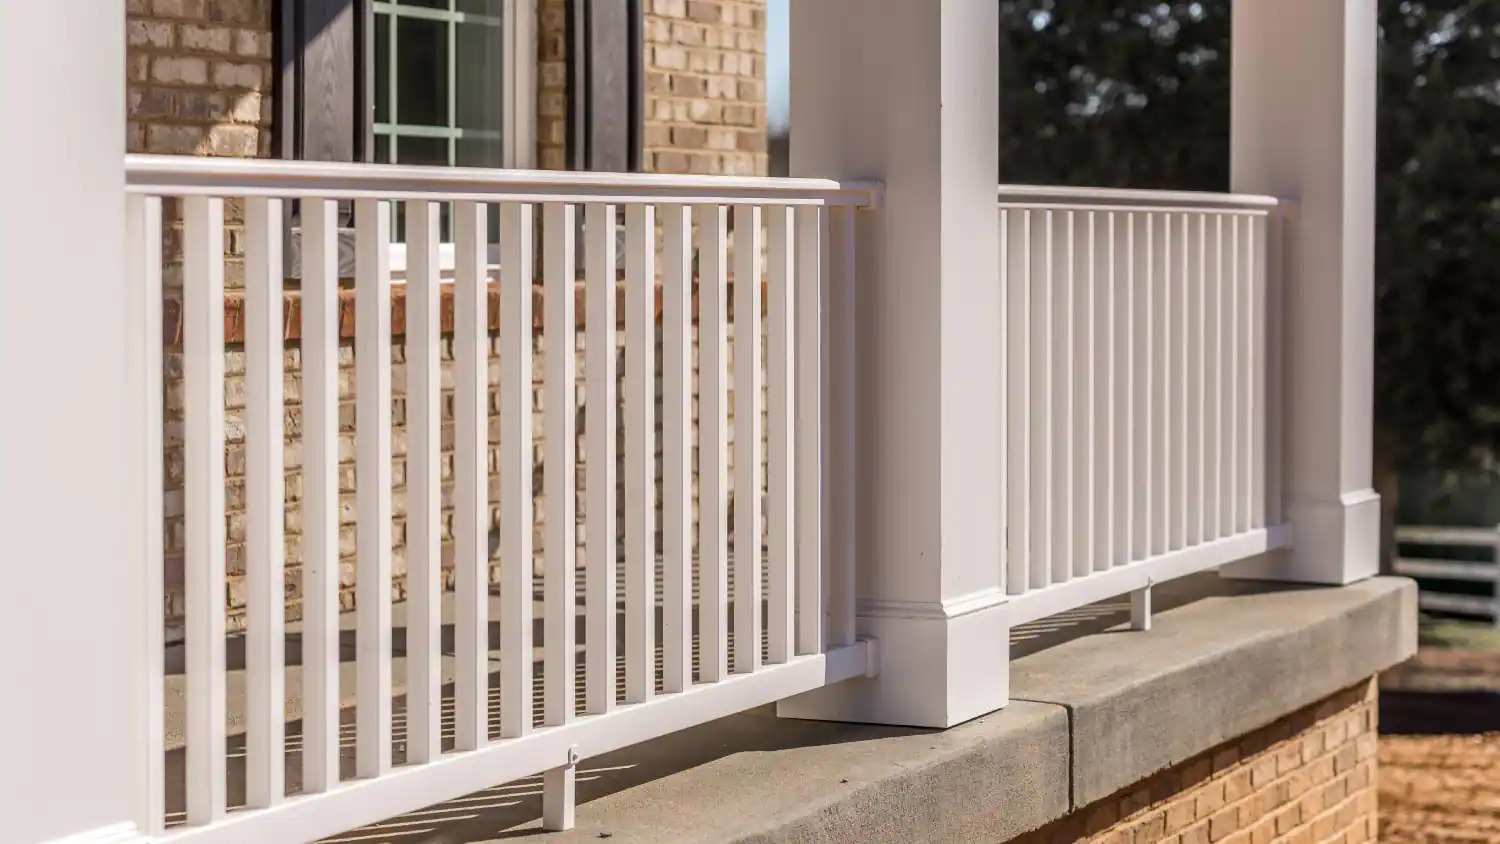
- Add caps or decorative elements: If desired, add post caps or decorative elements to enhance the aesthetic appeal of the porch railing. This can add a personal touch and further enhance the overall look of your porch.
- Test the railing’s stability: Once everything is in place, give the railing a firm shake to ensure it is stable and secure. It should withstand the pressure without wobbling or shaking.
- Apply touch-up paint or stain: If there are any scratches or marks on the porch posts or railing, touch them up with matching paint or stain to give a polished and cohesive appearance.
- Clean up the area: Remove any debris, dust, or leftover materials from the installation process. Sweep or wash the porch surface to leave it clean and tidy.
Congratulations! You have successfully replaced your porch railing. Your porch now has a fresh and sturdy railing that enhances its appearance and provides safety for all who use it.
Remember to regularly inspect and maintain your new porch railing to ensure its longevity. This includes cleaning, painting or staining as needed, and addressing any repairs promptly.
Now, sit back and enjoy your revamped porch, knowing that you accomplished this project with skill and care.
Happy porch railing replacement!
Conclusion
Replacing a porch railing may seem like a daunting task, but with the right tools, materials, and guidance, it can be a manageable and rewarding project. By following the steps outlined in this guide, you can successfully replace your porch railing and enhance the overall appearance and safety of your porch.
Remember to take accurate measurements, choose the right railing that complements your home’s design, and properly prepare the area for installation. By doing so, you’ll ensure a seamless and professional-looking outcome.
Throughout the process, prioritize safety and attention to detail. Always wear appropriate protective gear and take the necessary precautions to avoid accidents or injury.
The satisfaction of completing a porch railing replacement project goes beyond the visual improvement. It provides a sense of accomplishment and the knowledge that you have taken steps to maintain and enhance your home’s exterior.
Lastly, don’t forget to regularly inspect and maintain your new porch railing to ensure its longevity. This includes routine cleaning, touch-up paint or stain, and addressing any repairs promptly.
We hope that this step-by-step guide has been helpful in guiding you through the process of replacing your porch railing. Now, gather your tools and materials, and start transforming your porch into a beautiful and safe space for everyone to enjoy.
Happy porch railing replacement!
Frequently Asked Questions about How To Replace A Porch Railing
Was this page helpful?
At Storables.com, we guarantee accurate and reliable information. Our content, validated by Expert Board Contributors, is crafted following stringent Editorial Policies. We're committed to providing you with well-researched, expert-backed insights for all your informational needs.


0 thoughts on “How To Replace A Porch Railing”