Home>Renovation & DIY>Home Renovation Guides>How To Caulk Countertop And Backsplash
Home Renovation Guides
How To Caulk Countertop And Backsplash
Modified: August 30, 2024
Learn how to caulk a countertop and backsplash with our comprehensive home renovation guide. Get expert tips and step-by-step instructions for a professional finish.
(Many of the links in this article redirect to a specific reviewed product. Your purchase of these products through affiliate links helps to generate commission for Storables.com, at no extra cost. Learn more)
Introduction
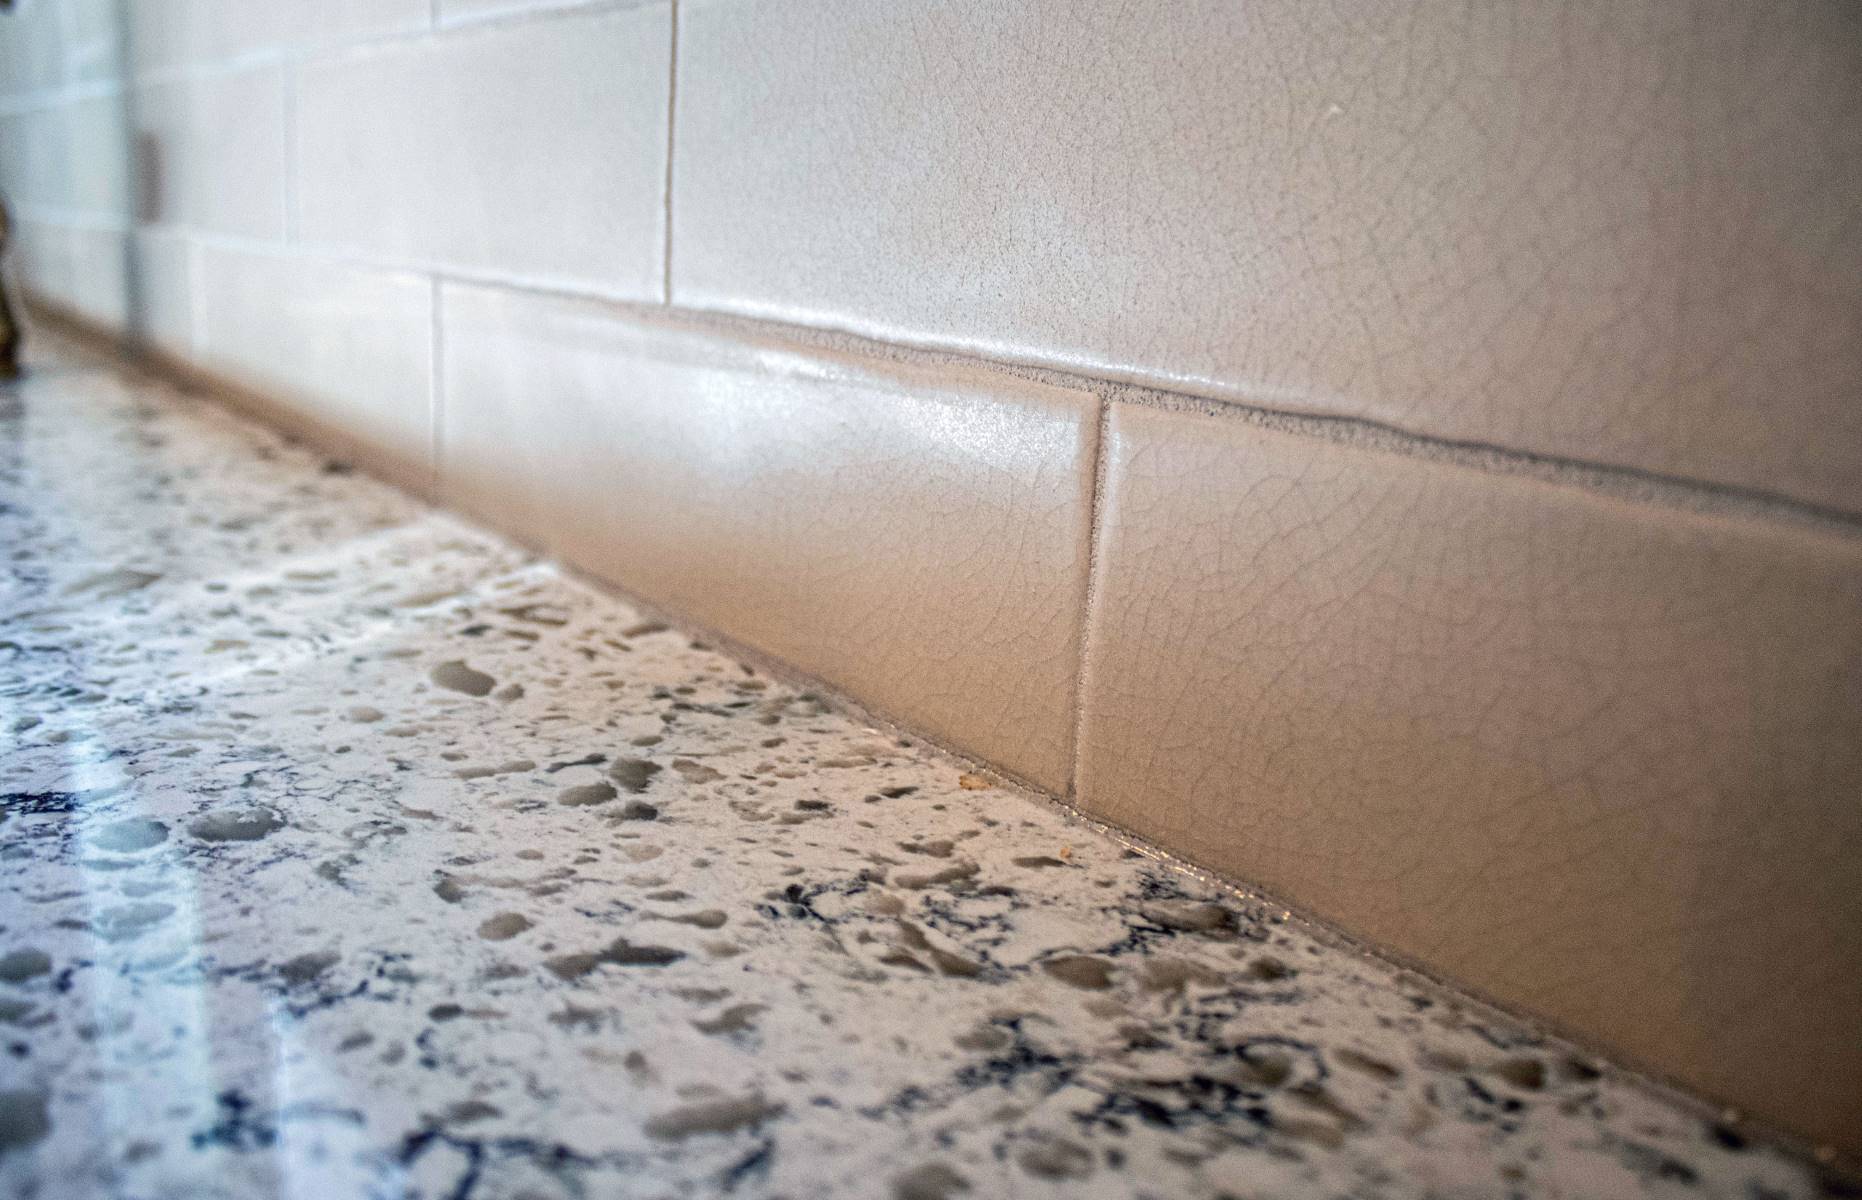
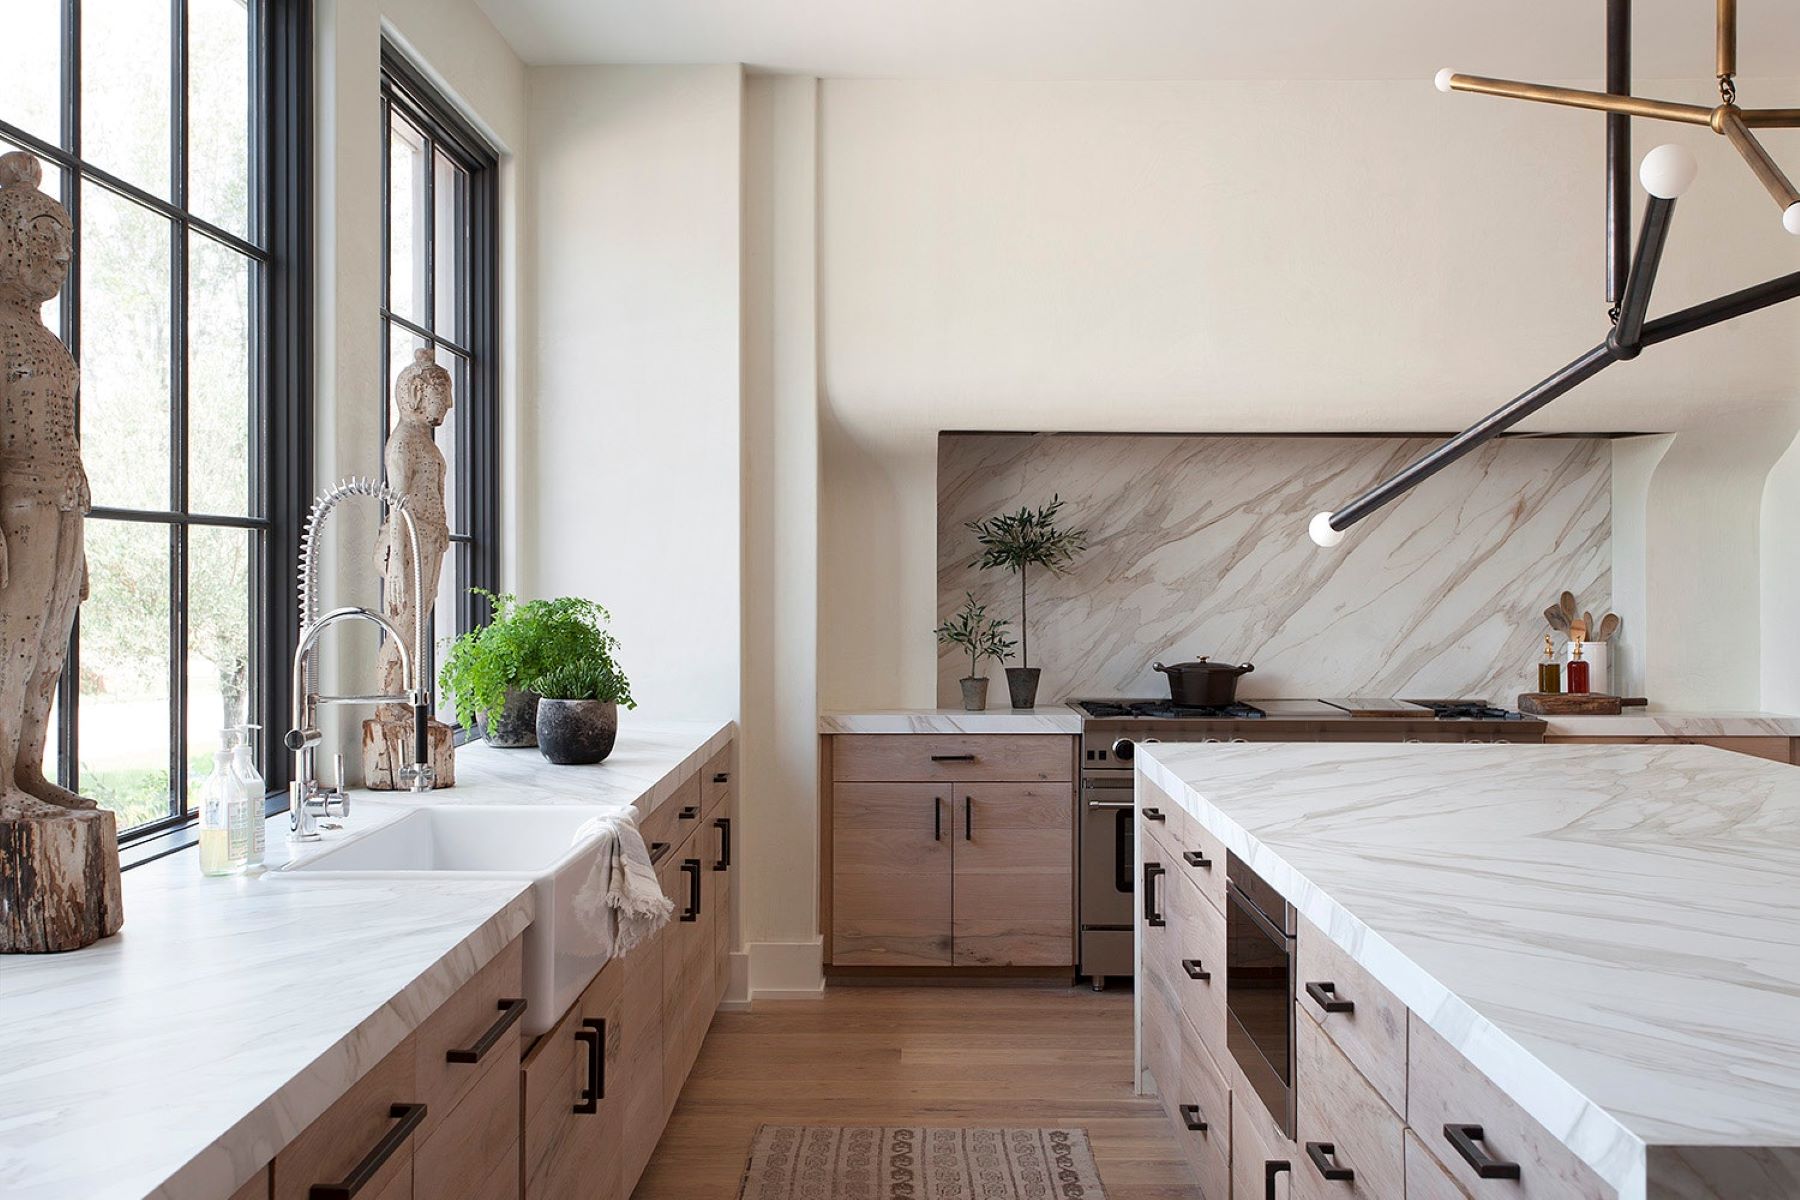
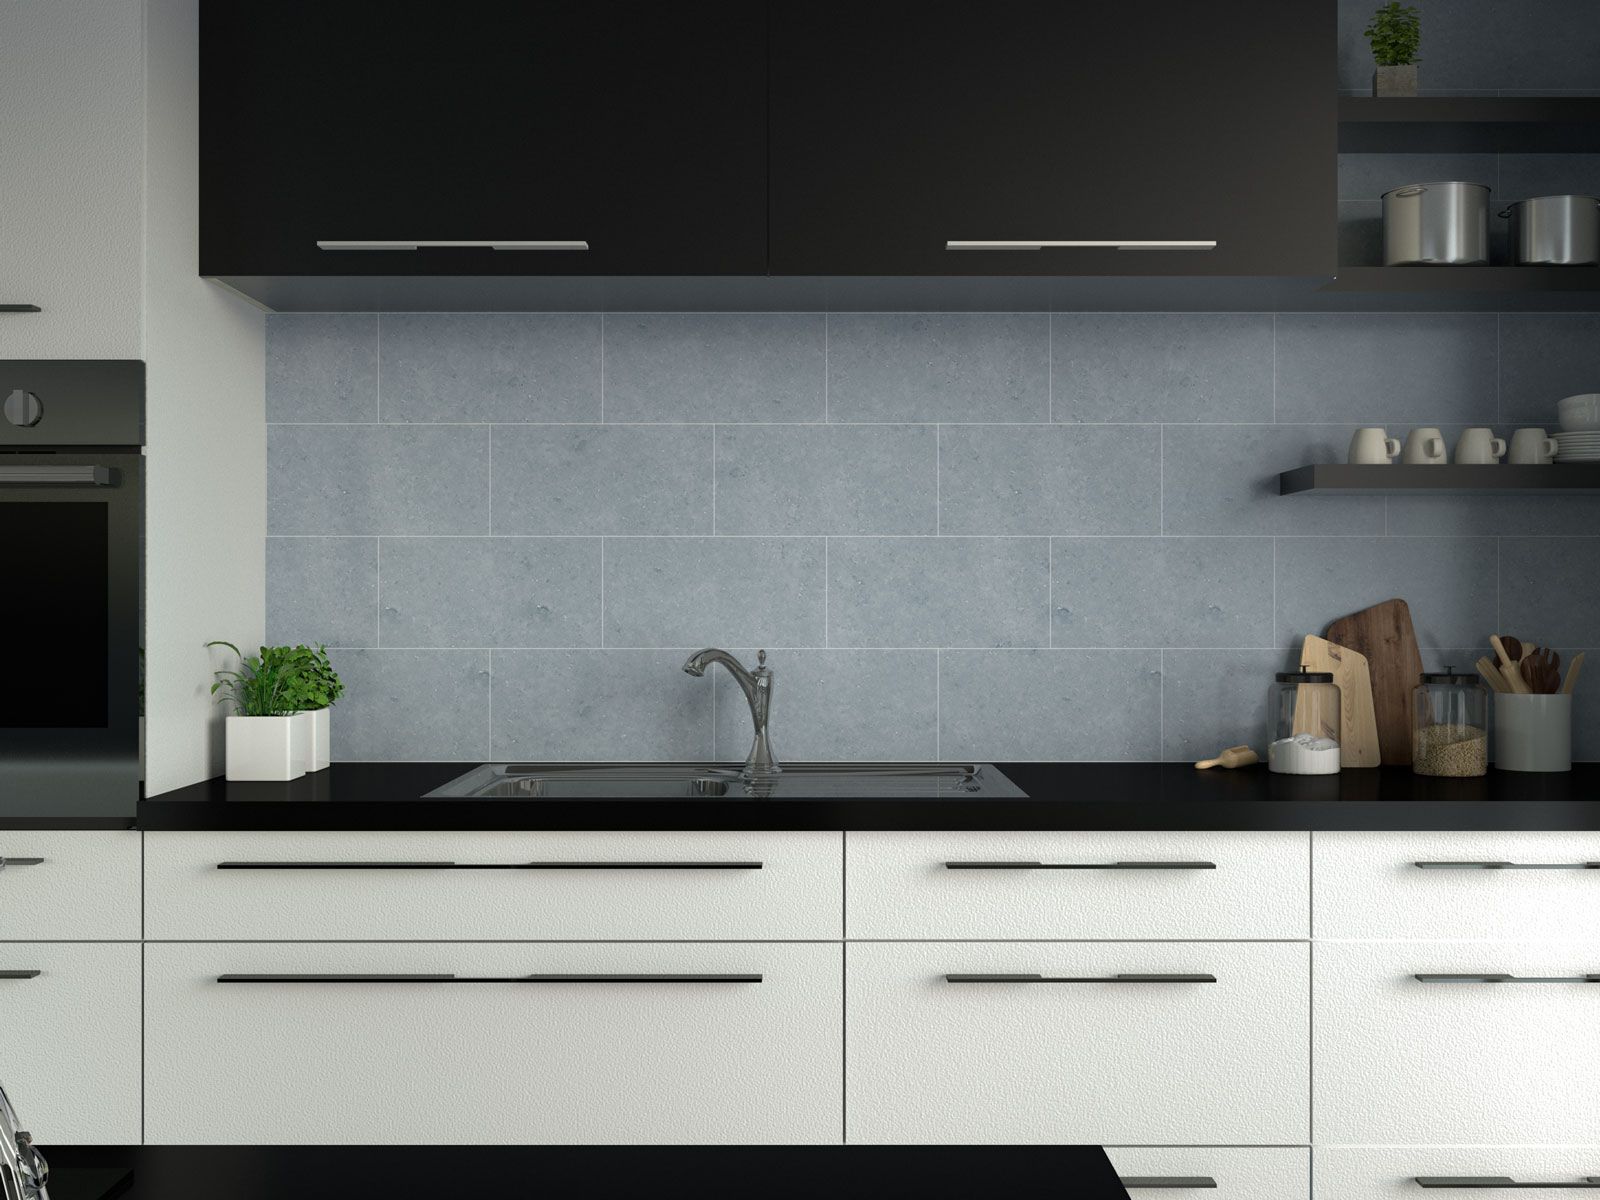
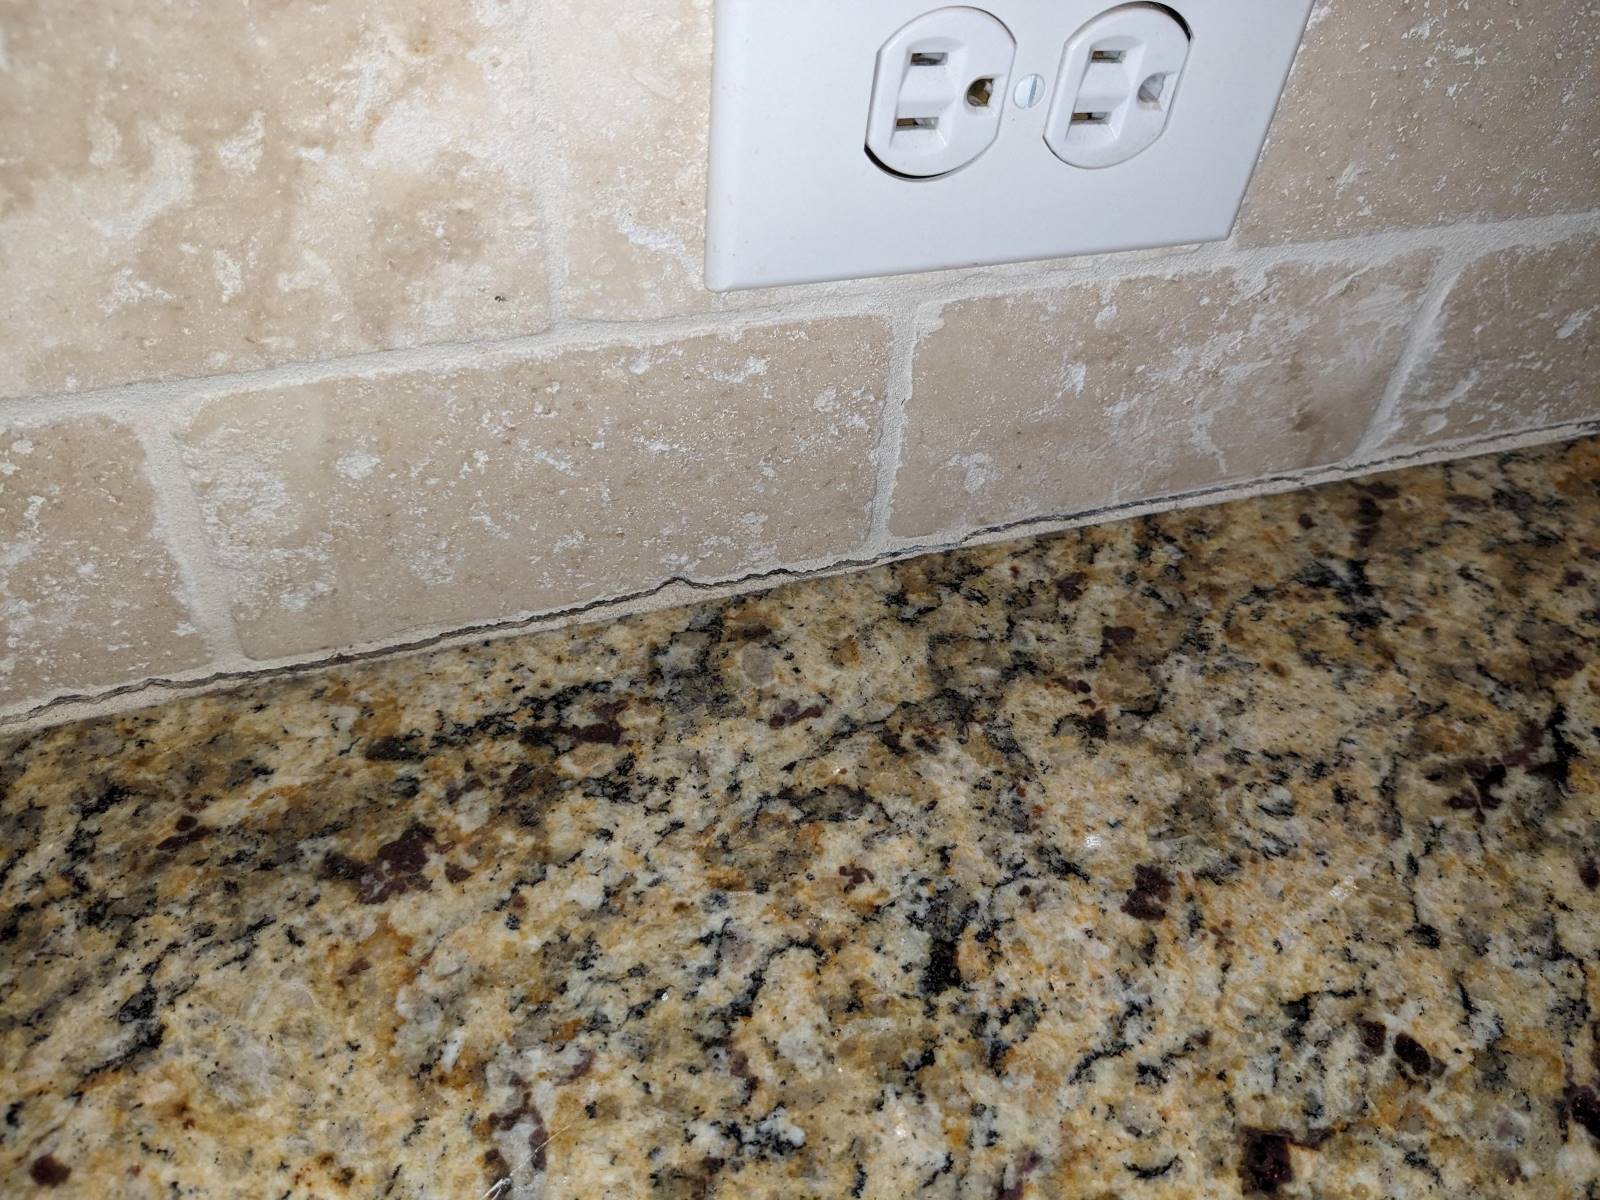
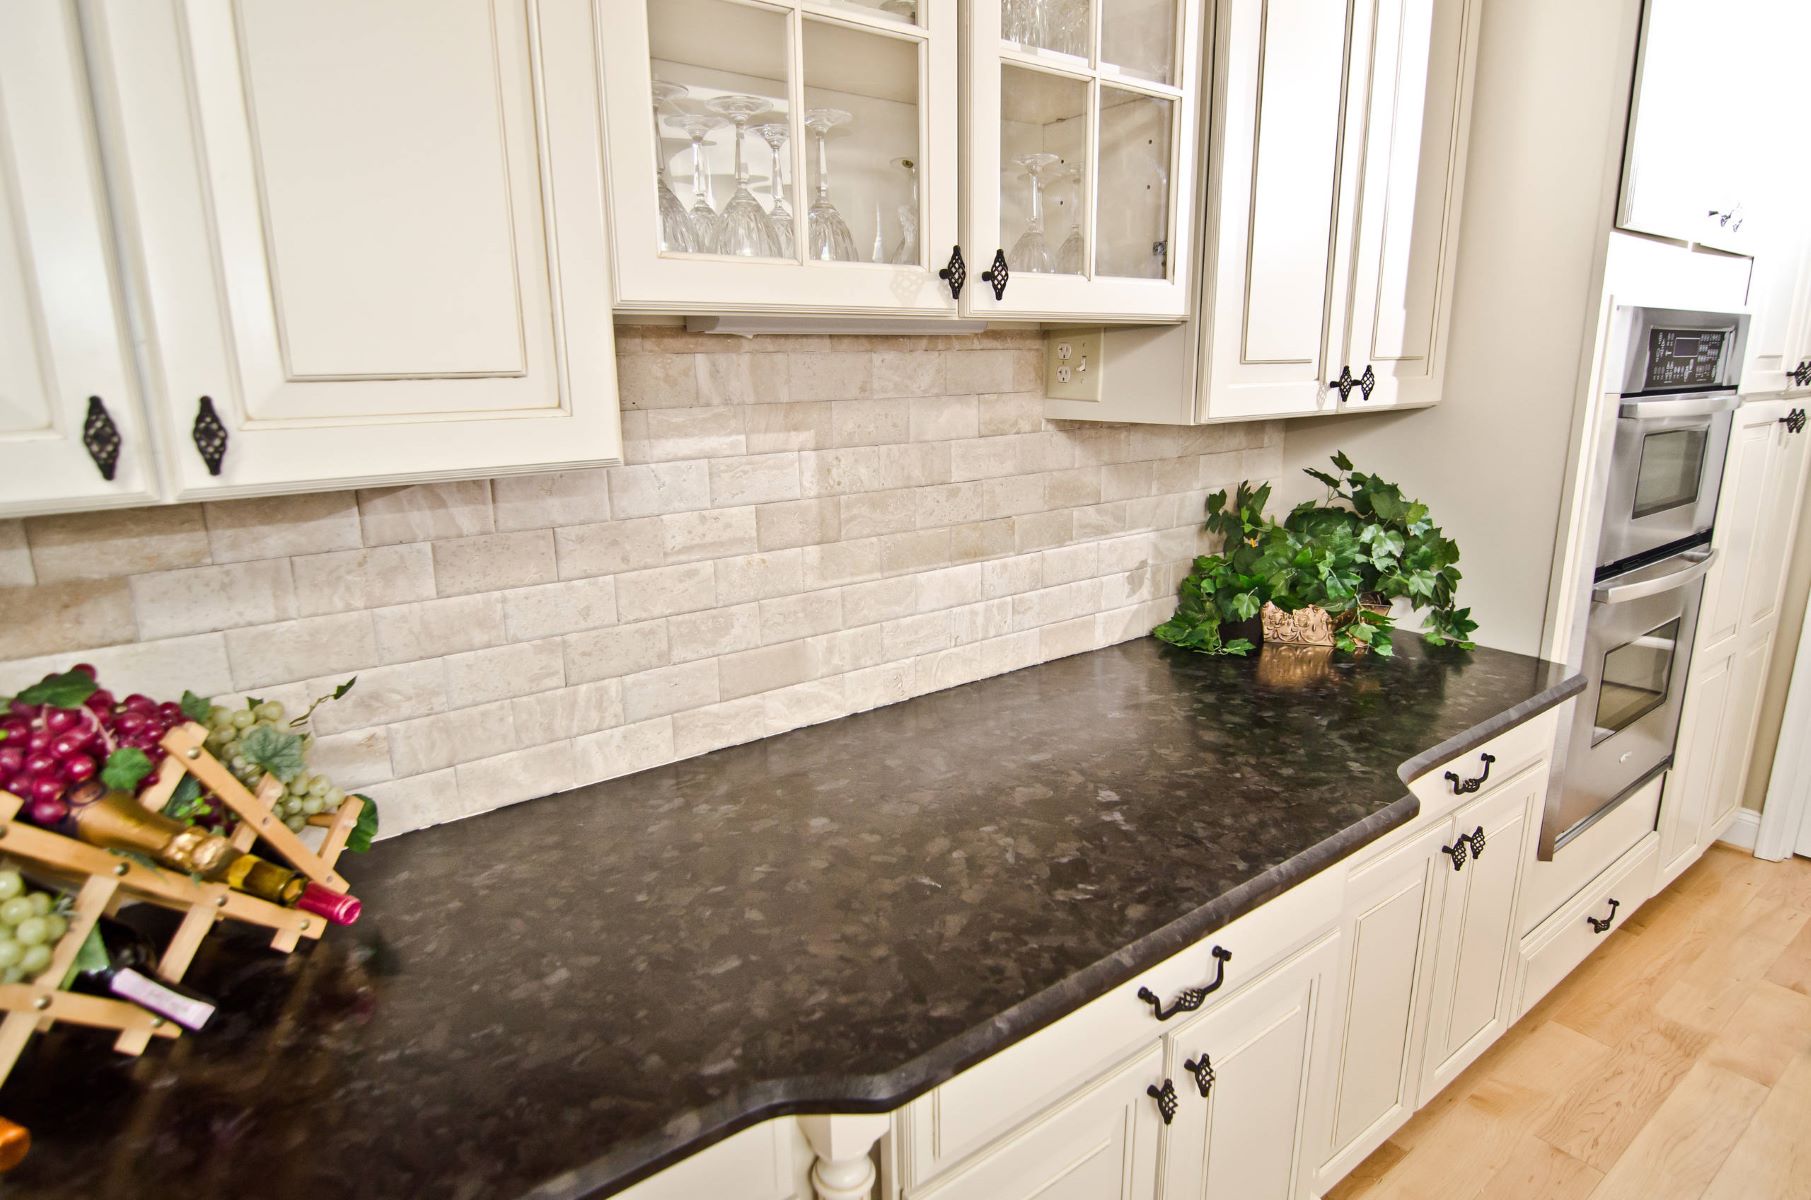
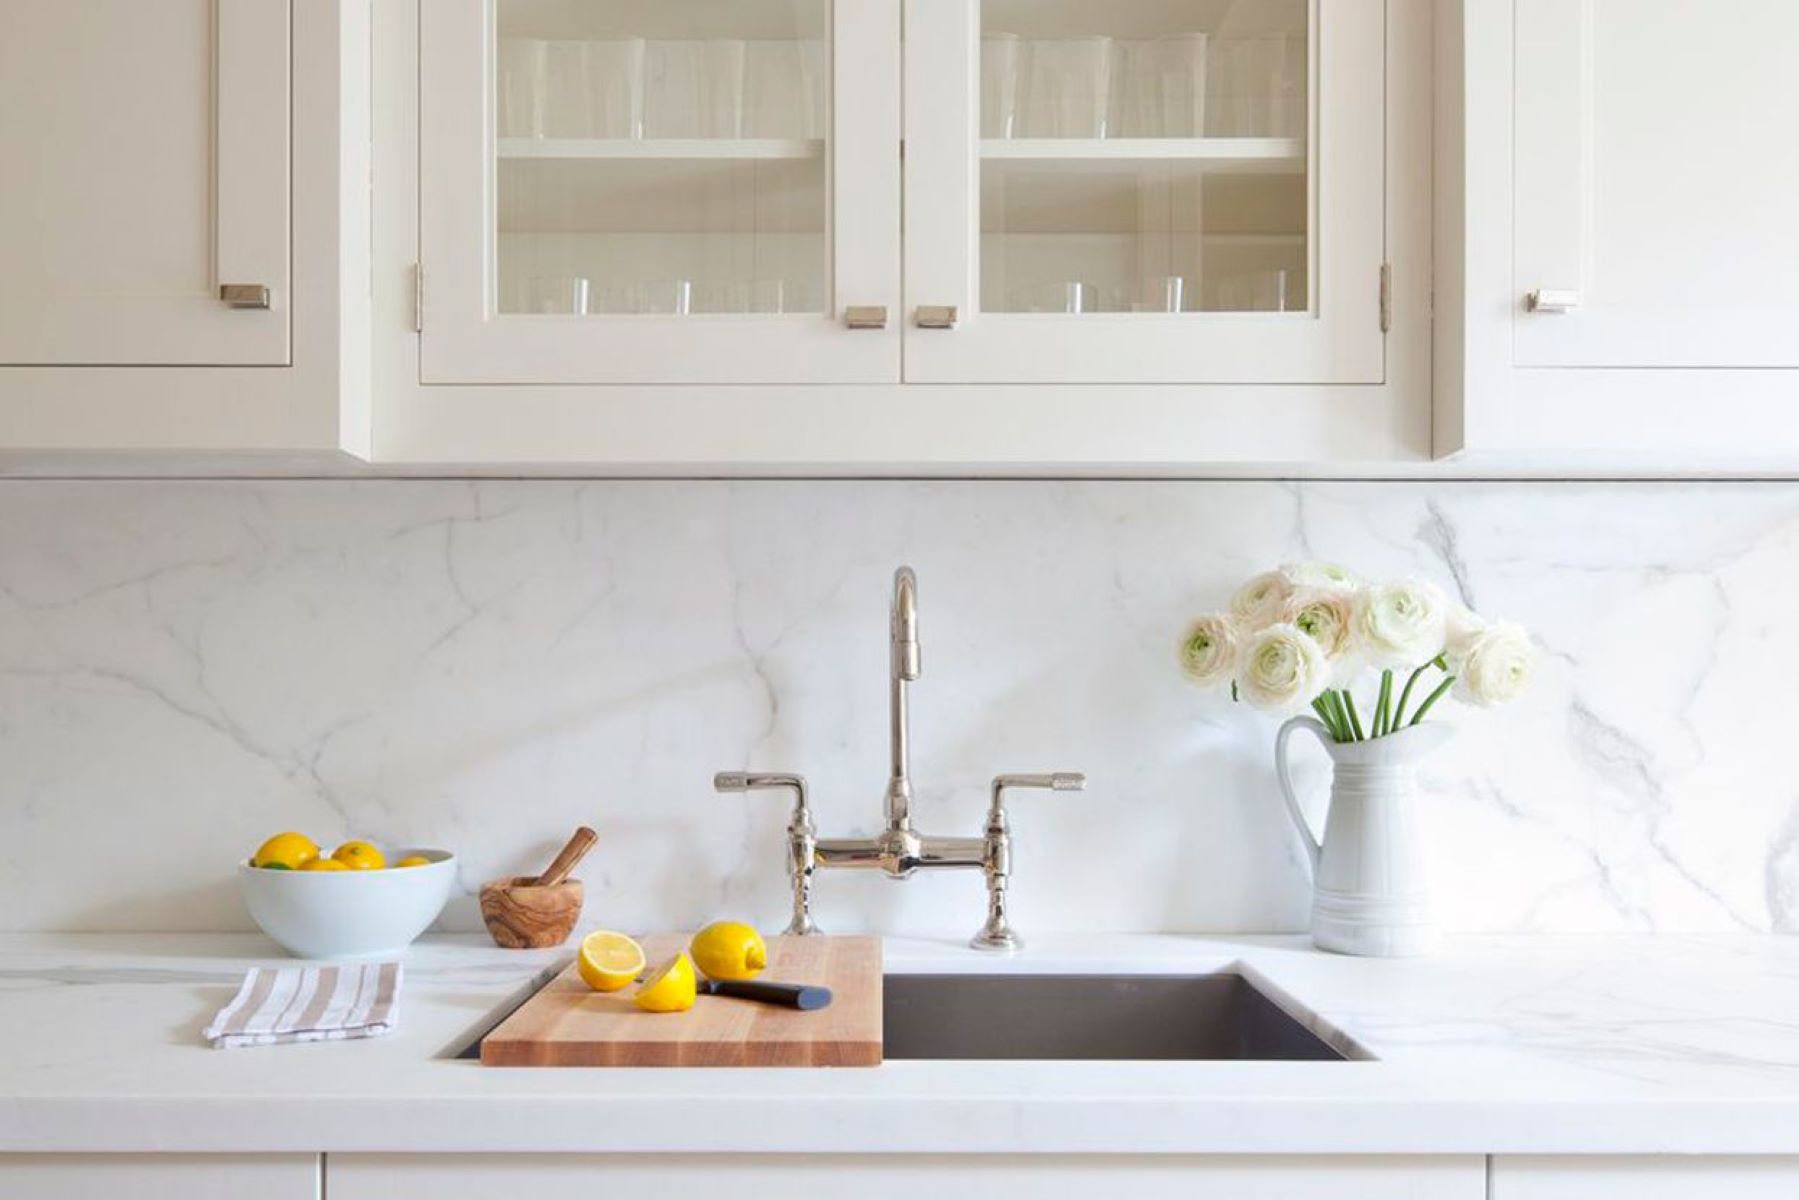
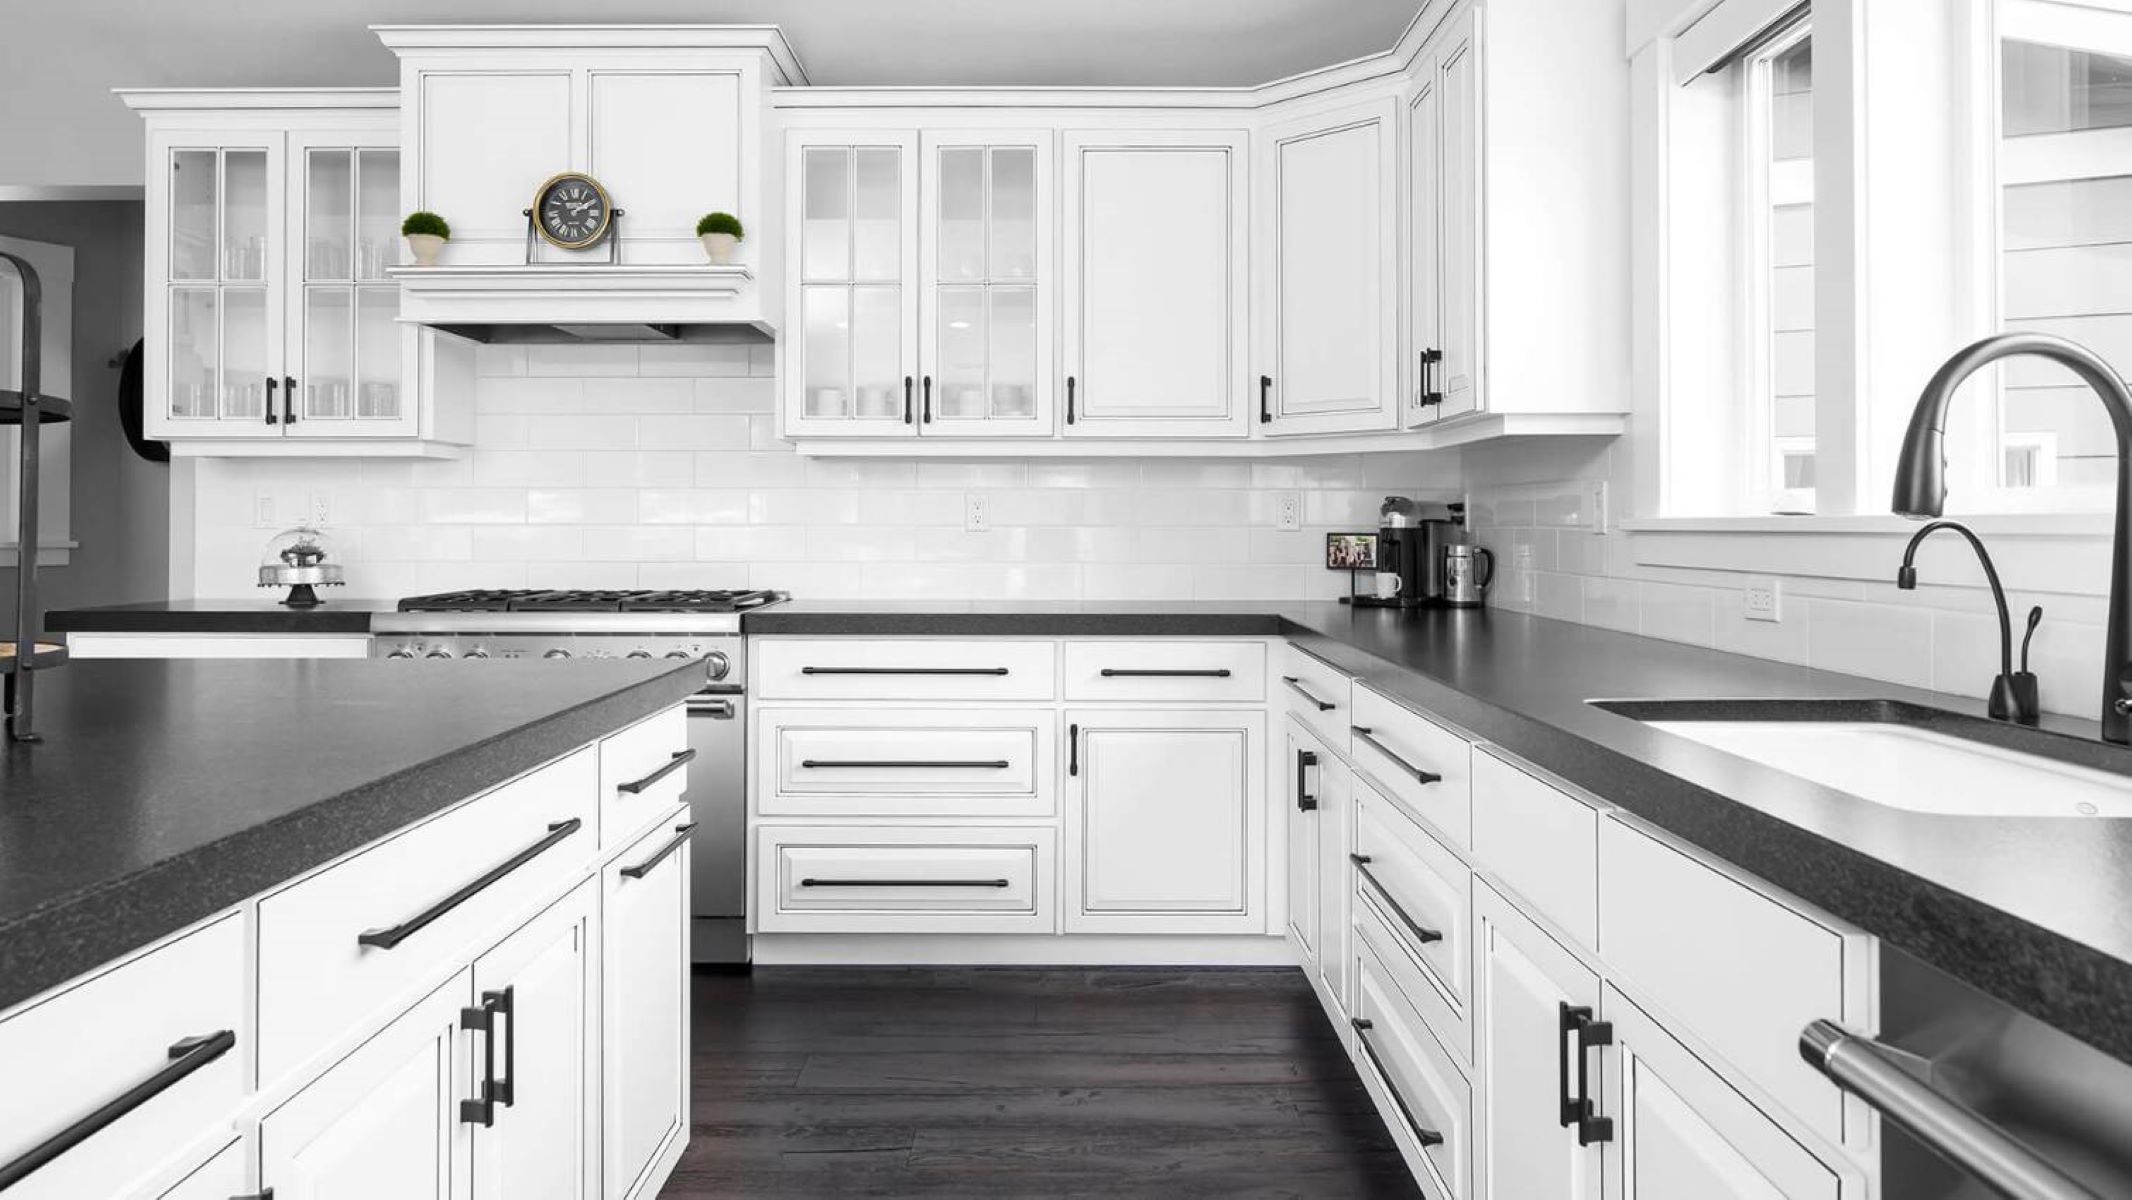
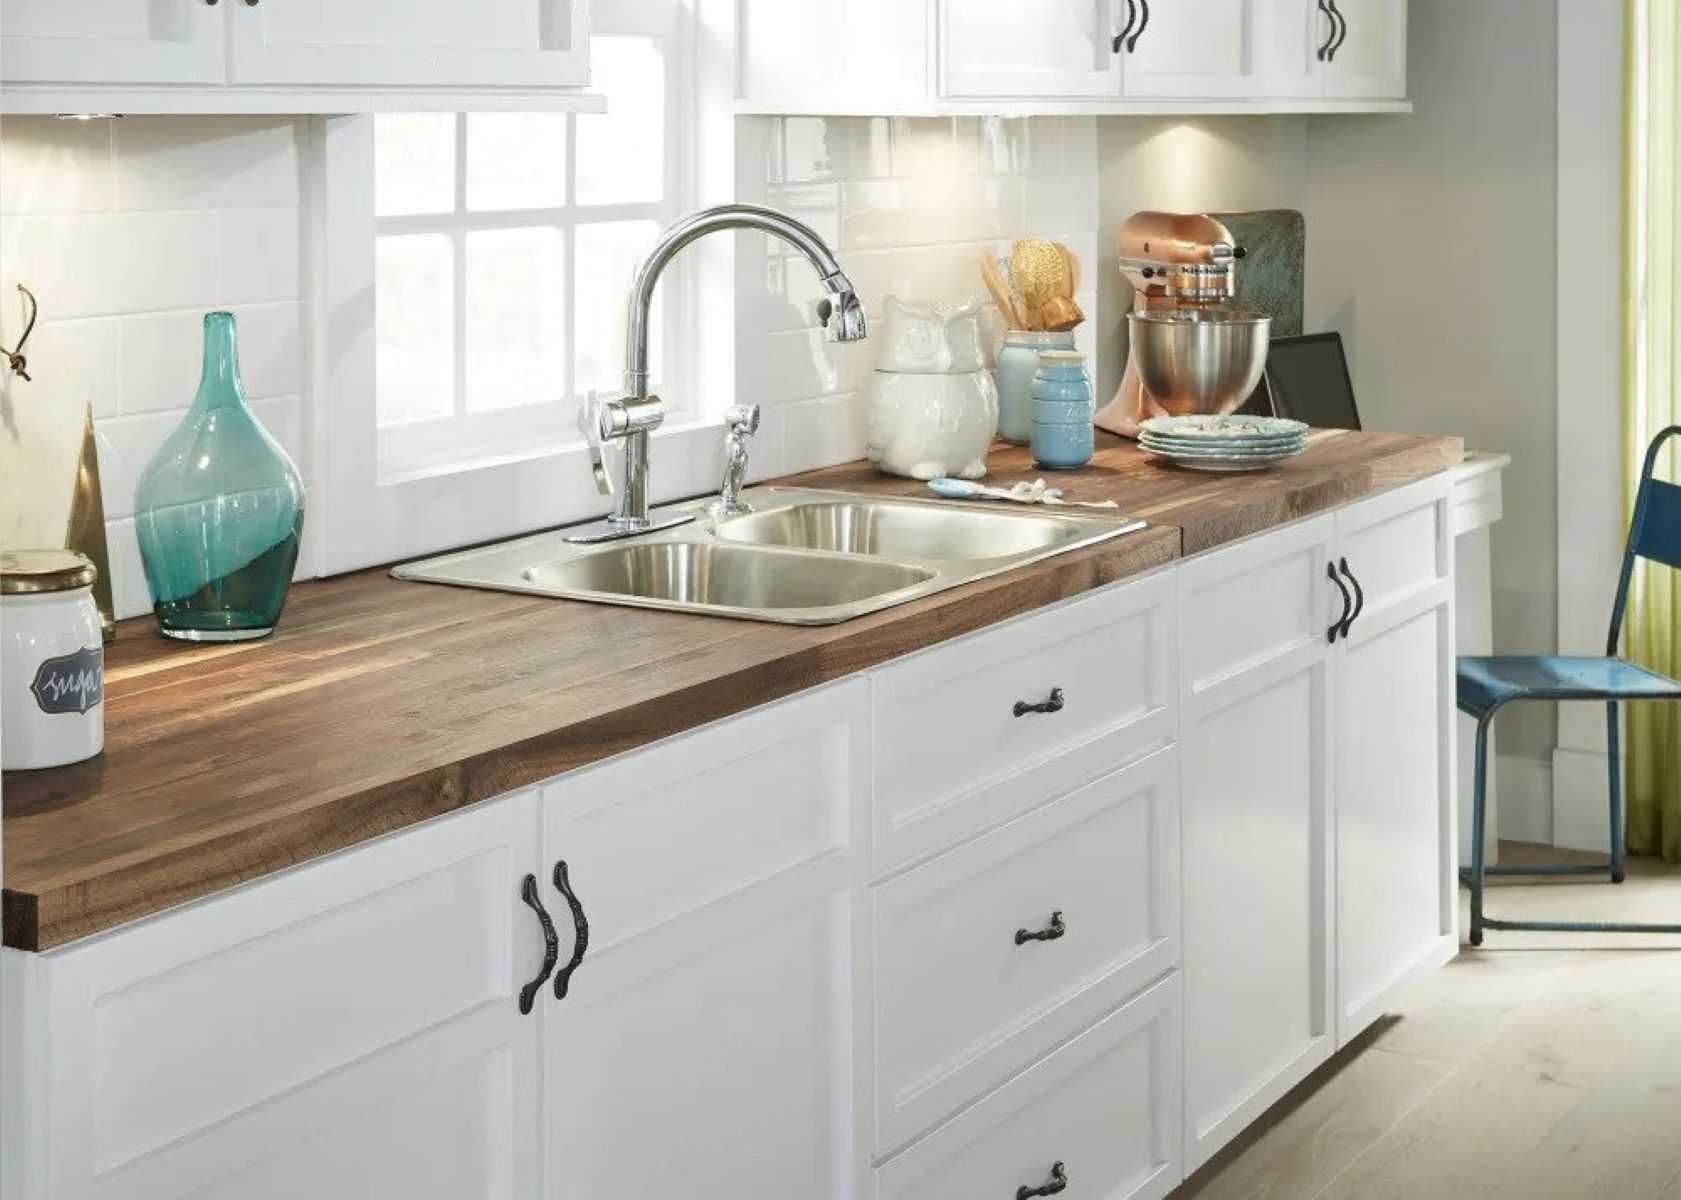
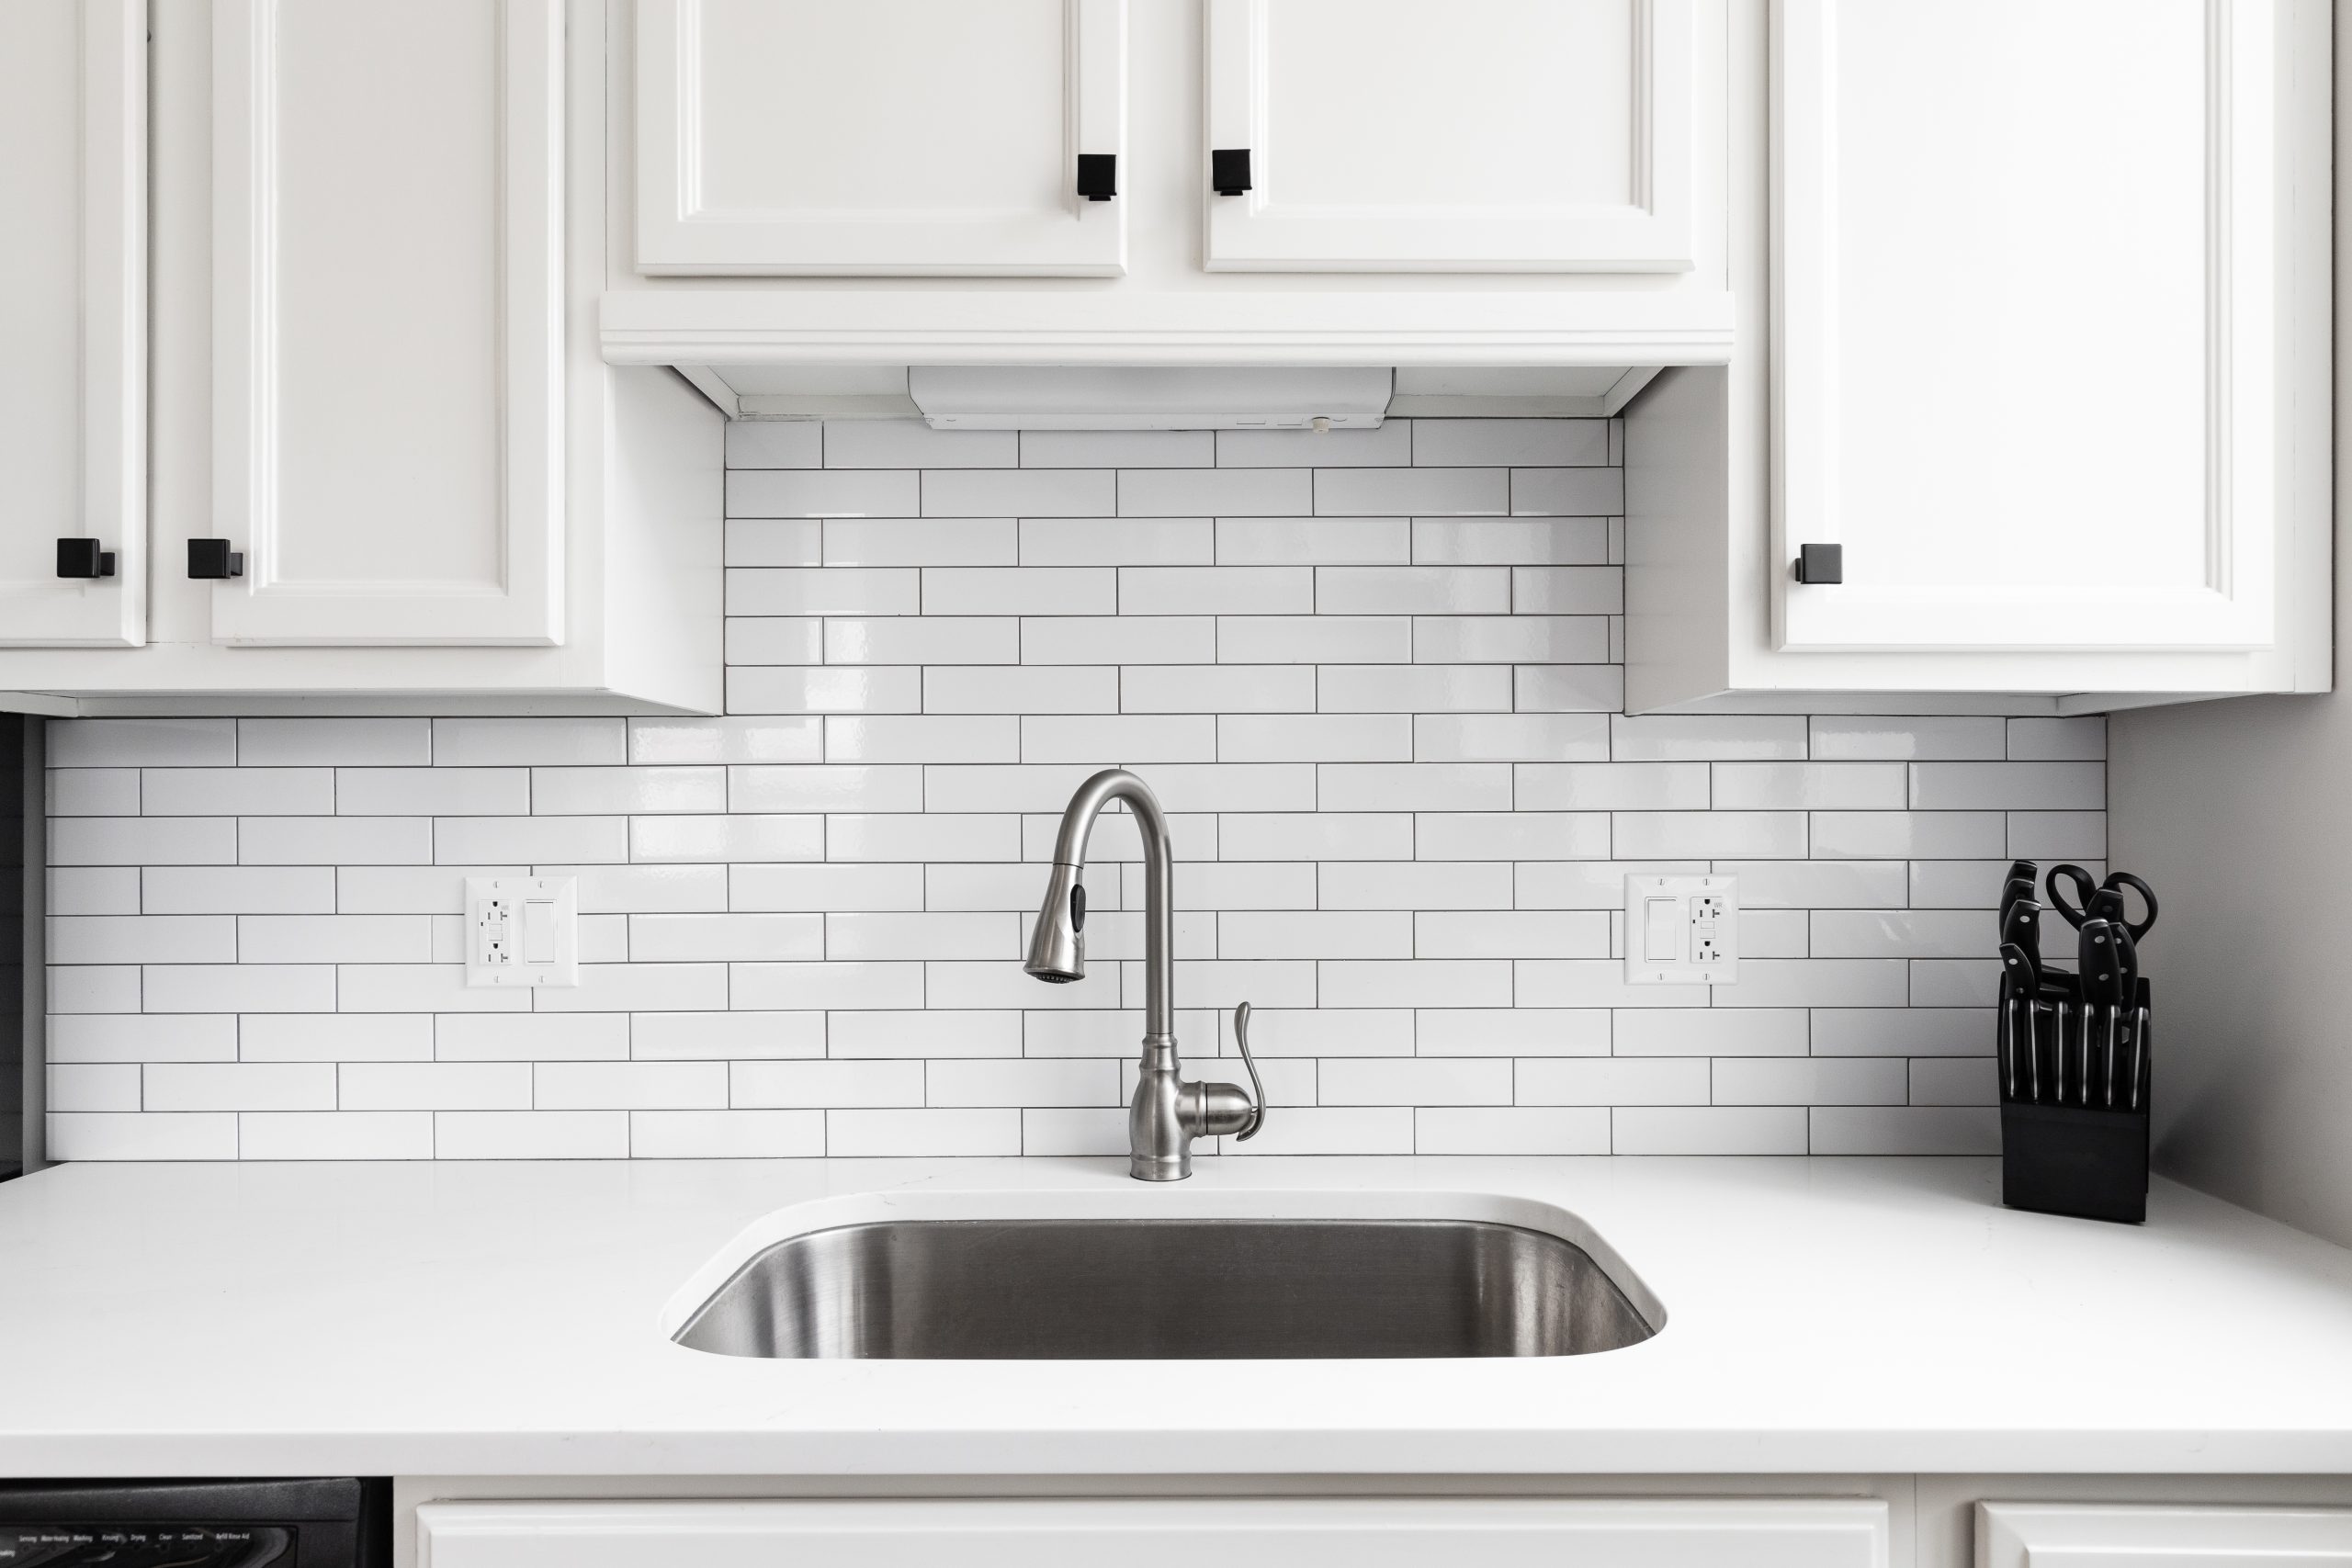
Caulking the countertop and backsplash is a crucial step in maintaining the integrity and aesthetics of your kitchen or bathroom. Over time, gaps and cracks can develop between the countertop and backsplash, leading to potential water damage and a less polished appearance. By learning how to properly caulk these areas, you can prevent water seepage, mold growth, and structural issues while enhancing the overall look of your space.
Proper caulking not only serves a functional purpose but also adds a professional touch to your home renovation project. Whether you're a seasoned DIY enthusiast or a novice homeowner looking to tackle a small improvement task, mastering the art of caulking can significantly elevate the appeal and longevity of your kitchen or bathroom.
In this comprehensive guide, we will walk you through the step-by-step process of caulking your countertop and backsplash, providing valuable insights and practical tips to ensure a successful outcome. From preparing the area and selecting the right tools to applying the caulk and achieving a seamless finish, you'll gain the knowledge and confidence needed to execute this essential home maintenance task with precision.
By the end of this guide, you'll be equipped with the expertise to transform the appearance of your countertop and backsplash while safeguarding them against potential water damage. Let's dive into the world of caulking and discover how this simple yet impactful technique can make a world of difference in your home.
Key Takeaways:
- Mastering the art of caulking your countertop and backsplash not only enhances the look of your kitchen or bathroom but also protects against water damage and mold growth. Follow the steps to achieve a professional and durable seal.
- By learning how to properly caulk your countertop and backsplash, you can prevent water seepage, mold growth, and structural issues while enhancing the overall look of your space. The attention to detail demonstrated throughout the caulking process reflects your commitment to maintaining a polished and well-maintained home environment.
Read more: How To Caulk Bathroom Vanity Backsplash
Tools and materials needed
Before embarking on the caulking process, it's essential to gather the necessary tools and materials to ensure a smooth and efficient application. Here's a comprehensive list of items you'll need:
Tools:
- Caulking gun: This essential tool allows for precise application of the caulk, ensuring even distribution along the countertop and backsplash edges.
- Utility knife: A sharp utility knife is indispensable for cutting the caulk tube tip at the appropriate angle, enabling controlled dispensing of the caulk.
- Painter's tape: Use painter's tape to mask off the areas adjacent to the countertop and backsplash, protecting them from accidental smudges or excess caulk.
- Caulk finishing tool: This tool aids in achieving a smooth and professional finish, ensuring that the caulk adheres seamlessly to the edges without any unevenness.
- Damp cloth: Keep a damp cloth or sponge handy to swiftly wipe away any excess caulk and maintain a tidy workspace.
Materials:
- Caulk: Select a high-quality, waterproof caulk suitable for the specific material of your countertop and backsplash, such as silicone or acrylic latex. Consider the color of the caulk to ensure it complements the existing decor.
- Rubbing alcohol: Use rubbing alcohol to clean the surfaces where the caulk will be applied, ensuring optimal adhesion and a durable seal.
- Gloves: Wearing gloves protects your hands from the caulk and facilitates easier cleanup once the caulking process is complete.
- Drop cloth or newspaper: Lay down a drop cloth or spread out newspaper to protect the surrounding area from any accidental spills or drips during the caulking process.
- Ventilation: Ensure proper ventilation in the workspace by opening windows or using a fan to disperse any fumes emitted by the caulk.
By assembling these tools and materials, you'll be well-prepared to execute the caulking process with precision and efficiency, setting the stage for a successful transformation of your countertop and backsplash. With the right equipment at your disposal, you can approach the next steps of preparing the area and applying the caulk with confidence and ease.
Preparing the area
Before diving into the caulking process, thorough preparation of the area is crucial to ensure a seamless and long-lasting result. Follow these steps to effectively prepare the countertop and backsplash for caulking:
-
Clean the surfaces: Begin by thoroughly cleaning the countertop and backsplash to remove any dirt, grease, or residue that could hinder the adhesion of the caulk. Use a mild detergent or a specialized surface cleaner to eliminate any buildup, ensuring a clean and smooth foundation for the caulk.
-
Remove old caulk: If there is existing caulk between the countertop and backsplash, it's essential to remove it completely before applying new caulk. Utilize a utility knife or a caulk removal tool to carefully scrape away the old caulk, ensuring that the surfaces are free of any remnants or debris.
-
Dry the area: After cleaning the surfaces and removing old caulk, allow the countertop and backsplash to dry completely. Moisture can compromise the effectiveness of the caulk, so it's important to ensure that the area is thoroughly dry before proceeding with the application.
-
Mask off the edges: Use painter's tape to mask off the edges of the countertop and backsplash, creating clean lines and preventing any accidental smudges or excess caulk from marring adjacent surfaces. This step helps to maintain a neat and precise caulking process.
-
Apply rubbing alcohol: Prior to applying the new caulk, use rubbing alcohol and a clean cloth to wipe down the edges where the caulk will be placed. This step removes any remaining residue and ensures optimal adhesion for the new caulk, promoting a strong and durable seal.
By diligently preparing the area in this manner, you set the stage for a successful caulking process. The clean and dry surfaces, coupled with the meticulous masking and alcohol application, create an ideal environment for the caulk to adhere effectively and provide a seamless finish. With the area properly prepared, you're now ready to proceed with the next crucial step: applying the caulk.
Read more: What Type Of Caulk To Use For Backsplash
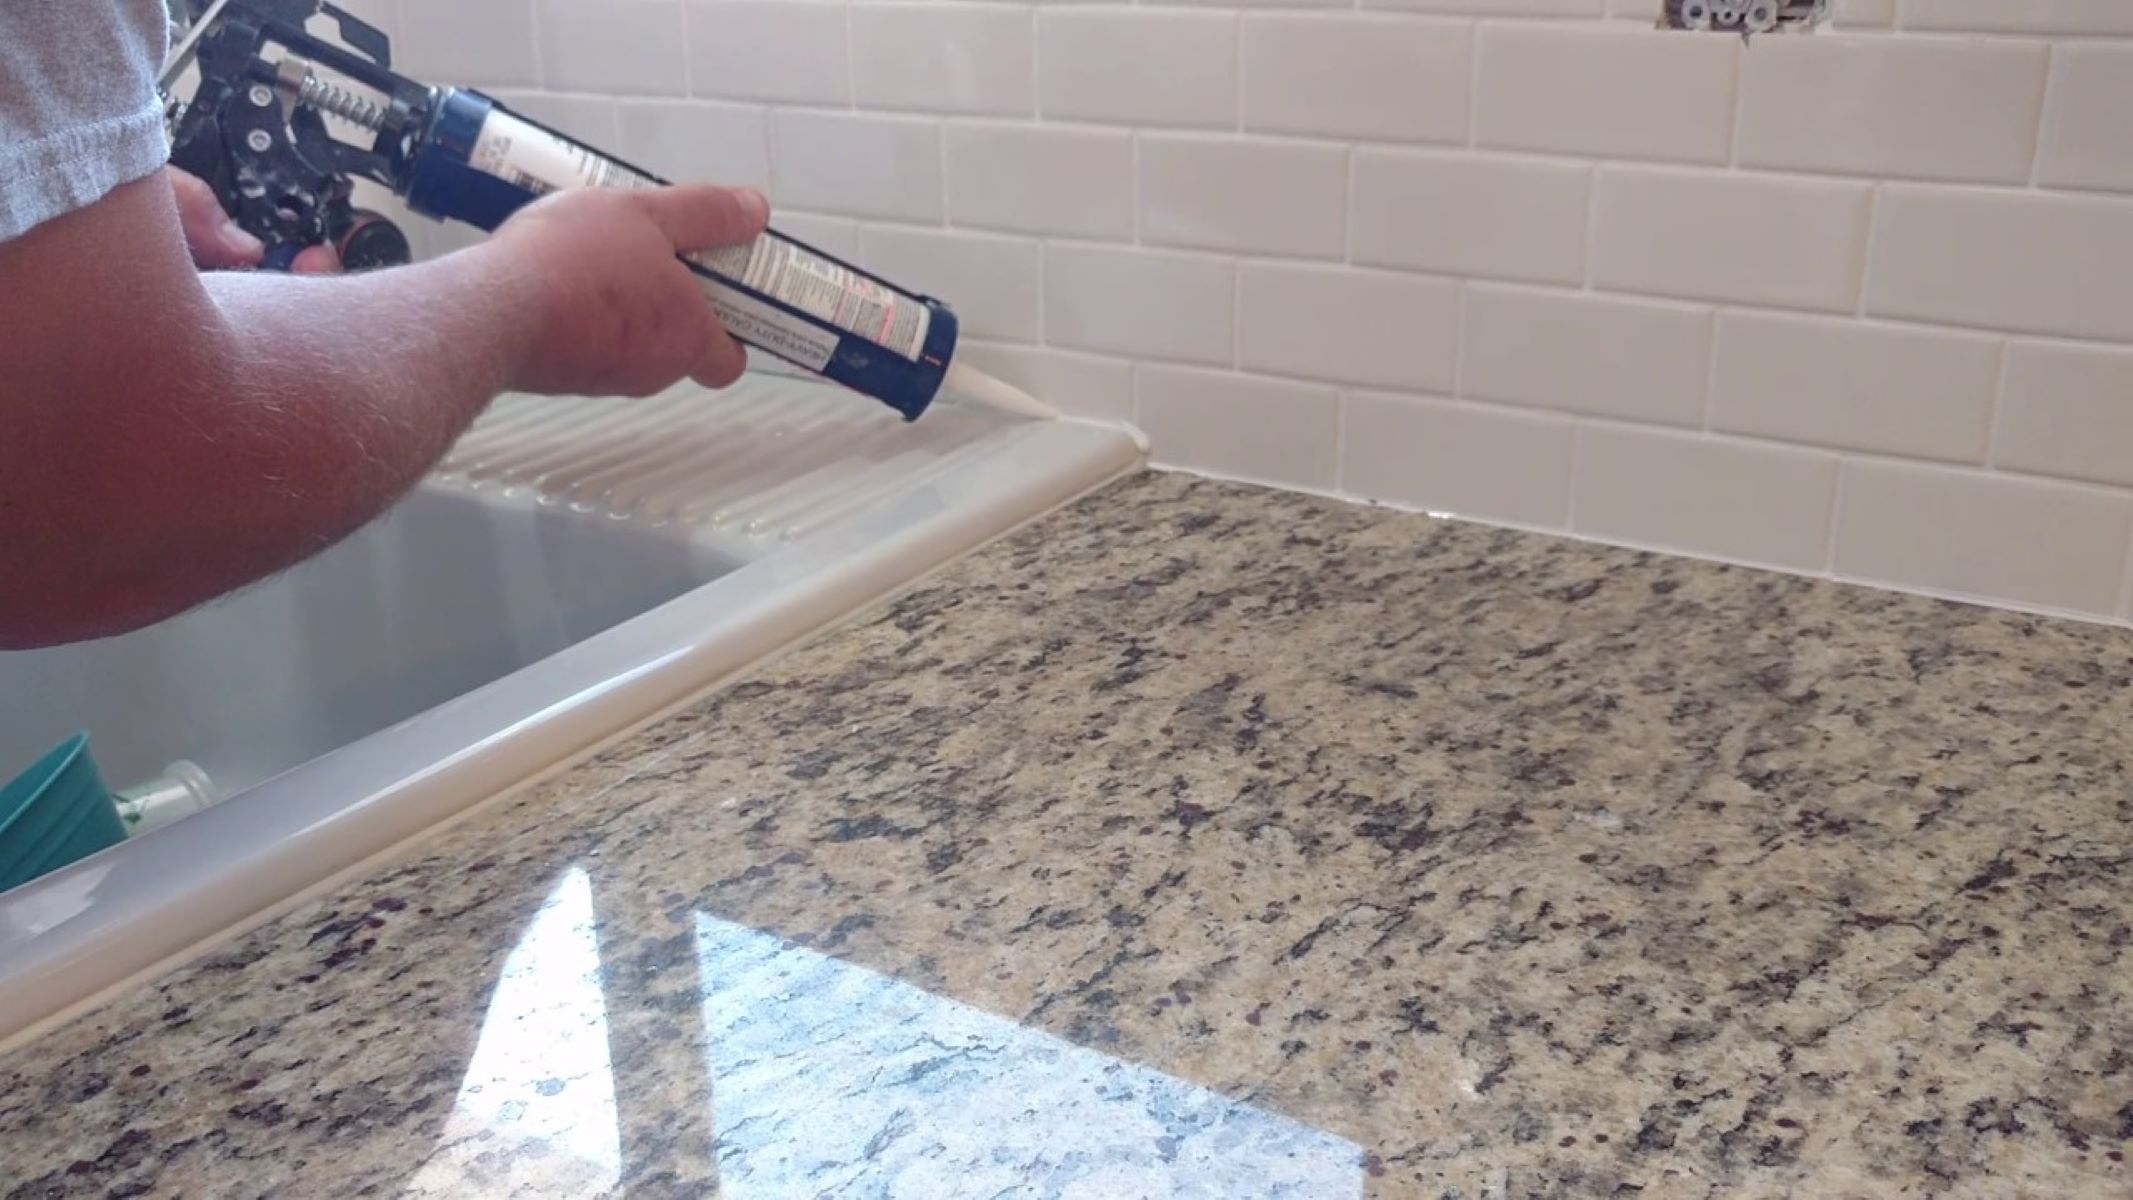
Applying the caulk
With the area meticulously prepared, it's time to delve into the pivotal step of applying the caulk to the countertop and backsplash. This process demands precision and a steady hand to ensure a seamless and durable seal. Follow these steps to execute the application with expertise and finesse:
-
Load the caulk gun: Begin by loading the caulk tube into the caulk gun, ensuring a secure fit. Use a utility knife to cut the tip of the caulk tube at a 45-degree angle, allowing for controlled dispensing of the caulk. The size of the opening should align with the width of the gap between the countertop and backsplash.
-
Apply the caulk: Gently squeeze the trigger of the caulk gun to dispense a steady bead of caulk along the edge where the countertop and backsplash meet. Maintain a consistent pressure to achieve an even application, ensuring that the caulk fills the entire gap without gaps or breaks.
-
Smooth the caulk: Once the caulk is applied, use a caulk finishing tool or a damp finger to smooth and shape the bead of caulk. This step helps to create a uniform seal and remove any excess caulk, resulting in a clean and professional finish.
-
Work in sections: It's advisable to work in small sections, applying the caulk and smoothing it before moving on to the next segment. This approach prevents the caulk from drying out before it can be properly shaped, ensuring a cohesive and polished result.
-
Maintain a steady pace: While applying the caulk, maintain a steady pace to achieve consistent pressure and control. This approach minimizes the risk of uneven application and allows for precise shaping of the caulk bead.
-
Check for gaps: After applying the caulk, inspect the entire length of the seam between the countertop and backsplash to ensure that the caulk has filled any gaps or voids. Address any areas that require additional caulk to guarantee a thorough and effective seal.
By following these steps and exercising patience and attention to detail, you can successfully apply the caulk to the countertop and backsplash, creating a durable and visually appealing seal. The meticulous application sets the stage for the next crucial phase: smoothing and finishing the caulk to achieve a flawless result.
Smoothing and finishing
After applying the caulk along the seam between the countertop and backsplash, the next critical step involves smoothing and finishing the caulk to achieve a seamless and professional appearance. This phase requires attention to detail and a methodical approach to ensure that the caulk adheres uniformly and enhances the overall aesthetic of the space.
To effectively smooth and finish the caulk, follow these essential steps:
-
Use a Caulk Finishing Tool: Employ a caulk finishing tool with a curved edge to glide along the freshly applied caulk. This tool helps to shape the caulk bead and create a smooth, concave surface, ensuring a tidy and polished finish. The curved edge of the tool conforms to the contours of the seam, allowing for precise shaping without causing damage to the surrounding surfaces.
-
Dampen Your Finger: If a caulk finishing tool is unavailable, dampen your finger with water or a small amount of rubbing alcohol. Gently run your damp finger along the caulk bead, smoothing it out and shaping it to achieve a clean and uniform appearance. The moisture helps prevent the caulk from sticking to your finger, facilitating a smoother finish.
-
Remove Excess Caulk: As you smooth the caulk, be mindful of any excess material that may accumulate. Use a damp cloth or sponge to carefully wipe away any surplus caulk, maintaining a neat and tidy workspace. Pay close attention to achieving a consistent and even surface along the entire length of the seam.
-
Inspect the Finish: After smoothing the caulk, take a step back and inspect the finished result. Ensure that the caulk adheres seamlessly to the edges of the countertop and backsplash, with no visible gaps or irregularities. Address any areas that require additional smoothing or touch-ups to achieve a flawless and professional finish.
-
Allow for Proper Drying: Once the caulk is smoothed and shaped to your satisfaction, allow it to dry according to the manufacturer's recommendations. Avoid disturbing the caulk during the drying process to preserve the integrity of the seal and prevent any disruptions to the finished appearance.
By meticulously following these steps, you can effectively smooth and finish the caulk, elevating the visual appeal of the countertop and backsplash while ensuring a durable and watertight seal. The seamless integration of the caulk enhances the overall aesthetics of the space, contributing to a polished and professional finish that reflects your attention to detail and commitment to quality craftsmanship.
Make sure to clean the area thoroughly before applying the caulk to ensure a strong bond. Use a caulk gun for even application and smooth the caulk with a damp cloth for a professional finish.
Cleaning up
Once the caulking process is complete, it's essential to focus on the cleanup phase to ensure a pristine and tidy result. Cleaning up after caulking not only enhances the overall appearance of the countertop and backsplash but also contributes to a safe and organized workspace. Follow these essential steps to effectively clean up after caulking:
-
Remove Painter's Tape: Carefully peel away the painter's tape that was used to mask off the edges of the countertop and backsplash. Pull the tape at a gentle angle to prevent any accidental smudging or disruption to the freshly applied caulk.
-
Dispose of Excess Caulk: Properly dispose of any excess caulk that may have accumulated during the application and smoothing process. Use a damp cloth or paper towel to gather and discard the surplus caulk, ensuring that the surrounding area remains clean and free of debris.
-
Clean Caulking Tools: Thoroughly clean the caulking gun, caulk finishing tool, and any other implements used during the caulking process. Wipe away any residual caulk and ensure that the tools are ready for future use by storing them in a clean and organized manner.
-
Wipe Down Surfaces: Use a damp cloth or sponge to wipe down the countertop and backsplash, removing any stray caulk or residue that may have inadvertently spread during the application. This step helps to maintain a polished and immaculate appearance, showcasing the precision and care invested in the caulking process.
-
Inspect the Area: Take a moment to inspect the entire countertop and backsplash, ensuring that the cleanup is thorough and that no remnants of caulk or debris remain. Address any lingering imperfections or blemishes to achieve a flawless and professional result.
-
Dispose of Waste: Properly dispose of used painter's tape, paper towels, and any other disposable materials employed during the caulking and cleanup process. Dispose of these items in accordance with local waste disposal guidelines to maintain a clean and environmentally responsible workspace.
By diligently completing the cleanup process, you can elevate the overall presentation of the countertop and backsplash while fostering a sense of accomplishment and pride in a job well done. The meticulous attention to detail during the cleanup phase reflects a commitment to excellence and sets the stage for showcasing the newly caulked surfaces in all their pristine glory.
Conclusion
Mastering the art of caulking your countertop and backsplash is a valuable skill that not only enhances the visual appeal of your kitchen or bathroom but also safeguards these surfaces against potential water damage and deterioration. By following the comprehensive steps outlined in this guide, you've gained the expertise to execute the caulking process with precision and finesse, achieving a professional result that elevates the overall aesthetics of your space.
From the meticulous preparation of the area to the seamless application and finishing of the caulk, each step contributes to a cohesive and durable seal that enhances the integrity of your countertop and backsplash. The attention to detail demonstrated throughout the caulking process reflects your commitment to maintaining a polished and well-maintained home environment.
By investing the time and effort to master the art of caulking, you've not only improved the visual appeal of your space but also contributed to its long-term durability and resilience. The seamless integration of the caulk ensures that your countertop and backsplash are protected against moisture infiltration, mold growth, and structural issues, providing you with peace of mind and a sense of accomplishment.
As you admire the newly caulked surfaces, take pride in the craftsmanship and care that went into this essential home maintenance task. Your dedication to achieving a flawless and professional finish is evident in the seamless integration of the caulk, creating a cohesive and visually striking transition between the countertop and backsplash.
Moving forward, you can apply the knowledge and skills acquired from this guide to tackle future home improvement projects with confidence and expertise. Whether it's refreshing the caulking around a bathtub, sealing gaps in window frames, or enhancing the appearance of tiled surfaces, your newfound proficiency in caulking empowers you to elevate the quality and aesthetics of your living space.
As you reflect on the transformative impact of caulking your countertop and backsplash, remember that the attention to detail and commitment to excellence showcased in this endeavor are emblematic of your dedication to maintaining a beautiful and functional home. Embrace the satisfaction of a job well done, knowing that your efforts have contributed to the longevity and visual appeal of your living environment.
Frequently Asked Questions about How To Caulk Countertop And Backsplash
Was this page helpful?
At Storables.com, we guarantee accurate and reliable information. Our content, validated by Expert Board Contributors, is crafted following stringent Editorial Policies. We're committed to providing you with well-researched, expert-backed insights for all your informational needs.


0 thoughts on “How To Caulk Countertop And Backsplash”