Home>Articles>How To Replace An Electrical Cord On A Bissell Rug Cleaner

Articles
How To Replace An Electrical Cord On A Bissell Rug Cleaner
Modified: August 24, 2024
Learn how to easily replace the electrical cord on a Bissell rug cleaner with step-by-step instructions in this informative article.
(Many of the links in this article redirect to a specific reviewed product. Your purchase of these products through affiliate links helps to generate commission for Storables.com, at no extra cost. Learn more)
Introduction
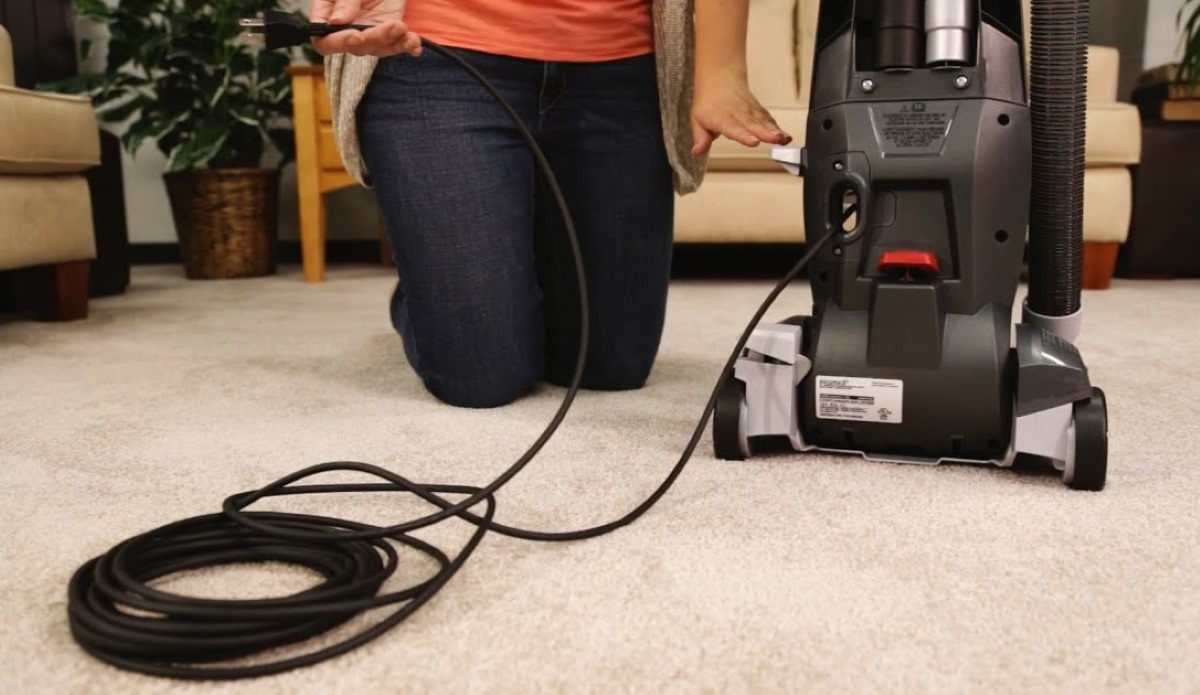
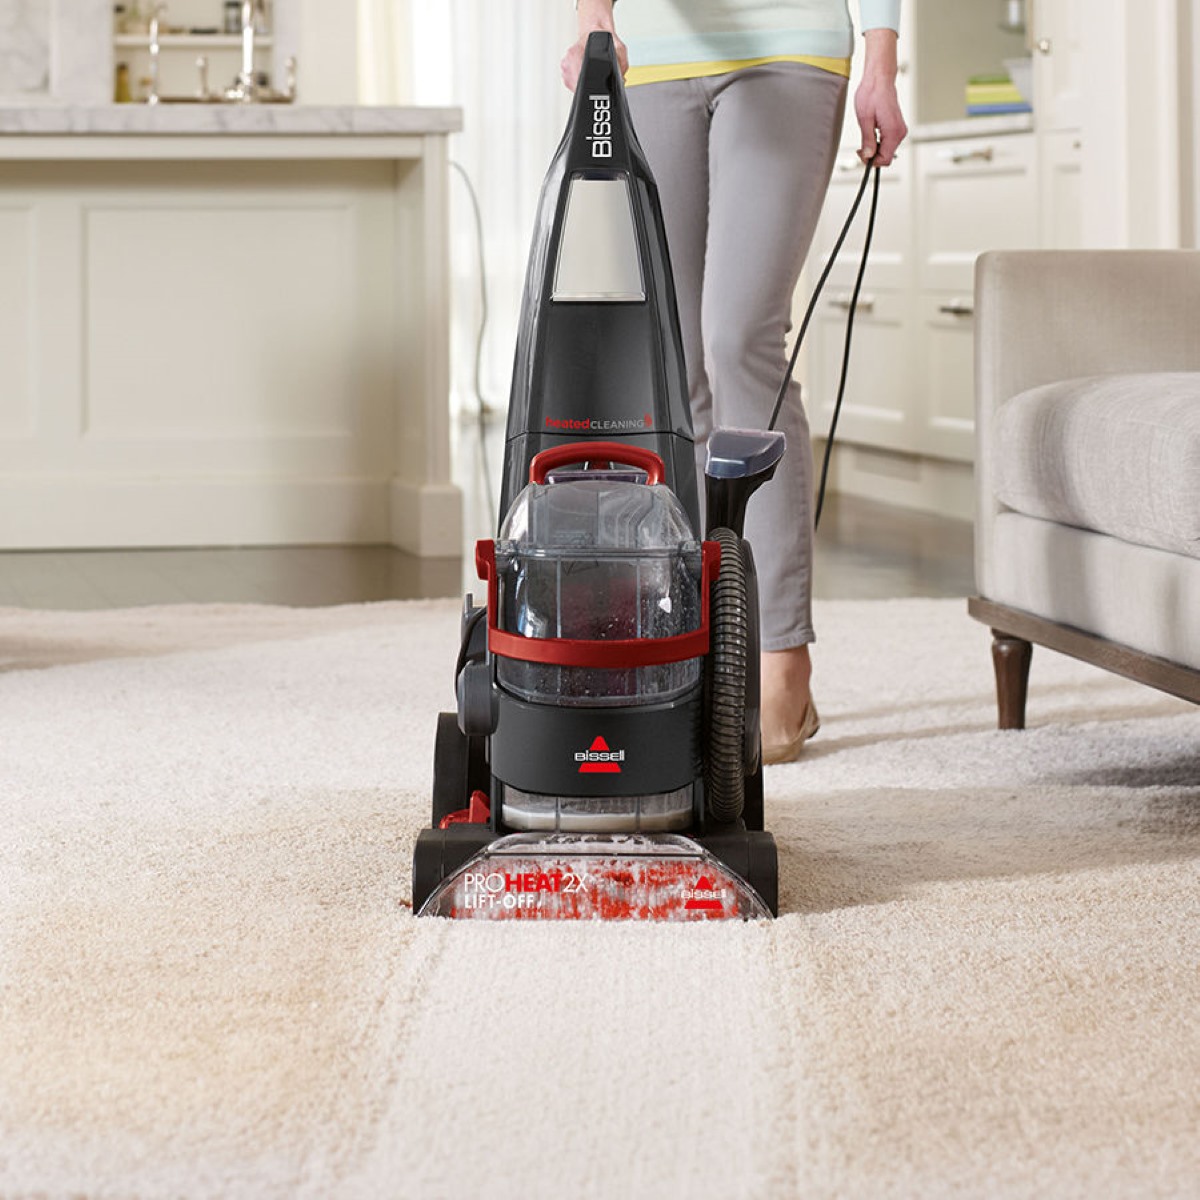
The Bissell Rug Cleaner is a popular and reliable appliance used to keep our carpets clean and fresh. However, over time, the electrical cord of the Bissell Rug Cleaner may become damaged or frayed, resulting in a safety hazard and hindering its functionality. In such cases, it is essential to replace the electrical cord to ensure the proper functioning and longevity of the appliance.
In this comprehensive guide, we will walk you through the step-by-step process of replacing the electrical cord on a Bissell Rug Cleaner. By following these instructions and with a few basic tools, you can easily replace the cord and restore your appliance to its optimal performance without the need for professional help.
Before we dive into the details, it is important to emphasize the significance of safety precautions when working with electrical appliances. Always make sure to unplug the Bissell Rug Cleaner before starting the cord replacement process and take necessary measures to avoid electric shocks or accidents.
Now, let’s gather the necessary tools and materials before we begin the cord replacement process.
Key Takeaways:
- Safety First!
When replacing the electrical cord on your Bissell Rug Cleaner, always prioritize safety by unplugging the appliance and following the manufacturer’s instructions. Gather the necessary tools and materials to ensure a smooth and secure process. - Test and Confirm
After installing the new electrical cord, thoroughly test the Bissell Rug Cleaner to ensure proper functionality. Check for smooth operation and consistent power before considering the cord replacement process complete.
Read more: How To Replace Electrical Cord
Step 1: Gather Necessary Tools and Materials
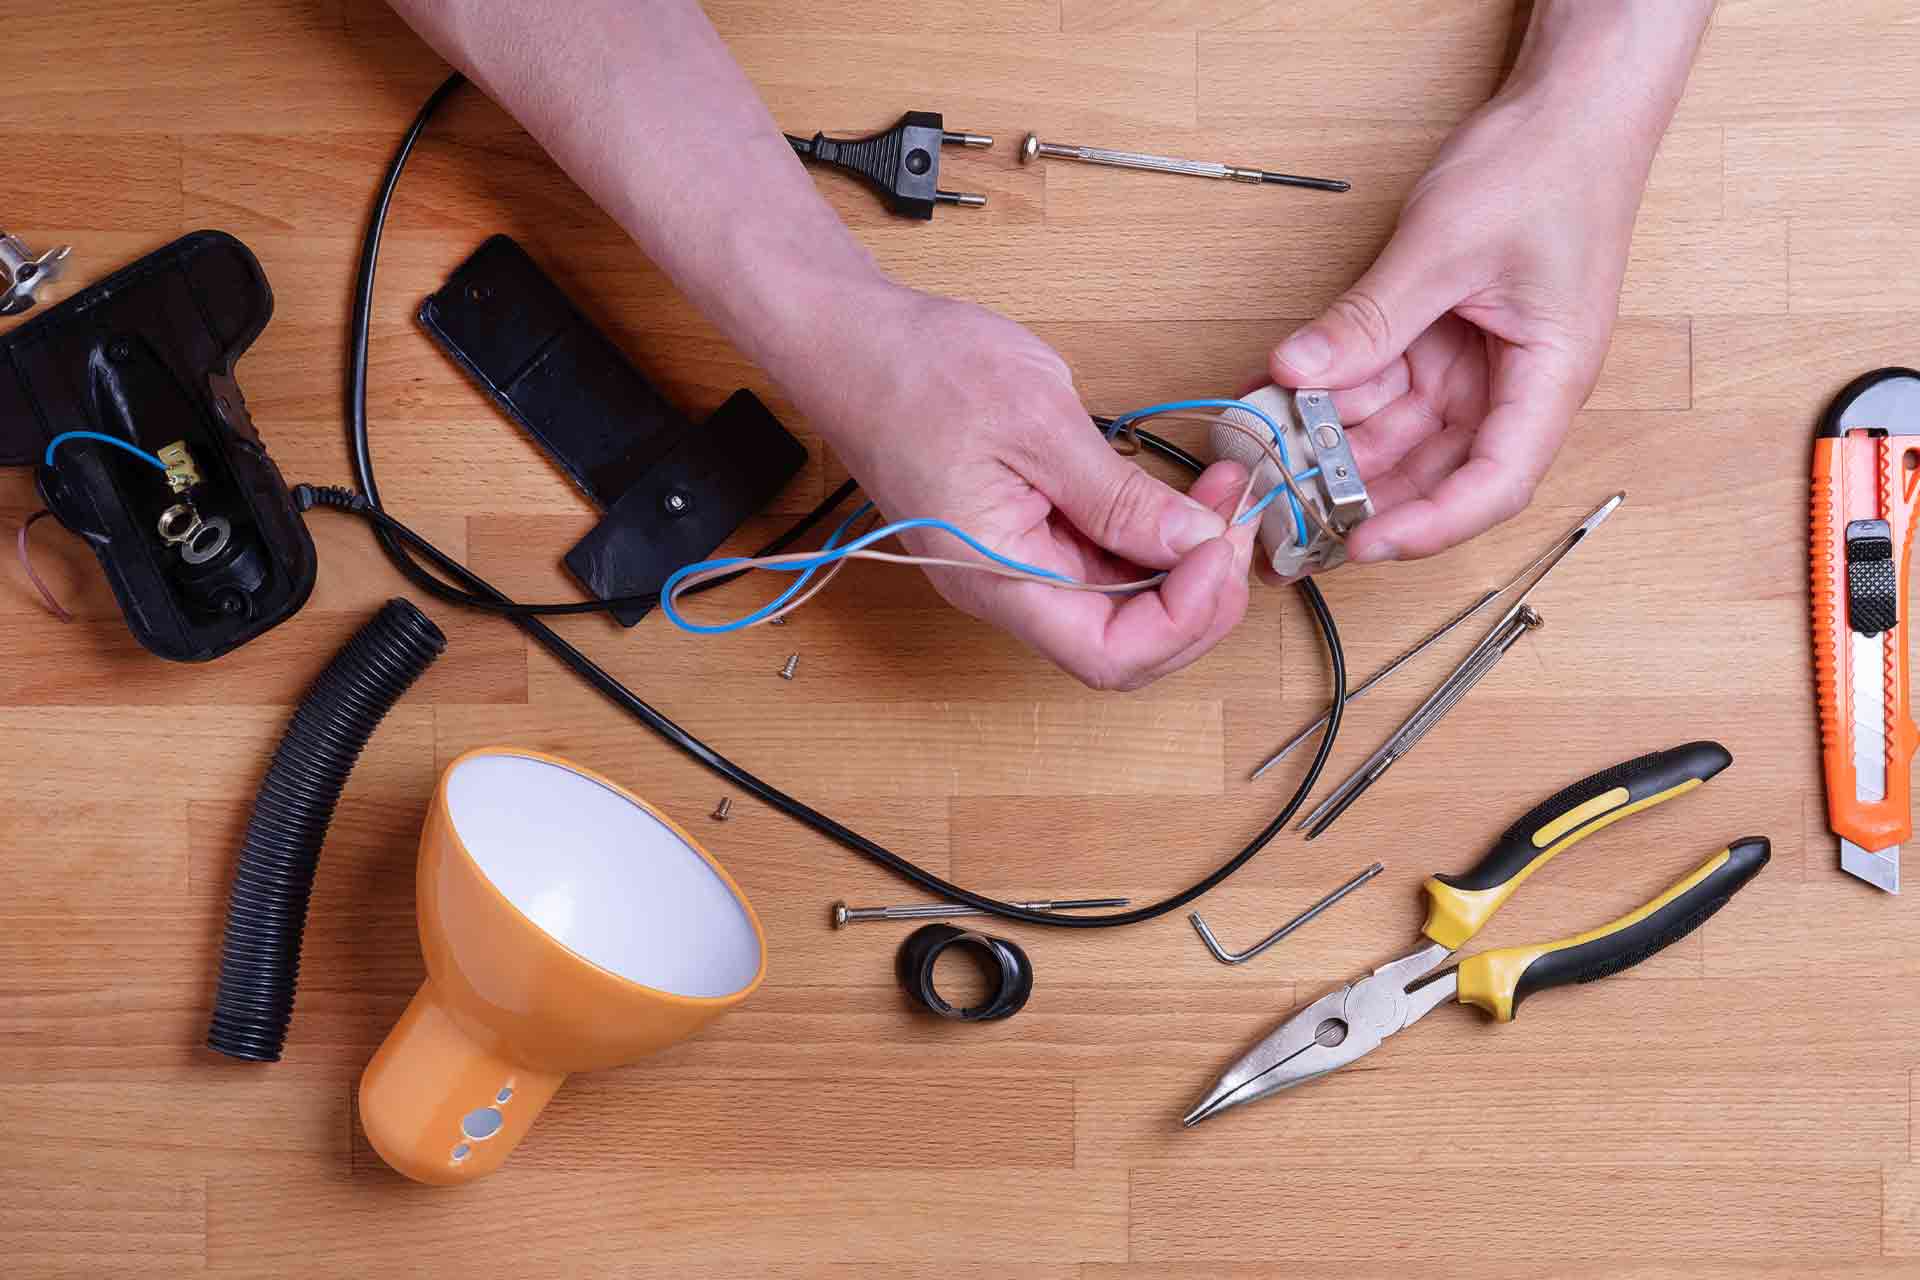
Before you start replacing the electrical cord on your Bissell Rug Cleaner, it’s important to gather all the necessary tools and materials. This will ensure that you have everything you need at hand, saving you time and allowing for a smooth process. Here are the tools and materials you will need:
- Screwdriver (typically Phillips or flathead, depending on the screws used in your specific model)
- Wire cutters
- Wire strippers
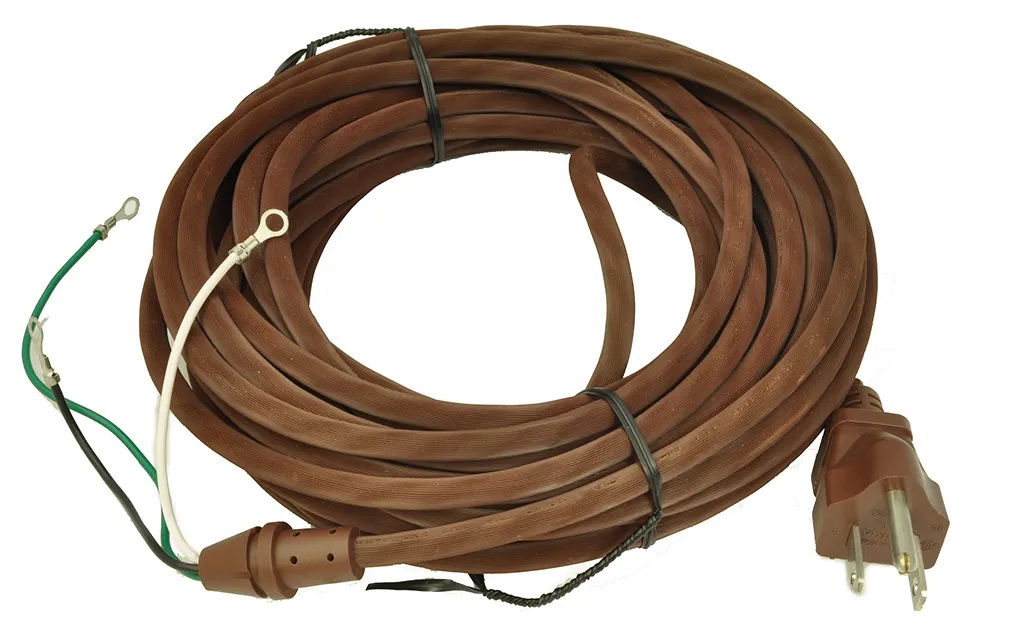
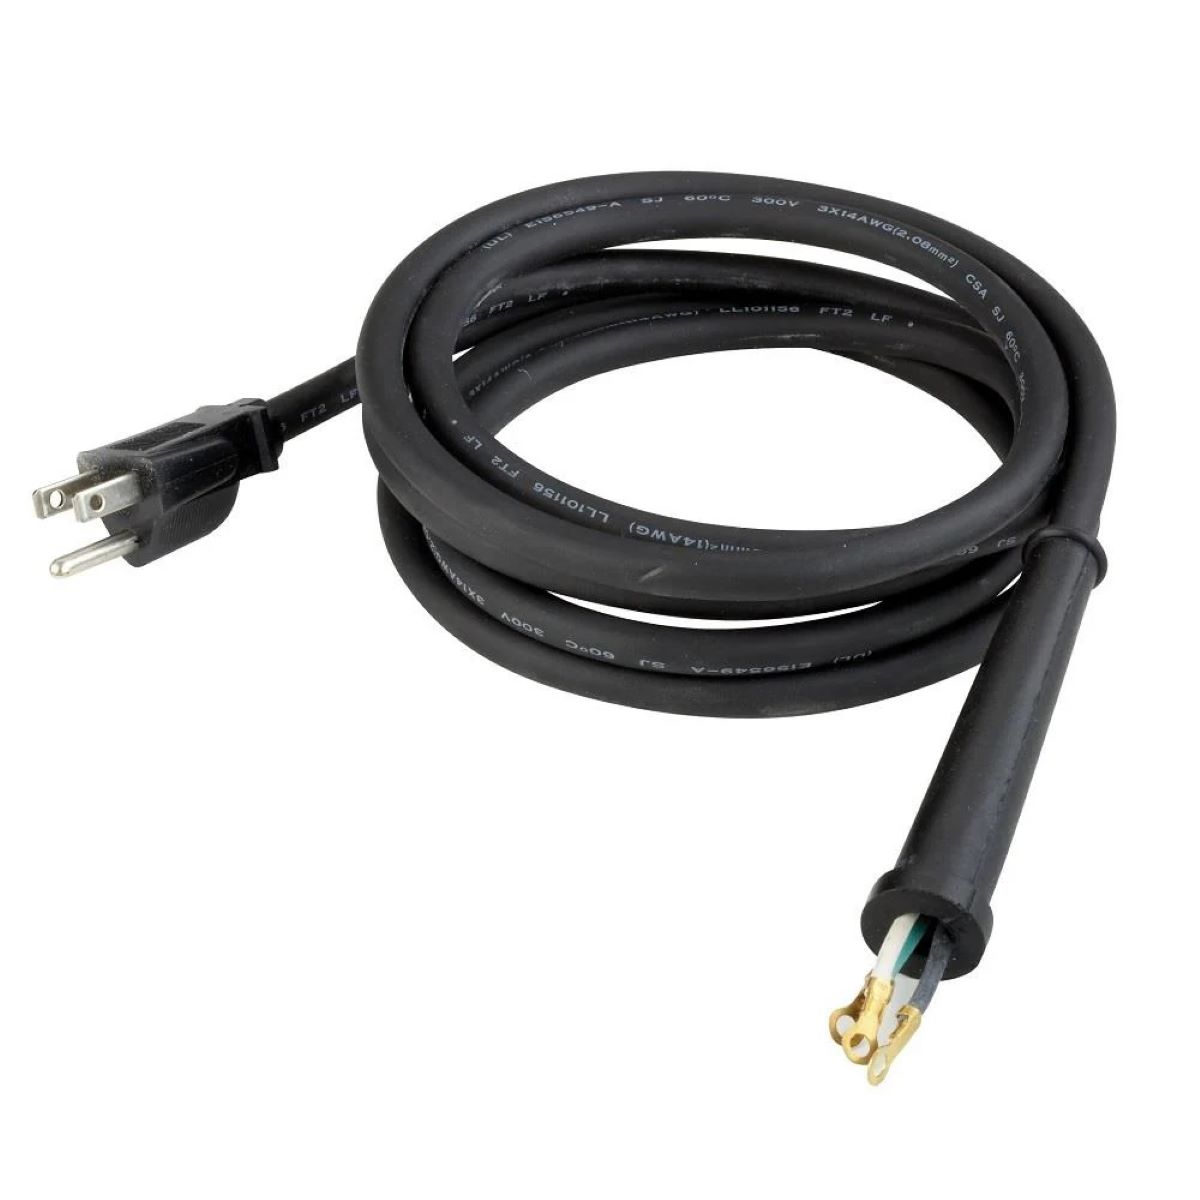
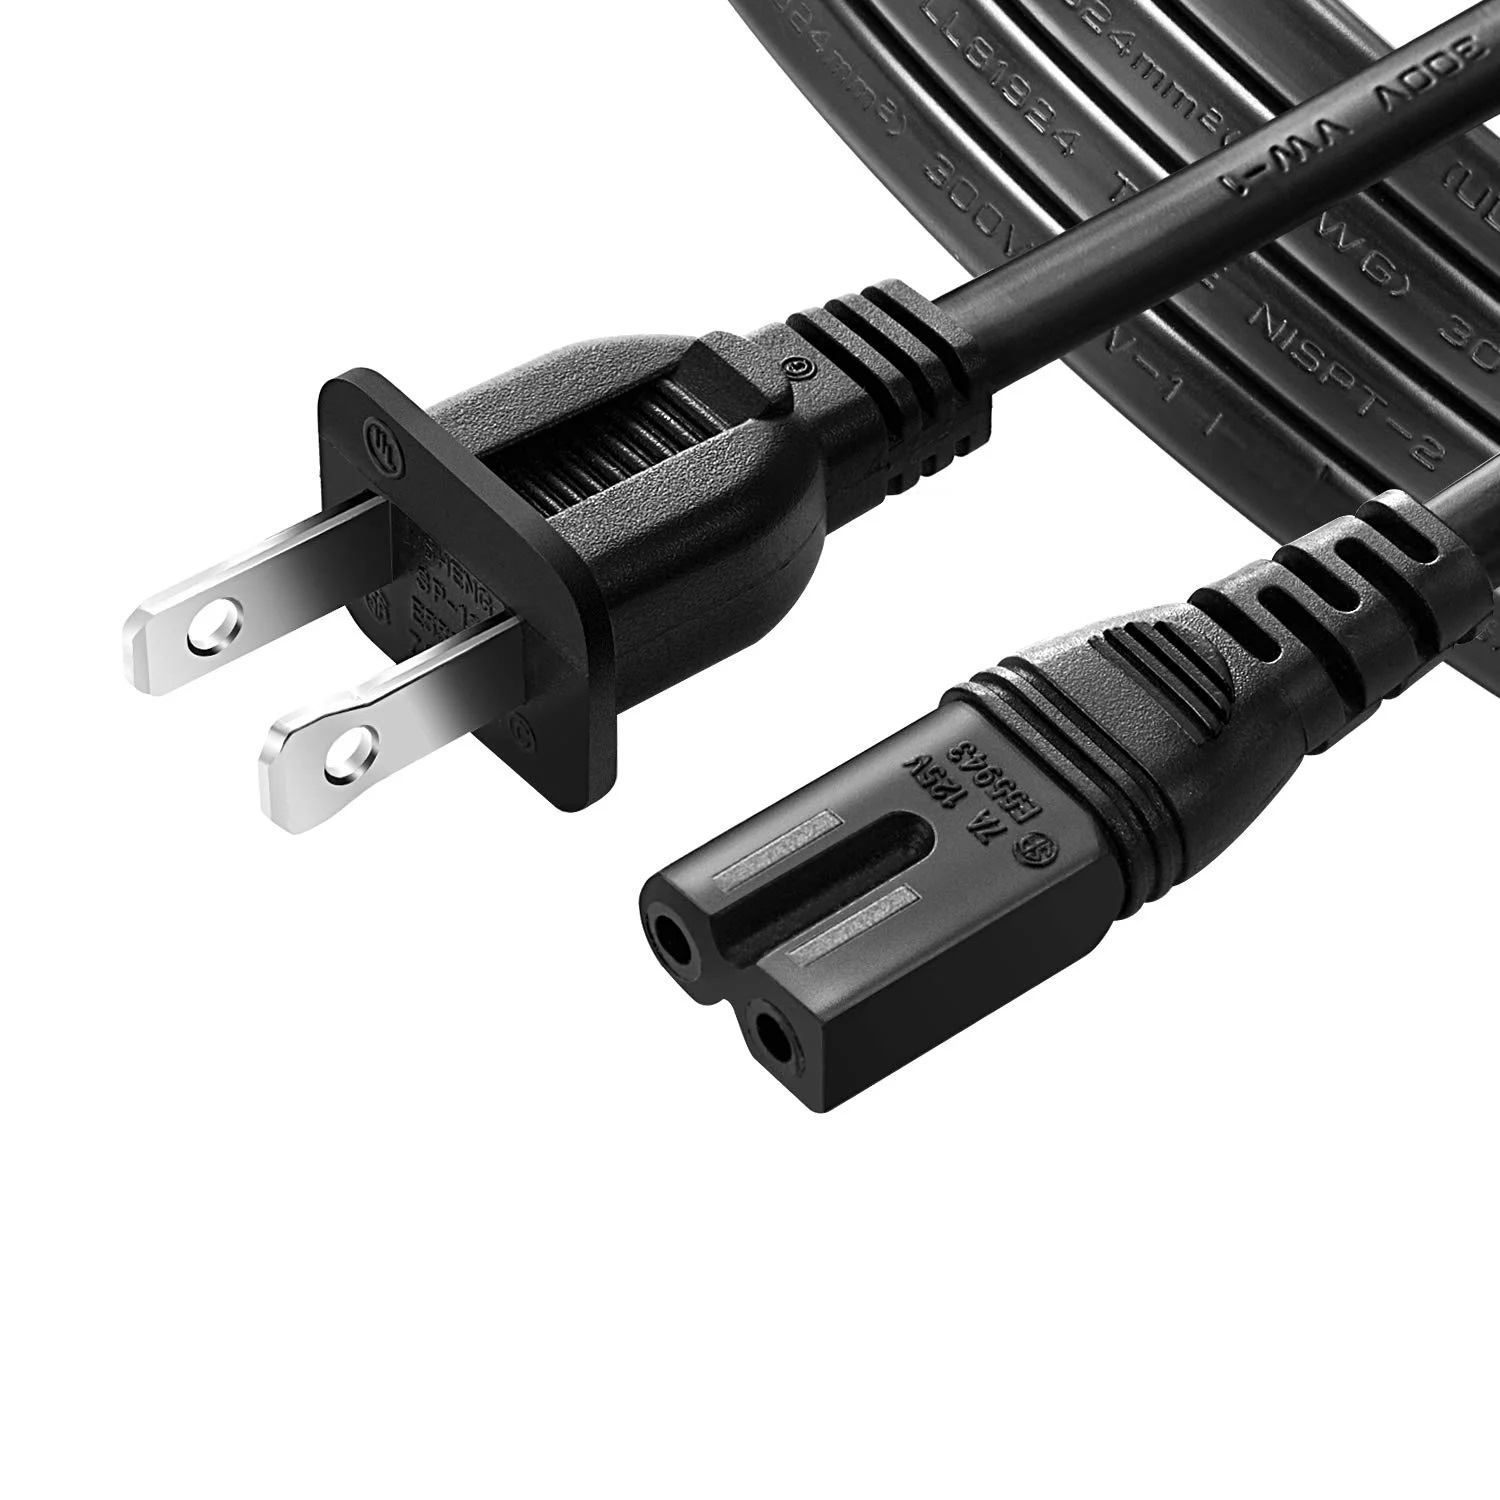
- New electrical cord (make sure it matches the specifications of your Bissell Rug Cleaner)
- Electrical tape
- Marker or pen
Having these tools and materials ready will make the cord replacement process much easier and more efficient. Once you have gathered everything, you can move on to the next step: unplugging and disassembling the Bissell Rug Cleaner.
Step 2: Unplug and Disassemble the Bissell Rug Cleaner
Before you begin working on the electrical cord of your Bissell Rug Cleaner, ensure that it is unplugged from the power source. This will prevent any potential accidents or electric shocks during the disassembly process.
Once the Bissell Rug Cleaner is unplugged, you can start disassembling it by following these steps:
- Locate the screws that hold the top cover in place. These screws are typically located on the back or sides of the appliance. Use the appropriate screwdriver to remove them.
- Once the screws are removed, carefully lift the top cover off the Bissell Rug Cleaner and set it aside. Be cautious as there may be some wires connected to the top cover that need to be detached before fully removing it. Take note of how these wires are connected for reassembly later.
- Next, detach any other components or attachments that are connected to the main body of the Bissell Rug Cleaner. These may include the brush head, water tank, or solution container. Follow the manufacturer’s instructions for detaching these components, as it may vary depending on your specific model.
- Once all necessary components are detached, set them aside in a safe place. This will provide you with better access to the electrical cord and make the replacement process easier.
With the Bissell Rug Cleaner now disassembled, you are ready to move on to the next step: removing the old electrical cord.
Step 3: Remove the Old Electrical Cord
With the Bissell Rug Cleaner disassembled, you can now proceed to remove the old electrical cord. Follow these steps carefully:
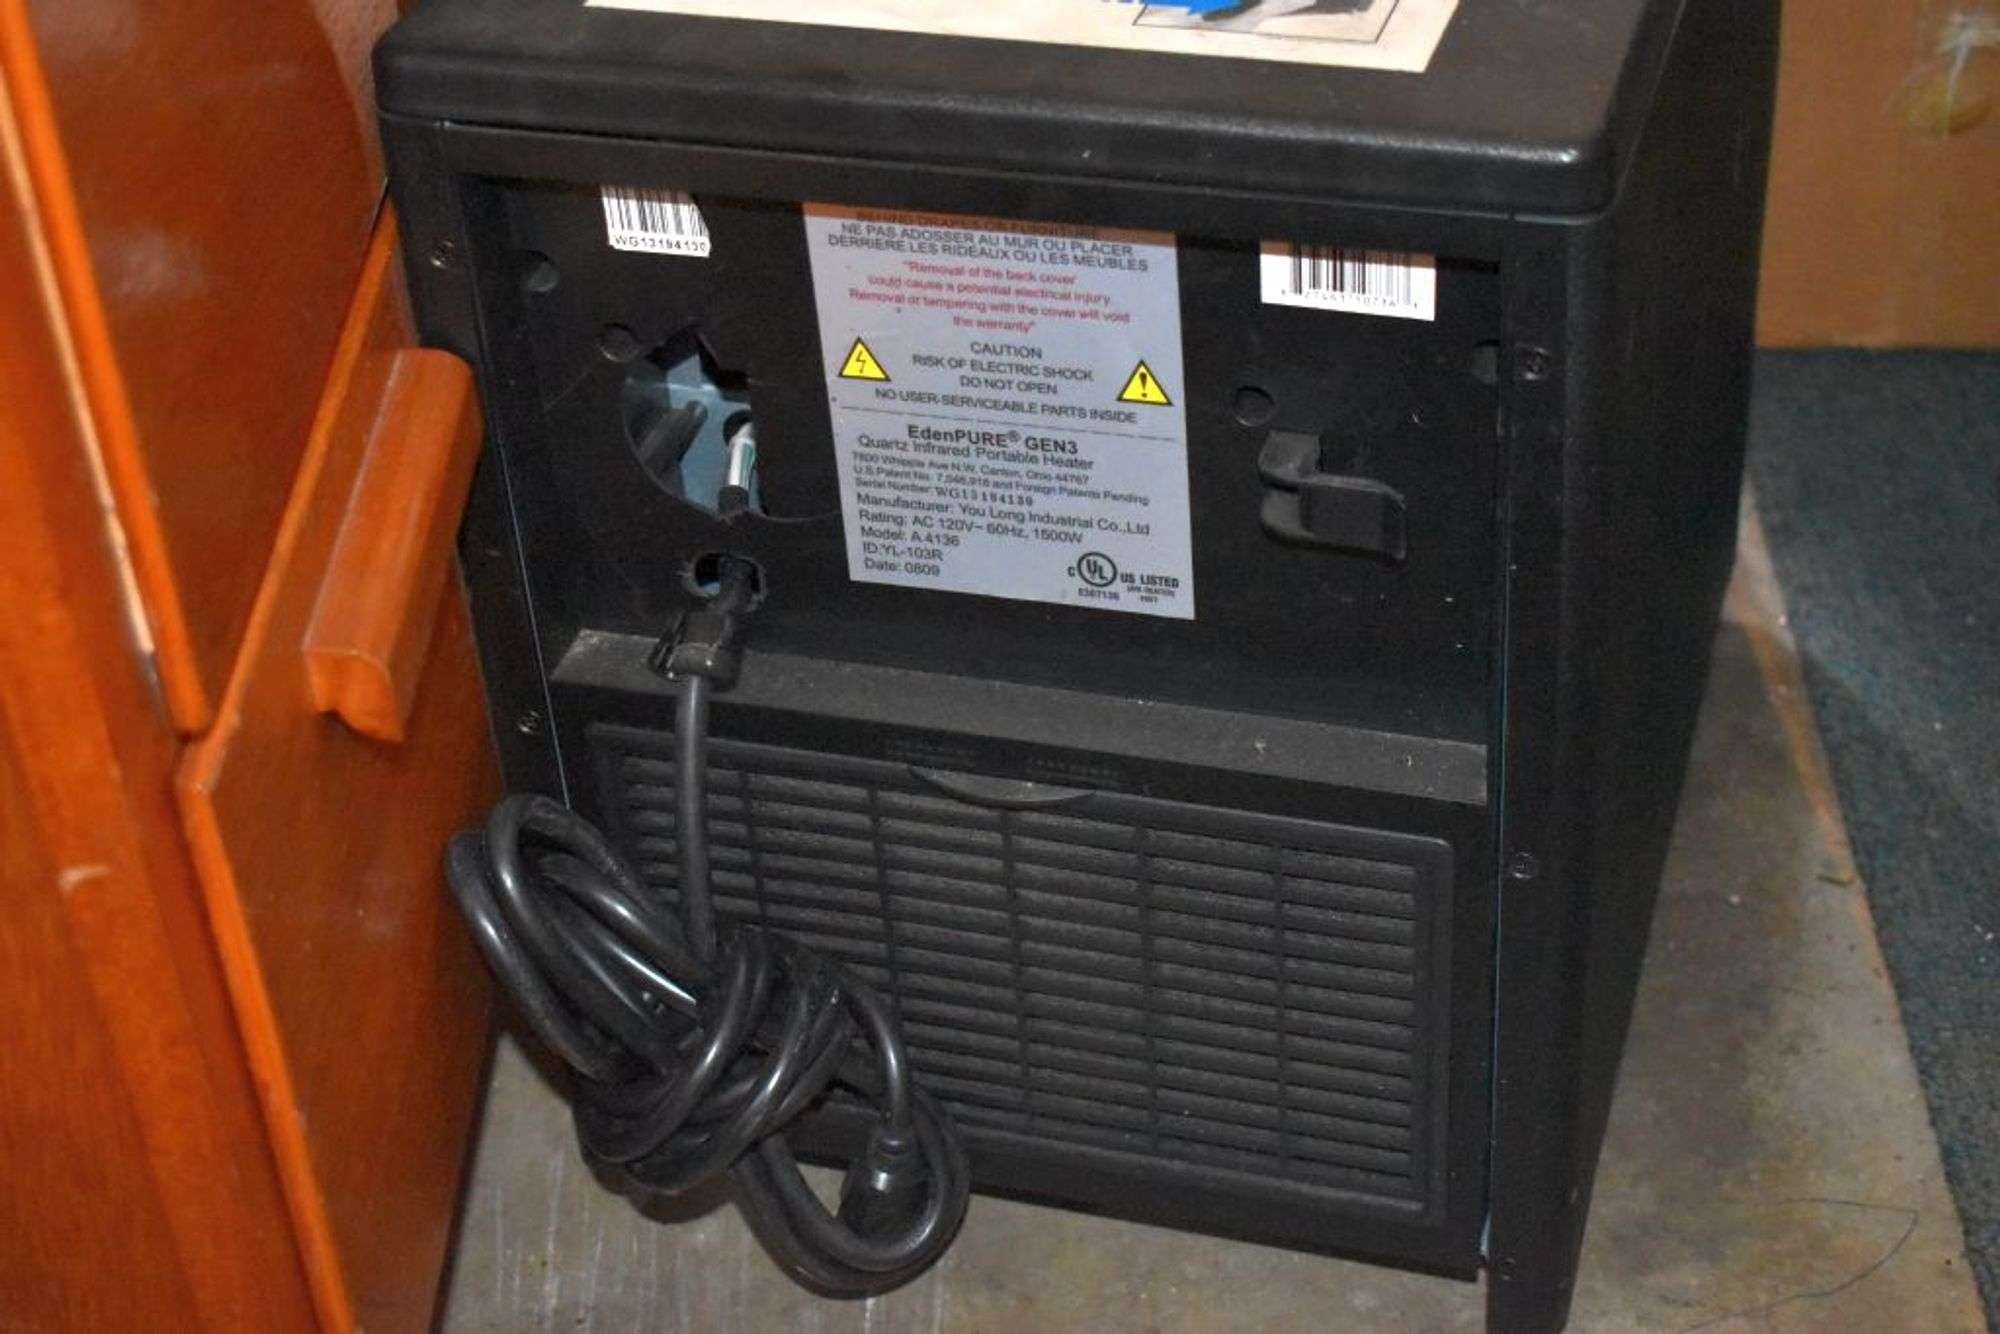
- Locate the point where the old electrical cord is connected to the appliance. This is typically located near the base of the Bissell Rug Cleaner.
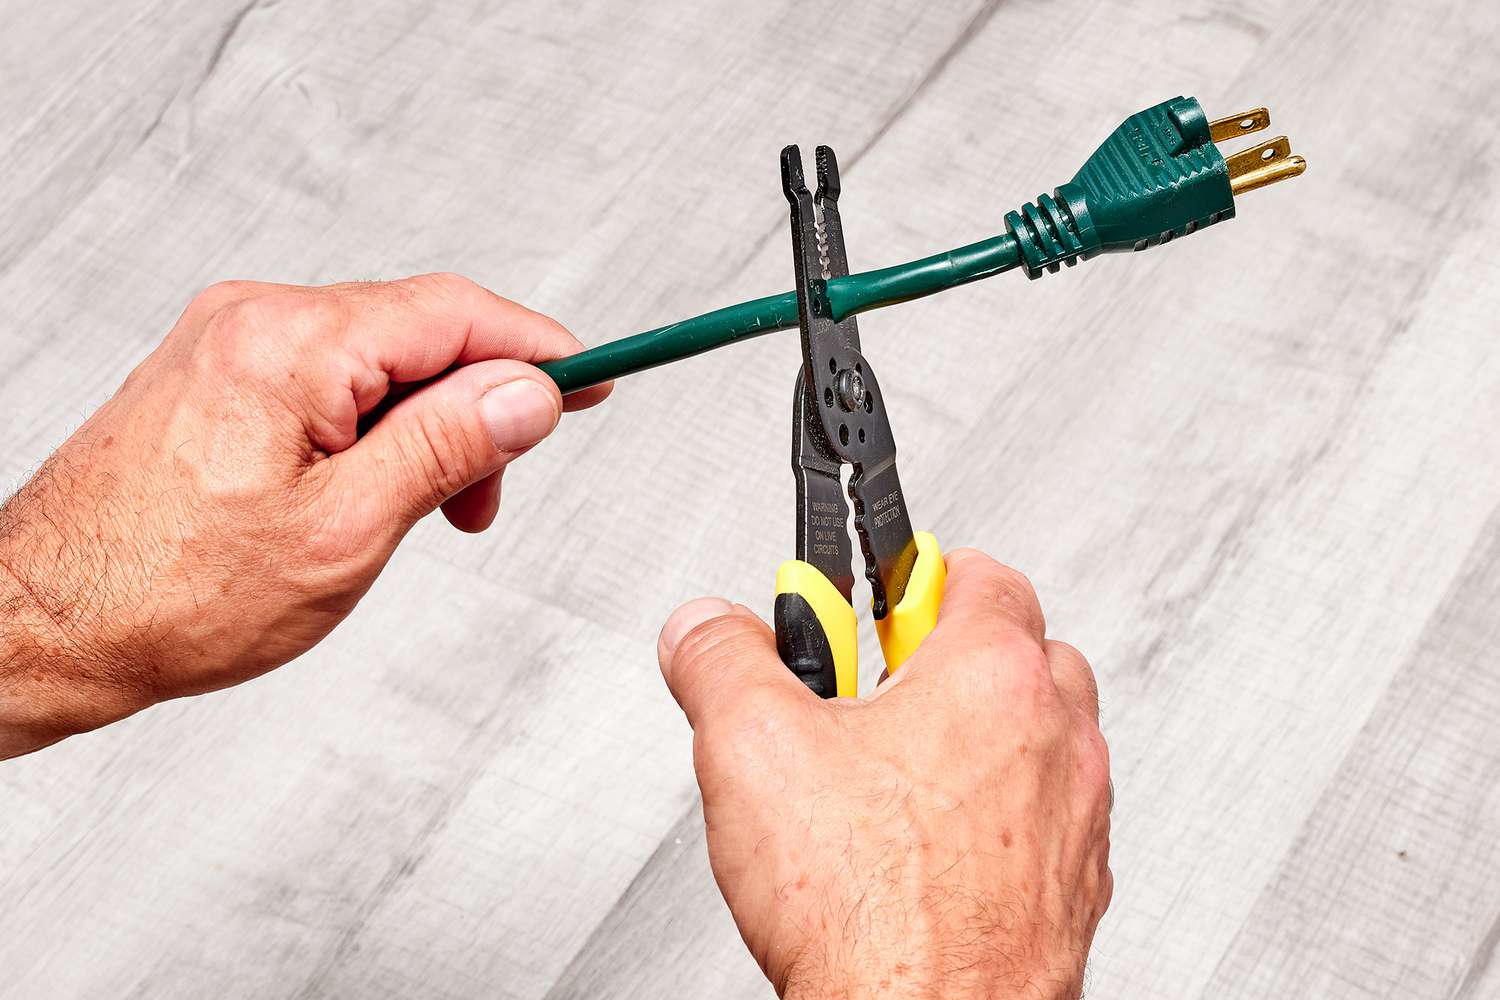
- Using wire cutters, carefully cut the old electrical cord near the connection point. Be sure to leave enough length of the old cord to work with, as you will need it for reference.
- After cutting the old cord, you will now have two separate ends – one still connected to the appliance and the other free. Remove any clamps, clips, or connectors that are holding the old cord in place.
- With the old cord free from any attachments, take note of how it is routed within the appliance. You can use a marker or pen to mark the path of the old cord on the Bissell Rug Cleaner’s body. This will help you when installing the new cord later.
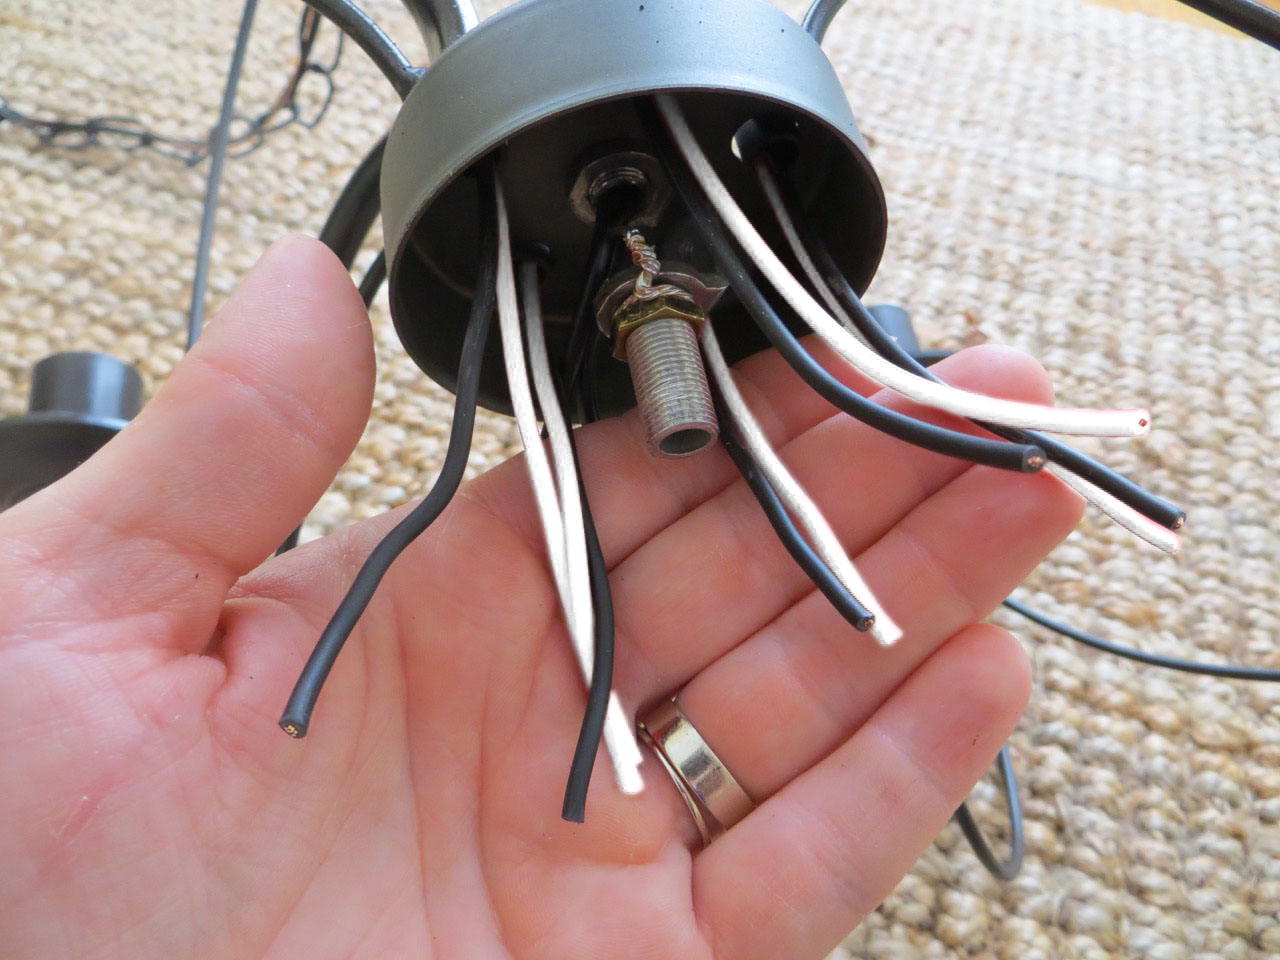
- Next, use wire strippers to remove the insulation from the free end of the old cord. Strip about half an inch of insulation to expose the inner wires. Take note of the color coding of the wires (usually black and white), as you will need to match them with the new cord.
- After the insulation is removed, disconnect the old cord from any internal connections or terminals within the Bissell Rug Cleaner. Again, make a note of how the wires are connected for reference during the installation of the new cord.
- Once the old cord is completely removed from the appliance, set it aside and prepare to install the new electrical cord.
Removing the old electrical cord is a crucial step in the replacement process. With the old cord successfully removed, you are now ready to install the new cord in your Bissell Rug Cleaner.
When replacing the electrical cord on a Bissell rug cleaner, make sure to unplug the machine and carefully follow the manufacturer’s instructions for disassembly and reassembly. Always use the correct replacement cord to ensure safety and proper functioning.
Step 4: Install the New Electrical Cord
Now that the old electrical cord has been removed, it’s time to install the new cord in your Bissell Rug Cleaner. Follow these steps carefully:
- Take the new electrical cord and examine it for any damage or defects. Ensure that it matches the specifications of your Bissell Rug Cleaner in terms of length, wire gauge, and connector type.
- If necessary, use wire strippers to trim the ends of the new cord to match the length of the old cord that was just removed. Be cautious not to cut the wires inside the cord.
- Next, refer to the marks or notes you made during the removal of the old cord. This will help you route the new cord in the same path within the Bissell Rug Cleaner. Use a marker or pen to mark the path on the body of the appliance as a guide.
- Once you have determined the route for the new cord, feed it through the same path in the Bissell Rug Cleaner while ensuring it is properly seated and secured. Avoid twisting or kinking the cord during this process.
- Connect the wires of the new cord to their respective terminals or internal connections within the appliance, following the marks or notes made during the removal process. Use wire connectors or terminal screws to secure the connections tightly.
- After making the connections, use electrical tape to wrap around each terminal or connection point. This will ensure the wires are properly insulated and held securely in place.
- Once the connections are secure, reattach any clamps, clips, or connectors that hold the cord in place, ensuring it is properly routed and fastened.
- If there are any excess lengths of the new cord, carefully coil them up and secure them with zip ties or tape, ensuring that they do not interfere with the functionality or movement of the Bissell Rug Cleaner.
With the new electrical cord successfully installed in your Bissell Rug Cleaner, you are now ready to reassemble the appliance to complete the cord replacement process.
Read more: How To Replace Electrical Cord Insulation
Step 5: Reassemble the Bissell Rug Cleaner
Now that the new electrical cord is in place, it’s time to reassemble the various components of your Bissell Rug Cleaner. Follow these steps to ensure a proper reassembly:
- Begin by reattaching any components or attachments that were previously detached. This can include the brush head, water tank, or solution container. Follow the manufacturer’s instructions to properly align and secure these components.
- If there were any wires connected to the top cover of the Bissell Rug Cleaner, now is the time to reattach them. Refer to the notes or markings made during the disassembly process to ensure proper connection.
- Once all the components are in place, carefully position and align the top cover of the Bissell Rug Cleaner. Secure it in place with the screws that were removed earlier. Tighten the screws, but be careful not to overtighten and risk damaging the plastic housing.
- Double-check all the connections, ensuring that the new electrical cord is properly routed and secured within the appliance. Verify that there are no loose or exposed wires.
- Finally, give the Bissell Rug Cleaner a thorough visual inspection to ensure that all components are properly aligned, securely fitted, and ready for use.
With the Bissell Rug Cleaner fully reassembled, you’re almost done! The final step is to test the new electrical cord to ensure it is functioning correctly and safely.
Step 6: Test the New Electrical Cord
Before considering the cord replacement process complete, it is essential to test the new electrical cord on your Bissell Rug Cleaner. Follow these steps to ensure that everything is functioning correctly:
- Ensure that the Bissell Rug Cleaner is still unplugged from the power source.
- Double-check that all the components are securely attached and that there are no loose wires or connections.
- Plug the Bissell Rug Cleaner into a functioning power outlet.
- Switch on the appliance to the appropriate setting and activate the power.
- Observe the Bissell Rug Cleaner to ensure that it turns on smoothly and that the power is consistent.
- Check that all functions, such as the brush rotation and water/solution dispensing, are operating as expected.
- If everything is working properly, unplug the Bissell Rug Cleaner from the power source.
- If any issues or irregularities are detected during the testing process, immediately disconnect the appliance from the power source and re-evaluate the connections and routing of the new electrical cord.
- If necessary, repeat the previous steps to identify and resolve any issues before retesting.
- Once the new electrical cord has been successfully tested and the Bissell Rug Cleaner is functioning correctly, you can consider the cord replacement process complete.
Congratulations! You have now successfully replaced the electrical cord on your Bissell Rug Cleaner. With a properly functioning cord, you can continue to enjoy clean carpets and maintain the longevity of your appliance. Remember to always prioritize safety when working with electrical appliances and follow the manufacturer’s instructions throughout the cord replacement process.
Thank you for following this comprehensive guide. If you have any further questions or need assistance, do not hesitate to consult the Bissell Rug Cleaner’s user manual or reach out to a professional for help.
Conclusion
Replacing the electrical cord on your Bissell Rug Cleaner is a simple yet important task that can ensure the continued functionality and safety of the appliance. By following the step-by-step guide outlined in this article, you can successfully replace the old cord with a new one, allowing you to use your Bissell Rug Cleaner with confidence.
Throughout the process, it is crucial to prioritize safety by always unplugging the appliance before starting any work. Take the time to gather the necessary tools and materials, and carefully disassemble the Bissell Rug Cleaner to access the old cord. Removing the old cord and installing the new one requires attention to detail and proper connection techniques.
Once the new cord is installed, reassembling the Bissell Rug Cleaner ensures that all components are securely fitted, and the appliance is ready for use. Don’t forget to test the new electrical cord to confirm that it is functioning correctly before considering the cord replacement process complete.
Remember, should you encounter any difficulties or have questions during the process, always refer to the manufacturer’s instructions or seek professional assistance. Safety should always be the top priority when working with electrical appliances.
With the new electrical cord in place, your Bissell Rug Cleaner is now set to continue its important role in keeping your carpets clean and fresh. Regular maintenance and care, including replacing worn-out components, will help prolong the lifespan of your appliance and ensure optimal performance.
Thank you for following this comprehensive guide on how to replace the electrical cord on a Bissell Rug Cleaner. Happy cleaning!
Frequently Asked Questions about How To Replace An Electrical Cord On A Bissell Rug Cleaner
Was this page helpful?
At Storables.com, we guarantee accurate and reliable information. Our content, validated by Expert Board Contributors, is crafted following stringent Editorial Policies. We're committed to providing you with well-researched, expert-backed insights for all your informational needs.

0 thoughts on “How To Replace An Electrical Cord On A Bissell Rug Cleaner”