Articles
How To Replace Blinds With Curtains
Modified: August 27, 2024
Learn how to replace blinds with curtains with our informative articles. Find step-by-step instructions and helpful tips to update your window treatments.
(Many of the links in this article redirect to a specific reviewed product. Your purchase of these products through affiliate links helps to generate commission for Storables.com, at no extra cost. Learn more)
Introduction
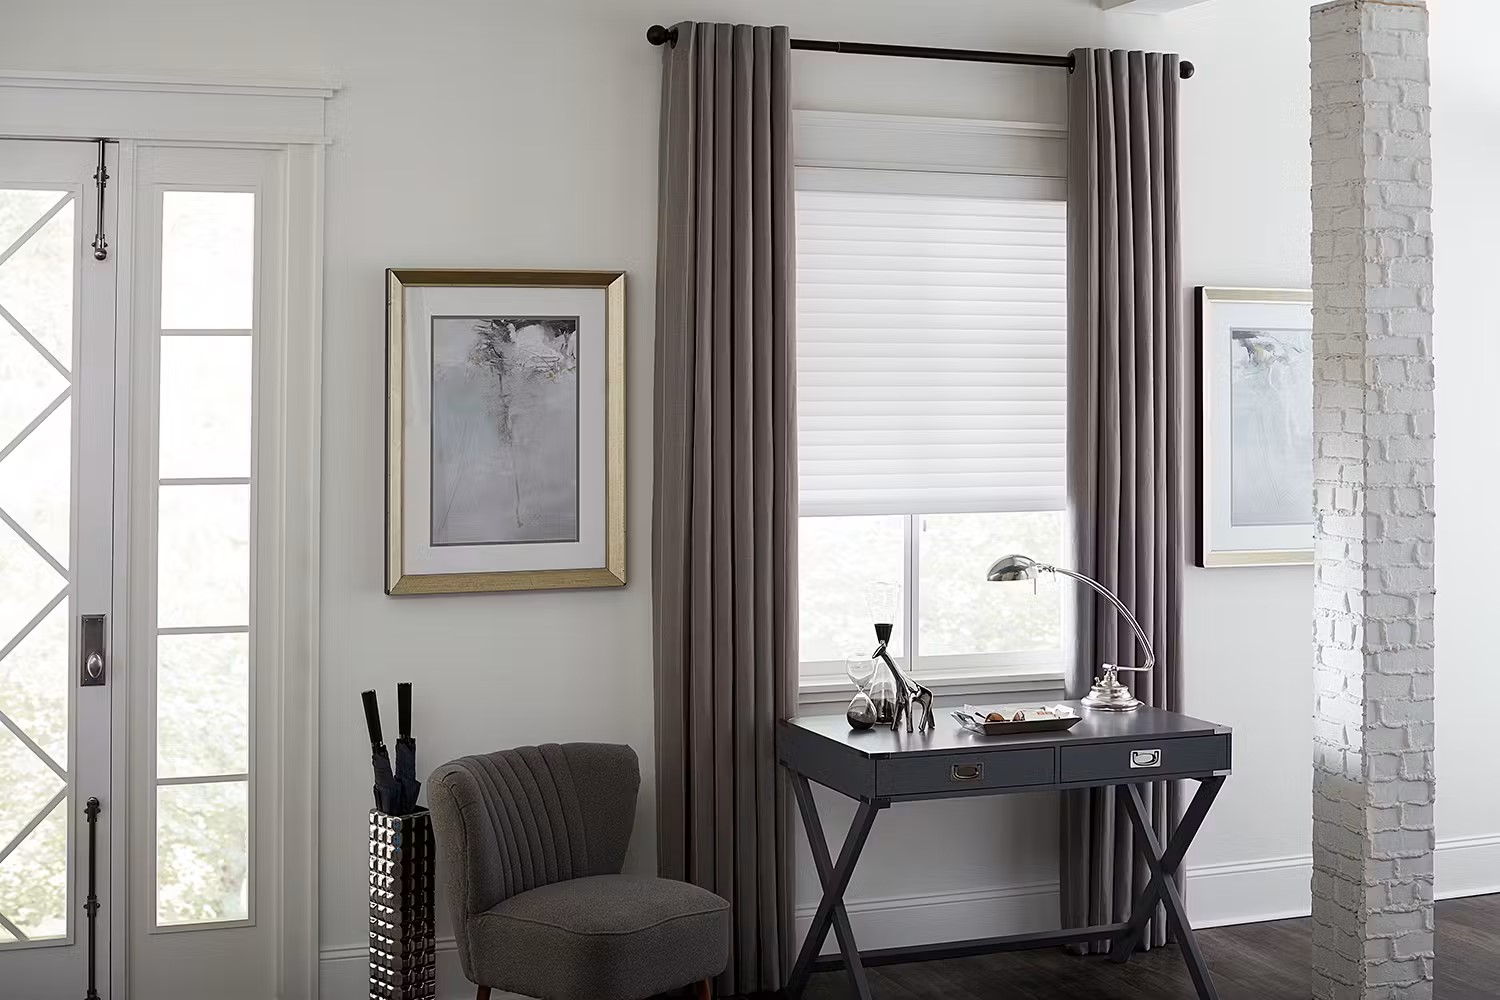
Replacing blinds with curtains can completely transform the look and feel of your windows and living space. Curtains offer versatility in terms of design, fabric, and functionality, allowing you to add a touch of style while controlling light and privacy. Whether you’re looking to update your home decor or simply want a change, replacing blinds with curtains is a relatively simple DIY project that can make a significant impact.
In this article, we will guide you through the step-by-step process of replacing blinds with curtains, from removing the blinds to installing the curtain rods or tracks and hanging the curtains. So, let’s get started and give your windows a fresh new look!
Key Takeaways:
- Transform your living space by replacing blinds with curtains. Follow the step-by-step guide to measure, choose, install, and style curtains for a fresh, elegant look that adds warmth and charm to your home.
- Embrace the versatility and beauty of curtains to upgrade your windows. Enjoy the benefits of privacy, light control, and enhanced ambiance while customizing your window treatment to reflect your personal style and design preferences.
Read more: How To Replace Slats On Blinds
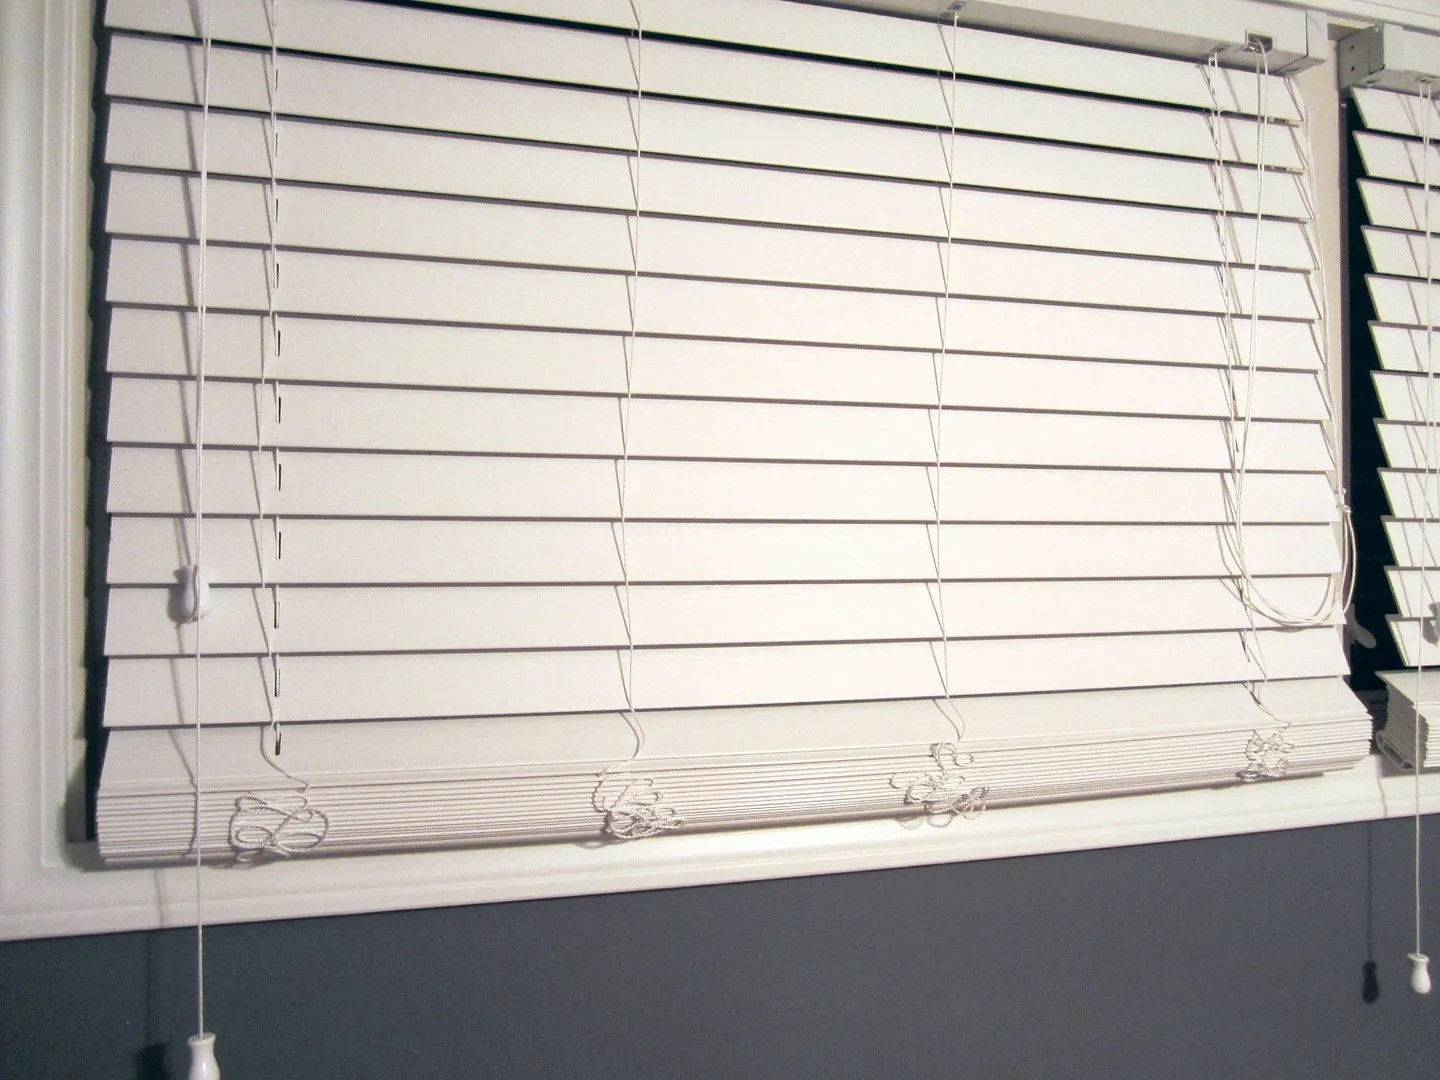
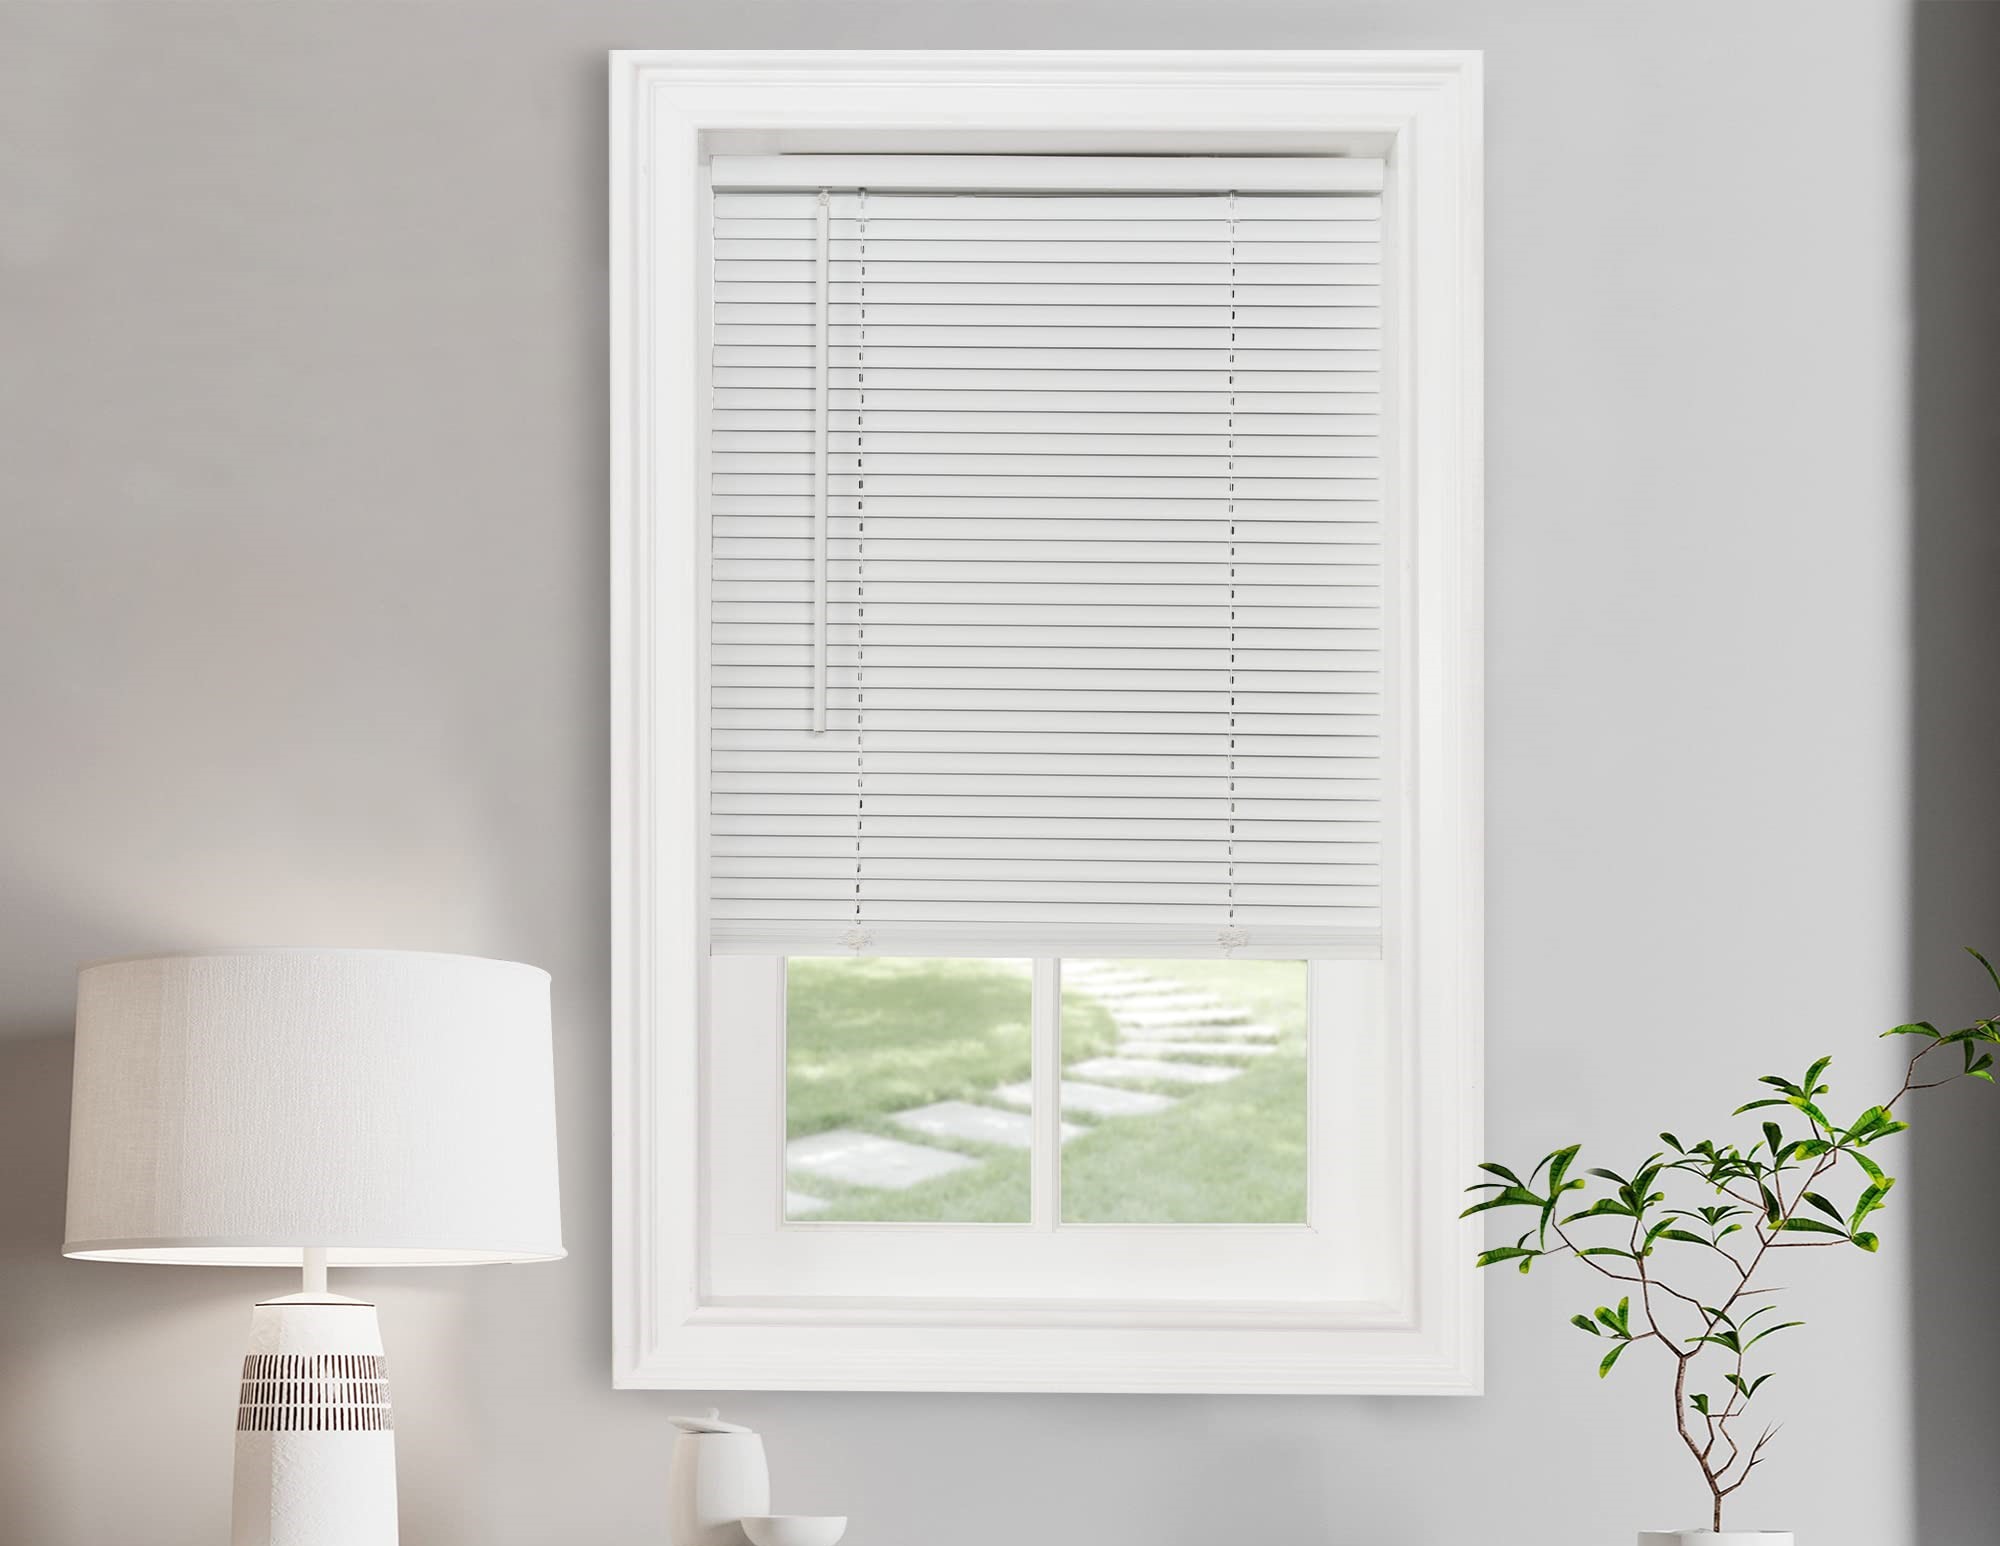
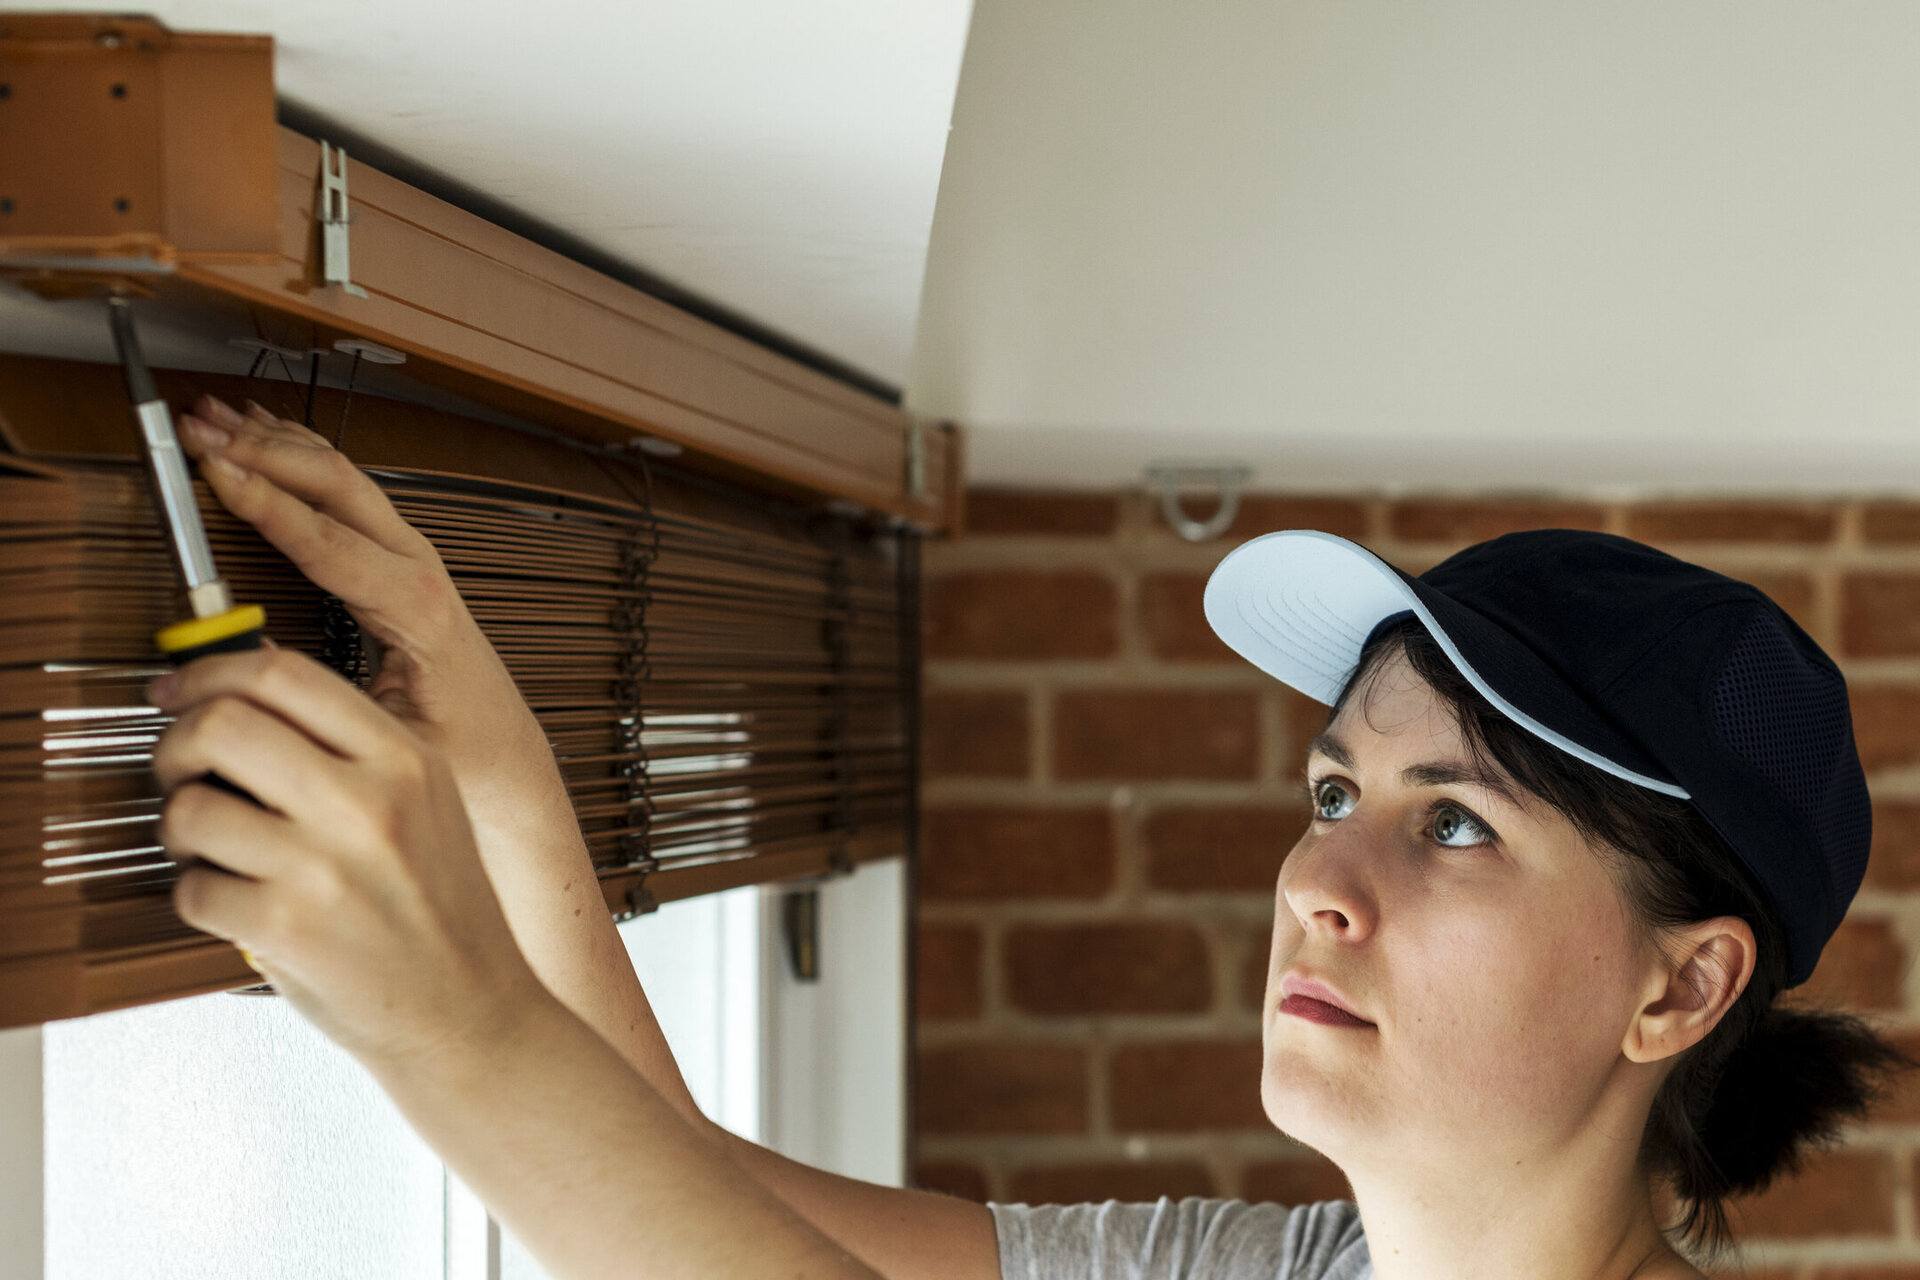
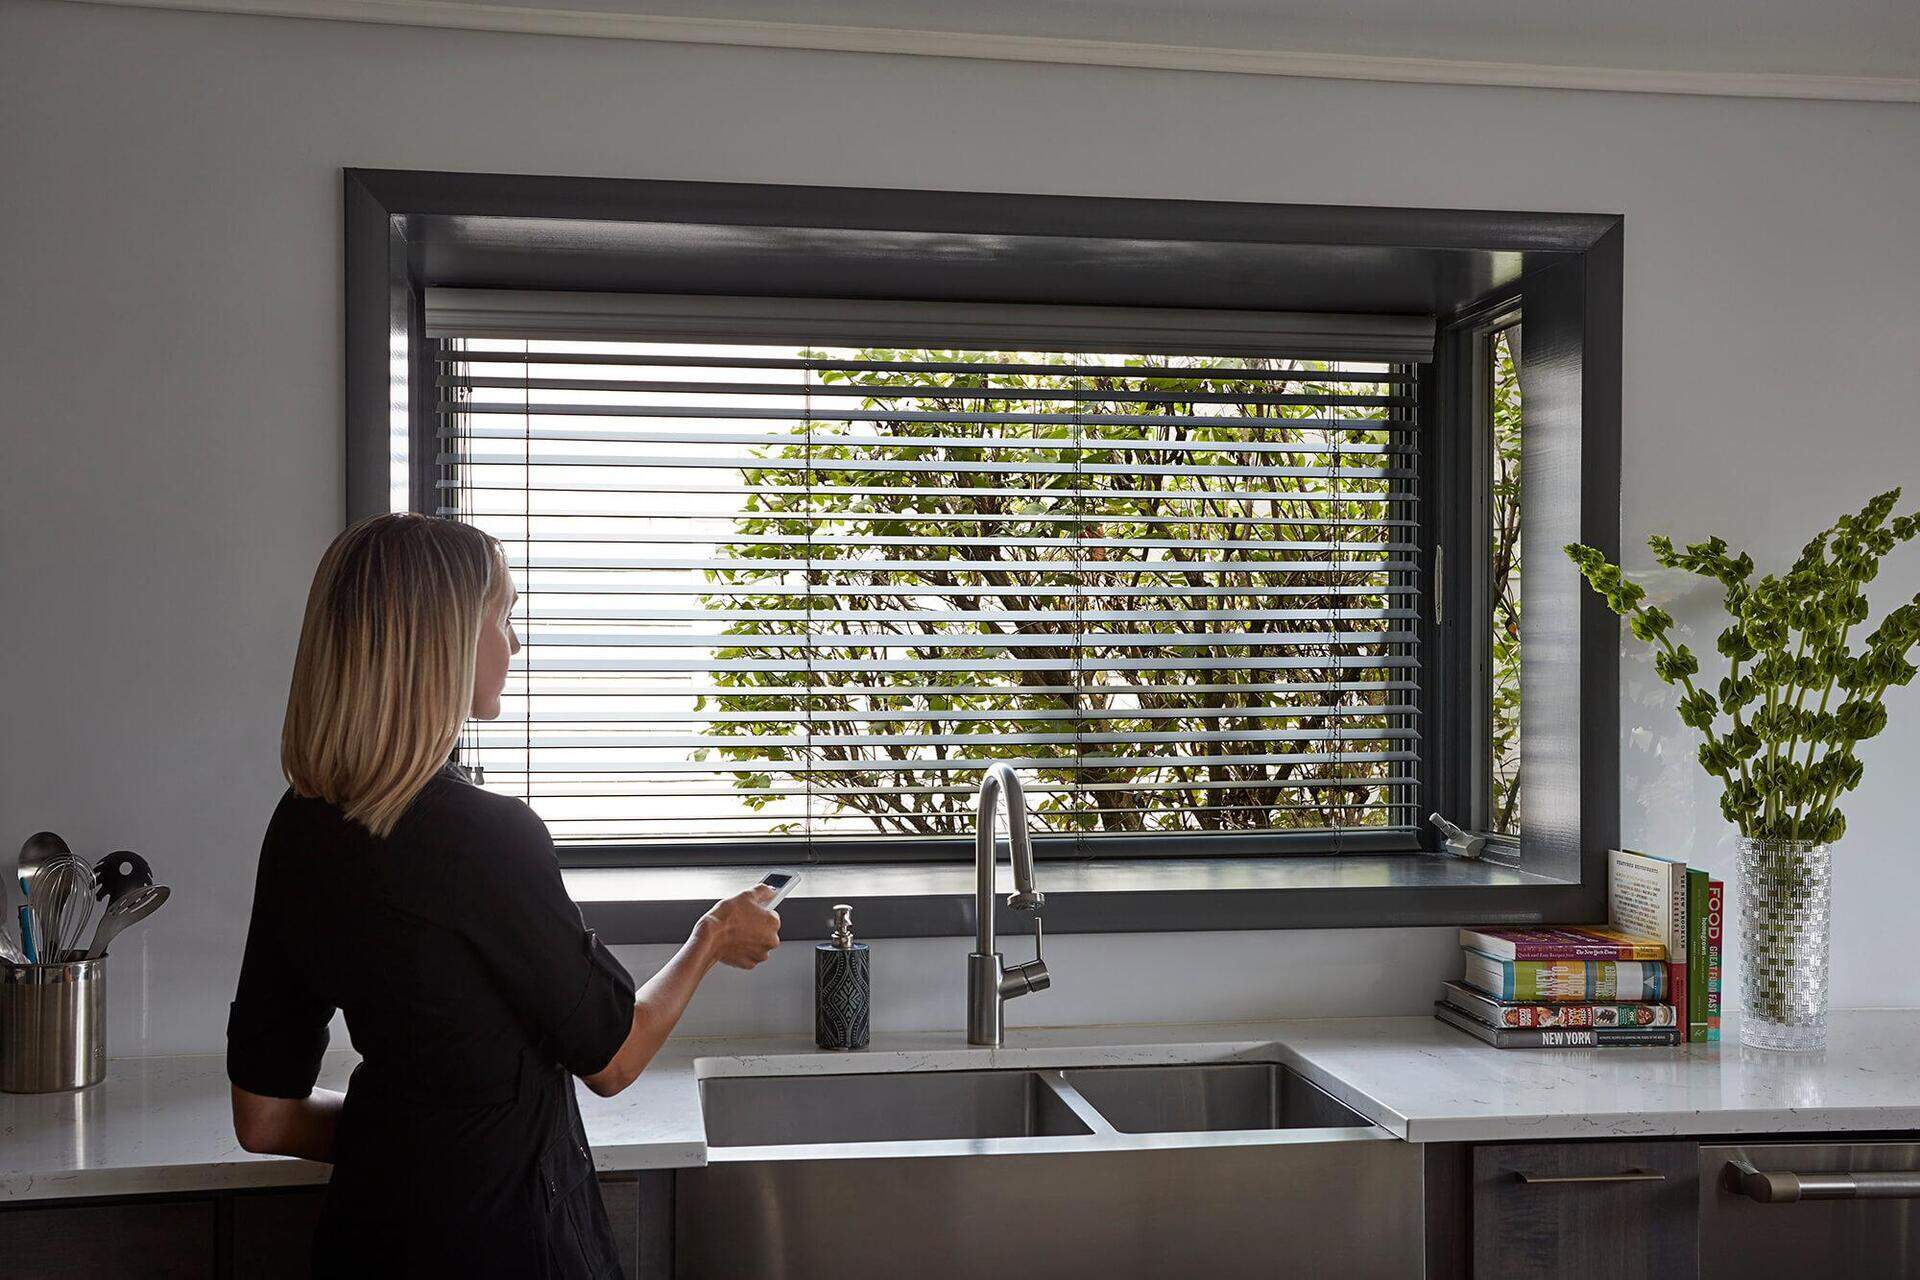
Step 1: Remove the Blinds
The first step in replacing blinds with curtains is to remove the existing blinds. This process may vary depending on the type of blinds you have, so it’s important to follow the manufacturer’s instructions if available. Here are the general steps to remove blinds:
- Start by fully extending the blinds to their open position.
- Locate the brackets that hold the blinds in place. These are usually mounted to the top of the window frame or inside the window casing.
- Use a screwdriver or drill to remove the screws or brackets holding the blinds.
- Gently lower the blinds from the brackets and set them aside.
- Once the blinds are removed, inspect the window frame for any leftover hardware or adhesive. Clean and remove any residue to ensure a smooth installation of the curtain rods or tracks.
By following these steps, you should be able to safely and effectively remove the blinds from your windows. Remember to take your time and handle the blinds with care to avoid any damage.
Step 2: Measure the Windows
Before you can choose the perfect curtains for your windows, you need to accurately measure the windows to ensure a proper fit. Here’s how to measure your windows:
- Measure the width:
- Measure the height:
- Add extra length:
- Consider curtain rod placement:
- Record measurements:
Start by measuring the width of the window opening from left to right. Use a measuring tape and record the measurement in inches or centimeters. If you have multiple windows in a room, measure each one separately.
Next, measure the height of the window opening from top to bottom. Again, use a measuring tape and record the measurement. Make sure to measure from the top of the window frame to the desired length of the curtains, whether that’s just below the window sill or all the way to the floor.
When measuring for curtains, it’s important to add some extra length to allow for the desired curtain style and fullness. Typically, it’s recommended to add 4-6 inches to the width and 6-8 inches to the height. This will allow the curtains to hang nicely and provide privacy when closed.
If you’re planning to install curtain rods, make sure to measure the distance between the window frame and the desired curtain rod placement. This will help you determine the appropriate rod length and position for optimal curtain coverage.
Once you have all the measurements, record them for easy reference when shopping for curtains. It’s a good idea to keep a note of the width, height, and any extra measurements you added for fullness.
Accurate measurements are crucial to ensure that your curtains fit properly and hang beautifully. Taking the time to measure your windows correctly will save you from the frustration of ill-fitting curtains and the need for returns or exchanges later on.
Step 3: Choose the Curtains
Choosing the right curtains is an essential part of replacing blinds and adding a new look to your windows. Here are some factors to consider when selecting curtains:
- Style and Design:
- Functionality:
- Fabric:
- Curtain Length:
- Hardware Compatibility:
Determine the style and design that best suits your taste and complements your home decor. Consider factors such as the color, pattern, and texture of the curtains. Whether you prefer a bold and dramatic look or a more subtle and neutral style, there are countless options to choose from.
Think about the purpose of the curtains. Do you want to block out light to create a darkened room for better sleep or create a cozy atmosphere? Consider the opacity of the curtains to determine their light-blocking capabilities. Sheer curtains allow more natural light to filter through, while blackout curtains provide maximum privacy and darkness.
Choose the right fabric for your curtains based on its durability, maintenance requirements, and desired drape. Common fabric options include cotton, linen, polyester, silk, or a blend of materials. Keep in mind that some fabrics require more care than others, so consider your lifestyle and how often you’re willing to clean and maintain the curtains.
Determine the desired curtain length based on your window measurements and personal preference. Curtains can be floor-length, just below the window sill, or mid-length, depending on the look you want to achieve. Make sure the curtains are long enough to create a visually pleasing and balanced appearance.
Consider the type of curtain rods or tracks you plan to install and ensure that the chosen curtains are compatible. Some curtains require specific rod types, such as eyelet or tab-top curtains, while others may need curtain hooks or rings.
Take your time to browse through different options, gather inspiration, and envision how the curtains will enhance your space. Consider taking samples or swatches and holding them up against your windows to see how they look in your specific lighting conditions. This will help you make an informed decision and choose curtains that will elevate your interior design.
When replacing blinds with curtains, measure the window carefully to ensure the curtains will fully cover the opening. Consider the type of curtain rod and hardware needed for installation.
Step 4: Install Curtain Rods or Tracks
Now that you’ve chosen the perfect curtains, it’s time to install the curtain rods or tracks to hold them up. Follow these steps to install curtain rods or tracks:
- Gather the necessary tools and materials:
- Measure and mark the rod placement:
- Install the brackets or mounting hardware:
- Attach the curtain rods or tracks:
- Test the stability:
Before you begin, make sure you have all the tools and materials required for installation. This may include a drill, screws, wall anchors (if needed), a measuring tape, a level, and the curtain rods or tracks themselves.
Using your window measurements, determine the appropriate height and position of the curtain rods or tracks. Make a small mark or use a pencil to indicate where the brackets or mounting hardware will be installed.
If you are using curtain rods, follow the manufacturer’s instructions to install the brackets onto the wall or window frame. Use a drill to create pilot holes if necessary, and secure the brackets with screws. Ensure that the brackets are level to ensure even curtain hanging.
If you are using curtain tracks, measure and mark the location of the track brackets. Install the brackets securely using the provided screws or wall anchors.
Once the brackets or mounting hardware is in place, attach the curtain rods or tracks accordingly. For curtain rods, simply slide them into the brackets and ensure they are secure. For curtain tracks, snap or slide the track onto the brackets securely.
Give the curtain rods or tracks a gentle tug to ensure they are sturdy and properly installed. Make any adjustments if necessary to ensure a secure and stable fit.
Properly installing the curtain rods or tracks is important for the functionality and appearance of your curtains. Take your time and ensure that they are level and securely mounted to provide a strong foundation for hanging your curtains.
Read more: How To Install Curtains Over Blinds
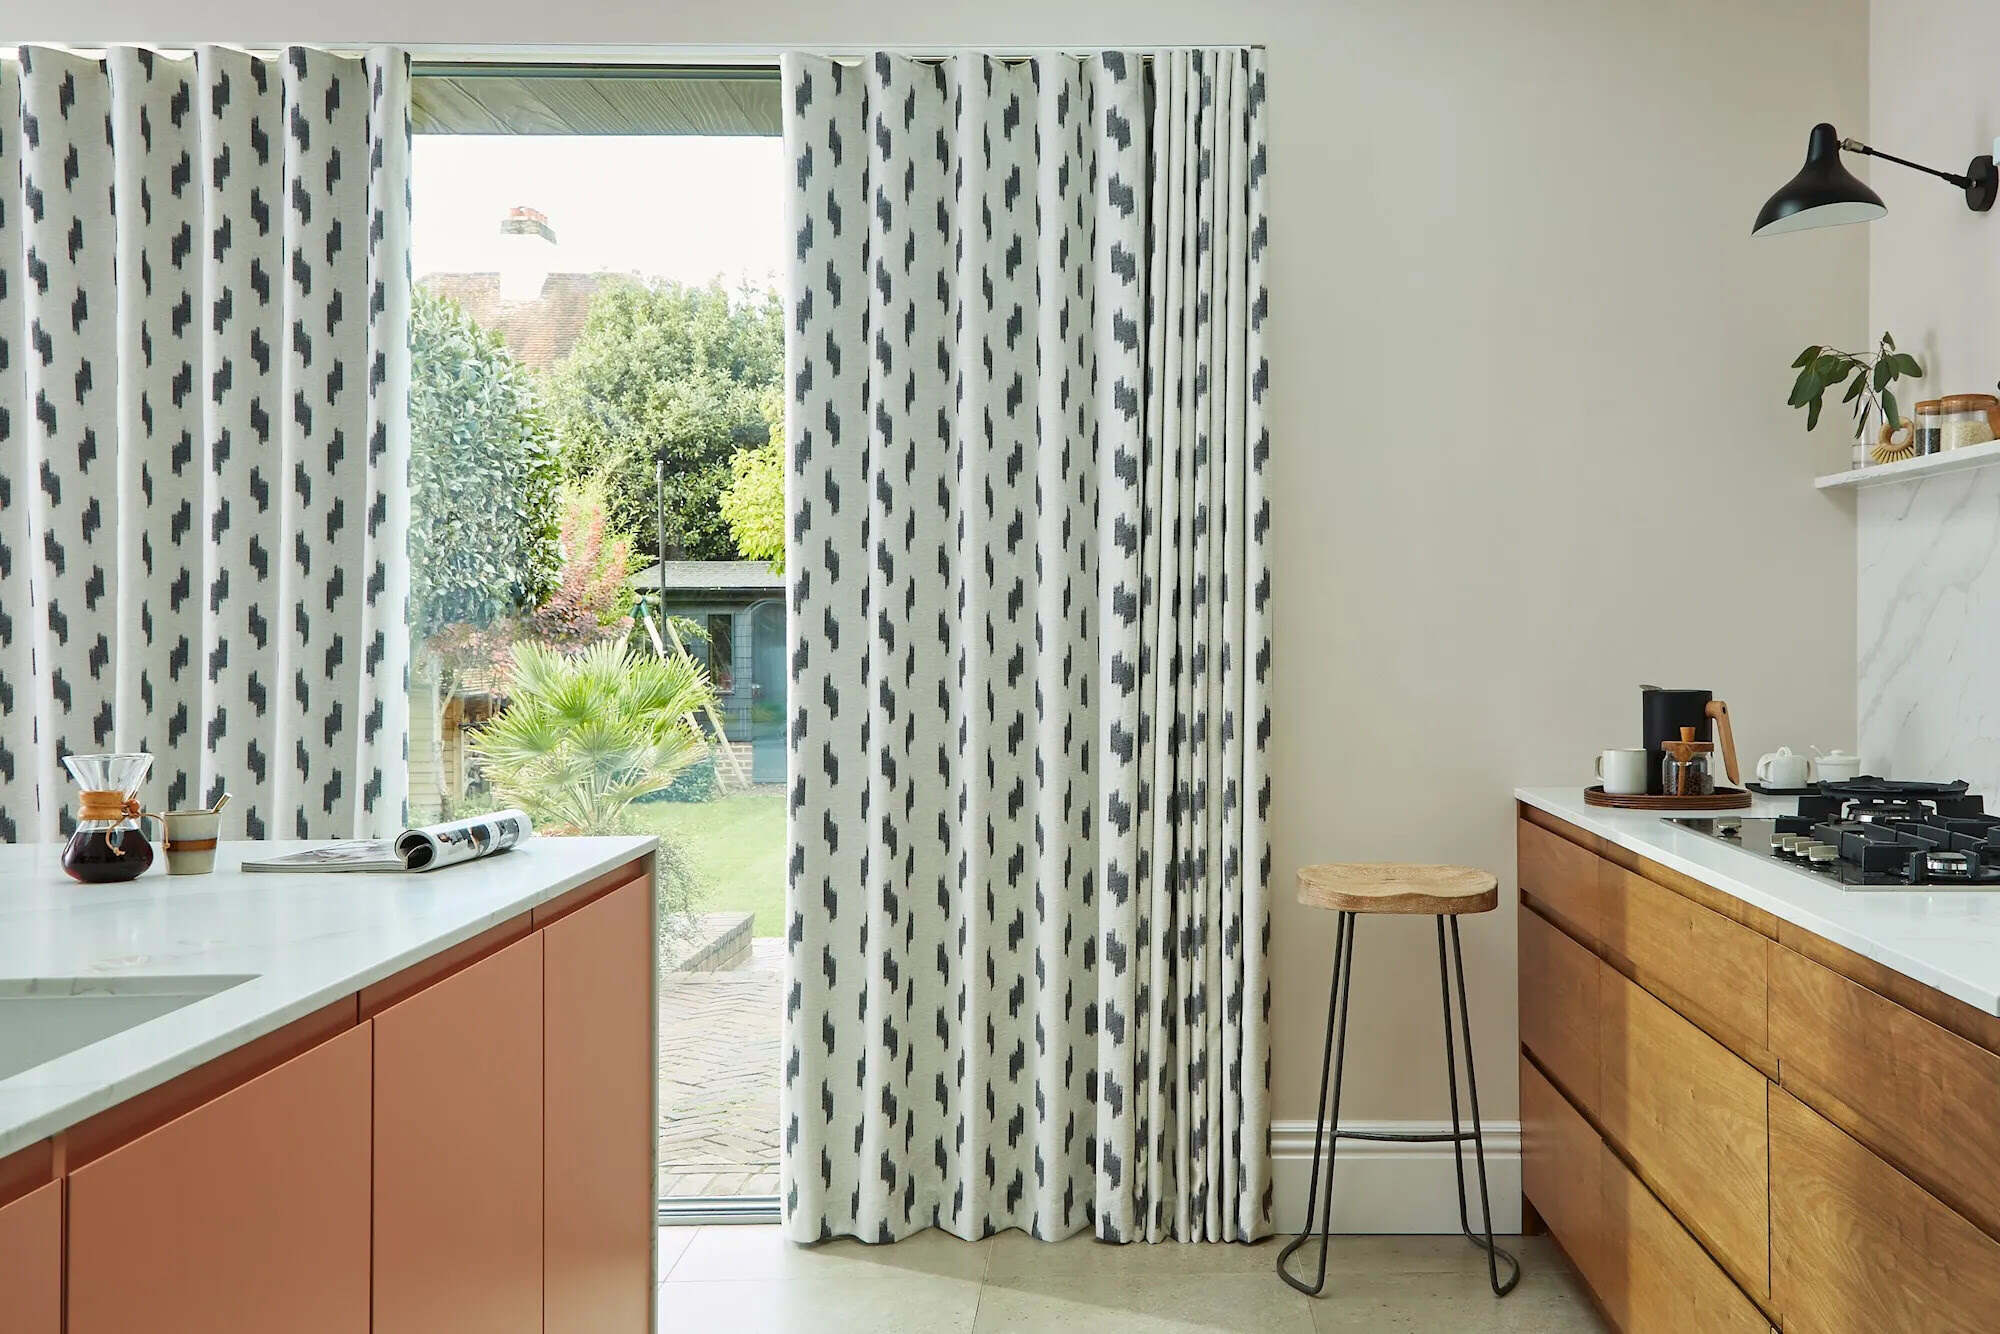
Step 5: Hang the Curtains
With the curtain rods or tracks in place, it’s time to hang your curtains and bring your new window treatment to life. Follow these steps to hang your curtains:
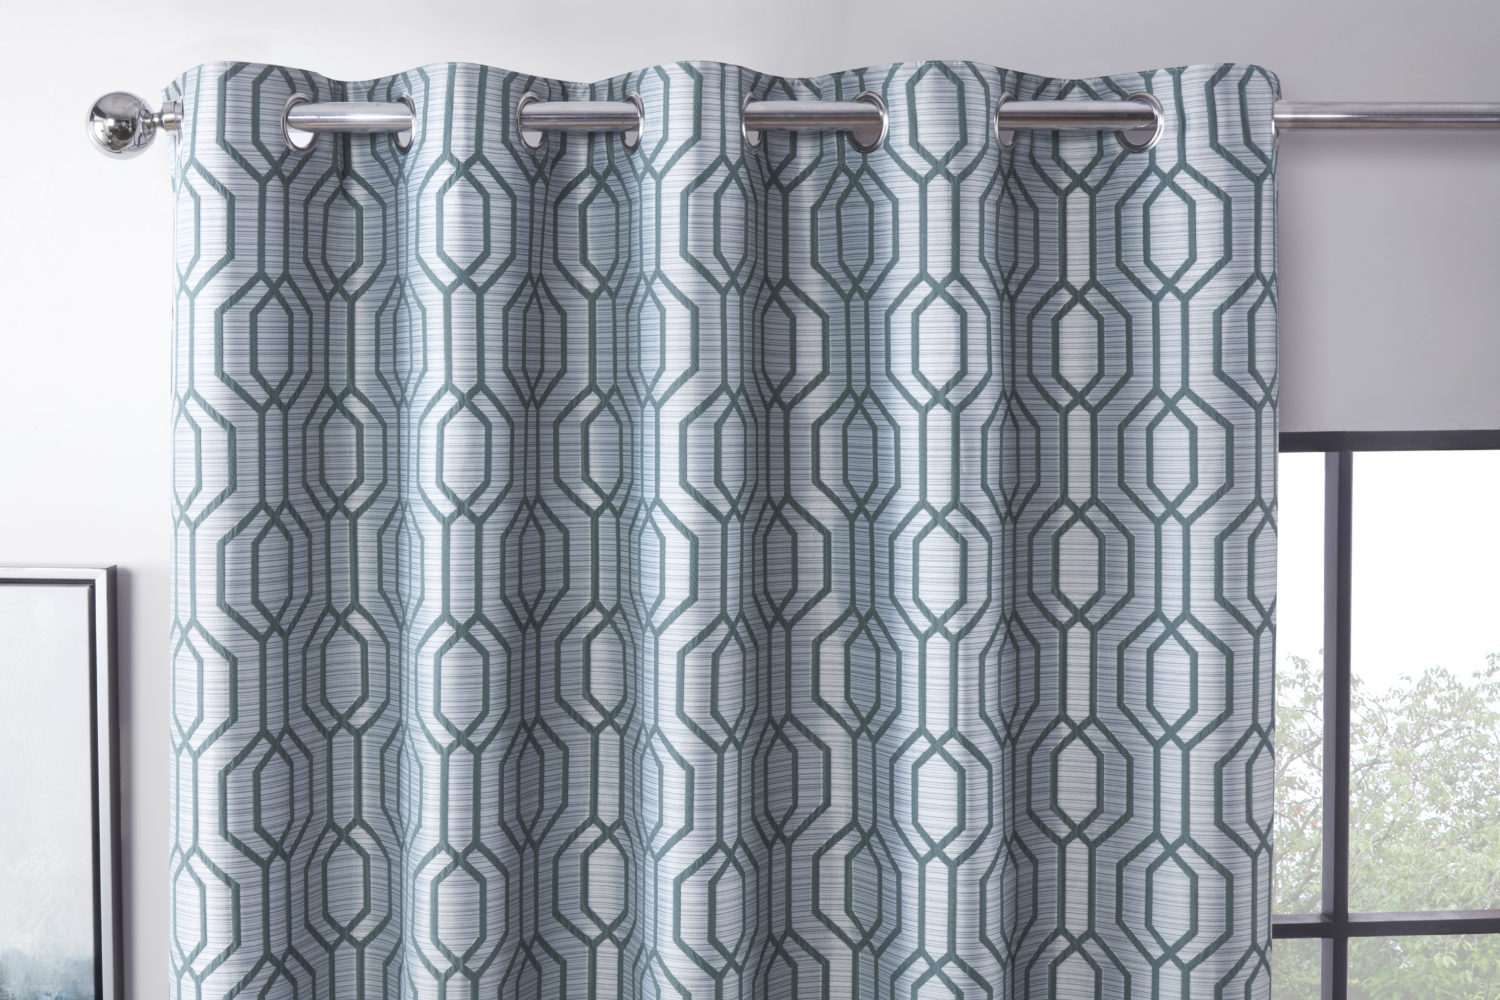
- Prepare the curtains:
- Attach curtain hooks or rings:
- Slide the curtains onto the rod or track:
- Arrange the curtains:
- Secure the curtains:
- Step back and admire:
If your curtains have wrinkles or creases from packaging, you may need to iron or steam them before hanging. Follow the manufacturer’s instructions for the proper care and maintenance of your specific curtains.
If your curtains require hooks or rings, attach them to the top edge of the curtains. Make sure to evenly space out the hooks or rings to achieve a uniform look when hanging the curtains.
Carefully slide the curtains onto the curtain rod or track. If you have multiple curtain panels, slide them onto the rod or track in the desired order.
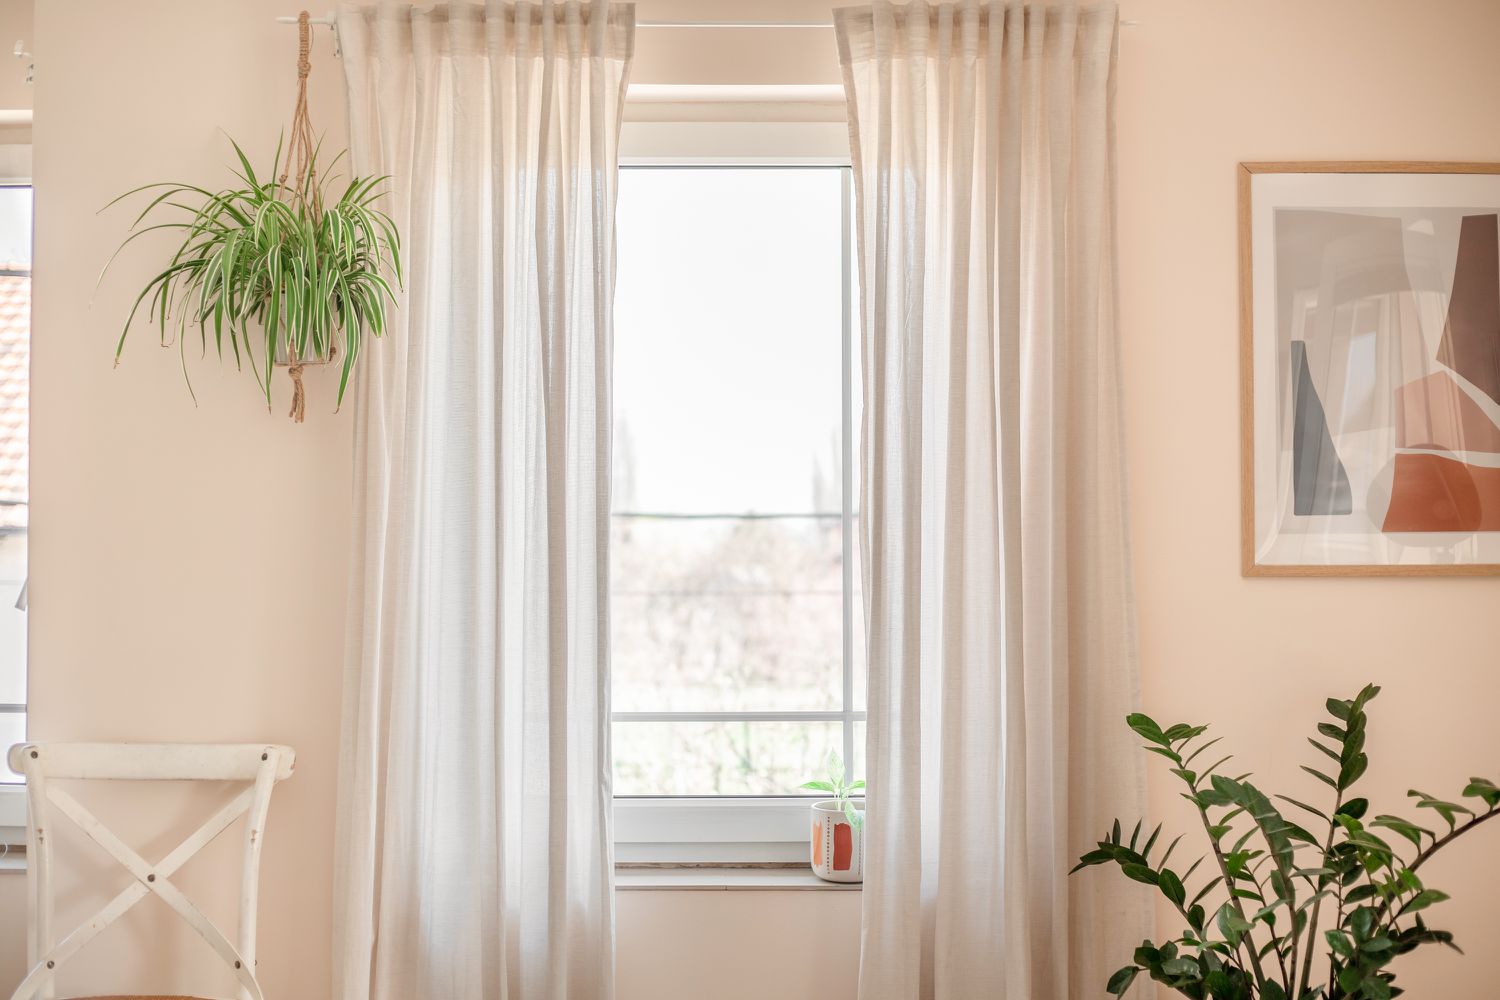
Once the curtains are on the rod or track, take a step back and assess their placement and appearance. Adjust the curtains as needed to ensure they hang evenly and align with the windows.
If your curtains have tiebacks or holdbacks, use them to secure the curtains in an open position if desired. This will allow natural light to filter through while adding an elegant touch to your window treatment.
Stand back and admire your newly hung curtains. Make any final adjustments to ensure they hang perfectly and create the desired look in your space. Enjoy the enhanced beauty and functionality that curtains bring to your windows.
Hanging curtains is the final step in the process of replacing blinds. Take your time to ensure that the curtains are hung straight, evenly spaced, and visually appealing. Properly hung curtains can significantly enhance the aesthetic appeal of your windows and add a touch of elegance to any room.
Step 6: Adjust and Style the Curtains
Now that your curtains are hanging beautifully, it’s time to put the finishing touches on your window treatment. Follow these steps to adjust and style the curtains:
- Adjust the length:
- Create pleats or folds:
- Add curtain tiebacks or holdbacks:
If your curtains are too long and pooling on the floor, you may need to hem them for a neater look. Alternatively, if they’re too short, you can add a decorative trim or consider using curtain lengtheners to extend them.
If you prefer a more formal and structured look, you can create pleats or folds in the curtains. Pinch the fabric together at regular intervals and secure it with curtain clips or pins. This will add depth and texture to the curtains.
If your curtains aren’t already secured in an open position, you can use curtain tiebacks or holdbacks to sweep them to the sides. This will allow natural light to enter the room while adding a touch of elegance and framing your windows.
If you’re looking for more versatility and style, consider layering curtains. Hang sheer curtains behind your main curtains to diffuse light and add depth to your window treatment. It will create a luxurious and layered look.
To further enhance the aesthetics of your window treatment, consider adding decorative elements like curtain valances, trimmings, or tassels. These small details can make a big impact and add a personalized touch to your curtains.
Stand back and assess the overall appearance of your curtains. Make any final adjustments or tweaks to ensure they are symmetrical, visually pleasing, and aligned with your desired style.
Taking the time to adjust and style your curtains will add that extra touch of finesse and make your window treatment truly unique. Play around with different techniques and embrace your creativity to achieve the desired look for your space.
Conclusion
Replacing blinds with curtains is a simple and effective way to refresh the look of your windows and transform the ambiance of your living space. By following the step-by-step process outlined in this article, you can successfully replace your blinds with curtains and enjoy the many benefits they bring.
Starting with the removal of the blinds, you learned how to measure your windows accurately to ensure a proper fit. The process continued with choosing the right curtains based on style, functionality, fabric, and hardware compatibility. Installing the curtain rods or tracks was the next step, providing a sturdy foundation for hanging the curtains.
Once the curtains were hung, you had the opportunity to adjust and style them to your liking. Whether it was adjusting the length, creating pleats, adding tiebacks or holdbacks, layering curtains, or incorporating decorative elements, you were able to customize your window treatment to suit your taste and home decor.
With your new curtains in place, you can now bask in the beauty they bring to your windows. Not only do curtains add elegance and style, but they also provide privacy, control sunlight, and enhance the overall ambiance of a room. They have the power to transform a space and create a cozy, inviting atmosphere for you and your loved ones to enjoy.
Remember, when replacing blinds with curtains, take your time, measure accurately, and choose curtains that speak to your personal style and design preferences. With the right materials, installation, and styling, your new curtains will become a focal point in your home, adding warmth and charm to every room.
So go ahead, embrace the versatility and beauty of curtains, and give your windows the upgrade they deserve!
Frequently Asked Questions about How To Replace Blinds With Curtains
Was this page helpful?
At Storables.com, we guarantee accurate and reliable information. Our content, validated by Expert Board Contributors, is crafted following stringent Editorial Policies. We're committed to providing you with well-researched, expert-backed insights for all your informational needs.