Articles
How To Remove Gutters To Replace Fascia
Modified: May 6, 2024
Learn how to remove gutters to replace fascia in this informative articles. Find step-by-step instructions and expert tips to ensure a smooth and successful project.
(Many of the links in this article redirect to a specific reviewed product. Your purchase of these products through affiliate links helps to generate commission for Storables.com, at no extra cost. Learn more)
Introduction
Welcome to our comprehensive guide on how to remove gutters to replace fascia. The fascia is an essential part of the roof’s structure, providing support and protection for the edge of the roof. Over time, however, fascia may become damaged due to age, weather conditions, or improper installation. When this happens, it’s crucial to replace the damaged fascia promptly to avoid further structural issues and potential water damage to your home.
Removing gutters in order to replace the fascia is a necessary step in the process. While it may seem like a challenging task, with the right tools, materials, and knowledge, you can successfully complete this project on your own. Not only will it save you money, but it also allows you to have better control over the quality of workmanship.
In this article, we will guide you through the step-by-step process of removing gutters to replace fascia. We’ll also provide important safety precautions to ensure your well-being during the project. So, let’s get started.
Key Takeaways:
- Properly maintaining and replacing damaged fascia is crucial for protecting your home from water damage, maintaining structural integrity, and enhancing curb appeal. Regular inspections and proactive repairs can ensure long-term durability.
- Prioritizing safety, using the right tools, and following a systematic approach are essential for successfully removing gutters and replacing fascia. By taking the necessary precautions and following the step-by-step guide, homeowners can confidently tackle this important home improvement project.
Read more: How To Install Gutters On Angled Fascia
Significance of Replacing Fascia
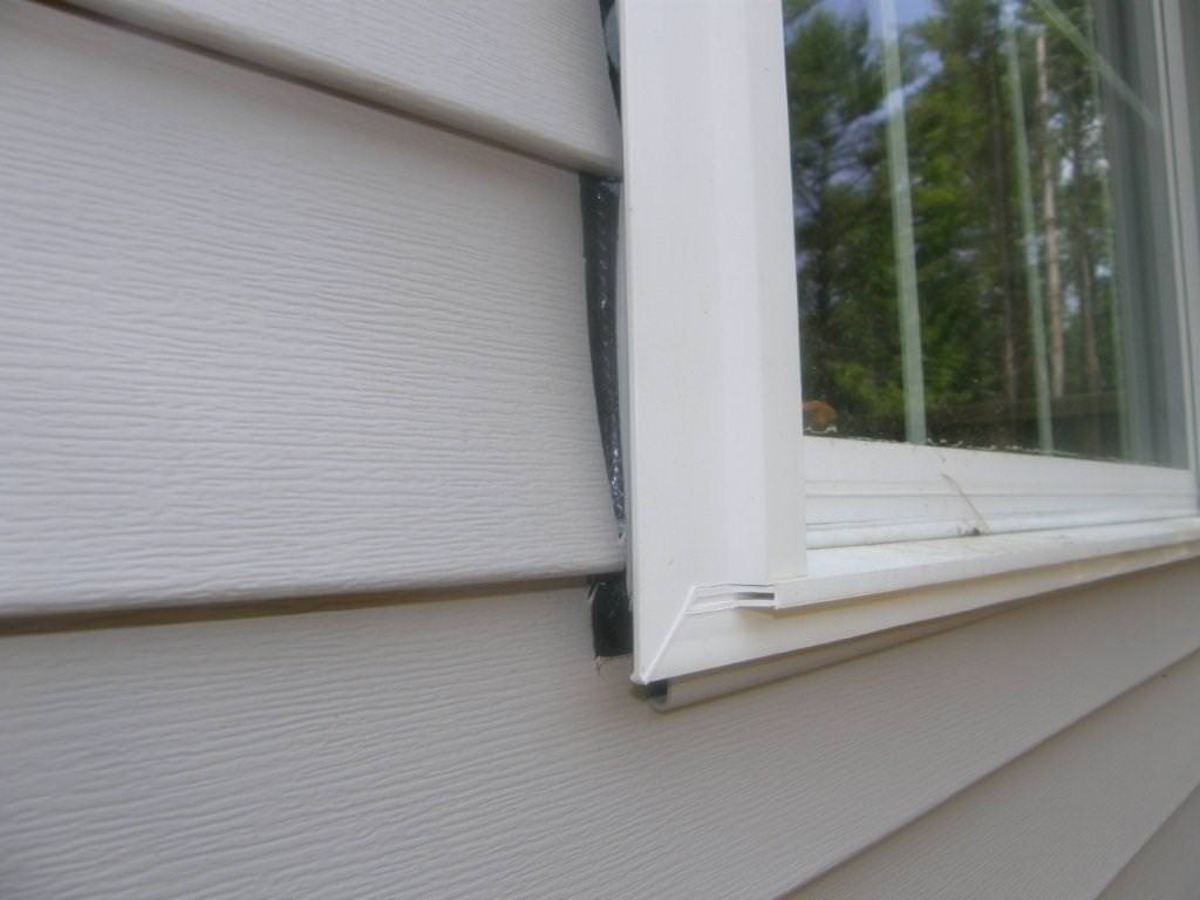
The fascia plays a critical role in protecting your home from water damage. It is the horizontal board that is mounted at the edge of the roof and is typically made of wood, PVC, or aluminum. Fascia provides support for the lower edge of the roof, holding the gutters in place and preventing water from seeping into the roof structure.
Over time, fascia can deteriorate due to exposure to the elements, pests, or even improper installation. When the fascia is damaged, it compromises the integrity of the roof and can lead to significant problems if not addressed promptly. Here are some reasons why replacing damaged fascia is essential:
- Prevent water damage: One of the main functions of the fascia is to direct water away from the roof and into the gutters. Damaged fascia can allow water to seep into the roof, leading to leaks and water damage. By replacing the fascia, you can ensure proper water drainage and protect your home from costly repairs.
- Maintain structural integrity: The fascia acts as a support for the lower edge of the roof. When the fascia is weakened or damaged, it can compromise the entire roof structure. Replacing the fascia ensures that your roof remains stable and structurally sound.
- Prevent pest infestation: Damaged fascia can create openings for pests such as rodents, birds, or insects to enter your home. These pests can cause damage to your property and pose a health risk to you and your family. By replacing the fascia, you can eliminate potential entry points and prevent infestations.
- Enhance curb appeal: The fascia is visible from the street and contributes to the overall appearance of your home. If the fascia is deteriorated or damaged, it can detract from the aesthetic appeal of your property. Replacing the fascia can give your home a fresh and updated look.
It’s important to regularly inspect your fascia for any signs of damage and address issues promptly. By replacing damaged fascia, you can ensure the long-term durability, functionality, and beauty of your home.
Tools and Materials Needed
Before you begin the process of removing gutters to replace fascia, it’s important to gather all the necessary tools and materials. Having everything prepared in advance will ensure a smooth and efficient process. Here is a list of tools and materials you will need:
Tools:
- Ladder: A sturdy extension ladder or step ladder that will reach the height of your gutters. Make sure the ladder is in good condition and placed on a stable surface.
- Screwdriver or Drill: Depending on the type of gutter fasteners used, you will need either a screwdriver or a drill to remove the screws or spikes holding the gutters in place.
- Pry Bar: A pry bar will be useful in detaching the gutter brackets from the fascia.
- Tape Measure: To measure the length and width of the fascia to ensure accurate replacement.
- Level: A level will help you align the new fascia properly.
- Hammer: A hammer will be needed to remove any stubborn gutter spikes or nails.
- Caulking Gun: To apply caulk when securing the new fascia.
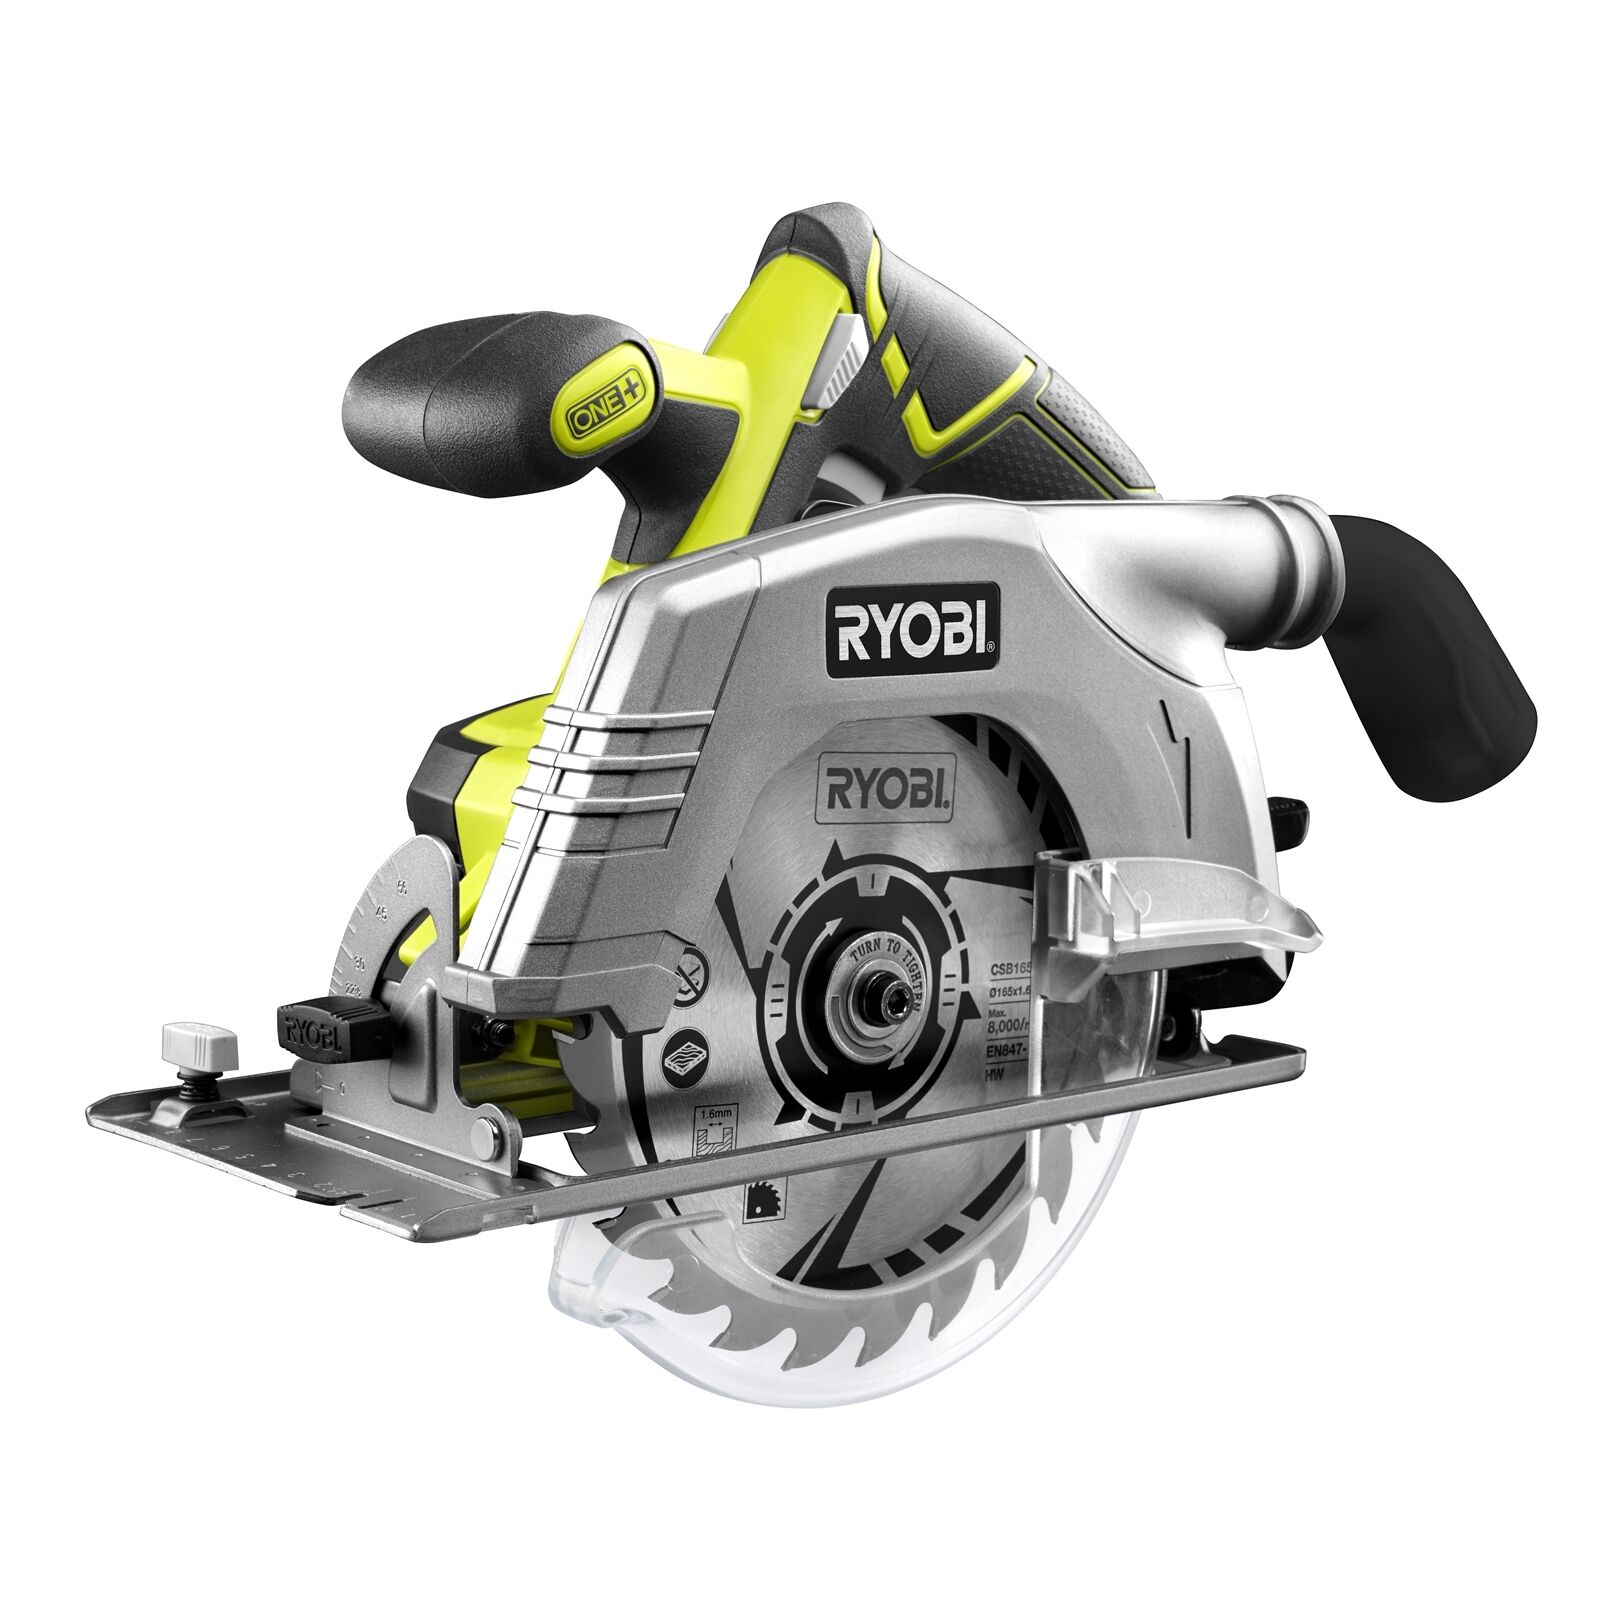
- Saw: A hand saw or circular saw will be necessary to cut the new fascia to the appropriate size.
Materials:
- New Fascia Board: Measure the length and width of the existing fascia to determine the size of the replacement board. Choose a material that is durable and suitable for your specific climate.
- Gutter Brackets: If the existing gutter brackets are damaged or worn, it’s advisable to replace them with new ones to ensure proper support.
- Gutter Screws or Spikes: Depending on the type of gutter system, you may need new screws or spikes to reattach the gutters to the fascia.
- Caulk: High-quality caulk that is suitable for outdoor use to seal any gaps between the fascia and gutters.
- Safety Gear: Don’t forget to prioritize safety and wear appropriate gear, including gloves, safety glasses, and a dust mask.
Ensure that all tools and materials are readily available before beginning the project. It’s important to have everything on hand to avoid unnecessary delays or interruptions during the process of removing gutters to replace fascia.
Read more: How To Install Gutters Without Fascia
Safety Precautions
When undertaking any home improvement project, including removing gutters to replace fascia, it’s crucial to prioritize safety. Here are some important safety precautions to keep in mind:
- Use a sturdy ladder: Ensure that the ladder you use is in good condition, properly set up, and placed on a stable surface. Always maintain three points of contact (two hands and one foot or two feet and one hand) when climbing up or down the ladder.
- Wear appropriate safety gear: Protect your hands with gloves, your eyes with safety glasses, and your respiratory system with a dust mask. This will safeguard you from debris and potential hazards.
- Be mindful of power lines: Before positioning the ladder or using any power tools, make sure there are no overhead power lines nearby. Keep a safe distance to prevent any accidents or electrocution.
- Use caution when handling tools: Always follow the manufacturer’s instructions when using tools. Be careful with sharp edges and blades, and avoid pointing them towards yourself or others. Keep your fingers and hands clear of moving parts.
- Work with a partner: It’s advisable to have someone else present when working on the ladder or handling heavy materials. They can assist you, provide support, and be prepared to take action in case of an emergency.
- Be aware of your surroundings: Take note of your surroundings and be cautious of any potential hazards. Avoid working near electrical outlets, slippery surfaces, or uneven ground.
- Watch for insect nests: Before starting the project, inspect the area for any signs of insect nests or hives. Be cautious when removing gutters or fascia to avoid disturbing any existing nests.
- Do not overreach: Always maintain a stable and balanced position on the ladder. Avoid overreaching, as it can result in the ladder tipping over or losing your balance.
- Follow proper lifting techniques: When carrying heavy materials or tools, use proper lifting techniques. Bend your knees and lift with your legs, rather than your back, to avoid strain or injury.
- Check weather conditions: Avoid working on the project during inclement weather conditions, such as high winds, heavy rain, or storms. Slippery conditions can make the ladder unstable and pose additional risks.
Remember, safety should always be the top priority. Take the necessary precautions and exercise caution throughout the process of removing gutters to replace fascia to ensure a safe and successful project.
Step 1: Clear the Area Around the Gutters
Before you begin removing the gutters to replace fascia, it’s important to clear the area around the gutters. This will provide you with a safe and clutter-free workspace. Here are the steps to follow:
- Remove any debris: Start by removing any leaves, twigs, or other debris that may have accumulated in the gutters. Use a small handheld scoop or your hands to clear out the debris. Dispose of it in a trash bag or compost it if applicable.
- Clean the gutters: Once the debris is cleared, give the gutters a thorough cleaning. Use a stiff brush or a pressure washer to remove any dirt or grime. This will help ensure a clean and unobstructed flow of water through the gutters.
- Inspect for damage: While cleaning the gutters, inspect them for any signs of damage, such as cracks, holes, or loose joints. Note any areas that may require repair or replacement.
- Clear the surrounding area: Clear any obstacles or obstructions around the gutters. Trim back any overhanging branches or foliage that may interfere with the removal process.
- Protect landscaping: If you have delicate landscaping or plants near the gutters, consider covering them with a tarp or drop cloth to protect them from falling debris or damage during the removal process.
By clearing the area around the gutters, you’ll create a safer and more accessible workspace for the upcoming steps. Plus, you’ll have a better view of the fascia and any potential issues that need to be addressed.
Step 2: Gather Necessary Tools and Materials
Now that the area around the gutters is clear, it’s time to gather all the necessary tools and materials that you will need for removing the gutters and replacing the fascia. Having everything ready beforehand will save you time and ensure a smoother workflow. Here’s what you’ll need:
Tools:
- Ladder: Make sure you have a sturdy ladder that is tall enough to reach the gutters comfortably. Choose a ladder with non-slip feet for added stability.
- Screwdriver or Drill: Depending on the type of fasteners used on your gutters, you’ll need either a screwdriver or a drill to remove them. Have the appropriate tools and any necessary bits or attachments.
- Pry Bar: A pry bar or a small crowbar will come in handy for detaching the gutter brackets from the fascia. Choose one that is the appropriate size and strength for the job.
- Tape Measure: You’ll need a tape measure to measure the length and width of the fascia and determine the size of the replacement board.
- Level: An accurate level will help ensure that the new fascia is installed straight and level. Choose a level that is suitable for your needs and easy to handle.
- Hammer: Have a hammer available to remove any stubborn gutter spikes or nails that may be holding the gutters in place.
- Caulking Gun: You’ll need a caulking gun to apply caulk when securing the new fascia. Make sure you have a high-quality caulking gun that dispenses the caulk smoothly and evenly.
- Saw: A hand saw or a circular saw will be necessary for cutting the new fascia to the appropriate size. Choose a saw that is suitable for the type of material you are working with.
Materials:
- New Fascia Board: Measure the length and width of the existing fascia to determine the size of the replacement board. Choose a fascia board that matches the style and material of your existing fascia.
- Gutter Brackets: Assess the condition of your current gutter brackets. If they are damaged or worn, consider replacing them with new brackets for better support. Make sure to choose brackets that are compatible with your gutter system.
- Gutter Screws or Spikes: Depending on the type of gutter system you have, you’ll need new screws or spikes to fasten the gutters to the fascia. Ensure that you have the correct size and quantity for your specific gutter setup.
- Caulk: Use high-quality caulk that is suitable for exterior use to seal any gaps between the fascia and the gutters. Select a caulk that is compatible with the materials you are working with.
- Safety Gear: Don’t forget to gather the necessary safety gear, including gloves, safety glasses, and a dust mask, to protect yourself during the project.
Once you have all the tools and materials ready, you’ll be well-prepared for the next steps of removing the gutters and replacing the fascia.
Step 3: Secure a Ladder and Put on Safety Gear
Now that you have gathered all the necessary tools and materials, it’s time to take the necessary safety precautions before starting the process of removing the gutters to replace the fascia. This step involves securing a ladder and putting on the appropriate safety gear. Here’s what you need to do:
Secure a Ladder:
- Select a sturdy ladder: Choose a ladder that is appropriate for the height of your gutters and is in good condition. Ensure that the ladder is fully extended and locked in place securely.
- Place the ladder on a stable surface: Set up the ladder on a flat and level surface. Avoid soft or uneven ground that could cause the ladder to wobble or shift. If necessary, use ladder stabilizers or place plywood beneath the ladder feet to provide stability.
- Angle the ladder appropriately: The ladder should be placed at a safe angle against the wall or fascia. The base of the ladder should be positioned roughly one-quarter of the working height (about 1 foot away from the wall for every 4 feet of working height).
- Secure the ladder: Secure the ladder by tying it off at the top or using ladder stabilizers to prevent it from slipping or shifting while you work. Consider having a helper or spotter hold the ladder steady for added safety.
Put on Safety Gear:
- Safety Glasses: Protect your eyes from debris, dust, and potential injuries by wearing safety glasses or goggles. Choose eyewear that is impact-resistant and provides proper coverage.
- Gloves: Wear sturdy work gloves to protect your hands from sharp edges, debris, or other potential hazards. Choose gloves that are appropriate for the specific tasks you’ll be performing.
- Dust Mask: When working with old fascia or gutters, there may be a buildup of dust or debris. Wear a dust mask or respirator to protect your respiratory system from fine particles and allergens.
- Additional Safety Equipment: Depending on the specific circumstances of your project, consider additional safety gear such as a hard hat, knee pads, or hearing protection if applicable.
Securing a ladder properly and wearing the appropriate safety gear is vital to keep you safe while working at heights and handling potentially hazardous materials. Take the time to set up the ladder correctly and ensure that you are protected with the necessary safety equipment before proceeding to the next steps.
Read more: How To Replace Box Gutters
Step 4: Remove Gutter Spikes or Screws
With the ladder secured and safety gear in place, it’s time to begin the process of removing the gutters. This step involves removing the gutter spikes or screws that hold the gutters in place. Follow these steps:
- Identify the type of fasteners: Take a close look at your gutters to determine whether they are held in place by gutter spikes or screws. This will help you determine the appropriate tools needed for removal.
- Prepare the necessary tools: Depending on the fastener type, equip yourself with a screwdriver or a drill with the appropriate bit to remove gutter screws, or a hammer and pry bar to remove gutter spikes.
- Start at one end of the gutter: Begin at one end of the gutter and work your way along its length. It’s best to start at the downspout end and move towards the other end.
- Remove the gutter spikes: If your gutters are secured with spikes, insert the pry bar under the spike head, applying gentle pressure to lift it away from the fascia. Once the spike is loose, use the hammer to carefully pull it out. Repeat this process for each spike along the gutter length.
- Remove the gutter screws: If your gutters are fastened with screws, use a screwdriver or drill to remove them. Place the appropriate bit securely into the screw head and turn counterclockwise to loosen and remove each screw. Continue along the entire length of the gutters, removing all the screws.
- Set aside the removed fasteners: As you remove the spikes or screws, set them aside in a safe place. This will ensure that they don’t get lost and can be reused or replaced when reinstalling the gutters.
By carefully removing the gutter spikes or screws, you can detach the gutters from the fascia and proceed to the next step of disconnecting the gutter sections. Remember to exercise caution and be mindful of your surroundings while working with tools and removing the fasteners.
Step 5: Disconnect Gutter Sections
Now that the gutter spikes or screws have been removed, it’s time to disconnect the gutter sections from each other. This step involves separating the gutter sections to prepare for the removal of the fascia. Follow these steps:
- Start at one end of the gutter: Begin at one end of the gutters, preferably at the downspout end. This will make it easier to disconnect and remove the gutter sections one by one.
- Inspect the connection points: Take a close look at the connection points between the gutter sections. Look for any screws, brackets, or other fasteners that hold the sections together.
- Remove the fasteners: Use a screwdriver or drill, if necessary, to remove any screws or fasteners that connect the gutter sections. Set them aside for later use or replacement.
- Detach the gutter sections: Once the fasteners are removed, gently separate the gutter sections from each other. Carefully wiggle the sections back and forth to loosen them, taking care not to apply too much force that may bend or damage the gutters.
- Continue along the gutter length: Move along the gutter length, disconnecting each section one by one until all the gutter sections are separated.
- Set aside the disconnected gutter sections: As you disconnect each gutter section, set them aside in a safe area to prevent them from getting damaged. Keep them organized to make reinstallation easier.
By disconnecting the gutter sections, you are preparing them for removal and making way for the subsequent steps of removing the fascia and replacing it. Take your time and handle the gutter sections with care to prevent any unnecessary damage or bending. With the gutter sections separated, the next step will involve carefully removing the gutter brackets from the fascia.
Step 6: Carefully Remove Gutter Brackets
With the gutter sections disconnected, the next step is to remove the gutter brackets. These brackets are the hardware that attaches the gutters to the fascia. Removing them will make it easier to access the fascia for replacement. Follow these steps to remove the gutter brackets:
- Inspect the gutter brackets: Take a close look at the gutter brackets to assess their condition. Look for any signs of damage, such as rust, corrosion, or wear and tear. Note any brackets that need to be replaced.
- Position yourself securely on the ladder: Ensure that the ladder is secured and stable. Position yourself comfortably on the ladder, maintaining a firm grip and balanced posture.
- Use a pry bar or screwdriver: Depending on the type of gutter brackets, you may use a pry bar or a screwdriver to remove them. For spike and ferrule brackets, use a pry bar to carefully pry them away from the fascia. For screw brackets, use a screwdriver to turn each screw counterclockwise to loosen and remove them.
- Work systematically: Begin at one end of the gutters and systematically remove each gutter bracket along the entire length. Take your time and ensure that each bracket is fully removed before moving on to the next one.
- Set aside the removed gutter brackets: As you remove each gutter bracket, set them aside in a safe location. Keep them organized and make note of any brackets that need replacement. This will make it easier for you to reattach the gutters later on.
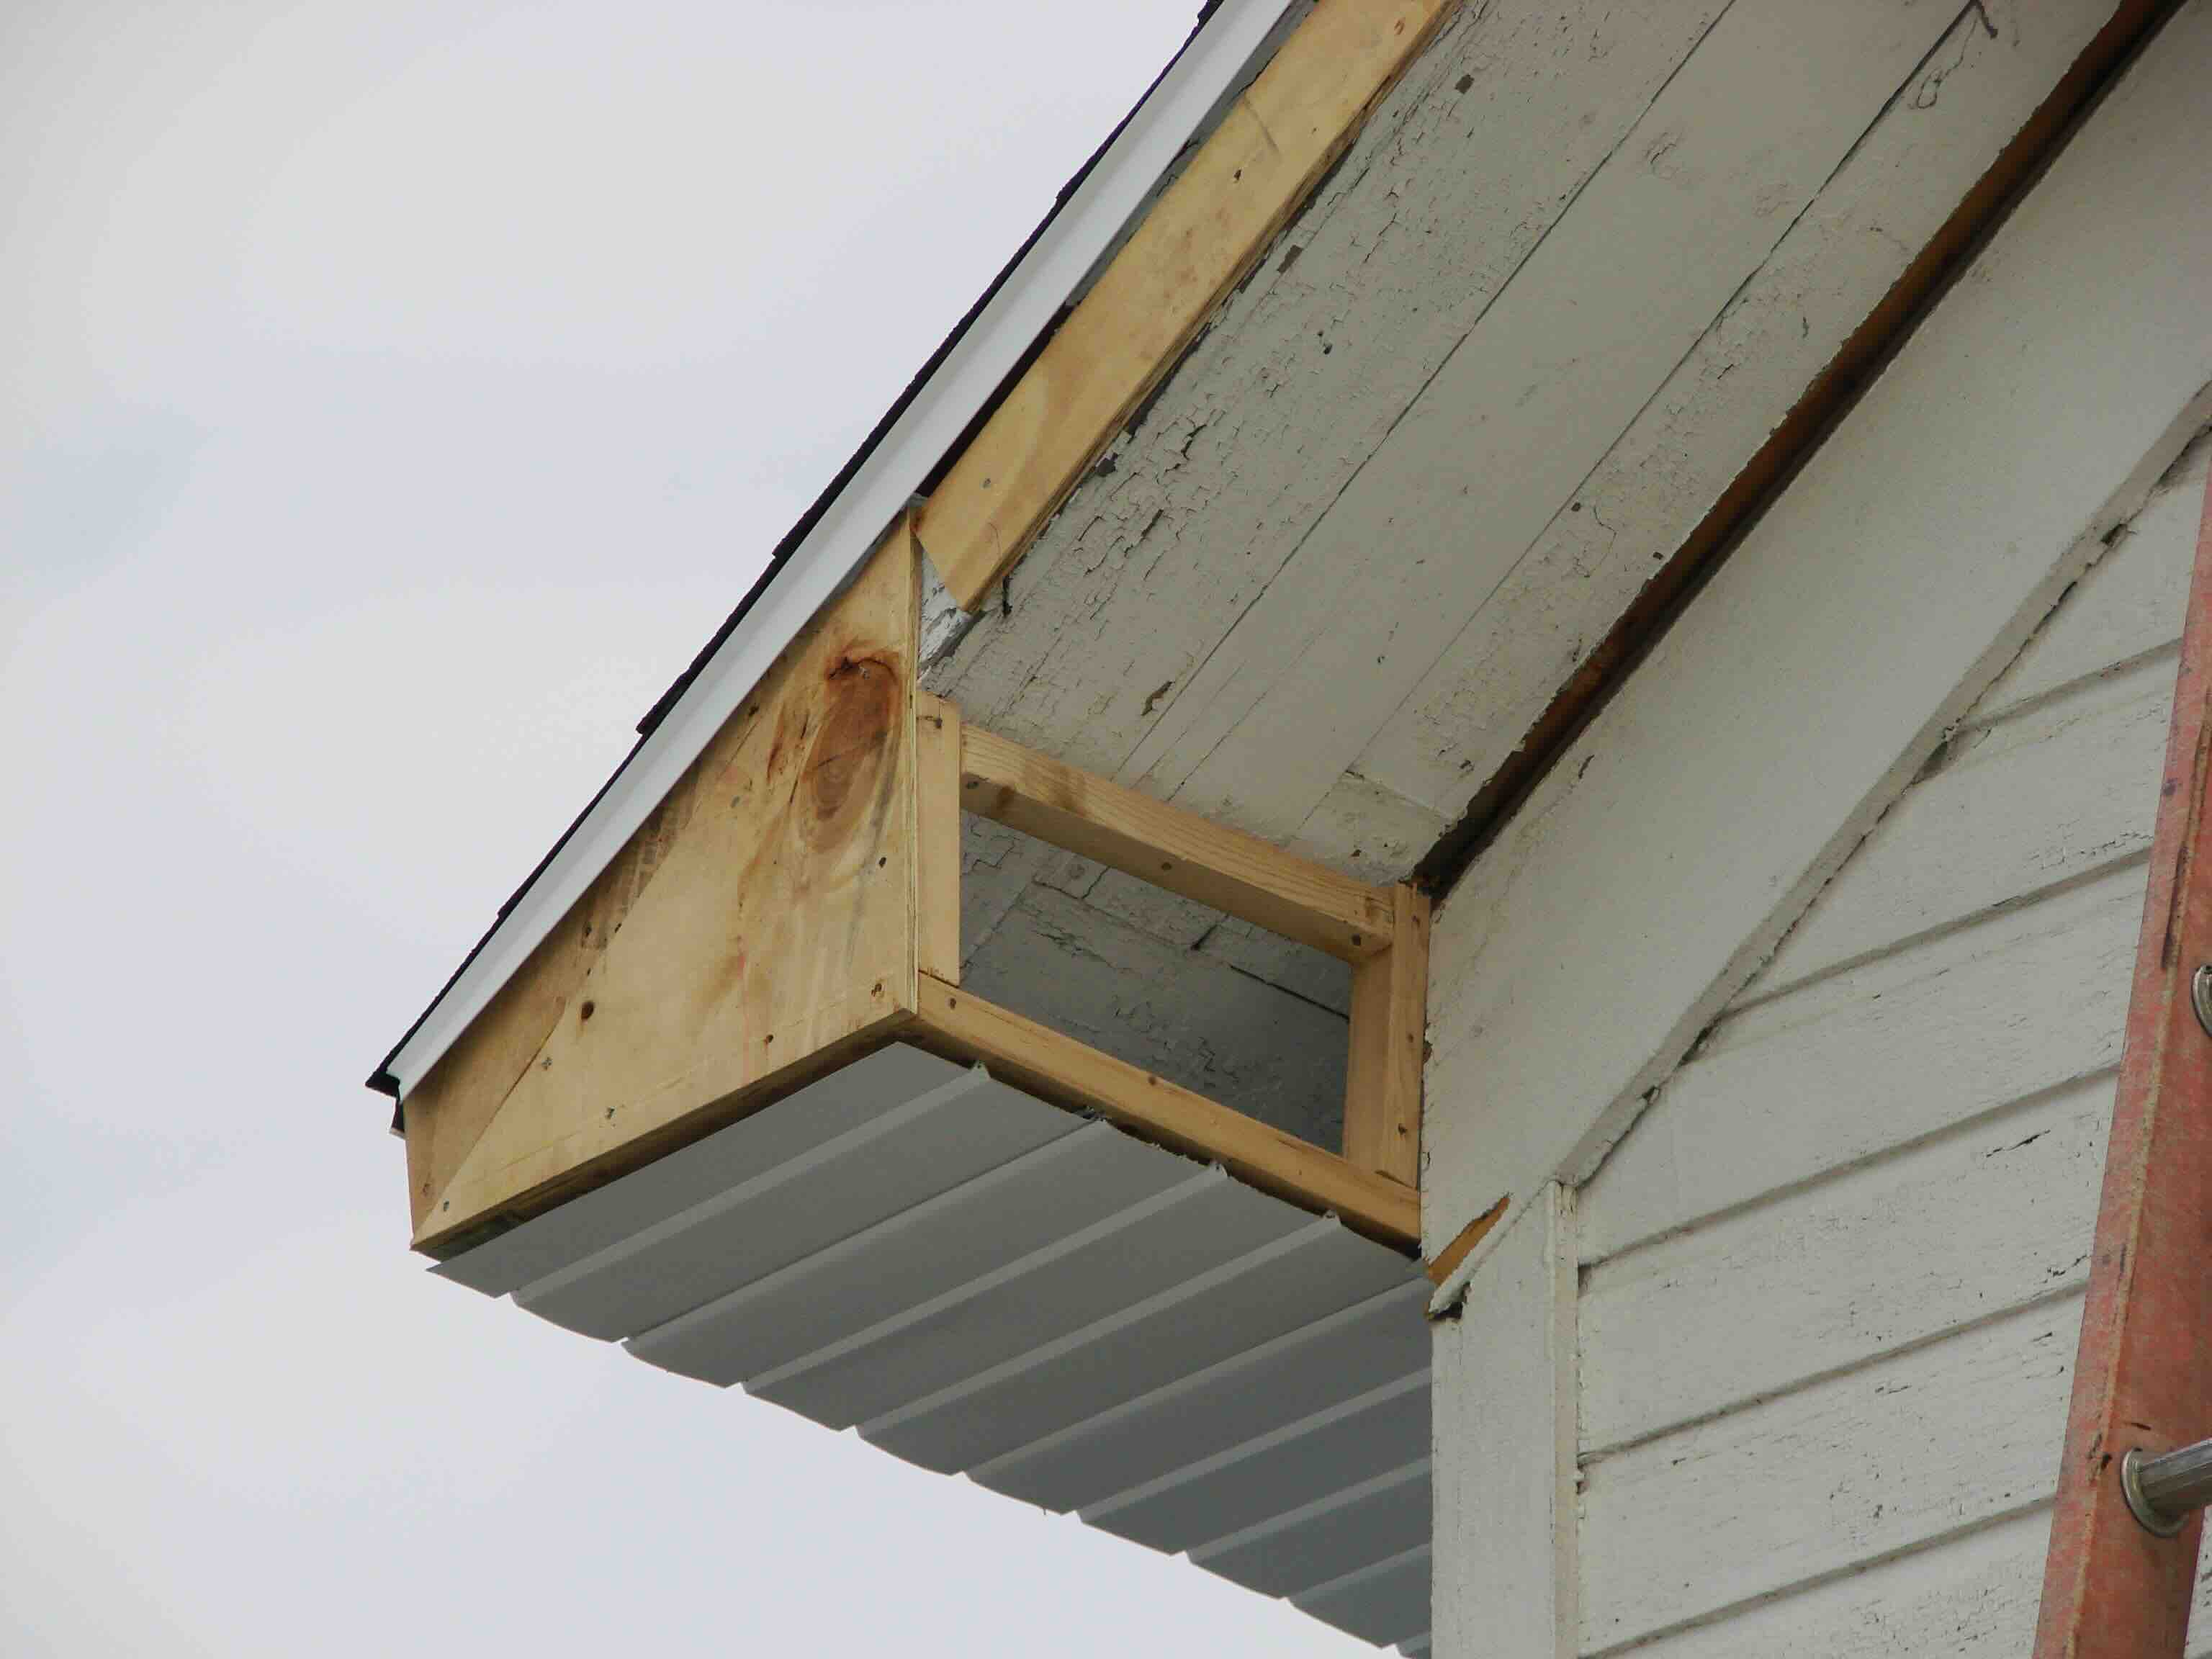
- Inspect the fascia: While removing the gutter brackets, take the opportunity to inspect the condition of the fascia. Look for any signs of damage, rot, or deterioration that may require repair or replacement.
By carefully removing the gutter brackets, you are one step closer to replacing the fascia. Pay attention to any brackets that need replacement and prioritize the proper care and handling of all materials throughout the process. With the gutter brackets removed, you can proceed to the next step of inspecting and replacing the fascia as needed.
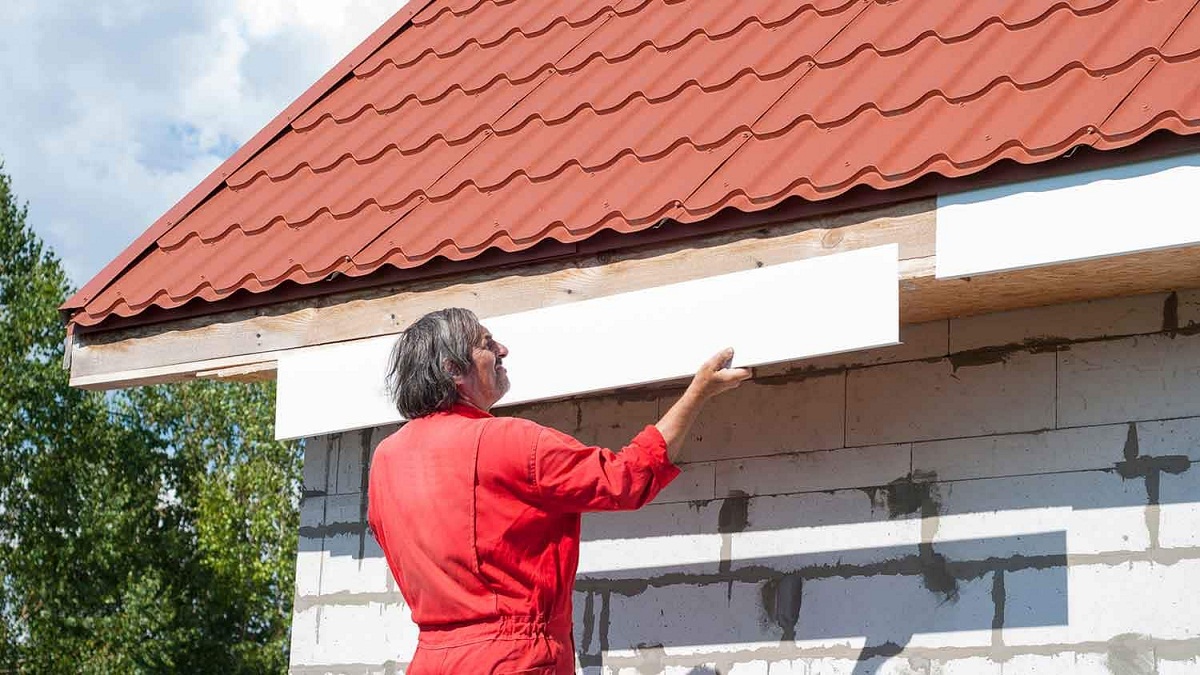
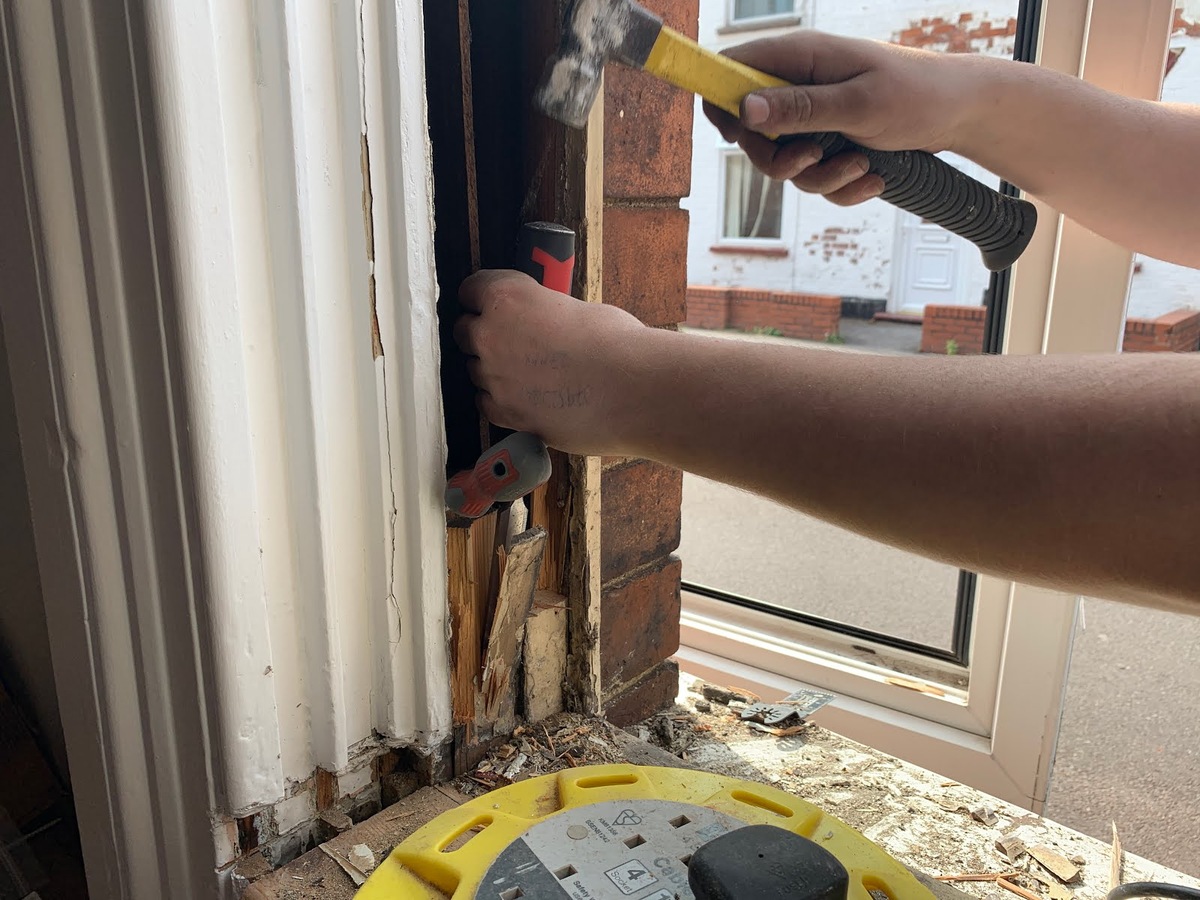
Step 7: Inspect and Replace Fascia
With the gutter brackets removed, it’s time to inspect the fascia for any signs of damage and determine if it needs to be replaced. Follow these steps to properly assess and replace the fascia:
- Closely examine the fascia: Carefully inspect the fascia along its entire length. Look for any signs of rot, water damage, cracks, or other structural issues. Pay attention to areas near the gutter brackets and where the fascia meets the roof.
- Probe for soft spots: Use a small screwdriver or awl to gently probe the fascia. If you encounter soft or spongy areas, it’s a strong indication of rot or water damage. Mark these areas for replacement.
- Measure the length and width: Measure the length and width of the damaged fascia to determine the size of the replacement board. Start at one end of the fascia and measure to the other end. Make note of the measurements, ensuring accuracy.
- Prepare the new fascia board: Use the measurements to cut the new fascia board to the appropriate size using a hand saw or circular saw. Ensure that the new fascia board is made of durable and weather-resistant material that matches the existing fascia.
- Secure the new fascia: Position the new fascia board against the fascia area that needs replacement. Use screws or nails to secure the board to the rafters or other structural supports behind the fascia. Make sure the new board is level and securely fastened.
- Fill and seal any gaps: Use caulk or filler to fill any gaps or seams between the new fascia board and the existing fascia. Smooth out the caulk or filler using a putty knife and allow it to dry according to the manufacturer’s instructions.
- Prime and paint the new fascia: If necessary, prime and paint the new fascia board to match the existing color and finish. Follow the paint manufacturer’s instructions and apply multiple coats as needed for proper coverage.
Replacing the fascia is a crucial step in maintaining the structural integrity and aesthetic appeal of your home. Take your time during the inspection process, ensuring you identify all areas that require replacement. By replacing the damaged fascia with a new, properly installed board, you’ll be safeguarding your home against water damage and ensuring the longevity of your roof system.
Before removing gutters to replace fascia, make sure to disconnect downspouts and remove any gutter guards. Use a sturdy ladder and have a helper to assist with the process for safety. Keep all necessary tools and materials handy.
Read more: How To Remove Tiger Stripes From Gutters
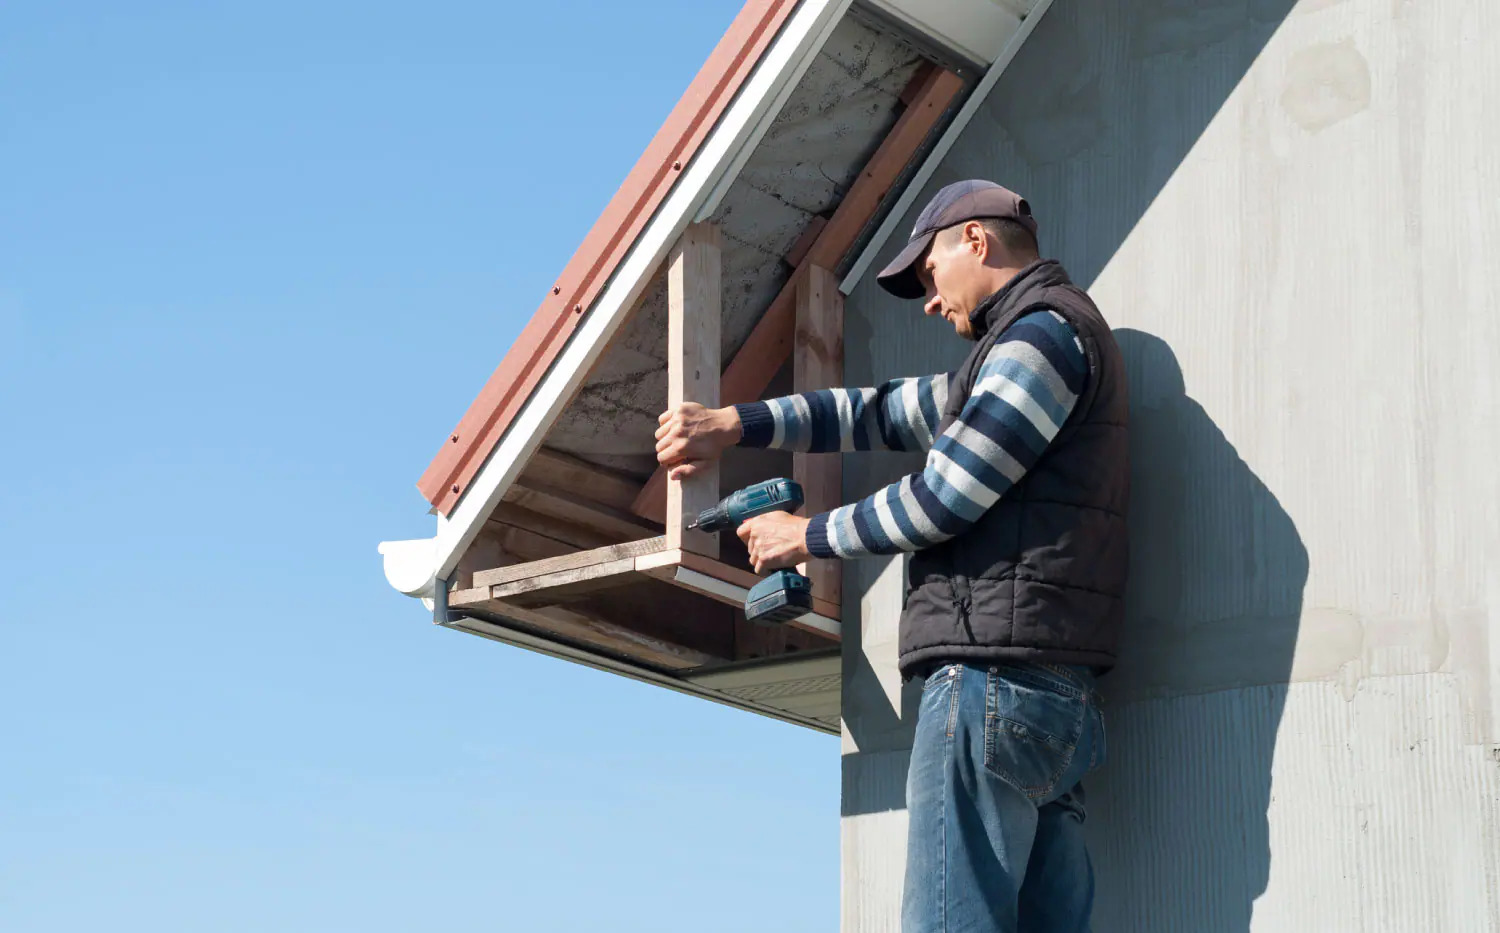
Step 8: Reinstall Gutter Brackets
After replacing the fascia, the next step is to reinstall the gutter brackets. These brackets provide support and stability to the gutters. By securely fastening them to the new fascia, you ensure that the gutters will function properly. Follow these steps to reinstall the gutter brackets:
- Position the gutter brackets: Determine the placement of the gutter brackets along the fascia. Refer to the original placement as a guide, or make any necessary adjustments based on the condition of the new fascia and the spacing recommendation for your specific gutter system.
- Mark the bracket locations: Use a pencil or marker to mark the locations where the gutter brackets will be installed. Ensure that the marks are level and evenly spaced.
- Secure the gutter brackets: Align the first gutter bracket with its marked location on the fascia. Attach it using screws or nails, depending on the type of bracket and your specific gutter system. Make sure the bracket is securely fastened to the fascia, providing stability for the gutters.
- Continue installing the brackets: Proceed to install the remaining gutter brackets, working your way along the length of the gutters. Double-check the alignment and spacing of each bracket before securing it to the fascia.
- Ensure proper alignment: As you install each gutter bracket, check that the gutters are properly aligned. Adjust the brackets as needed to ensure a straight and level installation.
- Inspect the bracket placement: Once all the brackets are installed, step back and inspect their placement. Ensure that they are evenly spaced and provide sufficient support for the gutters.
By reinstalling the gutter brackets properly, you ensure that the gutters are securely attached to the new fascia and can effectively channel water away from your home. Take your time during this step, paying close attention to the alignment and spacing of the brackets for optimal gutter performance.
Step 9: Reattach Gutter Sections
With the gutter brackets securely in place, it’s time to reattach the gutter sections. By properly reconnecting the gutter sections, you ensure that they function effectively in directing water away from your home. Follow these steps to reattach the gutter sections:
- Start at one end of the gutters: Begin at one end of the gutters, preferably at the downspout end, and work your way towards the other end.
- Align the gutter sections: Position the first gutter section in place and align it with the adjacent section. Make sure the gutter sections are properly aligned with no gaps or overlaps.
- Insert the gutter brackets: Slide the gutter brackets into position, connecting them between the gutter sections. Ensure that the brackets fit securely and provide proper support.
- Secure the gutter brackets: Use screws or nails to securely fasten the gutter brackets to both the gutter sections and the fascia. Make sure the brackets are firmly attached to ensure stability.
- Repeat for the remaining gutter sections: Move along the length of the gutters, repeating the process of aligning the gutter sections and attaching the gutter brackets until all the sections are reconnected.
- Check for proper alignment and slope: Step back and inspect the gutter sections to ensure they are properly aligned and have the correct slope towards the downspouts. Adjust the sections as needed to achieve the optimal flow of water.
- Inspect for any leaks or gaps: Once the gutter sections are reattached, inspect them for any signs of leaks or gaps. Run water through the gutters to test for proper flow and check for any areas that may require additional sealing or adjustments.
By reattaching the gutter sections securely and ensuring proper alignment, you guarantee the efficient flow of water away from your home. Take your time during this step, double-checking the alignment and slope of the gutters for optimal functionality. With the gutter sections properly reattached, you can move on to the final step of securing the gutters with new spikes or screws.
Step 10: Secure Gutters with New Spikes or Screws
Now that the gutter sections are reattached, it’s time to secure them in place with new gutter spikes or screws. This will ensure that the gutters remain stable and securely fastened to the fascia. Follow these steps to secure the gutters with new spikes or screws:
- Prepare the new spikes or screws: Gather the appropriate spikes or screws for your specific gutter system. Ensure that they are the correct size and material for a secure installation.
- Position the gutter spikes or screws: Start at one end of the gutters and work your way along the length. Position the spikes or screws at regular intervals, following the manufacturer’s recommendations or the previous spacing if applicable.
- Mark the spike or screw locations: Use a pencil or marker to mark the locations where the spikes or screws will be inserted into the gutter and fascia. Ensure that the marks are aligned and evenly spaced.
- Insert the spikes or screws: Using a hammer or screwdriver, insert the spikes or screws through the gutter and into the fascia at the marked locations. Drive them in firmly but with caution, taking care not to bend or damage the gutters or fascia. Repeat this step for each spike or screw along the length of the gutters.
- Check for proper alignment and stability: Once all the spikes or screws are inserted, step back and check the alignment of the gutters. Ensure that the gutters are straight and level. Give the gutters a gentle shake to confirm that they are securely fastened and stable.
- Inspect for any leaks or gaps: Run water through the gutters to test for any leaks or gaps. Check the entire length of the gutters and observe any areas that may require additional sealing or adjustments.
By securing the gutters with new spikes or screws, you ensure their stability and proper functioning. Take your time during this step, paying close attention to the alignment and spacing of the spikes or screws for optimal gutter performance. With the gutters securely fastened, you’re ready for the final step of cleaning up the work area.
Step 11: Clean Up the Work Area
As you near the end of your project to remove gutters and replace fascia, it’s important to take the time to clean up the work area. Proper cleanup ensures safety, eliminates debris, and leaves your property looking tidy. Follow these steps to clean up the work area:
- Collect and dispose of debris: Gather all debris, such as old gutter spikes or screws, discarded fascia pieces, and any other waste generated during the project. Use a sturdy trash bag or container to collect the debris and dispose of it properly.
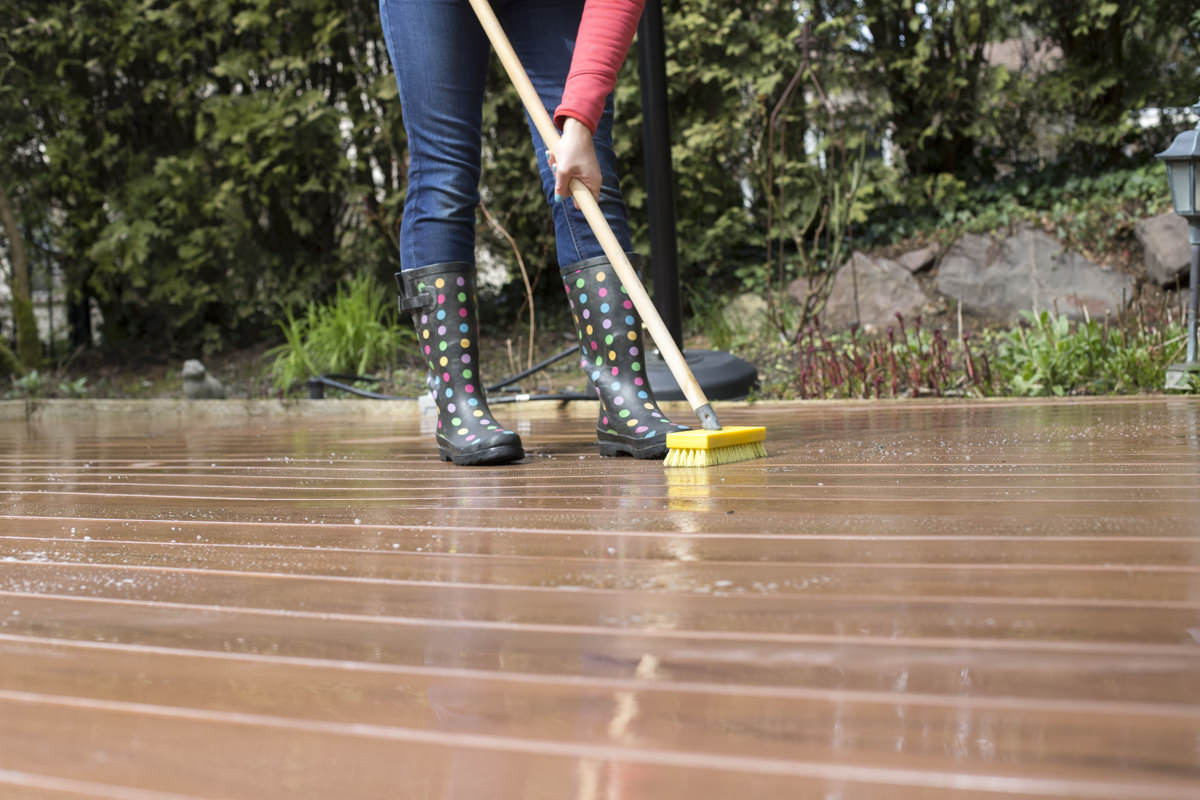
- Clean the gutters: After removing the old gutters, use a gutter scoop or your hands to clear out any remaining debris. Rinse the gutters with a hose to ensure they are clean and free from any clogs or obstructions.
- Clean the work area: Sweep or use a leaf blower to remove any dirt, dust, or fallen leaves from the work area. This includes the ground around the gutters, the ladder, and any nearby surfaces.
- Inspect the surrounding area: Take a moment to inspect the surrounding area for any damage caused during the process. Look for scratches, dents, or any other marks on the walls, roof, or other surfaces near the gutters. Make note of any necessary repairs or touch-ups.
- Store tools and materials: Clean and organize your tools and store them in their proper place. Return any unused materials to their designated storage area for future use.
- Dispose of hazardous materials responsibly: If your project involved the use of hazardous materials, such as caulk or paint, ensure they are disposed of properly according to local regulations. Avoid pouring them down drains or disposing of them in regular trash bins.
- Consider landscaping rejuvenation: Take the opportunity to freshen up your landscaping, if needed. Trim overgrown plants, replace mulch, or modify the layout to enhance the overall appearance of your property.
A clean and organized work area not only improves the overall aesthetics but also prevents potential hazards and ensures a smooth transition from the completion of your project to enjoying the results. Take pride in your work and admire the fresh look of your newly replaced fascia and gutters.
Read more: When Do Gutters Need To Be Replaced
Conclusion
Congratulations, you have successfully completed the process of removing gutters to replace fascia! By following the step-by-step guide provided in this article, you have not only acquired the necessary knowledge but also gained the confidence to tackle this project on your own.
Replacing damaged fascia is essential for maintaining the structural integrity of your roof and protecting your home from water damage. Through careful inspection, removal of the gutters, replacement of the fascia, and reinstallation of the gutters with new brackets and fasteners, you have taken the necessary steps to ensure a strong and durable fascia system.
Throughout the project, it’s important to prioritize safety by using the proper tools, wearing appropriate safety gear, and exercising caution while working at heights. By following the safety precautions outlined in this guide, you have safeguarded yourself against potential hazards.
Remember, maintaining and inspecting your gutters and fascia regularly can extend their lifespan and prevent costly repairs down the line. Be proactive and address any signs of damage or deterioration promptly to ensure the continued functionality and aesthetics of your home.
We hope this comprehensive guide has provided you with the knowledge and confidence to successfully remove gutters and replace fascia. By following these steps and using the proper tools and techniques, you have completed a crucial home improvement project that will protect your home for years to come.
As always, if you have any doubts or concerns, it’s recommended to consult with a professional contractor who can provide expert guidance and assistance. Happy renovating!
Now that you've mastered removing gutters and replacing fascia, why stop there? Enhance your home's appeal and value by exploring other renovation opportunities. Dive into our detailed guide on selecting the finest hardwood floors, perfect for any home renovation effort. This guide will not only give your space a fresh look but also provide lasting durability and style.
Frequently Asked Questions about How To Remove Gutters To Replace Fascia
Was this page helpful?
At Storables.com, we guarantee accurate and reliable information. Our content, validated by Expert Board Contributors, is crafted following stringent Editorial Policies. We're committed to providing you with well-researched, expert-backed insights for all your informational needs.


0 thoughts on “How To Remove Gutters To Replace Fascia”