Articles
How To Replace Steps On Stairs
Modified: August 21, 2024
Learn the step-by-step process of replacing steps on stairs with our helpful articles. Enhance your home's safety and aesthetic appeal today!
(Many of the links in this article redirect to a specific reviewed product. Your purchase of these products through affiliate links helps to generate commission for Storables.com, at no extra cost. Learn more)
Introduction
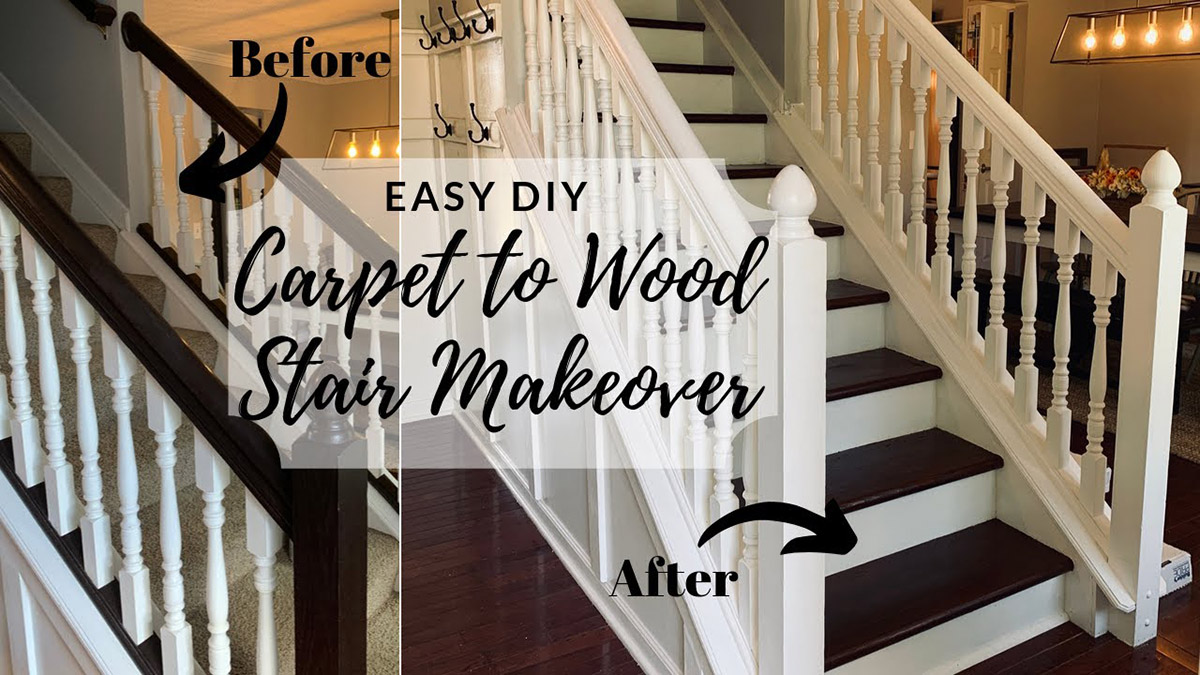
Replacing steps on stairs is a common home improvement project that can enhance both the safety and aesthetic appeal of your staircase. Whether you’re dealing with worn-out steps, damaged surfaces, or simply want to give your stairs a fresh new look, this step-by-step guide will provide you with all the information you need to successfully replace steps on your staircase.
Before diving into the process, it’s important to note that replacing steps on stairs requires some basic carpentry skills and the right tools. It’s always a good idea to gather all the necessary materials and familiarize yourself with the steps involved before getting started. Let’s take a look at the tools and materials you’ll need for this project.
Key Takeaways:
- Replacing steps on stairs is a rewarding DIY project that enhances safety and aesthetics. Prioritize safety, precision, and attention to detail for a successful and visually appealing staircase upgrade.
- From removing old steps to adding finishing touches, this step-by-step guide equips you with the skills and knowledge to transform your staircase. Embrace the journey of improving your living space with confidence and creativity.
Read more: How High Is A Step On Stairs
Tools and Materials Needed
Before you begin replacing steps on stairs, make sure you have the following tools and materials on hand:
- Measuring tape
- Circular saw
- Jigsaw
- Miter saw
- Chisel
- Screwdriver
- Hammer
- Nail set
- Drill
- Safety goggles
- Dust mask
- Gloves
- Wood glue
- Carpenter’s pencil
- Level
- Screws
- Nails
- Wood stain or paint
- Paintbrush
- Sanding block or sandpaper
It’s important to have the appropriate tools for the job to ensure accurate measurements, clean cuts, and secure installations. Additionally, wearing safety goggles, a dust mask, and gloves will protect you from any potential hazards during the replacement process.
Once you have gathered all the necessary tools and materials, you’re ready to proceed to the first step of replacing steps on stairs: removing the old steps.
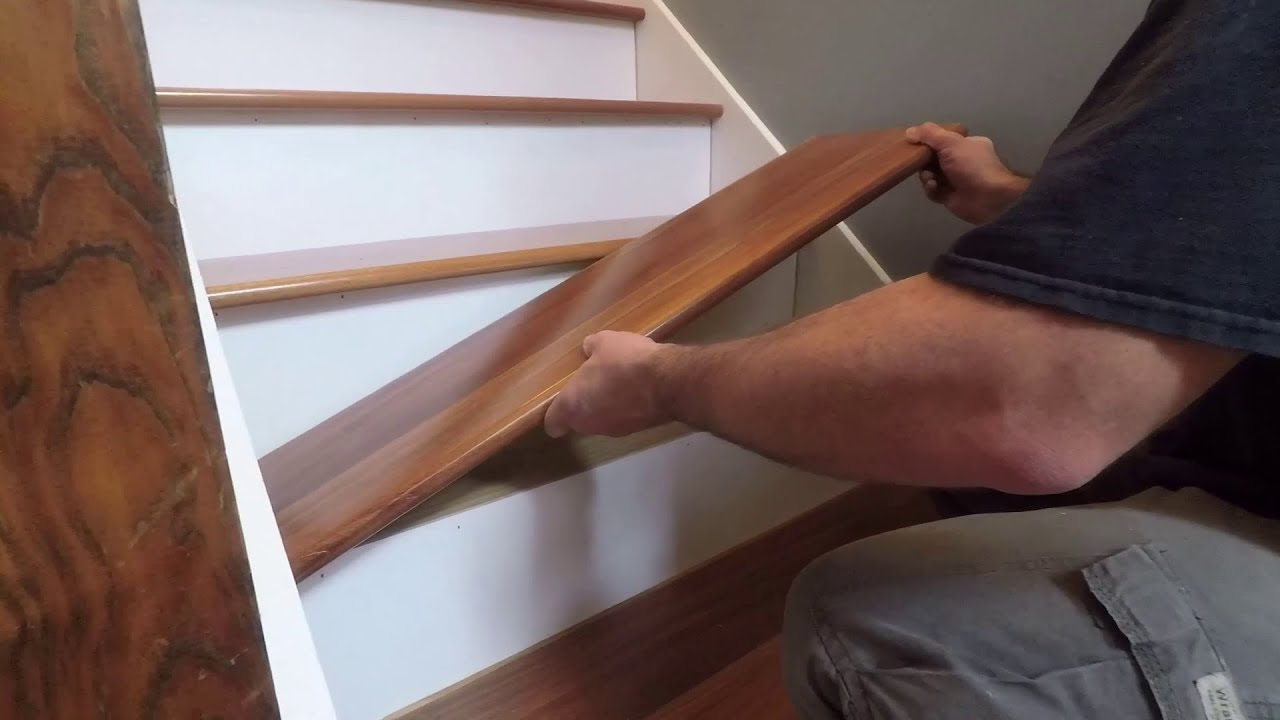
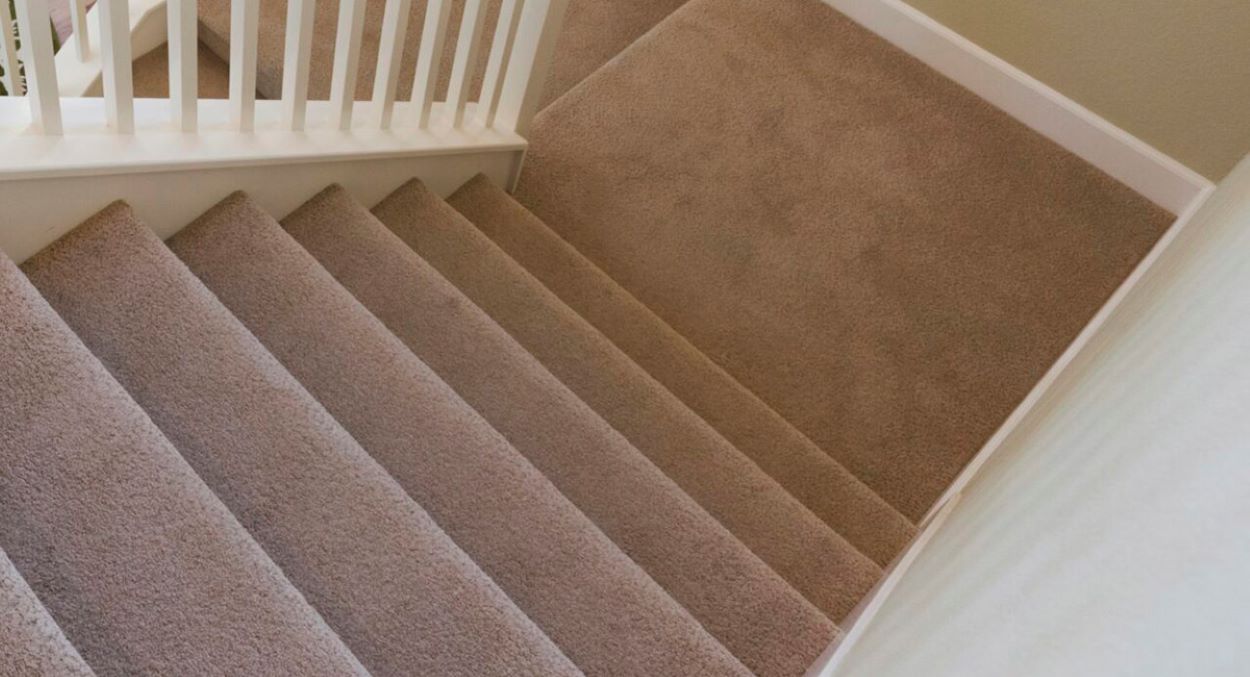
Step 1: Remove Old Steps
The first step in replacing steps on stairs is to remove the old steps. This process may vary depending on the construction of your staircase, but the following steps offer a general guideline:
- Start by carefully examining the existing steps to determine how they are secured to the staircase. Common methods include screws or nails.
- Use a screwdriver or hammer to remove any visible screws or nails holding the old steps in place.
- If the steps are glued down, carefully pry them off using a chisel and hammer.
- Once the steps are loose, gently lift and remove them from the staircase.
- Continue removing all the old steps until you have a clear, empty staircase.
It’s important to take your time during this step to avoid damaging the staircase or surrounding areas. Be cautious when removing any fasteners, and use a gentle hand to prevent any unnecessary force that can cause splintering or breakage.
After removing the old steps, you may want to inspect the underside of the staircase and the surrounding areas for any damage or wear that may need to be addressed before installing the new steps. This can include repairing loose railings, filling in gaps or cracks, or sanding down uneven surfaces.
Once you have successfully removed the old steps and assessed the condition of your staircase, you are ready to move on to the next step: preparing the staircase for the installation of the new steps.
Step 2: Prepare the Staircase
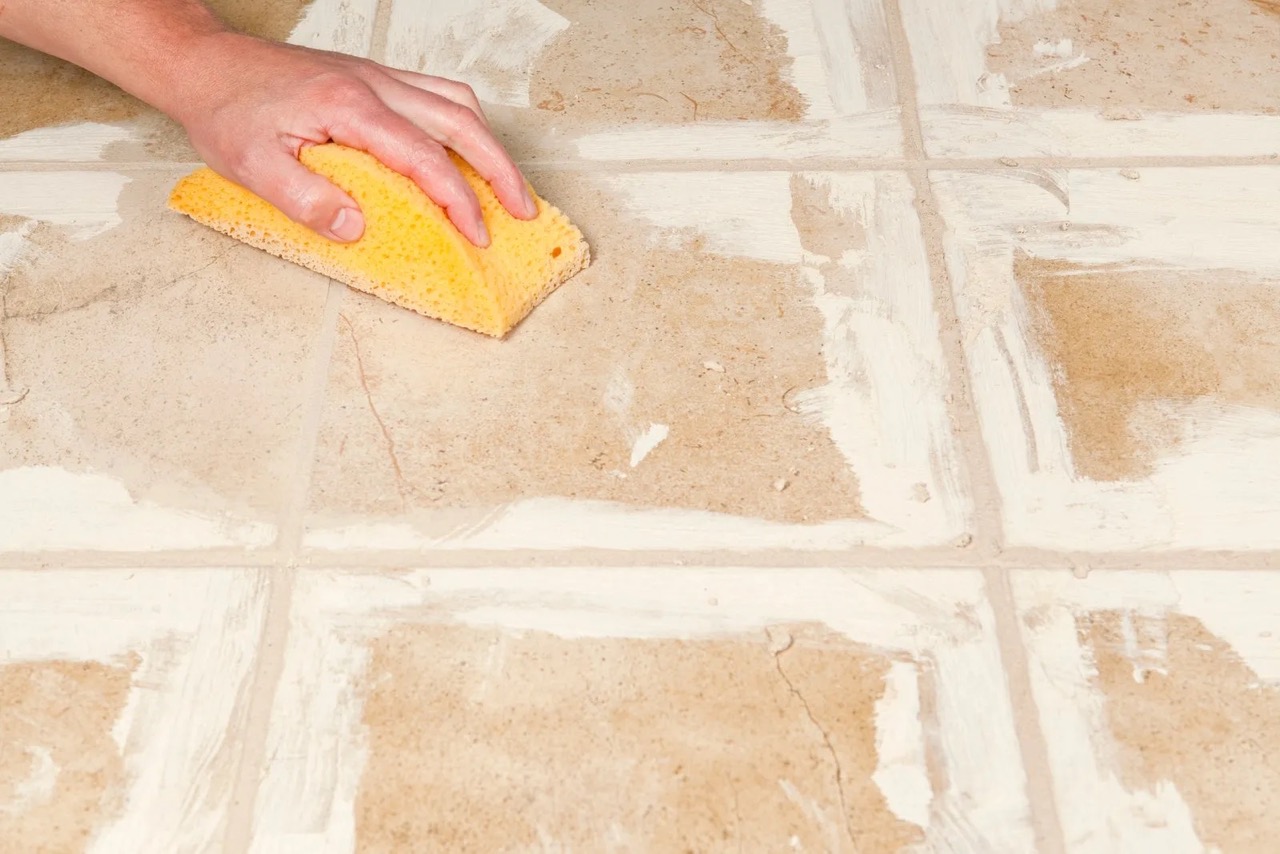
Now that the old steps have been removed, it’s time to prepare the staircase for the installation of the new steps. This involves cleaning the surface, ensuring proper alignment, and making any necessary adjustments. Follow these steps to prepare your staircase:
- Remove any debris, dust, or loose particles from the staircase surface. A broom or vacuum cleaner can help you with this task.
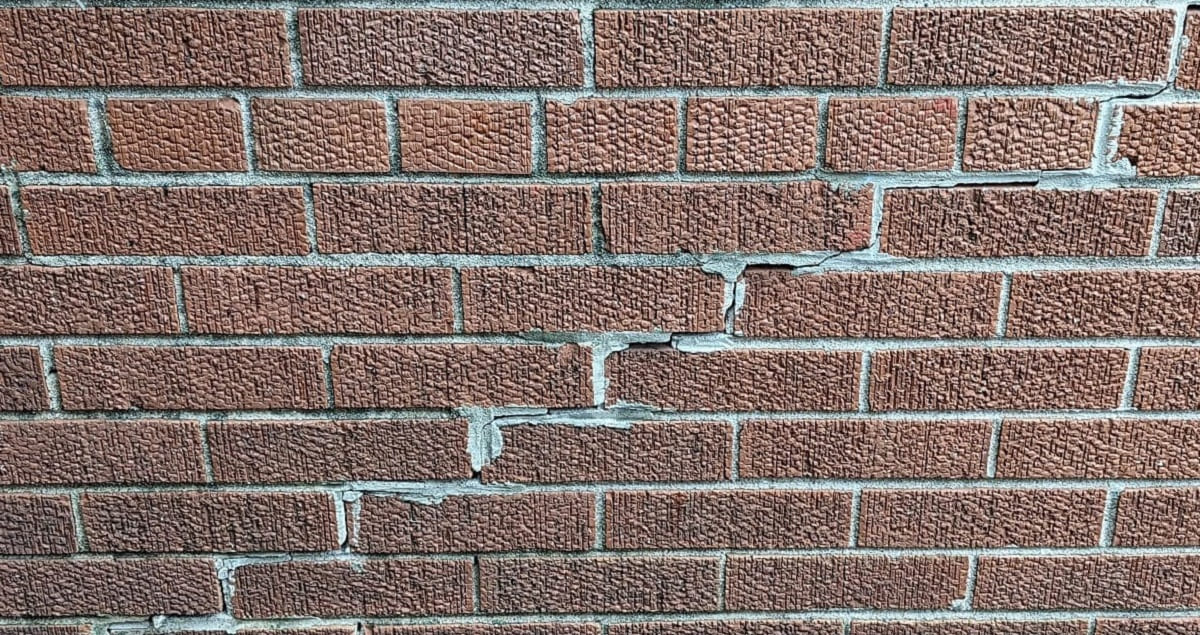
- Inspect the staircase for any signs of damage or wear. Repair or replace any damaged or rotten sections of the staircase to ensure stability.
- Check the alignment of the staircase to ensure that it is level and even. Use a level to determine if there are any discrepancies. If needed, make adjustments by adding shims or adjusting the height of the risers.
- If you plan to install a runner or carpet on the stairs, now is the time to measure and cut it to the appropriate size. This will ensure a precise fit during the installation process.
- Apply wood glue to the back of the risers and press them firmly against the staircase. Use clamps or heavy weights to hold them in place while the glue dries.
By properly preparing the staircase, you are ensuring a solid foundation for the installation of the new steps. This step is crucial for the overall stability and longevity of your staircase.
Once you have completed the necessary preparations, it’s time to move on to the next step: measuring and cutting the new steps.
Step 3: Measure and Cut New Steps
With the staircase prepared, it’s time to measure and cut the new steps. Accurate measurements are essential to ensure that the new steps fit properly and align with the existing staircase. Follow these steps to measure and cut the new steps:
- Using a measuring tape, measure the width and depth of each stair tread. Take precise measurements to ensure a snug fit.
- Transfer the measurements to the new material, such as hardwood or plywood, that will serve as the new steps. It’s essential to use a straight edge and a carpenter’s pencil for accurate markings.
- Double-check the measurements before proceeding with cutting. Measure twice to verify accuracy.
- Using a circular saw or a jigsaw, carefully cut along the marked lines to create the individual steps.
- Take your time and use caution when cutting to ensure clean and precise results.
- Once all the steps have been cut, dry-fit each one onto the staircase to confirm that they fit properly. Make any adjustments if necessary.
By taking accurate measurements and cutting the new steps with precision, you are setting yourself up for a successful installation process. Ensure that all cuts are clean and smooth to avoid any splintering or jagged edges.
With the new steps measured and cut to the correct size, you’re ready to move on to the next step: installing the new steps onto the staircase.
When replacing steps on stairs, make sure to measure the dimensions of the existing steps accurately before purchasing new ones. This will ensure a proper fit and safe installation.
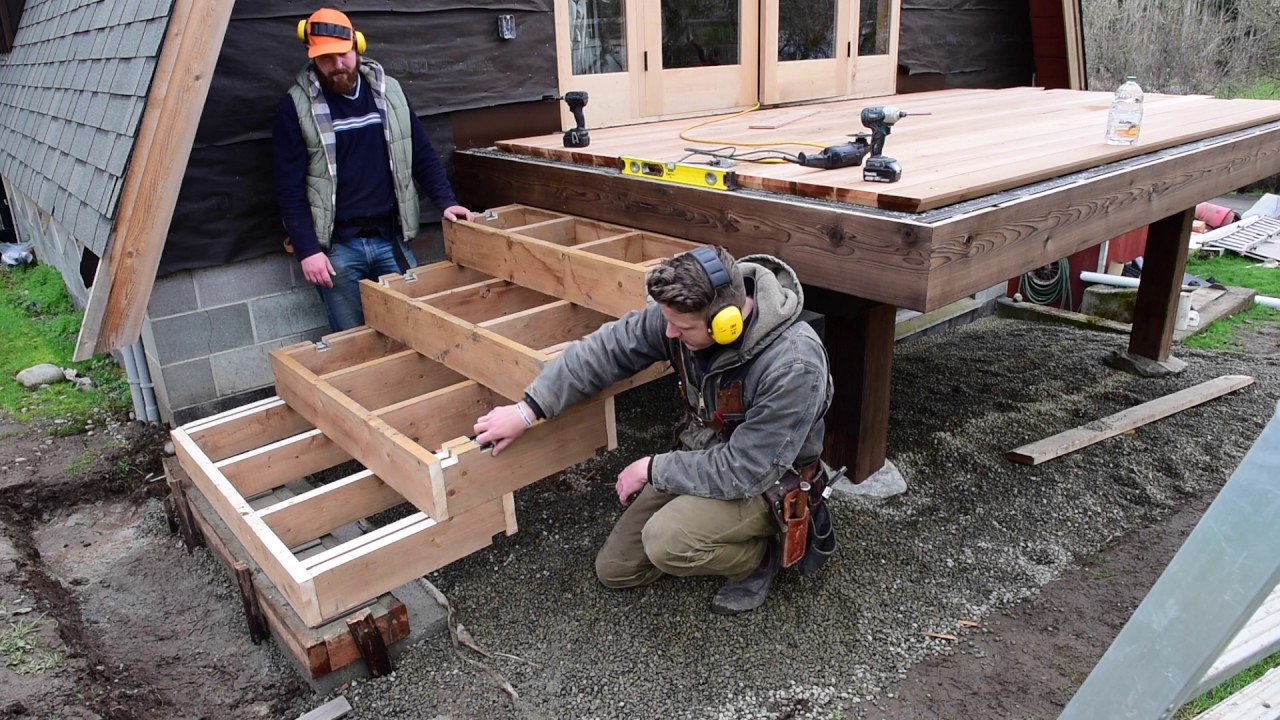
Step 4: Install New Steps
After carefully measuring and cutting the new steps, it’s time to install them onto the staircase. This step requires precision and attention to detail to ensure a secure and stable installation. Follow these steps to install the new steps:
- Apply a thin layer of wood glue to the back of each step, ensuring even coverage.
- Carefully place each step onto the prepared staircase, starting from the bottom and working your way up.
- Press each step firmly against the staircase, making sure they are aligned with the risers and the edges are flush with the sides of the staircase.
- Check the levelness of each step using a level. Adjust as necessary to ensure that they are perfectly horizontal.
- If using screws or nails for added stability, pre-drill holes in the steps and secure them to the staircase using appropriate fasteners.
- Repeat the process for each step until all the new steps are securely installed.
Take your time during this step to ensure that each step is properly aligned and securely attached to the staircase. This will contribute to the overall stability and longevity of your new steps.
Once all the new steps are installed, it’s essential to move on to the next step: securing the steps for added safety.
Step 5: Secure the Steps
Once the new steps are installed, it’s crucial to secure them to ensure stability and prevent any potential hazards. Follow these steps to properly secure the steps:
- Use a nail set to sink the nails or screws slightly below the surface of the steps.
- Fill the nail or screw holes with wood filler, then sand the filled areas until they are smooth and level with the surface of the steps.
- Inspect each step for any loose or creaky areas. If needed, apply additional wood glue and use clamps or weights to hold the step in place while the glue dries.
- Check the stability of each step by applying pressure and ensuring there is no movement or wobbling. If any steps feel unsteady, reinforce them with additional screws or nails.
- Gently tap down any raised edges or corners of the steps using a hammer and a wood block.
Securing the steps is crucial for the safety of anyone using the staircase. Take the time to ensure that each step is securely fastened and that there are no loose or unstable areas.
With the steps now securely in place, you can move on to the final step: adding the finishing touches to complete the replacement process.
Step 6: Finishing Touches
With the new steps securely installed, it’s time to add the finishing touches to complete the replacement process. These final steps will not only enhance the aesthetic appeal of your staircase but also provide added durability and protection. Follow these steps for the finishing touches:
- If desired, apply wood stain or paint to the steps to match your desired look. Ensure that the chosen finish is suitable for the type of material used.
- Allow the stain or paint to fully dry according to the manufacturer’s instructions before proceeding.
- Once the finish is dry, apply a protective coat of polyurethane or a similar sealant to the steps to protect them from wear and tear.
- Inspect the overall staircase for any remaining imperfections or loose areas. Make any necessary touch-ups or repairs.
- Consider adding non-slip adhesive strips or mats to the steps for added safety, especially in high-traffic areas.
- Finally, take a step back and admire your newly replaced steps! Your staircase will now have a refreshed and renewed appearance.
By adding the finishing touches, you’re not only enhancing the visual appeal of your staircase but also ensuring its longevity and safety.
Congratulations! You have successfully replaced the steps on your stairs. With proper care and maintenance, your new steps will provide a safe and beautiful staircase for years to come.
Remember, if you’re unsure about any step of the process or if you have any concerns, it’s always a good idea to consult with a professional or experienced carpenter for guidance.
Now, sit back, relax, and enjoy your newly upgraded staircase!
Conclusion
Replacing steps on stairs is a rewarding home improvement project that can enhance both the safety and appearance of your staircase. By following the step-by-step guide outlined in this article, you have learned the necessary techniques to successfully replace the steps on your stairs.
Throughout the process, it’s important to prioritize safety by using the appropriate tools, wearing protective gear, and taking your time to ensure accurate measurements and secure installations. Additionally, paying attention to detail during each step, from removing the old steps to adding the finishing touches, will result in a staircase that is not only functional but also aesthetically pleasing.
Remember to invest in high-quality materials and take proper care of your new steps to ensure their longevity. Regular maintenance, such as cleaning, inspecting for wear and tear, and making necessary repairs, will help keep your staircase in optimal condition.
Whether you’re replacing steps due to wear and tear or simply looking to update the look of your staircase, the satisfaction and sense of accomplishment that comes from completing this project are well worth the effort. Plus, you can now enjoy a safer and more visually appealing staircase that adds value to your home.
Now that you have the knowledge and skills to replace steps on stairs, why not embark on this exciting project and transform your staircase into an impressive focal point in your home? Take the first step today, and enjoy the rewarding journey of improving your living space.
Frequently Asked Questions about How To Replace Steps On Stairs
Was this page helpful?
At Storables.com, we guarantee accurate and reliable information. Our content, validated by Expert Board Contributors, is crafted following stringent Editorial Policies. We're committed to providing you with well-researched, expert-backed insights for all your informational needs.


0 thoughts on “How To Replace Steps On Stairs”